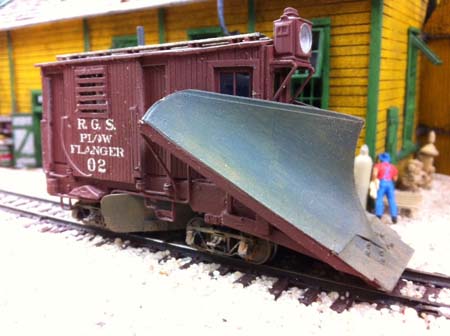
“Hi Alastair, with winter and snow in the mountains, the wedge plow has been prepared and will be used shortly, pushed by two powerful Heislers to clear the line for the log trains.
Btw, we have had some heavy snow fall here in Cape Town even on Table mountain.
Cheers
Brian”
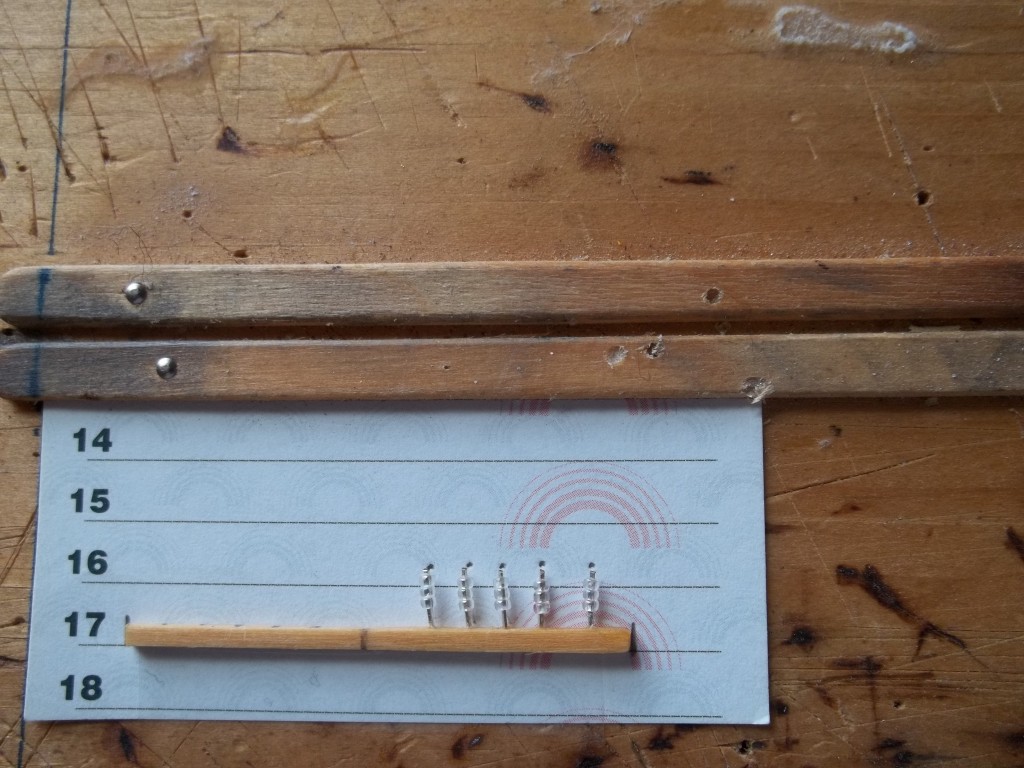
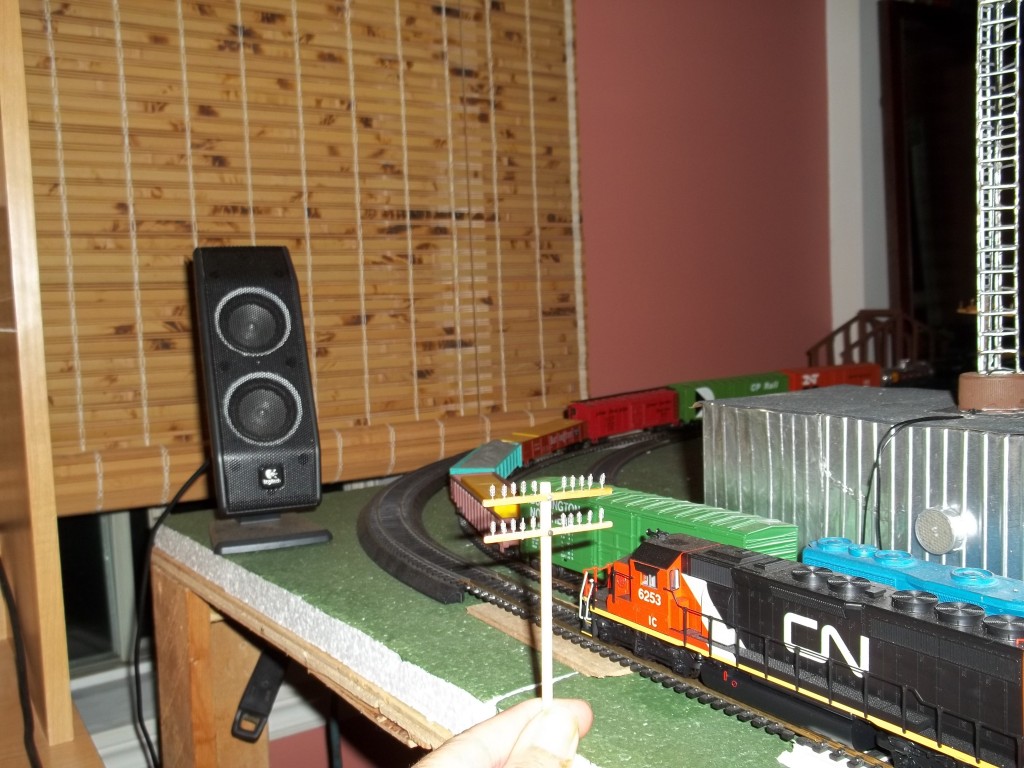
“Hi Al.Here is the telegragh pole I made up. Weather it and I bet it be better than plastic. Was pretty easy to make.Just was slow mounting the pin’s for the insulator’s.And be very consistant with the building of these, I made a very simple sort of jig or pattern.
I figured out the first pin pattern and stuck with it. I took a piece of paper and made pencil dot’s showing where to mark on the beam to place the pegs.Now making holes in the beam to place pin’s.You have marked on the beam where your post’s go.Now take the large pin and s o slowly and gentaly push the pin in.go slow or risk cracking the beam.Dont go all the way threw.make all the holes.
Now take a left over led post and push it into the hole you made carefuly.Do one at a time.
Put just anough instant glue to the pin and hole. Use a tissue to suckup extra glue. Try not to get any glue on the rest of the post or it will be hard to slip the insulators on.
Okay now put 3 beads on and leave them at the end of the post. Just touch the wet end of the instant glue tip to the post and slide the beads down quickly.
The hole to attach to the post is made with the sewing pin where you see the line in the photo after all the insulators are installed and trimmed from all the extra led post.Carefuly push the large pin into the beam and threw the other side. Sit to one side.
Now take your 1/2 a quarter inch dowel.And figure from the top make a tiny notch to sit the beam to.
Take another pin and pliers and make a hole where you made the notch.
Push all the way threw the dowel.
Remove pin and take the beam with the pin in it and stick it to the post where you have the notch and hole you made.
Snip off the extra pin and glue the two pieces together with instant glue or white glue.Okay here is what you need.
1/2 a quarter inch dowel.
popsicle stick.cut to 2 inches long
left over led post’s
1 sewing pin with the head.pins you use to hem up pants and such before sewing now there is a large pin and a small pin.use the small pin for the post bolt.
Kim”
That’s all today, folks. Please keep ’em coming.
Latest ‘ebay cheat sheet’ is here
Best
Al



Hi Al. You have a great site with many super layouts featured. How long will each update be available for? One other question as I am a relatively new railway modeller – what adhesive should you use to repair the hard plastic of most railway models?
regards
Fred
Excellent looking telephone poles. Thanks for the pictures
neat layout
Mark, this looks like a marvelous layout. If I had the space, I would be in Mich (from WYO) tomorrow to pick it up. Good luck selling it. (You might want to put the exact dimensions in the e-bay ad. “two car garage” is a little vague)
Fred I would use clear instant glue.
Lee Barry pretty easy to make them.I make telephone poles telegragh poles you name it.Im interested in making them signal’s with the arms that come up and down.But need to see how they are made in real life so I can copy them.
THAT IS A VERY BEAUTIFUL LAYOUT. WHY DESTROY IT.
Nice idea for the power pole! To be more realistic I would suggest only putting 3 insulated pins on each side to mimick 3-Phase power that you commonly see. Nice way to fabricate though.
That was a copy of a telegragh pole circa 1890 that I copied from a bunch of old steam engine photo’s.But you get the idea how easy it is to make.That was my first one and my last.was built just to show.I run a modern layout and don’t have them no more.but for those who run steam.injoy
Thank’s Thomas.
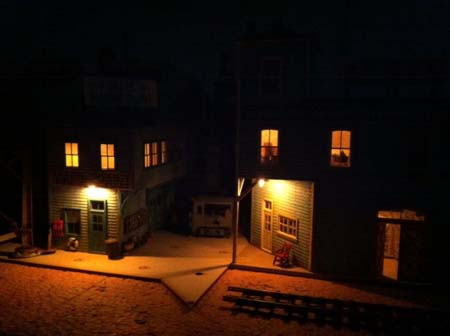
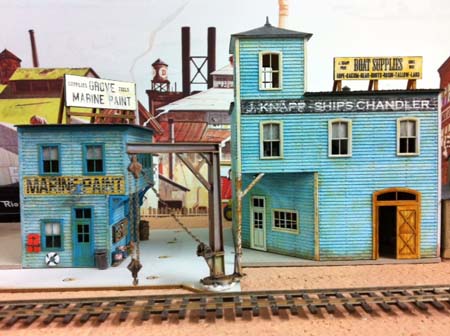
Brian, Good looking layout. Can we see more? You did a particularly great job on the plow. I live in Northern Minnesota and we always have plenty of snow but I wasn’t aware that you had snow in Capetown. Thanks, Mike
For gluing plastic models, one of the thin liquid glues for plastic models like Testors or similar (usually in a bottle with a needle applicator tip). I don’t really like CA glue for gluing plastics unless it says it is specifically for plastics. Use as little glue as possible, preferably from the back side. I almost never use it directly from the bottle, but put a few drops onto a small piece of aluminum foil or the inside of a plastic bottle cap. Don’t worry this type glue does not stick to the soft flexible plastics, only the hard plastics. I then use a pin, toothpick, or microbrush to transfer a drop or two of glue to the glue seam. it should wick into the seam without flowing onto the surface. Hold for 30 seconds or so and set aside undisturbed for 1/2 hr.
Brian do you mean Cape Town, South Africa? I’ve always enjoyed watching videos of those huge steam loco’s that you have down there. Nice looking machines..