“Hi Alastair
Just thought I would share a few tips with you about scenery.
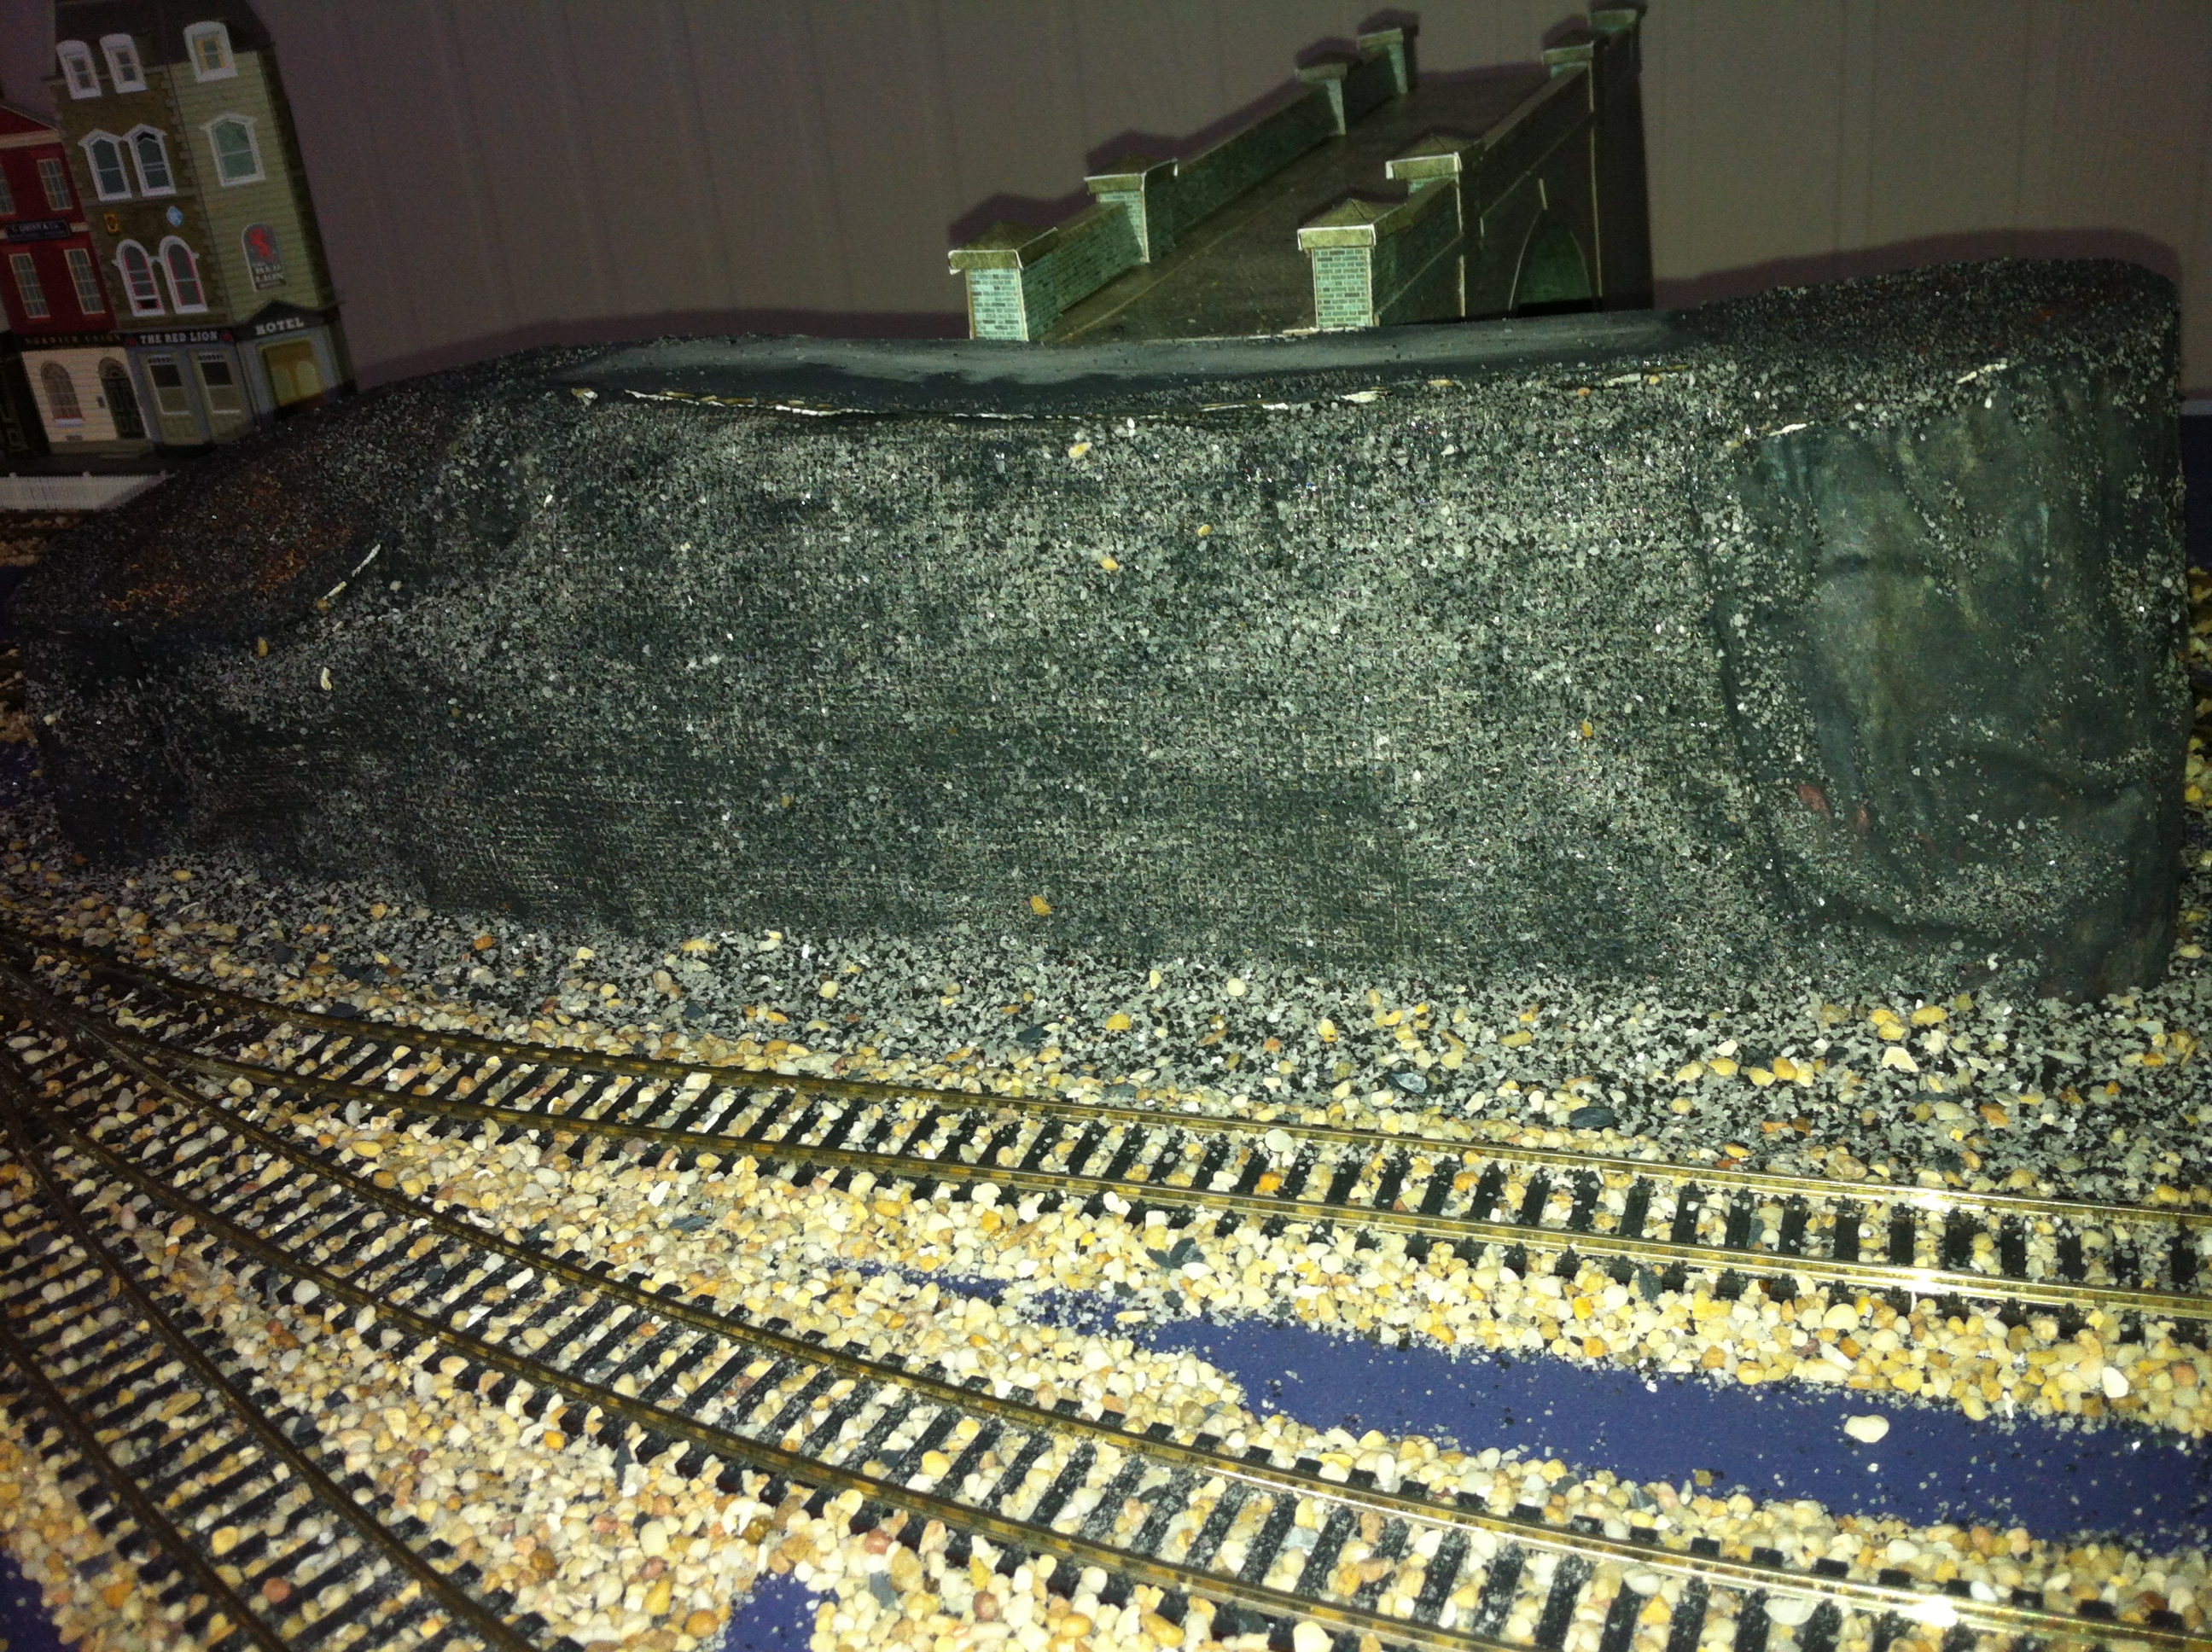
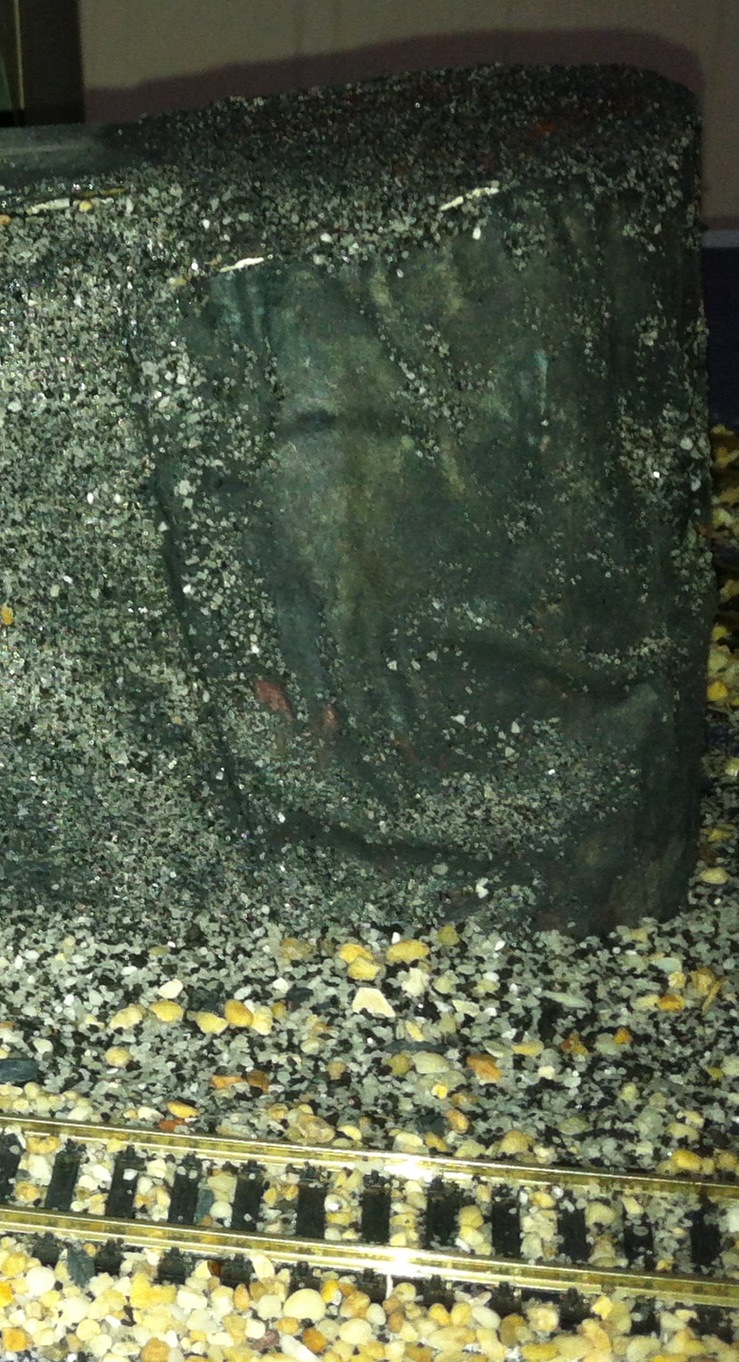
Being very green behind the gills when it comes to making scenery and especially rock formations I thought about how I could use household waste and free materials to get the basic out line etc. in my next email I will send you a photo of the result so far.
I used toilet roll holders to obtain height and basic out line of what I wanted to do. Next I used the free new diaper that gets thrown on my drive way every week and glued it around the toilet roll holders the rest if the newspaper was use for paper mâché around a long balloon for the ends. Before I fitted the ends I went yo my local masters hardware store (here in Australia ) where they have samples of wall paper plain white or cream are deal with a pattern on it – some even look like a rock face.
I then glued it over the paper and curled it round to form the rock and Rock face. For the top ( as I wanted it to be the village look out I used cardboard to form an even top.
So the basics were now all completed, to make the the parking area I used 1200 grade wet and dry sandpaper cut to size and to cap the end I use 80 grade course brown sand paper.
After that I painted it with poster paints and threw reptile grey/black sand at it whilst still wet. The end result I don’t think looks to bad, albeit thy instill have the fence, hedge and greenery to and. Over all to date it has cost me time an just $5 to make! That covers the cost of sandpaper, glue, and reptile sand used.
The rock seems happy enough because it has formed a face at one end which was totally unplanned.
Regards
Simon in Australia”
“Hi.
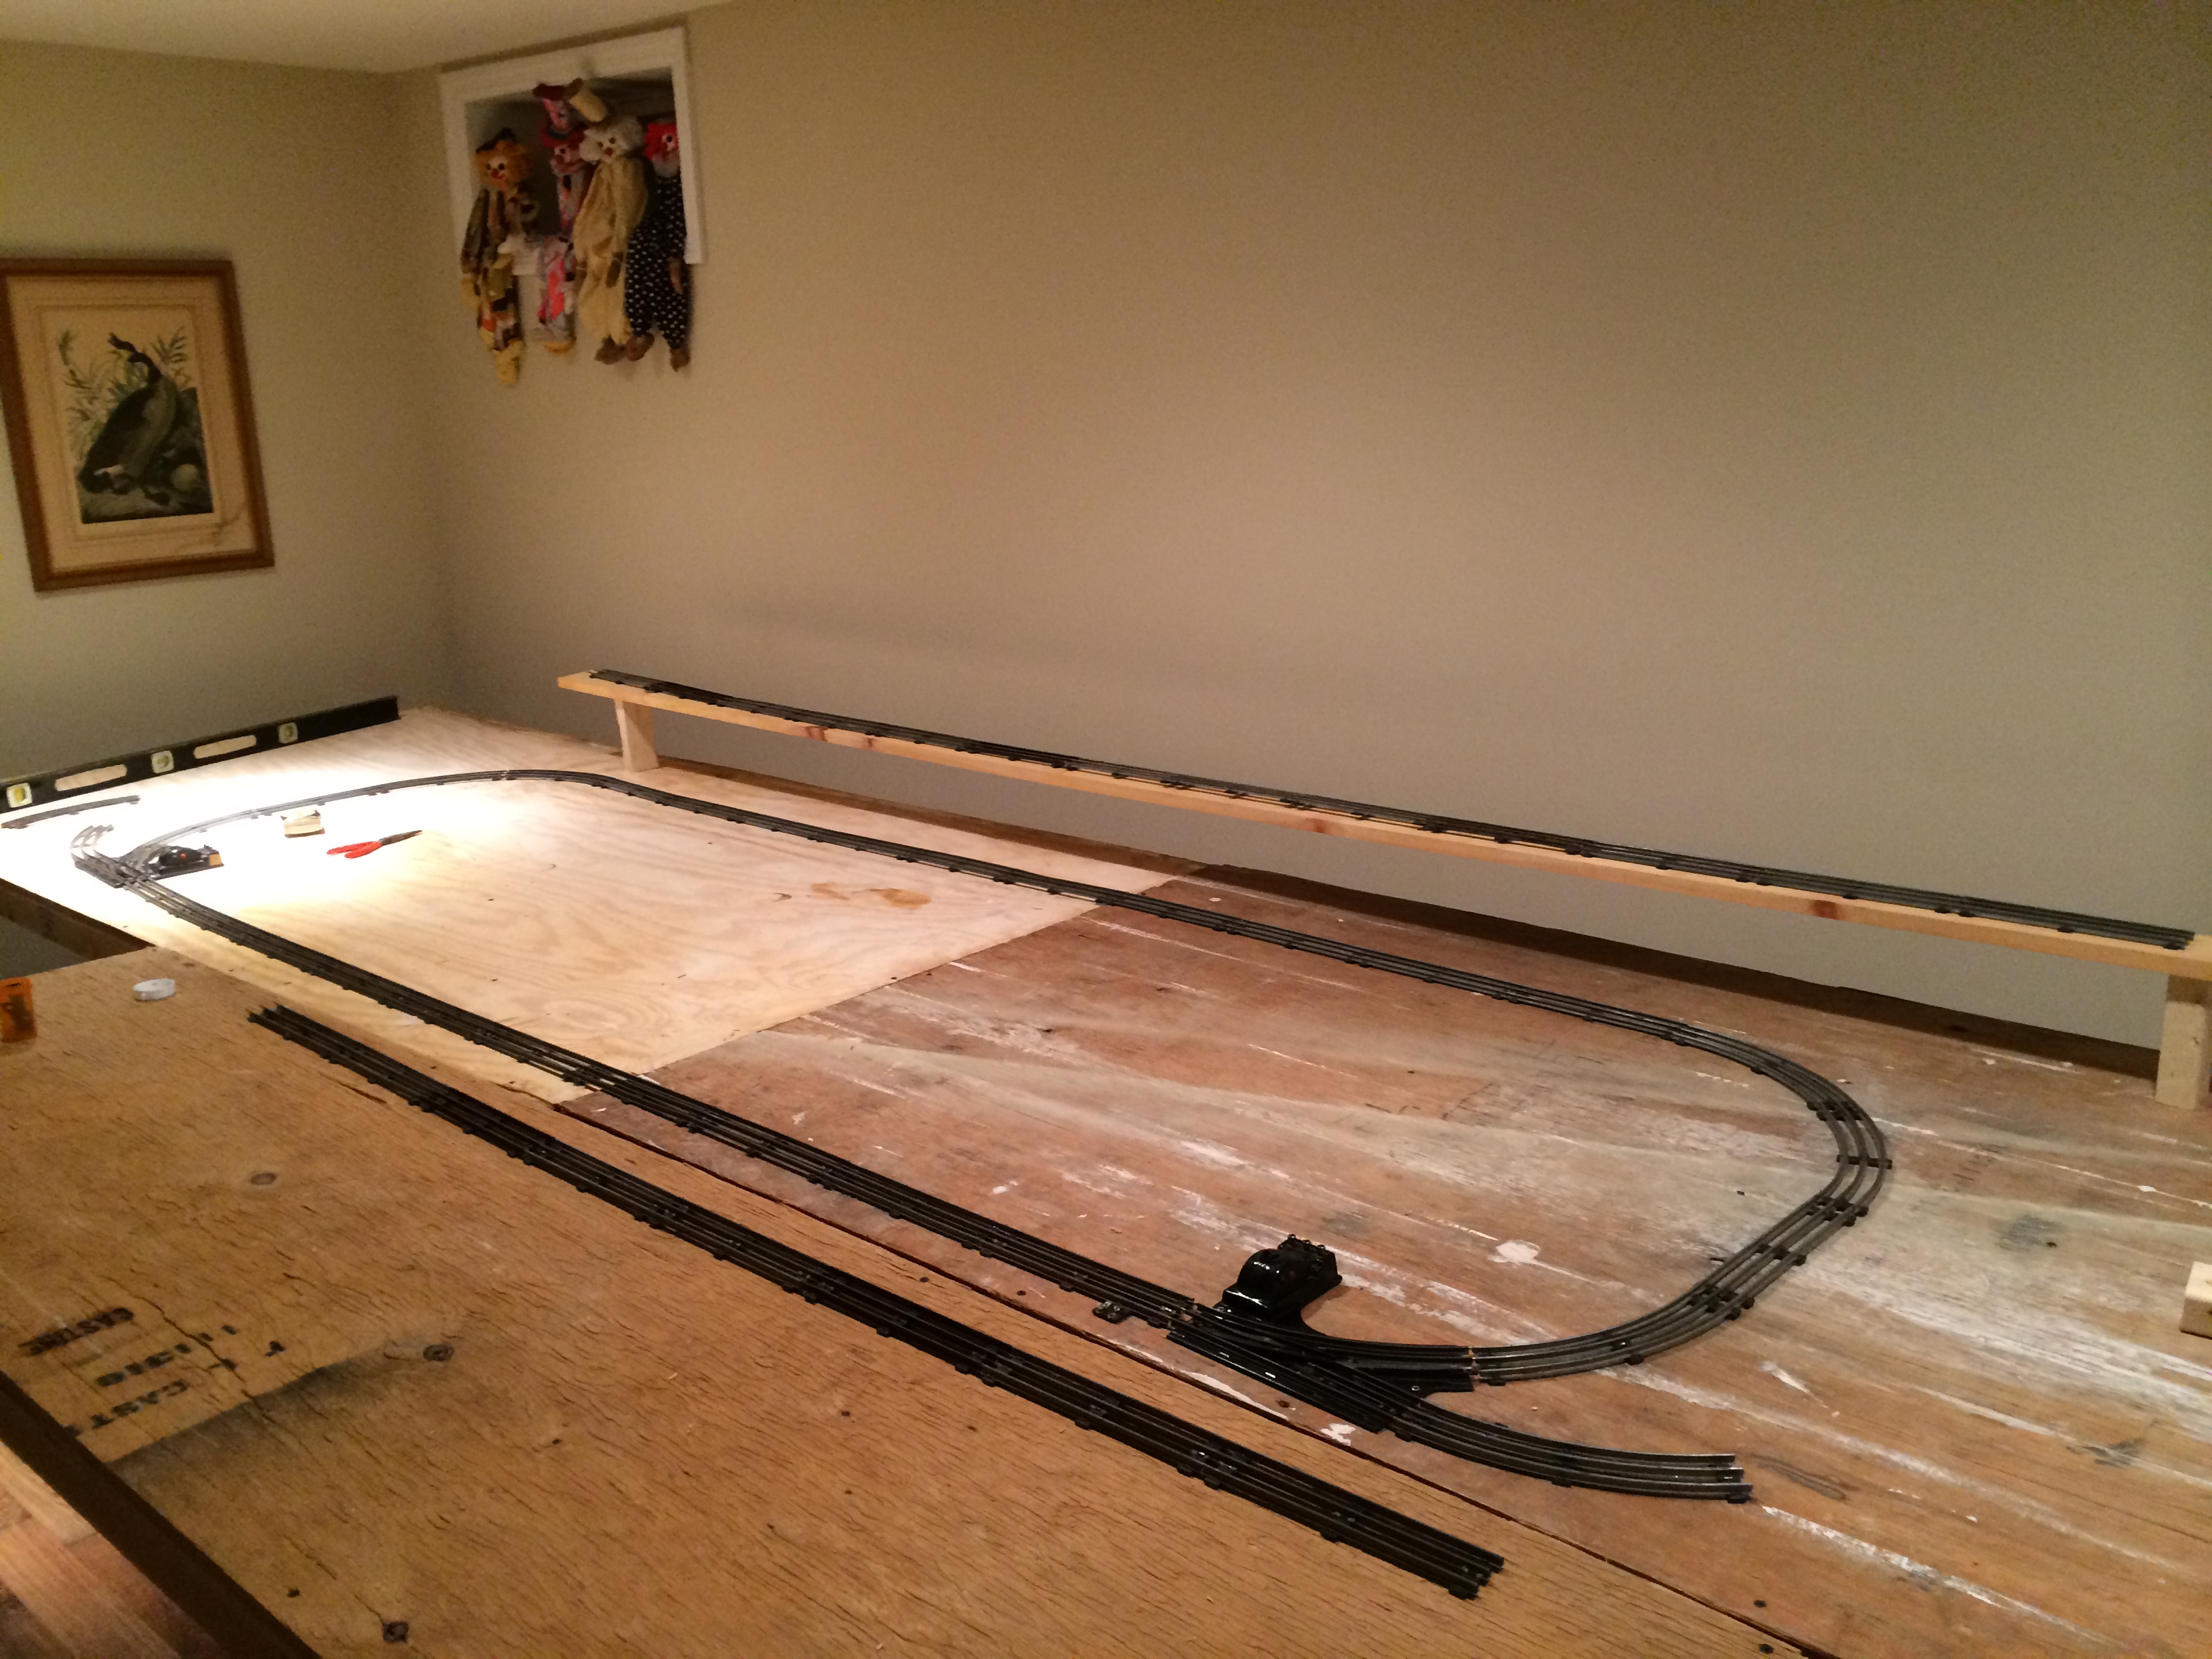
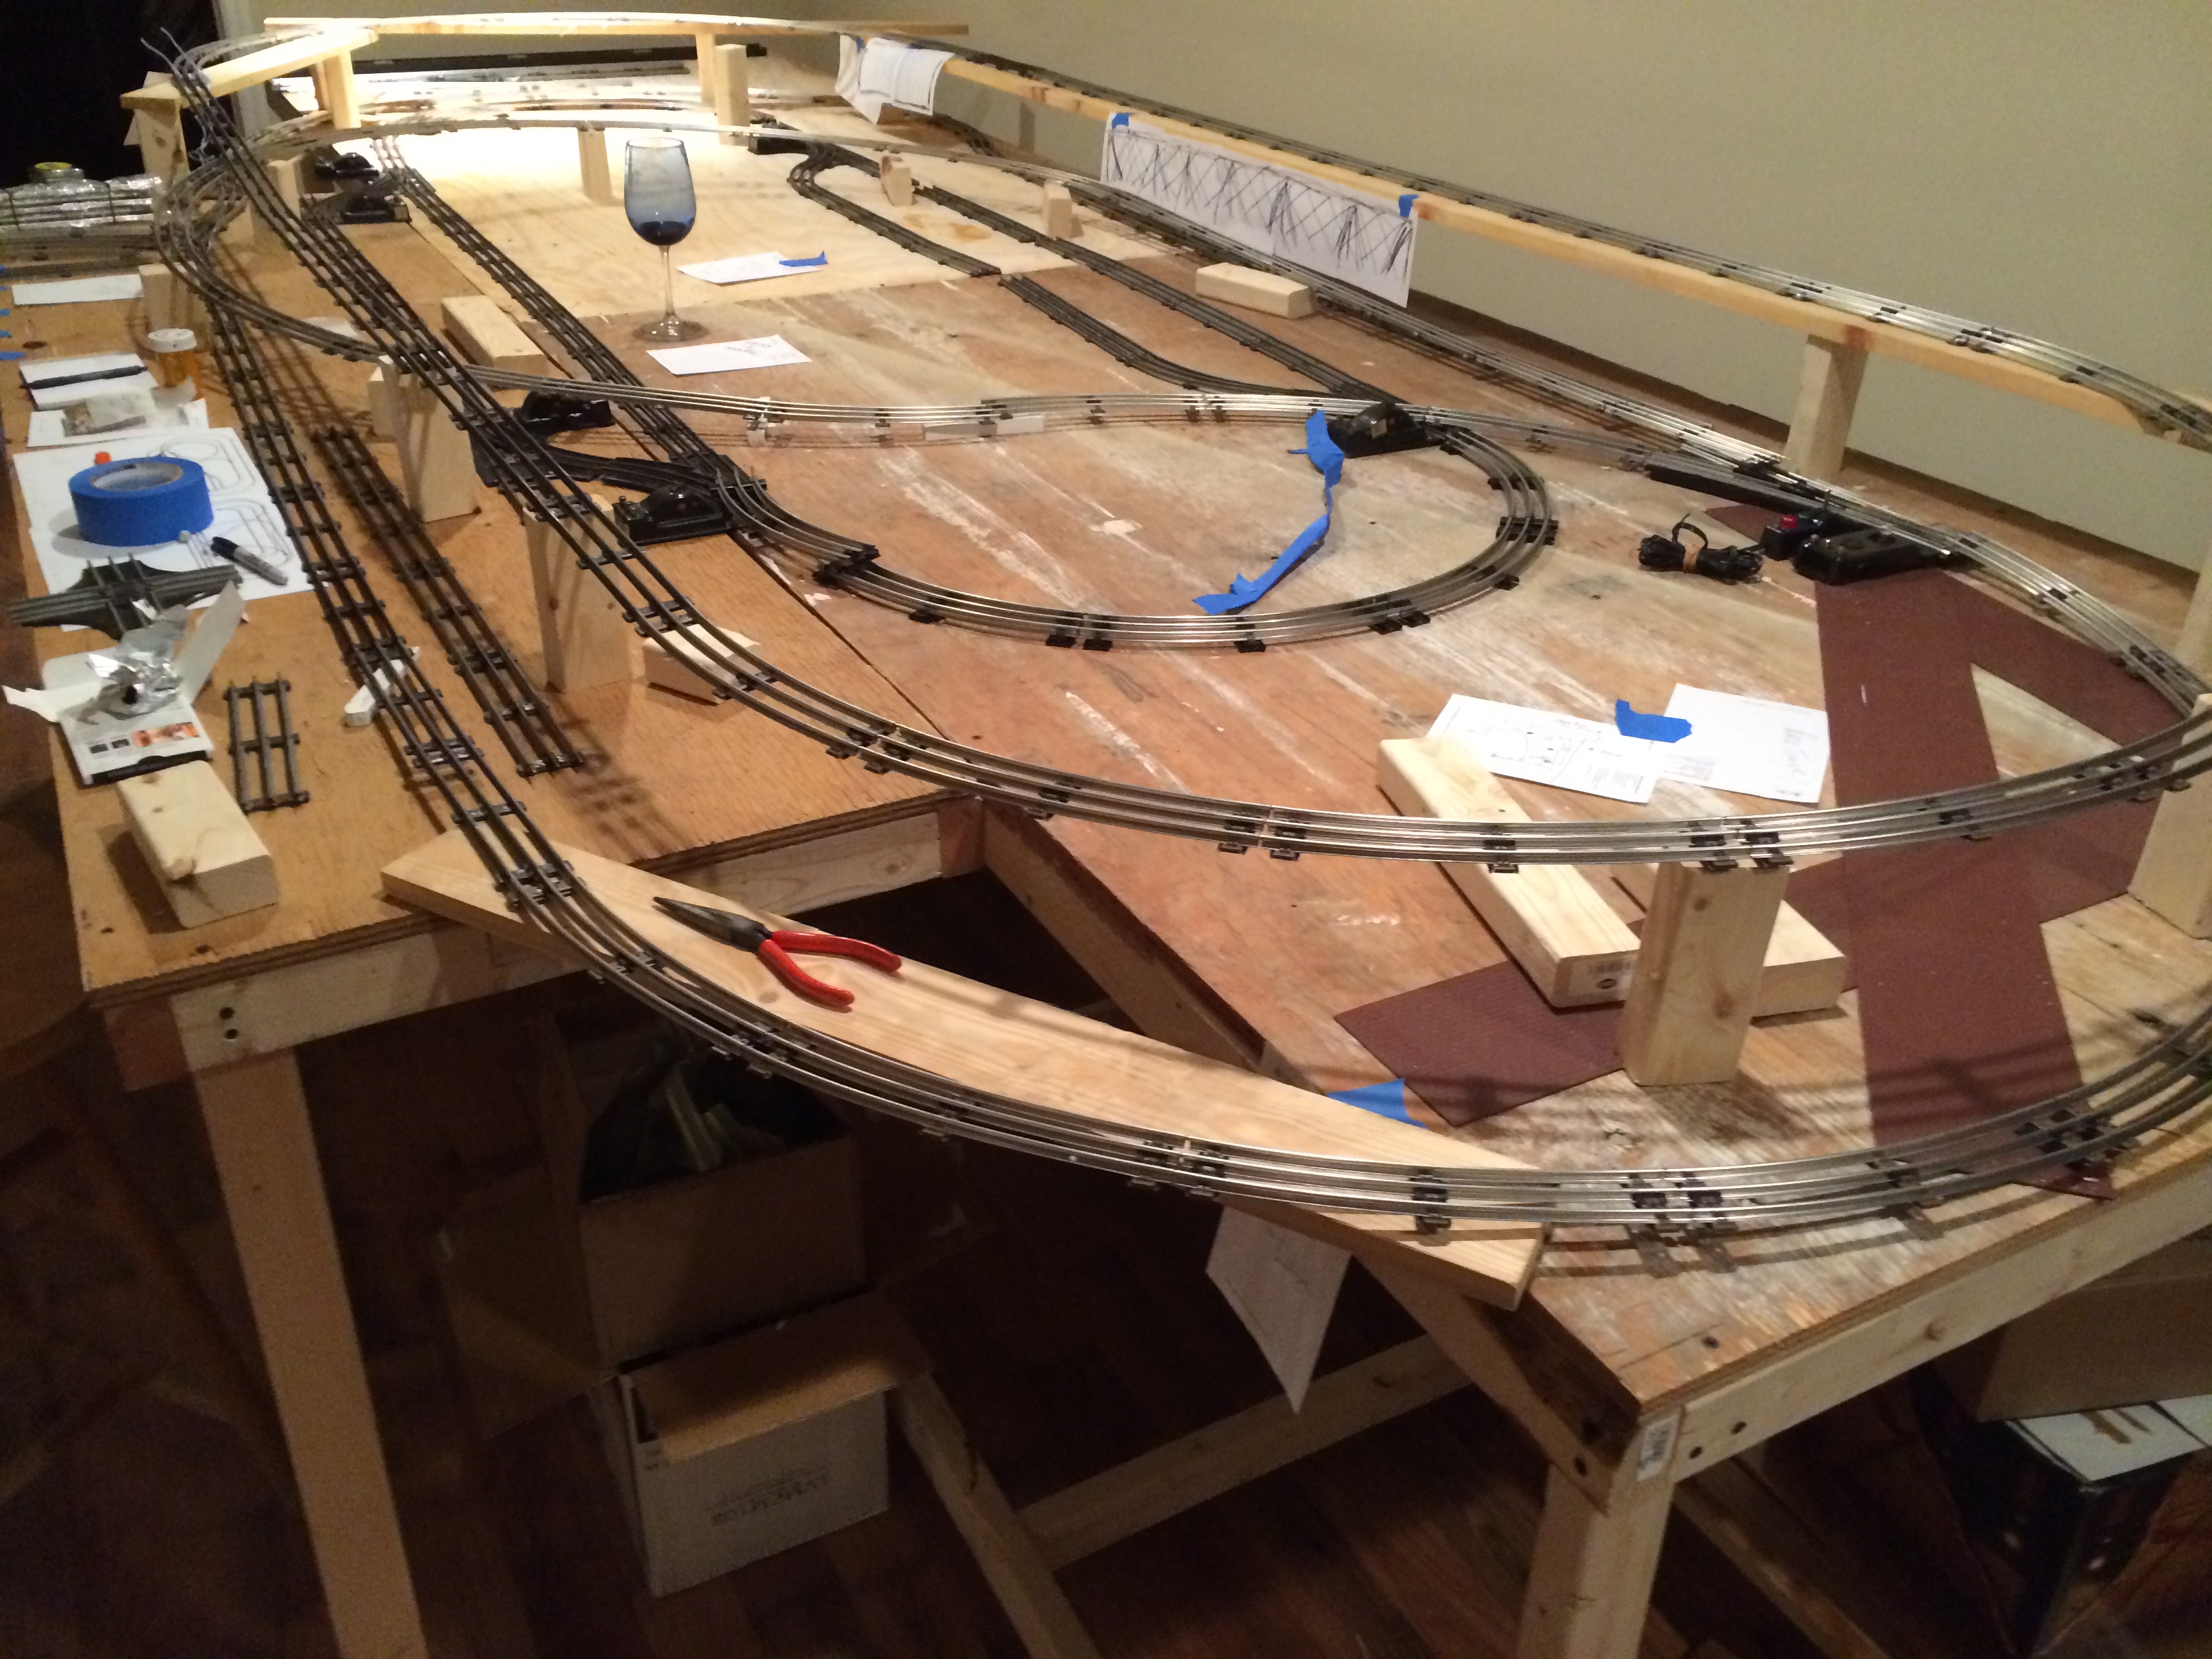
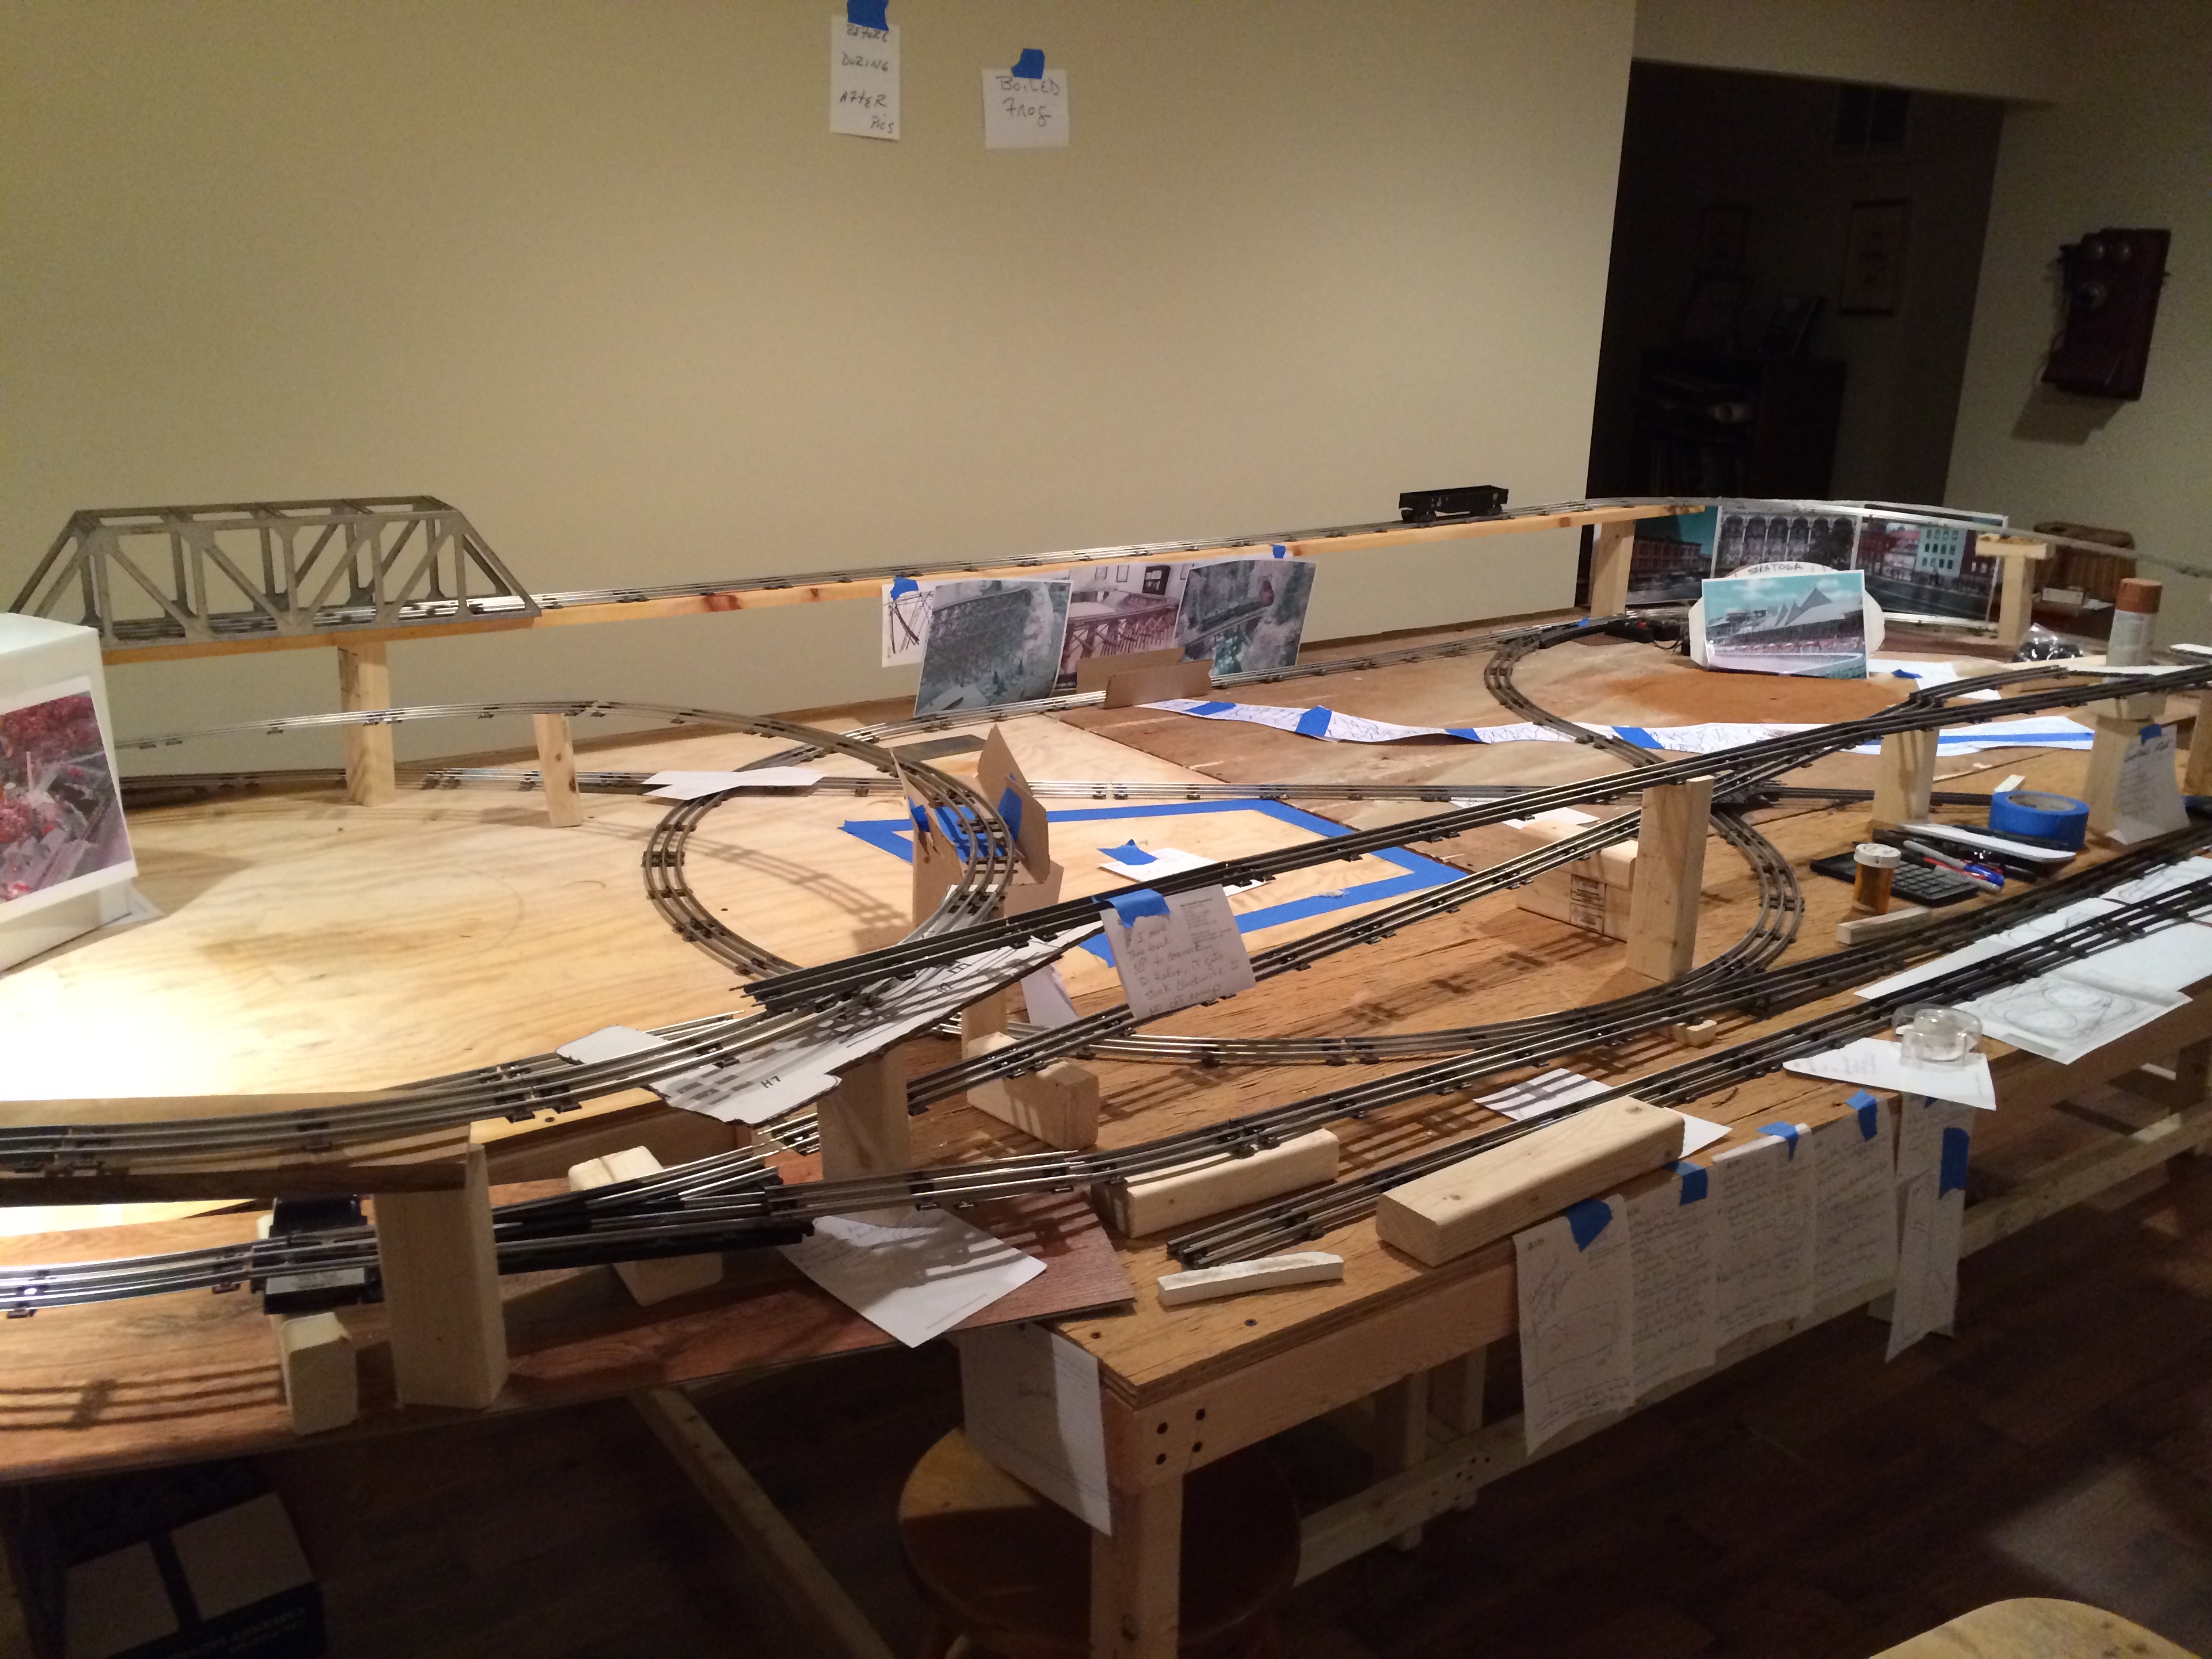
Just a couple of photos of my O gauge layout as it progresses.
I did make a neophyte mistake and tried to put too much of my dream into the layout initially. Pulled a bunch of peripheral stuff and extra track out, simplified, and am almost ready to glue and plaster-scape. The initial wiring shouldn’t be too terrible, as I’ve conceptually broken the layout into 3 blocks with 2 common sections…but then we’ll see, won’t we
I’ll take any advice for anyone who sees my layout.
Steve”

Big thanks to Simon and Steve. Can’t wait to see how Steve’s pans out.
Please do keep ’em coming.
Thanks for all the comments on the ebay cheat sheet. It’s on a roll at the moment. Latest one is here.
And if today is the day you get going on your very own layout, the Beginner’s Guide is here.
Best
Al


I would recommend that Steve place a sound deadening material under the track.
Homosote, if you can find it, works great. Sheet insulation also works. The insulation also elevates the tracks about a half-inch and aids visibility and makes ii easier to use small brads to keep track in place.
Looking really, REALLY good! Keep up the great work and thank you for sharing!
I made the mistake of placing my first train layout (O-gauge) close to the wall as shown here. I found it difficult to reach across the table to correct or place any objects or take care of derailments. You might want to think about that situation.
Now I like your layout of the O gauge, very cool, you could make a wonderful train set up. I used super O track when I did a big layout.
While I appreciate efforts in all scales (and learn from them), O scale is “King”
for me. Takes me back to my childhood, and the heft of those locos is just
marvelous.
Thanks to all
js
Just keep it simple
Love the wine glass in the middle of the layout. Perhaps the most important part of the whole project! LOL Looking forward to seeing it finished. P
Hi steve.Cant I comment.I use 1 inch thick Styrofoam and have painted it green.That way you can move large pieces if you have too.Also cancel’s noises caused from the loco running the rails.Also find you can push pieces into it without having to tack them down.For fencing I use regular screen and have painted them silver crafters paint with a few drops of water to delute it.They sell for a $1 4 foot by 4 foot and quarter inch thick crafters board white.Its Styrofoam covered on both sides with paper.Works super nice.If your looking for a build use the golden key and check out some of my builds.will save you ton’s and can put the cash to a new loco or something.thanks for the pictures.Hope to see an update.
The layouts are looking good. Glue was mentioned and I would suggest that everything is not glued until you are certain you want it held. Glue might be somewhat easy to take off, but if you have a question and you might want to be able to move everything around, work out the placement by moving and then glue it later.
NICE LOOKING LAYOUT.
I second the homosote under the track. I built a little ho layout in the basement and the noise drove me crazy sometimes. I think the wine class is really a “water” tower! LOL Great job and have fun!
I like the wine glass and brandy sniffer. That shows a lot of late evening thought is put in this track design.
Steve
You’ve done what I did with my layout – over & under loop.
Pros- great for running trains, long run, makes a neat layout.
Cons- You are always looking thru the upper level to see everything in the middle, and leaning over that level to get inside. It did not appear to be a problem until you start scenery. This drove me nuts but I will never change it.
Support of the elevated levels is critical. You have a nice wooden base by the wall that could use additional columns but the other elevated levels are not supported well which will give you fits with track problems later. Vertical column placement is a pain, make them skinny but strong, and the base under track between the columns must be stiff and not necessarily thick. There are many ways to detail this and spend the time now to make it right. Track problems later must be avoided.
Please keep us posted with your progress.
All be well
George from NY
Steve
The start looks great, you do need something under the tracks to deaden the train sound. Keep up the great work
Ed upstate NY
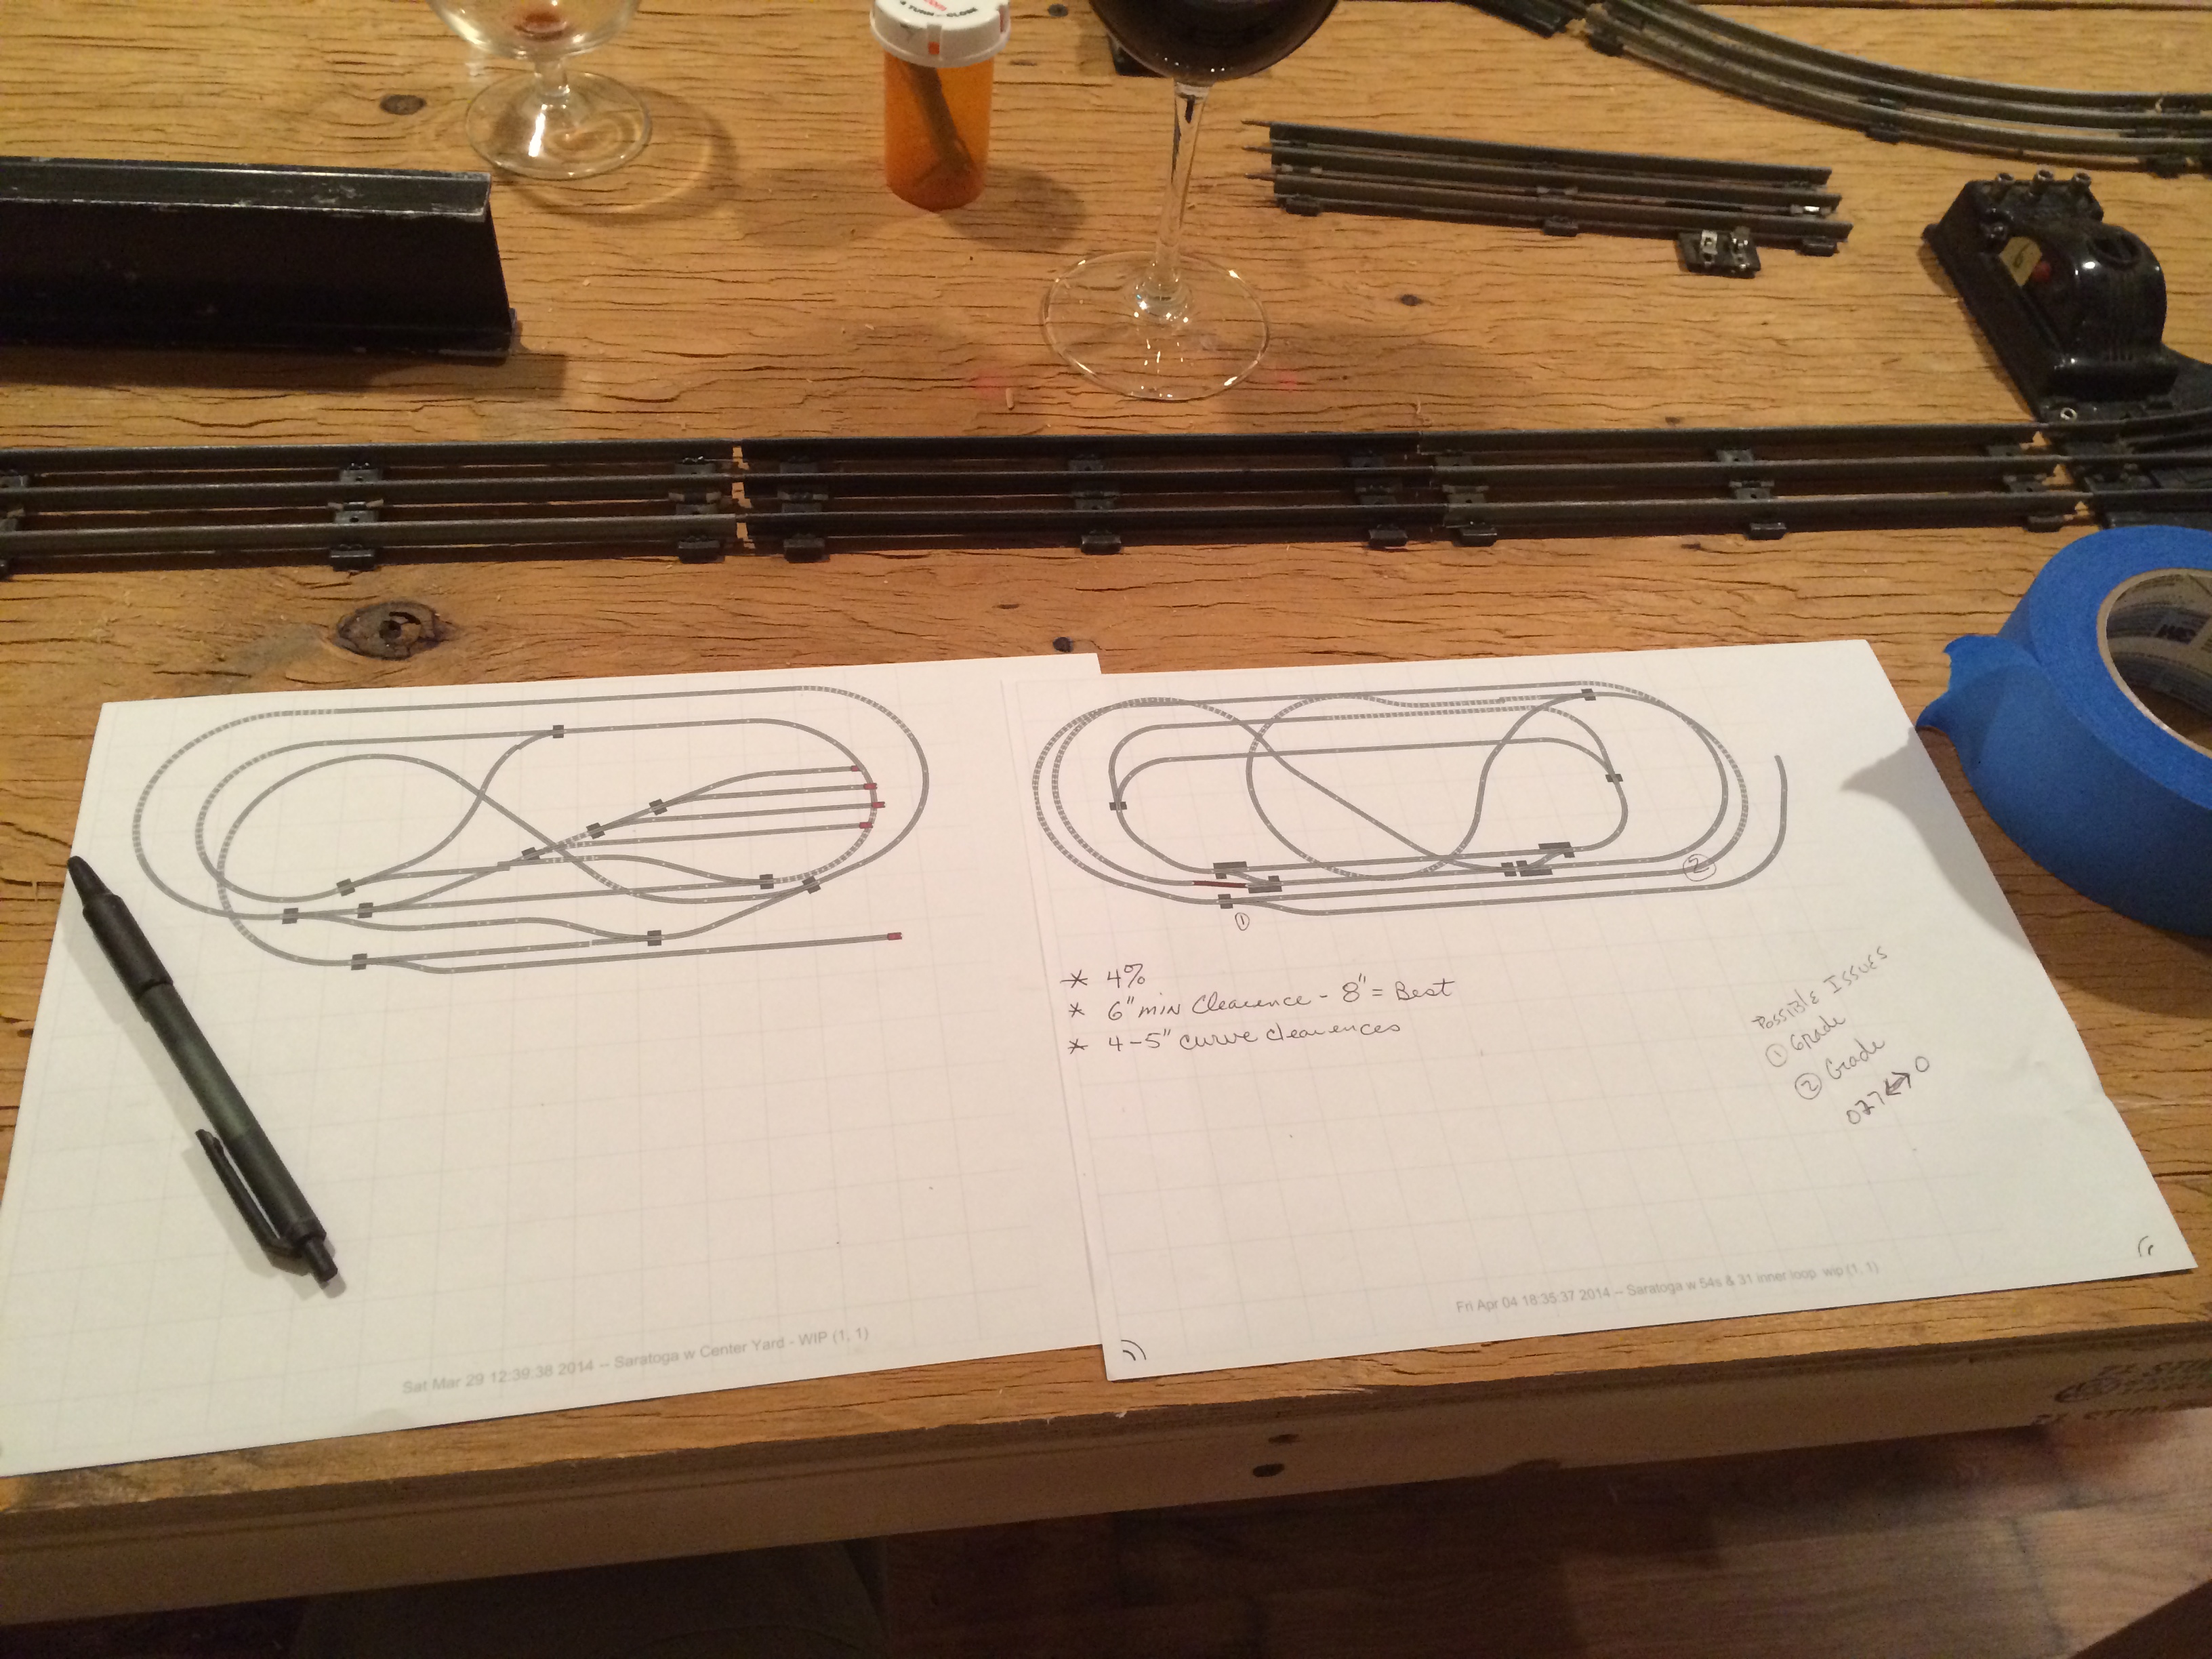
Steve, When I saw your two layout plans up close I thought OMG! What a wiring nightmare with all those reversing loops. Then I realized you’re using three rail track so you don’t have the polarity reversal problems us two-railers have to worry about. Looks like it will be a great layout when you get it together. I do recommend using solid support materials under the track, even if it’s only 1/4 inch luan plywood and some form of sound-deadening roadbed.
Nice start on your O scale Layout, Yes homosote or foam to quiet the noise down I used roadbed cork, with i added foam u can do a lot with it when it comes scenery, But I enjoy running my trains and adding scenery and having a cold Utica Club Beer. God Speed
Great layout. I love three rail O-guage. It makes wiring so easy and at my age I can see the blasted things. LOL.
Steve, a very nice looking layout in o- gauge. If you can and have the room, you might consider on installing casters under the frame so you can roll the layout out so you can reach both sides of the layout. I’m also in the process of building an o -gauge layout and I have installed casters under mine.
Steve from Michigan (usa)
Steve,
In one photo, the curved track is only supported halfway by the plywood. That’s an invitation for a derailment. I suggest sliding another another piece of plywood under the track for total support.
All track, regardless of gauge, should be completely supported. Never rely of the track itself. Trains then tend to go “oops.” Track design look super.
Good luck.
Being an old Lionel fan, it was interesting to see Steve’s great layout. It appears that he is using a mixture of 027 and 0 gauge track and switches. Curious about the compatibility of those two track systems. The 0 gauge would be better for the sweeping, larger radius curves whereas the 027 has a shorter radius for the smaller curves. There is a slight difference in height of the rails, but that could be offset, I assume. Great layout design. Makes me wish I had more space to devote to my rather limited layout.