“Hi There,
Been receiving all your emails with different pictures of layouts thought I would share with you what I have done on a 30×72″ table utilizing 30×54″ for the actual layout and 18″ is my hobby work area.
Bob”
“Hi Al,
I know that people are getting tired of all the planning and changing things around for the Big Curve. It is important, however, to keep in mind, a good plan will yeild a good model railway layout. Being haphazard with the track plan will not give you a layout that is as satisfying and trouble free as one that has been planned carefully and properly.
I have learned from the many mistakes I have made in the past and the Big Curve should correct many of them that still linger. The planning is over and Part 4 finds me tearing up the old scenery and checking to make sure everything is going to fit as planned.
Rob”
That’s all this time folks – it’s been bit of a mad dash for me today.
Thank you for all the comments on the ebay cheat sheet. They are still rolling in. Latest one is here.
Best
Al
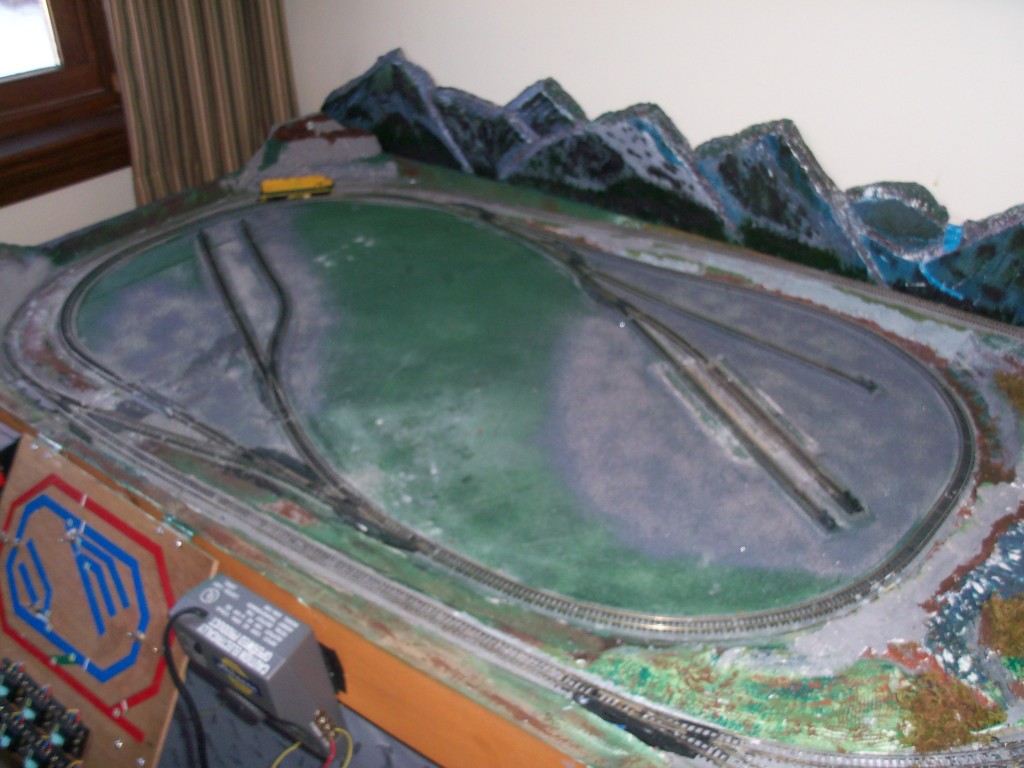
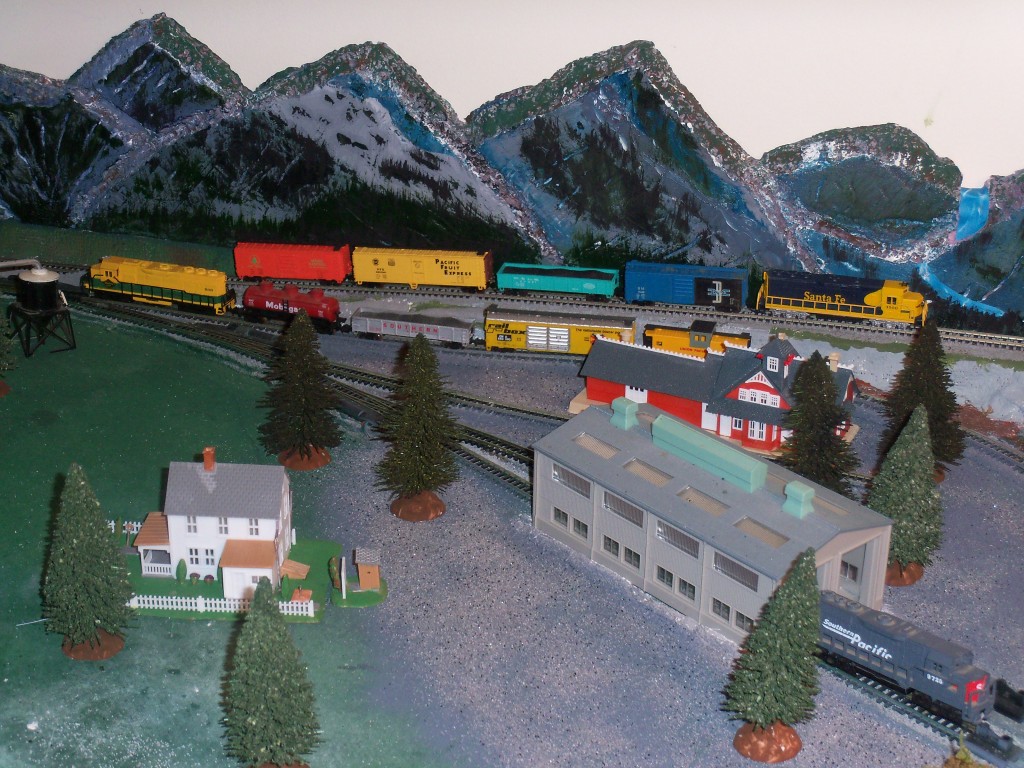
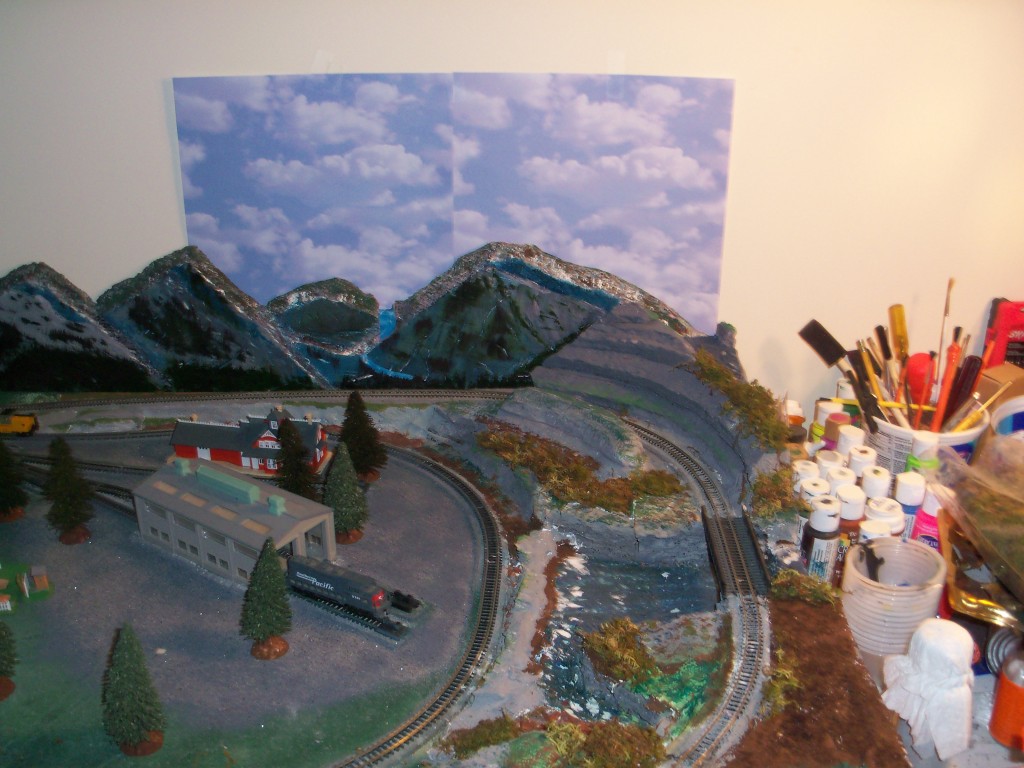
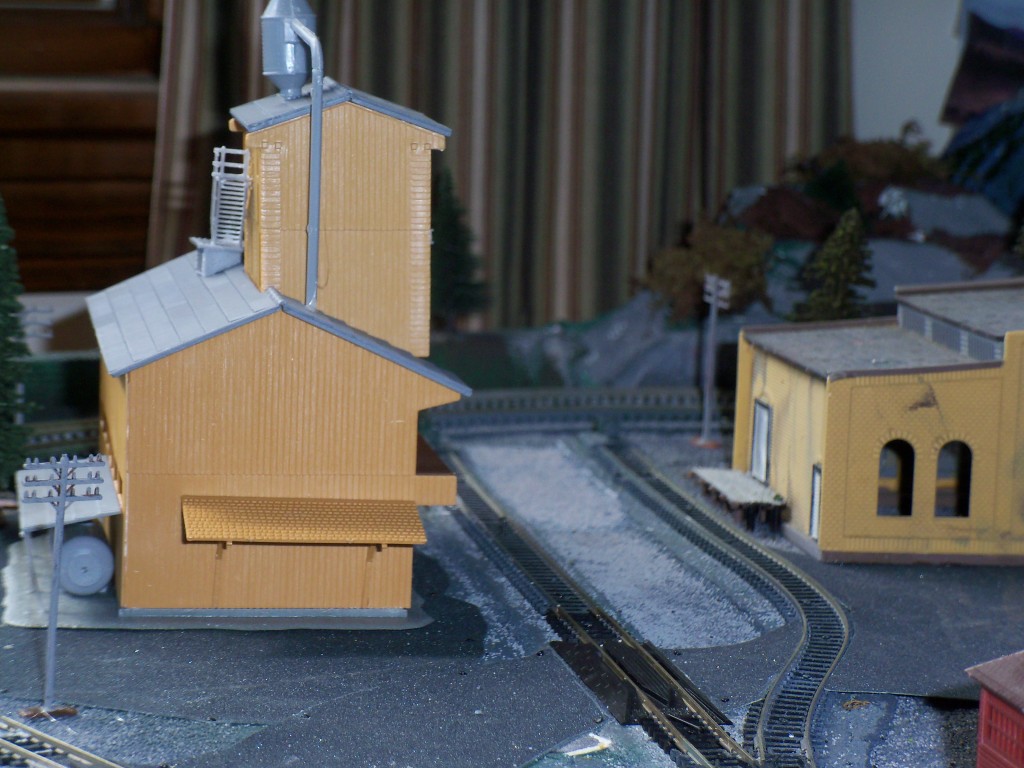
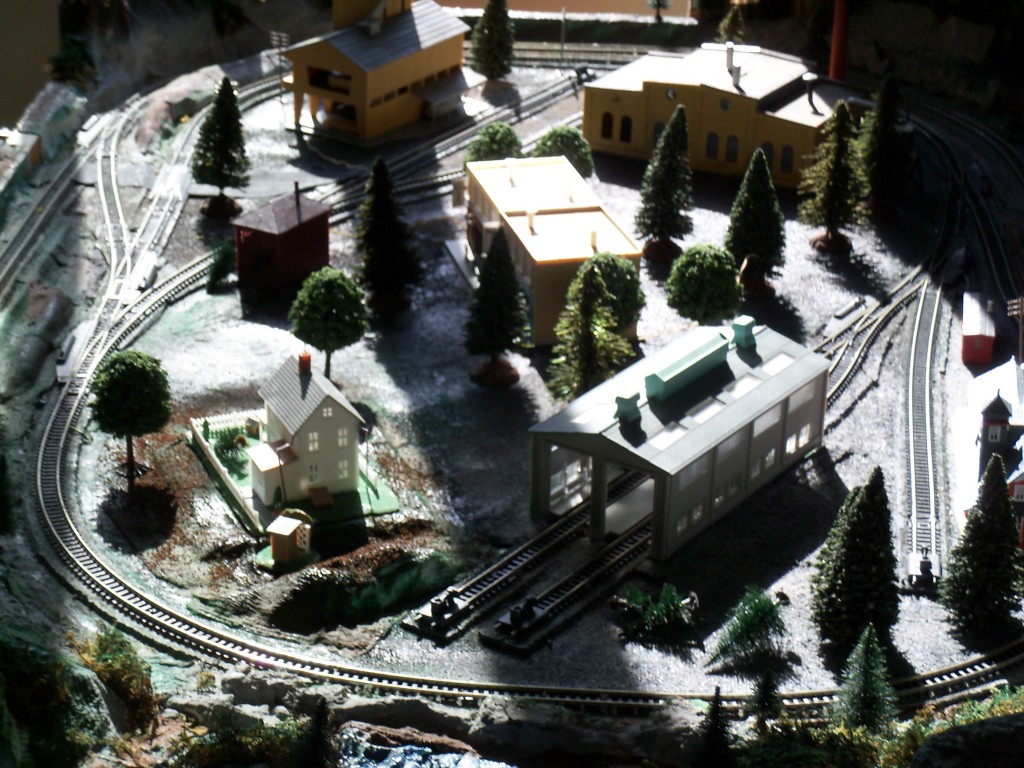


AL, I would like to send you some pictures of my layout, if you wouldn’t mind. I enjoy seeing other peoples layouts and maybe they would like to see some of mine. Please let me know if you would like to see my layout, if so let me know how to send you pictures of some of my HO model. Thanks Garry
Layout looking good Bob. Peter
what is the difference between 2% &2deg incline
Alas progress has begun on your layout! Nice to see the staging of each sector, looking forward to next update. Regards, Ray A.
Railway slope is measured by the increase in height over a 100 foot distance. A 1 foot rise over a 100 foot run = a 1% gradient. Any increment of linear distance can be substituted for feet. 1 meter in 100 meters for instance. The first railway builders did not use degrees I surmise because the method described was much easier and accurate in the field For model railways, inches work well as do centimeters.
It seems you and I are thinking on the same track…I would like to see the rest of the videos to this project when available.. This is spectacular. Thanks ever so much.
Bob, great looking model railroad. Thanks for sharing the pictures. Like the last picture best. Send some more. I like the idea of the last 18″ of your layout area … the workspace. Good Idea! sometime down the road you could use the work space for a staging area or add to what you now have.
Rob, job well done. Should work fine when done. Looking forward to your next update.
regards.
Tom
great layout Bob
thanks for the info
great job
I find it hard to use some of my longer trains and rolling stock on 18″ curves because they derail do u have any pointers?
18″ wont get it on longer cars& loco’s you may need 33.25 or 35.50 or make wider curves using flex track by atlas
THE MOUNTAINS IN BACK LOOK REAL GOOD. NICE SETUP.
Hi Bob, nice job you’ve made of that, I had a little American N layout like that once but even smaller, representing an industrial estate, and it was great fun – with just a switcher and a dozen cars you could tie yourself in knots trying to deliver the right load to the right place. I had one track along the rear vanishing “off-stage” as a transfer track to the mainline, and made up a set of cards for each car and possible loads/destinations – a quick shuffle of each set, draw three or four of each – any car you picked was either ready to go (if it was already spotted at an industry) or inbound if it was off the layout. If you picked a load order card that didn’t match one of the selected cars, say “frozen meat to cold store” you’d pick a suitable car from the spares on the shelf (in this case a reefer, obviously) and add it to the incoming train on the exchange track. Equally, an unmatched outward load order would need an empty worked in to collect it. So the workload was very variable, and no two trips were the same. It was a good way to get some challenge out of a layout once you were fed up with watching stuff go round and round.
Rod
With the comment on curves… I must assume that you are in HO scale but the principles work for all scales… The tighter the curve, the smaller the acceptable equipment and the slower the acceptable speed. One exception is “traction” equipment, streetcars or trolley’s. Speed remains an issue but the trucks (bogies) are designed for extra movement.
In general, as modelers we like curves because they provide visual interest. Curves are also important because our space is limited (in various ways). The prototype prefers to avoid curves, they are a nuisance.
If you are operating much of the passenger (coaching) stock currently available (American pattern stock), the minimum recommended radius (Per Walthers and others) is 24 inch radius… #6 switches are an absolute minimum and #8 or larger is preferred. The same holds true for any extra long freight (goods) stock — modern era auto-racks, covered grain hoppers, and similar stock.
Hope this helps,
John