Gary’s been in touch with a fab way of making model train grass.
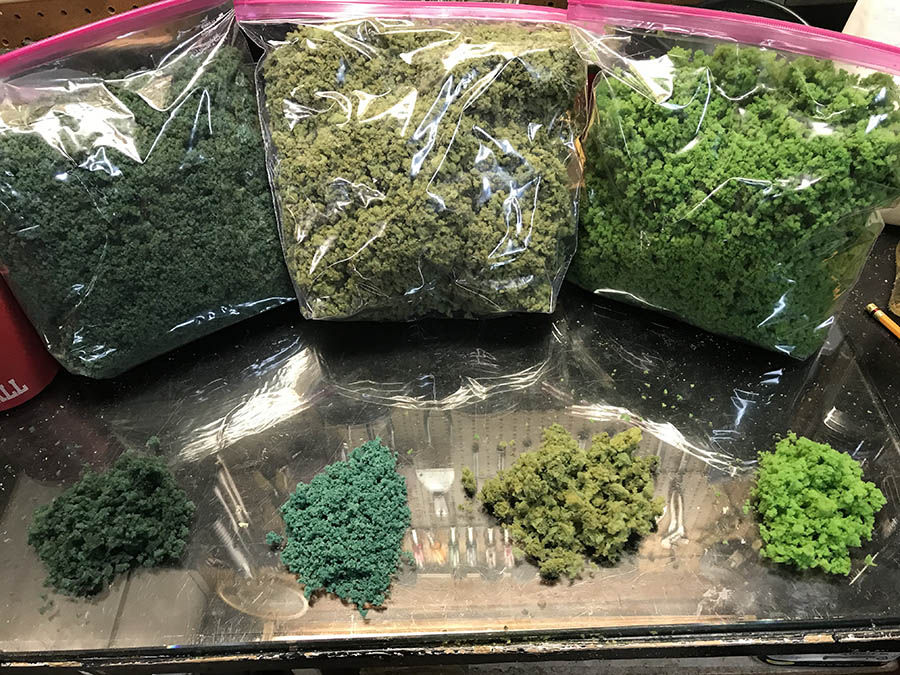
“About 4 years ago I started making my own ground foam. Found that the process was very simple and inexpensive to to do.
I use it for making my trees, bushes and grass on my layout. Most of the tools needed I was able to buy used.
I picked up my food blender at a yard sale. Got my cookies sheets at Goodwill. I did purchase my Magic Bullet eBay new.
I found a local upholstery shop a bought a large garage bag of seat cushion foam for $20.00.
I have also used, used foam that I found from chairs and couches people had put out for trash. Although I recommend inspecting them before you use them for pet or food stains.
I mix up a batch of stain in a clean 5 gallon bucket. I have used latex paint, and Rit Dye. But I have found the best thing is a product called “Tints All” (which I purchased on EBay)
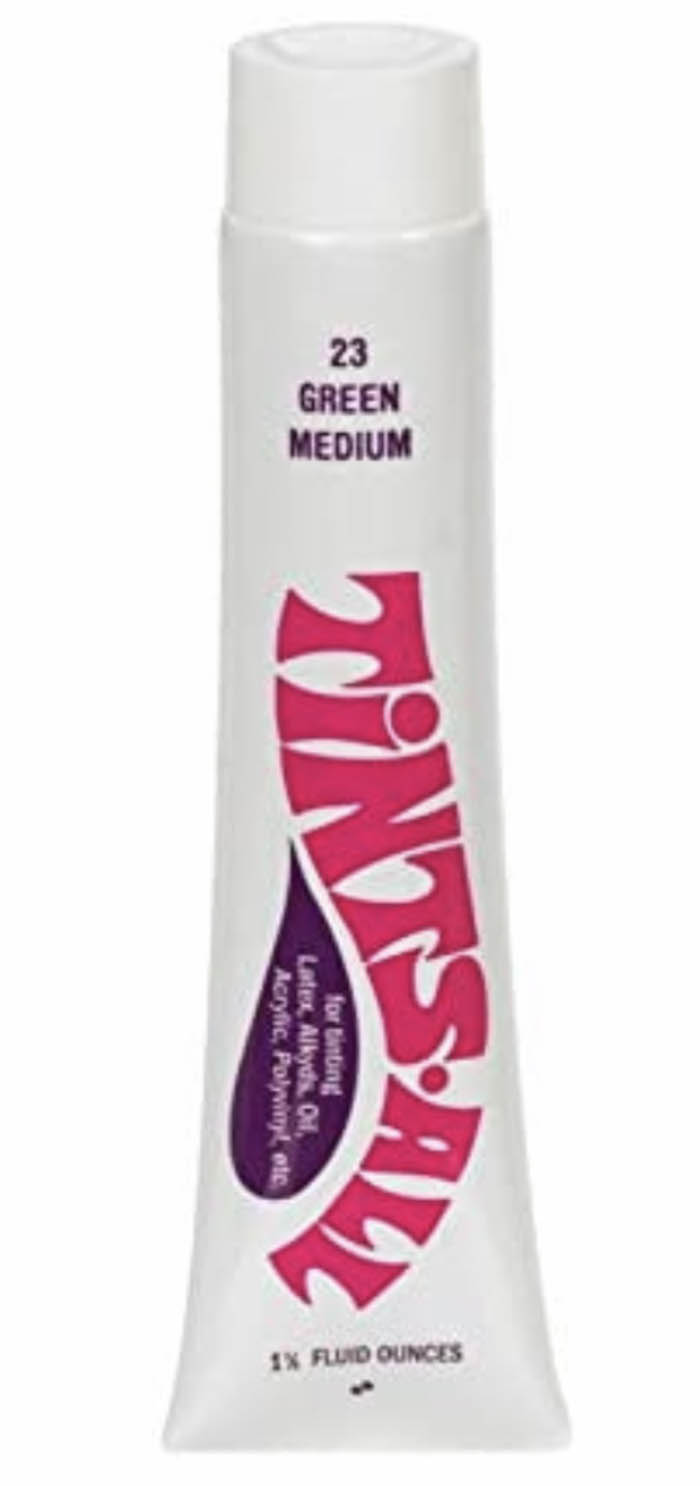
It’s available in a variety of colors. And I have found adding a little latex paint helpful for changing the color.
Then I take the ground foam and cut it into small pieces. Usually about 1” x 1” squares.
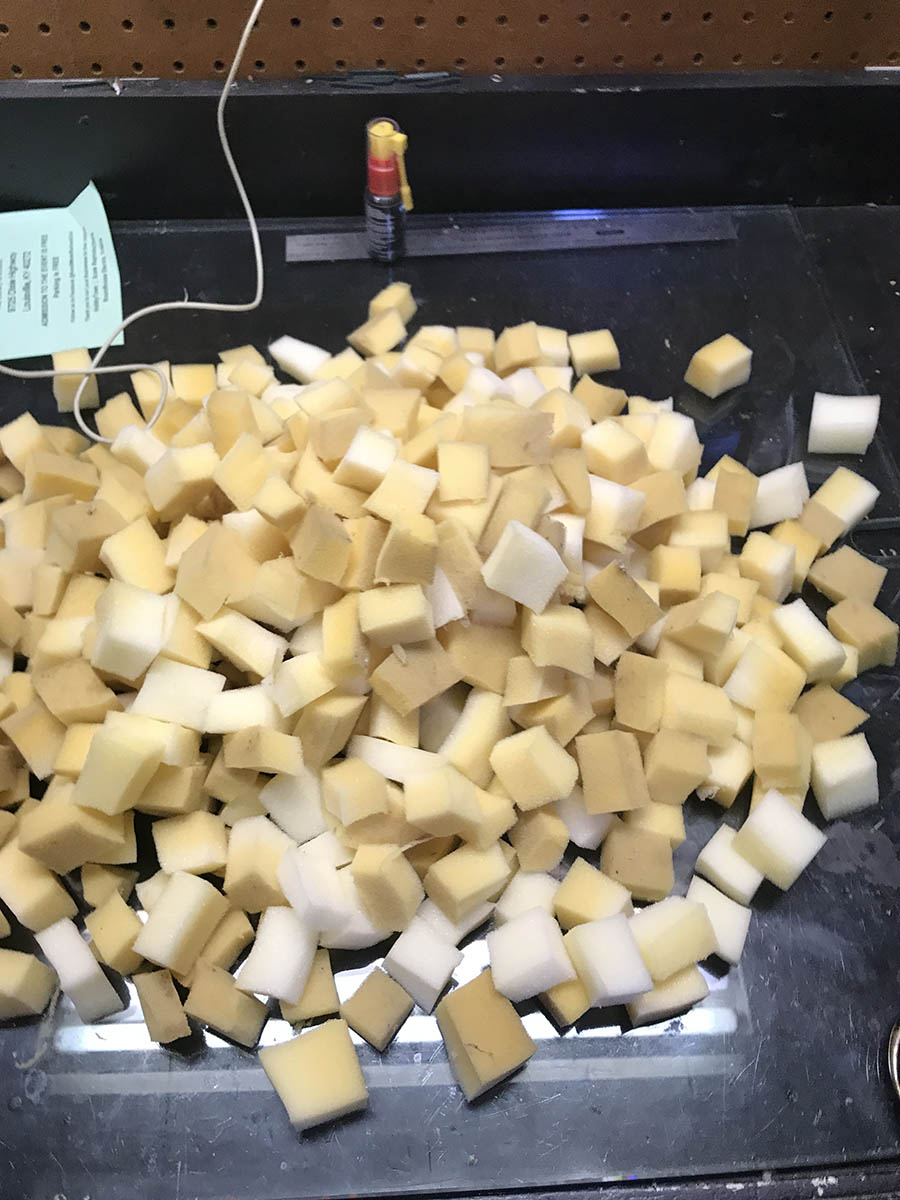
Then I put them into the blender. Filling it up about 1/2 full. I then add about 1 1/2 cups of water to start and turn the blender on high for about 10 minutes.
I sometimes remove the little cap on the lid to add more water if I notice that the water has soaked into the foam so much that it’s blending up well.
After the foam is blended good I drain the water off of it and then remove it from the blender by hand squeezing it in my hand to remove as much water as possible.
I then dump it into my 5 gallon bucket with the dye in it. I usually put 5 to 10 blender into the bucket before continuing on.

Once I have enough I then stir it really well and let set in the bucket for 2 to 3 hours. I have just left it in the bucket over night.
I then start removing it from the stained foam from the bucket with latex gloves. I wringing the excess dye out back into the bucket.
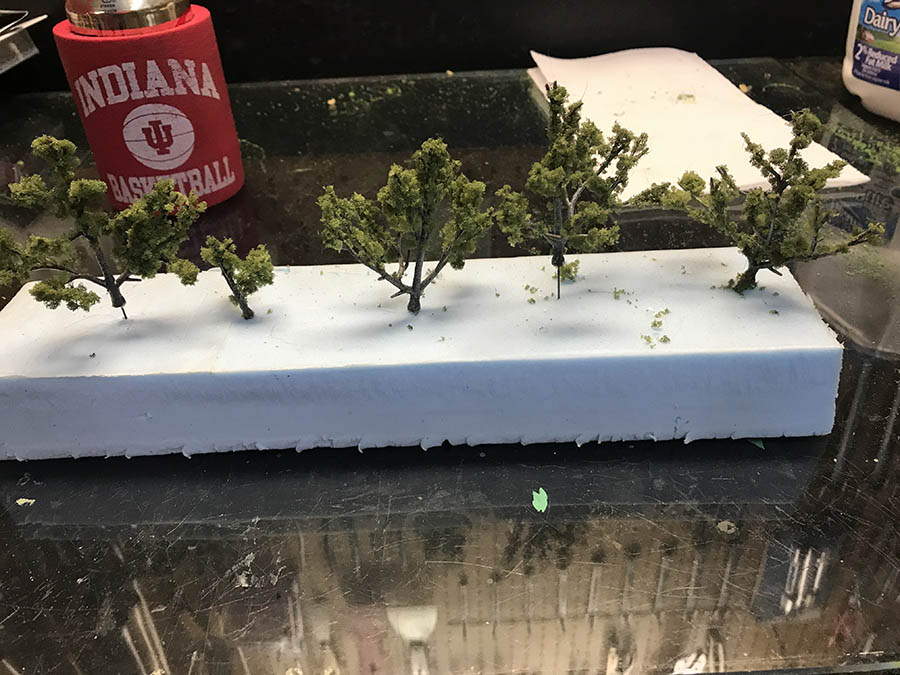
I then place the foam on cookie sheets that I had already prepared with layers of paper towels on them. And leave the out overnight to dry. I have also put them out side in the sun. But, you need to make sure it not going to be windy. Because as the foam drys out it becomes lite enough that it can blow of the cookie trays.
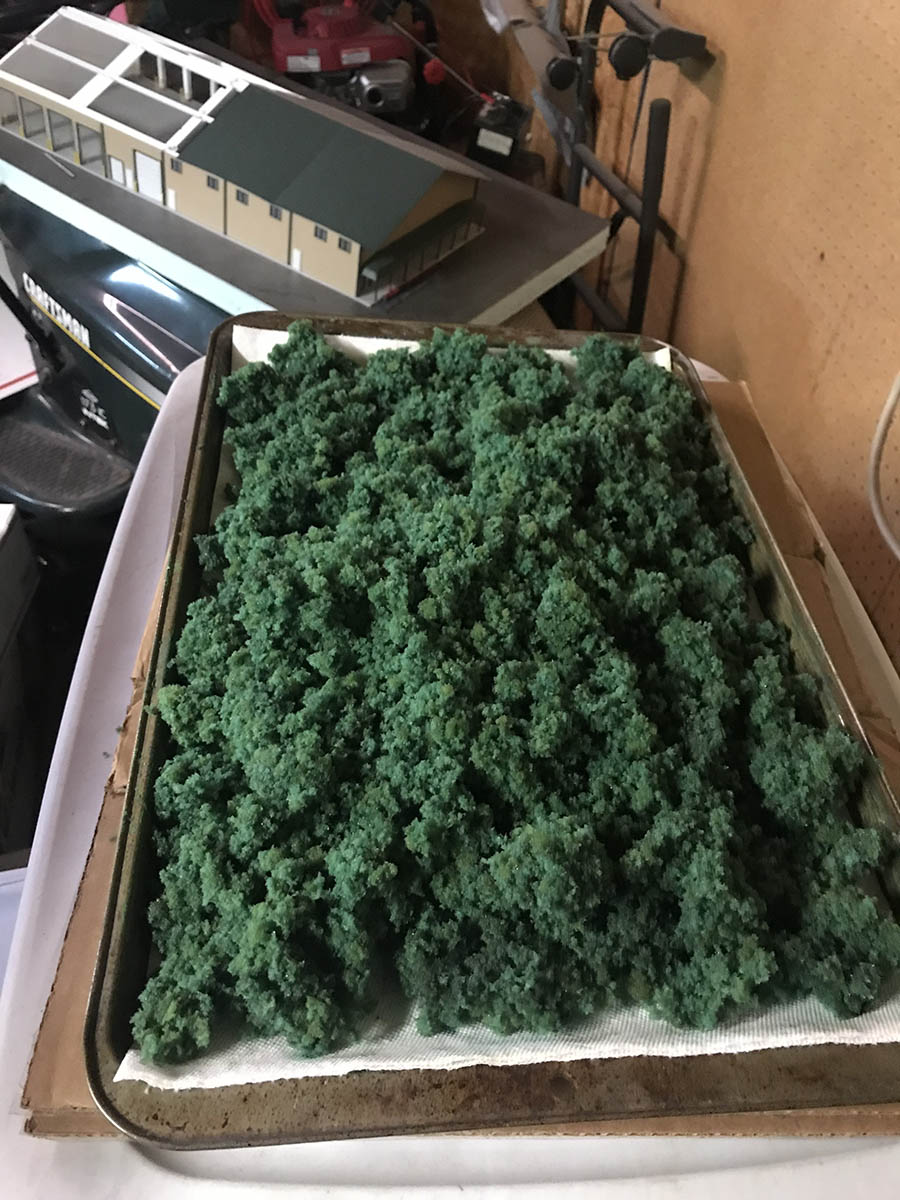
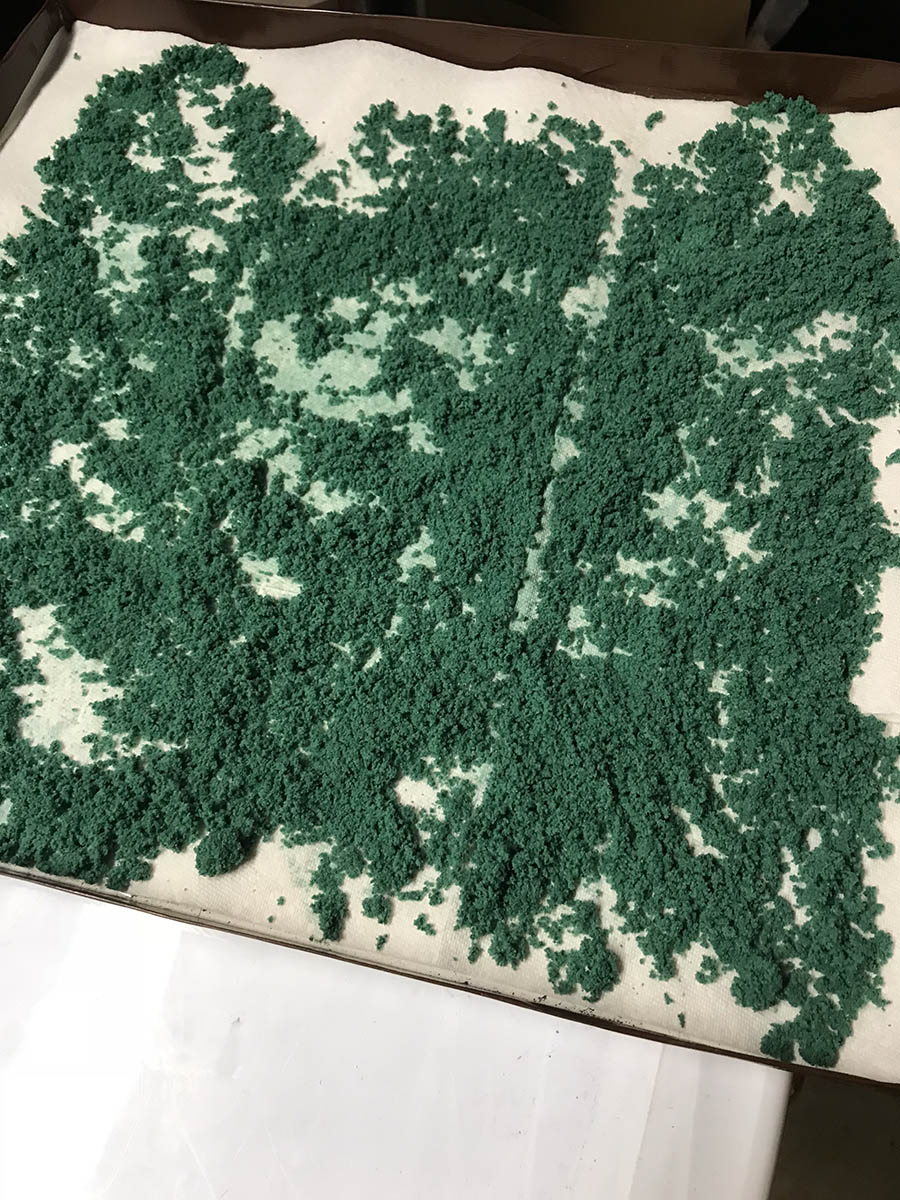
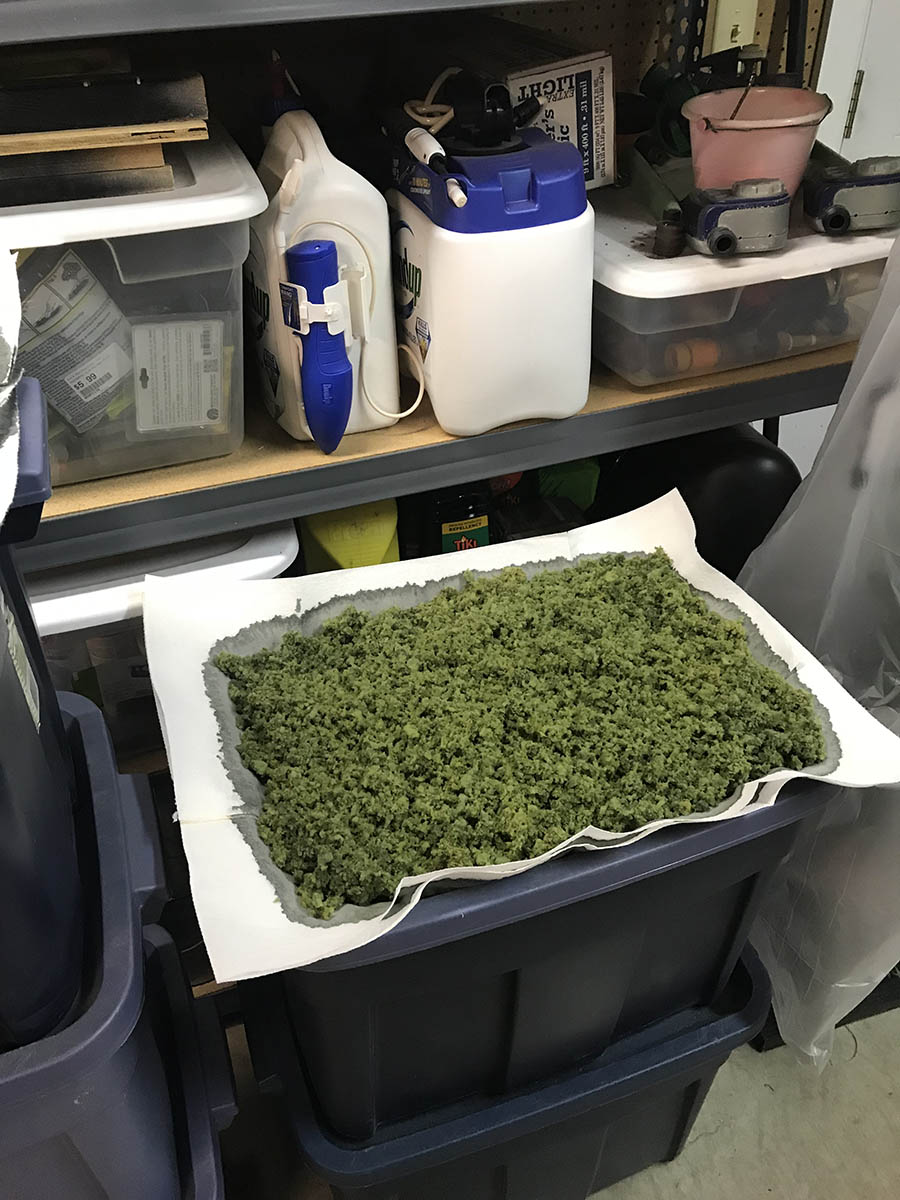
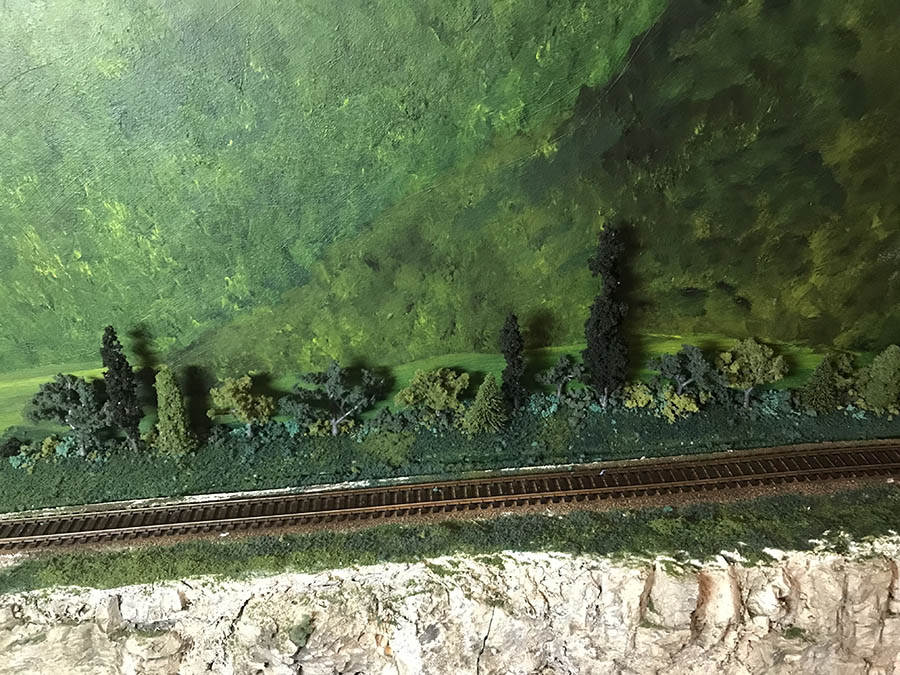
It’s not just for model train grass – this size will work great for using them for bushes and trees.
For bushes I set some to the side and put them in a smaller bucket and add some Elmers glue and mix throughly. When that drys, you end up with a product very similar to Clumped Foliage from Woodland Scenics. Which you can easily tear apart as needed.
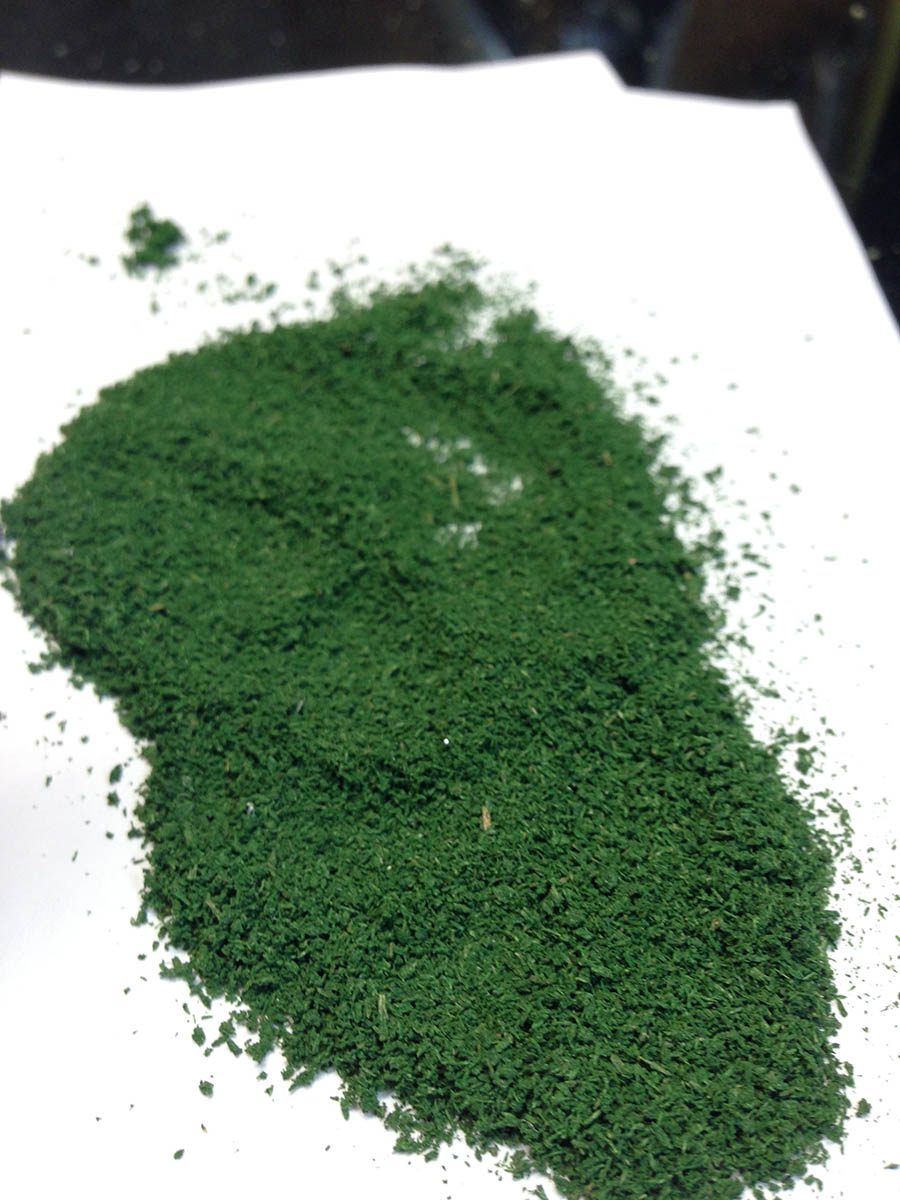
For Fine Foliage I put some of the dried foam into the magic bullet. It grinds it up and makes great Fine Foliage
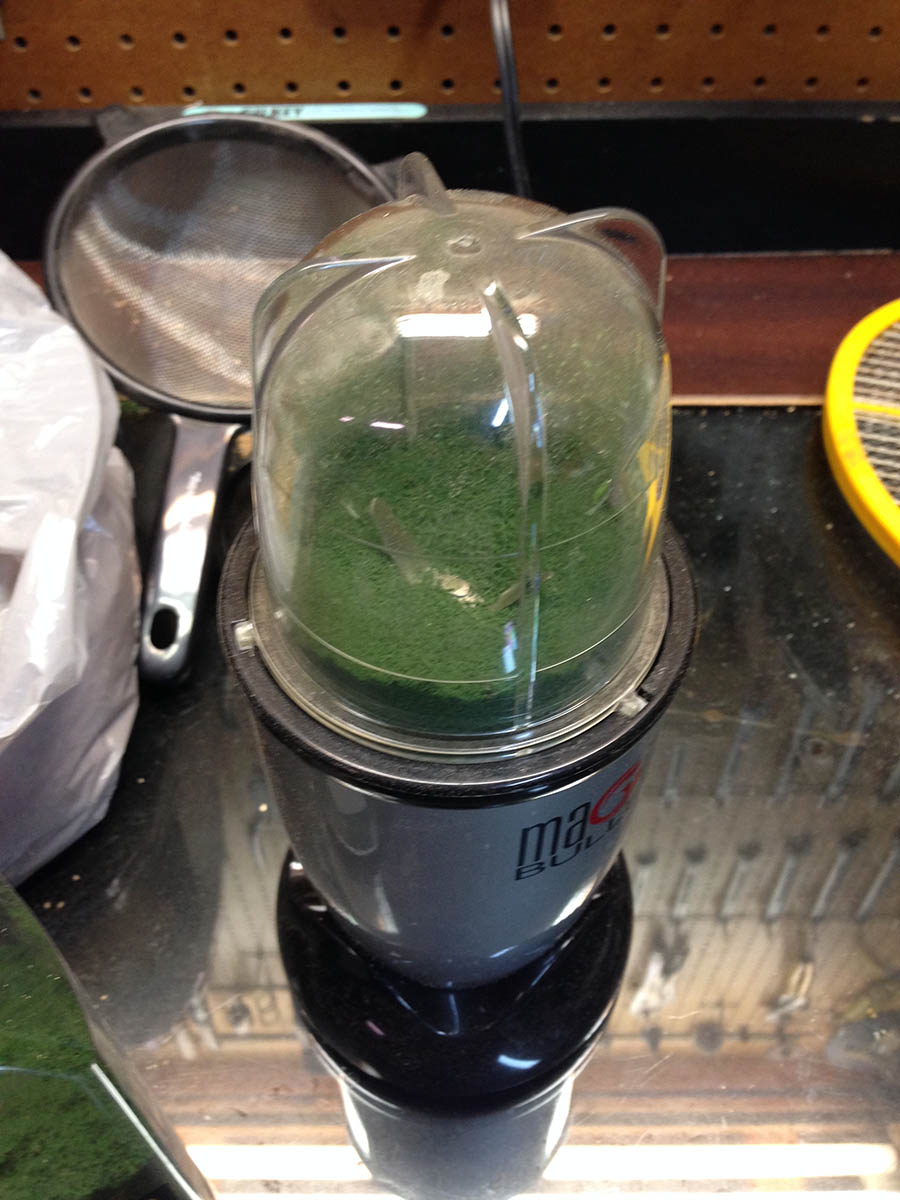
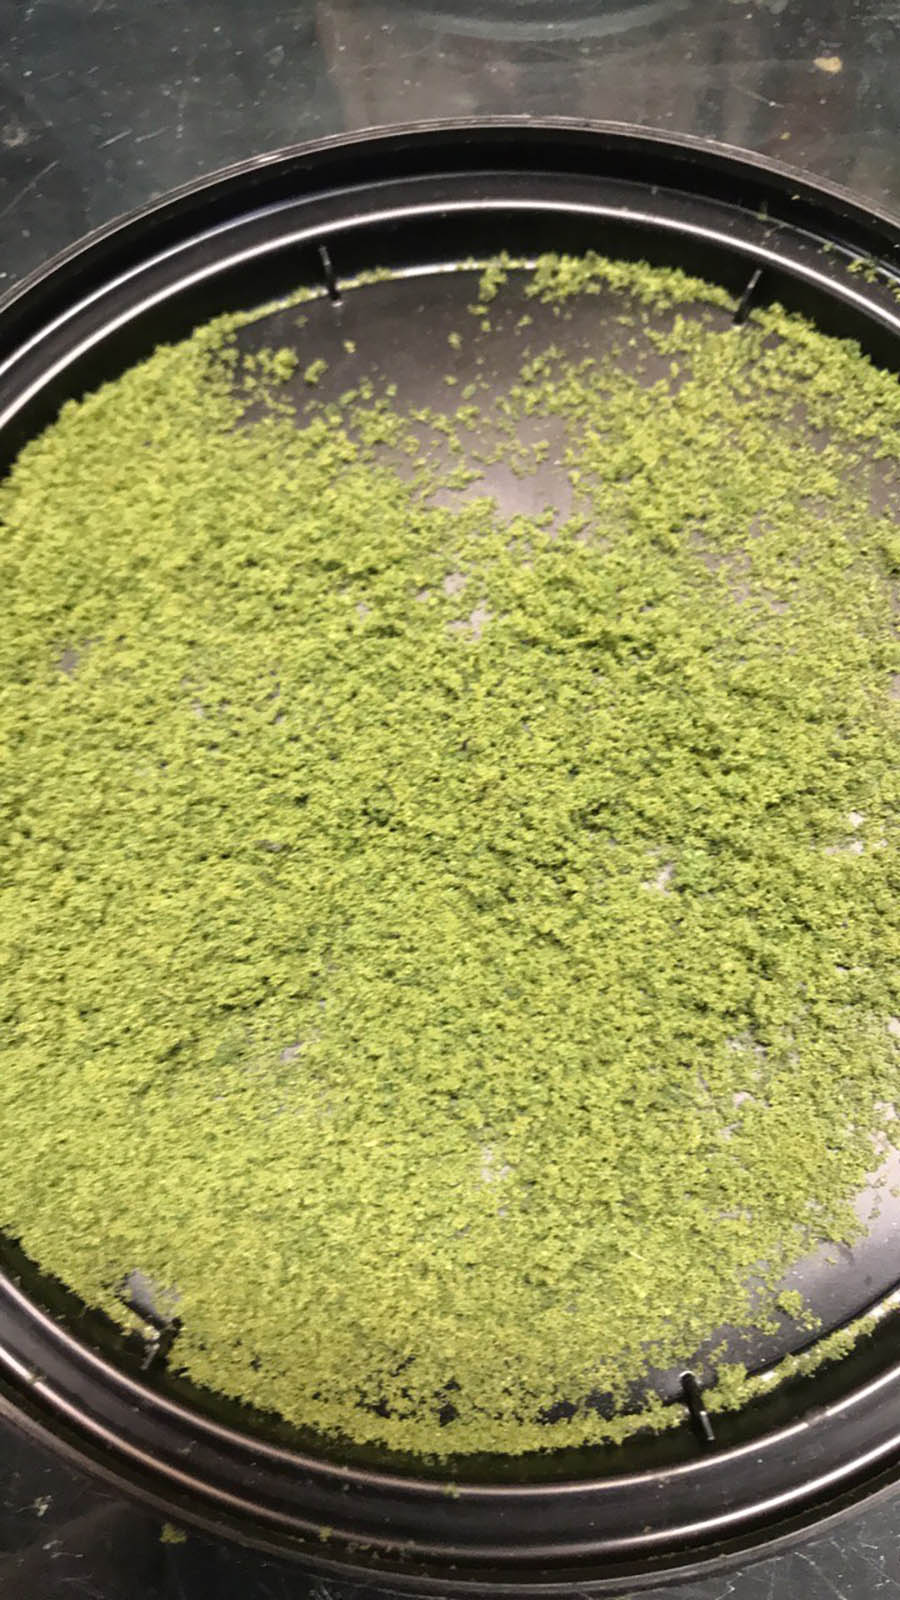
I then put it in old Parmesan cheese containers. Which work great for storage and applying it.
I also use ziplock bags to store the clumped and coarse in.
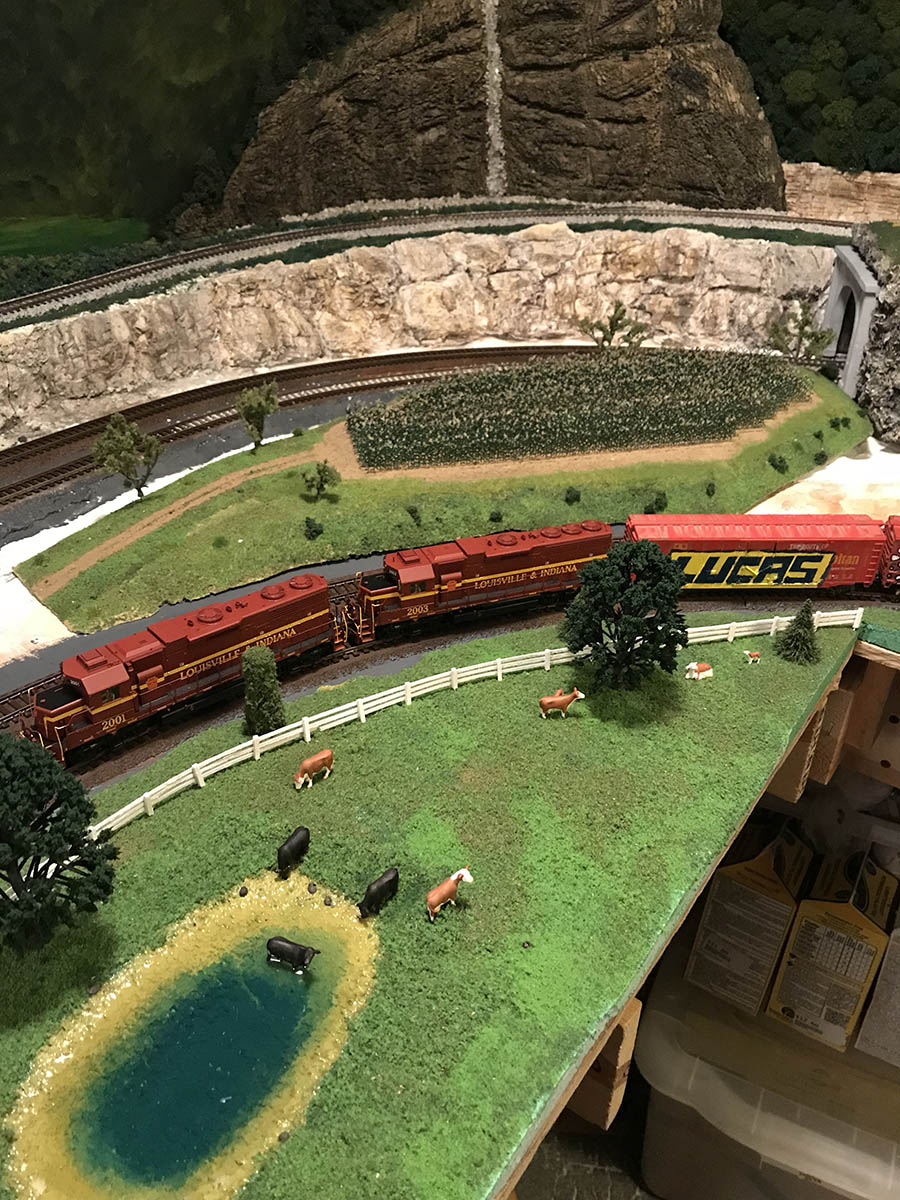
Trees in the cow pasture picture are from Menards and not ones I made.
Always enjoy your emails. This is such a fun Hobby. Just glad a can share a little knowledge with others. And hopefully some will enjoy it and find it useful.
Gary
Sellersburg Indiana”
A big thanks to Gary – what a wonderful ‘how to’ on making model train grass. Cheap and very effective.
John also has a very good techique to add grass to a layout.
That’s all for today folks.
Please do keep ’em coming.
And if today is the day you get started on your layout, the Beginner’s Guide is here.
Best
Al
PS Latest ebay cheat sheet is here.
PPS More HO scale train layouts here if that’s your thing.


That is such a simple yet simple way of creating scenery. THANK YOU FOR YOU IDEA.
The photo, with all the greenery piled up in the tray, looks like my home in the woods from Google Earth! Beautiful! Thanks for the info, Gary.
Great idea. Now I have just got to find the equivalent materials this side of the water.
Well done Gary, your foliage is brilliant, very tempted to have a go at this, although batch size would do my layout several times over. I think it would be great for a club to take on where demand is higher. Could start a small business if outlets are available, or even sell via eBay. Peter…
Seems to be a superb idea.
What a great idea and very doable for anyone. Thank you for the great directions. I will have to do this as well.
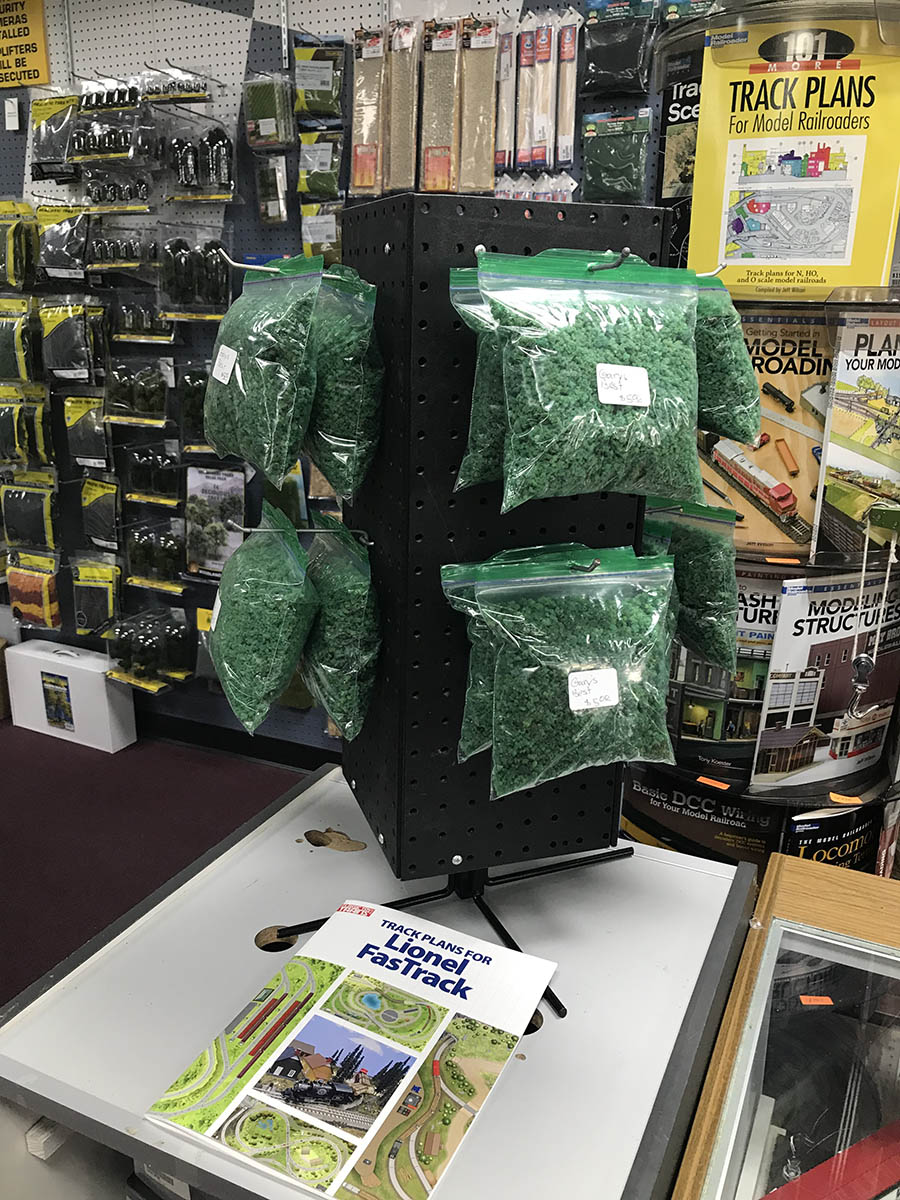
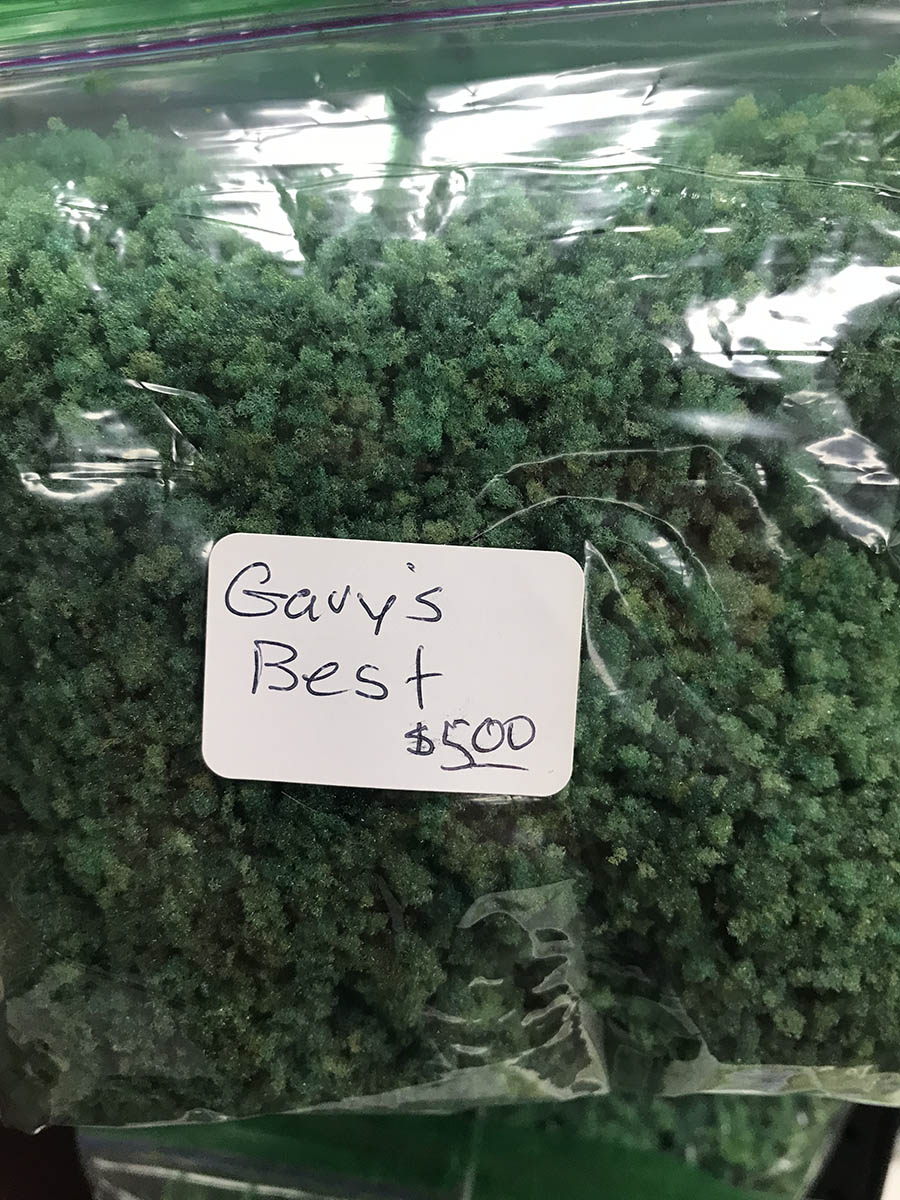
Every bit as nice as the hobby store varieties, but that is a lot of mess and effort. For me, it’s much more practical to patronize the retailer. It looks like Gary has a commercial outlet for his handiwork, so that makes his endeavour worthwhile. I’d rather give HIM $5.00 than make it myself!
Brilliant. I’m going to forward this to a couple of small independent scenics manufacturers over here in England. I’ll translate the US product names into their British equivalents also!
Gary : As long as ur producing it for profit it’s a good idea but to use just for ur self is tedious and time consuming not to mention semi expensive. Give address and details and prices we’ll buy some I’m sure.
The Critic
Well what a super idea. I think ì will try it out. Looks brilliant and contains the mess.. Thanks for the help.
I’ve done this many times over the years. But I do it by soaking bigger as 1″ thick by 8×8 sheets stacked in 5 gallon pail. Pour dye over squeeze down and let expand . Add more dye. Let sett overnight. You will get variation in color. I hang them on clothes line to dry. Underneath I have a section of rain gutter dripping back to pail. After a day I re squeeze to make sure of dryness. I use blender and also for courses texture use a paint stripper wheel ,but that does make more mess. But if you have a plastic paint can,cut a slitfrom top to bottom and 2 ” cut on ends bend inward. Not drill a 1/2 hole put paint stripper through,attach to drill. Now through slit with drill on high feed foam in slowly and it gets shredded and flap keeps it in. I also use old bush and dried plant roots as trees and bushes.
Difficult for a Boilermaker to give a Hoosier a thumbs up…your process is very practical for large project applications.
Gary
That was so cool. Much thanks for the descriptive narrative. Now come over to my house and help an old, gorilla fingered, shaky handed, half blind, cheap skate, uncoordinated guy put down some scenery. Heh, heh.
Big Al
How did you get sooo many great guys on your blog?
All stay safe and well
George from LI, NY
Being an Ohio State Buckeye fan, I loved everything about this tutorial except the Indiana Hoosier can cooler. LOL! Can we buy the ground cover from him?
Being a Wolverine, from Ann Arbor, I loved the ideas presented, expect for the buckeye fan that showed up! Yes, the word buckeye was in lower case on purpose.
So many great ideas come from this forum!
That is great! Very inexpensive while being fun to make! And so many uses too! Super idea and many thanks!
Something to go along with that is dryer lint! Many uses!
Pretty kool; I am going to have to try that.
Thanks for this informative information. I am about (6) months away from starting this part of my layout. The cost saving is great.
Really excellent tutorial…
Depending on the size of your layout… Well worth the effort.
Even for a small layout… One might use a one gallon bucket instead of the five gallon and be able to get colors not available commercially.
Well done!
It would seem, Gary, that you could really do us fellow (and gal!) railroaders a huge favor by selling your product on Etsy or other outlet, not just in a local store. It seems several commenters would be glad to purchase from you. Give it some thought!
Great ideas! Just what I needed to add some texture and realism to my layout! Thanks much.
Gary I think it is great when you look at your projects and know that you are the one that made it possible and greater yet it that the finish materials are made be you. You did a wonderful job and explaining hoe to do it thank you and keep up the good work.
Great way of doing it. But like manyhave said the time and effort involved would not be of value. I would most certainly buy your product should you ever go on Ebay.
Could be a useful idea especially if you had a need for a shade or color that wasn’t readily available commercially. Or, if bulk quantities were needed making commercial purchases a bit costly.
The Ebay suggestion sounds like a good one.
Great article on the whole process. The only downside is the letter from the buckeye(lower case intentional) fan. We Are….Penn State! Nice to see the Big 10 so well represented here.
As a newcomer to he world of model trains that is one of the best idea I have seen yet. Thanks for the info.
This undoubtedly is one of the most useful ideas that I have heard in quite some time – not that there have not been many good ideas for all of you out there before. I am working on my layout (wiring right now), but will soon be back on the top of the table and will definitely but this technique to the test. Thanks for sharing all the good ideas that you guys have. Ron
Super idea. Thanks
Gary, I’ve done this on a small scale to produce a variety of colors for my N-scale modules. I’m also a Big10 fan so must say ‘Go Hawks!’ since I’m an Iowa City native who was transplanted to Wyoming 40-some years ago. Nice description of the process and I appreciate all of the photos you included. Thanks for sharing.
David