Brian’s been back in touch with some more 3d print model railroad scenery – and he scratches his head over a track short too:
“Hi Alastair, thank you for all that you do for us modellers around the world.
Herewith the continuation of the 5ft X 2ft6in exhibition layout shown in a previous post.
Once I thought that I had everything in place and ready for the scenery work, let’s do a few test runs of the track before any ground work starts.
I put the intended locomotive on the track that would run on this layout and then disaster hit – an electrical short on the track. 😡 This is where the headache and head scratching started.
I checked and rechecked the wiring, the points (switches), the frogs as well as the whole oval to see if perhaps a screwdriver or something metal or a stray wire was laying across the track – NOPE. After a few hours of this, I gave up for the day.
The search for the ‘short’ continued and lots of frustration for a couple of days.
Eventually I disconnected all (4) points and turned them upside down to see if I could find the problem.
I found the culprit under one of the points – a piece of wire thinner than a human hair embedded under a sleeper causing the short. Once removed – rechecked all the points and connected them back onto the track.
Problem solved – SO I THOUGHT. 😡
I put all the droppers in place and soldered them to the bus wire beneath the layout. Just to be certain, I ran the locomotive around the layout again – with no problem.
I then installed the four ground throws next to the points and placed the four toggle switches in the facia and connected them to the dropper wires from the points. Time to check that all is okay.
No such luck – another short occurred. 😡 Okay, if everything worked before I connected the toggle switches, why did the short occur afterwards?
Solution – unsolder the four toggle switches and recheck. One by one, re-soldered them back in position this time checking each one after connecting them. Got to the third one and there was the short. Upon testing it with my meter, it was a dud switch straight out of a ‘new’ box. Replaced it, carried on testing the last one and all was working. Yay. 😀👍
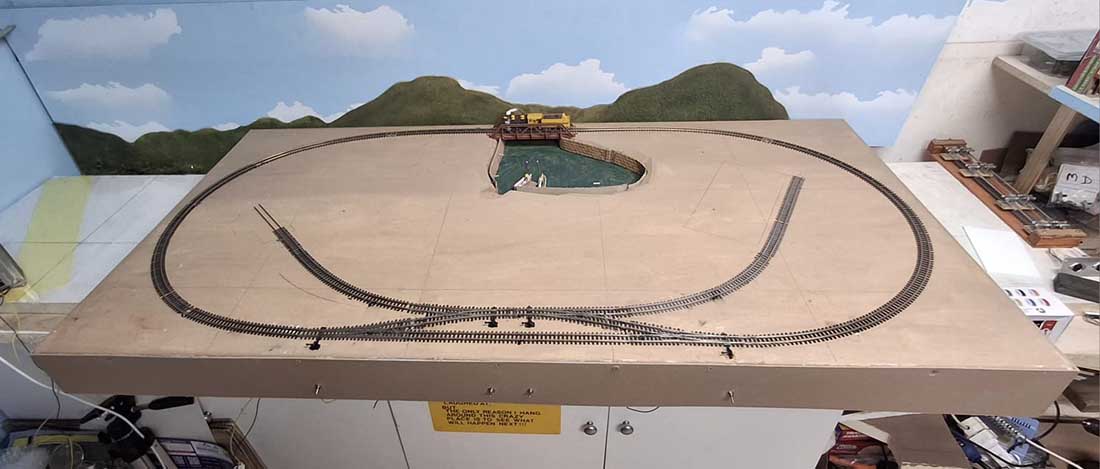
The photo below shows the layout ready for scenery.
I plan to put a random stone wall around the dam and used som 3D printed pieces that I had on hand
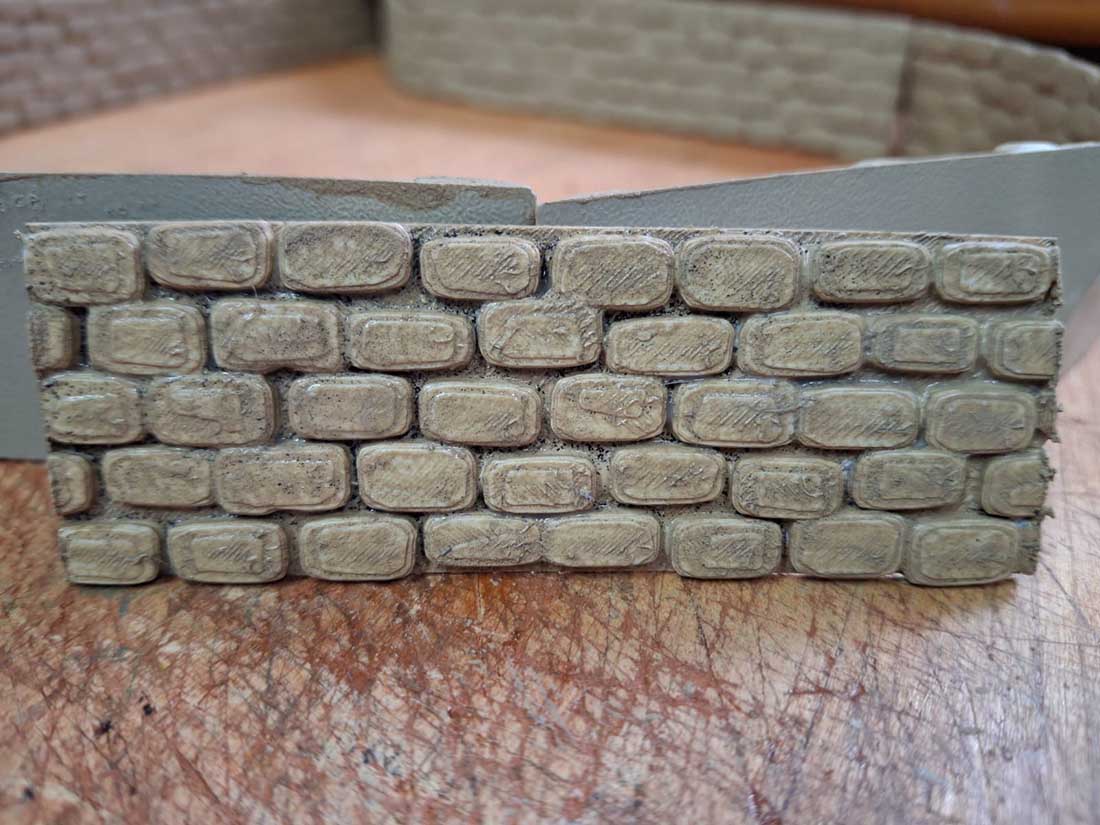
They were shaped to fit the dam wall as seen below and ready to be glued together.
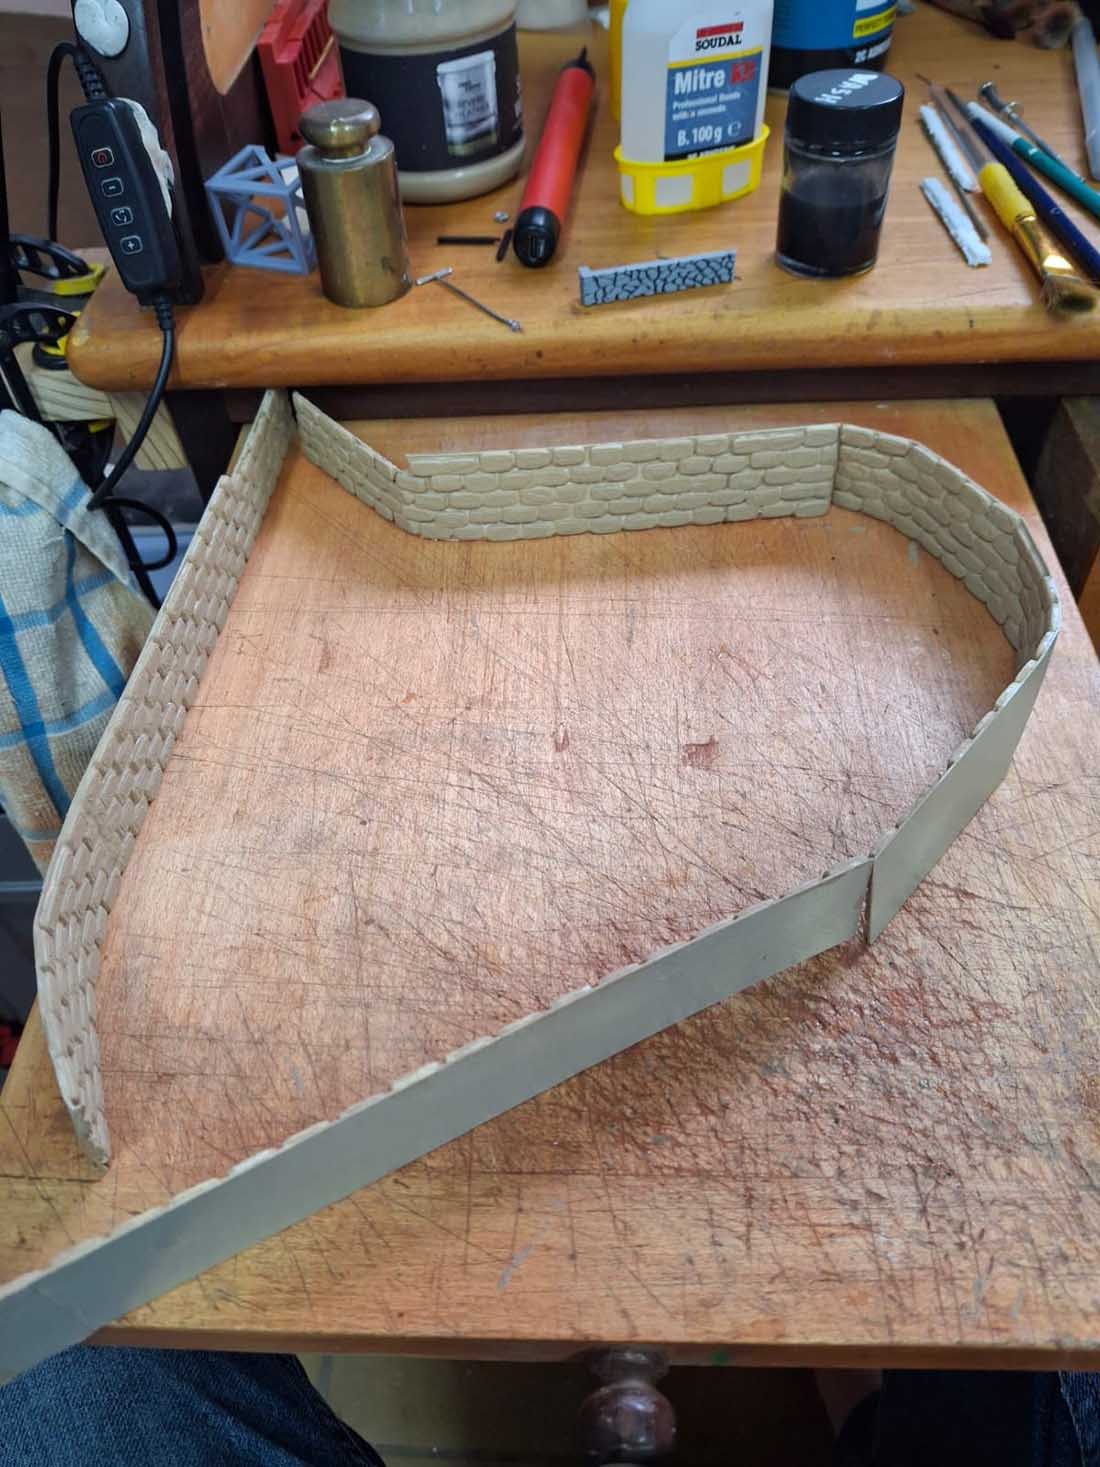
Test fitted below to ensure that the shaping was correct
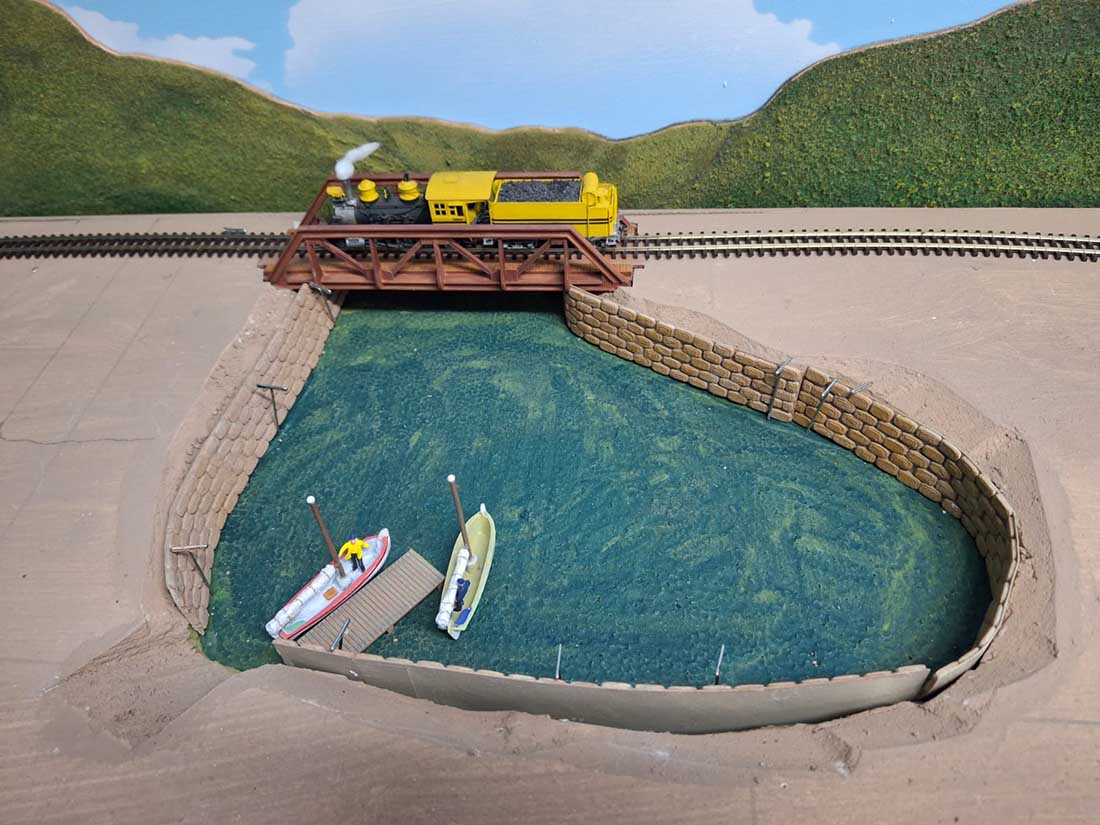
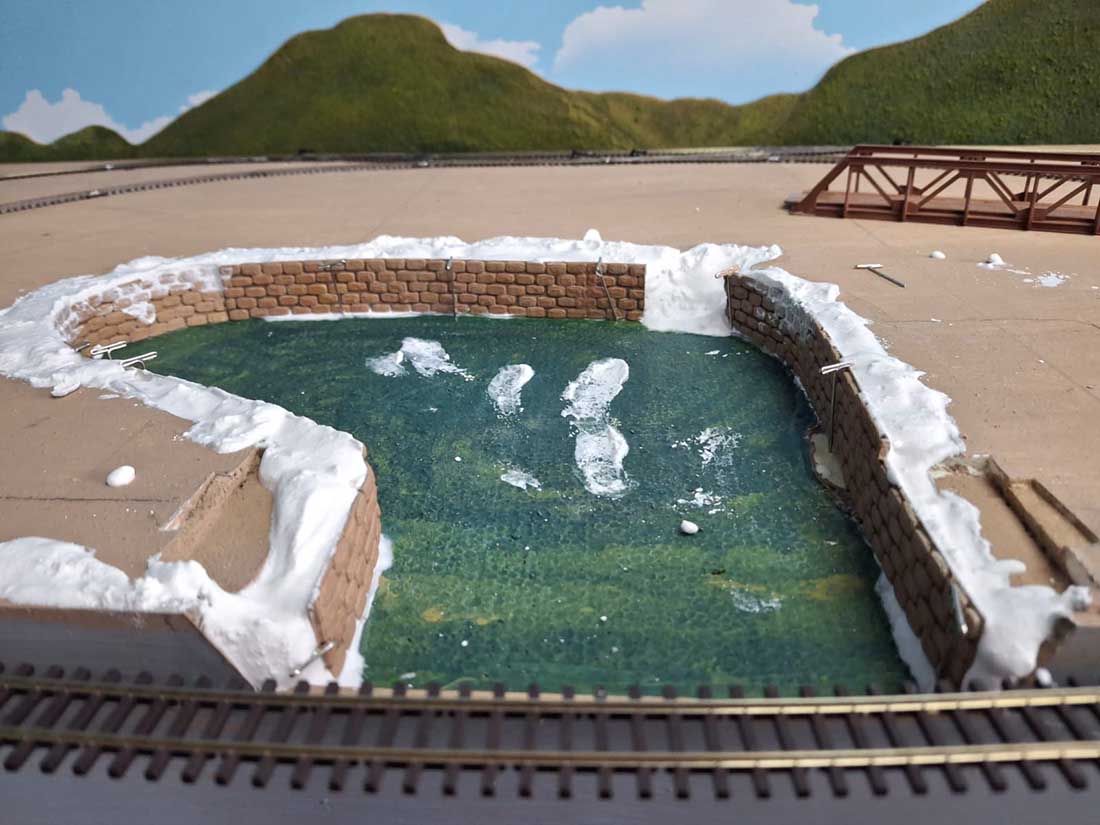
Woodland Scenics lightweight hydrocal plaster was used to fill the gaps and left to set
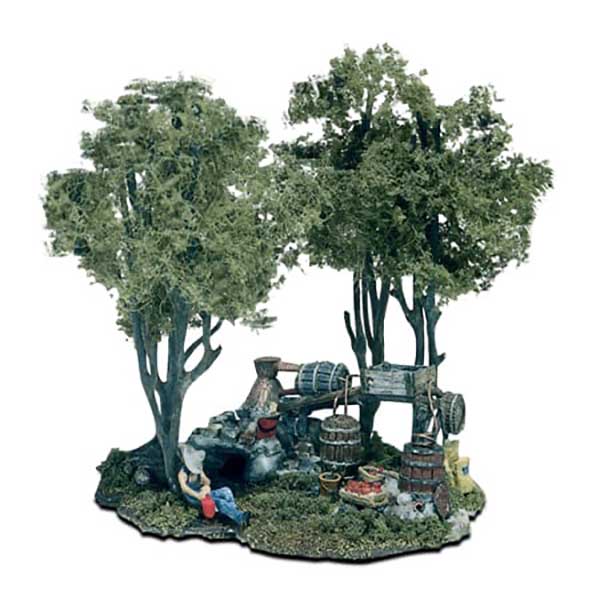
On one of the corners I wanted to place a pre assembled moonshine still that I had on hand from Woodland Scenics
While visiting a friend who does most of my 3D printing for me, I discovered that he had printed a cabin for himself. As per usual when designing 3D printed models, errors do occur in the printing process and his base was not to his liking nor were the sides, so he scrapped it along with two sides of the cabin and printed another one. I took over the scrap pieces for possible future use.
Below is the intended position of my scratch built cabin on the corner of the layout
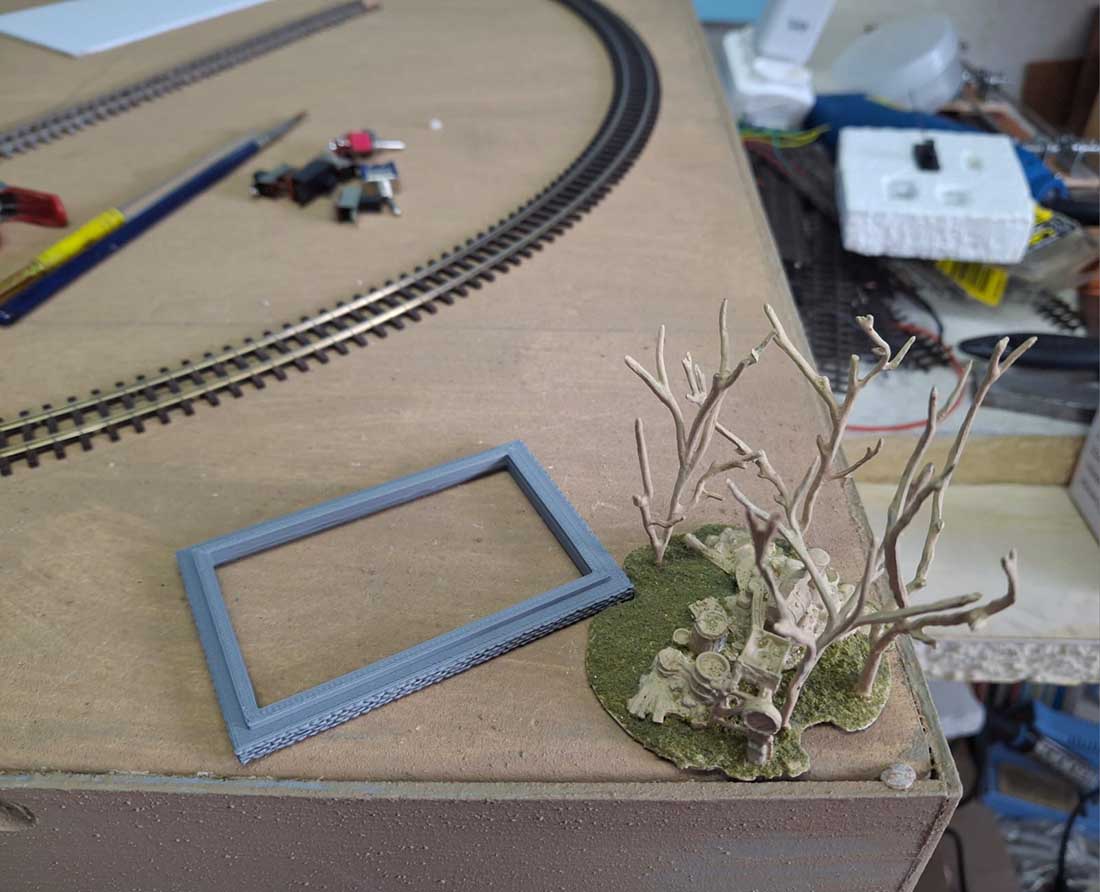
This gave me the idea of placing it on a hill in the corner. I cut a piece of styrofoam to the appropriate size and shape and test fitted it
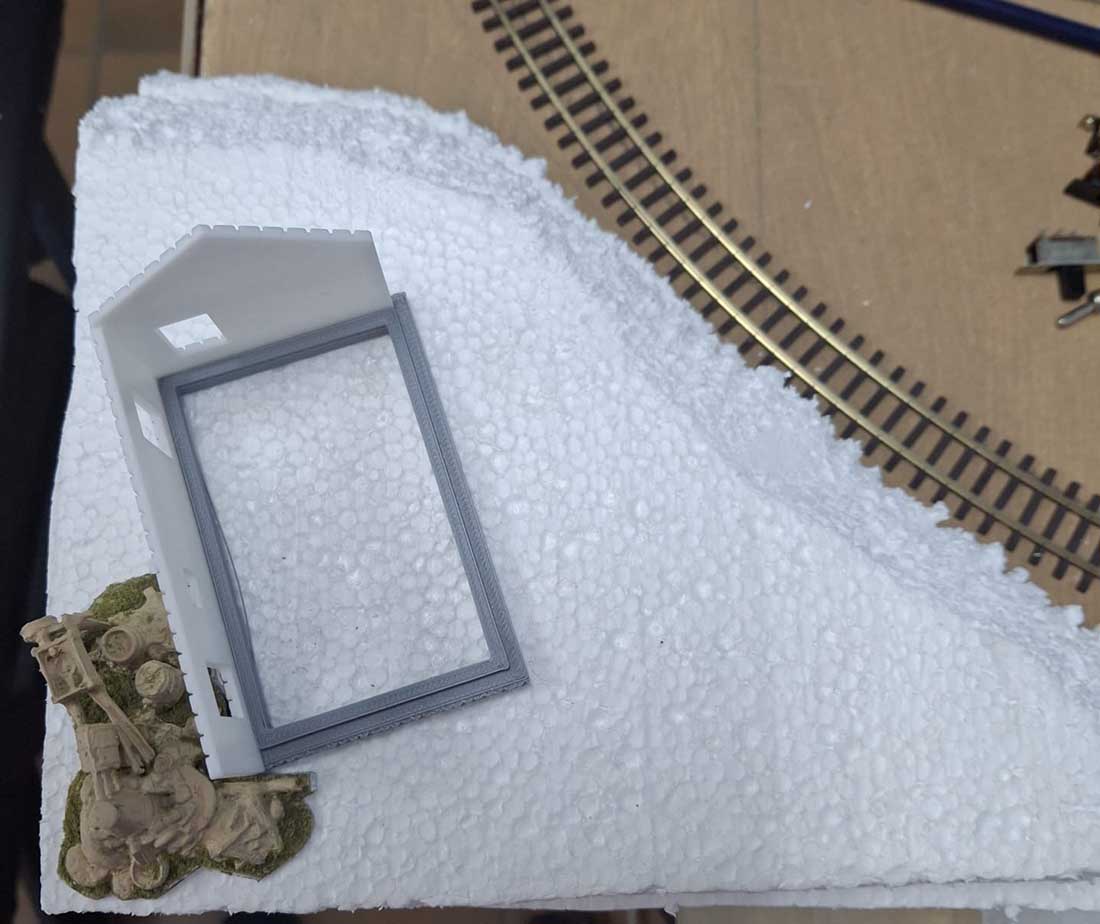
I had to scratch build a few pieces and a roof for the intended cabin
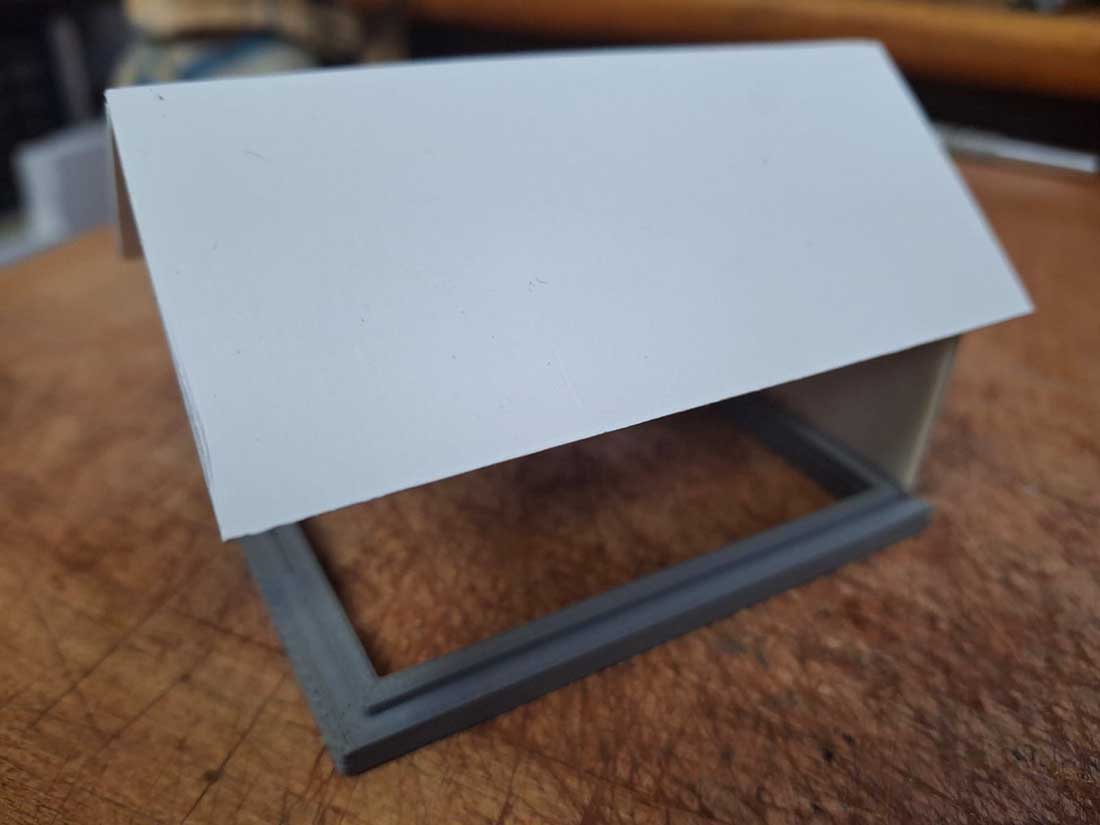
I had to figure out the direction where it would be situated and which parts I had to scratch build
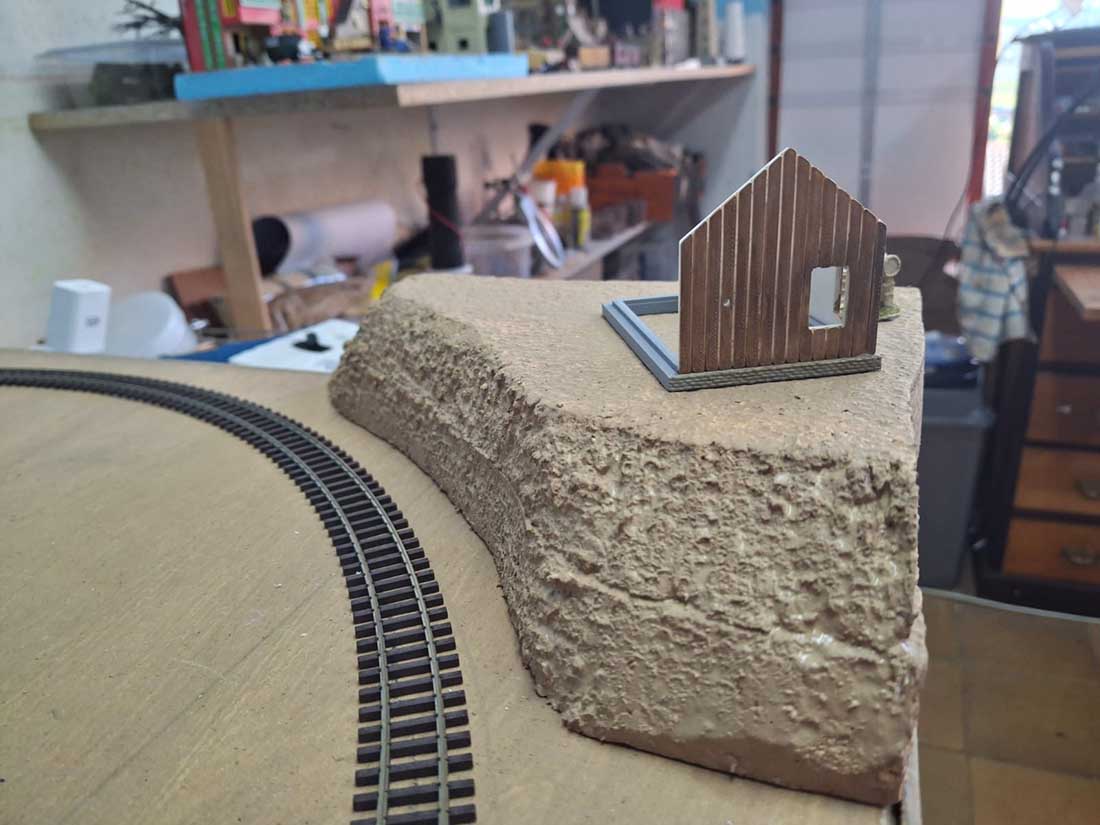
Next was how the tenants would access the cabin
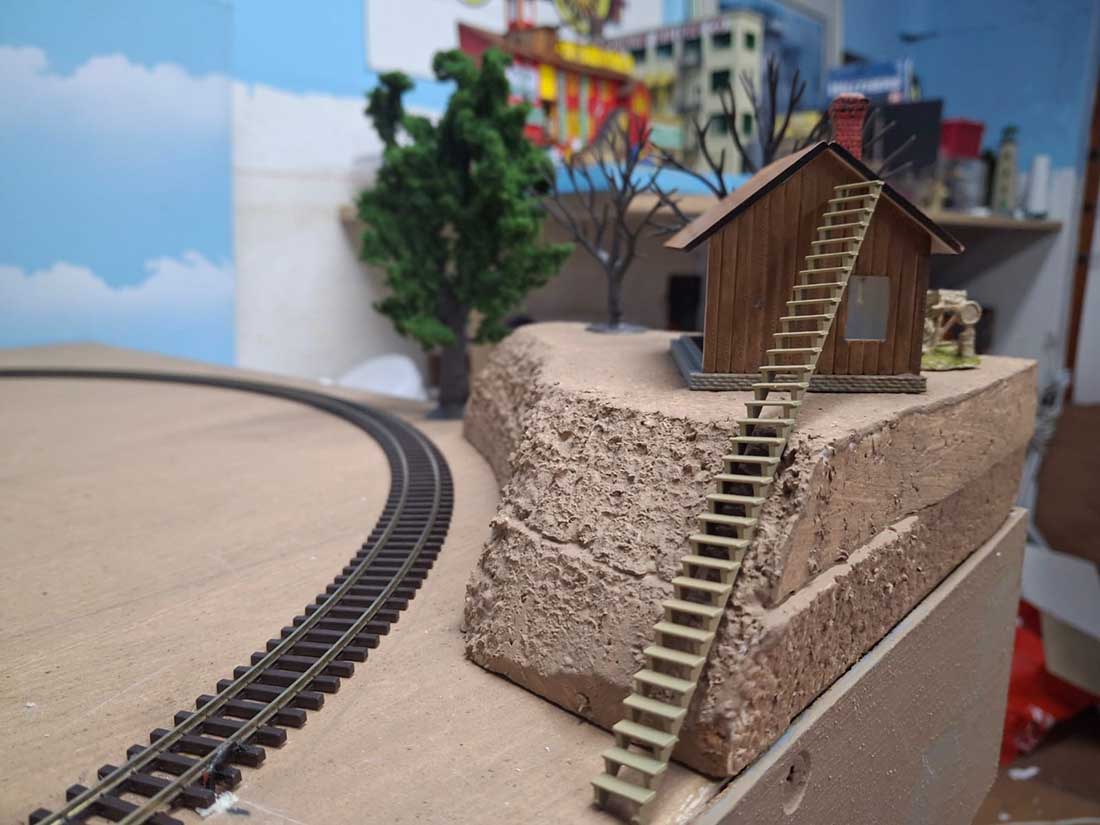
Not a good choice of stairs above and below. (No safety railings). Scrap that idea
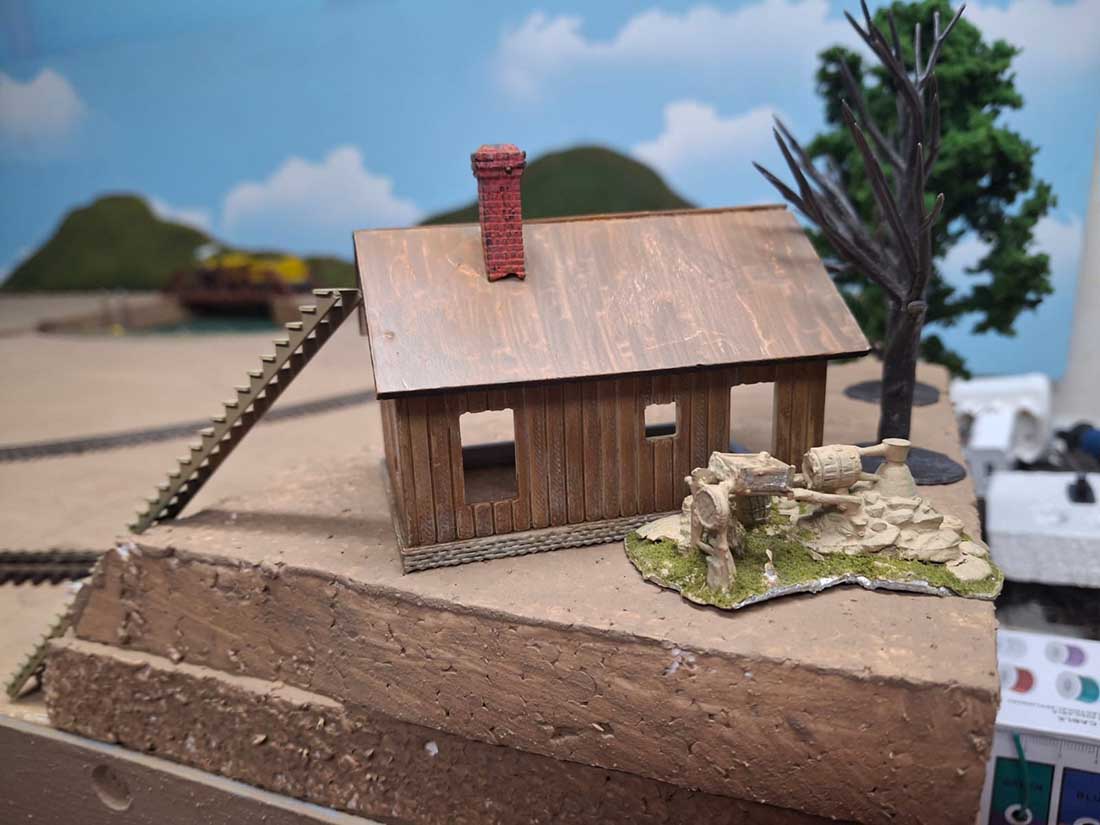
My friend printed a staircase for me which fitted perfectly with safety railings
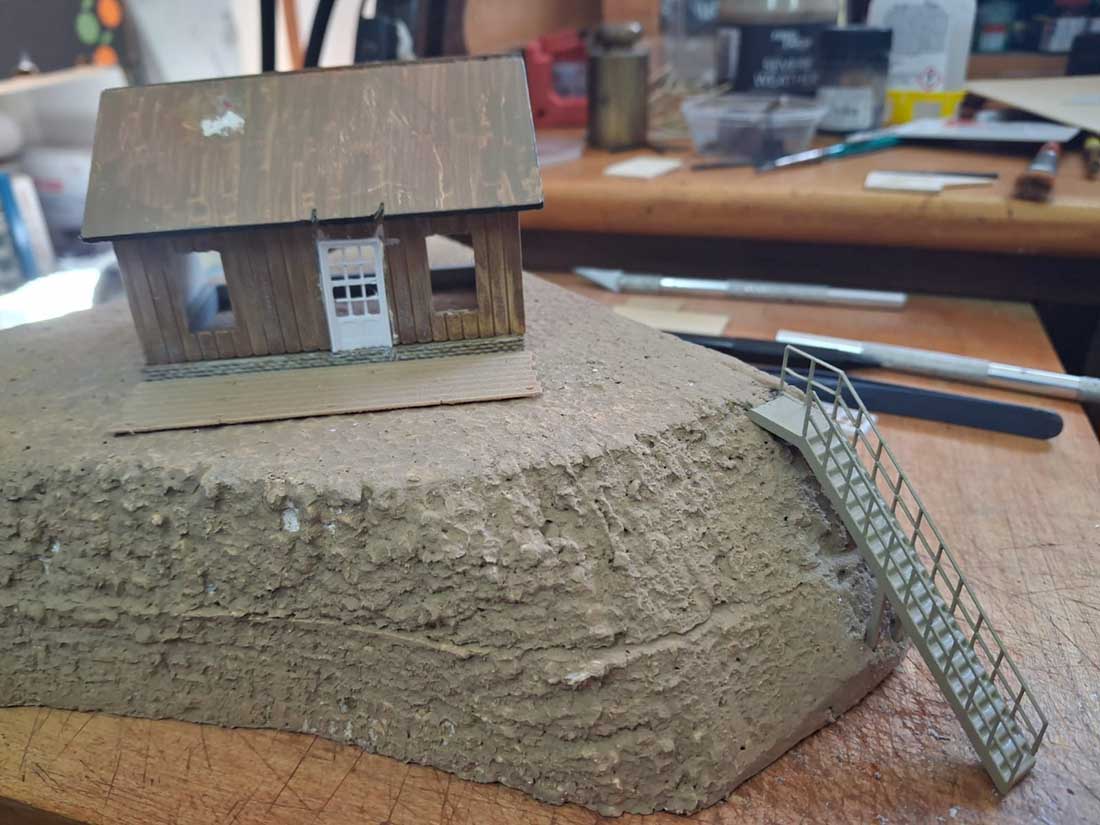
A new side, front and deck above was scratch built with a rear door for access to the moonshine still at the back of the cabin below
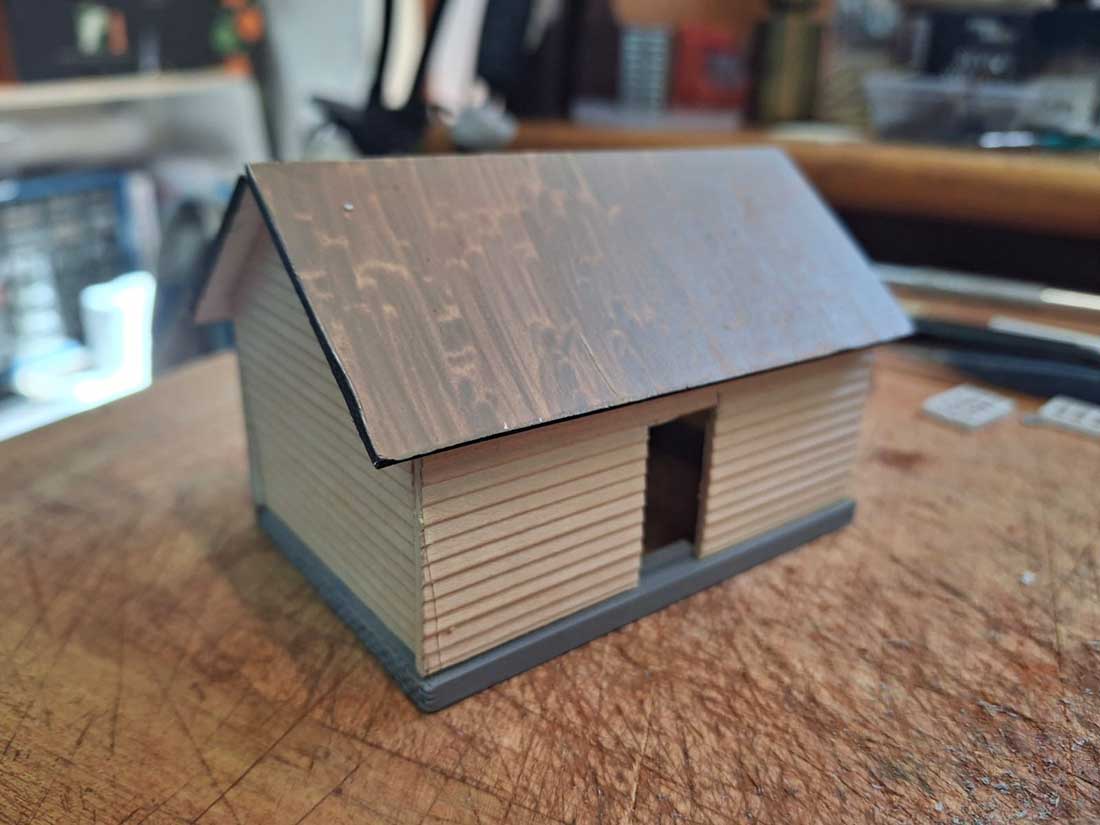
Reworked the front entrance and added a roof over the porch and the deck below.
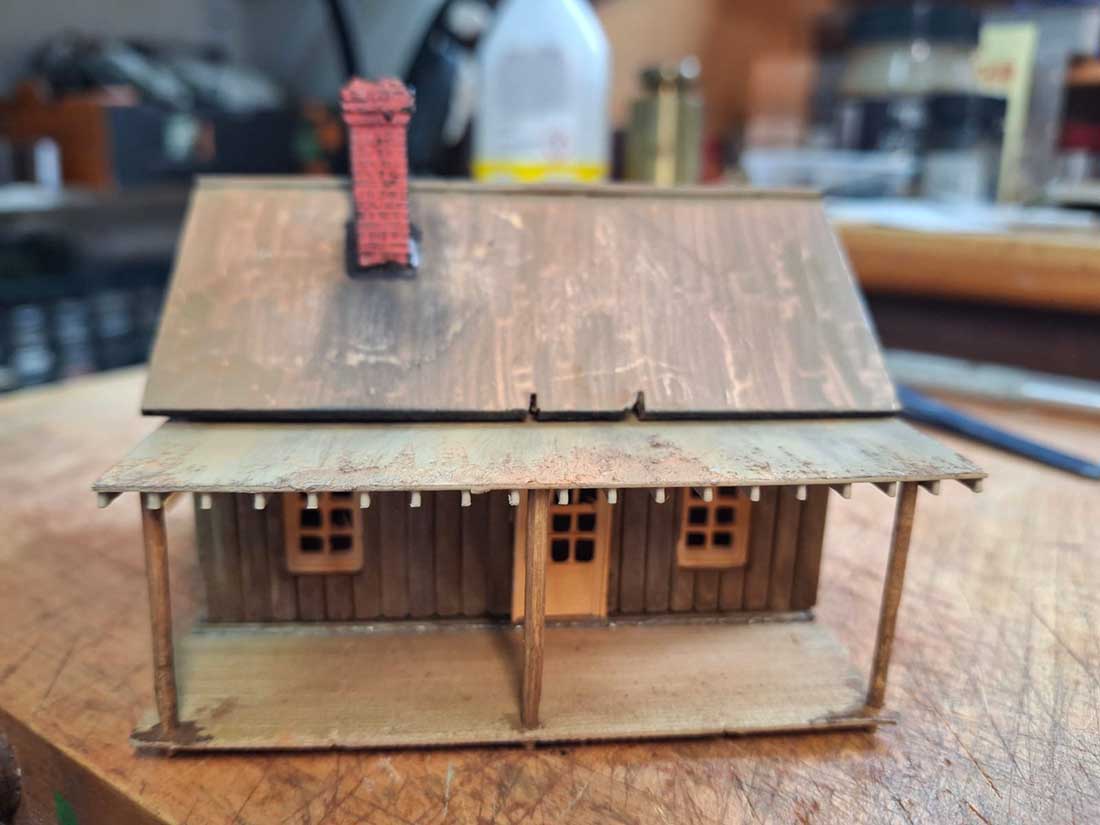
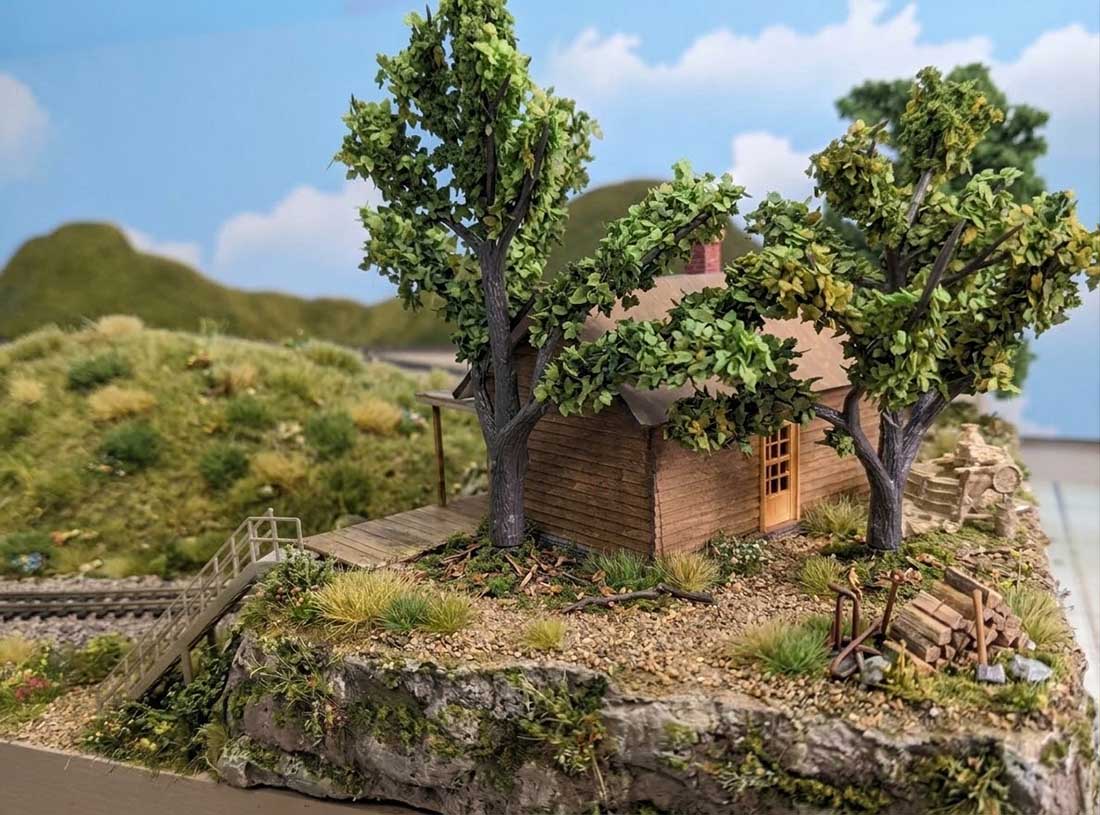
I will add trees on the side and back
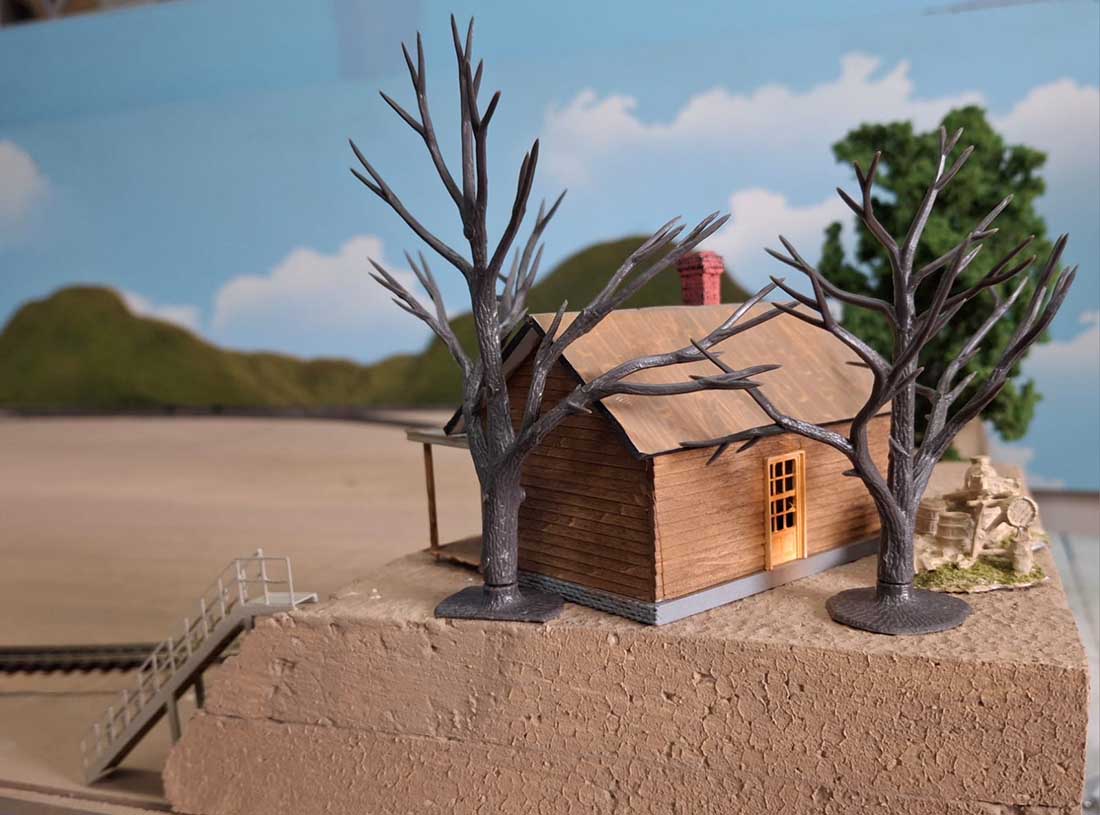
The light (LED) under the porch roof gives it the character that I was looking for
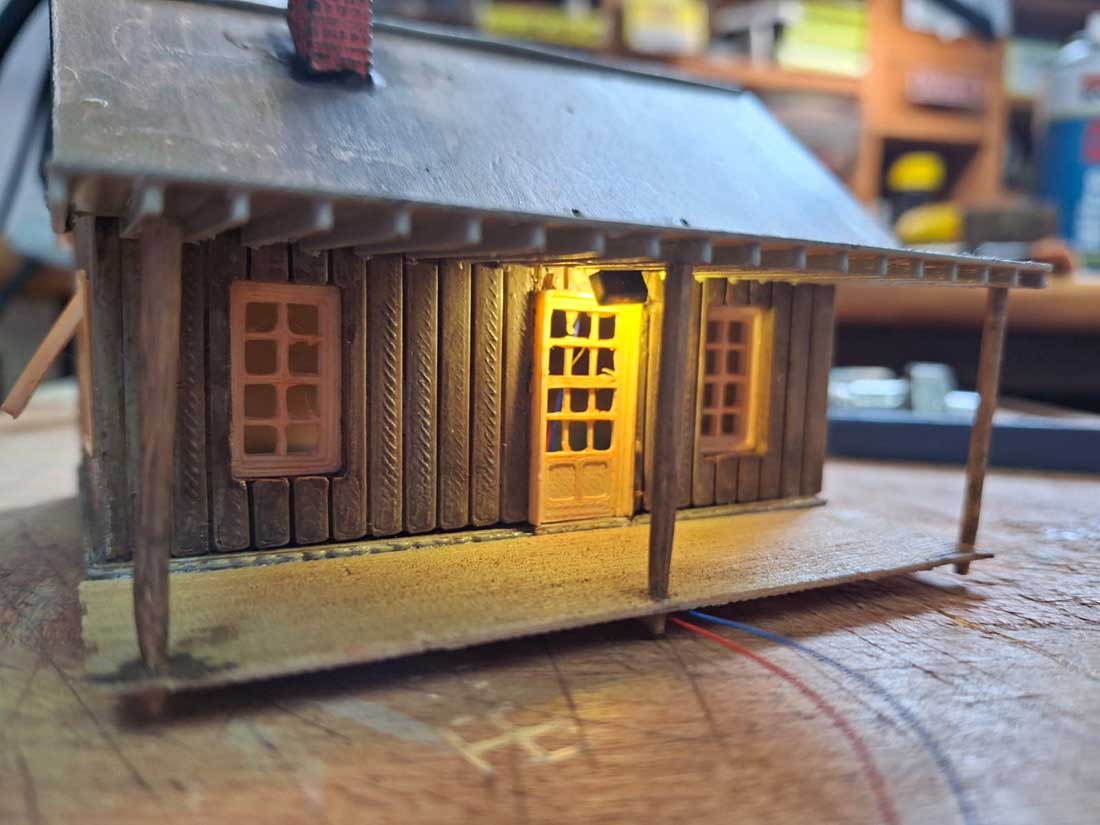
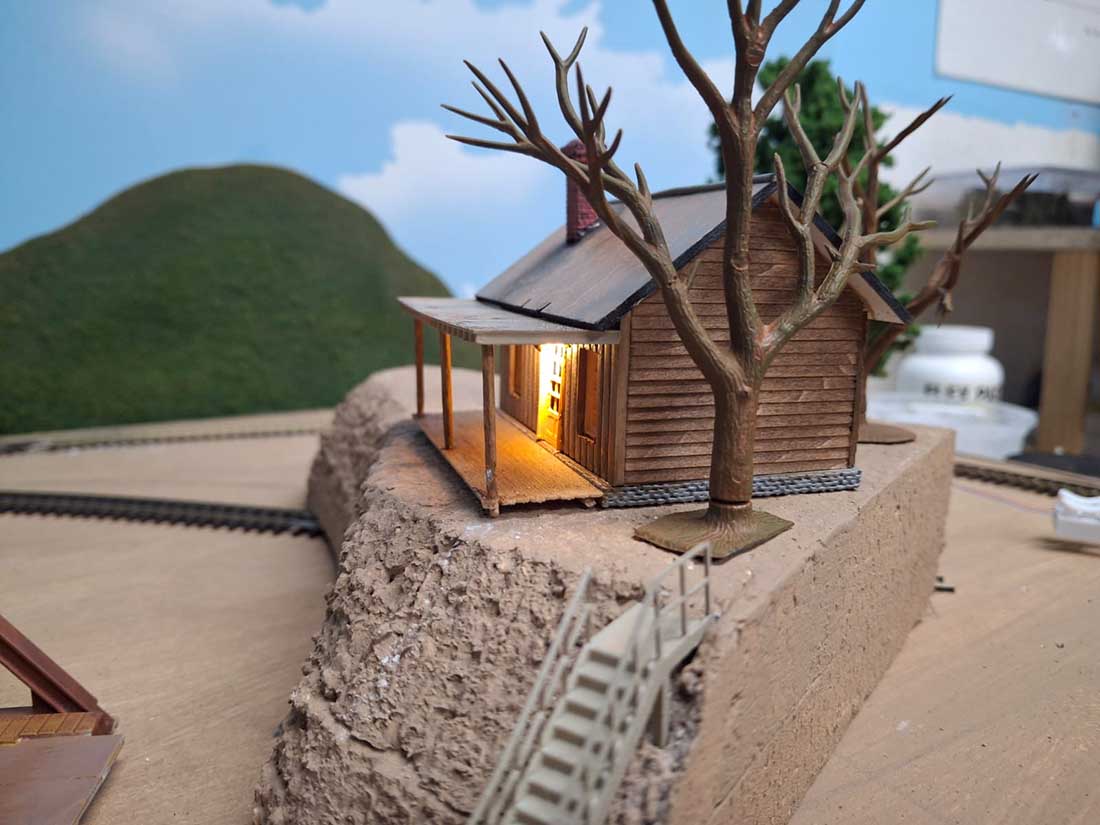
Same again from a different angle.
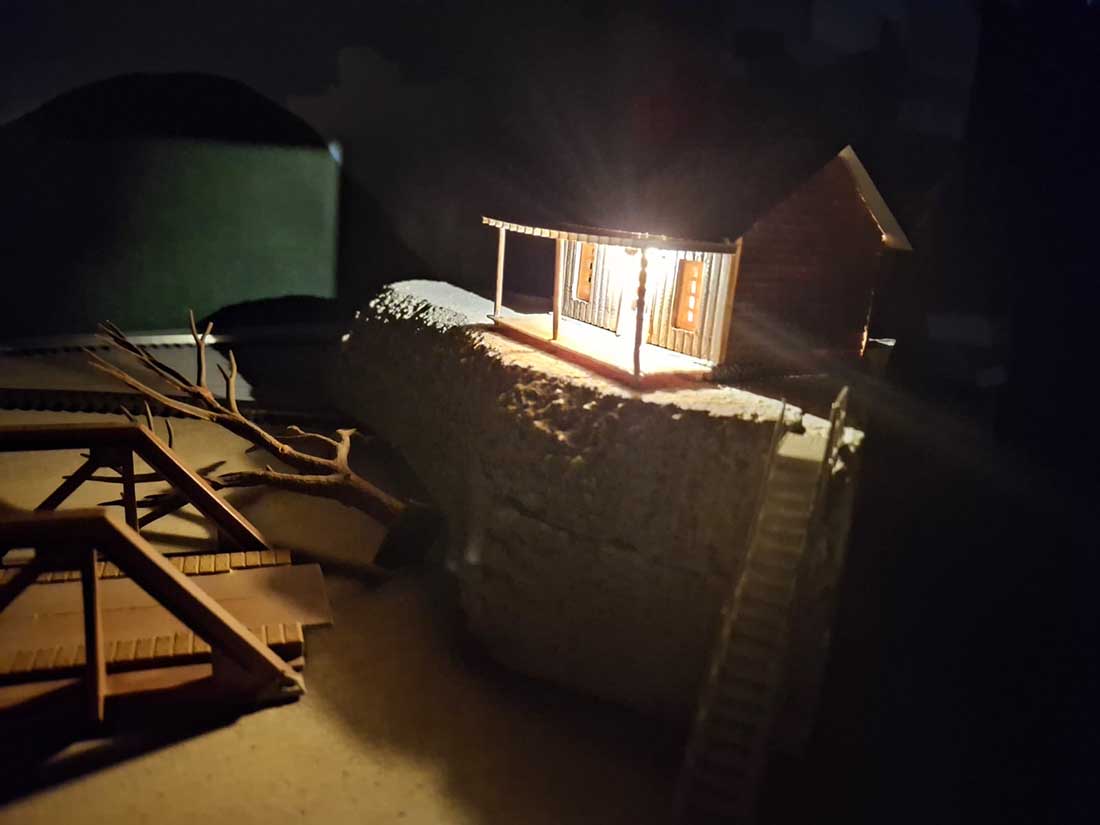
A night shot (too bright) means that I will have to drop the voltage from 3v to 2.7v for the right ambience for this setting.
I have ‘buck’ modules for this exact reason.
Once again, I turned to Ai for inspiration and this gave me an excellent idea as seen below
That’s all for now. Until next time.
Brian – the HOn3 guy in Knysna RSA
Kind regards
Brian”
A big thanks to Brian for sharing his 3d print model railroad scenery stuff – I do like how he puts his stuff together.
You can see his last post here: 3D model train boat house.
That’s all for this time folks.
Please do keep ’em coming.
And if today is the day you get started on your layout, the Beginner’s Guide is here.
Best
Al
PS More HO scale train layouts here if that’s your thing.
Need buildings for your layout? Have a look at the store.
They are great fun to make and great value too.