Frank’s been back in touch with a load of variations on N scale layouts using Kato track:
“Variations on a theme – sort of . . . .
Al, thank you for your ongoing support of the model railroading community. I never get tired of seeing the variety of layouts that people have created. It ranges over all sizes, gauges and levels of scenic work. Each one a project that makes the individual happy and, in the end, that is the most important, not the criticism from people who forget the real reason we do this; TO HAVE FUN!
In a recent publication, you presented a variation of the Chicago Crossing layout using Kato track parts. Since I drew that one, I have created several other variations, each with more interesting features.
I am going to try out some of them but I also have a completely different track plan I am trying out first to see which one I like best.
If you want to see the original, which was the inspiration for these variations, there is an excellent video, and well worth watching.
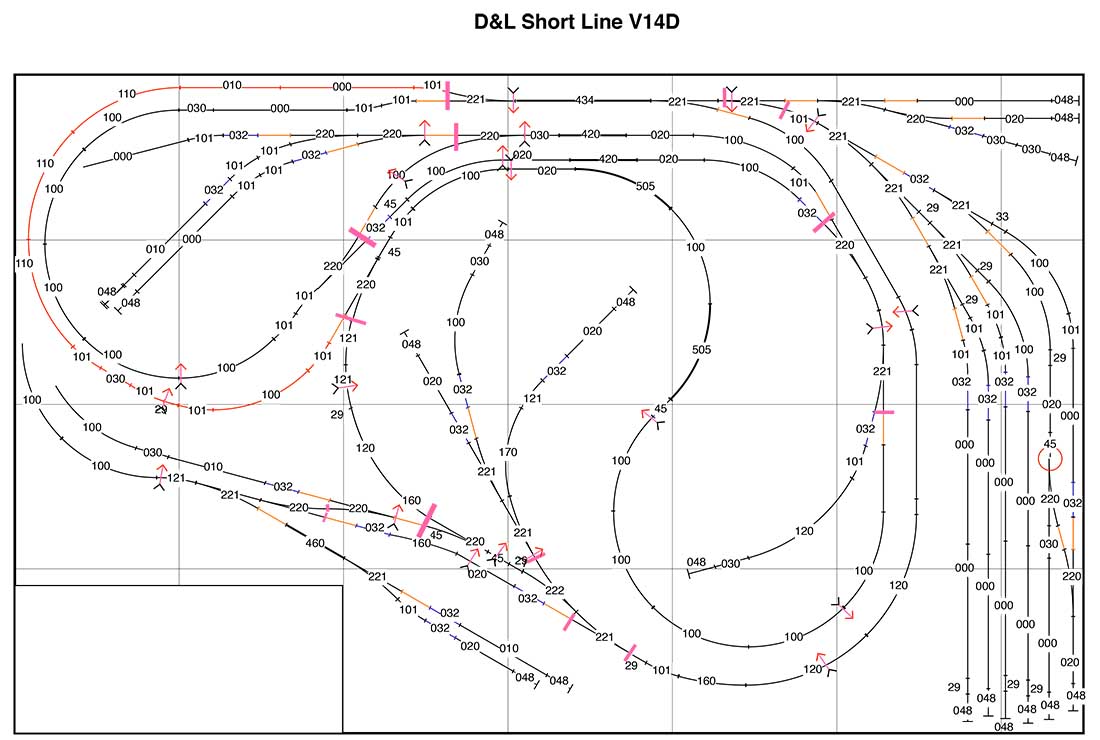
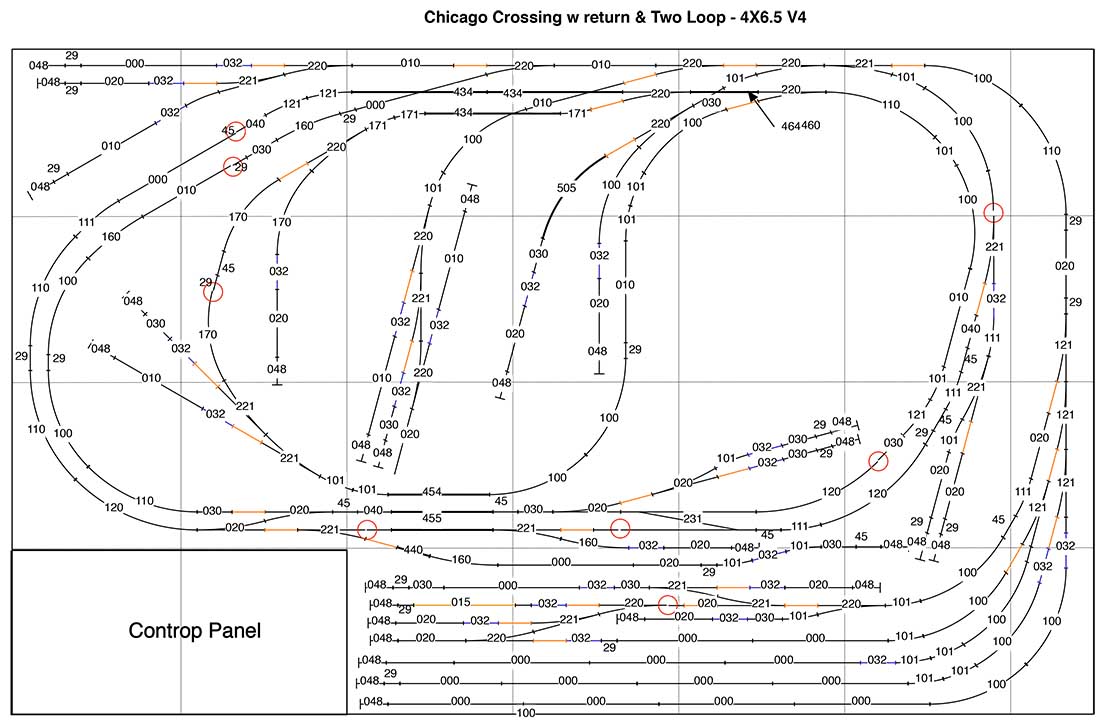
In all cases, I have changed the fiddle yard to be a local yard AND a fiddle yard, giving more operational interest and confusion. Each layout has two files. The "layout" is a conceptually sceniced version and the second is a track plan with the Kato track parts listed.
I still have the big, multi level D&L which I am still working on, but which will take years to get to a working level. In the meantime, I want to have something I can actually play with before that one becomes operational.
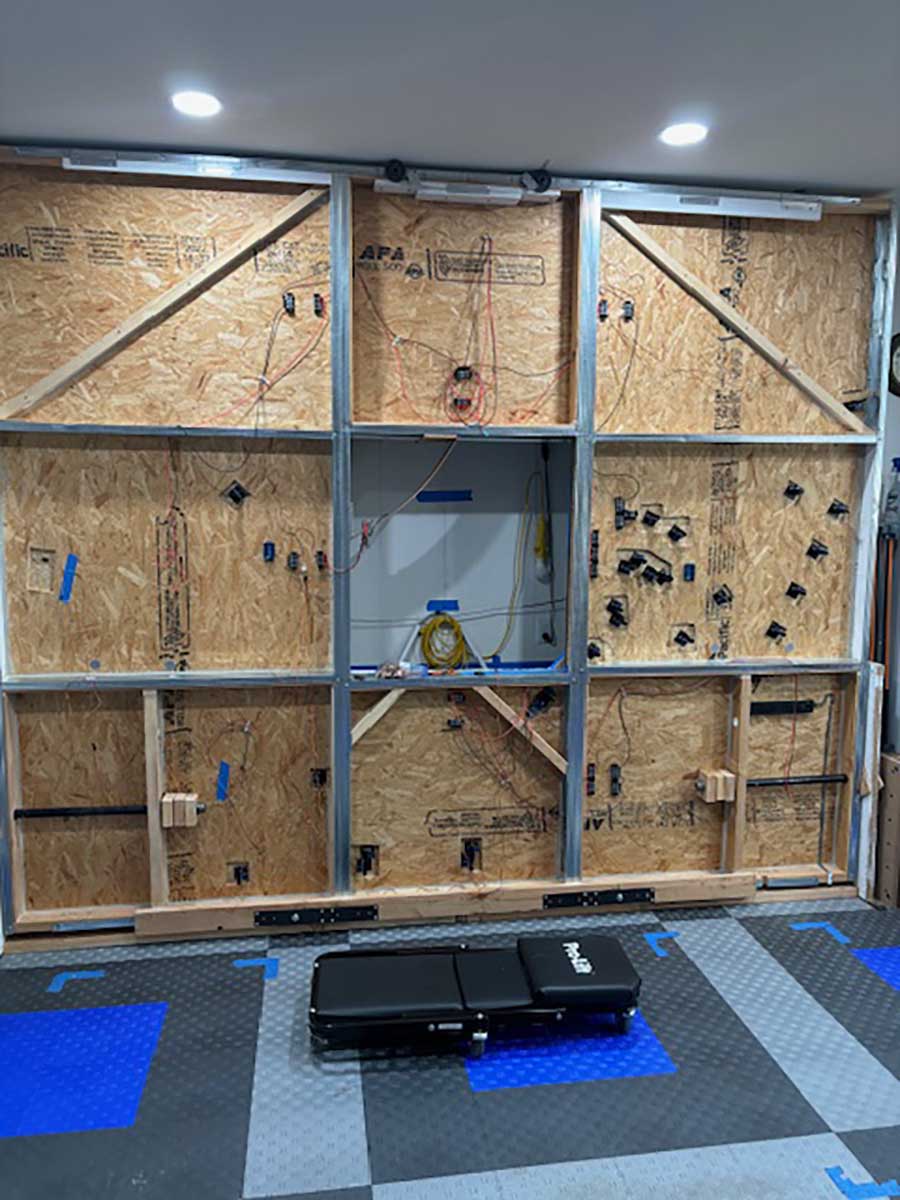
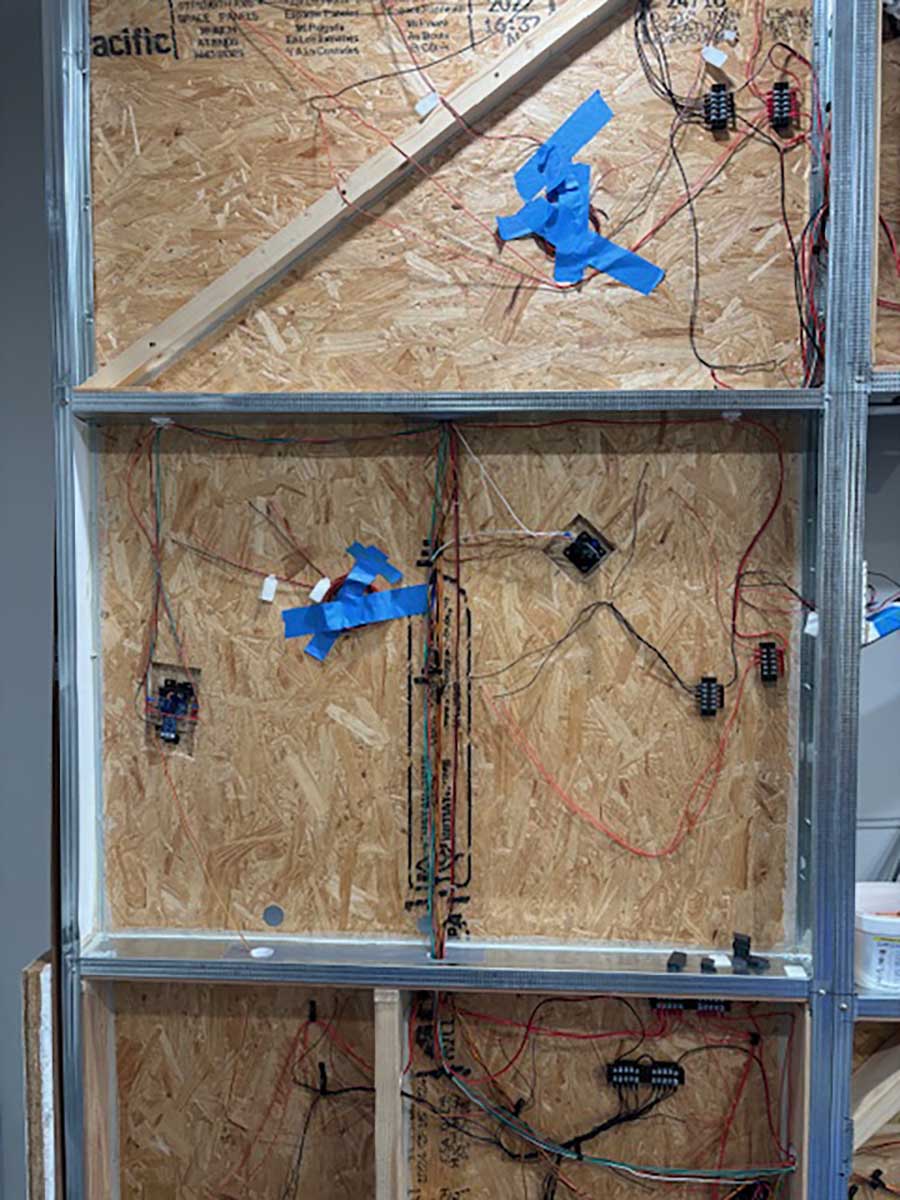
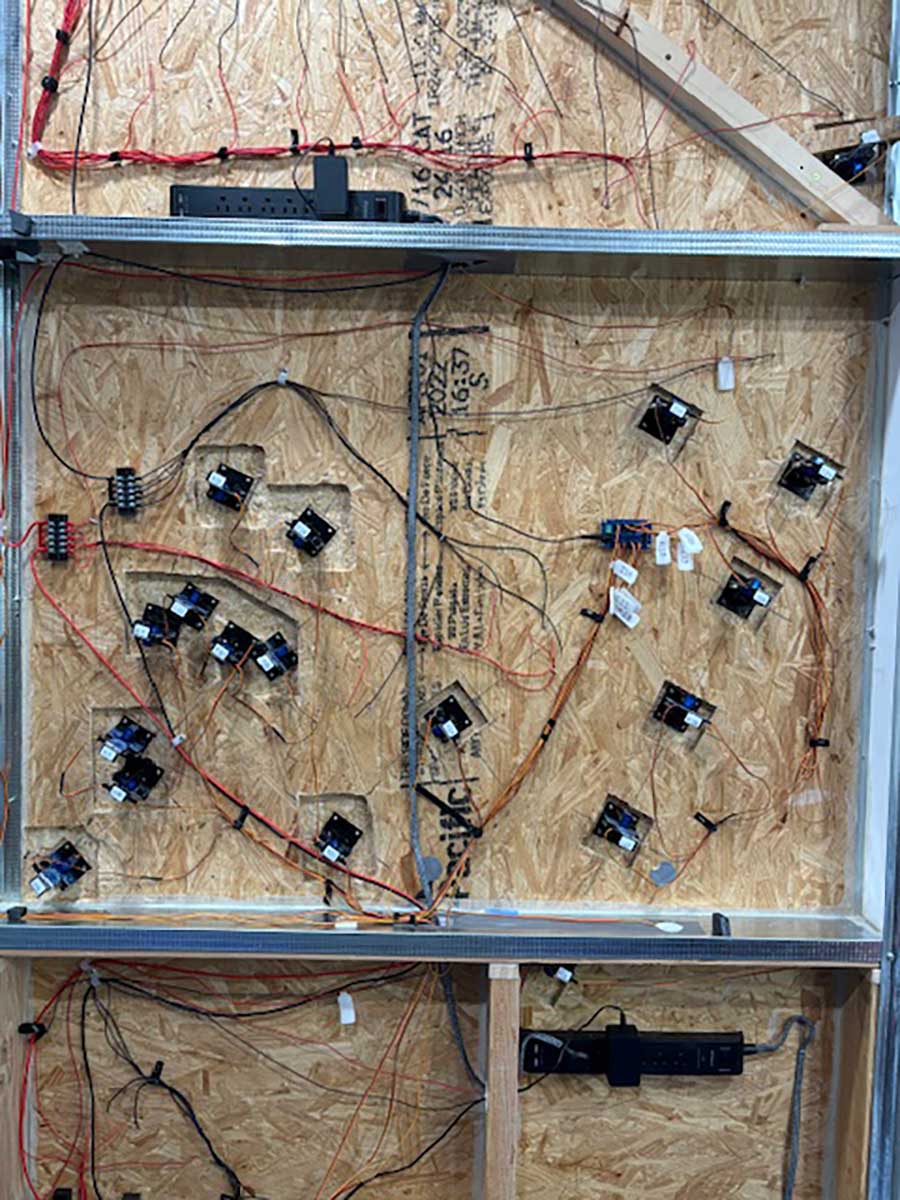
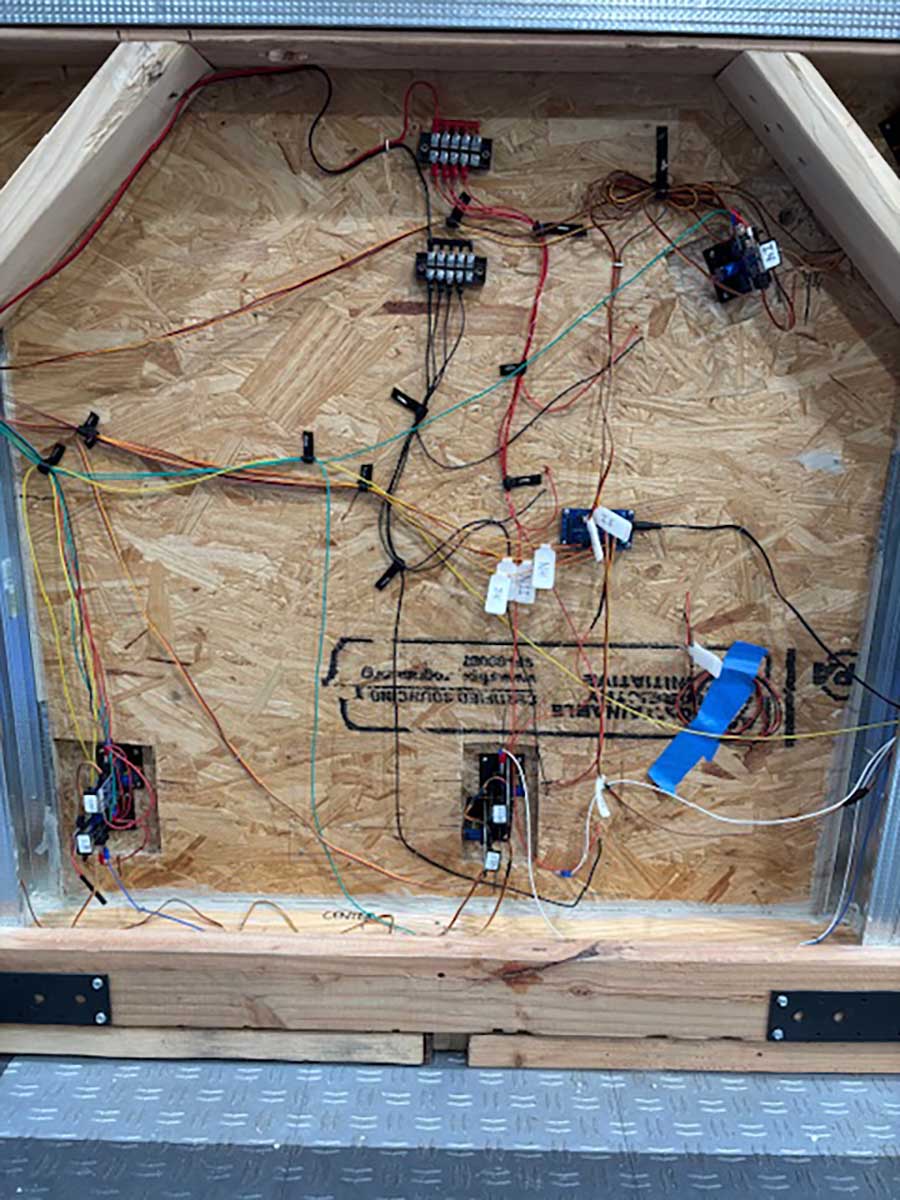
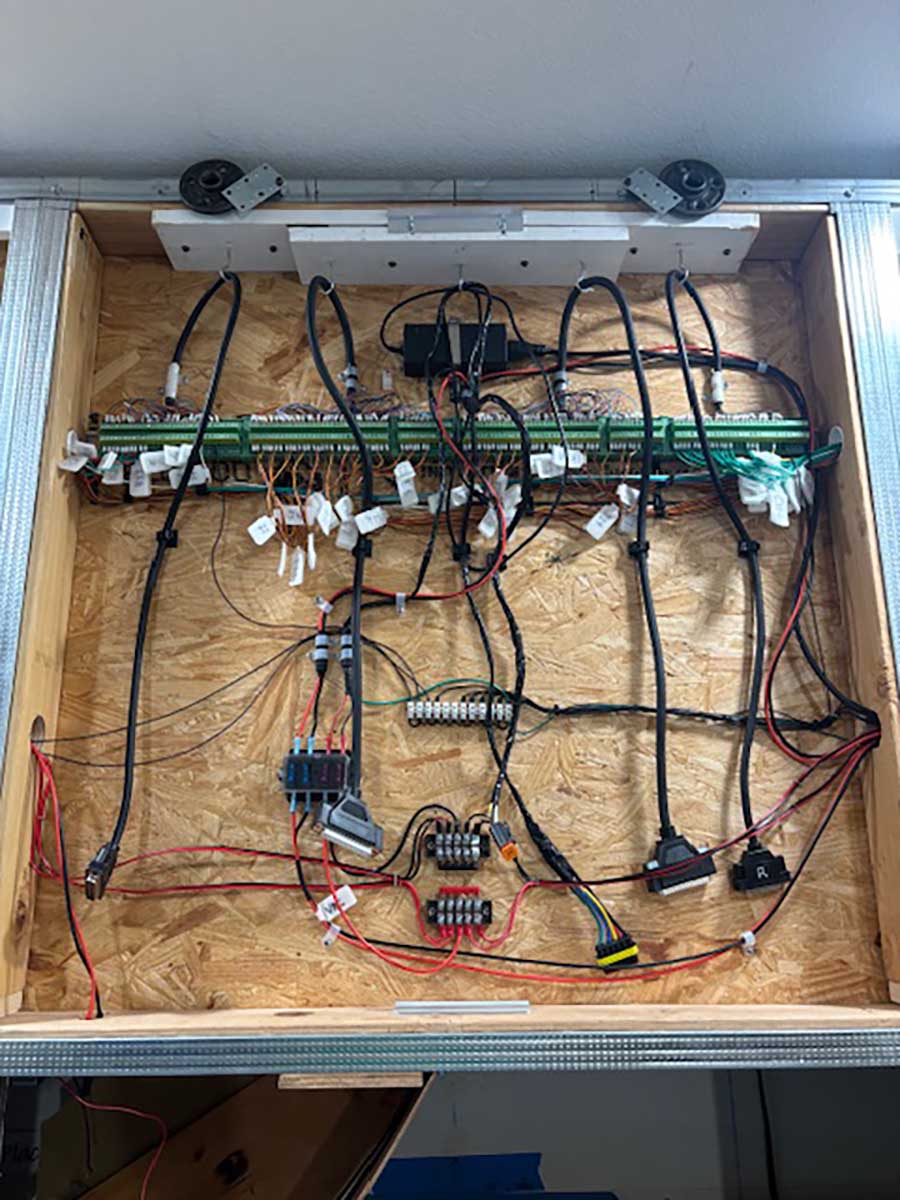
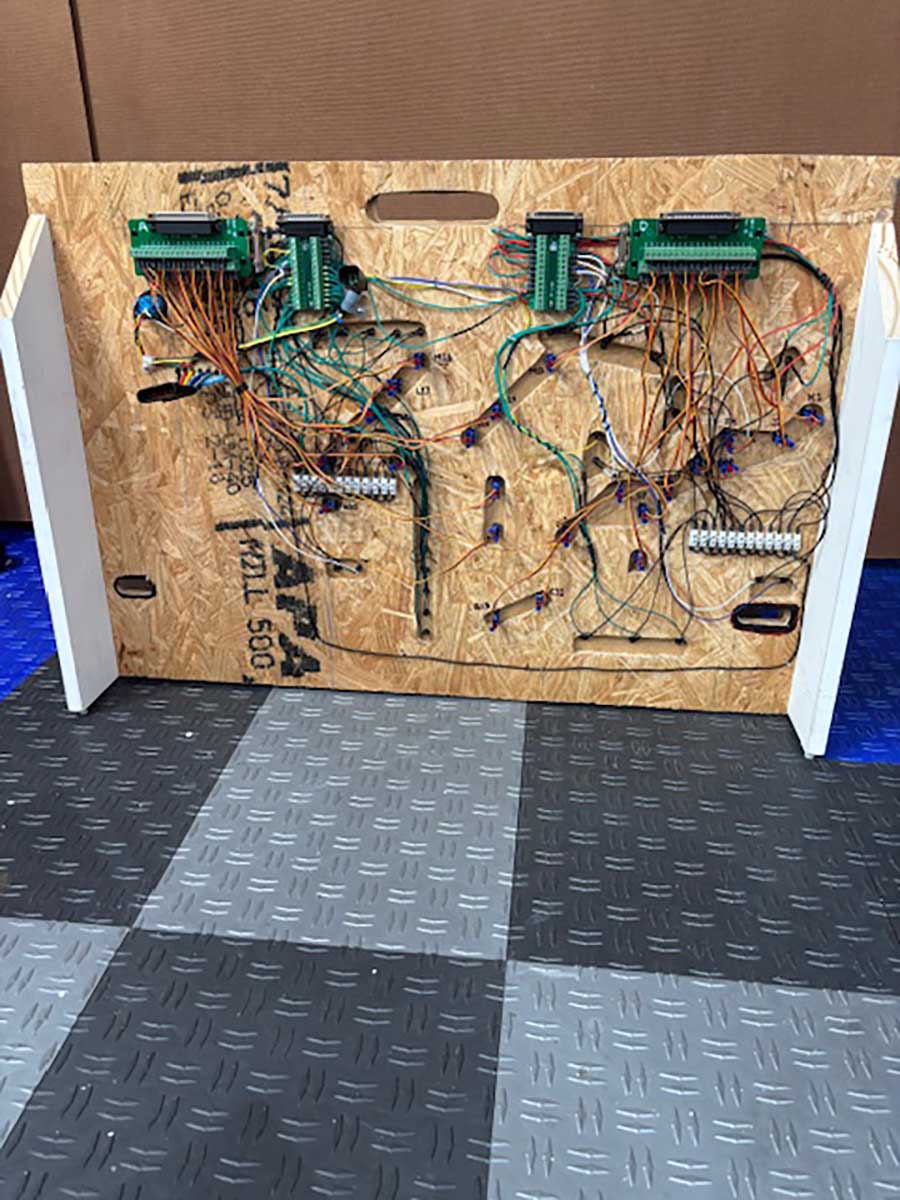
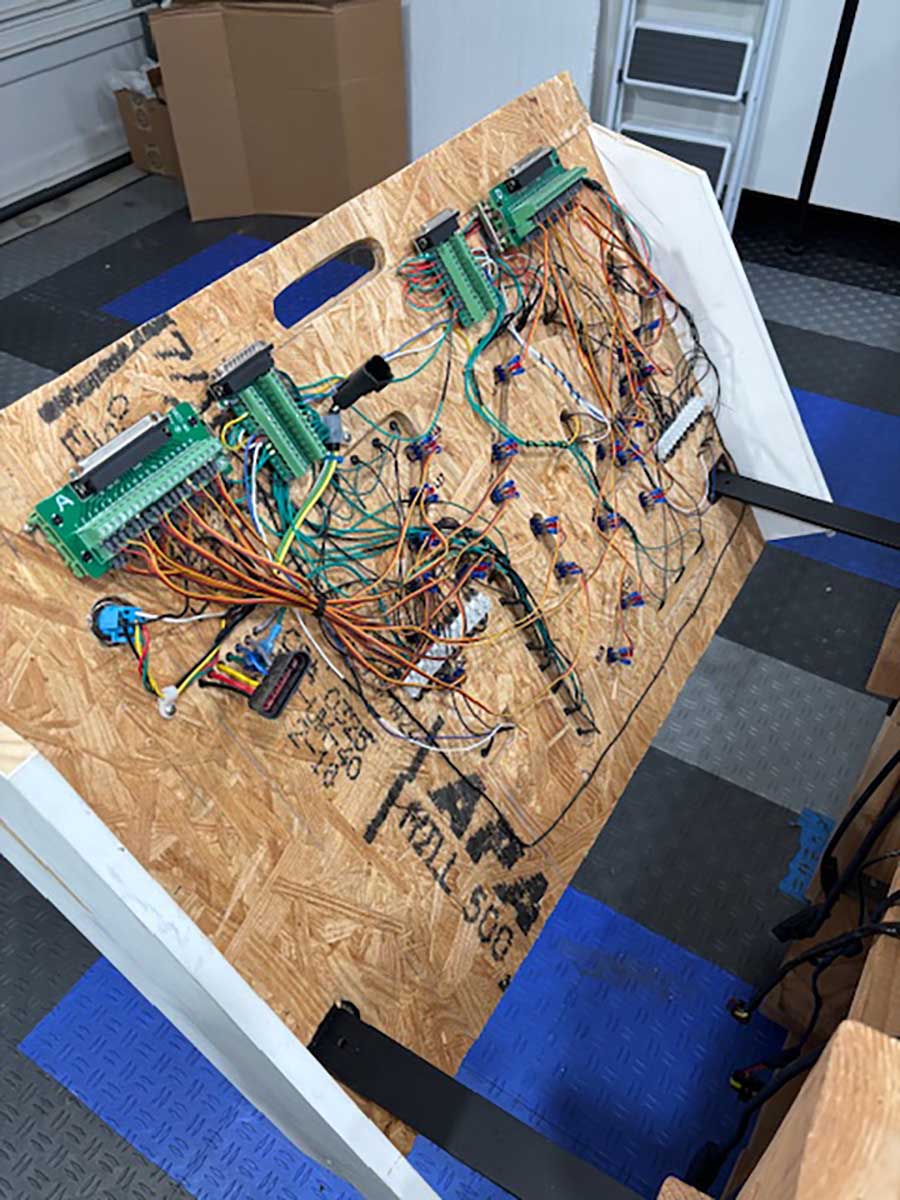
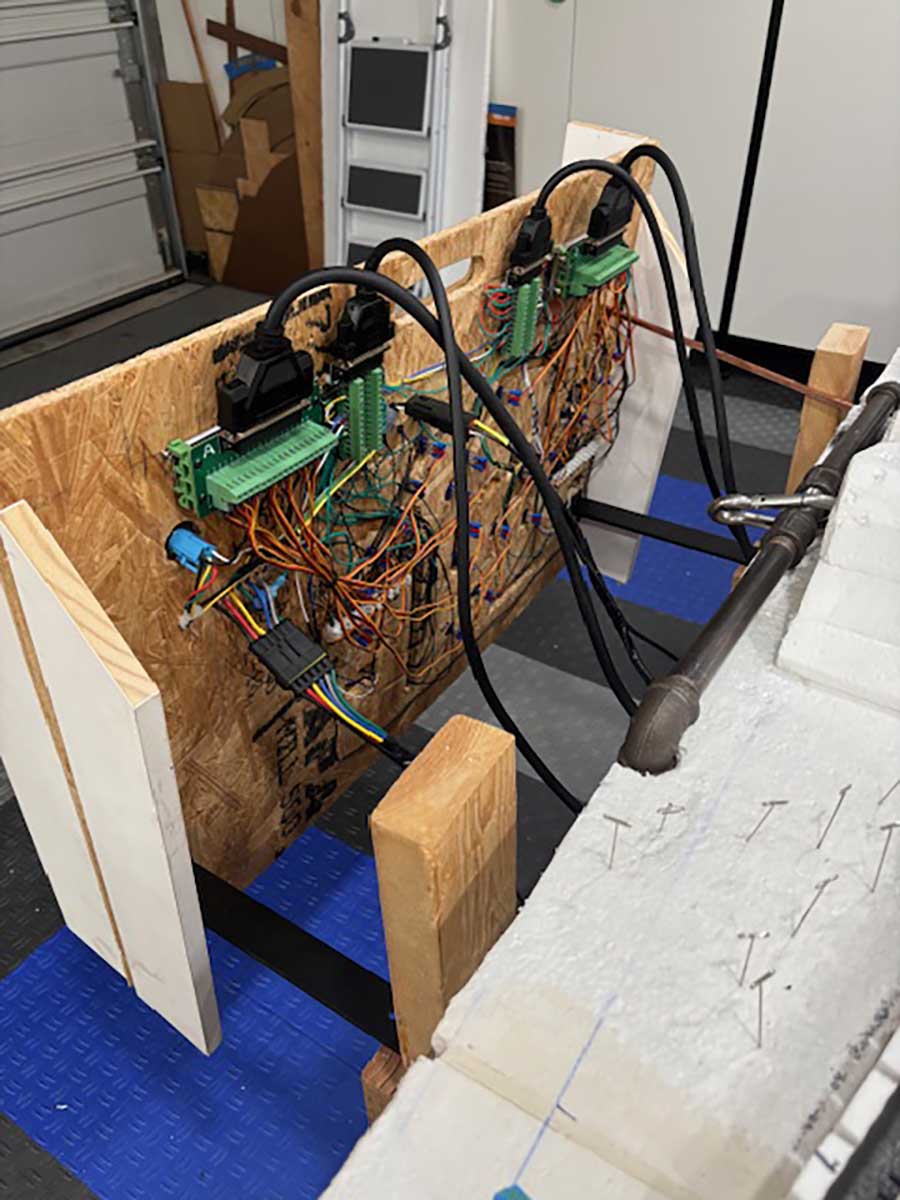
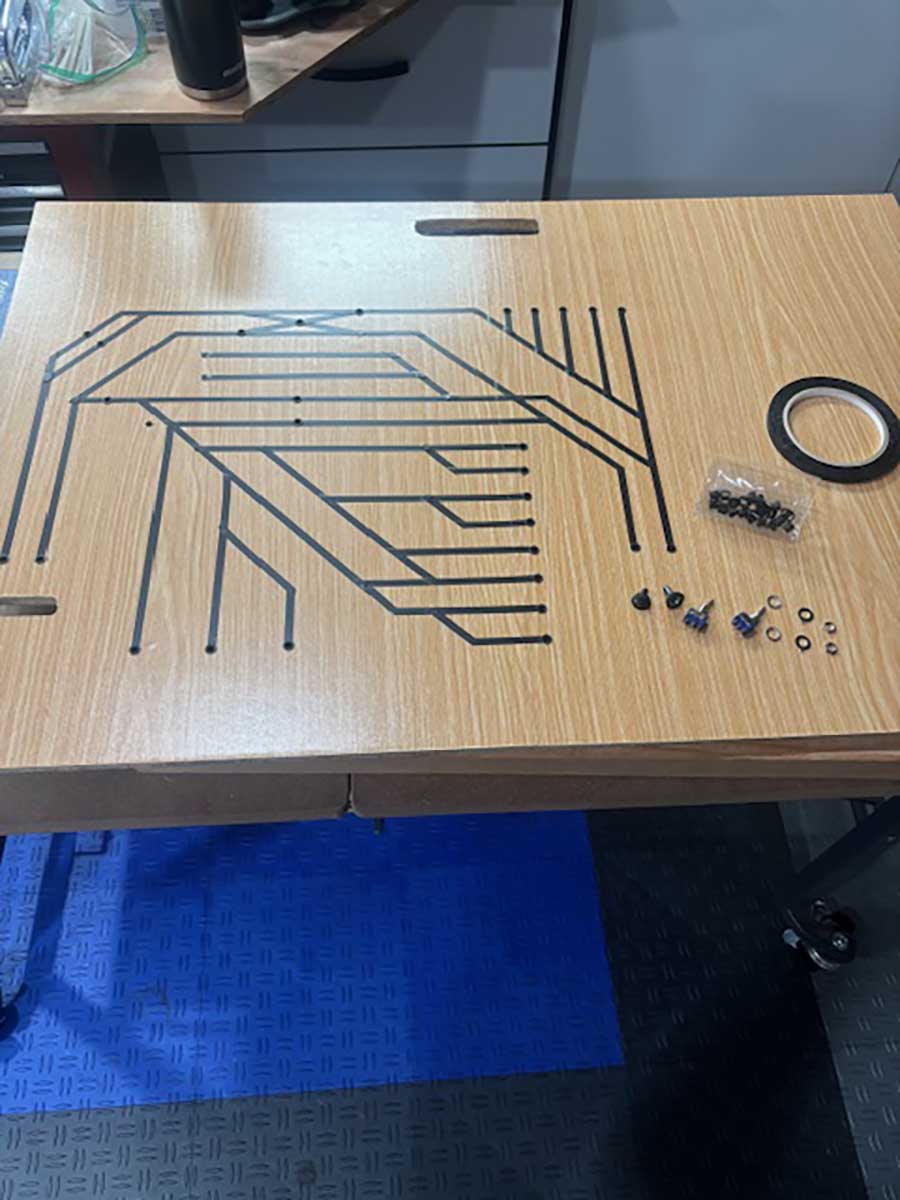
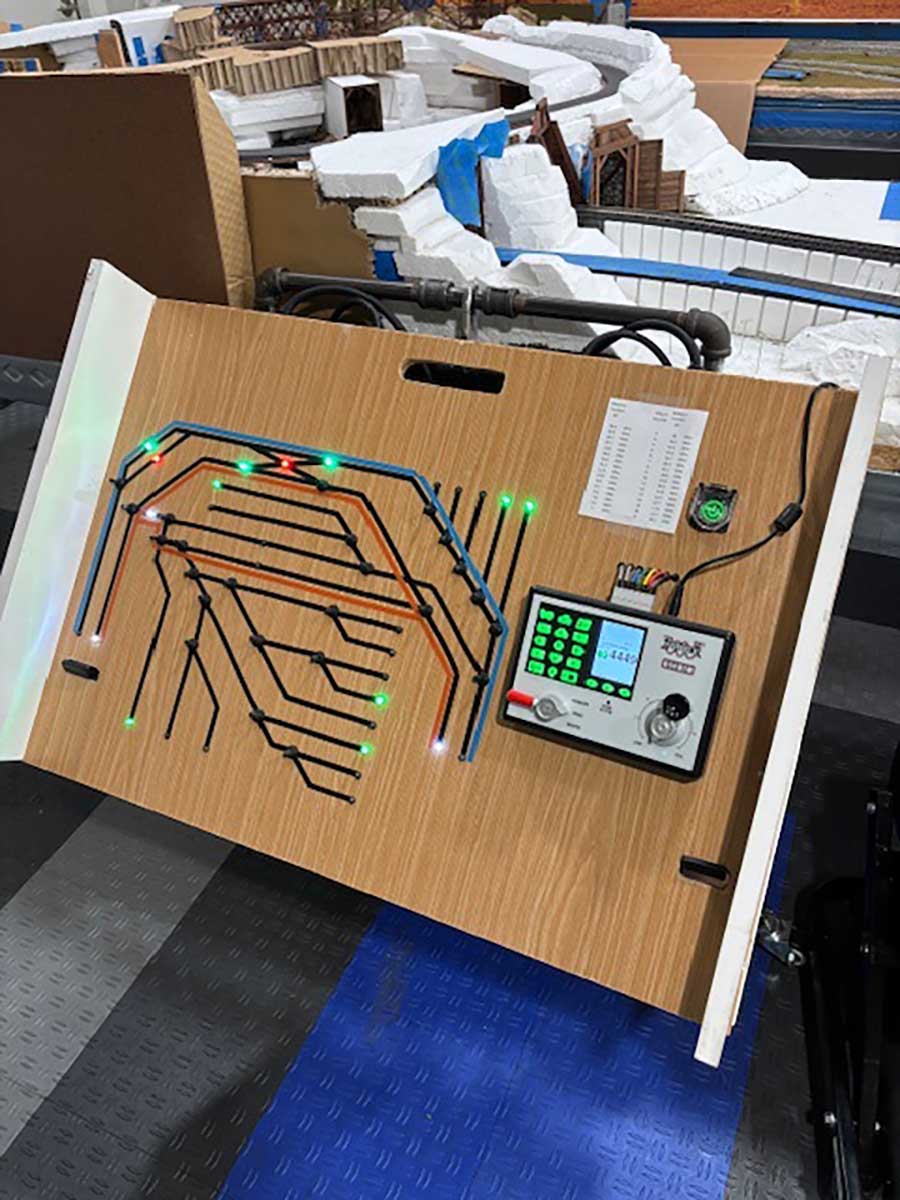
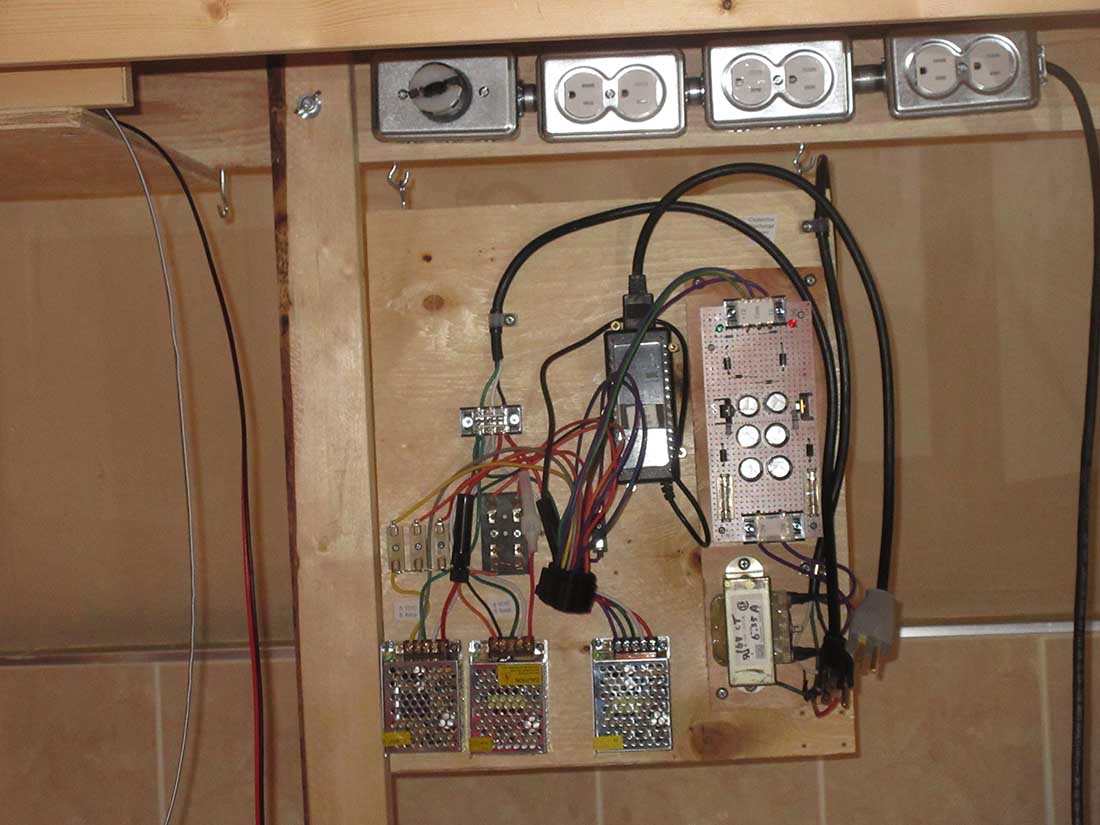
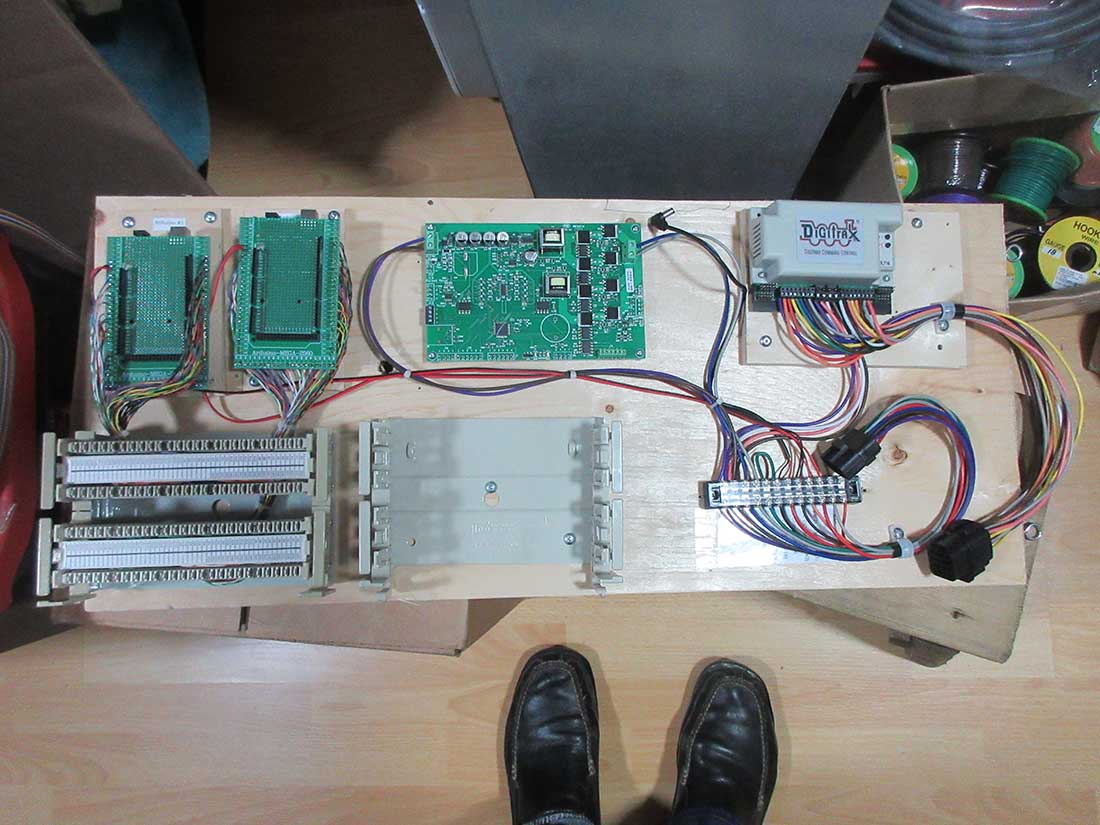
I started by building a simple 4 foot by 6.5 foot table, one that would fit in the second bedroom of my apartment. I built a series of power supplies on one board and a second board with block occupancy detectors and Arduinos for signals, and with an auto-reverser, all for future possible layouts.
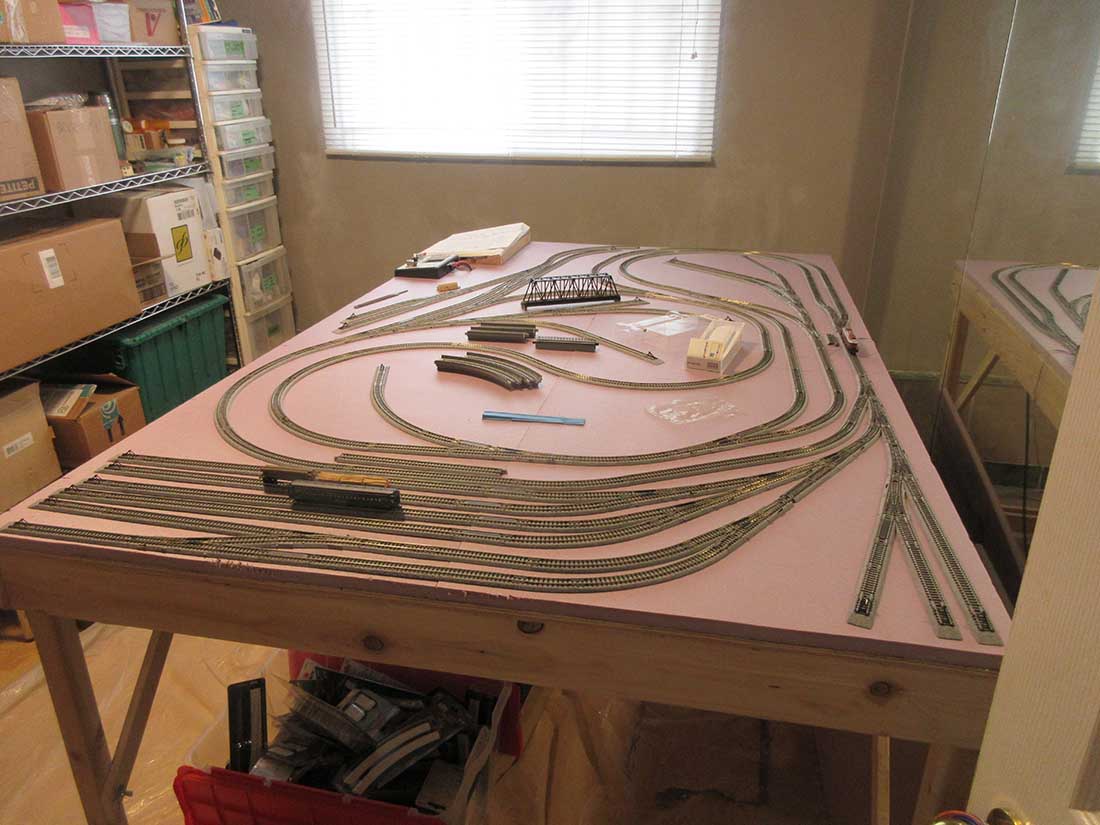
The first layout I am trying is called D&L Short Line V14D Layout. It is a two level track plan. It has a longer main line and a better yard configuration. It has mines, lumber, a dam we don't see except for the penstocks and a number of industries that are not detailed.
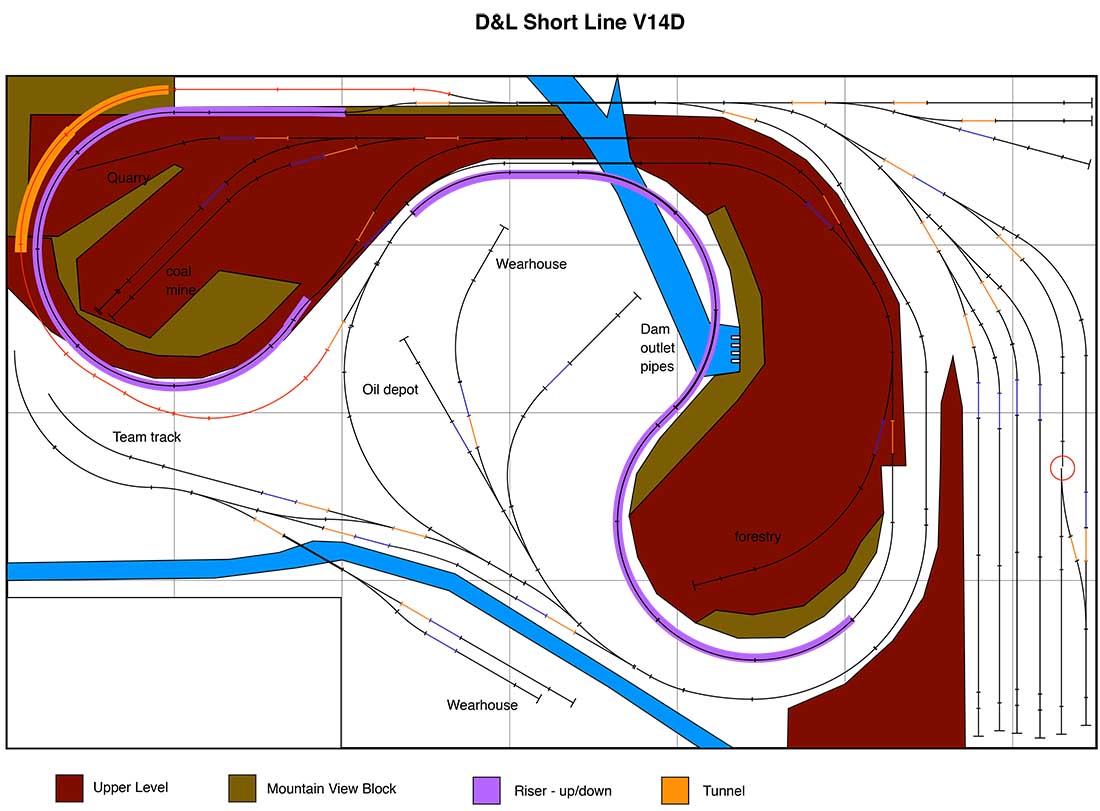
It will not be the end choice. Not enough switching options. I am already getting ready to lay out the next track plan.
The first variation is the one shown in a recent blog post which I won't duplicate here except to say it had a bigger fiddle yard and an island brick yard.
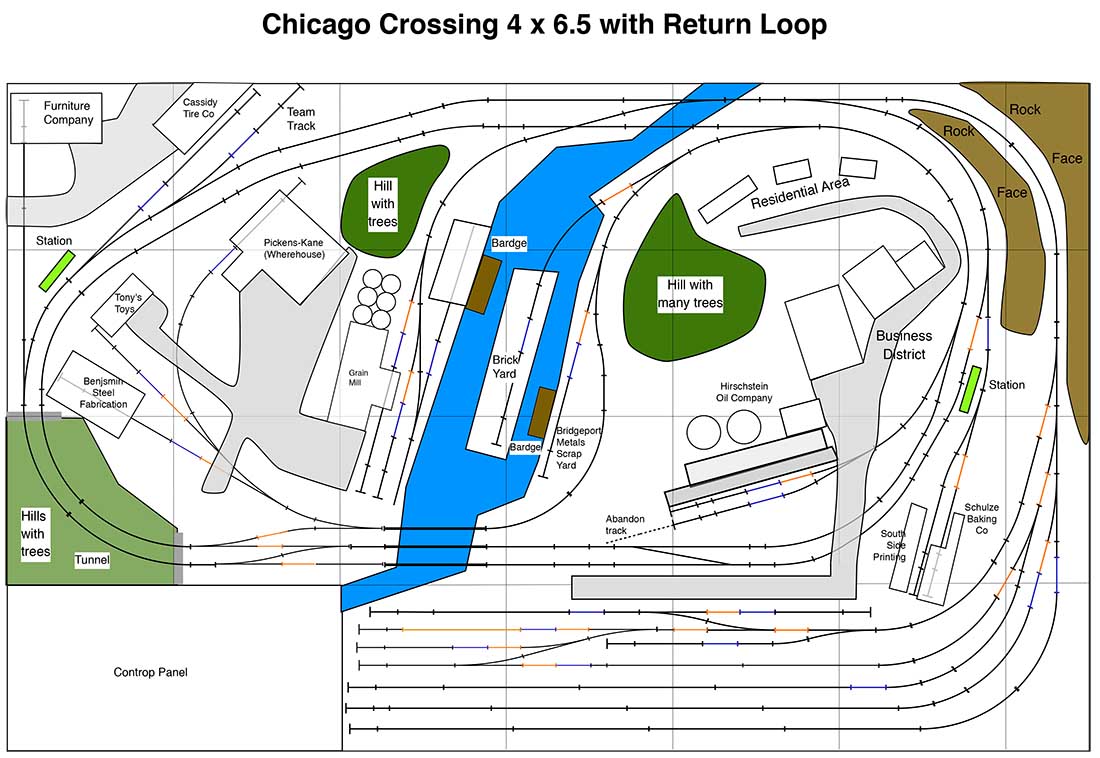
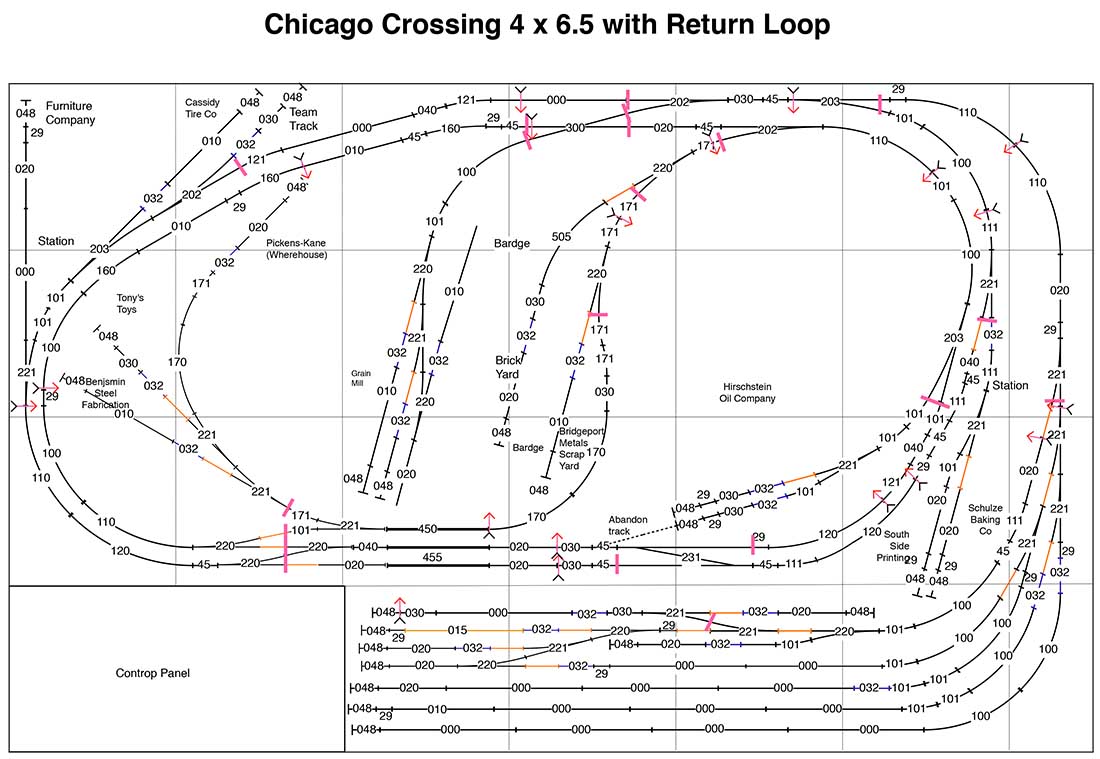
The next one is another variation on the Chicago Crossing theme, called Chicago Crossing 4 x 6.5 w Return Layout, which includes the modified, more operational yard/fiddle yard and, in the lower left corner and a crossover allowing trains to reverse direction and return to the yard. This was one of the things that I wanted, a way to get back to the yard without having to back in.
The other thing I didn't like is the "short" main line. I think I am one of those people who also like to see trains run a "long(er) distance". It is, however, still an excellent layout for switching.
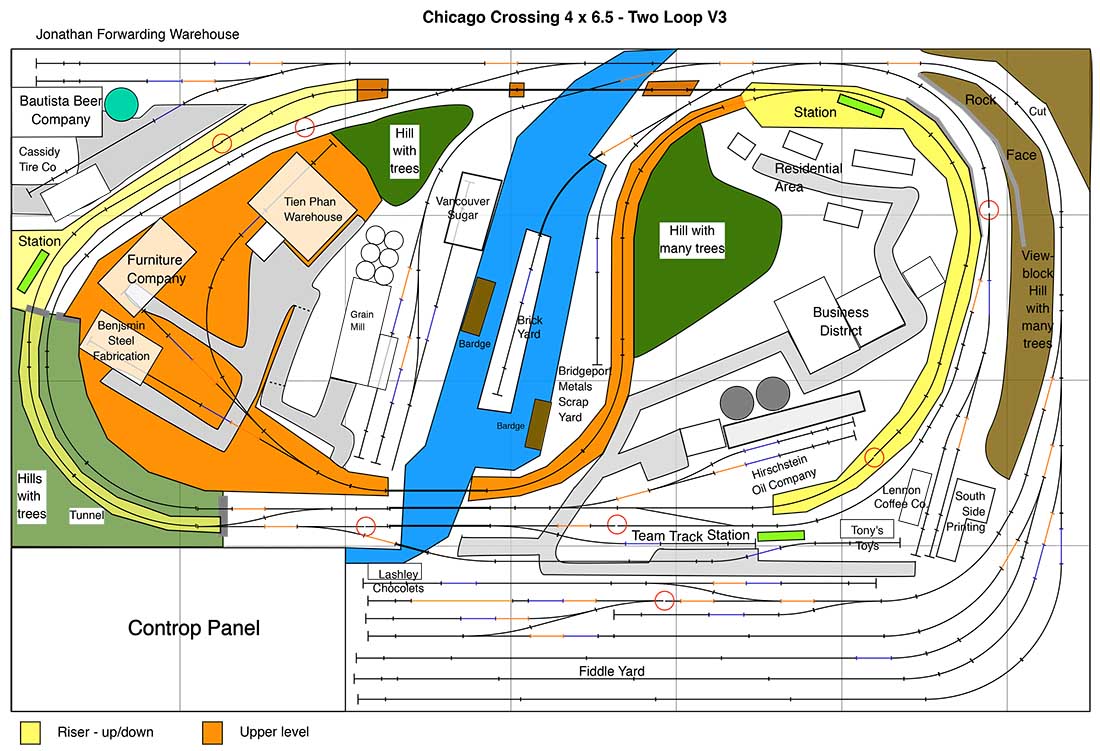
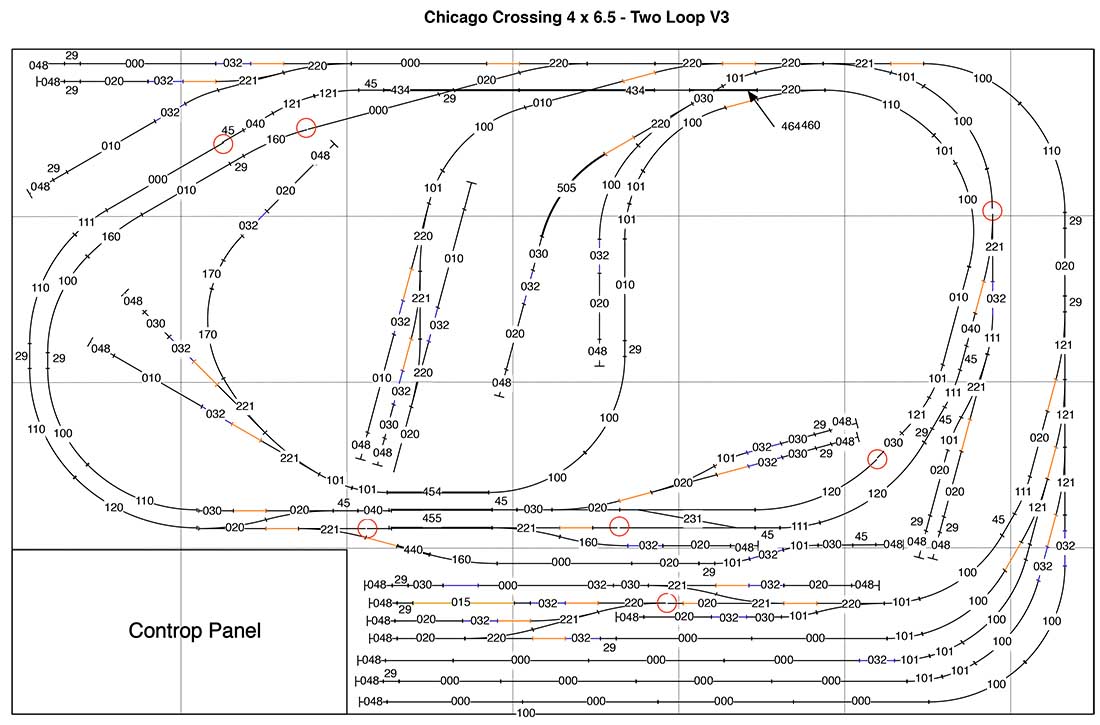
The next variation is called Chicago Crossing 4 x 6.5 – two loop V3 Layout. It has an up-and-over main line, the large yard/fiddle yard, lots of industries to switch and a little street running to Tony's toys. It does not have the reverse loop.
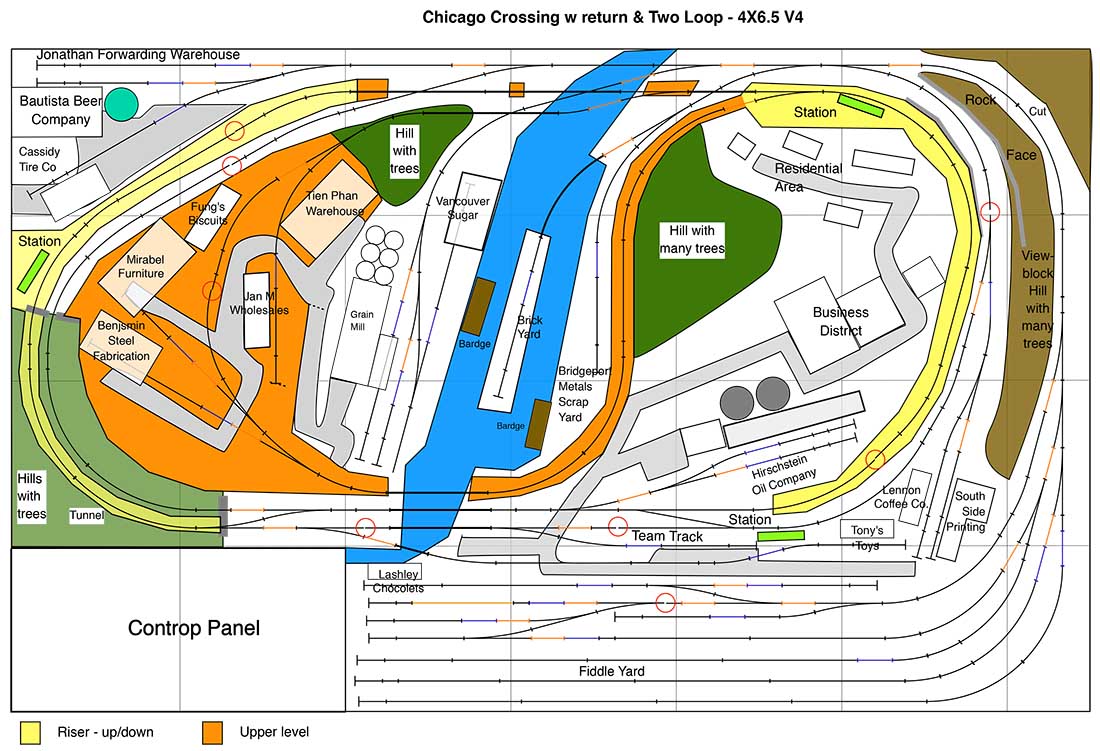
The final one I will try, and the one I like most is called Chicago Crossing w return & Two Loop – 4X6.5 V4 Layout. It has all the features of the previous layout but I was also able to squeeze in a tight return loop. The only issue is whether it is too much a bowl of spaghetti to make it look good?
Time will tell.
Besides these, I still have the 4 foot by 10 foot, multi level D&L which I am still working on in my friend's garage. But, because of what I wanted and the electrical technical requirements that produced, I think it will take at least another year to eve get the first loop of track operational. Beside that, it is also a lot bigger and that is a different problem.
While I am showing possible scenery in the above layouts, I am just assembling the tracks and seeing what I can do with them. As I put each variety together, I will take pictures and send them to you.
Al, again, thank you for you blog and to all the amazing layouts you have shown us and to the incredible people who built them. It doesn’t matter whether they are 1 rail (monorail??), 2 rail, 3 rail or 4 rail (the model of the London Underground) and whether it has detailed scenery or just a bare surface with the "scenery" only in the imagination of the owner. All are examples of the amazing imagination of the individual builder and all are equally worthy of our respect.
Thank you all. Thank you Al.
Respectfully,
Frank
Surey, BC, Canada”
A big thanks to Frank for sharing his N scale layouts using Kato track.
That’s all for this time folks.
Please do keep ’em coming.
And if today is the big day when you spring into action, the Beginner’s Guide is here.
Best
Al
PS More HO scale train layouts here if that’s your thing.
Need buildings for your layout? Have a look at the store.
They are great fun to make and great value too.