Brian’s been in touch with his model railroad river scene.
But before we jump into that, I just want to say a big thank you to everyone that has posted a question on the new forum, and especially to those who have posted answers too (Mike T, Sam H, Buzz, Greg and Bob).
Hopefully, it’ll grow into a really useful resource.
Now on to Brian:
“Hi Alastair,
Herewith the continuation of the corner build and a surprise return of an FSM kit built by me more than 43 years ago.
Continuing the corner build from last month.
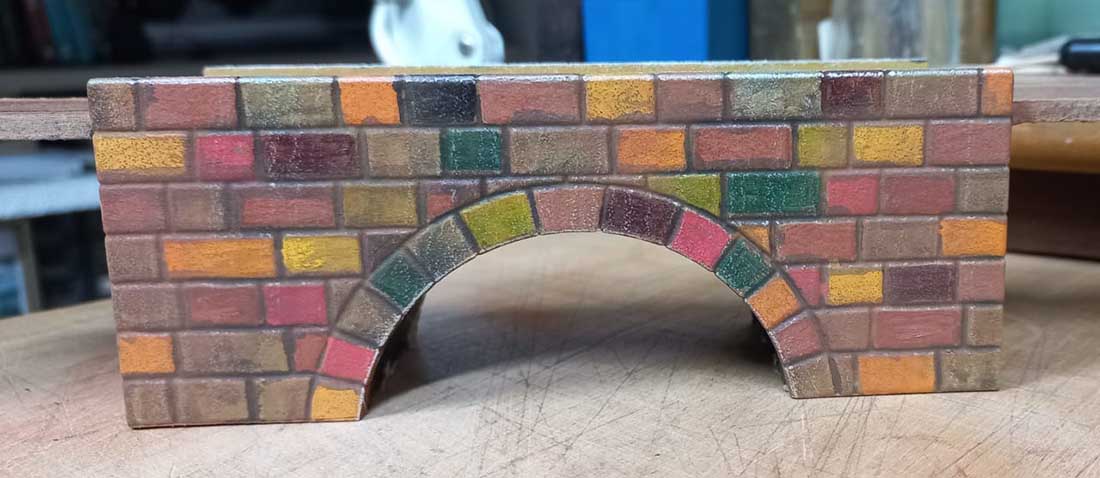
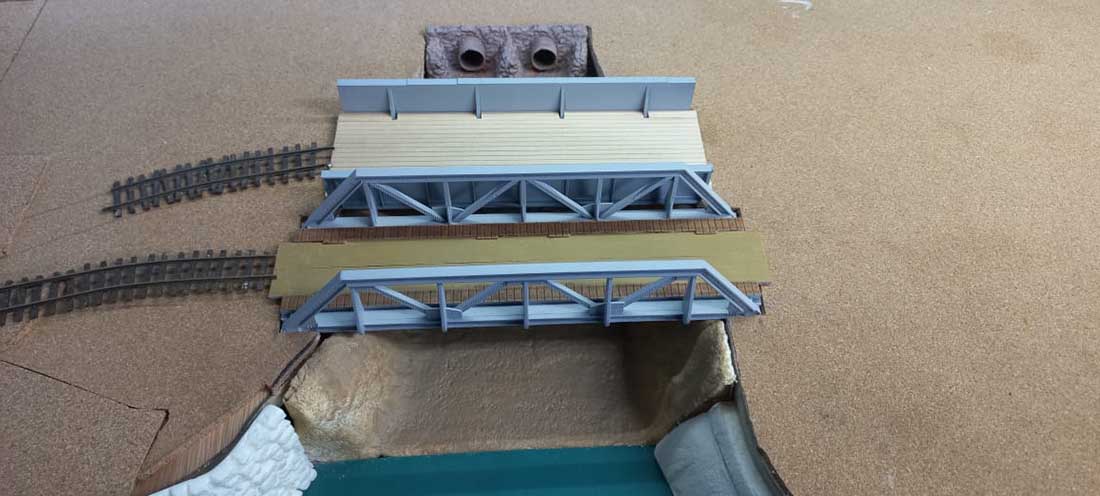
Below is a custom built (by me) road bridge for the rear of the left hand side of the river. From here it needs to be dirtied up a lot more to show plenty wear and tear.
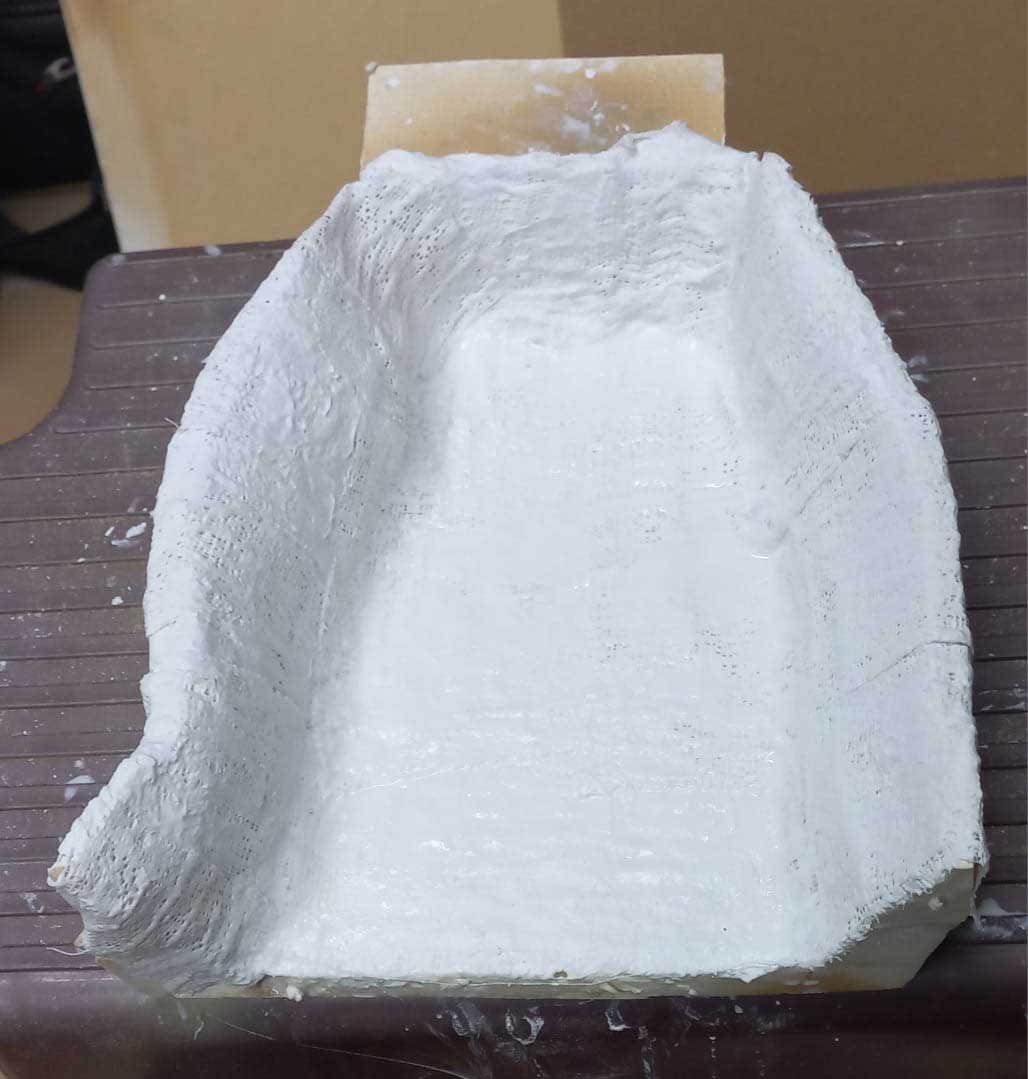
This photo shows the ISO board river bed in place and ready for final shaping.
Again, this is where it will be situated in the corner of the lower level.
The plaster cloth has been added and waiting for it to harden and dry.
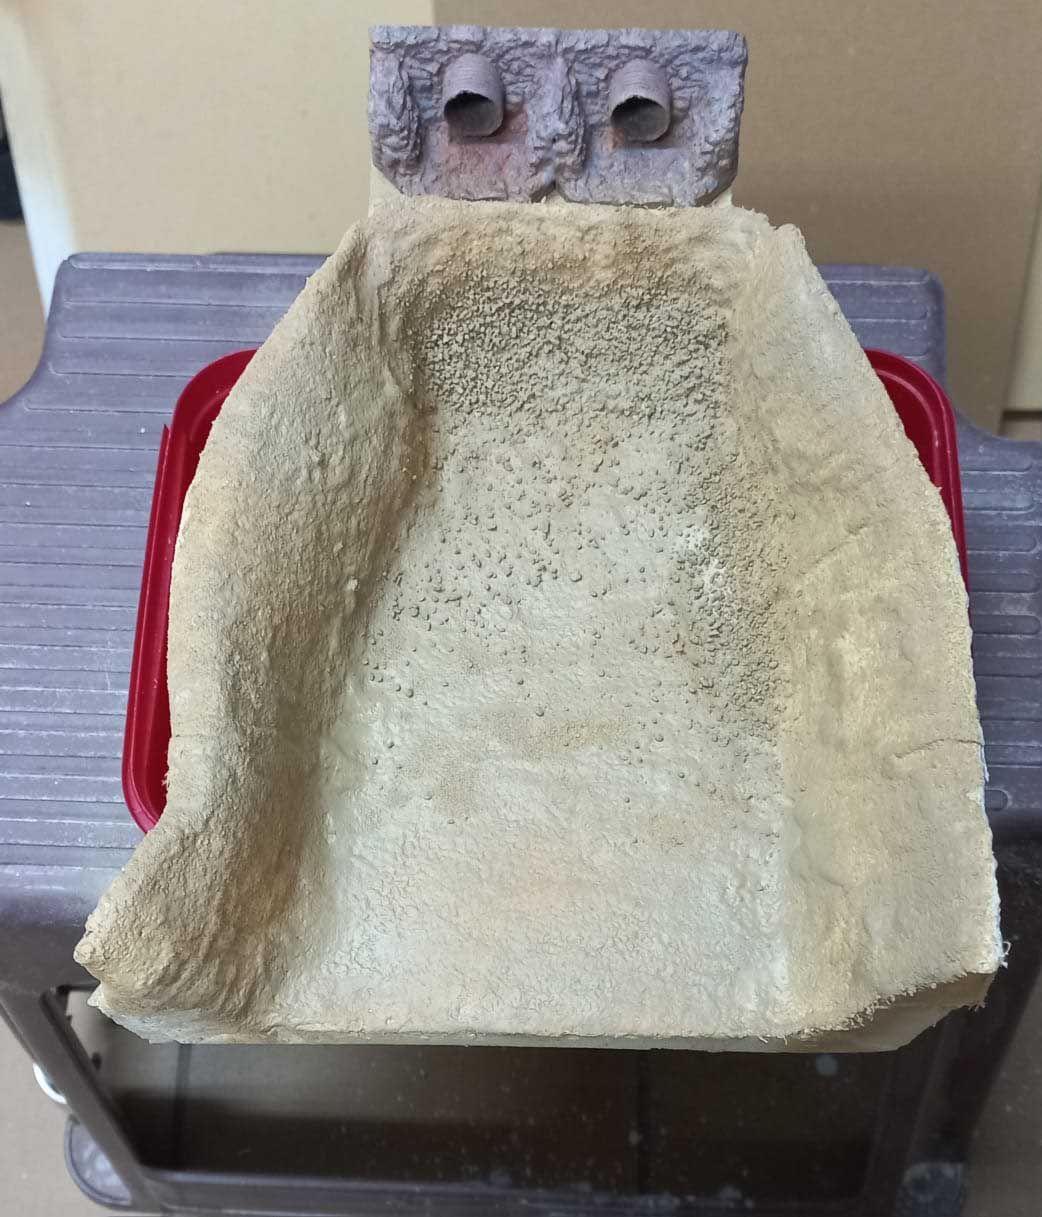
Colouring added plus loose dirt/gravel glued in place. I will also place small stones under the discharge pies and alnong the banks of the river. The discharge pipe casting has been levelled and temporary in place. Greenery and foliage will follow once in place on the layout to blend in with the surrounding model train river scene.
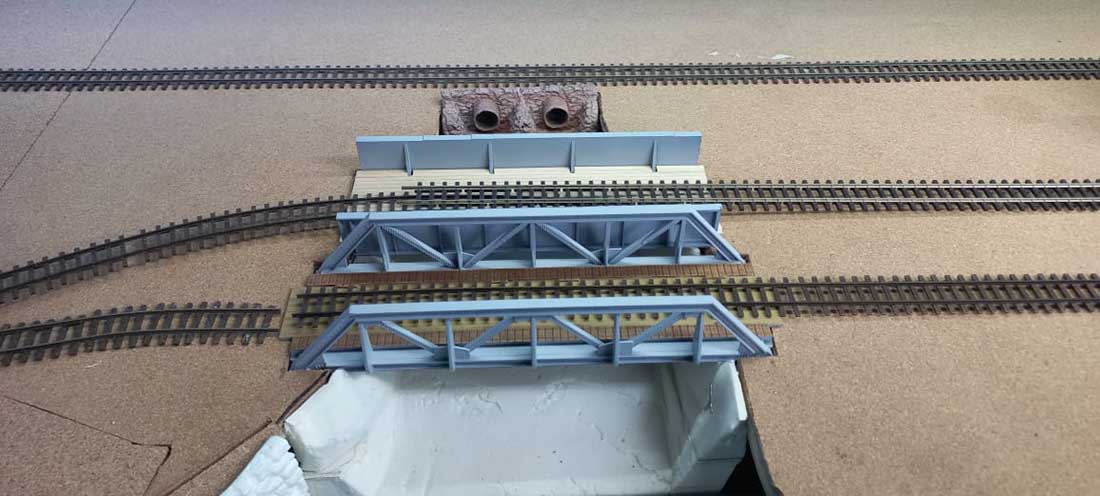
Here the level of the bridges are being checked and cuts in the plaster will need to be done to lower the bridges to the correct track level.
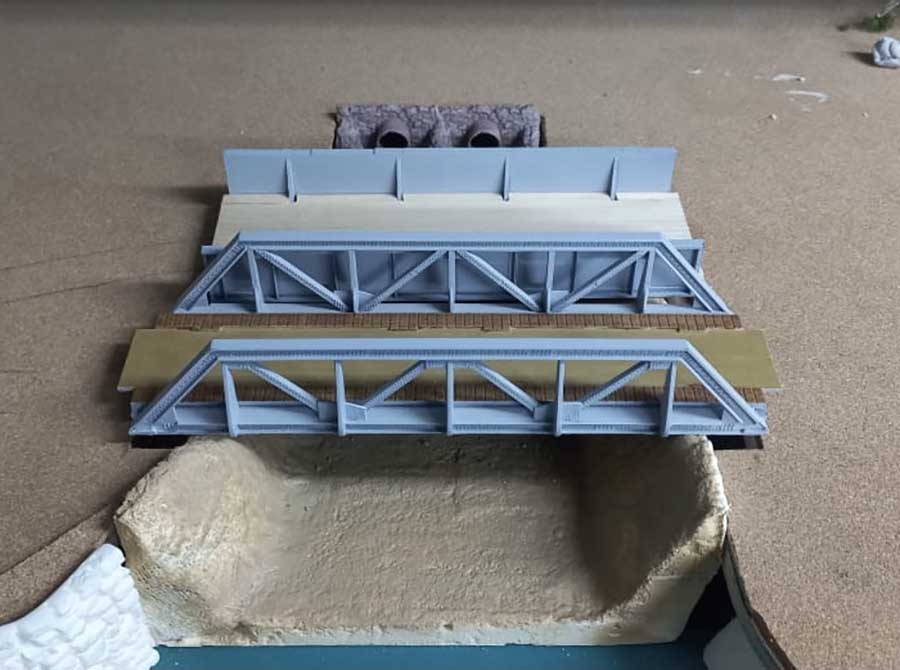
It can now be seen that the river bed needs to be lower to match the water level of Pelican Bay.
Model railroad river scene:
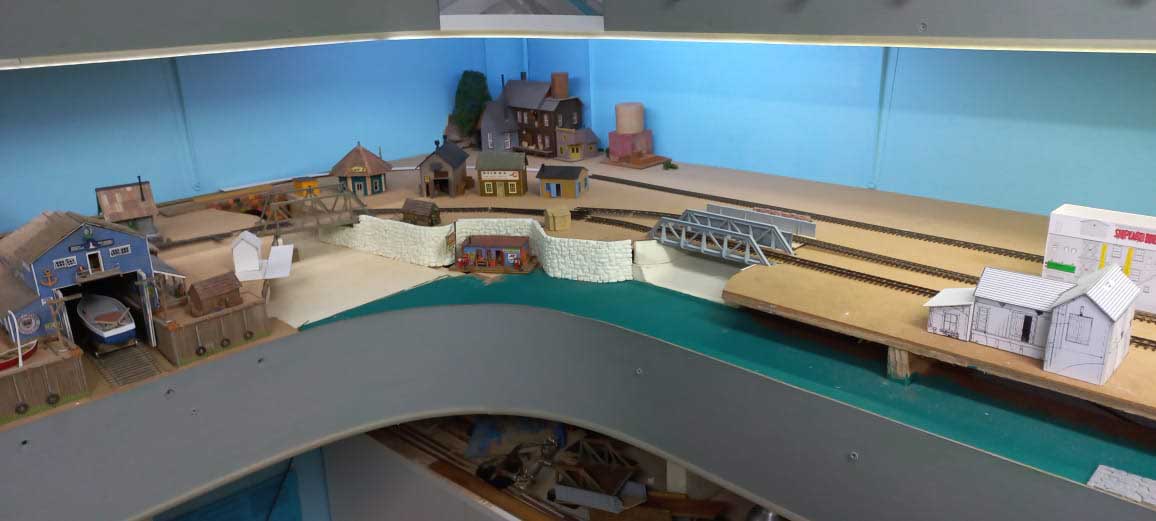
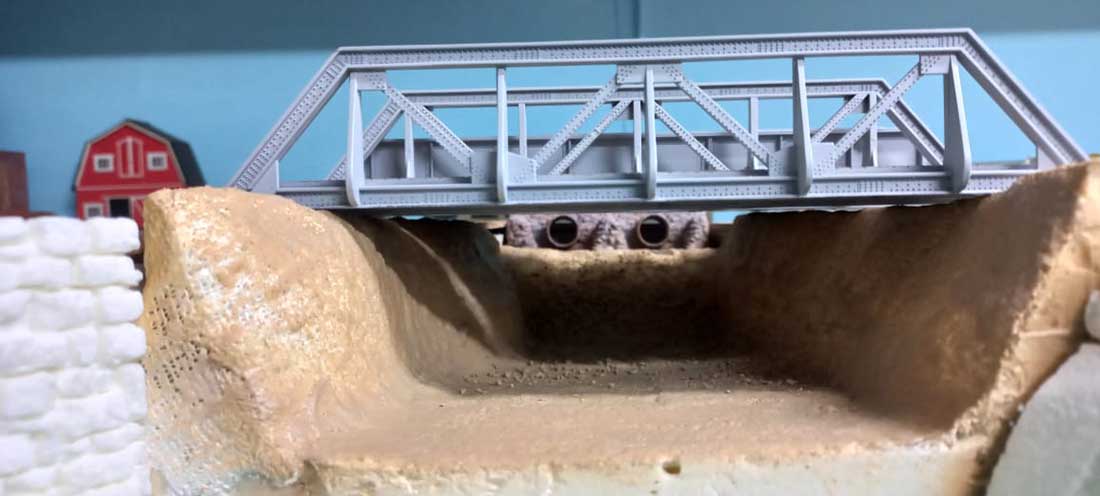
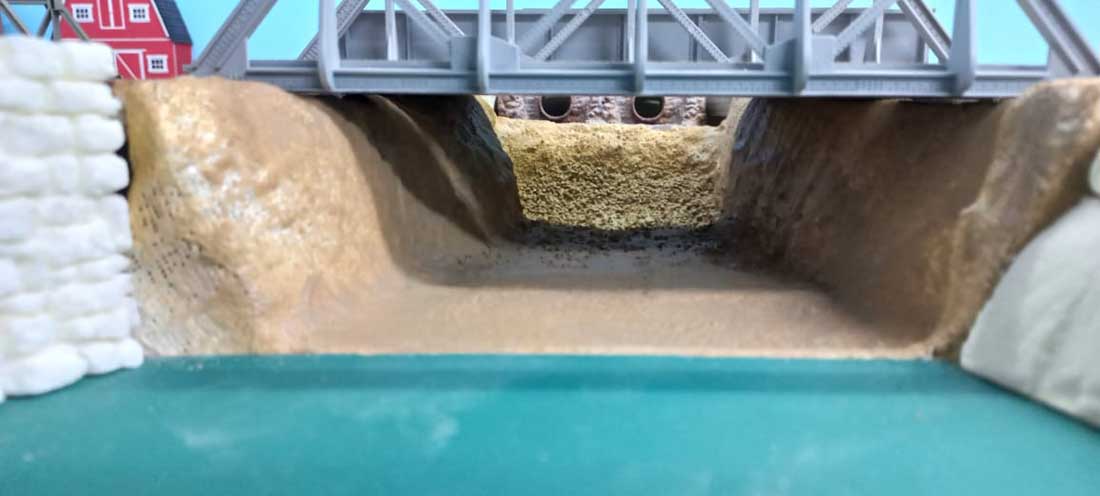
Cuts for the bridges have been made and the river bed is now at the correct level.
Birds Eye view of the levels.

The bottom right hand side has been filled using styrofoam in to give the side banks effect.
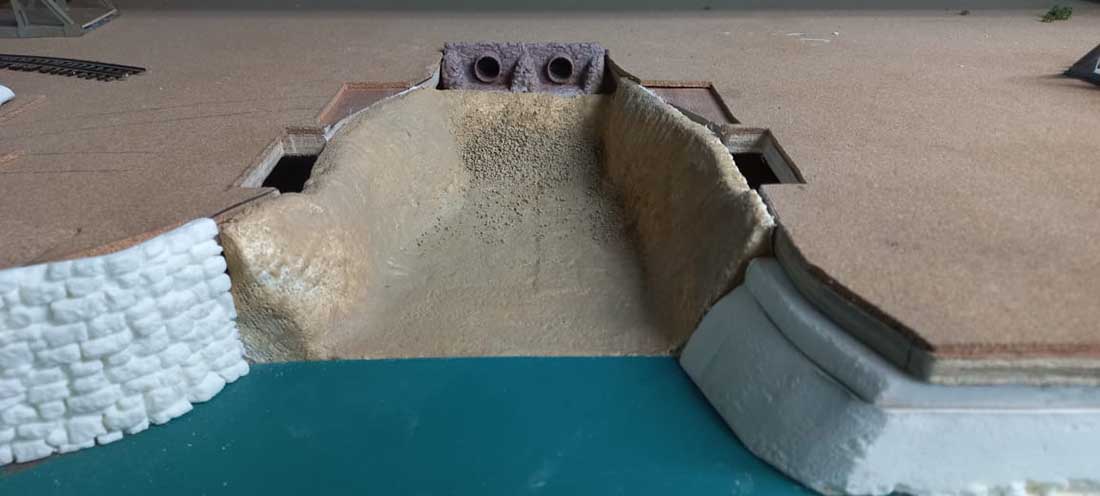
Another view showing where the water will come out of the pipes and down the river bed to Pelican Bays water level.
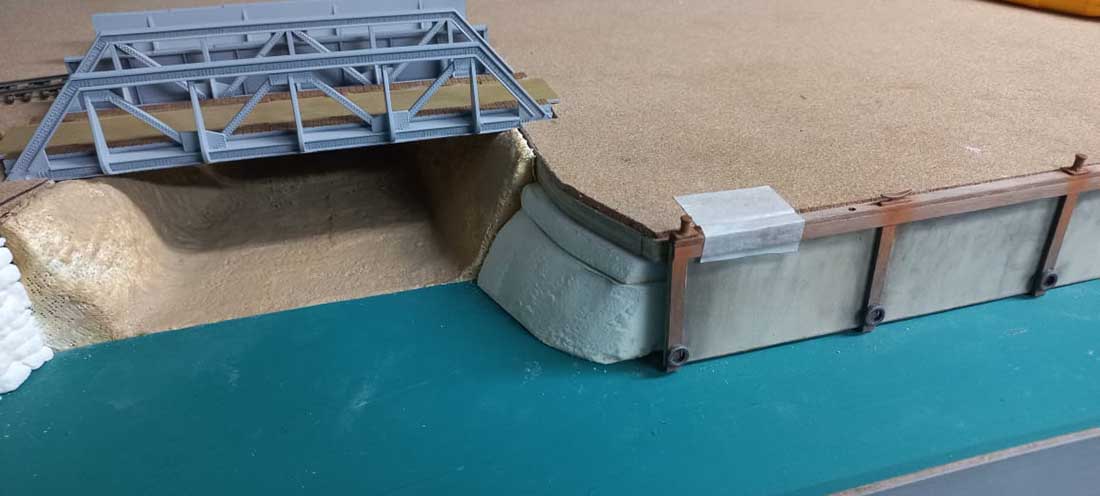
All coming together nicely in the photo below. Lots of scenery work to be done here to blend it all in. The masking tape is holding the ‘concrete’ before gluing gluing it in place.
That will be all for now as I am taking a break on my model railroad river scene.
*********
Way back in the 70s (Fine Scale Miniatures (FSM) manufactured the Freight house kit #150 in 1976) I had purchased this kit for a future layout then. But until the very late 70s I still had not the space to build one.
On my many business trips to East London – South Africa, I got to know a fellow modeller who had a fantastic HOn3 layout at that stage. He had plenty of empty real estate on his layout and never had a FSM kit on it – never mind not having seen one at that stage. Because of our continuing friendship I decided to give him this built up kit for his layout. He was over the moon with it.
Later on in years, he switched scales and went into S scale – D&RGW Sn3.
This FSM kit was then put into his display cabinet for safe keeping.
He eventually became best man at my wedding in 1989.
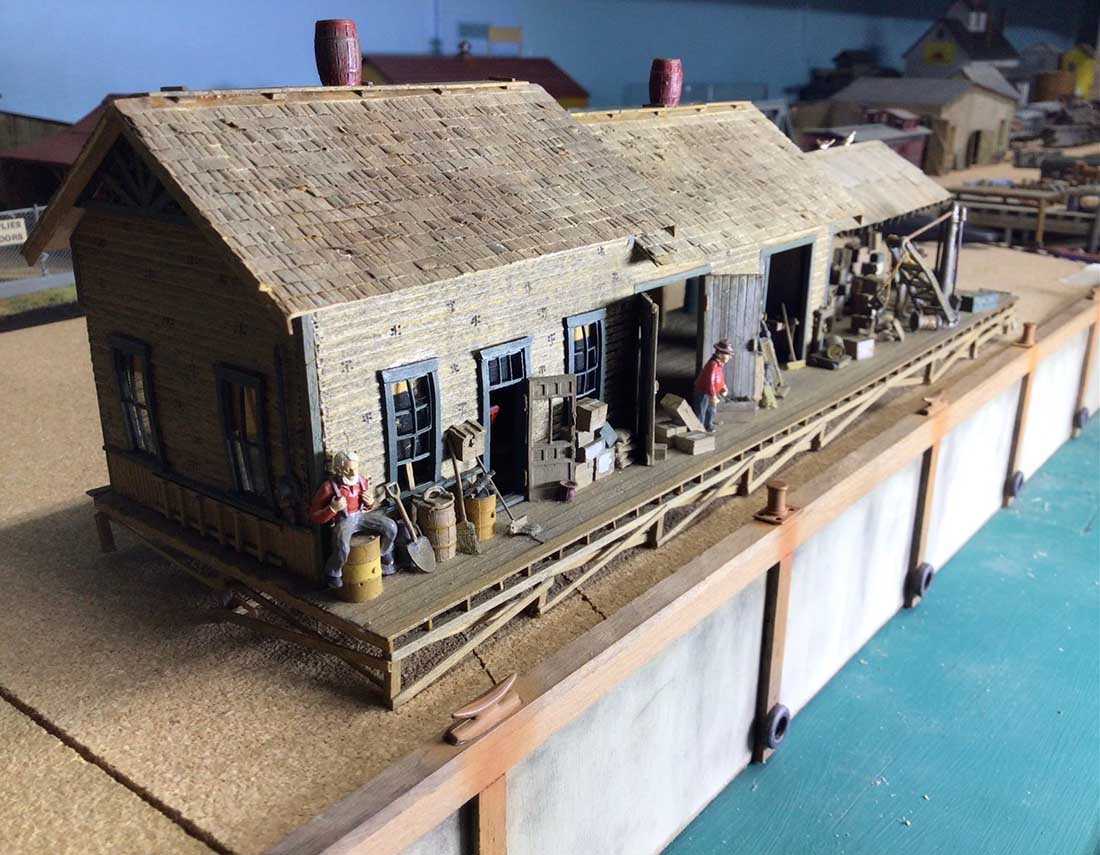
We were chatting on the phone (as we do nearly every second week) about modelling as always and I asked him about the kit. After a little bit of persuasion and coercion he finally parted with it and gave it back to me. It will now take its place on my layout at Pelican Bay. ??Yay?? Shown in a few photos below.
This is the Fine Scale Miniature kit shown below. All FSM kits came in a yellow box.
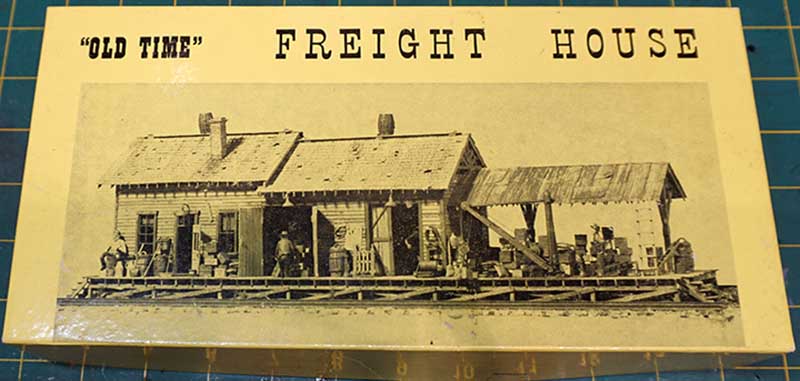
Below is an advert out of a model magazine in black and white.
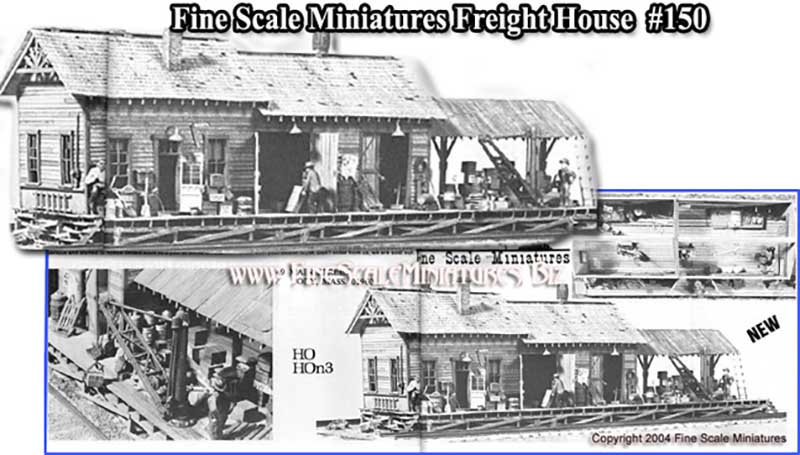
Photo below shows its position on my layout. Still in excellent condition – the kit that is after 43 years. I think that my construction methods and weathering at that stage was pretty good.
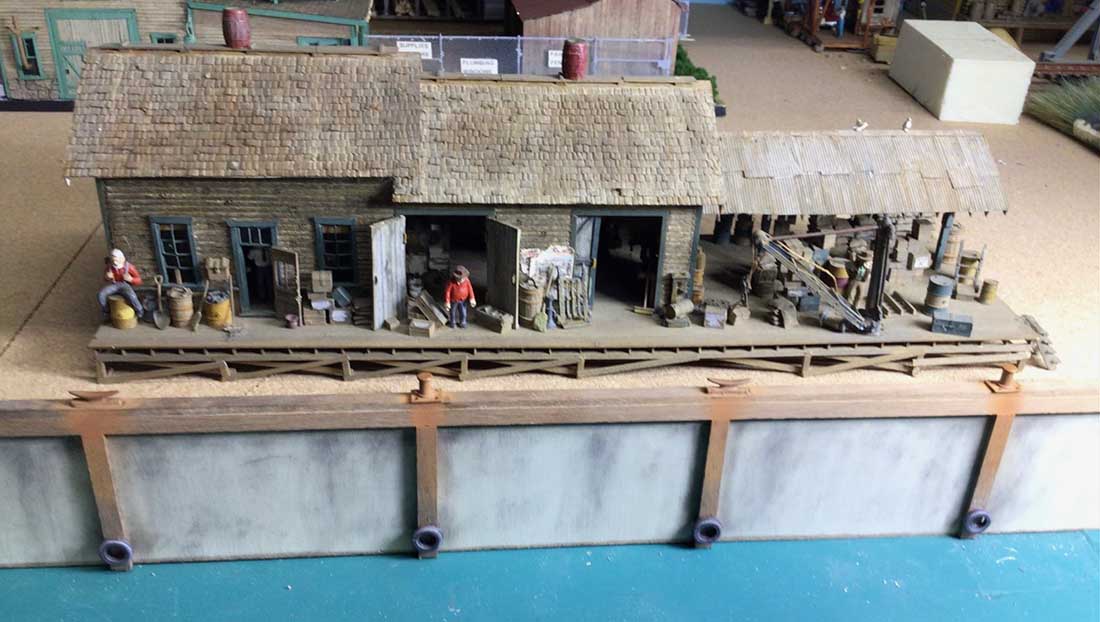
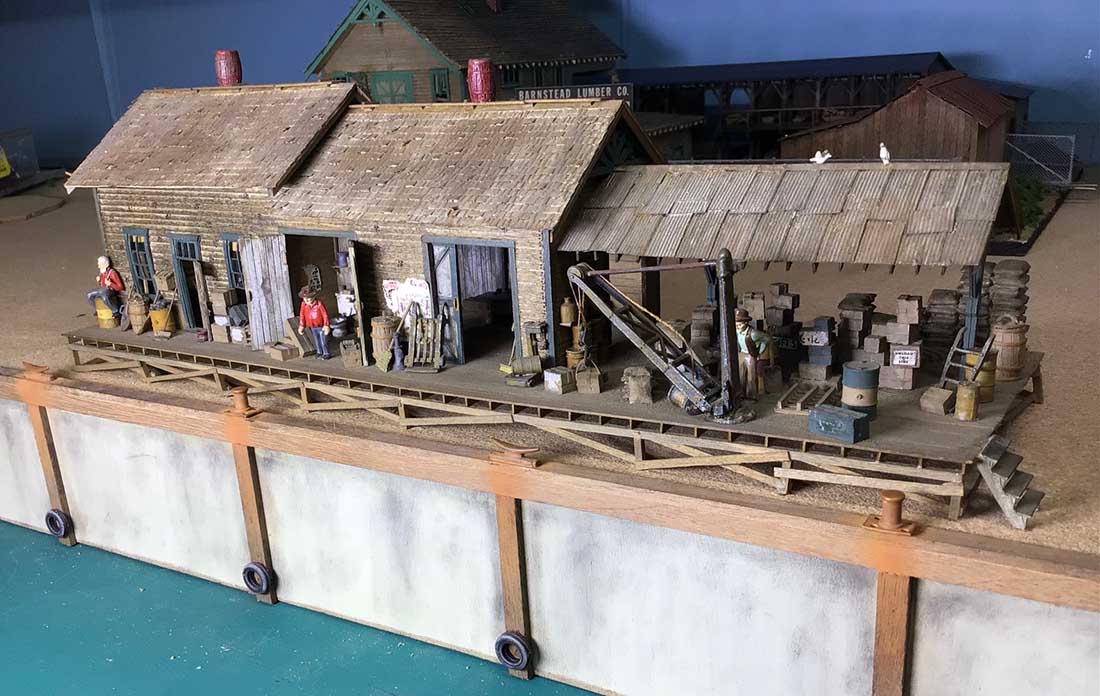
As per FSM kits, complete interior and exterior detail supplied with their kits.
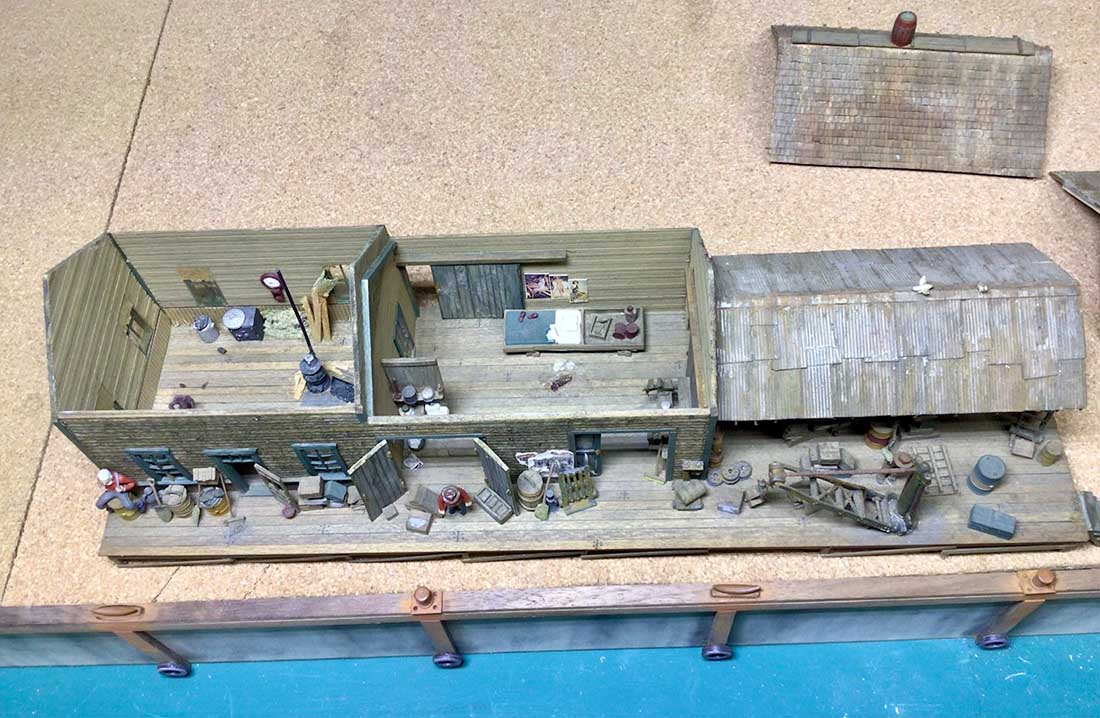
It is now situated on my layout amongst other FSM kits at the forefront.
Until next time – keep modelling.
Brian – the HOn3 guy in Knysna.”
A big thanks to Brian for sharing his model railroad river scene – and his FSM kits, which I thought looked amazing.
His previous post on the model railroad river scene is here: HO scale waterfront layout.
That’s all for today folks.
Please do keep ’em coming.
And if today is the day you get started on your layout, the Beginner’s Guide is here.
Best
Al
PS Latest ebay cheat sheet is here.
PPS More HO scale train layouts here if that’s your thing.


Very nice crafting! A great start to a new year.
love the colored stoned bridge & the riverbed was nicely done
Even here the unfinished scenes look finished. Superior workmanship going on and even real thing couldn’t be laid out any better. And sure, water can be that color, especially if churned up- don’t change a thing. IE is Reversing Falls @ Pembroke, ME.
Bridge arch is eye catching, looks as colored chalks were used. Perfect, no shine and staying between the lines. Also inside building, the detail needs magnifying glass speaking for myself. 🔍🔎
Regards, Rich
Excellent modelling.
very nice river scene. also nice freight station/ house.
Your freight house is wonderful. Your layout is really taking shape. Rob
Brian
Great story. Always super to hear from you and see how the Boss makes wonders. You’ll always have fond memories just looking at that priceless Freight House.
Big Al
Sweet! Danka
The stone arch bridge was made from the side walls of another kit that I robed to make this one.
The coloured stones were done with paint markers (purchased at local craft shops) to ensure that the colour stayed on the stone that I was painting.
The dirty mortar work was made using Tamiya Panel Line accent colour that has a very fine brush and the liquid runs into the mortar lines very easily. Tamiya produces three colours, Brown, Black and Orange.
The bridge was then washed with a light black wash, dusted over using a faded white weathering powder and left to dry.
Looking at it again, it still needs to have more dirt over it. Then it will be complete and ready for placement on the layout.
Brian – the HOn3 guy in Knysna RSA.
Nice job on the freight house