This time a few questions – as well as some tips.
I’m sure the ‘collective’ can help!
Al.
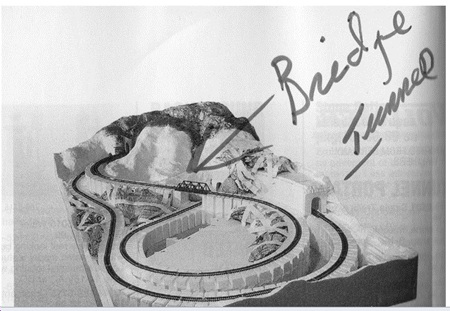
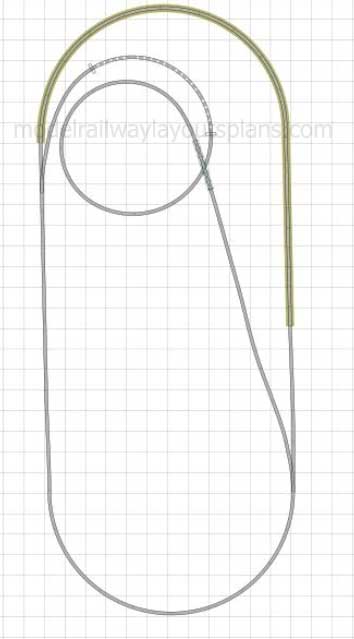
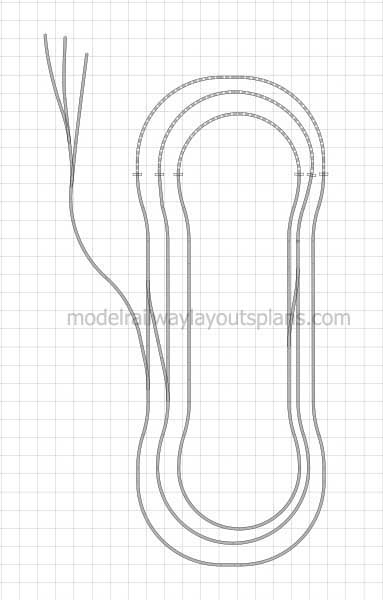
“I’m designing a Colorado mountain layout including an ascending/descending Durango-Silverton route, weaving “in the valley” Denver Rio-grande passenger train and an “along the edge of the mountain” coal train with tunnels, bridges, etc
Any ideas for this 6 foot by 13 foot project would be really appreciated.
Here’s a concept (see below) but adding the coal train, etc.
Thanks and Blessings
Duane”
Alastair,
I am on my 4th layout and probably have tried most ways of fixing my track down to the baseboard before ballasting. This is the latest and while I am certain that others have tried this, it was a first for me. Instead of using “track pins” I tacked the track in place using a small (very small) hot glue gun. A spot of glue every 8″ or so between the ties. This method holds the track in place, is easily moved if not quite right and does not distort the track by pushing pins through or having to drill sleepers (ties) every few inches. The spot of glue is eventually covered by the ballast.
I happen to use a dense foam as track bed but the idea would work equally with cork, homasote (softboard) or commercial track bed.
The foam I use is a cheap camping mat available from camping stores and Walmart .
Chris”
Hi Alastair
Not sure if anyone has posted this tip yet, not seen it yet but still reading
I make a lot of card kits, both in N and OO for friends and now myself
I have taken a 6″ and a 12″ Rule and stuck using doubled side sticky tape Fine Wet & Dry Paper around 600 – 1000 grade this dose two things 1st give you a non – slip cutting straight edge and 2nd a bed for sharpening your scalpel blades I can make a scalpel blade last 4 – 5 times longer. Great for card and plastic card both.
Bob”
Excelent! Thanks Bob – I shall try it out on the next print out kit. My boy has also posted a youtube video to show you how easy the print out scenery buildings are to put together too. It’s here
“About 40 years ago in Model Railroader magazine there was an article on how to “pickle” live plants so that they would be preserved and never deteriorate. Does anyone know how to do that successfully?
Walt”
“I have a tip. It is for track and wheel cleaning. Get automobile transmission fluid a brush or felt; brush or rub the tracks with the fluid let dry. This increases electrical pickup and cleans the track and wheels. Just have to use about every month if not a high traffic area. All it cost is about $3. and you have a cleaner for many years.
Bob”
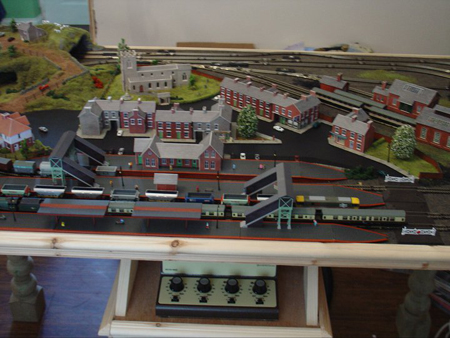
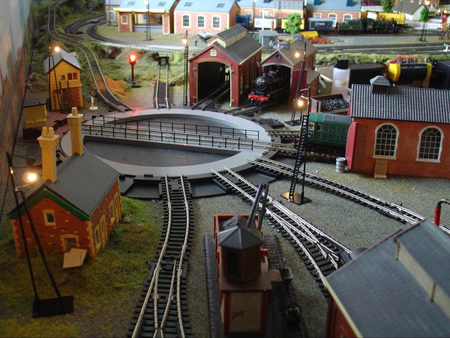
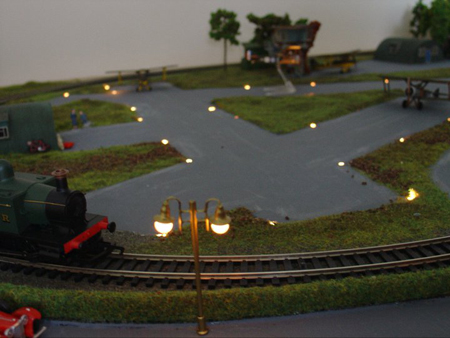
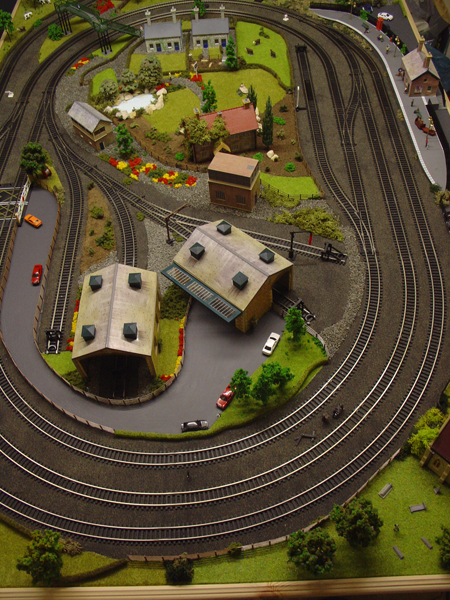
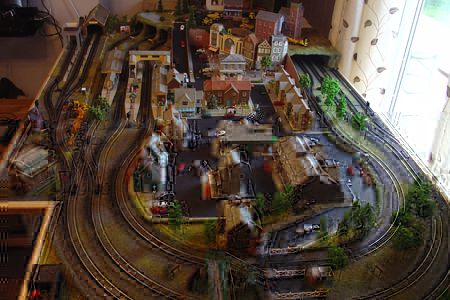
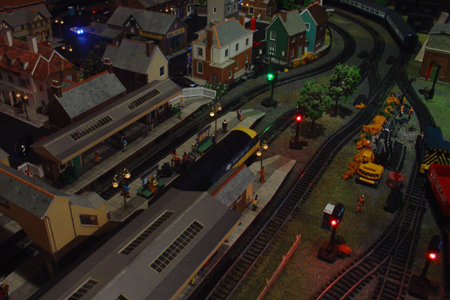
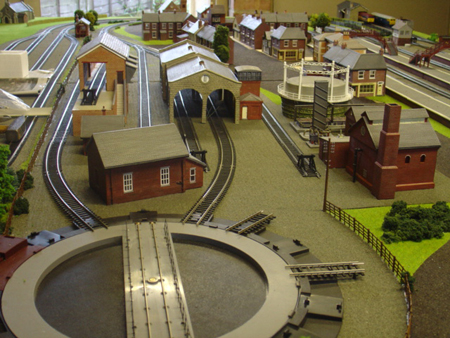
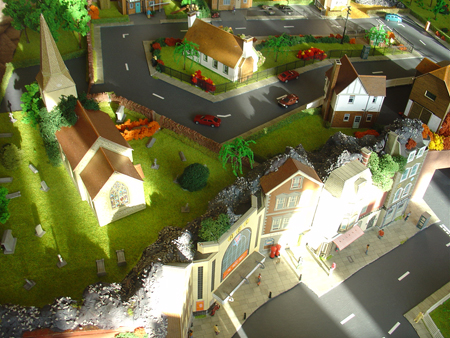
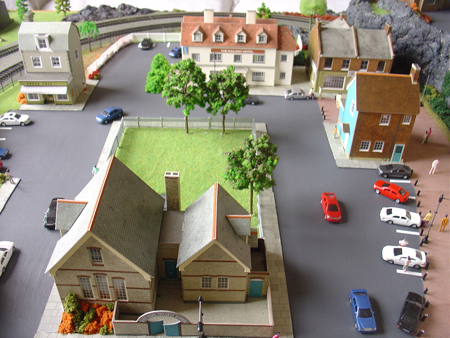
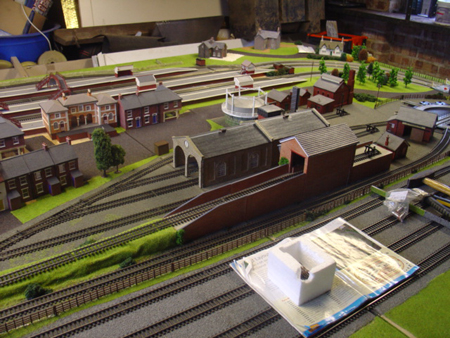
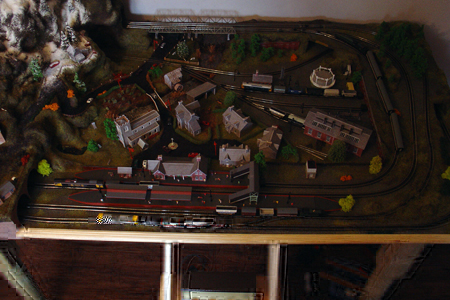
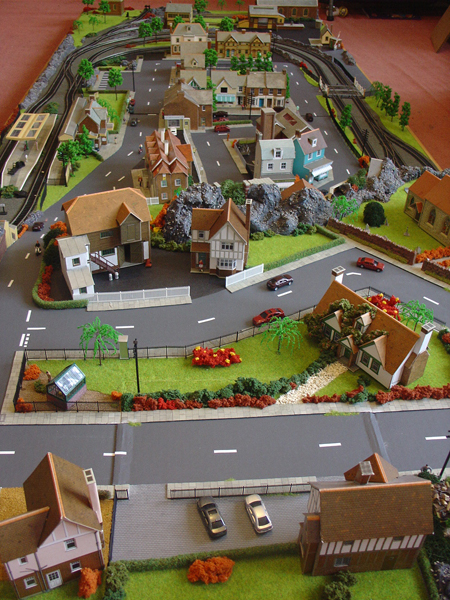
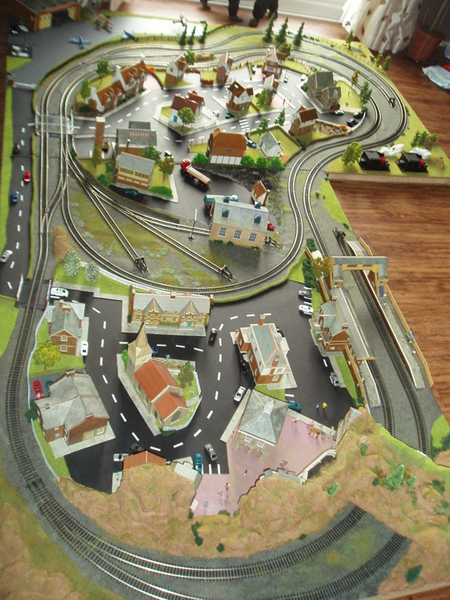
“Hi i have added pic’s of layout’s i have made over the year’s witch i’m happy to let other’s see.
I have many other pic’s that im happy for you all 2 look at so fill free to email me for more.
Wow! Thanks Chris – there’s a few years of layouts there! Al.
“Help Al! I bought a Bachman freightliner DCC. But I run Hornby. I bought a new decoder and installed it. But the error message I get on my hornby controller says the decoder I bought isn’t programmed for Hornby – or anything, come to that. How do I get it programmed?? Should it have come programmed What have I done wrong? I have a train that cost me a small fortune which I can’t use 🙁
Alex”
Please do post your answers! And keep those tips rolling in.
Thanks too for all the comments on the ebay cheat sheet page. Glad it’s working out for you.
And if you’re still sitting on the side lines, the easiest way to get involved is here.
Best
Al

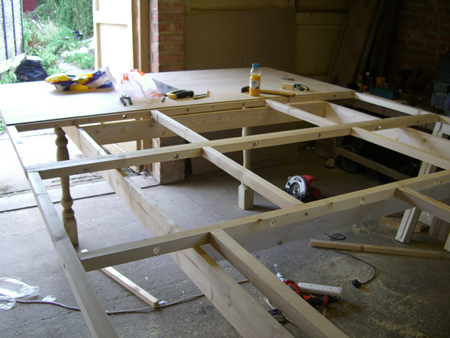

Dear Alastair, can I put more than one CW-80 Lionel transfer on the same track? How do I know how much voltage I need to run a train and accessories? I plan to run my 5 trains independantly without switching. Can I use one CW-80 for just the accessories? II planning 3 4×8 boards in a U shape with a long run on two elevated lines running side by side across an suspension bridge. Do I have to count the voltage used by the accessories and the passenger car lights to determine the amount of voltage for the traof wattage for the transformer? Please advice, thank you- Lloyd
They fill me with admiration!
Well done lads.
Please send information about hobby motors and ways to make different elements in scenery have motion such as figures, etc.
Thanks
These were great ideas and the layout is terrific. It’s not overwhelming and has a nice track plan. It’s a nice small town layout. I look forward to seeingg more pics.
Some nice pictures there from Chris, should give some would be modellers some idea`s for layouts
Hi Alastair thanks for showing my pictures. Just a tip for any one thinking about ballasting the track on your layout, try using roofing felt with a gravel look.
As you see in my pic’s all of them have roofing felt, the best way to do it is put your base down and then add 6mm flooring mat for wooden floor’s, then heat your felt but not 2 hot and then lay or P.V.A your felt and then lay.
I am about to start the benchwork for an N scale layout and was considering attaching the track to pieces of the snap together flooring boards, like Pergo. The floorboards are fairly thin and can be easily cut to shape. The underside has a thin foam pad. If I turn them upside down, and attach the track to the foam pad, it seems that would be a great built-in roadbed. Any thoughts? I found the floorboards available cheap from the local ‘ReStore’ (habit for humanity) store.
Well there is not much to say. Really good layout pictures. Talent I am lacking at that level. I got some good ideas to try. Thanks again.
Best to all, Al The Rookie!!!
Hi Scott that sound’s ok, as long as the frame you make up has not got to wide of gape’s as after a time you will find the wood will start to sink.
I will be sending some other pic’s to Alastair so look out for them as you mite get some tips off them.
For Duane:
Great looking start, but as it’s still early days I’d like to make a suggestion, hope you don’t take it the wrong way. As is, your tunnel looks like it was “built up” above the normal ground level, instead of being a hole bored into the mountain. In prototype scenery you wouldn’t see it like that. In my opinion, it should look like it’s the only way the engineers could get the track through the mountain.
For what it’s worth…
Regards,
Don
Nice work, though a bit ‘clean’ for my tastes.
Painting the rails and ties will make your layout look professional.
I am about to retire my present layout, and am about to photograph it.
I will save the table for its third go round.
The frame is 1’x3′ wood with 1/8″ wood covering the same; it is 3′ x 5′ which allows for easy HO down scaling to N.
Keep up good work.
Possible answer for Walt. I think they used glycerin. 2 parts water to one part glycerin. Soak the glycerin picklingf solution at 200 degrees. Two schools of thought on the amount of time to soak… some say 30 to 45 minutes, some say overnight.
The glycerin is absorbed into the plant, so has to be replenished.
Gary
thanks very good
In response to Christy Paul:
Check out some of the robotics hobbyist websites.
They have links for lots of small motors, geartrains, and linkages as well as possible applications.
Ive never deen a street that clean. but it is better than i can do.
Also there are all kinds of neat gears sheaves (pulleys) and motors inside vcrs i always pick em up at garage sales for next to nothing.
Hi Alex
All decoders supplied are set at a factory setting of 3, and work with ALL DCC controllers in other words if you install it and do nothing else all you have to do is select loco 3 and it will work.
It would appear from what you state that the decoder is faulty, one check you can make is to ensure that the decoder is in the socket the correct way round.
Good luck
Lawrence
Dear Scott, I found that a 4×8 sheet of 1/4″ lauan plywood makes a great base. Lay out your track, trace the sections to be raised, jigsaw those sections and raise them. Glue on the cheap roll type foam roadbed and nail the tracks so you can move the track or replace switches later. The plywood helps keep your grades even and gradual and it also holds screws and underlays bridges.
Take the 1×4 outside frame wood and dado into it a 1/4″ x 1/4″ slot 1″ from the top of the board on all 4 sides of the frame. Liquid nail glue the lauan plywood into this framed slot and add 4′ 1″x 3″ cross members under neath it and more glue. Be careful to space these cross members to not be underneath any important holes needed to be drilled for wiring, switches etc.
This is for Duane…
I have been working on an N scale layout for about 4 months that is similar to your idea although I am limited to 30″x60″. I have a single figure 8 with a mountian tunnel and bridge and a few curves. I am modeling it after any number of small rural American farm communities with a small town consisting of a post office, general store, and church. I also have a dairy farm, horse farm, small lake with a fishing cabin and planning on a camp ground on 1 side of the lake. In the far corner, I am planning a small army training area as I picked up a set of 3 army trucks, tank, and airplane on Ebay for a mere 99 cents. I’ll be sending Al some pics as soon as it is complete. The fun part has been building a lot of my buildings by hand from either balsa wood or card stock. Hope this gives you some ideas.
Hi, great layouts and tips. I have a hundred or so small hobby motors, Swiss made, run from 1 volt up to 30 volts DC. They were used on machines to drive the paper tape, and are gear reduced. As I am located in the colonies (USA) there would be some shipment charges involved. Anyone interested can email my address and I will forward the specs and a picture (if I can figure out how).
ken has given me some great ideas. for my mid america [ nebraska] iam using john deere toys in 1/64 for my layout ihave sent pics to al but have’nt seen them yet
Ben
Duane, if you have ever ridden the Durago-Silverton railroad you will notice that you have to have some very high mountains banked on each side. Y really need to raise those mountains. I think the tunnel looks good for the elevation.
Great layout, given me some good ideas. I’ve built a lot of houses so far and have a lot of stuff to start my layout. Just waiting for my daughter to get her stuff out of the shed so we can put it all together,
Hi Al,
I’m new to creating a layout, and the tips are to say the least very helpful, and I would like to thank everyone for sharing them.
There is one thing I do need help with, I can’t find any kits or scatch build help for a Z Gauge footbridge, can anyone point me in the right direction?
thanks
Gary
Hi Al, I love getting your tips. It has really been helpful. I have a question concerning motors. I have a dcc c44-9 that starts out great at low speed but at full speed is lacking , it would seem that the motor isn’t going at full speed at all. I compared it to another loco, a GP-40 also dcc and it runs much faster at full speed . Do you think the motor could be weak or could I replace the brushes to improve the motor performance ? Any advice you can give me I would appreciate. Thanks,
Chuck
Thanks excellent layout. How does he work his lights?
I would love to learn how to make these layouts, what’s the track plan? Could you send it too me?
I love the diversity of talent and follow through on all layouts that I have seen.
Someone asked me after seeing the current status of my first layout attempt started in May, if it would be finished in time for Christmas.
I explained that “Done” is a relative term and that I view this as a hobby I can take well into my retirement (which I hope will come in 4 years @ 62). Not that this will be my only layout but rather my first to begin to learn some of the craft that I have witnessed in the hundreds of layouts that I have observed in these very few months.
I can see that people gravitate to the level of detail and reality in their modeling that they are comfortable with, can afford and have achieved skills to enable.
Everything from a fake grass covered basic 4×8 sheet oval to elaborate real replications of Railroads that you can drive up to and photograph to compare to the layout with schedules that are run by a few friends or an entire club.
I think it is that forever challenge to my skill set and wallet that excites me. This is not something that I am going to build once and become bored with. It can be as complex and long term an effort as I have time, money and interest to complete….. And then I plan on starting another.
Maybe I will find a way to donate my learning layouts to Children’s Hospitals or similar venues to enable an entire new generation to experience and fall in love with the hobby that I hope to become proficient at.
I have spent 4 months dreaming and doing some building, but it is the fantasy of what this could become sometime in the future that is captivating. I hope never to be finished.
Went to a model train swap meet they had triang and lima haven’t seen that stuff for a while but I had to ask how do they clean their tracks when they get dirty and they showed me the bottom of a carriage with a block with a spring to push onto the tracks with the fine sand paper on it to clean while the train is running thought it was good idea nothing worse than a train stopping because of dirty tracks
Hi Al
I am fairly new to model railways and have now got a space 10ft x 10ft to use. The shed is actually 16×10 but need some space for storeage. I intend to use the wall space so I may put in a lift out section at the front. I will be using Hornby 00. I wondered if your readers might have some suggestions or photos of layouts that may help me. Regards Bob
Hi Duaine, A nice concept, for a layout. I wpuld suggest, a turnout or( switch ) @t 🙂 e lower level leading to a turntable, and storage yards. Durango yard very long and extensive I n.a. trackwork. At upper level a wye might work with a couple small single end sidings for storage, between town and coal mine. Find a great reference books on the area youre modeling. I do hope this is in some way a help in achieving a great layout. Michael C.
Chris, first off, an absolutely stunning layout. Track work seems superb, beautiful structures, roads and scenery. But sadly I see no people. Or are they all at once taking a much needed siesta? If you had say 20 carefully placed citizens (on your layout) then we could think your railroad could very well be prosperious. Just a thought. Michael C.
Al,
KEEP UP THE GREAT WORK ON YOUR SITE!!! I LOVE IT
I was very disappointed as I had my “G” scale set up outside around my deck & spa & one day after work I noticed all my track was stolen (I guess for the brass but not the trains or controllers) so now I am constructing a complete layout in my basement (Oh how my wife of 39 years is loving that!!!). I have tried the printed houses (that you have shown several times) but there is nothing in size for the “G” scale (I tried increasing the ratio) & I would really love to use them in my layout going forward. I have a total of 23 engines from steam to diesel with the layout being divided into 3 sections to accommodate everything so I wanted a diverse layout of homes, businesses & other buildings to make it look right…Any help from anyone would greatly be appreciated
Steve
LOOKING FOR A SYSTEM TO CONTROL THE 12VDC LIGHTS AND 12VDC ACCESSORIES ON MY LAYOUT. JUST ONE SWITCH TO TURN ON AND THE RELAYS OR COMPUTER DOES THE REST. I KNOW THERE MUST BE SOMETHING OUT THERE, ANY HELP?
like the Durango silverton rail layout.. several yearsago I purchased a “G” scale replica of the Durango passenger train and a “HO” set of the same… I plan to put the G scale on the potshelf and the ho around the Christmas tree… keep up the good work pete Arizona usa.