Bill’s been back in touch with his switching layout model railroad:
“Hi Al
As always I appreciate your work and your wonderful site.
Everyday I enjoy reading of others modeling work and see the great variety of model railroads you post.
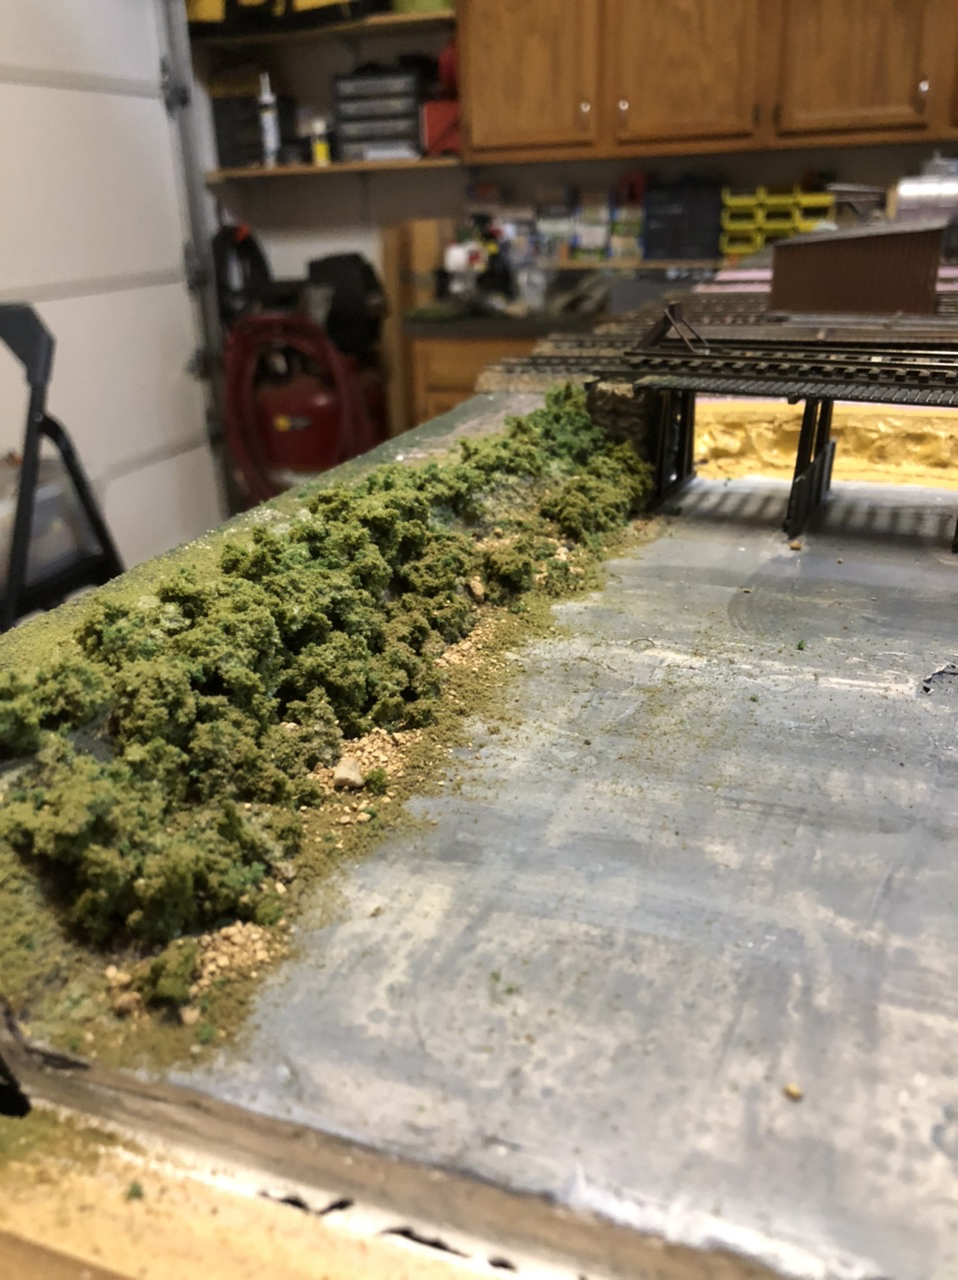
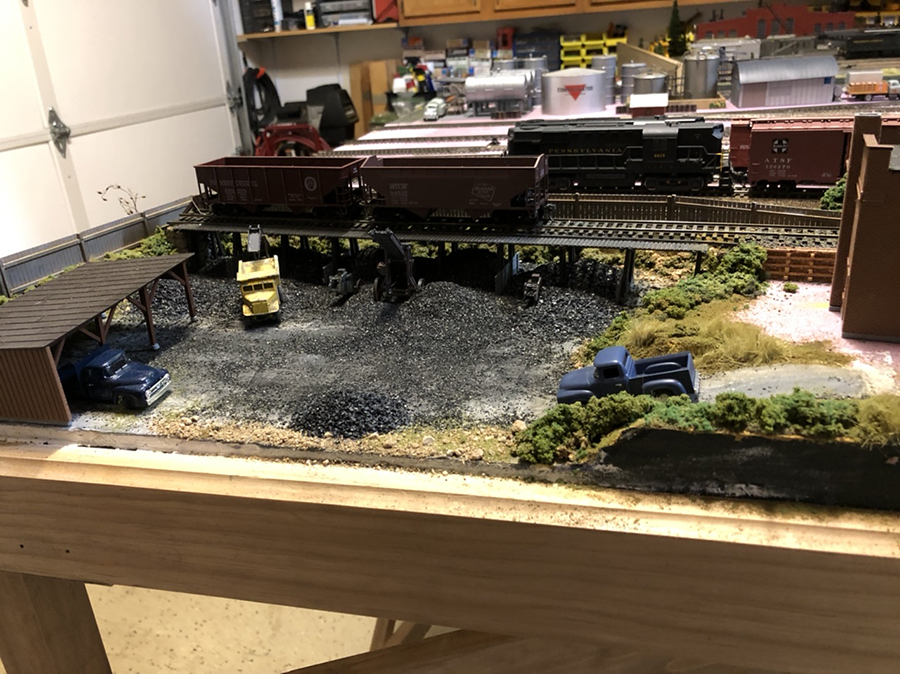
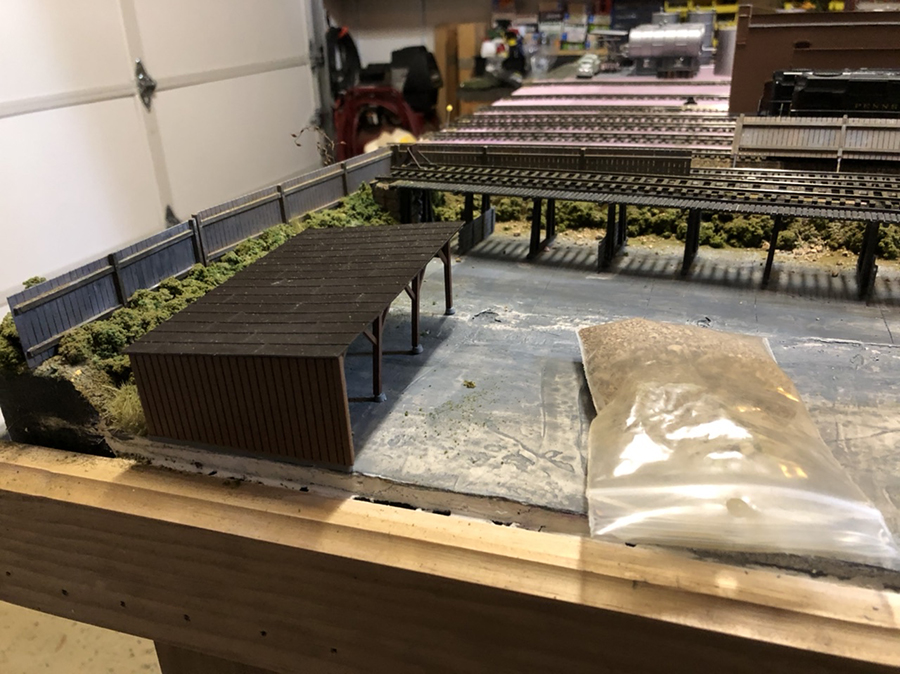
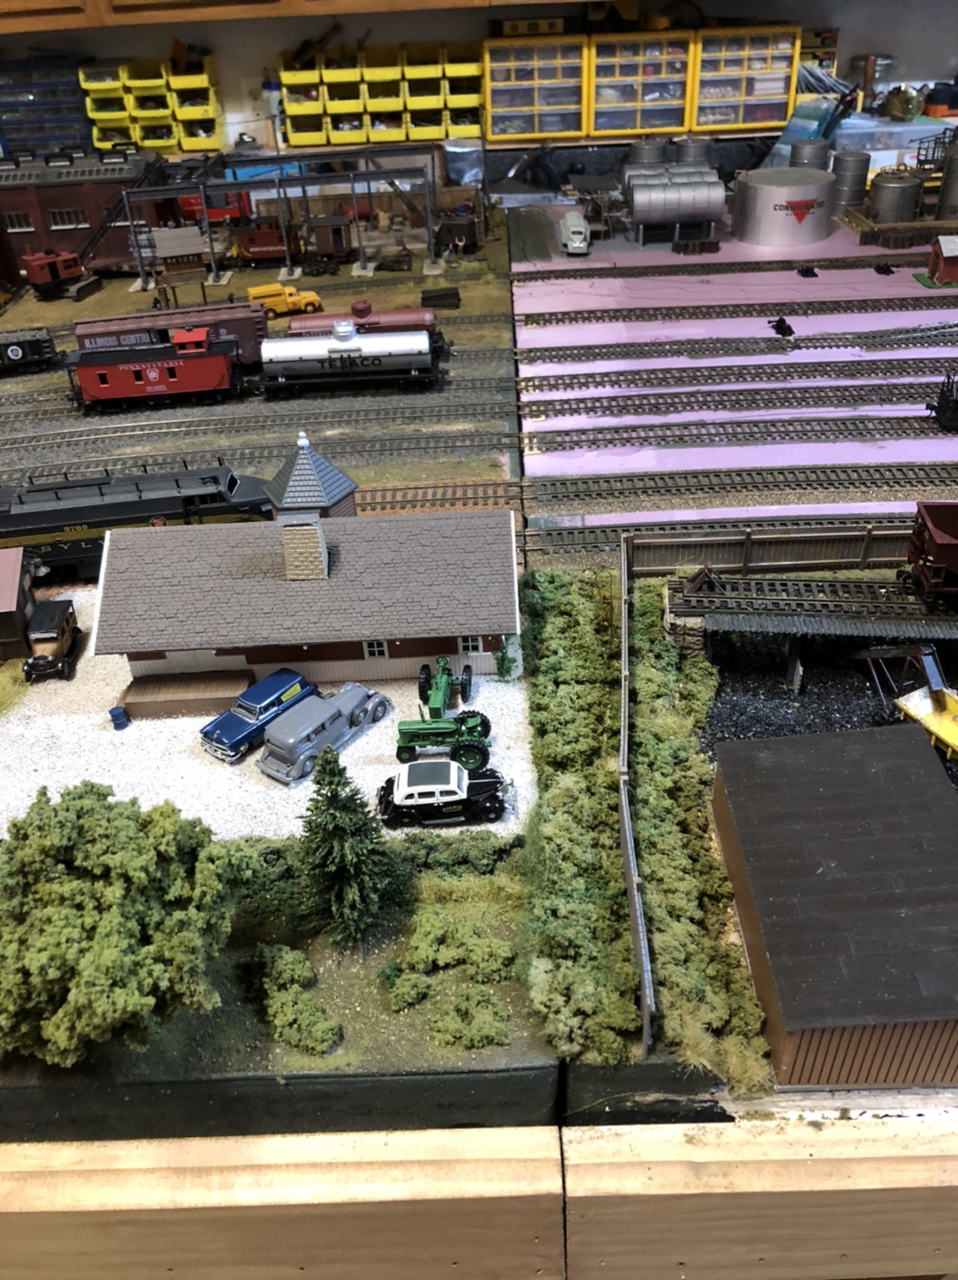
This weekend I spent some time working on one scene on the second module of my 4×16 switching layout.
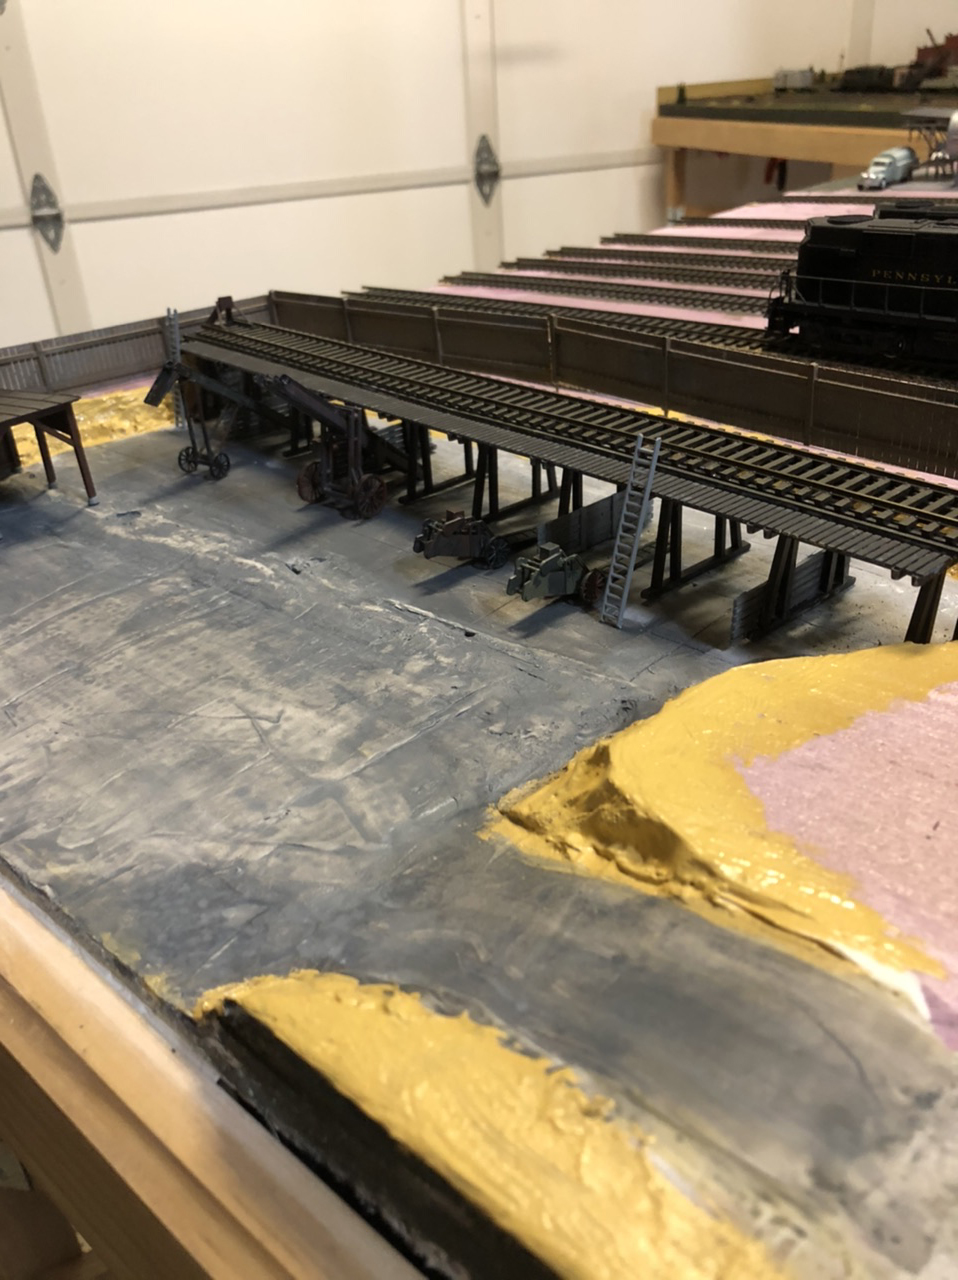
I have all my filler ties back in on my track and all ties and rails painted so it’s time to start adding ballast and scenery.
I’ve attached a few pictures of what I’ve accomplished today and a link to a video showing the scene in more detail. I look forward to hiding pink foam board at the soonest across the whole layout.
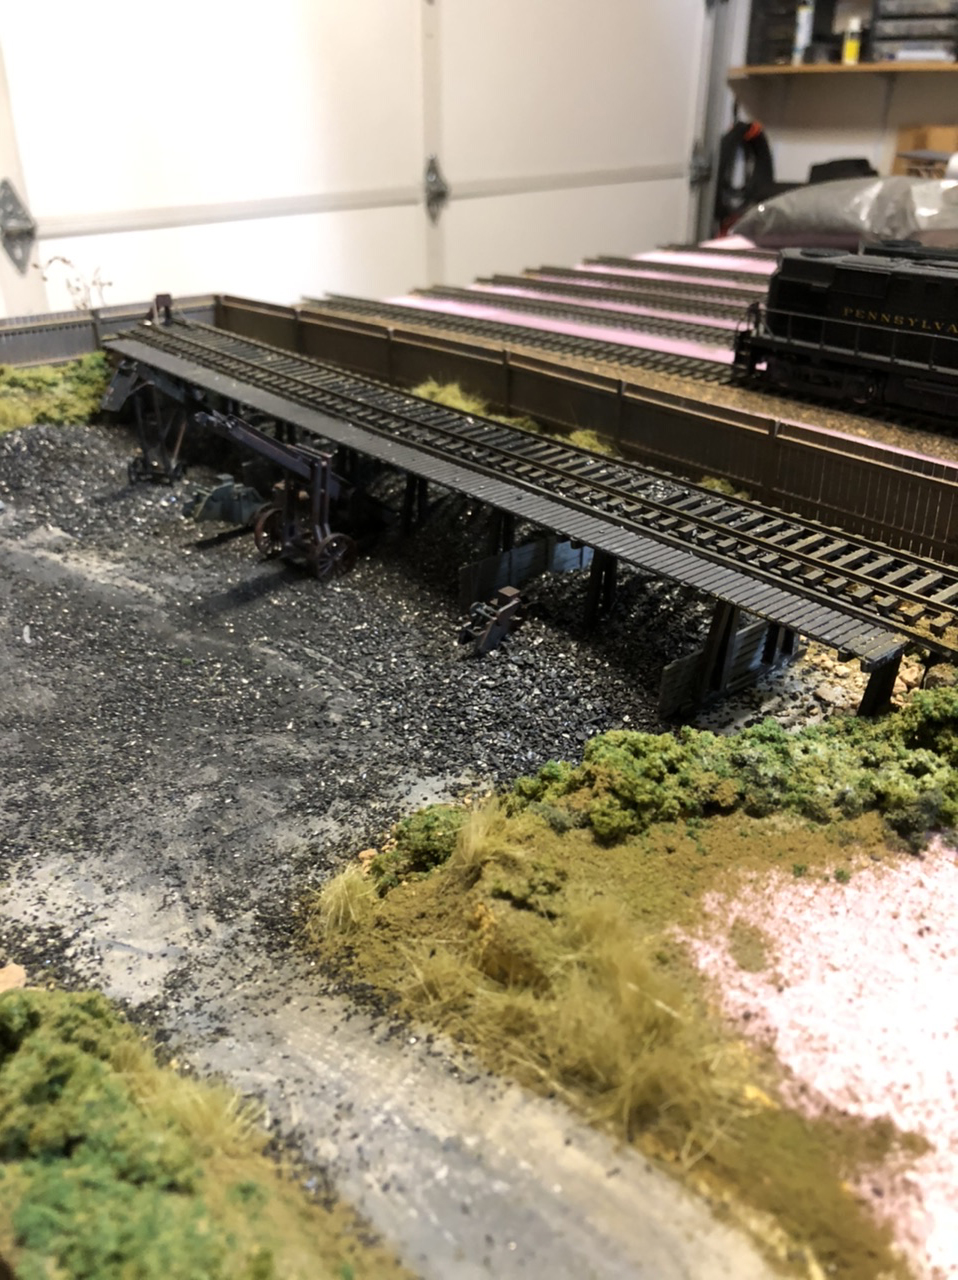
For this scene I painted the side walls in the foam with acrylic earth tone paints then added 50/50 white glue and worked it in with a brush.
Next was I added earth toned ground cover and then foam. I soaked the foam with 50/50 white glue and sprinkled on ground cover to build up depth and layers on the foam.
The coal is real and after setting in place I added more 50/50 white glue to hold the piles together. It was a fun little project and I still have much more detailing to do but that will be another day.
Thanks!
Bill in Virginia”
A huge thanks to Bill for sharing his switching layout model railroad.
I do love it when I see his name pop up in my inbox.
He seems to have had a lot of fun with this part of his layout. What a project!
That’s all for today folks.
Please do keep ’em coming.
And if today is the day you get started on your layout, the Beginner’s Guide is here.
Best
Al
PS Latest ebay cheat sheet is here.
PPS More HO scale train layouts here if that’s your thing.


Great layout, hope to si de video soon.
Some great detailing there Bill, it really makes the difference when you can use real coal as there is no substitute that is good enough. It also helps when you have real coal fires for the ash which is a very usable by-product.
Lovely to see someone with a scenic feature going below track level! Too many of us seem to be members of the Flat Earth Society.
VERY nice Bill!
Very nice. Special thanks for providing higher resolution pictures. It’s nice to be able to zoom on the pictures and see the details.
Great detail Bill……. nice to use real stuff for scenery.
Gary M
Great job Bill I now have an Idea or my layout, thhanks
Al, My compliments on having a few pop up ads on the site, which appear to be keyed to some things I have looked at, and probably to some “cookies” thus generated. Some may be bothered by this, but I think it is great that your excellent site can thus generate a few pennies to help sustain your very substantial efforts for our hobby.
Al,
Your Blog is the best.
I have finally got around to track design after 2 years of planning and reading your site. While this is not my first layout all my others have been modest 4 x 8 round and round efforts with little scenery.
I am now attempting a much more elaborate design and going from simple DC to a complex DCC with Faller digital moving vehicles.
I would like to attach my initial HO track plan drawn with CAD, I found the canned solutions very cumbersome. I would like any feedback I can get especially on the track plan. I am wanting to have a loop that encompasses the upper and lower decks in a continuous loop right now they are separate.
I would like to post my layout plan and see what others can offer???
Way awesome Bill! The raised track for the coaling operations looks great! Keep up the nice details!
Hello Bill,
Can you explain what this means:
I have all my filler ties back in on my track.
I translated it with Google but I get filled tires as an answer?
In dutch öpvulbanden”??
Thanks,
Manny regards,
Herman from HC Treintje