Brian’s been in touch with his model railroad backdrop construction technique, which gives it a 3D element:
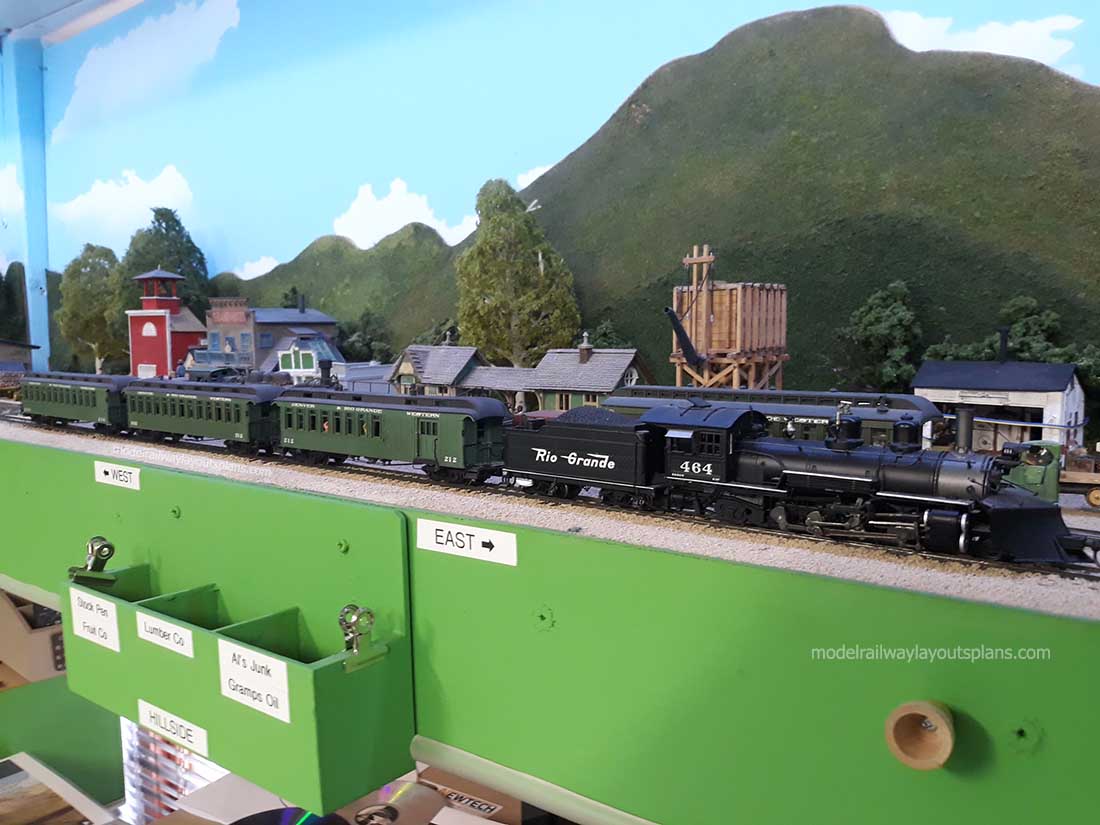
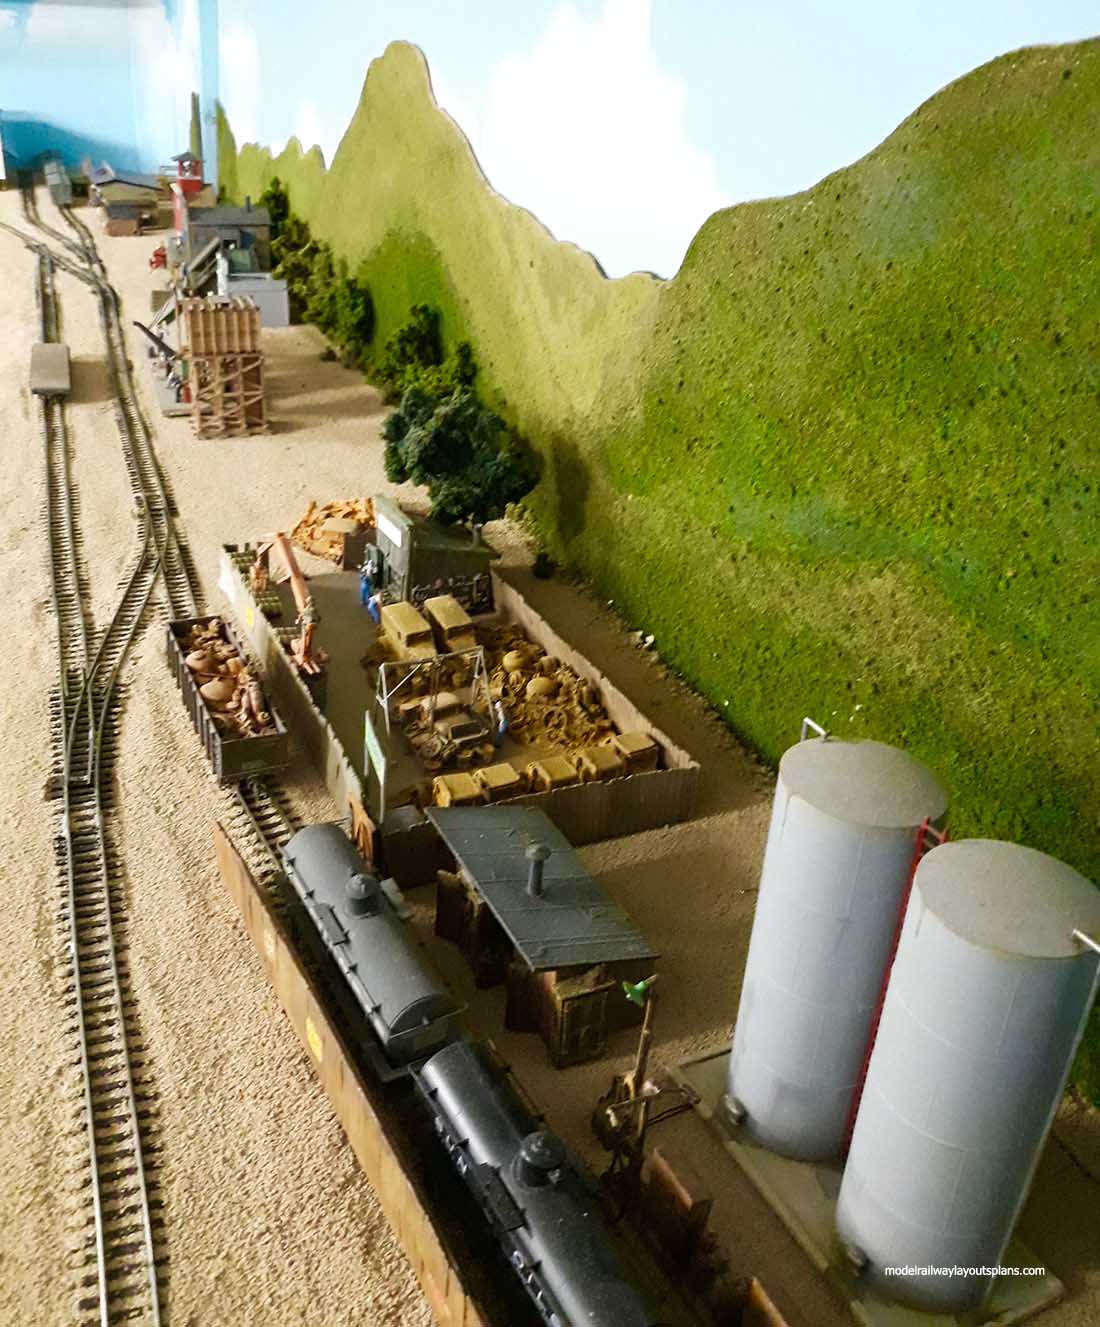
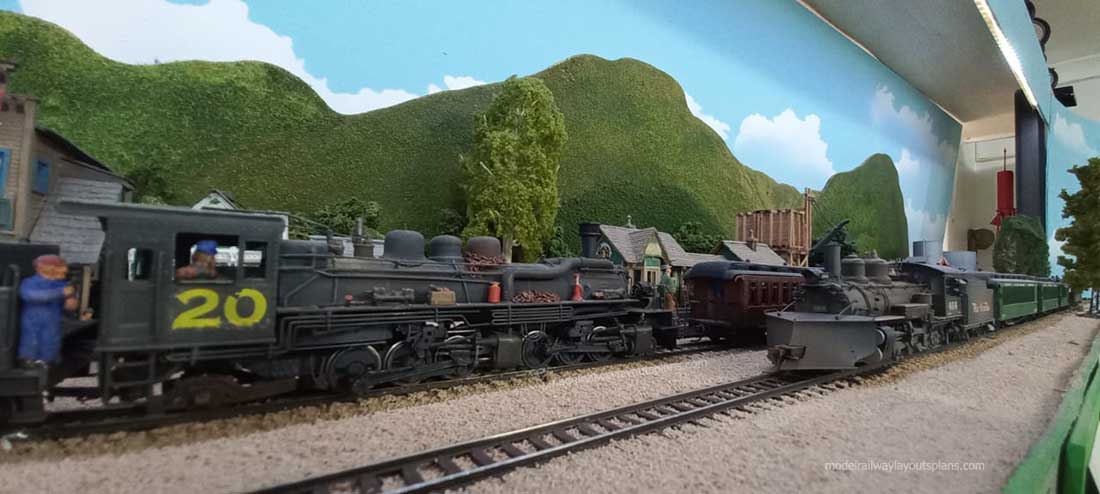
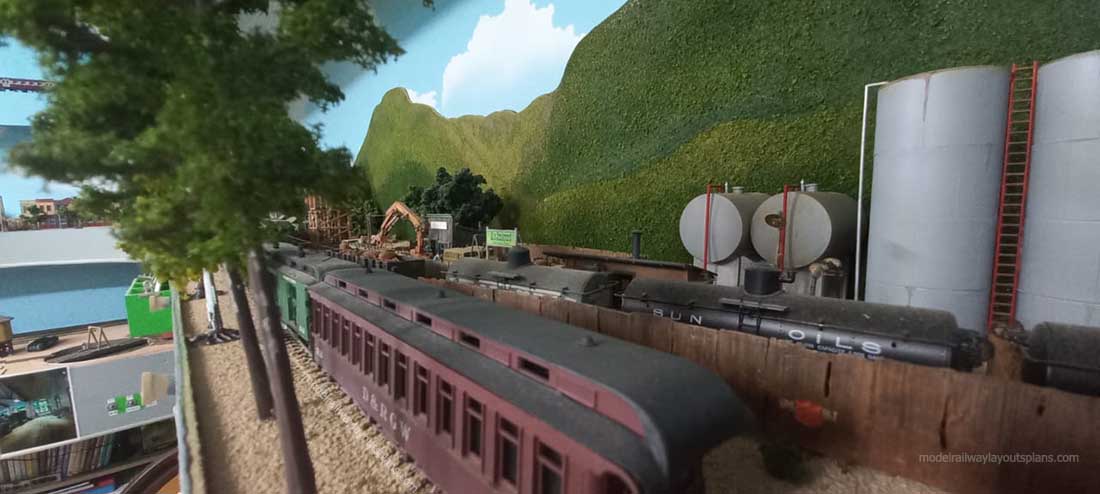
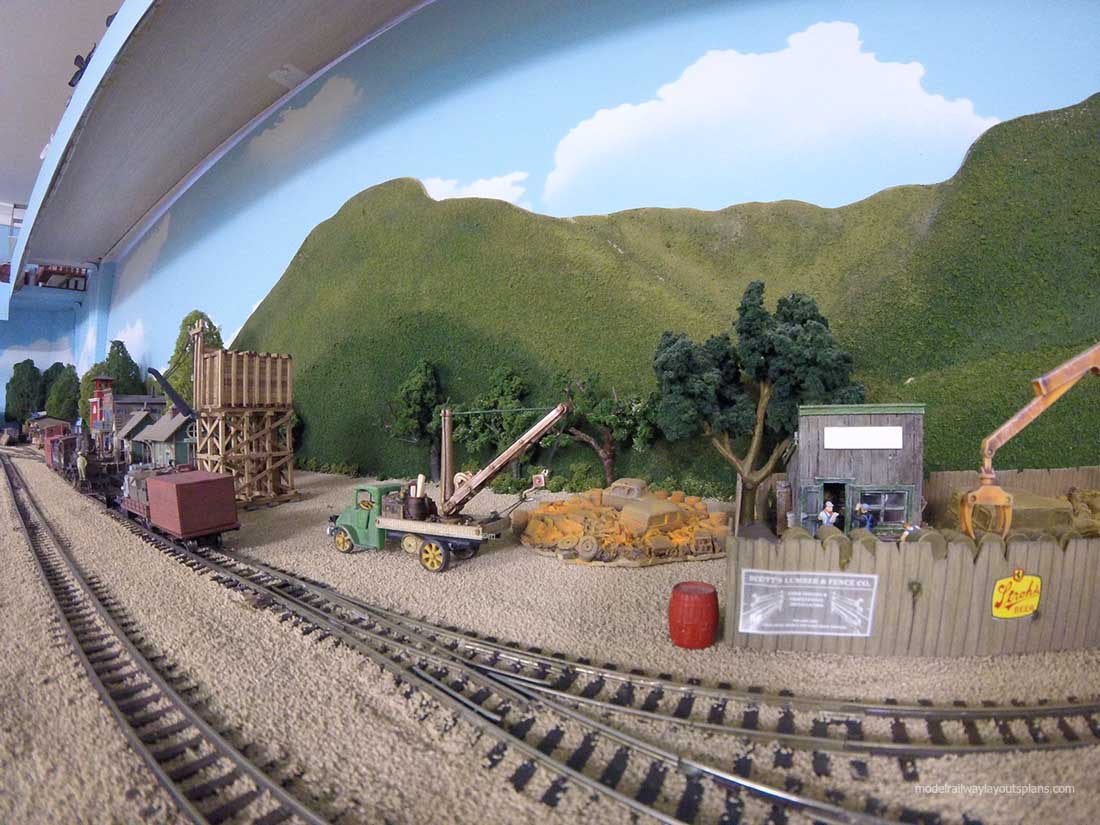
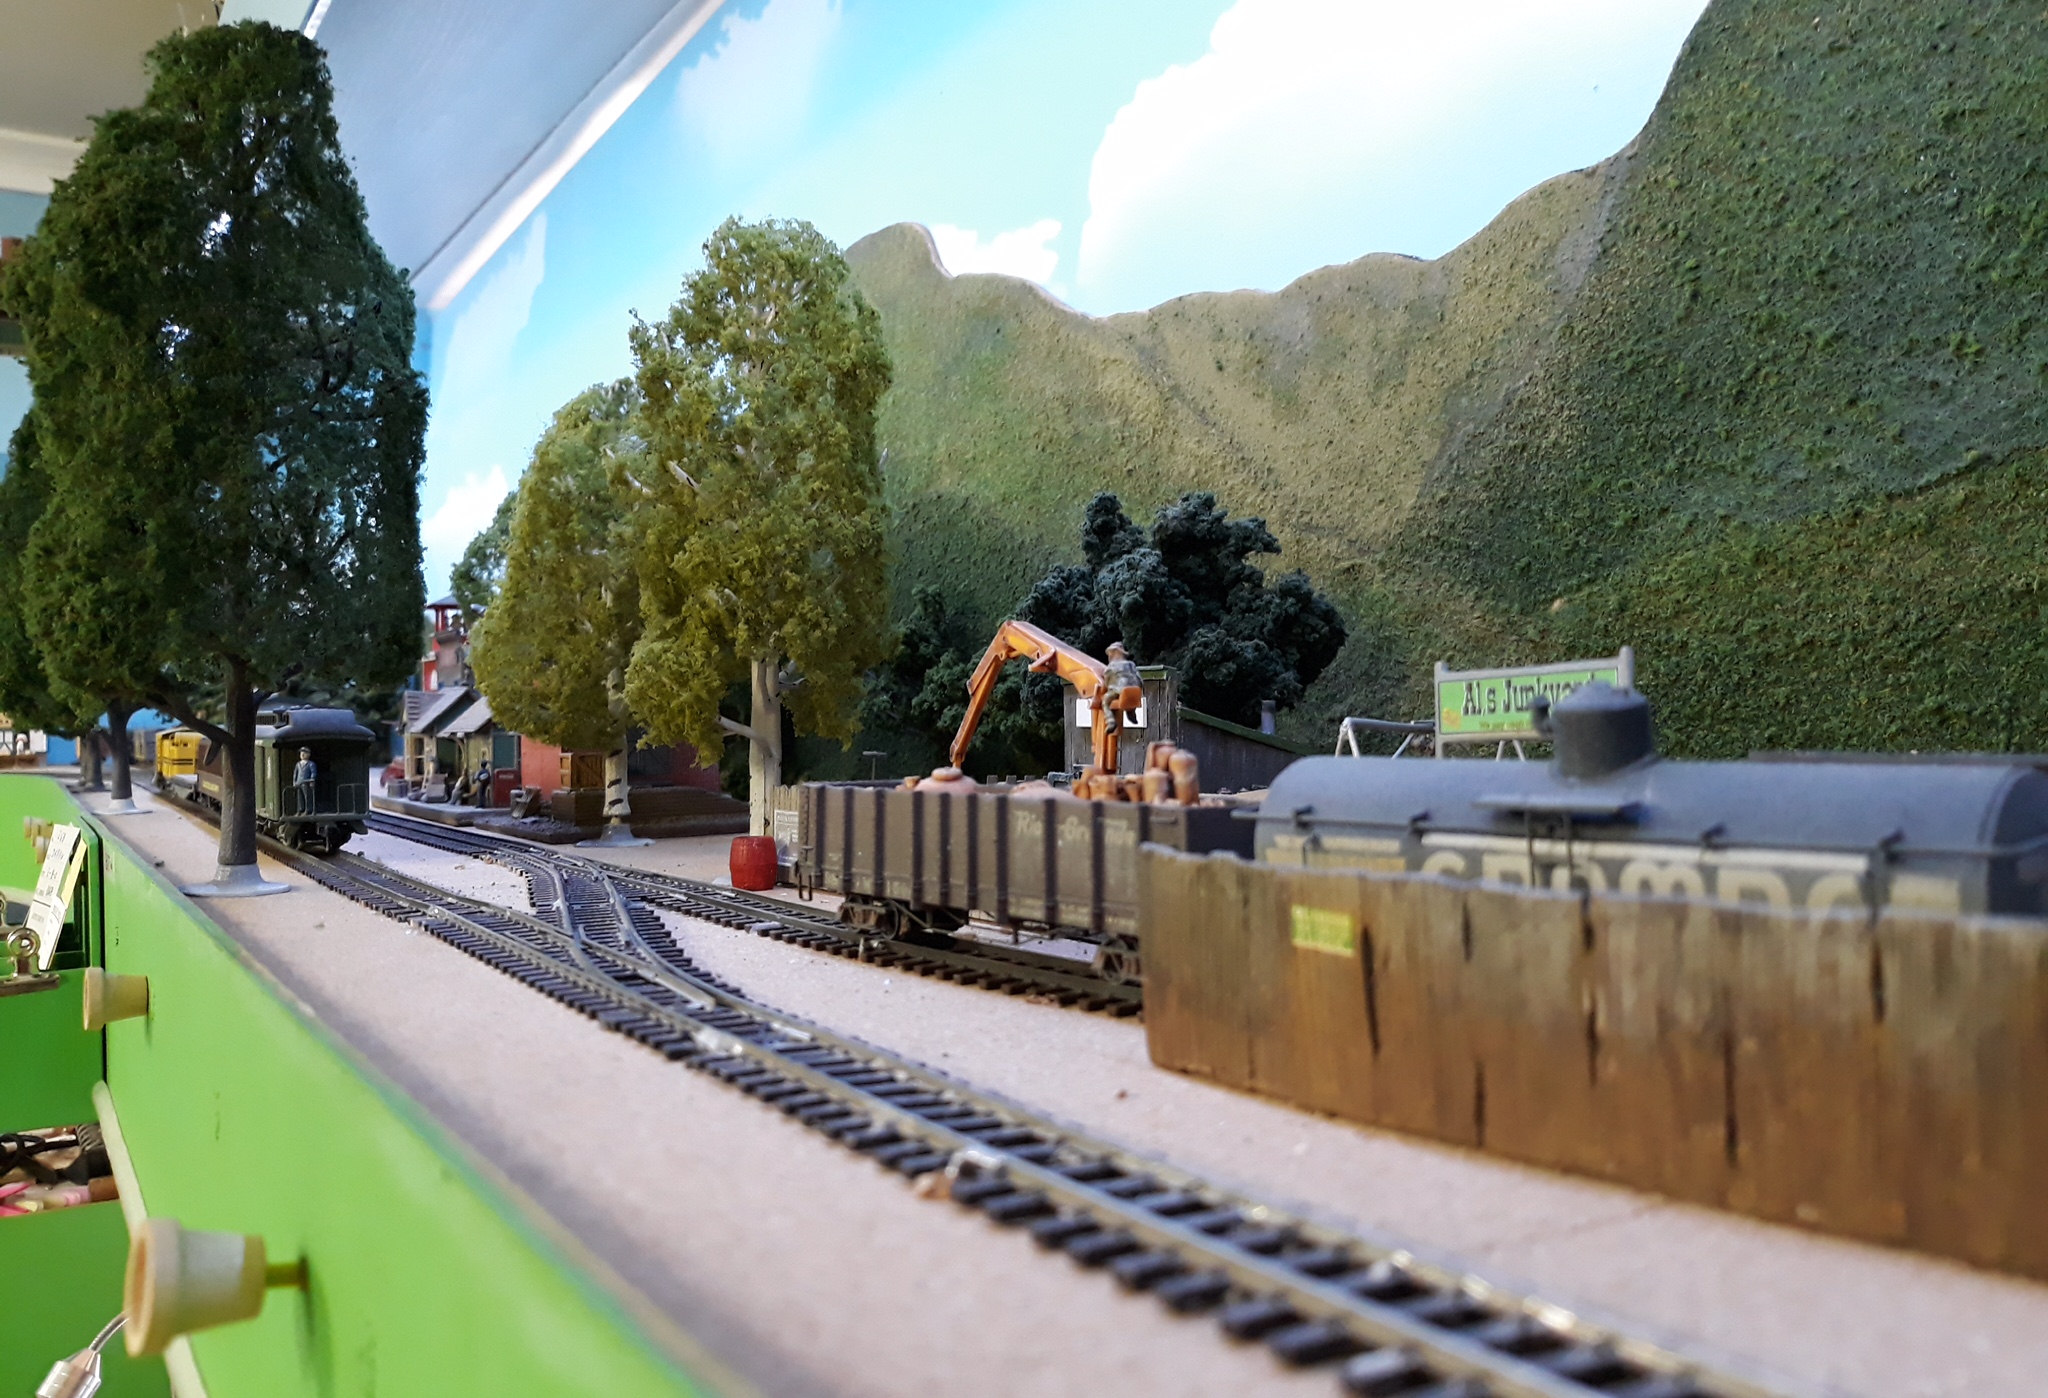
“Hi Alastair, here are a few photos of my “3D” backdrop.
Quite a few modellers within a 60 km raduis of where I live, have been to see my layout here at home and have asked me how I made my backdrop that looks so 3 dimensional.
I have helped out about 3 showing them how I made the backdrops.
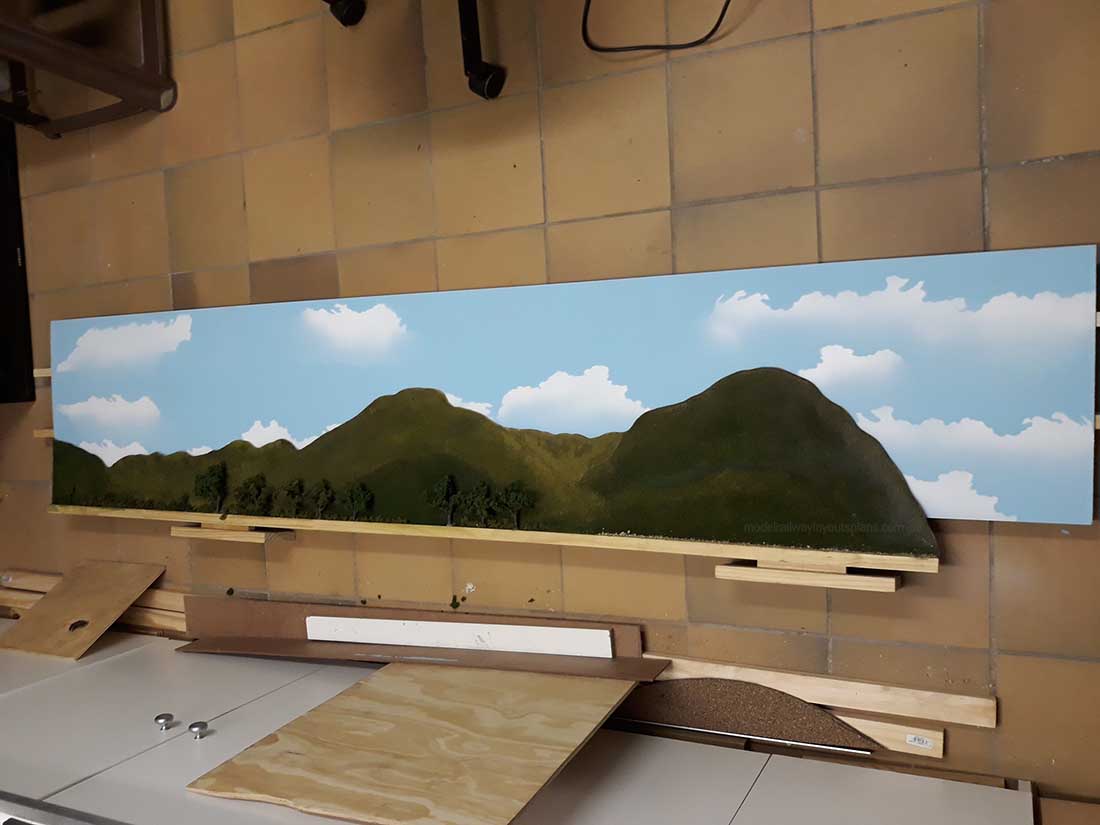
It is a very quick, simple but effective process using 3mm thick Masonite (MDF) as a start point.
After measuring out the length and height needed, I proceeded to mark out the mountain shape in pencil, stepped back and checked to see if it was acceptable.
I made sure that there are at least 3 to 4 mountains or hills starting at the bottom and working up to the top.
From here, I paint on ordinary white pva glue in a thick layer on the bottom mountain, sprinkle Woodland Scenics ground foam over the glue and spray “wet” water (tap water with a few drops of liquid detergent in it) over the ground foam to get the glue to soak up through it.
This process then moves up to the next hill or mountain and so on until you get to the top.
One must observe real life mountains and take note that the bottom layer or closest will be a dark green and the next a lighter green until you get closer to the top where it could almost be a light green colour.
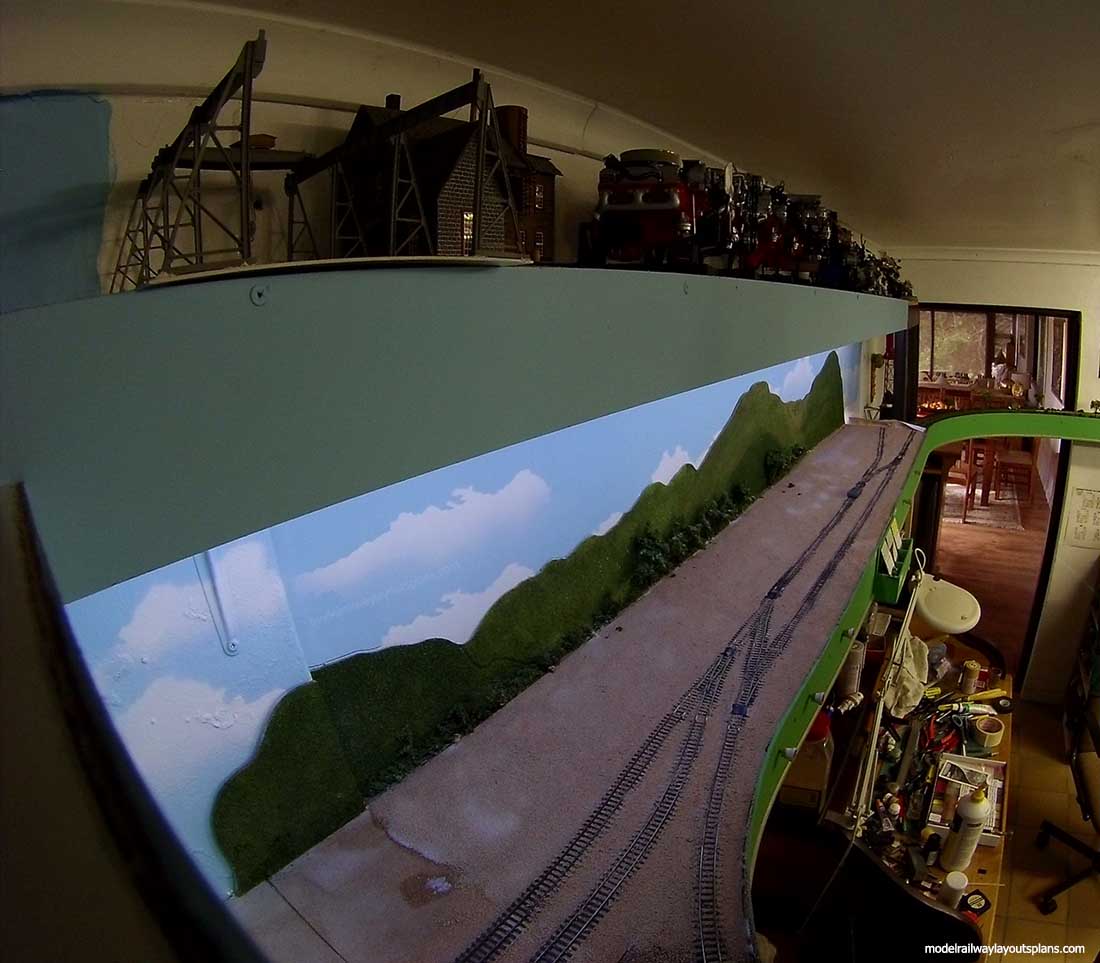
The last photo shows where I have laid the mountain backdrop over a pre painted sky backdrop (also 3mm Masonite) on the train room floor. I marked out the outline of the mountain on the blue background in order for me to paint the clouds as if they were coming from behind the mountain then glued the two together.
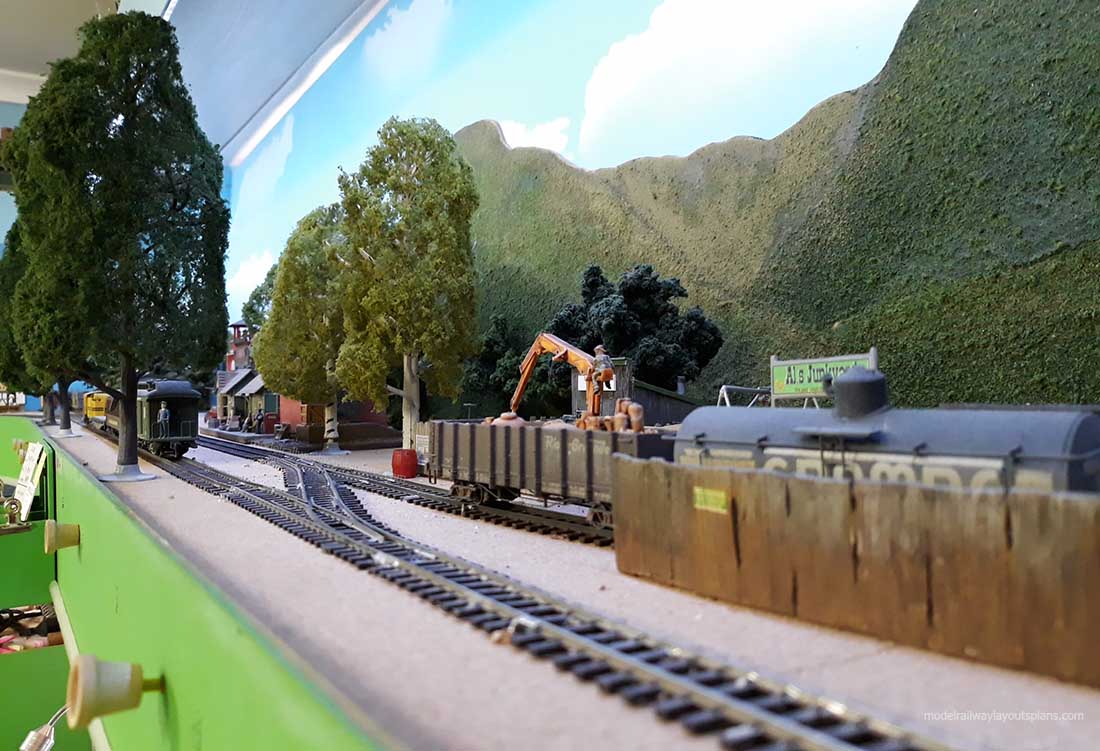
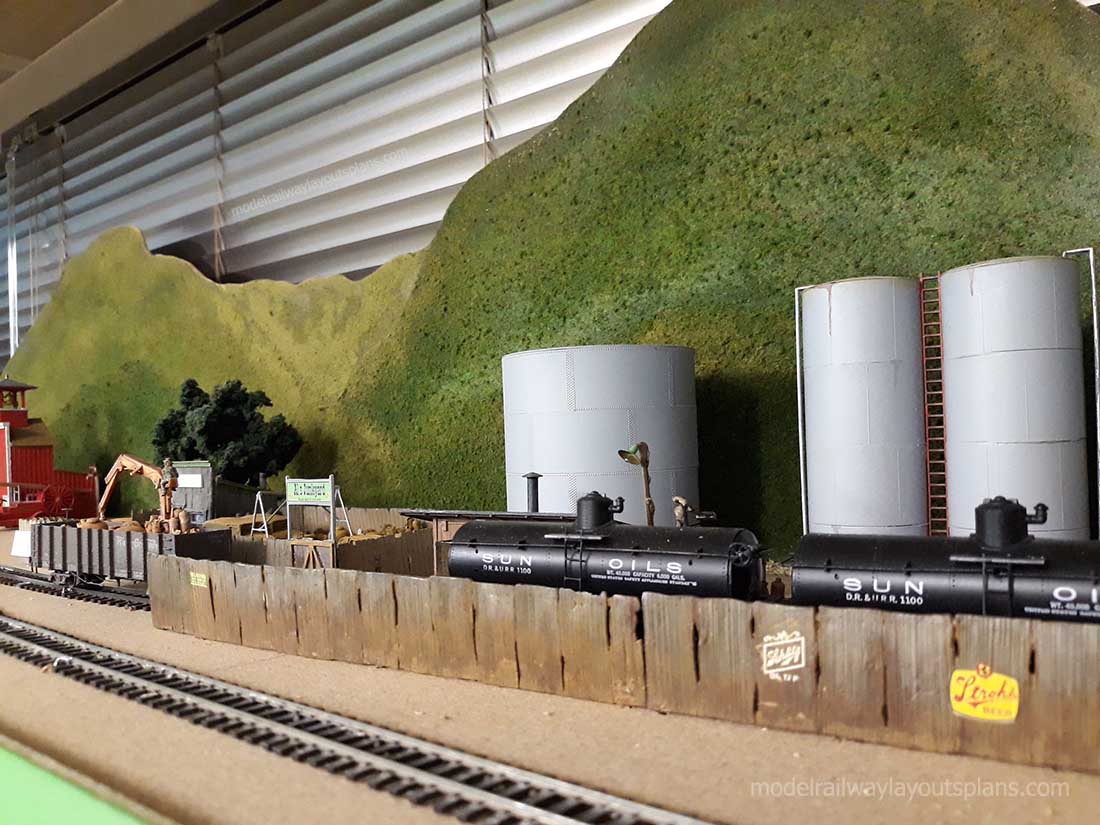
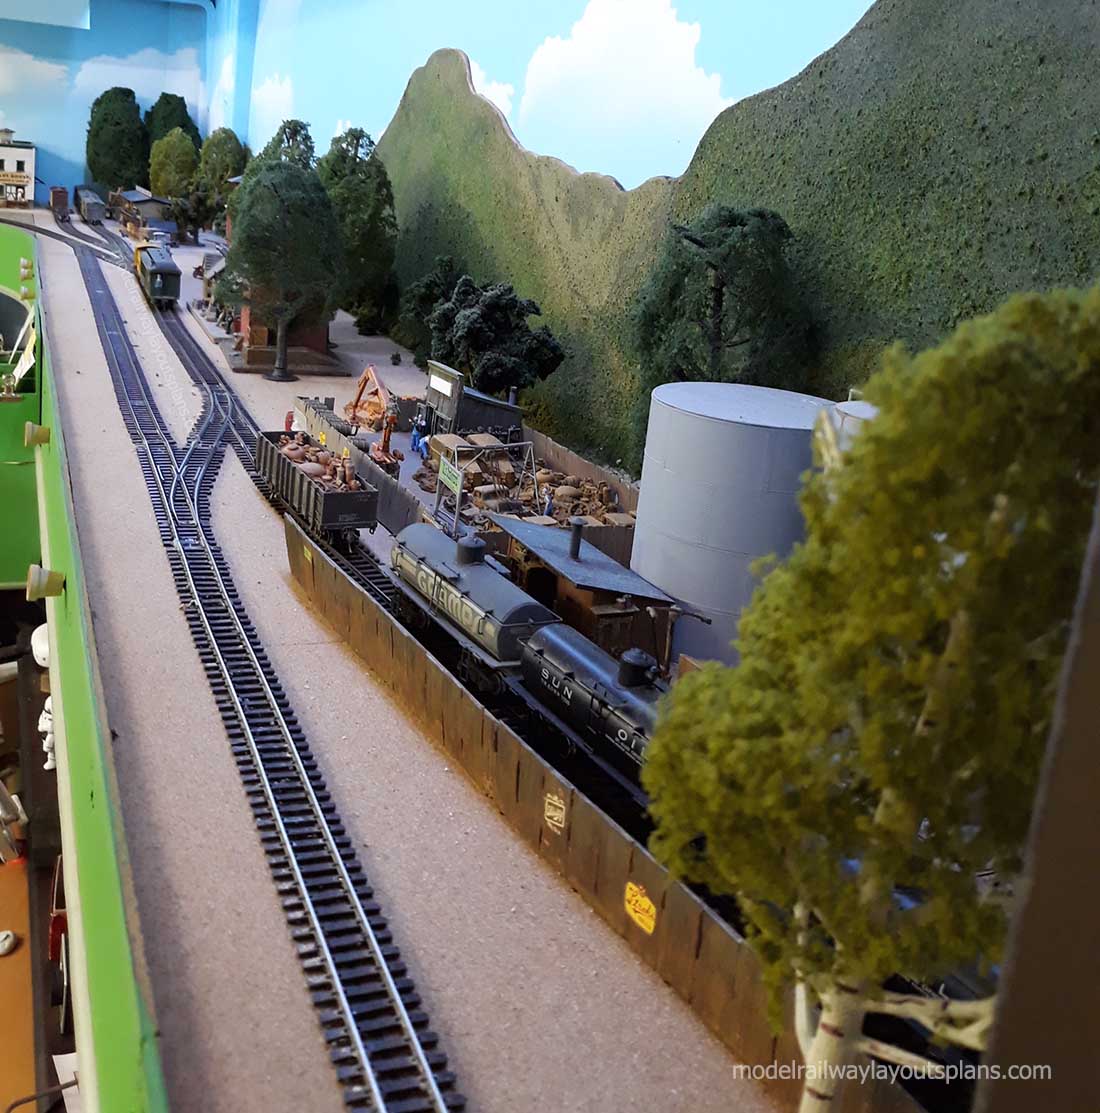
Below are a few photos along the top shelf showing the backdrop mounted in place.
There is a 2 X 1 board attached to the backdrop bottom allowing me a 2 inch flat area to mount trees and bushes on it which helps to give the 3D effect.
The whole process from cutting the Masonite to shape, marking out the pencil lines, painting the glue and sprinkling the different colours of ground foam to the finished product took me half a day.
By the next day, the glue had dried and it was ready to mount to the layout.
You will notice that the “valleys” are a lighter green to give the valley effect.
That’s how I create a “3D” backdrop for my layout.
Until next time, keep modelling.
Brian – the HOn3 guy in Knysna RSA”
A big thanks to Brian for sharing his take on model railroad backdrop construction.
Now on to Jack, who also has his own take on backdrops – and it’s another fine example of “My layout, my rules”.
“Al,
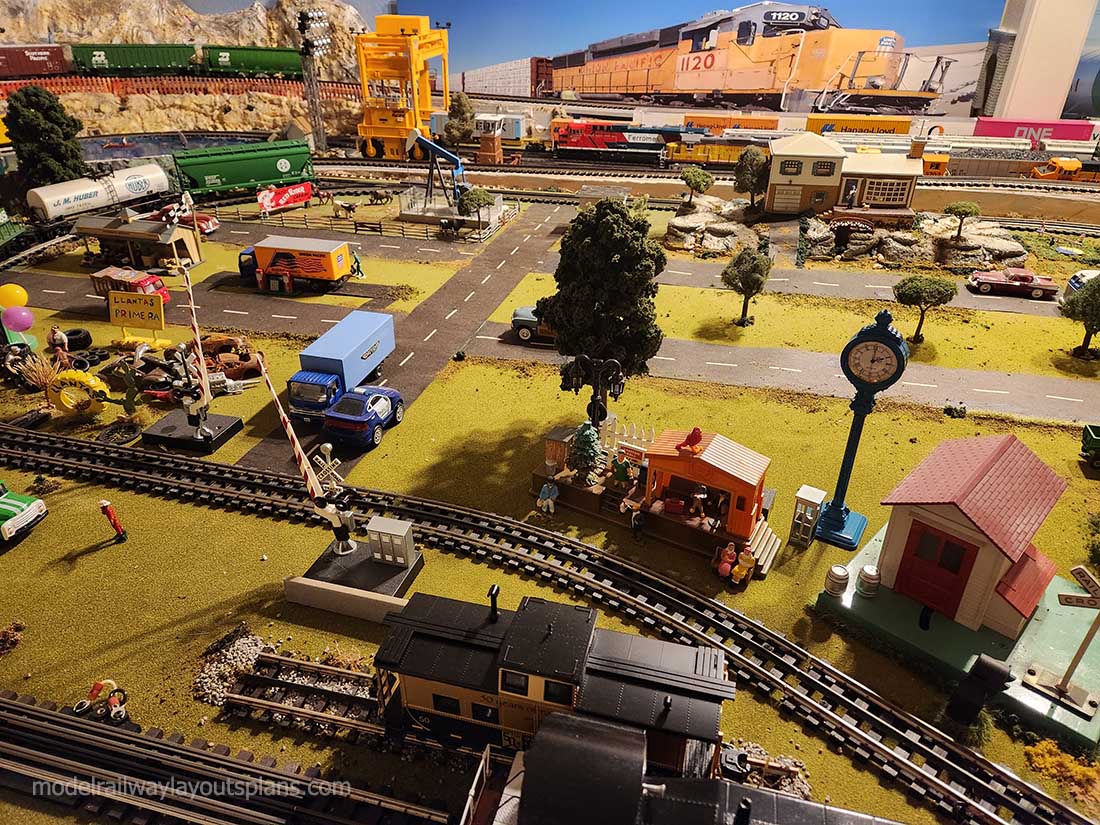
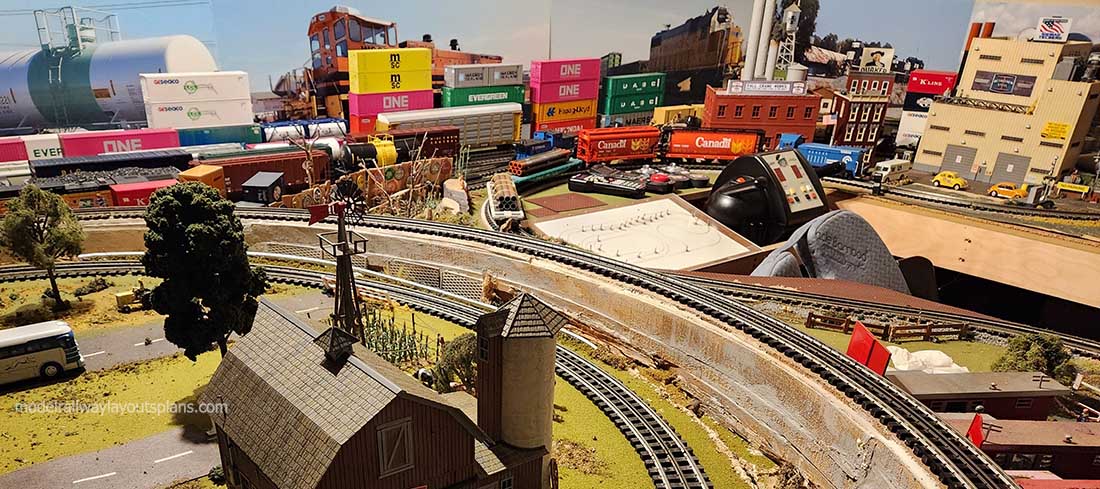
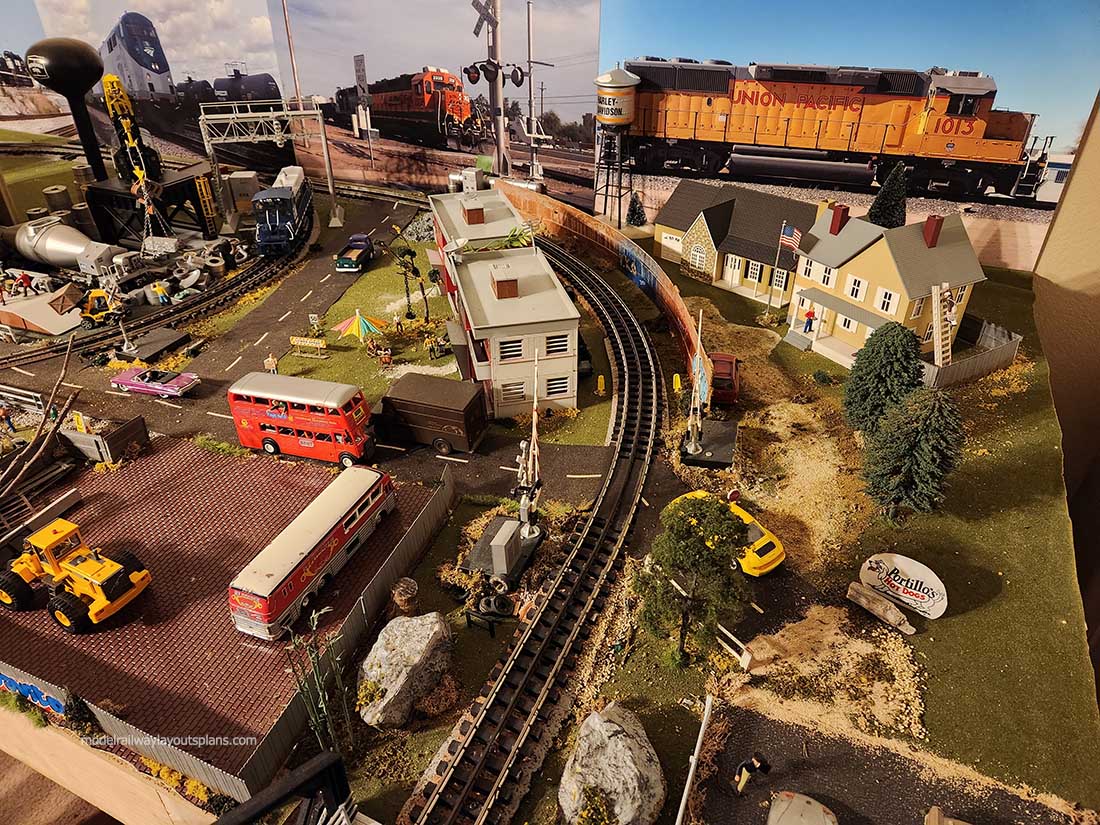
I take pics of trains throughout my travels. My faves I took to Kinko’s and had them put on hi rez foamboard.
You can measure exactly the length to fit them where you want. Mine are 16 inches tall and various lengths.
The idea is to create a train room with train pics. And trains trains trains 😁. Wiregrass RR,and Irondale Alabama. Lordsburg NM. Phoenix AZ. Etc. Are the one’s I have.
Thankyou,
Jack”
Next, some more of your snippets:
“My Dad always drew out his plans to Scale on paper first. Track, trestles, houses, mountains. Then after setting up the platform roughed the sketch on the platform. Fresh black paint first. He painted a 5’x15′ backdrop for the background which was rolled up after the holidays until the next year’s platform was done. Planning is a must!
Steve”
“Hi Al, I use black flooring nonskid material for roadways. I comes in long rolls that are 6″ wide. The material has an adhesive back that sticks to nearly any surface. The result is a granular surface that looks exactly like a blacktop asphalt road surface.
Dave”
A big thanks to Jack and to Brian for sharing their takes on model railroad backdrop construction.
Quite a few posts on the blog now about backdrops.
The one that always sticks out in my mind is Ken’s 3D backdrop ‘how to’. Have a look:
And there’s this one too:
That’s all for today folks.
Please do keep ’em coming.
And if today is the day you get started on your layout, the Beginner’s Guide is here.
Best
Al
PS Latest ebay cheat sheet is here.
PPS More HO scale train layouts here if that’s your thing.
Need buildings for your layout? Have a look at the Silly Discount bundle.

Brian, our local Scene Meister has been hard at work again! Time for a visit again.
Very nicely done Brian.
Very kool Brian . I have to do one with water in the foreground
Not sure if I’d call 1st layout dimensional but definitely layered. Now using ground cover for hills and valleys is genius. Have yet to see cotton batting for billowing clouds as yet… not in the extreme sense but could build sky objects with those. Old guessing game as to what they may look like or represent.
2 different layouts with mail this A.M. is more than I have time to comment on or actually proof view. 1 a day is really good but/and both scenic reviews are excellent. Maybe a few others thinking same thing. As lately it’s one blockbuster right after another, either way.
And Again, Rich
Good job, really makes a difference
I lik the 3D back ground great idea sure to use in the future!
marklin ed upstate NY
Brian
Great backdrops to give some realism to the awesome layouts. Thanks for the advice.
Jack
Fabulous concept. Love the look and feel.
Big Al
Nice
Mui bien
Thanks for sharing this innovative approach to achieving a measure of depth and 3-D realism in a limited space Brian. Being from Zimbabwe originally and having lived in South Africa for 10 years I know how hard it is to work with limited resources which we so take for granted here in the US. Your layout is an inspiration and we look forward to seeing more of its evolution over time.
Brian your backdrop looks awesome, I also like your land scaping along your tracks. Jack your 027 gauge layout looks great, I would like to see more of it.
very nice.
really good job.
Brian, I LOVE how you did your backdrop and I’m guessing it looks even more impressive in person (even the best cameras often don’t capture the true nature of an image). I have yet to start on a real backdrop and have struggled to think of what would work. You’ve given me some great ideas to work with. Absolutely wonderful!
Jack, I love the photos. What railfan doesn’t love seeing more trains? Looks like lots of fun!
Brian- you nailed the color perspective!
Nice idea, Brian, and the valley area REALLY is a stand out! It has great visual depth.
Brian, Consider a small light strip placed behind the last mountain backdrop. When it’s turned on, it looks perfect as a beautiful sunset. It can be quite dramatic! Cheers