Bob’s been back in touch with something completely different: a Konflikt 47 locomotive!
(You’ll remember Bob from one of my fave posts on the blog, his 16×16 HO scale.)
“Alastair…good afternoon. Bob in Texas with something different (you know how much I like to submit unique ideas to your marvelous blog). See what you think.
I don’t know of anything that excites an old model railroad hobbyist like myself more than sharing my passion for the hobby with newcomers, especially if they are family. My sons grew up around model trains but except for playing with them around a Christmas tree they never really showed much interest.
They are adults now with families of their own and I am happy to report that they have recently developed a new-found interest in the hobby. They are very talented (photography, model building, miniature painting and 3D printing) and share a passion for playing tabletop miniature wargames. Their favorite is called Konflikt ’47.
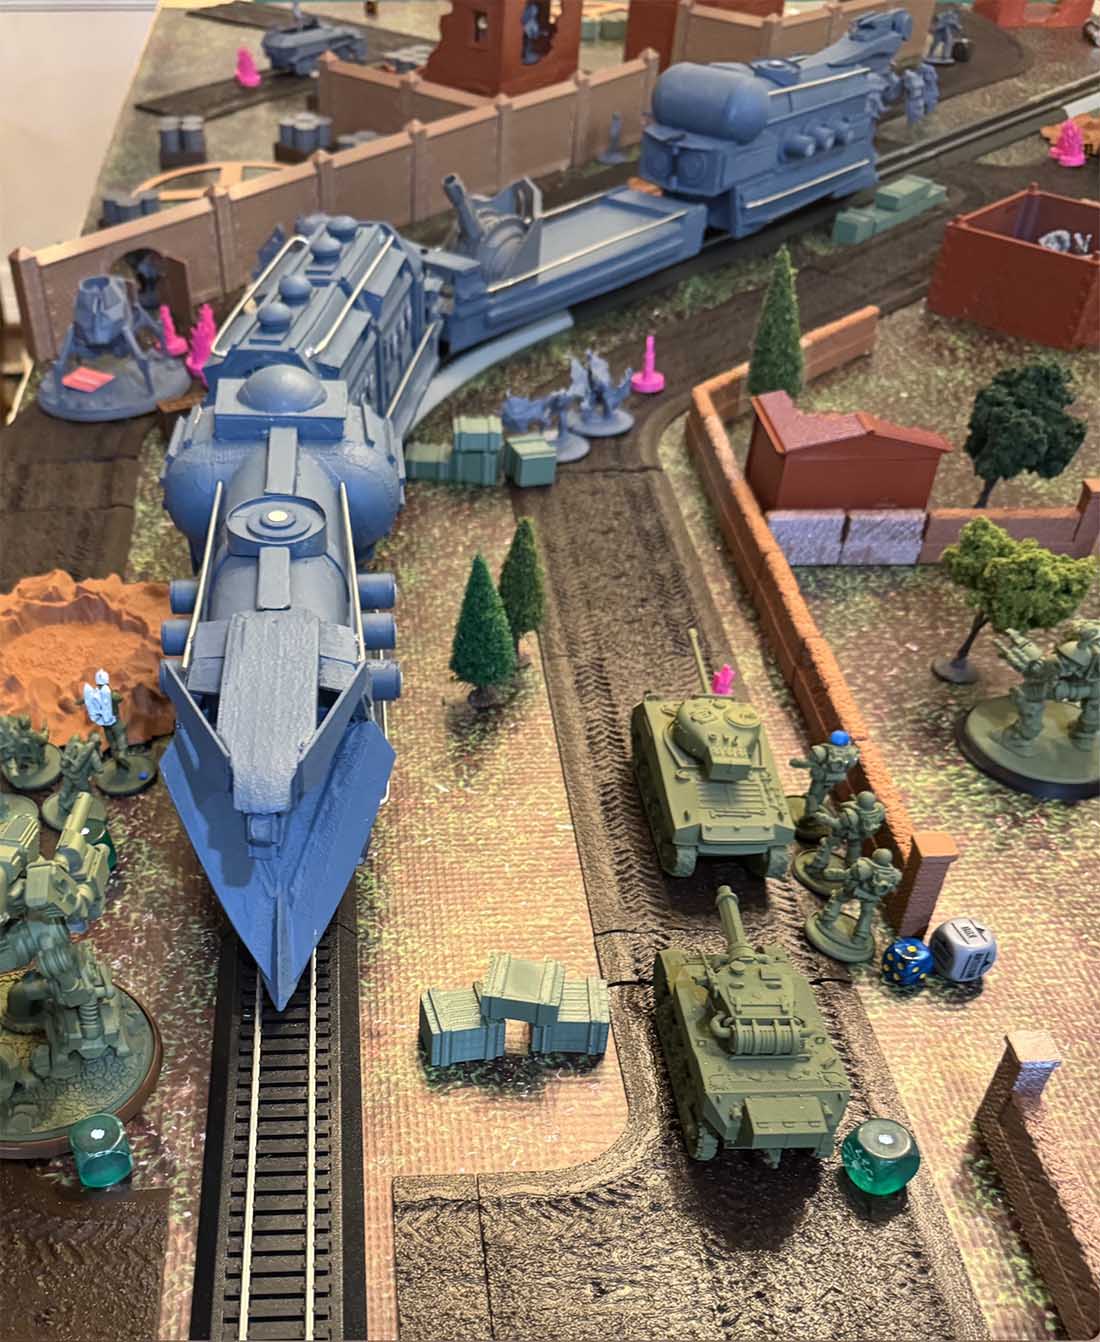
I’ll try to explain the game as best I can. Konflikt ’47 is a post World War II tabletop miniature wargame that extends World War II into 1947. The opposing forces are the United States and Germany.
In addition to conventional weapons, each army now has access to more advanced military technology as a result of “rifts” that have opened between our World and a parallel futuristic dimension. At its core, Konflikt ’47 is really just a game of military strategy…a futuristic version of capture-the-flag.
I asked my youngest son if he had considered incorporating a train into the game since locomotives were essential for troop and equipment movement during World War II. He liked the idea and thought a train would add a new dimension to the game.
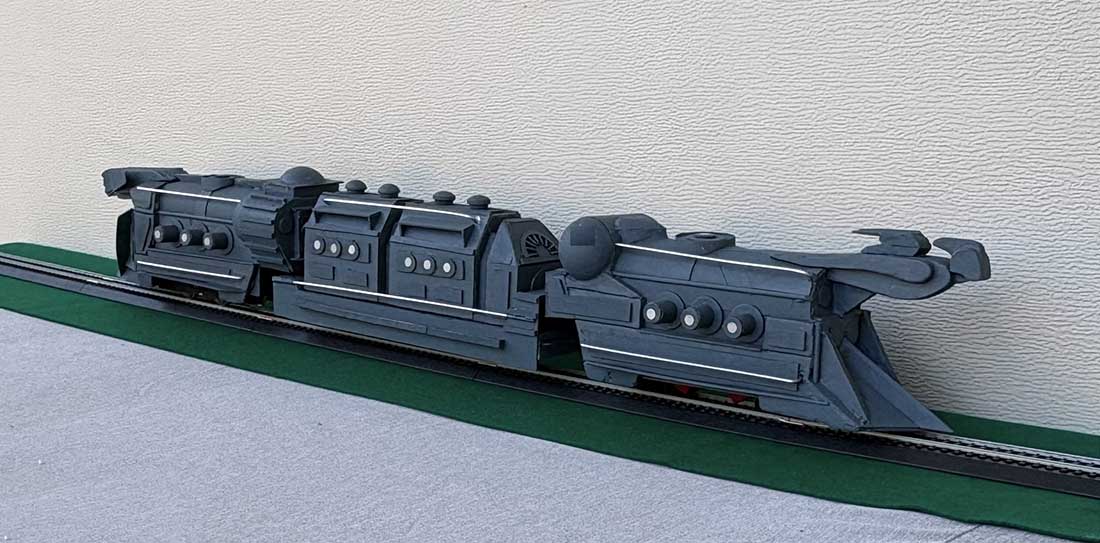
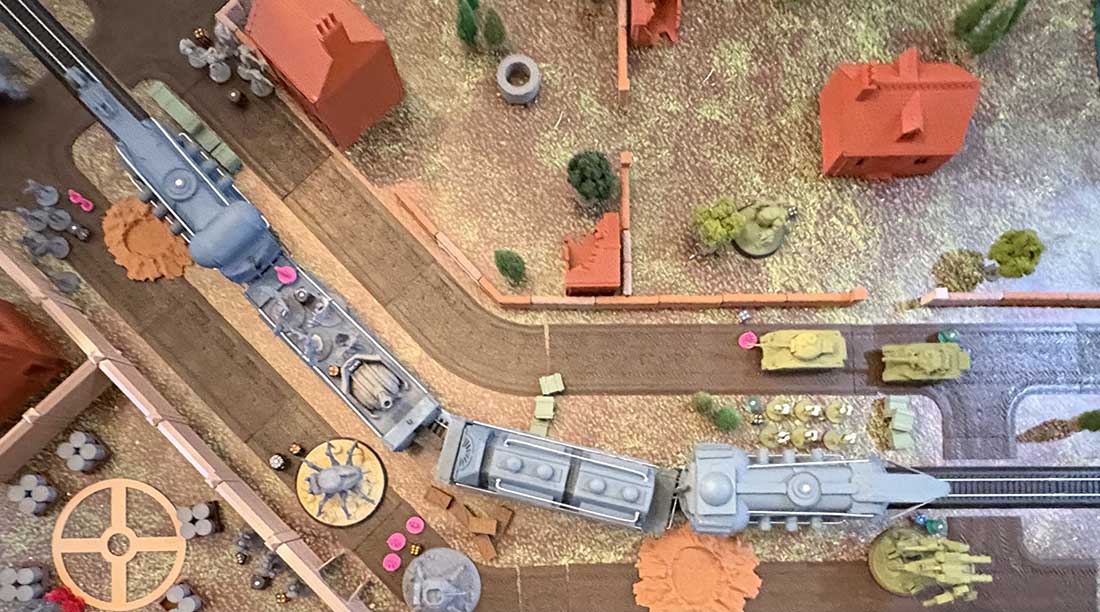
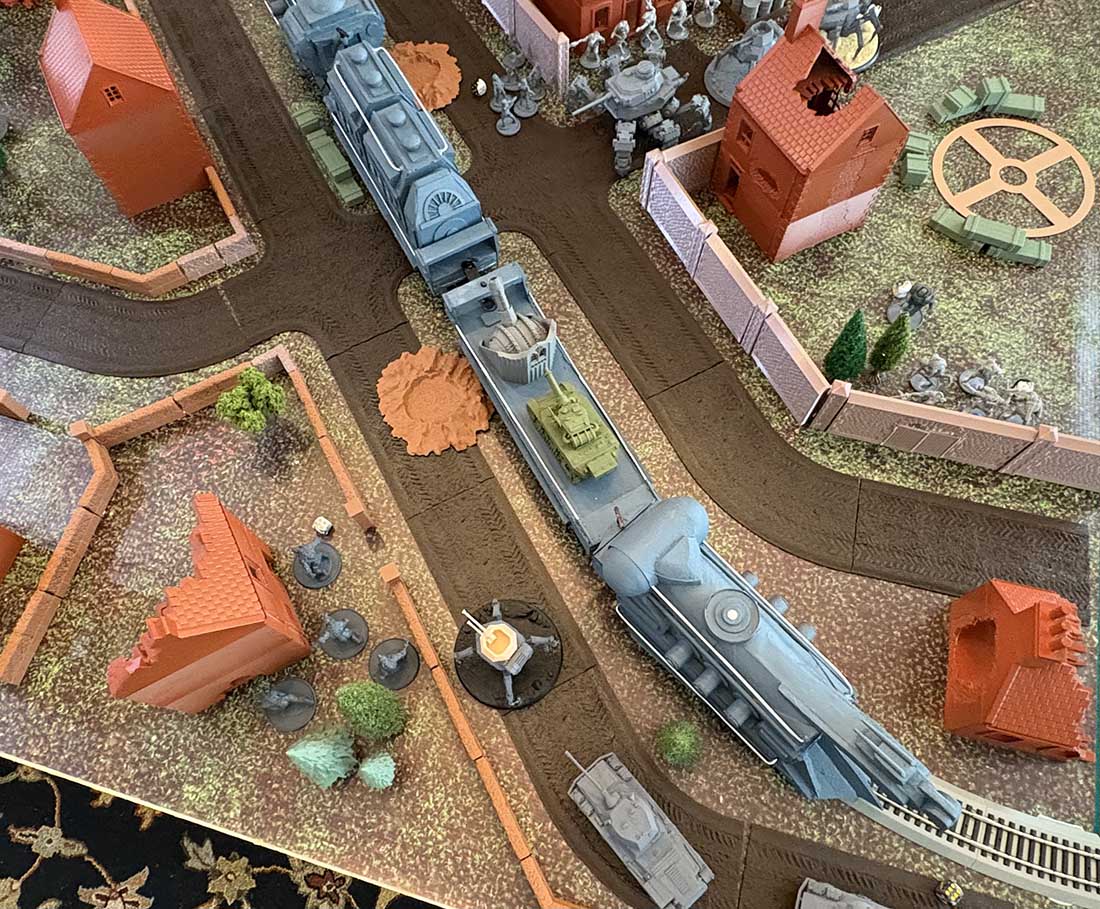
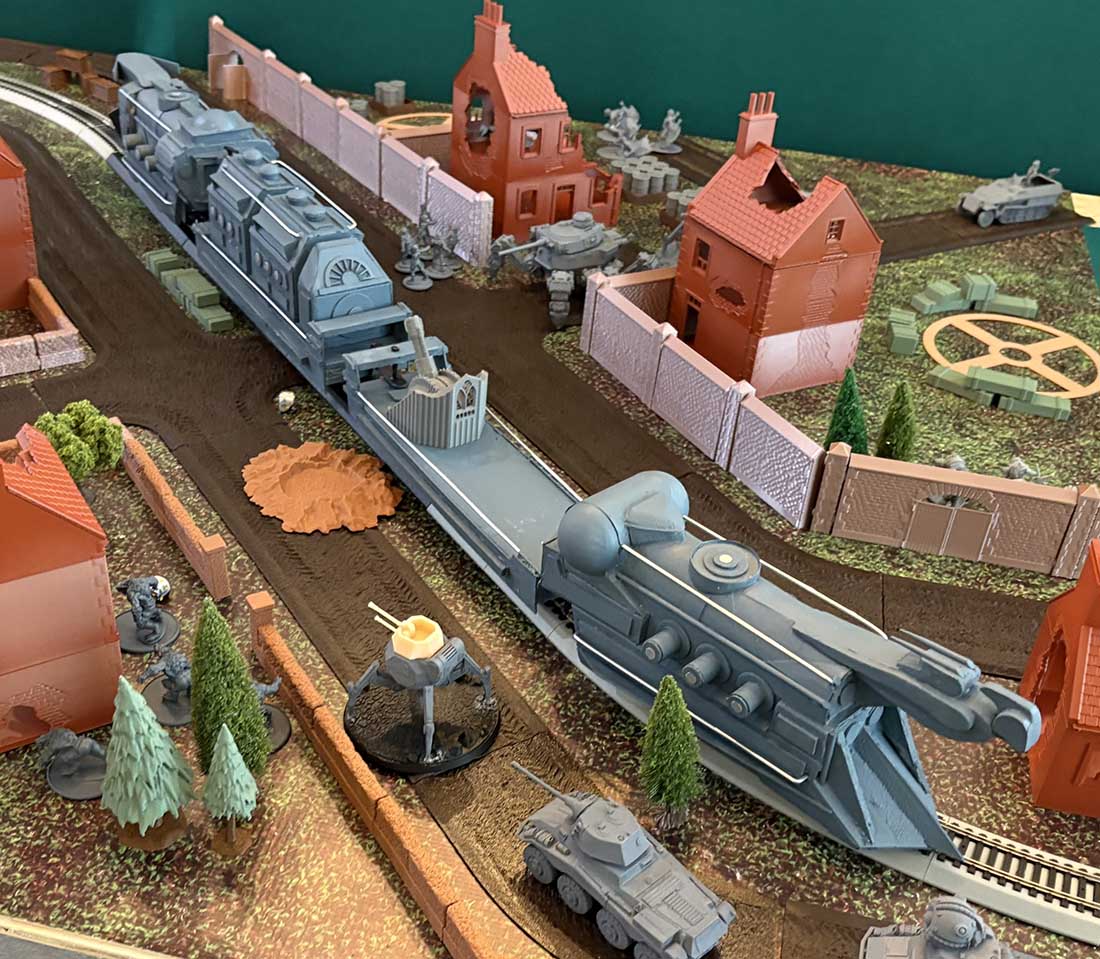
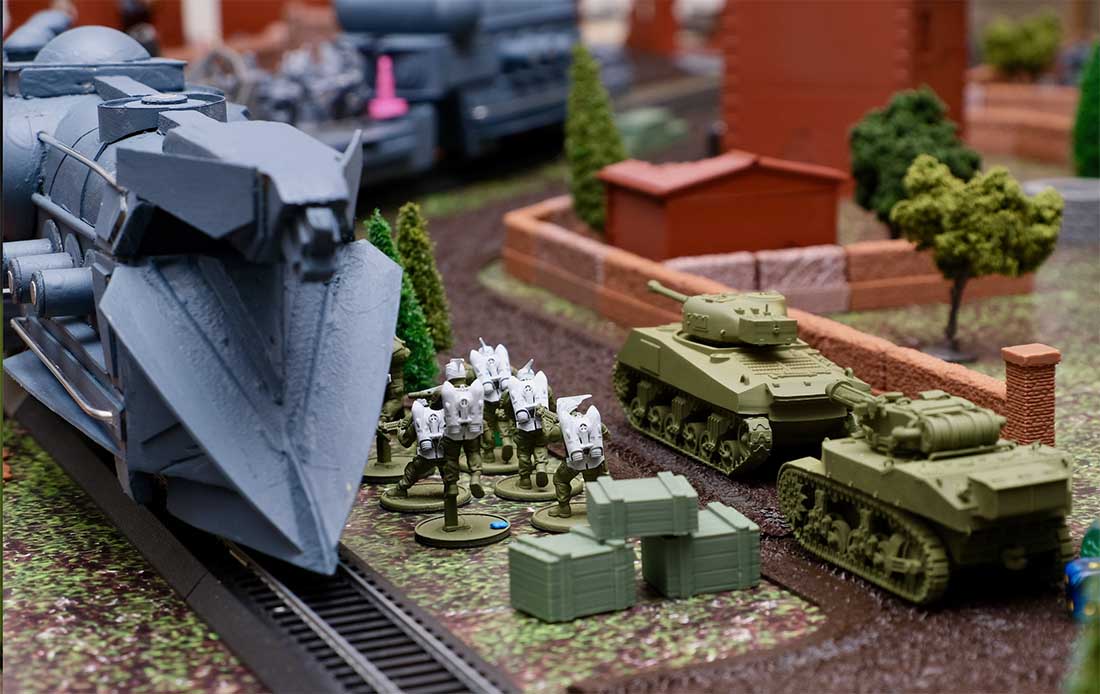
It would be a troop/equipment transport, a weapons platform and could serve as a strategic barrier. Ideally, the train would be a realistic scale and fit the context of the game (a futuristic steampunk appearance). He consulted his older brother who was enthusiastically on board (sorry for the pun).
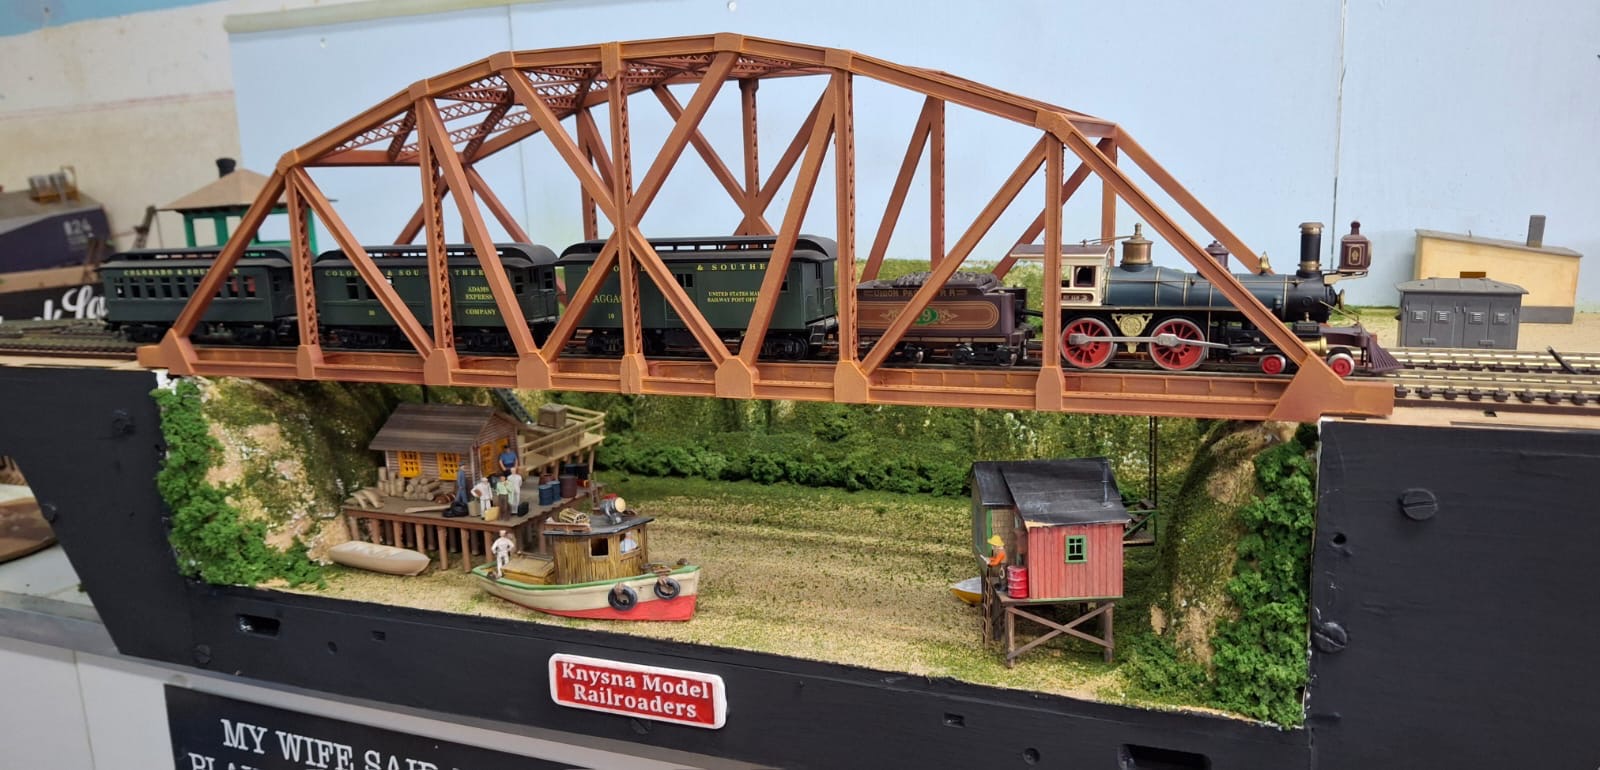
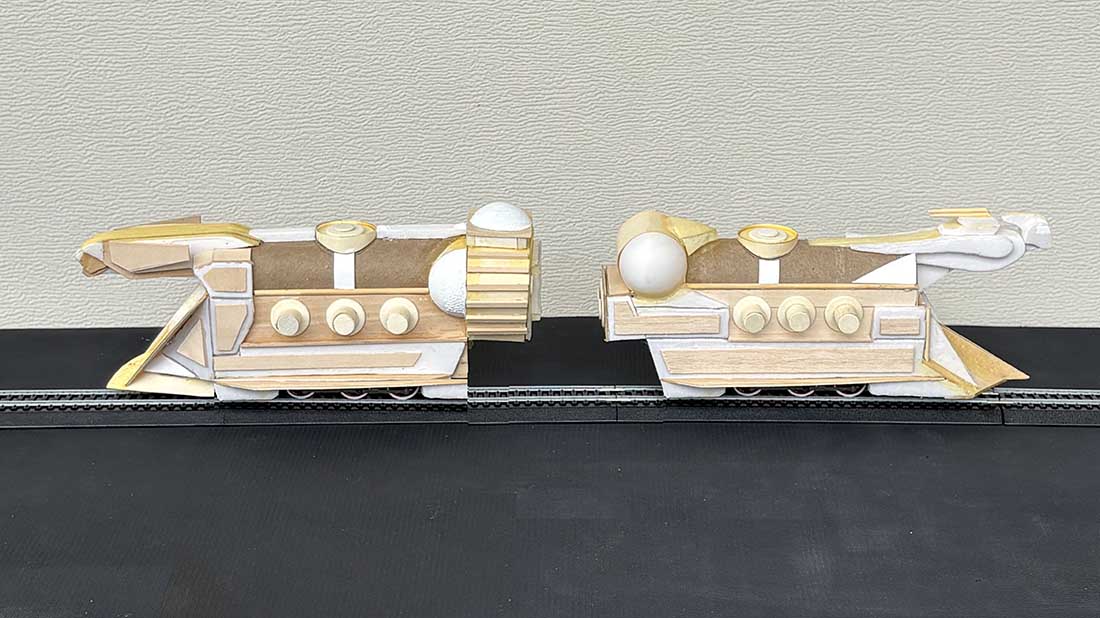
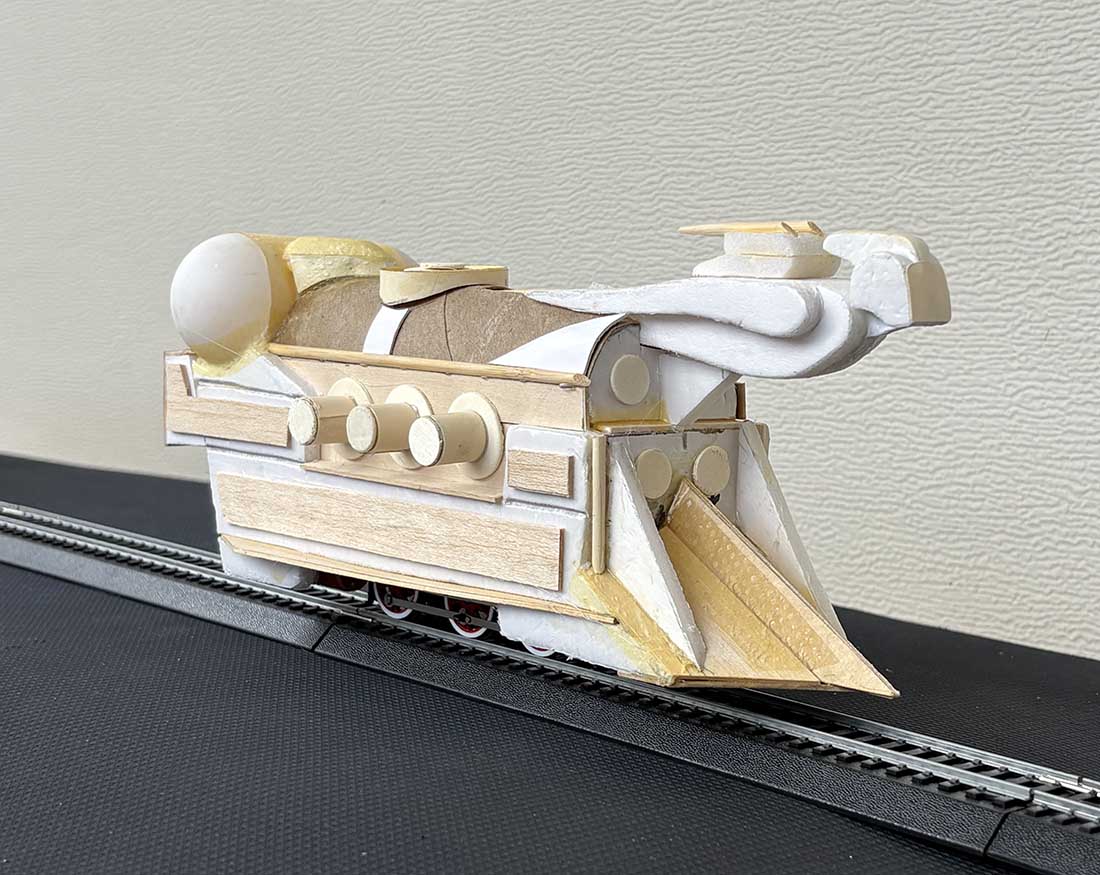
The miniature soldiers are about 35 mm tall so O scale locomotives would be the most realistic but it’s been a long time since I had any Lionel trains. Fortunately I still had some old Christmas locomotives, trolleys, rolling stock and track from my HO scale days so I decided on On30 scale.
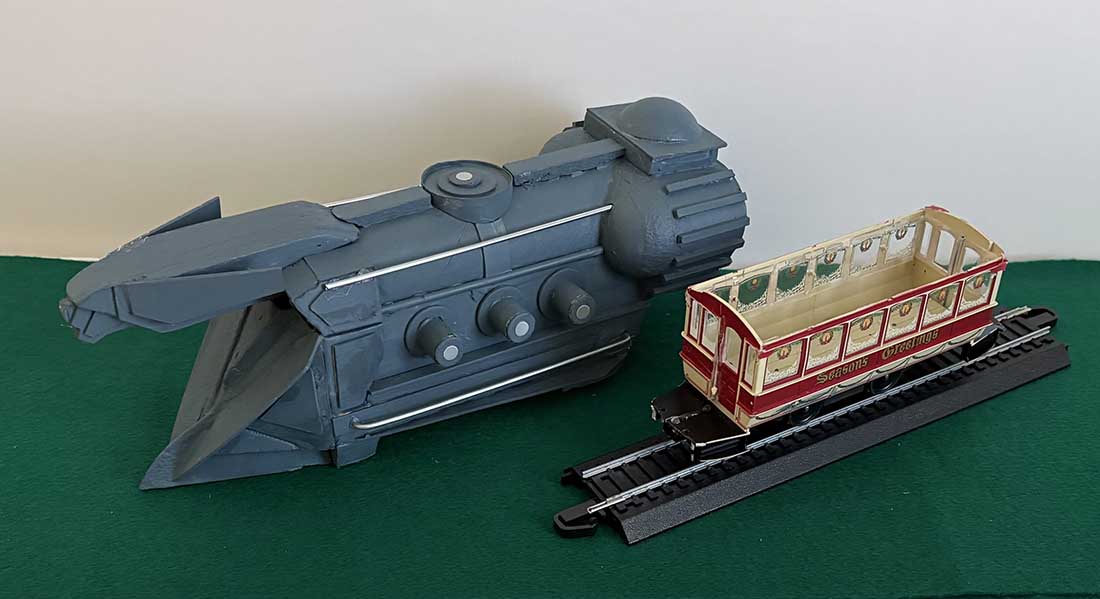
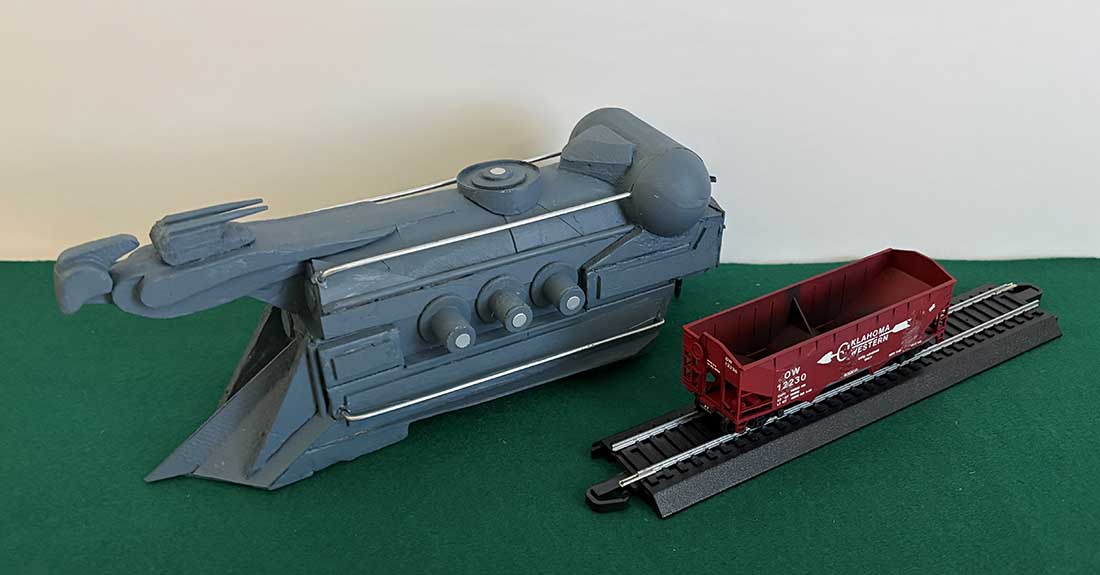
I initially fabricated the locomotives on two old 0-6-0 Christmas steam engines but my sons didn’t like the red drive wheels (they didn’t fit the futuristic style). So I mounted one locomotive (powered) on an old Christmas trolley and the other locomotive (non-powered) on a gondola car.
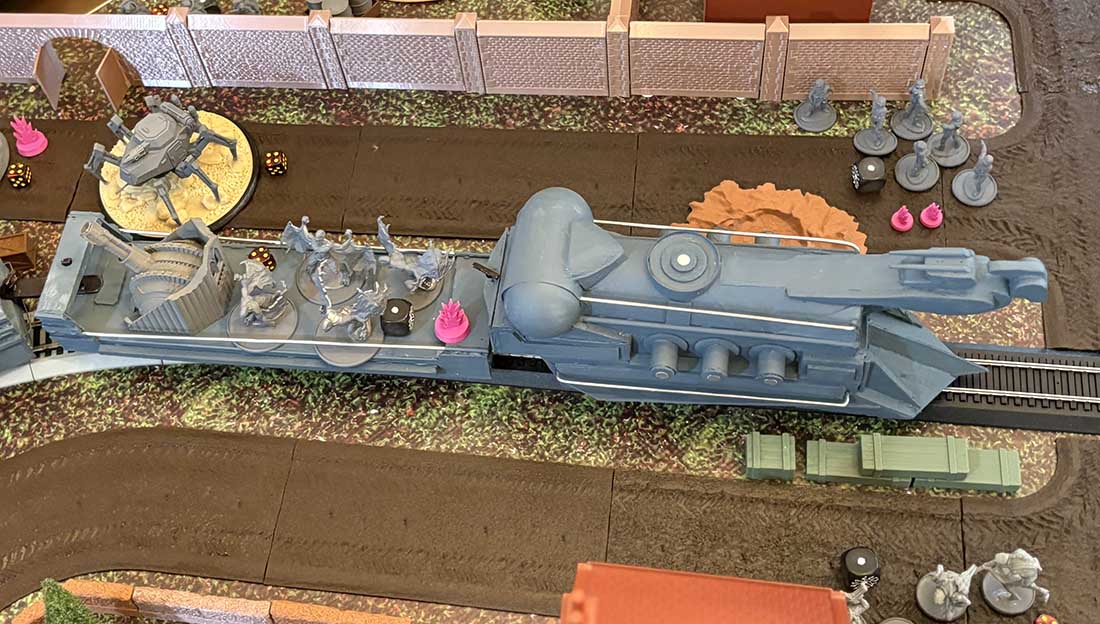
The layout was very simple with a single track dividing the game board diagonally. One of the structures in the middle of the game board was designated a railroad station and the army that occupied the stations controlled the train.
I do not pretend to understand the rules governing the movement of troops and equipment but I did observe that measuring devices and dice were essential. I do know that my sons thoroughly enjoyed the game (it lasted for several hours) and they thought the train was a great addition. They are already planning a more complicated layout. Is that a big smile on my face? Let me know what you think.
Bob”
A big thanks to Bob for sharing his Konflikt 47 locomotive – I do agree with him: sharing your hobby with others, especially family, is time well spent!
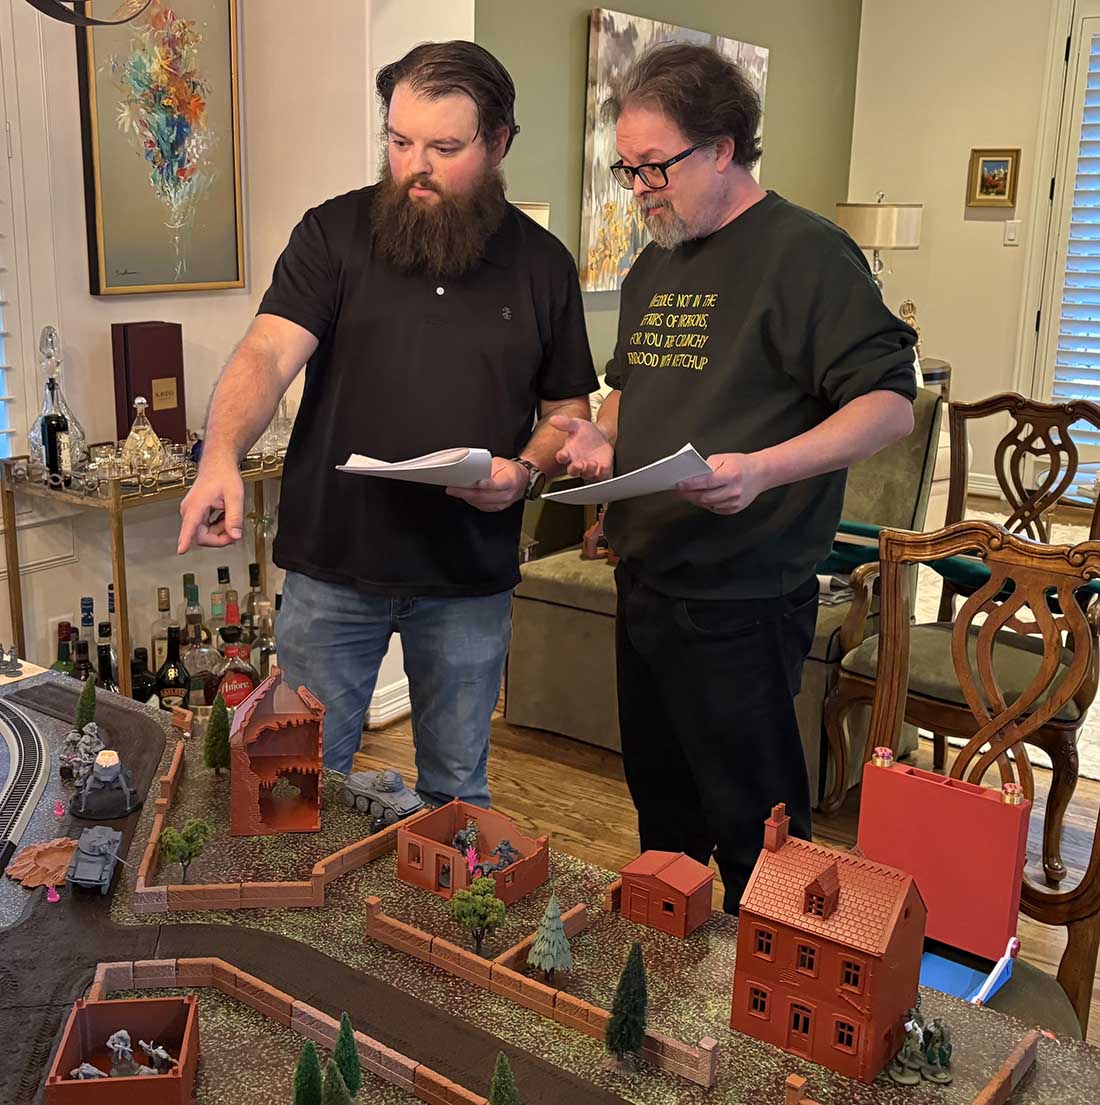
I also got this in from Frank, which is another board game scratch build:
“Hey Al
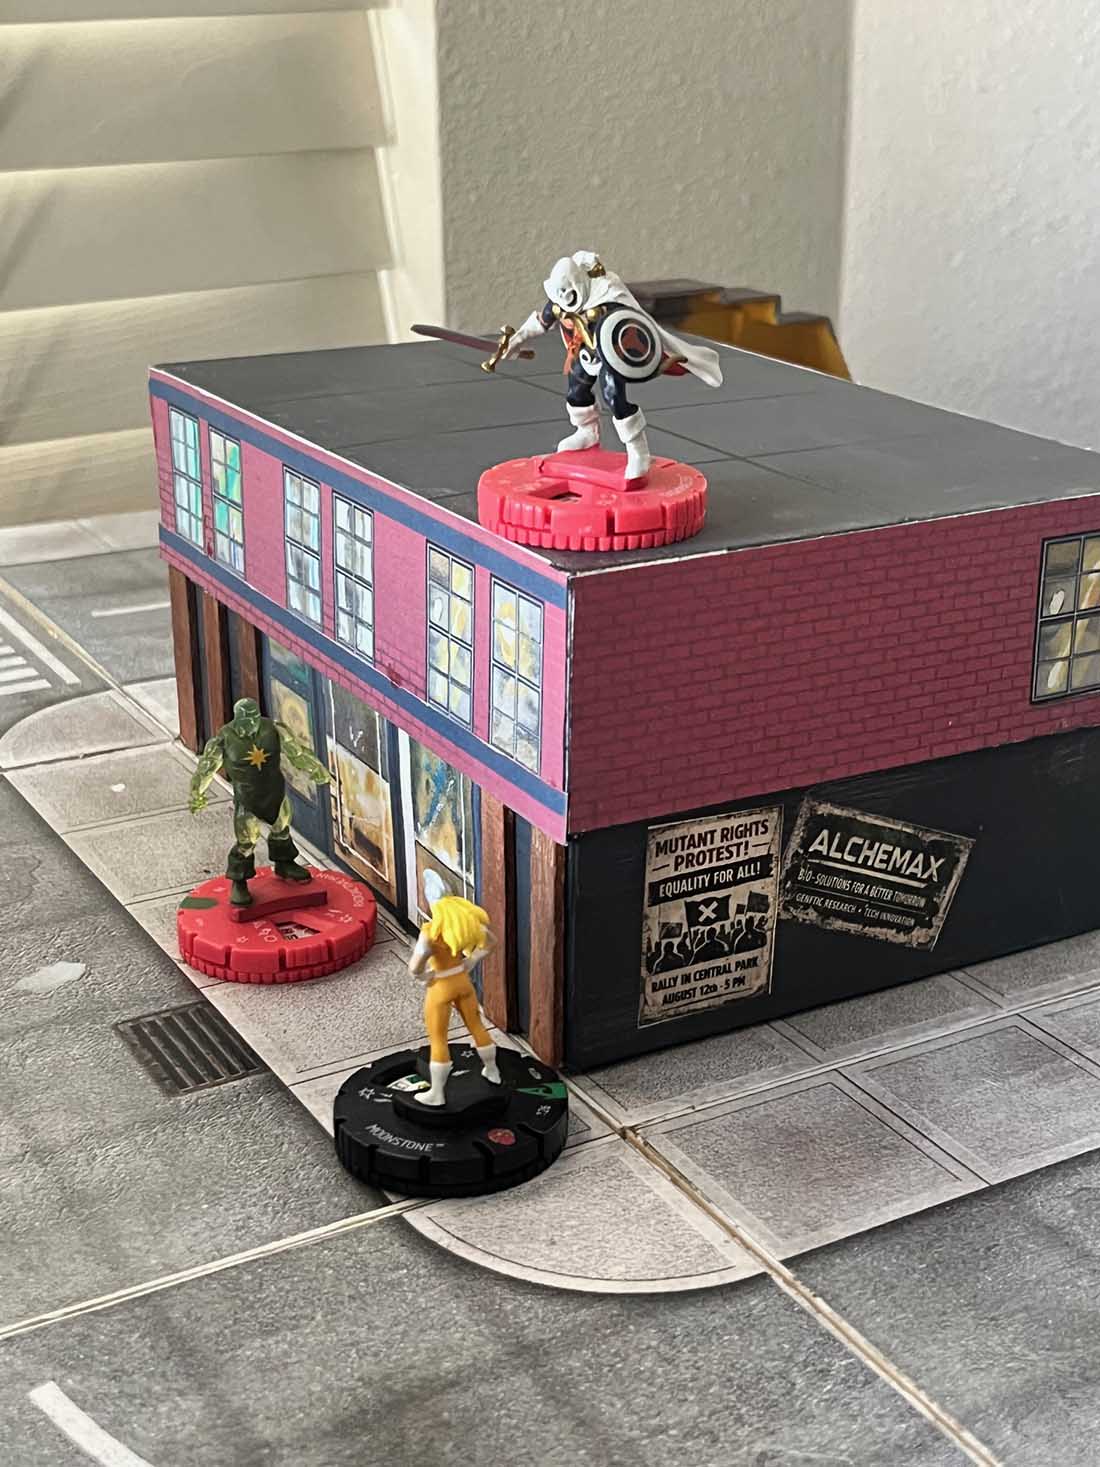
Just sharing an image from a game I play called Heroclix. It’s a Marvel based game that I’ve always said needed 3d maps.
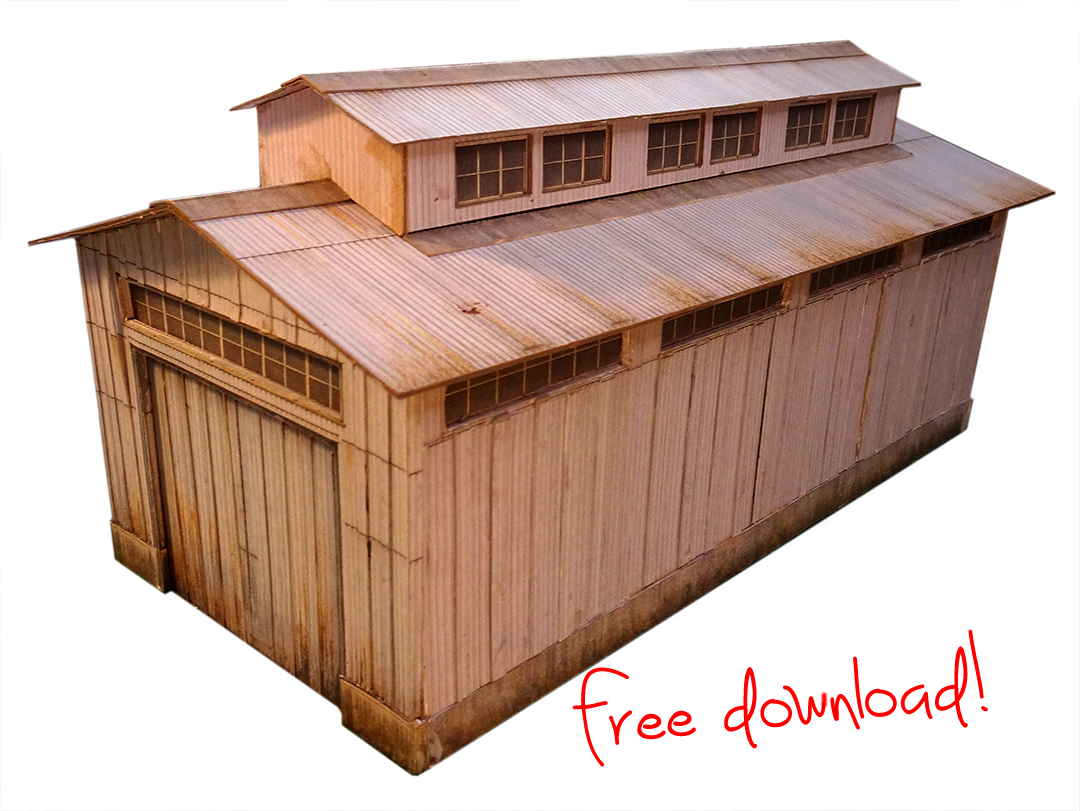
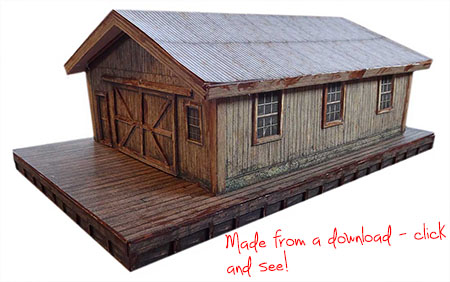
I used one of your models and modified it to make this building. Looks fabulous!
Still learning how to treat the edges and make sure it looks clean but first time not too shabby.
Best
Frank”
A big thanks to Frank.
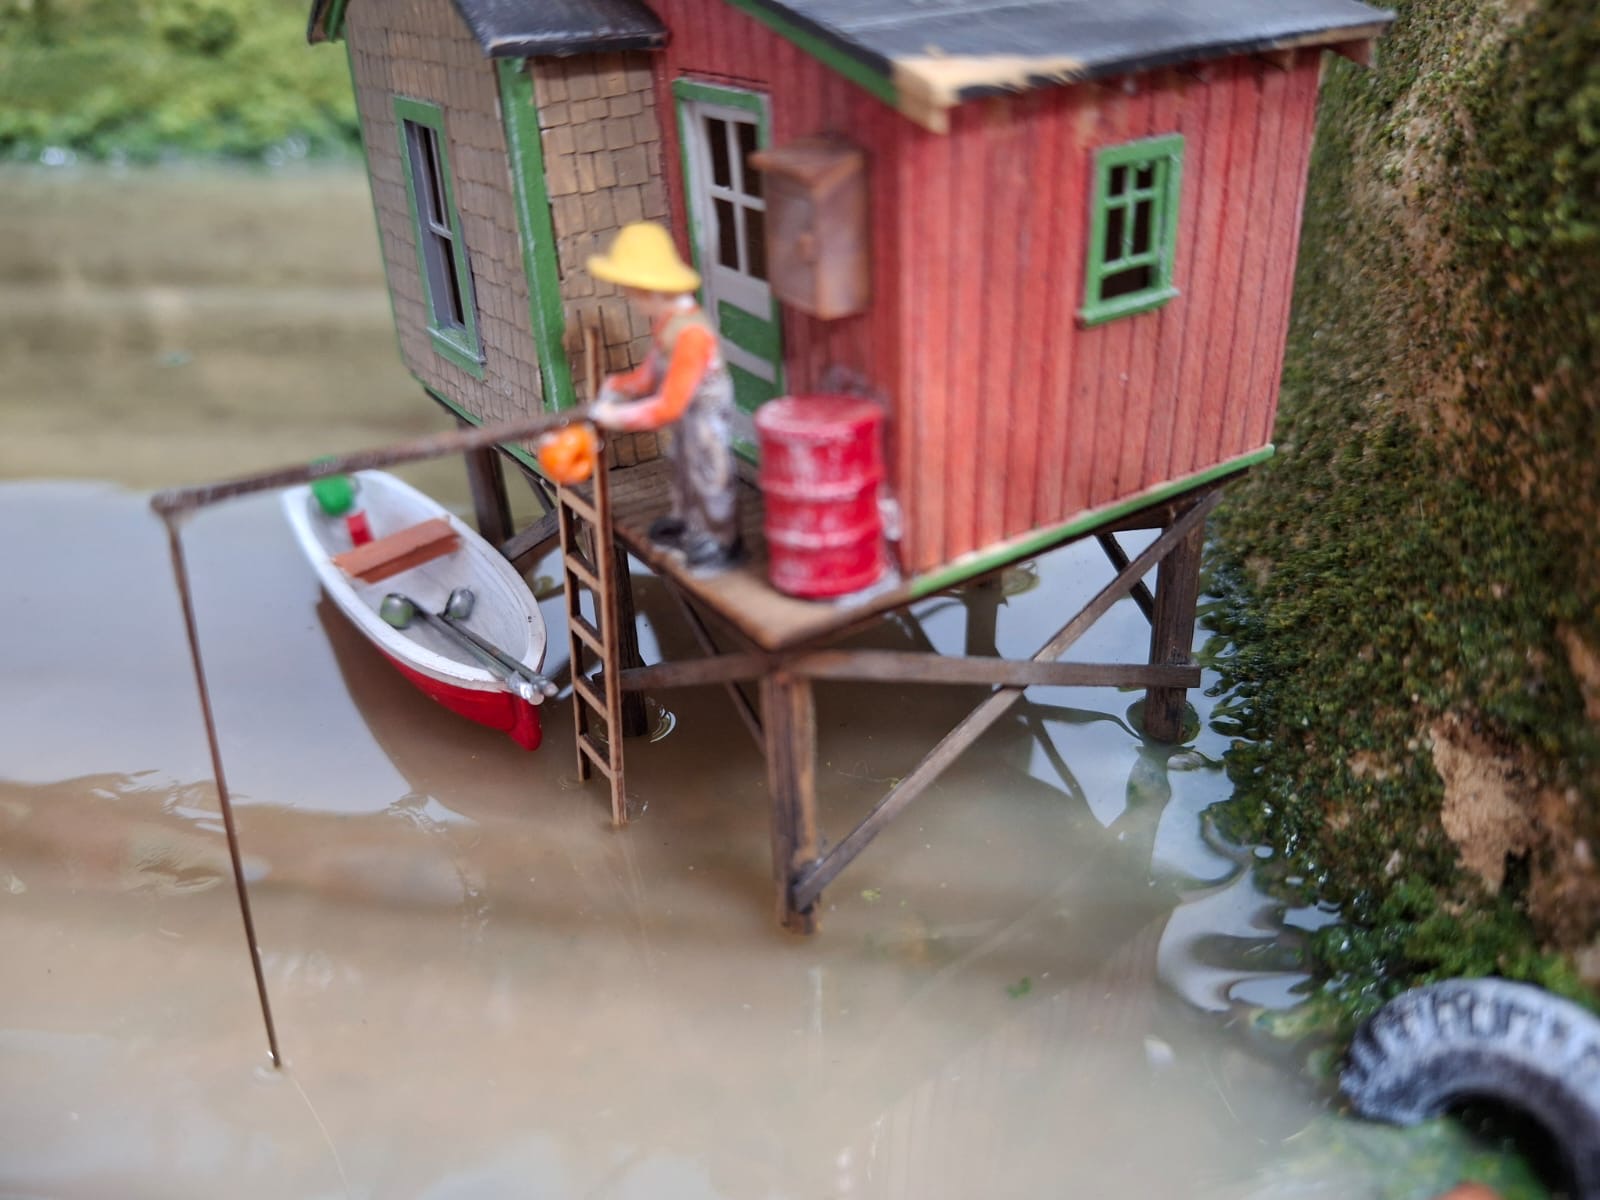
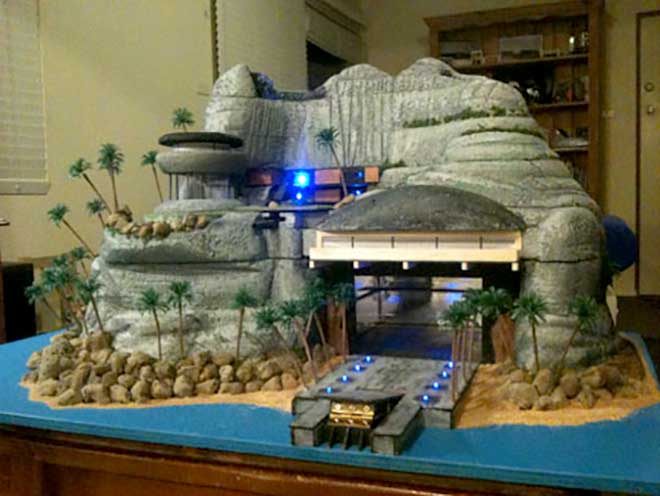
Whenever I see scratch builds like this I’m reminded of Matthew’s Thunderbirds island:
That’s all for this time folks. Thanks to Bob for his Konflikt 47 locomotive, and to Frank too.
Please do keep ’em coming.
And if today is the day you blow the dust of your old locos and find some track too, the Beginner’s Guide is here.
Best
Al
PS More HO scale train layouts here if that’s your thing.
Need buildings for your layout? Have a look at the store.
They are great fun to make and great value too.