If you are wondering about adding traffic lights to your model railroad, Kim shows you how:
“Hi Al.
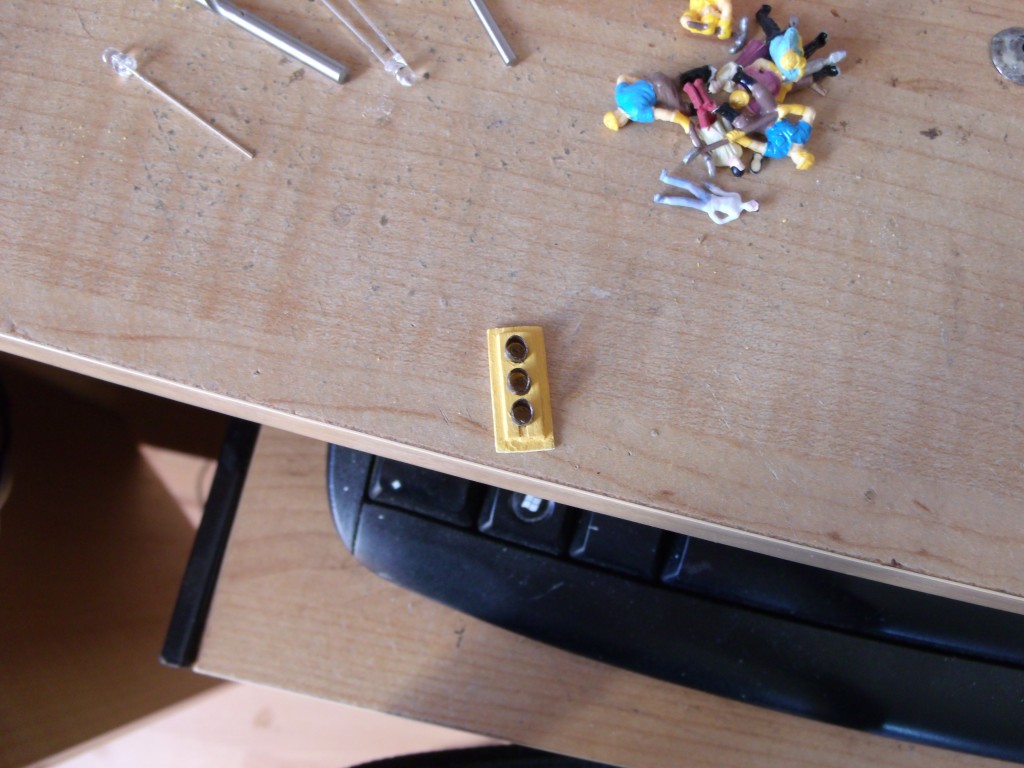
This is a test build of a north American traffic signal. Made from wood.
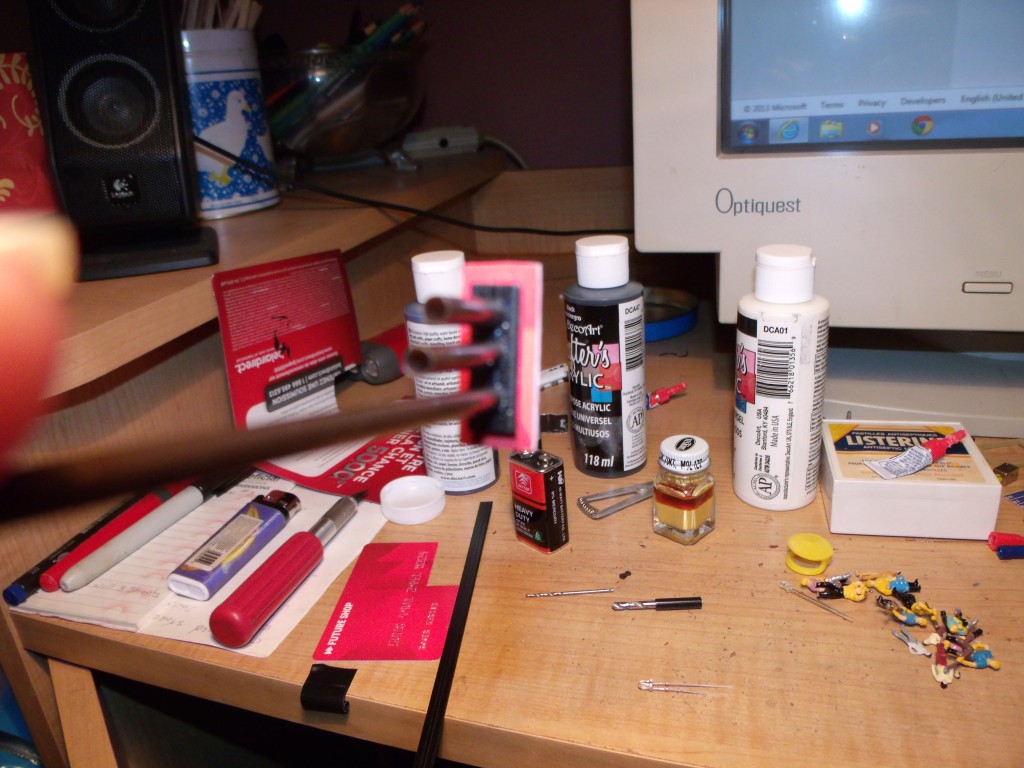
This next one is made from a credit card and a plastic large tie wrap,and coffee stir stick for the len’s. Now after painting,and the len’s trimmed.
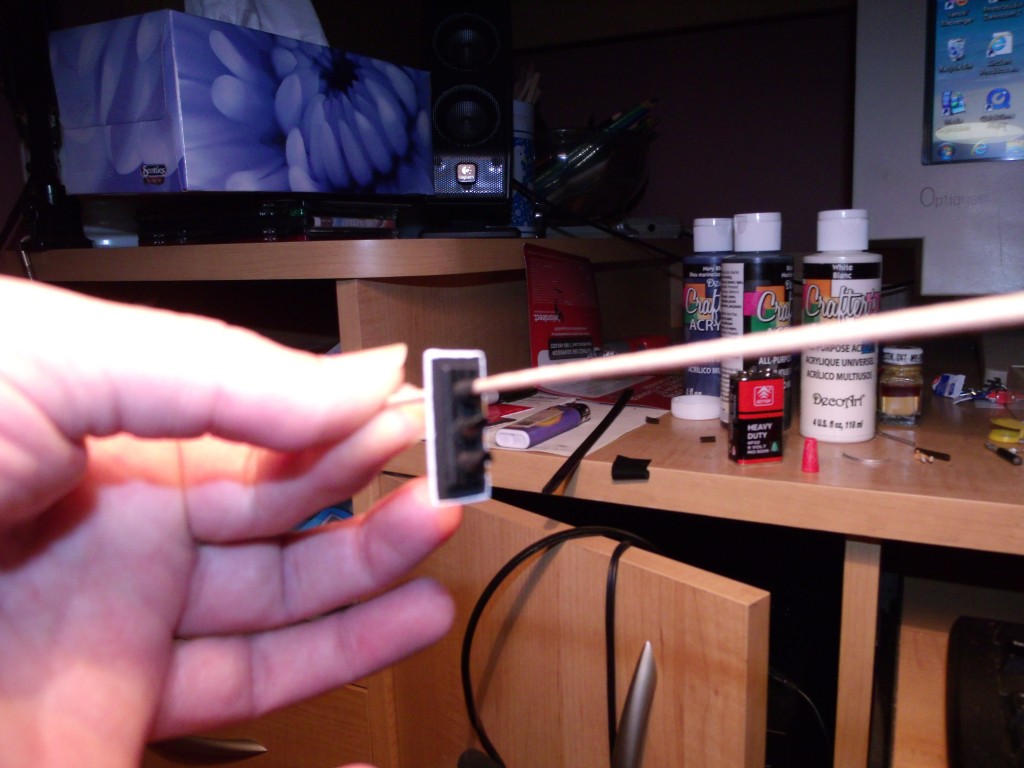
This is the finished project other than installing 1 or 3 LEDs. The led’s will slip into the tubes. If you noticed they are not the yellow American signals. these are UK built in mind.
The led’s are 3mm red yellow or green or all of them. If you want can have say a yellow 3mm flash can act as a caution signal.
Or can find a small project from the net to run a bunch of signal’s and have them switch to each color alturnatly. So what ya think?
This signal is to be installed onto a pole like in the UK. Im working on a hobo moonshine still right now. HO scale. These signals are HO scale as well. If you like a run down on it let me know.
Oh forgot to add. if you want these to be north American signals. Just paint the signal the canery yellow.
In the UK don’t paint the twist tie as it looks better weathered.
Paint only the credit card,and len’s be adding those tiny cctv camera’s soon.
Kim”
Now on to Roger:
“Hallo or in sweden we say Hej Lee
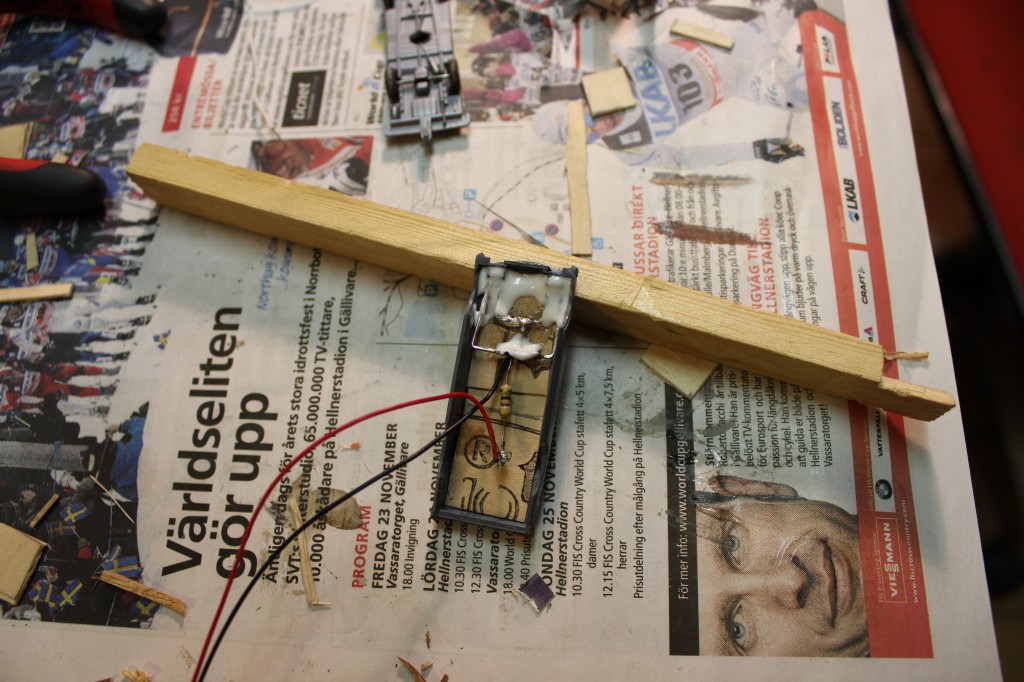
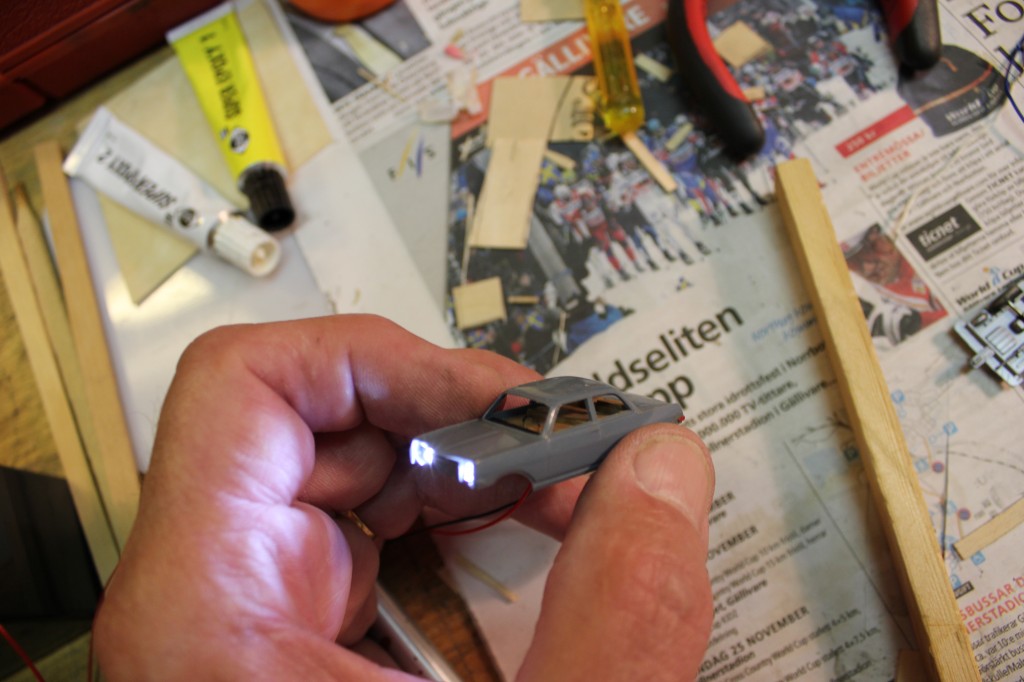
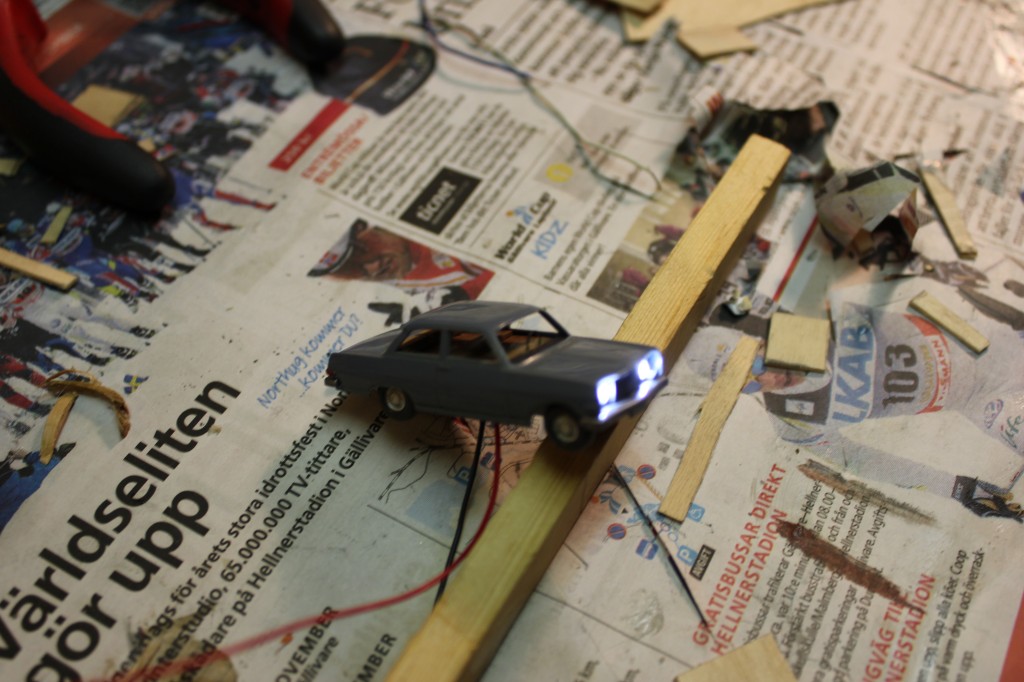
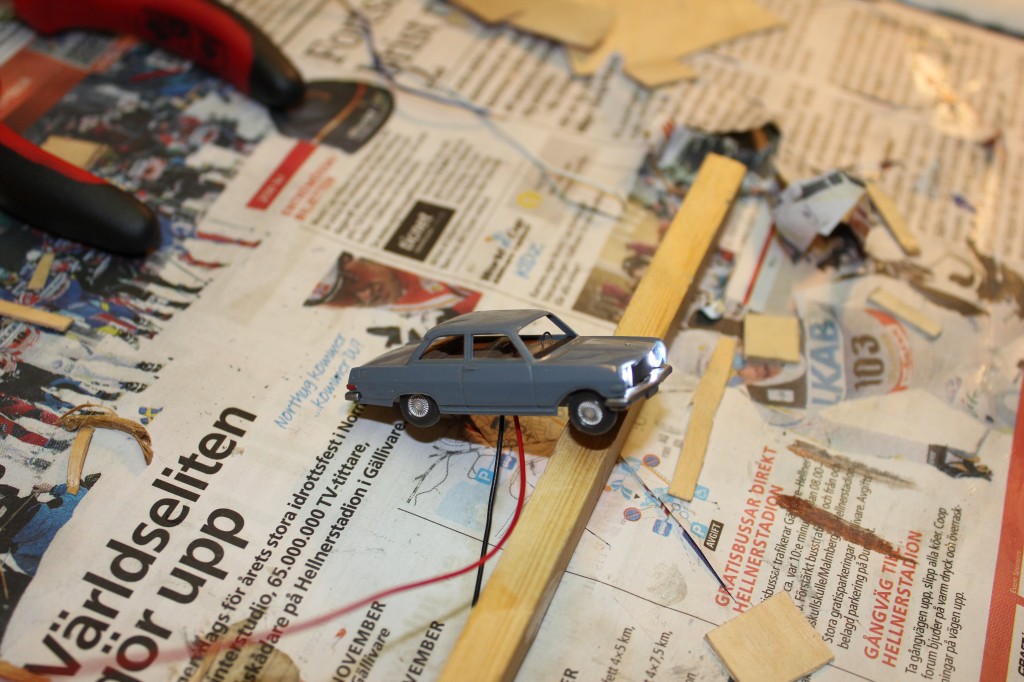
because of heart surgery if I newly completed so I have time to take up an old intesse if I had since I was young .. send some pictures of a old wiking car I fitted spotlights on the front …….-led lights 1,8 mm with a 470 oms resistance..I intend to set up a new model digital Roco.har earlier parts locomotive traces of an old Marklin train….you must be very thankful for those track plans you submitted it is not easy to find new things how they want their model
excuse my english is not 100%
Roger”
(images are clickable)
A big thanks to Roger and Kim. It was just by chance those two came in on the same day.
That’s all for today folks.
Please do keep ’em coming.
Don’t forget the Beginner’s Guide is here if today is the day you start on your layout.
Best
Al
PS Latest ebay cheat sheet is here.


Has anyone already used 3D printing to make signals etc?
Is there no end to the skills of this modeller?
What modeler Albert? 3D printing wow
that is a super job you did on that car with the led’s.look’s great with the light’s.I been getting these deals on ebay 99 cents for 100 yellow or red or green flashing led’s.and the resistors 3mm for the life of me I cant find or get any 1.8 mm leds off ebay.can only order from a American company.
Tell ya a funny thing about my build’s I do.most end up being throwen in a box.with may other projects I have done.I haven’t really worked on my layout like I should.Like add grass and tree’s and lots of other thing’s.To busy building stuff.thinking up new idea’s.Does anyone have any idea on what color to mix together to make cooper color.im building a moonshine hobo still and need a cooper looking color.thanks for any help.
Yes Jan
I am 12 years old and live in the UK. At my school we have a 3D printer and we have access to a lazer cutter. I have tried both of these machines at making different things for my(and my dad’s) model railway. In my opinion the 3d printer is and amazing tool and can be used for almost anything.
I use solid works (3d design software) to create the soon to be model. The only down fall is that it takes about 12 hours to print most things, so what I did for my signals was to create a vacuum mold for the vacuum former. This then sucks the air out of the mold and forms the signal
Regarding the lighted cars… They look nice BUT… Please send me and post the circuity that was used to provide the headlights into the cars.
I guess the same can be said for the traffic signals as well.
I always wanted to know how to make model traffic lights work.
cheers.
Well there isn’t much to be said about the circuity. you hook two led in sink or positive to positive and negative to negative.I will send Al a photo of the finished connection.
Hi Paul.Was pretty simple to make up these signal’s.and will work for any non working signal’s.I have one set at the end of my table running most times.
I DO LIKE YOUR SIGNALS VERY MUCH. A VERY NEET WAY OF BUILDING THEM.
nice cars, good Job, Now you need to put tail lights in, or even one as a turn signal,
one of the questions was how to make a copper color, I beleive if you mix silver and brown it would turn out to be copper color…and has anyone used the LED
strip lighs on their layout? I may try it as they are cheap on ebay or amazon.
As soon as I can figure out how to put them on my layout without tearing the whole thing apart. Anyone have any ideas? Thanks
Sorry to hear of your medical issues. I know from where you come. One day at a time my friend, take it easy and it will work out.
Rick from Southern Ontario Canada.
I was a police officer in Toronto for 15 years. nearly got killed 3 times. So just take it slow man, very slow and unfortunately, NO BOOZE.
rick with my best wishes.
Kim, You’re very inventive with your scratch-built traffic lights. However, when I was looking at the first photo with the (presumably HO scale) figures, it appears your traffic light is larger than a 6-foot tall man. Using the 3 mm diameter of the traffic light lenses as an approximate ruler, I calculated your traffic light to be about 28 mm long. That comes out to 8 feet in HO scale, so I looked up the standard sizes for traffic lights on the net and this is what I found:
“Traffic lights come in two sizes, dictated by the U.S. Department of Transportation – 8 inch and 12 inch.
The 8-inch traffic signals are approximately 30 inches tall, 9.5 inches wide and 6 inches deep. The 12-inch signals are 42 inches tall, 13.5 inches wide and 8 inches deep. These measurements apply to the main body of the signal without visors.”
Thus, it looks like your traffic light is more than double the 12 inch maximum. Clearly, in practice, real traffic light lenses are spaced more closely together in order for three 12 inch lenses to fit within a 42 inch space. In fact , they must be nearly touching each other. Photos on Wikipedia show that a three element traffic light is indeed smaller than the man servicing it.
BTW: I love Luke’s idea of 3D printing the housings and other parts of the traffic signals. Too bad it’s such a slow process, but it could be used to make the master from which a mold could be created for lost wax castings. Still, a lot of trouble to go to for a traffic light and you still have to figure out the wiring to make the LEDs light up in the proper timing and sequence. I guess that wouldn’t be too hard with an Arduino.
Kim and others, My apologies. After searching HO Scale Traffic Lights on the net I see that there are dozens of products on ebay that include properly sized traffic lights and various logic boards to control the signal lights. One Chinese outfit sells three pre-wired, pre-assembled HO/OO scale LED traffic lights and the control board for $20 including shipping. How can you compete with that?
This is an off-the-wall comment. If you are laying track and aren’t sure you’ll be happy with the plan, use two-sided carpet tape as the adhesive. It works on any wood base, but I’m not sure it works on foam. For curves, use small sections to make the curve.
Not happy with the results? Use a putty knife to scrape under the tape. Be careful, but it will come up. Then, of course, try again.
Saw this on YouTube by a guy who, for 50 years, has been making train layouts for a living.
Roger – Your English is better than my Swedish. Thanks for posting.
Pretty kool,!!!!! I would like to see more.
Remember the old “Grain of wheat bulbs? ,,,, Aint LEDs grand?
Good work in any case.
Steve in Cleveland
nice
COPPER COLOR: The first way is to mix orange and brown together to create a copper colored paint. The second way is to mix red and brown together to create a dark copper color.
interesting ideas.