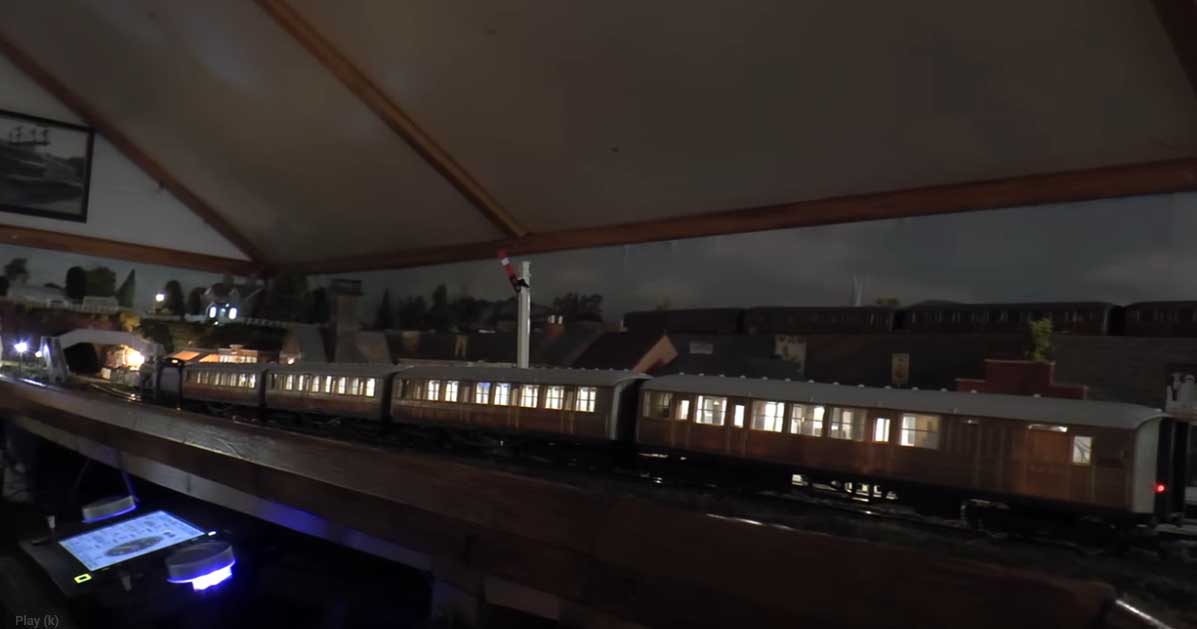
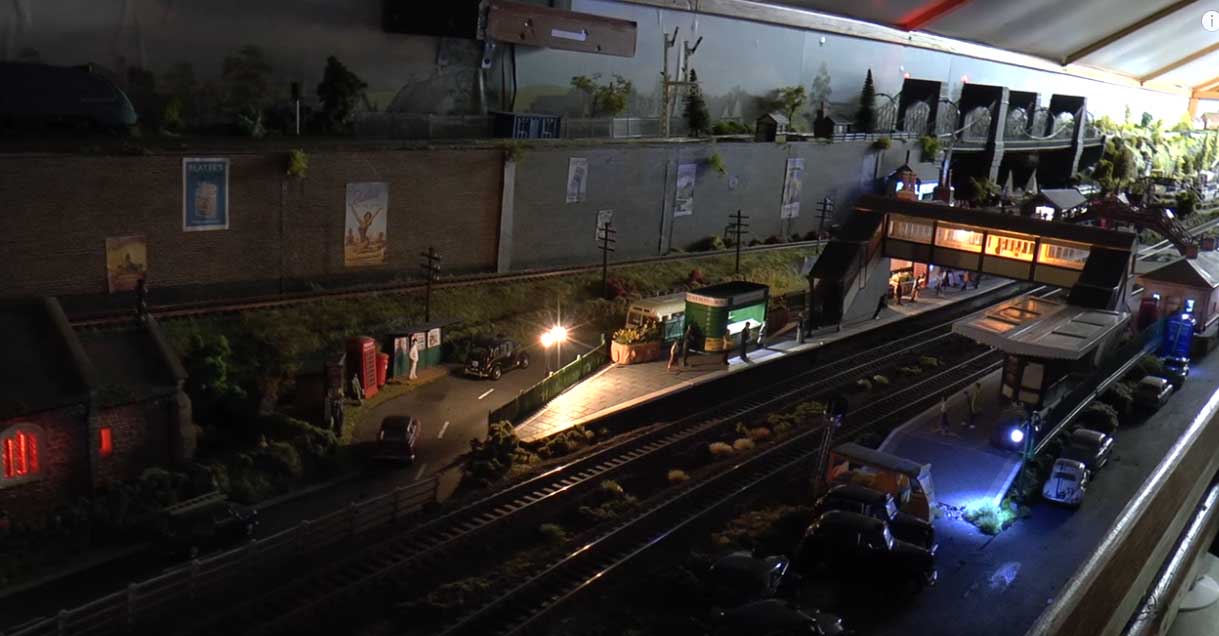
Dave’s been in touch with a great ‘how to’ on LED lights for model trains:
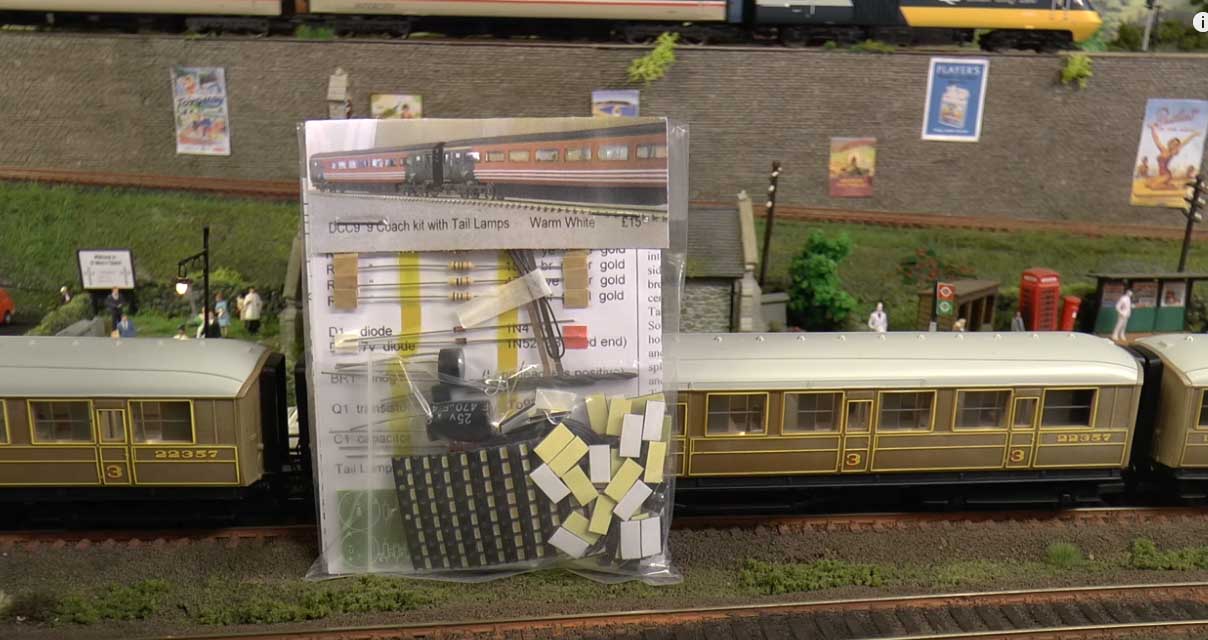
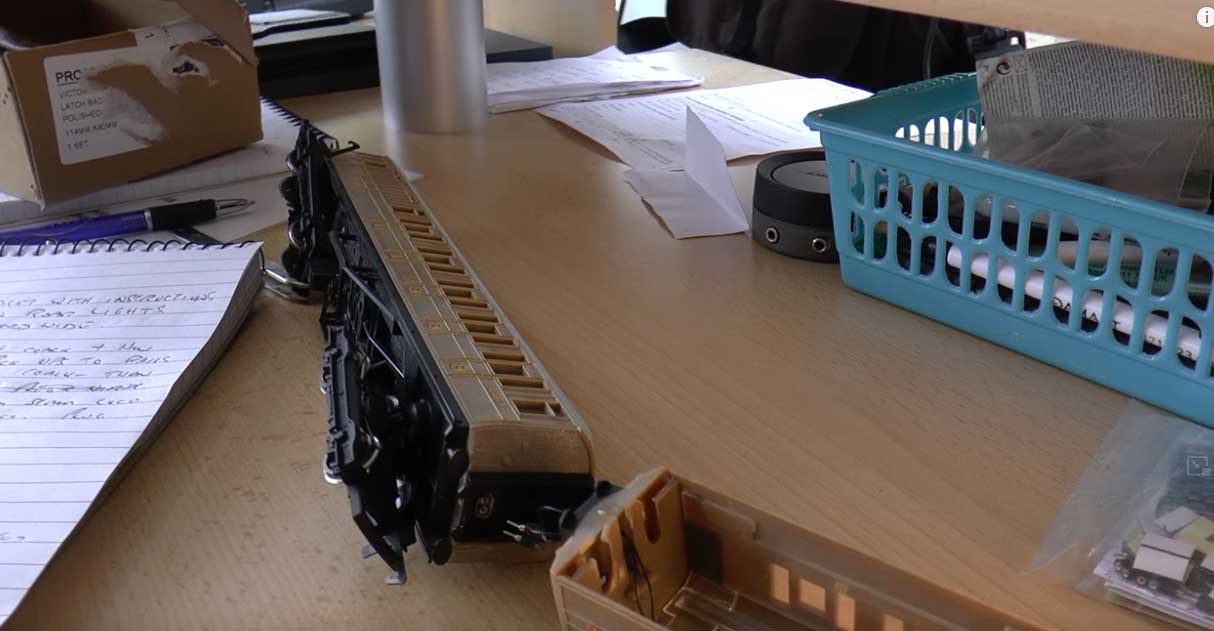
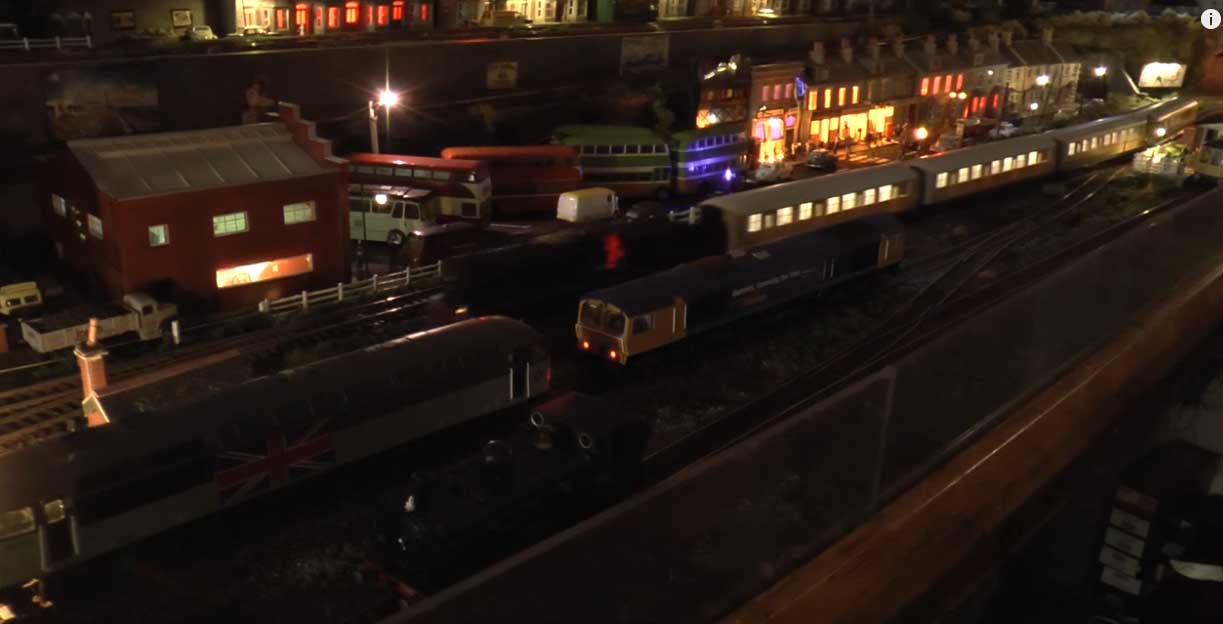
“Hi Al , just uploaded this video, its a way to add lights to rolling stock (coach interiors ) without breaking the bank.
Its all getting very expensive these days, but using this method its good as you can see and very reasonably priced …either doing it yourself or having them add the lights for you.
Regards
Dave”
Dave’s LED lights for model trains vid:
Now on to Fred:
“Al –
Started my first layout in February after cleaning out one end of the basement workshop.
My layout is about 25′ in N scale, with a full height hand painted, heavily lit diorama backdrop.
Haven’t done any landscape painting since the sixties, but find it makes for a better interface between 2D and 3D if you’re clever about it.
I’ve got all the track laid out – a somewhat elongated “dog bone” format with a deep water harbor (with oil refinery and a berthed custom built chemical tanker at the pier.)
This is next to the urban end of the layout which has an engine house and turntable, large “classification” yard, and several passenger platforms beneath a large passenger terminal and urban center.
I’m writing about it, rather than showing it because it’s going to take years, I suspect, and I’ve deliberately designed a project to occupy myself ’til I croak! (just turned 70.)
However, for your readers I’ve forwarded some photos of the other end, where I’ve spent most of my time modeling.
It’s a small early 20th century, late 19th century new England town I named “Maxwell Falls,” after one of my grandsons. (The city is (“Port Charles” after the other one.)
Everything is in plaster – moulded rocks, custom made dam, etc. I find it stains well, with thin washes and looks more realistic. Believe it or not, I think it will be another 6 or 7 months before I finish this end. I’ll keep you posted.
Cheers
Fred”
Linda has also been in touch again. I just loved her train room project (which you can see here.)
Well, this time, she’s added to it:
“Hi Al,
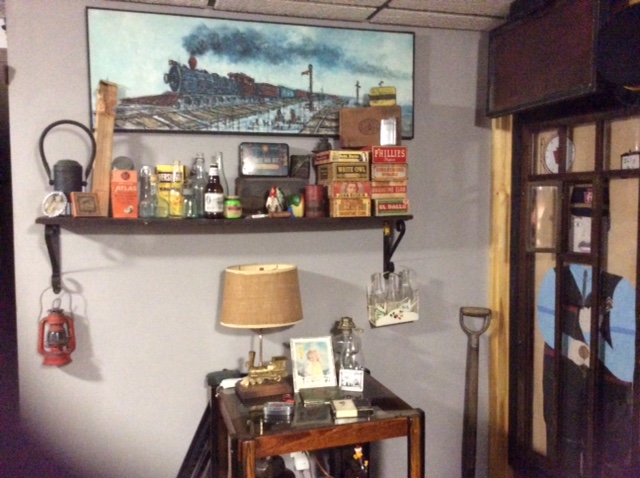
My second project was to fix up the door to our pantry.
We bought an old “Speak-Easy” door ( the divided brown door with the little window), built a frame around it, then took an old vinyl window blind and painted an old Conductor to look through the door.
The third project was a great one. We acquired a headlight from an old Steam Engine. Had a stand built to set it on. Then proceeded to build our own Steam Engine coming out of the wall.
I cut out plywood for the front, got a plastic cut off beer keg end, for the front of the Engine, cardboard cover roll from an electric wire spool for the sides. Painted it all black, accented with PRR sign, carriage bolts for the rivets, wired the light to plug in on a remote, got my Dads old wooden toolbox for the front.
For the “cow catcher” a friend gave an old grill from a ’49 Packard auto then welded together with some metal straps off wooden barrels. Here are some pics.
“Mr. Lee,
I am 71 years old. The last time I started a train set I was about 8 years old, and I stopped playing with at about 12.
I haven’t stopped thinking about one day getting back into model trains.
The last 6 years I have started to collect some trains, my kids are all grown.
So the best tip I can give right now is ” don’t ever give up your dreams” I am going to start my dream train layout within the next year.
I keep all your videos in tips that I have found interesting and how to do the layouts. Thank you for all your tips.
Richard”
“Hi Al,
Have crazed or fogged glass? try olive oil with a q-tip it removes the haze look completely on most plastic especially on Kibri vehicle windshields
Best regards,
Jeffrey”
And lastly, on to another hall of fame member – Arnie. Some stunning pics of his layout after the intro:
“Hi Al,
As I had mentioned to you in recent email, I am working on completion of a new Heritage Series video on my 1947 American Freedom Train.
It’s just about done. But I thought I would send you this brief video introducing the topic and my plan to get it to you and the readers soon.
A teaser video you might say!
Thanks — Arnie”
A huge thanks to everyone, espcially to Dave for sharing his LED lights for model trains ‘how to’.
I never know what is going to turn up in my inbox each morning, but I love it all.
That’s all for today folks.
Please do keep ’em coming.
And if today is the day you get started on your layout, the Beginner’s Guide is here.
Best
Al
PS Latest ebay cheat sheet is here.
PPS More HO scale train layouts here if that’s your thing.




Hi Al. I’m looking for a Shay in Nn3 scale, that is RTR. I have been unable to find any RTR Engines in Nn3 scale. I was just wondering if maybe one of your readers could help..
Thanks
John Gicking
St Petersburg, Fl. USA
Thanks to Dave for the coach lighting information. Pity you couldn’t show us how they are installed – hope that wrist/arm problem clears up soon. I looked at the ebay listing: Price is very reasonable, and noticed you can choose between warm white and bright white. I think you might have bright white in yours, but wonder if the warm light would be easier on the eye… and less likely to show through the carriage body. Either way thanks for bringing the kits to our attention.
Dusty Cambs UK
LOVE, LOVE, LOVE Linda’s train room!!! Please keep the updates coming!
Searched eBay every way imaginable. Cannot find the coach lighting. Also looked at web-site, it is blank. Does anyone have more info?
Fred. Amazing scenery, great rock and stonework and the dam is very impressive, keep up the good work.
Eric (Leeds) UK.
I had trouble finding the seller as well. Put mikecarrington (no spaces) in the box instead. It’s OK for those who aren’t confident about doing this kind of project themselves, but note there are DC kits and DCC kits, and you will be drilling holes in the ends of the coaches for the plugs.
Impressive dam there Fred, absolutely love it. I’ve never seen one on a layout before, great idea beautifully executed.
Mark J
holeeee shizzz Al
that is all so interesting
the Loco frontend is considerably kooool…..
but ya got any idea just how much that ’49 Packard Grille is worth on the market…???………..LOT$$$… jes sayin
great posts today
keep em runnin fellas and gals!!!
st john in long beach calif
Just love Dave’s railroad and tips. Sometime in the future, I must get to Cambuslang from California to look for my Scottish family history. And when I do, I hope I can get to wherever Dave is and meet this wonderful man.
What a fun train room Linda has. I like the “reuse” of some parts, like the door!
Love Fred’s layout and the dam. Even the outflow tubes are weathered perfectly.
Now if only I had the talent and patience these folks have.
Pete
Rainy Silicon Valley, Calif.
Talent abounds! What great artists! Cheers! NJ Mark
Dave, thanks for the tips on wiring. I have a lot to learn about the wiring part. Also love your layout with the lighting in buildings and coaches. Just Great.
Fred, Great details on your layout. Everything looks so real. The details and the background are very nicely done. Keep up the wonderful job.
Arnie, You look great in your Conductor Halloween Outfit. Your layout is quite impressive also.
Al, thank you so much for putting together and keeping up with this site. Awesome job. Keep up the wonderful job.
Love to get such inspiration from all the versatile and talented people contributing here.
great work to all of you the tips are really good that room must be amazing cant wait for the update video.
Fred, that looks brilliant, feels real already.
Dave, I also think the lights are a bit bright, the Mk 3/HST cars have a tint to the glass to reduce heat gain in the day, while the lighting in the older stock was on batteries, trickle charged by a generator driven off one axle, that doesn’t produce much under 20-odd mph, and often on the dim side particularly when standing. Very neat installation, good value I’d say mate.
Rod
Always a real treat to watch your grand layout in operation, be it “night” or “day”. In a sense you are a teacher explaining all your railroad modeling tips. Looking forward to watching more of your upcoming railroad modeling videos.
What a great find. I have plenty of coaches that need lighting.
Arnie the layout looks great would like to see more and a plan of the layout
A trifecta plus 1 today. All marvelous postings, and a damn good dam there, I am tempted to ask, “is it live of Memorex/”
Kudos to you all.
I picked up a coach lighting kit here in the states that run off a pickup from the metal axle. A copper sleeve is the pickup piece.
Thanks, Al.
MN Dan
Hi Al, I would just like to add to Dave’s comments regarding the Coach Lighting kits, they are excellent value for money the designer Mike is extremely helpful if you have any queries. I Personally couldn’t handle the pick-up method due to arthritis developing in my hands so I used DCC Concepts pick-up system.
They are available in bright white for modern image and warm white for steam era, an excellent product all round.
Excellent series of modelers in todays post. So many creative folks are in our hobby! Bless you all for the narratives and pictures and tips. This is why it’s the worlds greatest hobby
Hi, unfortunately Dave’s links don’t work as eBay site and website appear not to exist anymore. They have probably stopped trading.
Shame seemed very good value.
Cheers Mike S
Just how fast was that locomotive going when it hit the wall??
Great Job.!!!!!!
The website for the lighting is no longer in use.
The business is obviously no more.
Pity that.
Arnie. Love the video. Would like to see more pics around the layout, especially the waterfall and river. Gives me ideas for my layout.
Pops Somerfield. Chicago
I am sorry to say that for the first time I am a little disappointed by Dave’s post. It was an advertisement. Not up to his usual highly useful and instructive standard.
The installation of these coach lighting kits must be a challenge, i.e. fixing contacts to the wheels, drilling correct size plug holes in the ends of the coaches and fixing the lights to the roof? of the coach.
I hope in the future Dave will be able to show us how he installs the lighting in some of his coaches.
Andrew in Oz
Great work! My company designs LED lighting. Bright-white is typically 6500K (Kelvin) while 4000-4500K looks more yellow like traditional incandescent output
1920-2000 homes and businesses. We made light towers at 3100K to protect sea turtles (very dinghy yellow) which simulates 1800-1910 era oil lamps for you purists out there. Look at Digikey, Mauser, etc. for the different temp ranges. Hint: For blue light, a white (6500K) LED typically is a blue LED with a yellow cover. Scrape off or remove the cover to get blue.
love the damn, and really love the train wall, very cool. a vfw hall not too far from my house used to have the real front of a train on the front of a building behind it. it looked a lot like what you put up.
Awesome job Linda, love it !!!
Dave,
As a few of the above posts have stated, the web sites can not be found. That’s too bad as it would be a great help to those of us who enjoy that type of tinkering with the trains. I have about 35 to 40 passenger cars that I want to add lighting to. Maybe someone else will produce a similar type of kit.