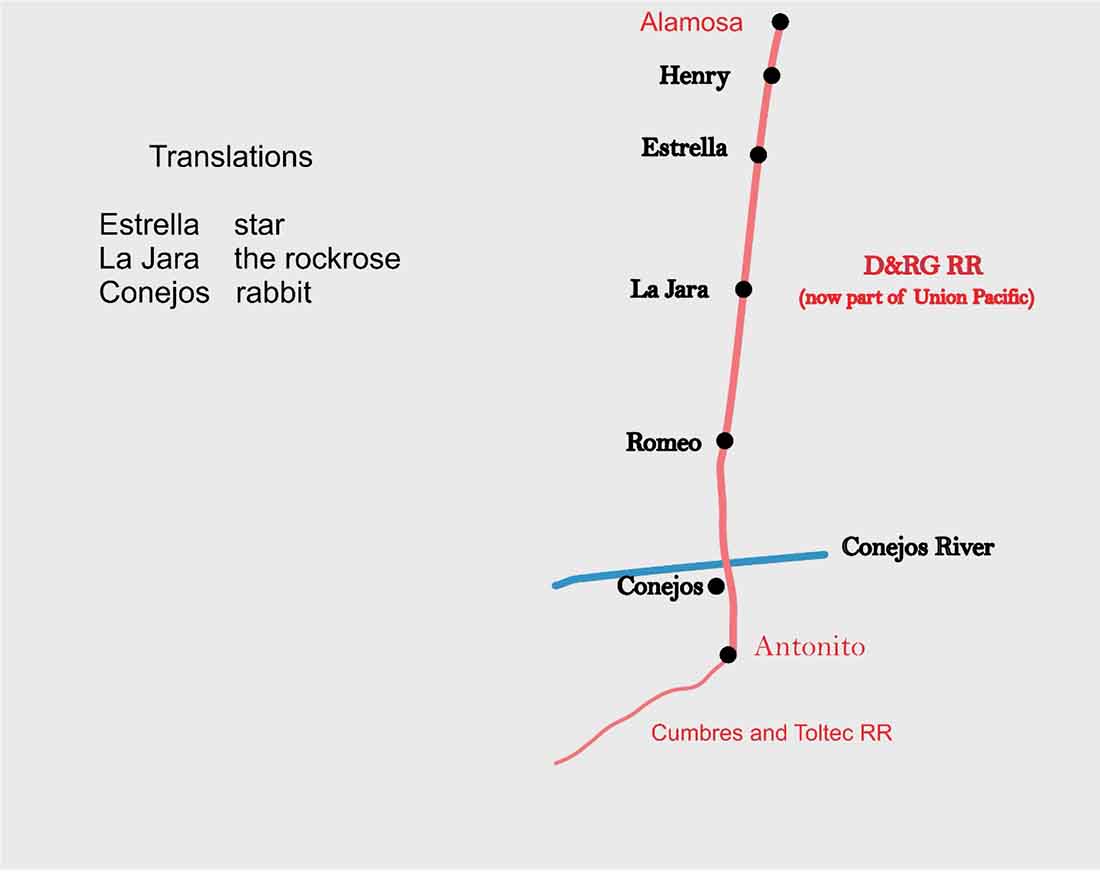
Today we hear from Old Taz again, who shares his model railroad tools.
But that’s not all he shares – it just goes to show what an amazing lot you all are:
(This entire post is all from Old Taz.)
“Hi Al and all you Model Train enthusiasts.
This hobby is the greatest and the people that are in it are top notch. 1.you don’t have to stay inside the lines. We’ll get to two and more later.
It’s been a tough as I lost my son in December. Al you and all of your subscribers have helped me through this by having something to get up and look at each morning.
I’ve got some tips and hints that I’d like to pass on to all of you. Because of my neuropathy in my leg’s hands and arms. It takes me a little longer and I’ve had to adapt some tools to make it easier.
I’ve got a list here someplace if I can find it again.
I make sanding boards by gluing sandpaper to different size pieces of Masonite, that way they’re flat and can be used over and over again.
I found that if I put a couple B-B’s In my paint bottles when you shake it up it seems to help mix the paint. I usually thin the paint just a little bit my own preferences.
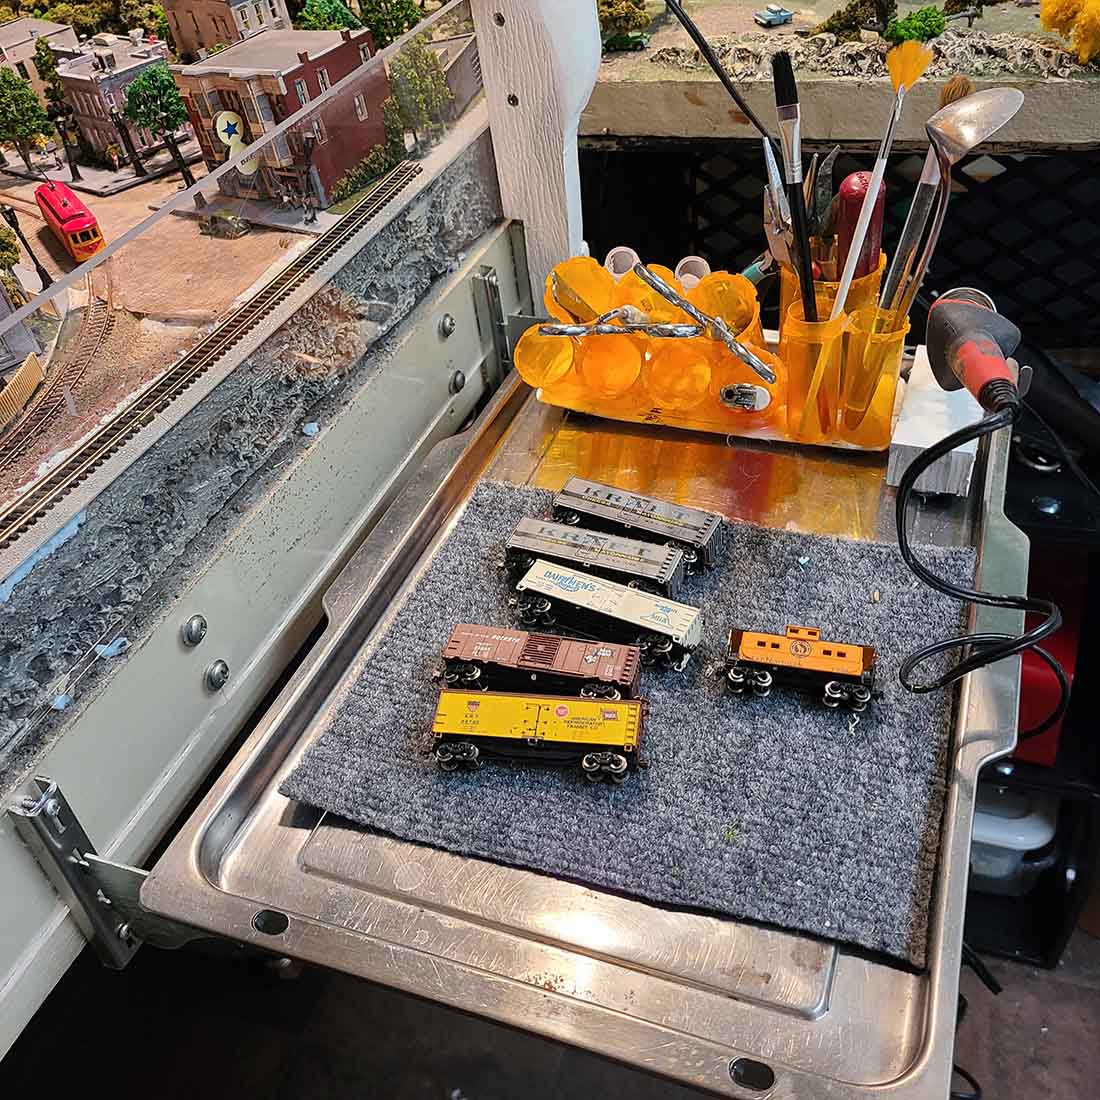
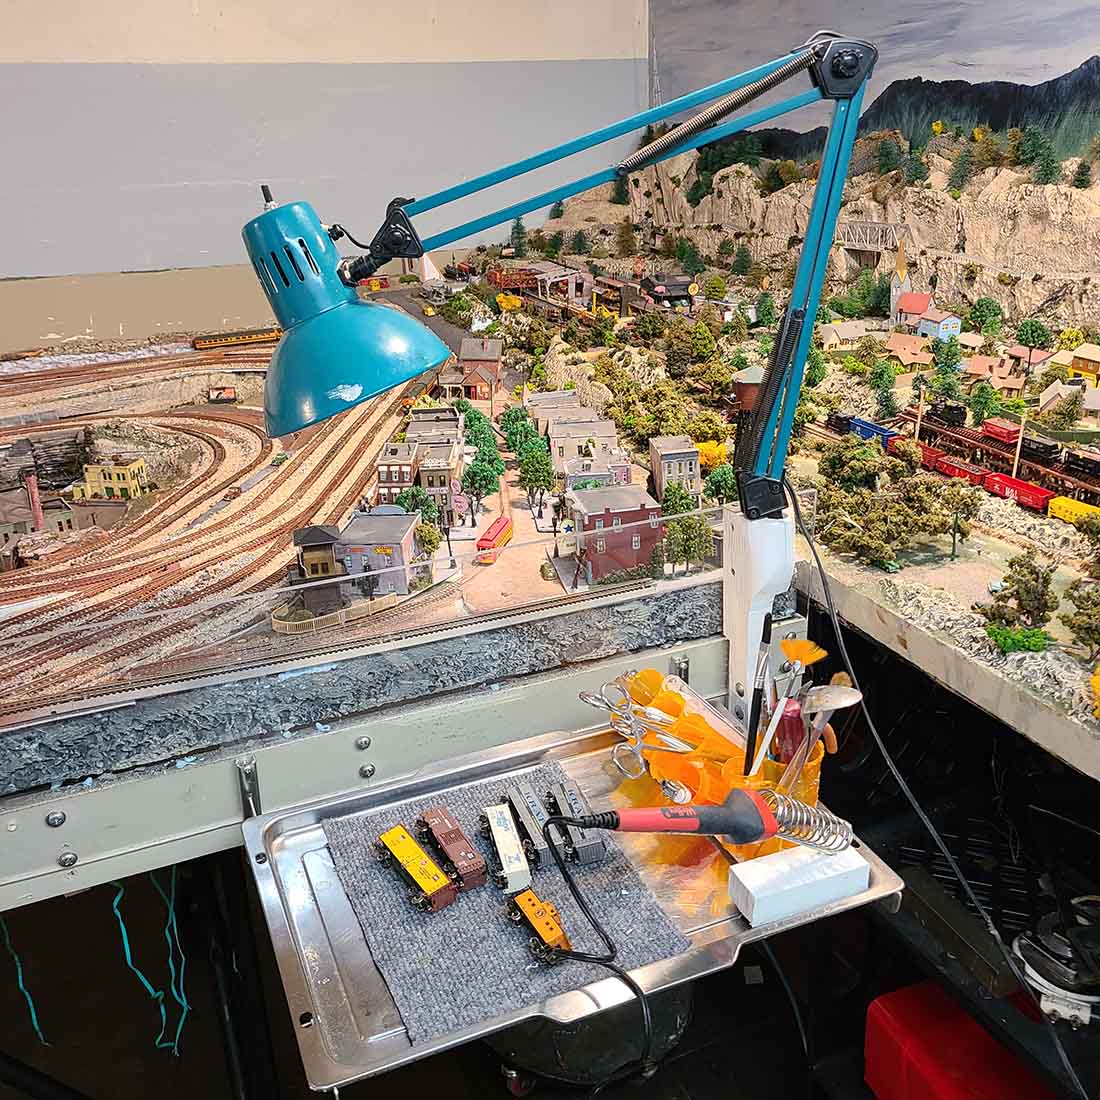
I made-up a tray that hooks to the side of my track in several places. The Tray was made out of an old broiler pan. I used some old shelf hooks fastened to the pan and they hook on my table in certain places to go along with that I made-up a light stand to work on the table in the same manner.
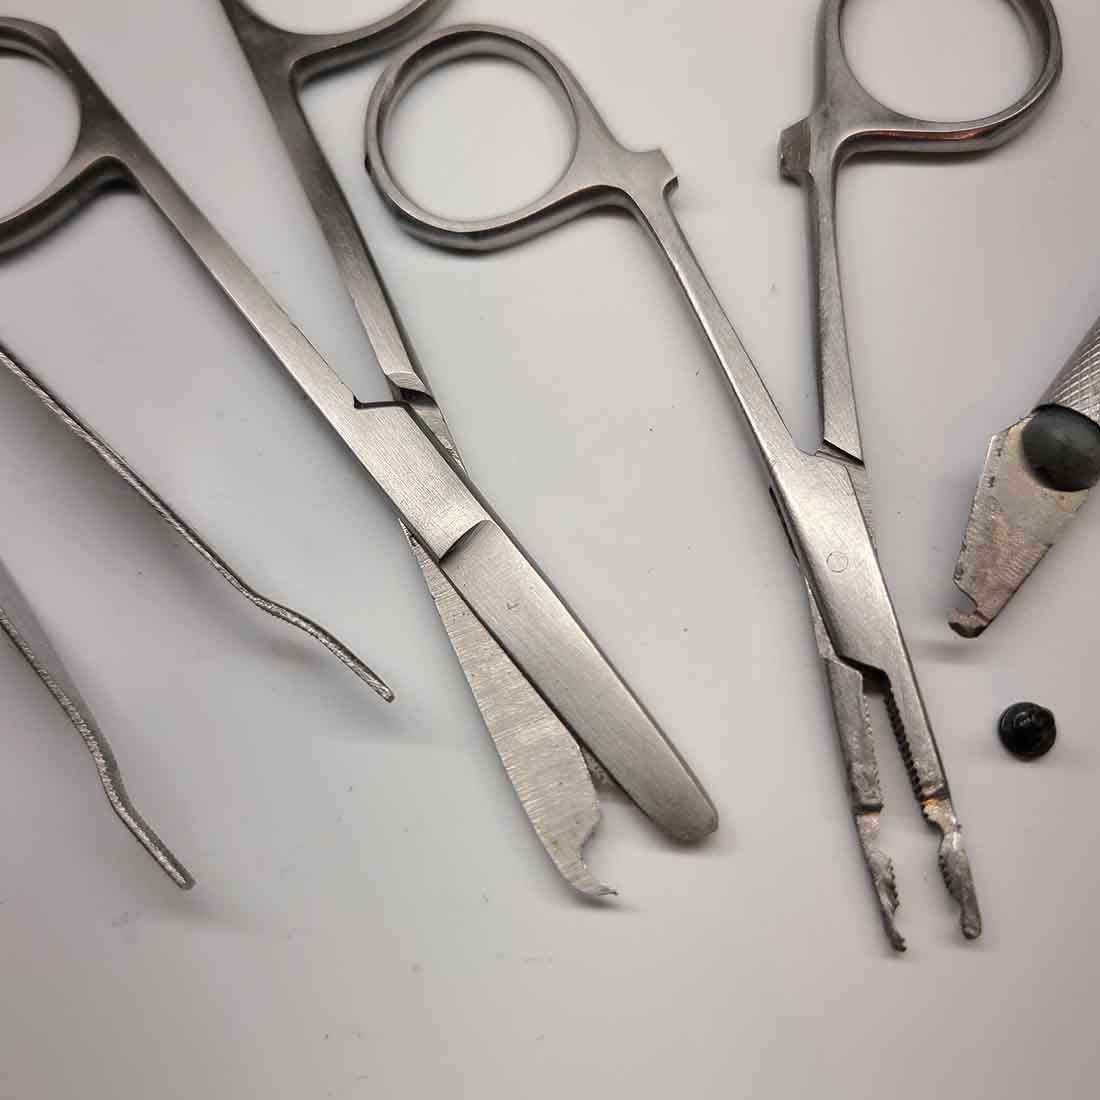
I use tweezers and forceps a lot more now. because of the loss of nerves in my fingers. If you cut the lock out, they make good plyers. I’ve ground down some of the forceps to make different tools.
One tool is to hold a screw when you try to get them started. A lot of screws are not magnetic and don’t stick to the screwdriver. You can buy these cheap forceps online, watch to see that the finger holes are large enough I’ve had to split them to make them larger.
In the picture left to right tweezers were bent to hold some couplers, the next item are stitch removers and if you get the right ones like this pair, they cut fine wire paper skin anything else that gets in its way.
The next one is a small forcep with holes to fit screws so that you can hold them and still turn them notice it’s shaved down so that it was thinner. The last one is the exacto blade and that was made to pull track connectors into place.
I’ve made-up light checkers so that you can check the light before you install it and know which side to put the Resistor on, I also have made-up a continuity checker with the light instead of a meter so I don’t have to take my eyes off of what I’m checking to see if the meters jumping or not.
I’ve made-up small 12 Volt Transformers that I can hook into my layout without turning on the main Transformers, to check out lighting separately. I have 110 outlets around my layout so that you do not have to have extension cords stretched across the floor.
I’ve made-up 12 Volt speed control to be used on the bench when I take like the racetrack off to be worked on the bench. And there will be more to be worked on the bench. she
I, like some of you, take a lot of medicines so I have bottles coming out of my ears. In some of the pictures you’ll see how I use them to hold tools so they’re not laying on the bench. For me it’s hard to pick a tool up that’s laying down on the bench. Sometimes I need a tool to pick a tool up.
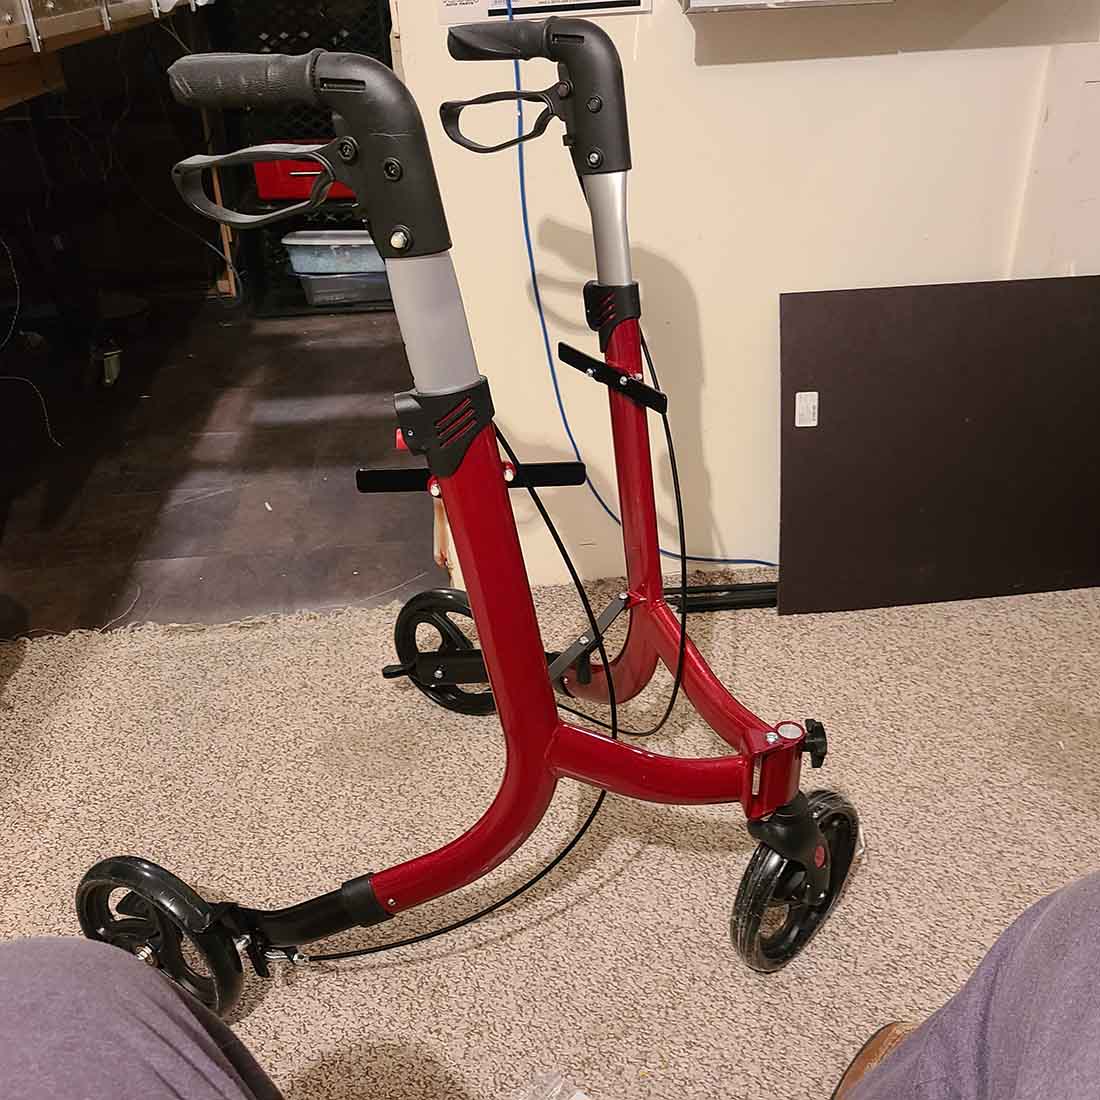
I found a three-wheeler Walker online which makes it easier for me to get around my layout. It turns on a shorter circumference and is a little narrower than most 4 Wheelers.
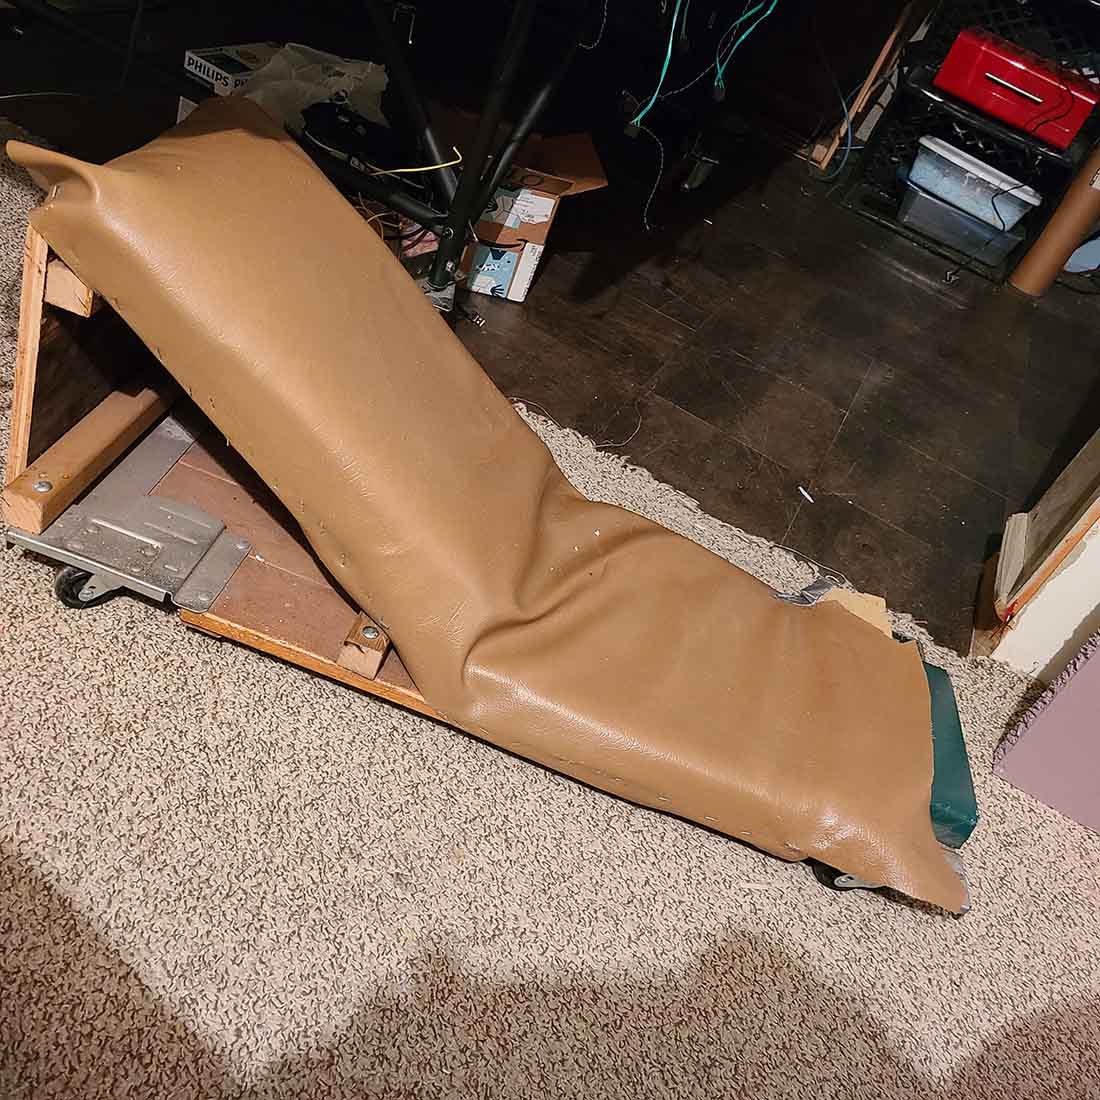
I’ve turned my automobile creeper into a train creeper that keeps part of my body elevated when I work under the table. Easier on the neck and arms.
When I’m building something that has to be held in place while the glue dries, I use modeling clay in little piles on my workbench to hold the work while the glue dries.
I know there’s a lot of you out there that started with DC and I’ve switched over to DCC. So now what are we going to do with all these engines that are DC. We’re going to want to change them over to DCC. well just as a warning not all of these engines can be switched over to DCC.
Some of them do not have room for the decoder Which means you’re going to have to take some of the weight out of the engine to get the decoder in. This can be a chore on some engines. The motor needs to be insulated from any metal parts on the frame work of the motor. I have used Scotch tape or that clear wrapping tape to insulate the motors.
If you’re going to take some of the weight out to make room for the decoder, make sure you take the engine completely apart so that none of the grindings get in motor. Speaking from experience.
Now I’m trying my hand with DCC and sound, wish me luck I think I’m going to need it.
I hope that some of these tips will help.
Thanks again for being there in the morning gives me something to look forward to.

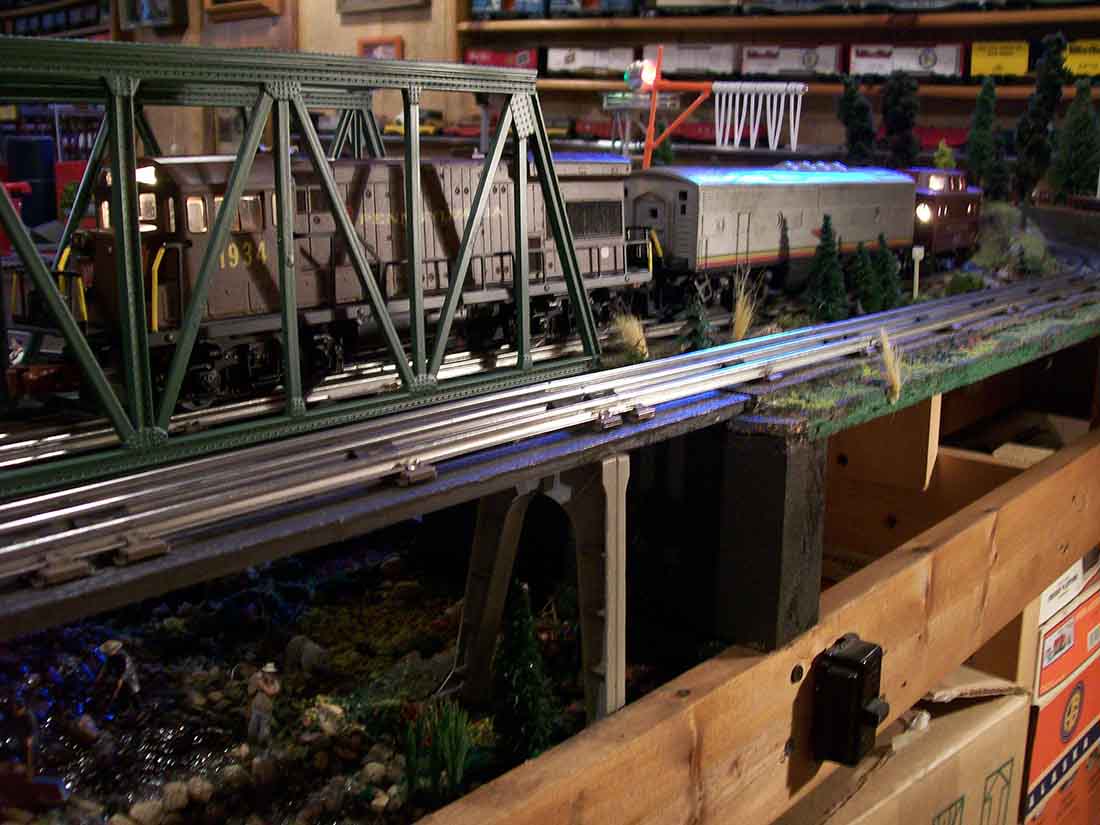
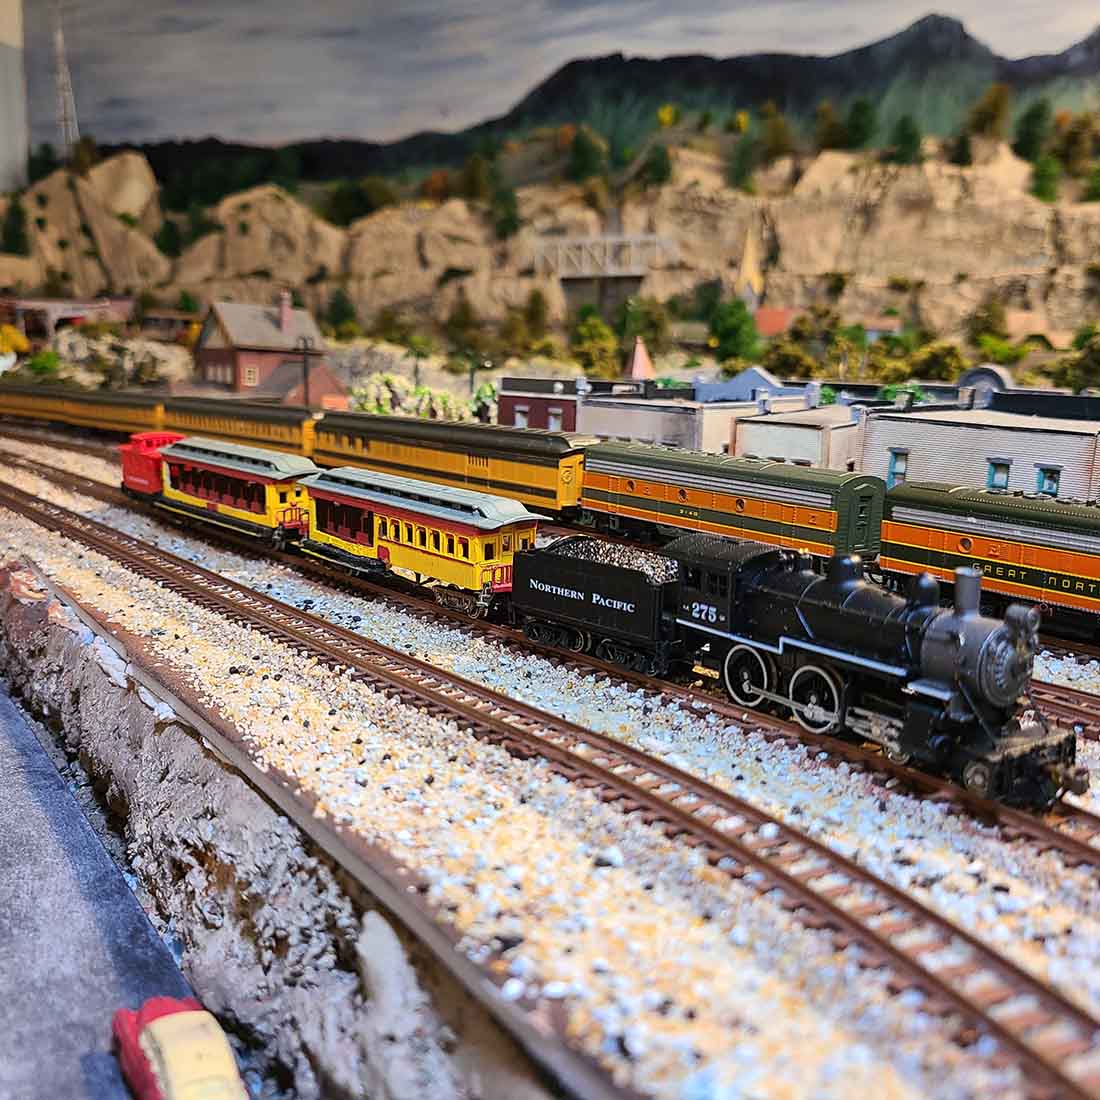
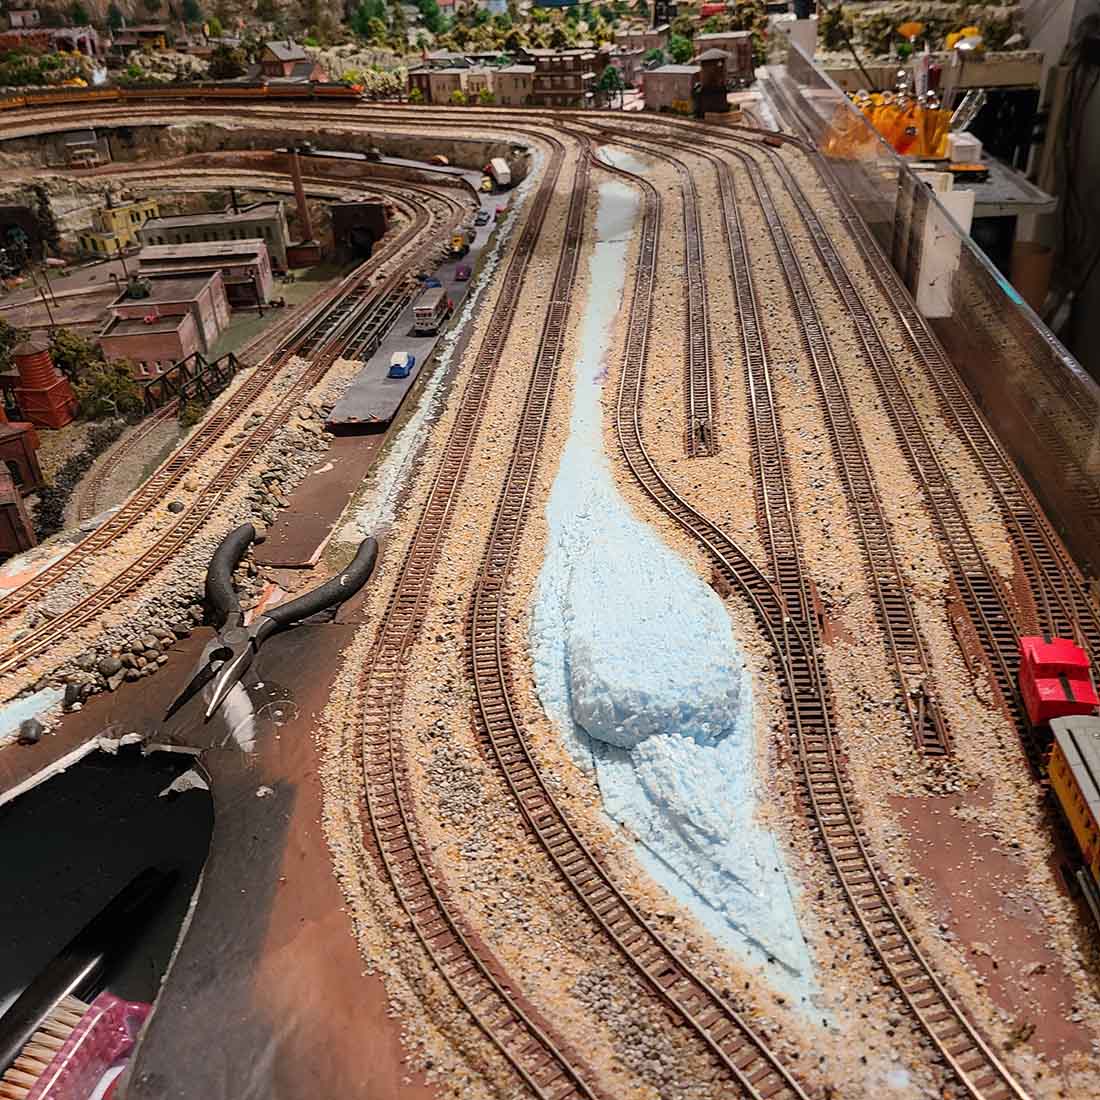
I have done something this year – I tore up and replaced all my main line track.
Robert my son had been collecting Bachmann track for quite a while, to set up his layout. he lived in an apartment so it was hard for him to set up anything permanent.
He had been after me for a long time to replace my track, that I had laid 10 years ago when I had no idea what I was doing, (still don’t) And I’ve have had trouble with it ever since.
I took what he had gathered and bought some more to replace all my main line track. I don’t think I’ll ever do that again! all my switches were junk that I had picked up and rebuilt (cheapy cheapy).
I’m still working out little problems here and there.
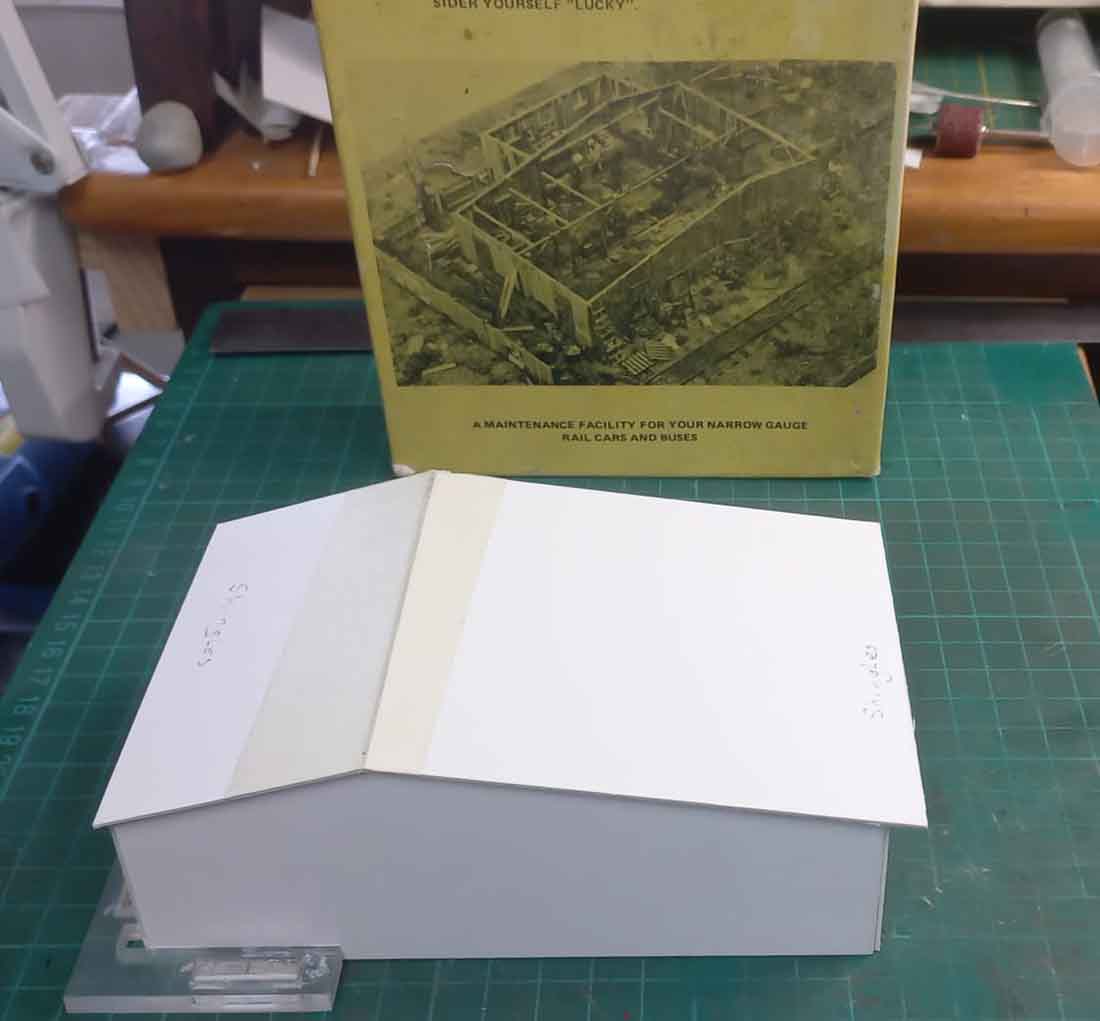
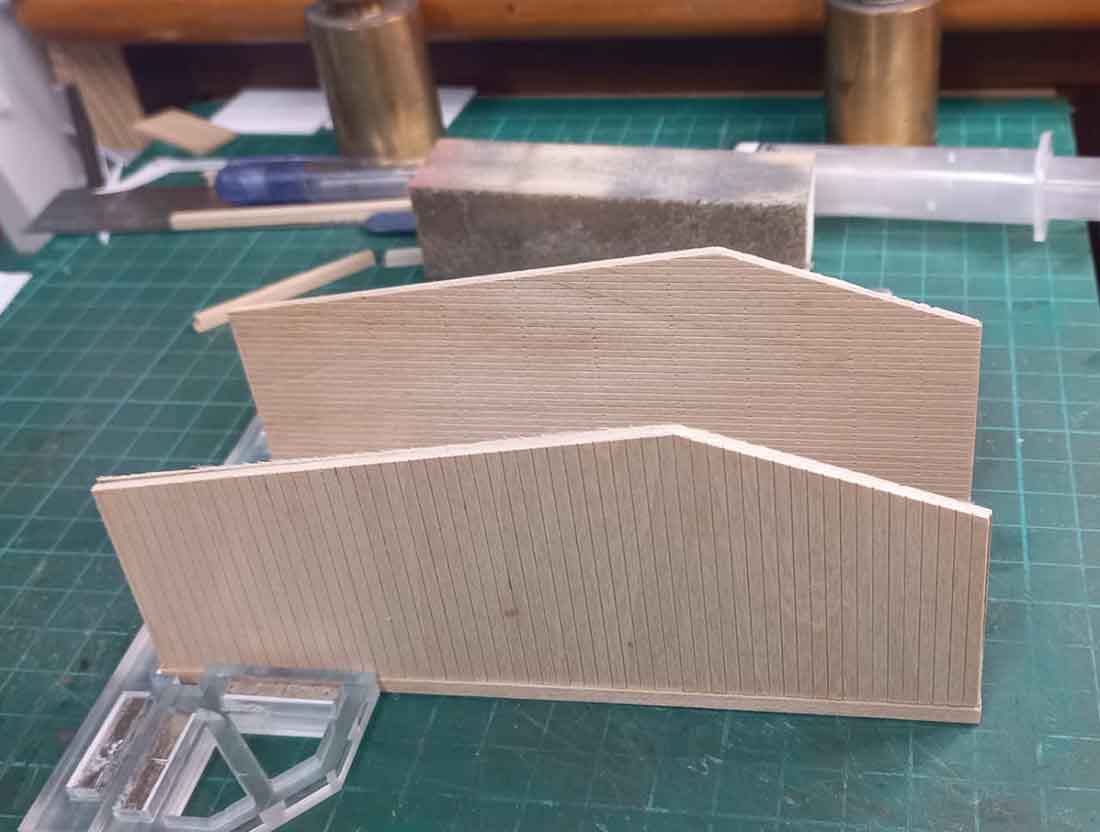
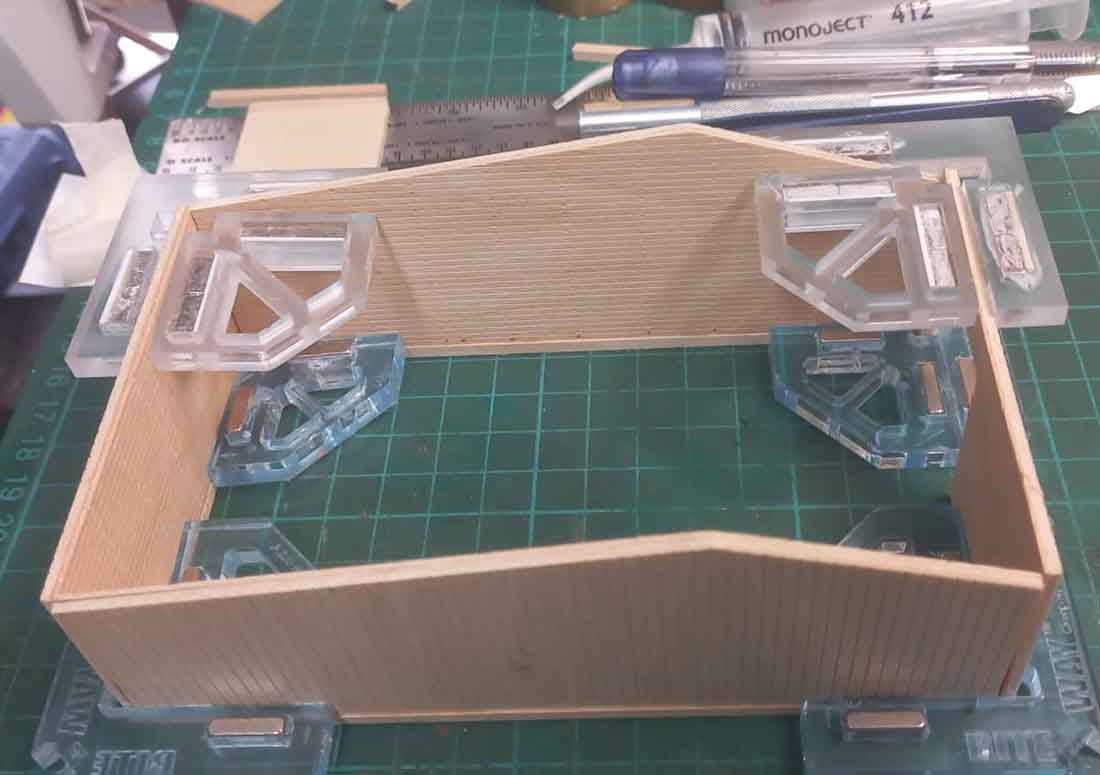
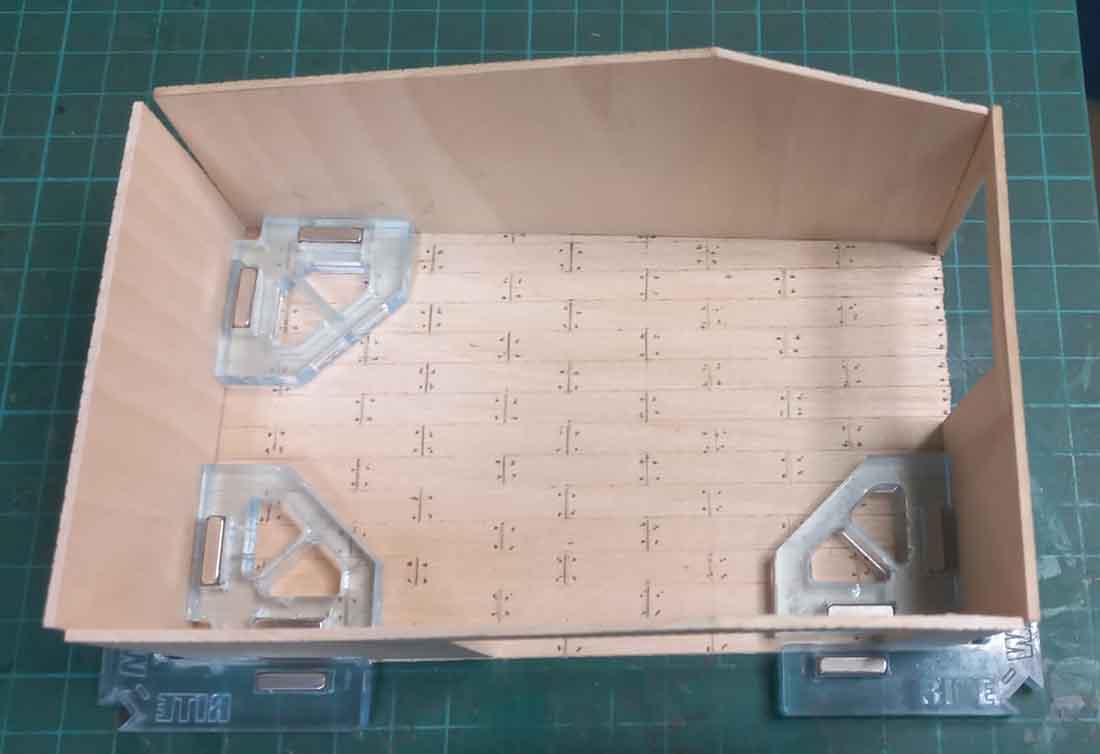
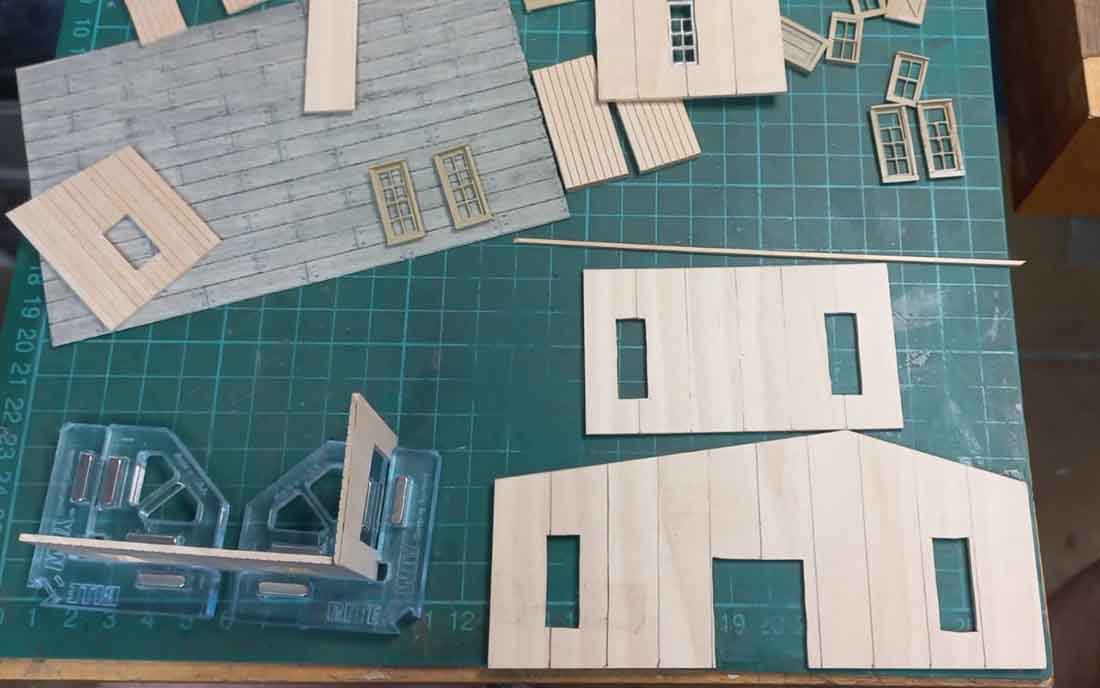
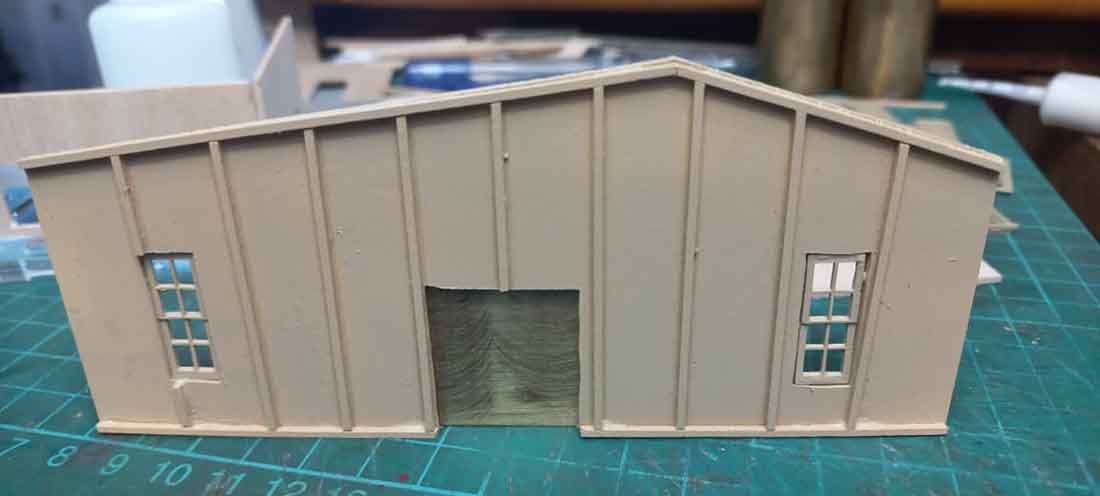
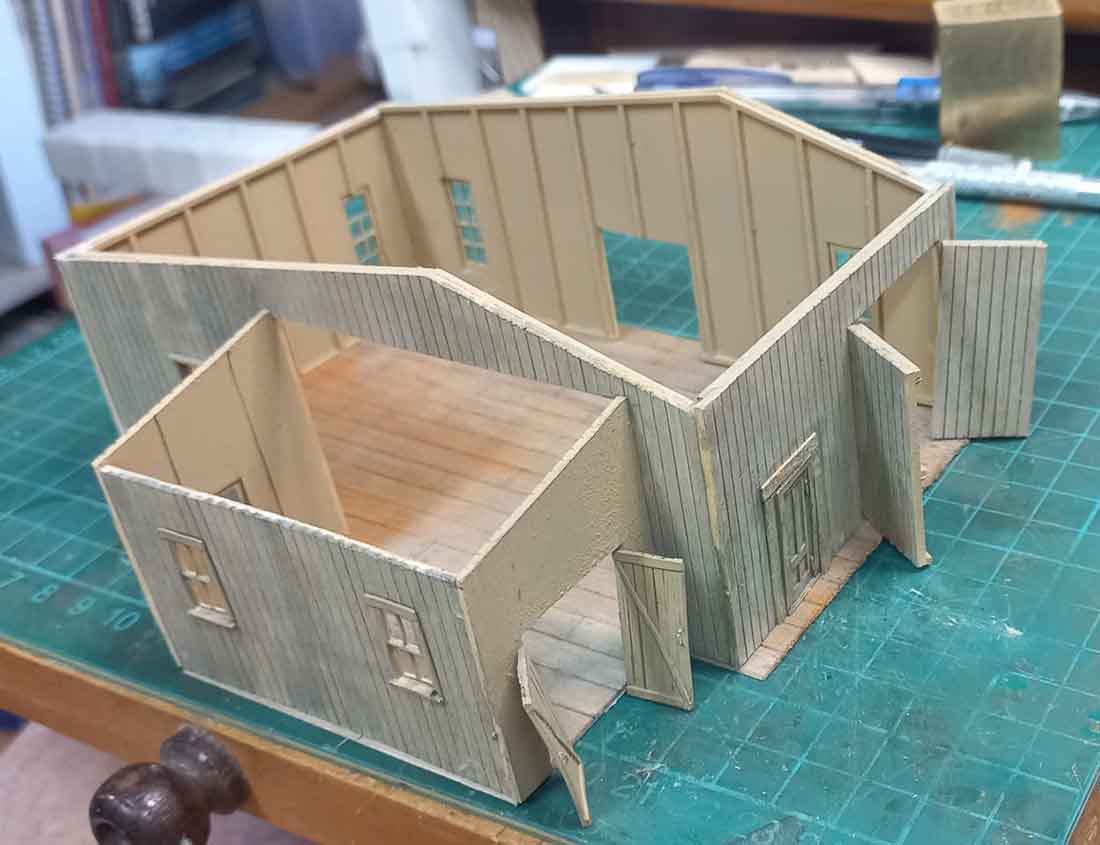
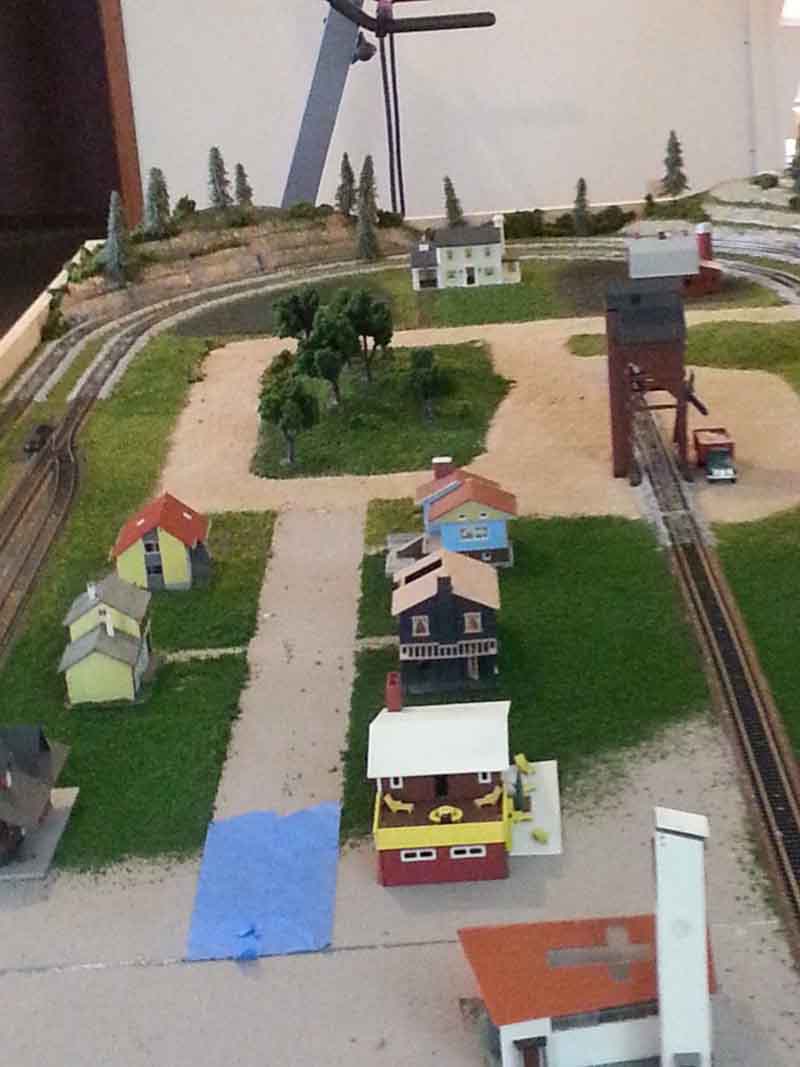
Do I want to power the frogs or do I not want to power the frogs. I also built a little piece to go on my mantle, which so far is staying there.
This was made out of a shield that goes over fluorescent lights so if they shatter.
At one time I was going to use these display purposes on the wall. But after building this little display that’s went out the window. Too much work and You have to glue them down to make them stay on the track. that one went down the drain!
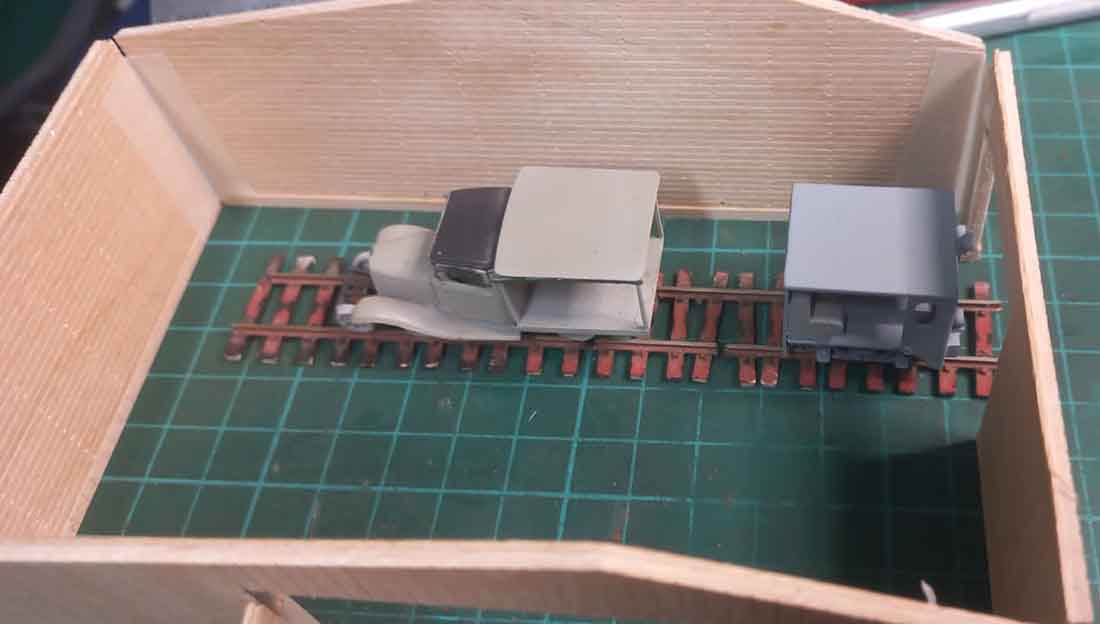
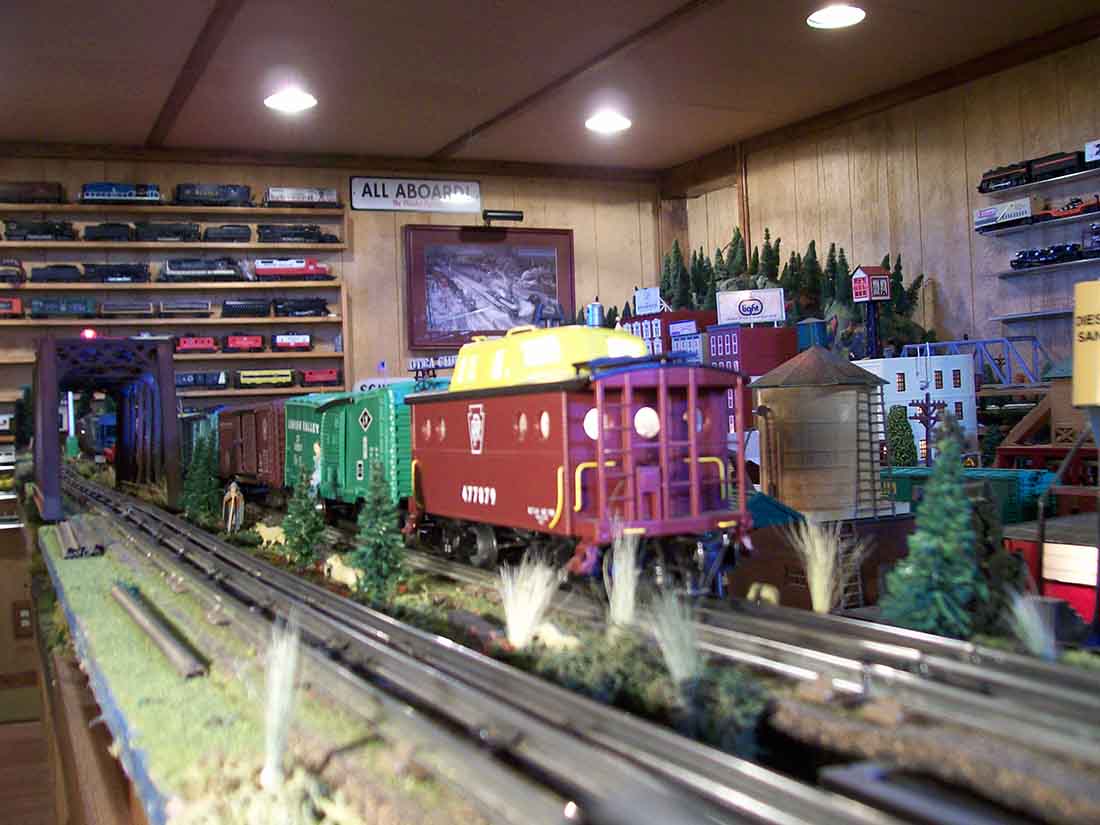
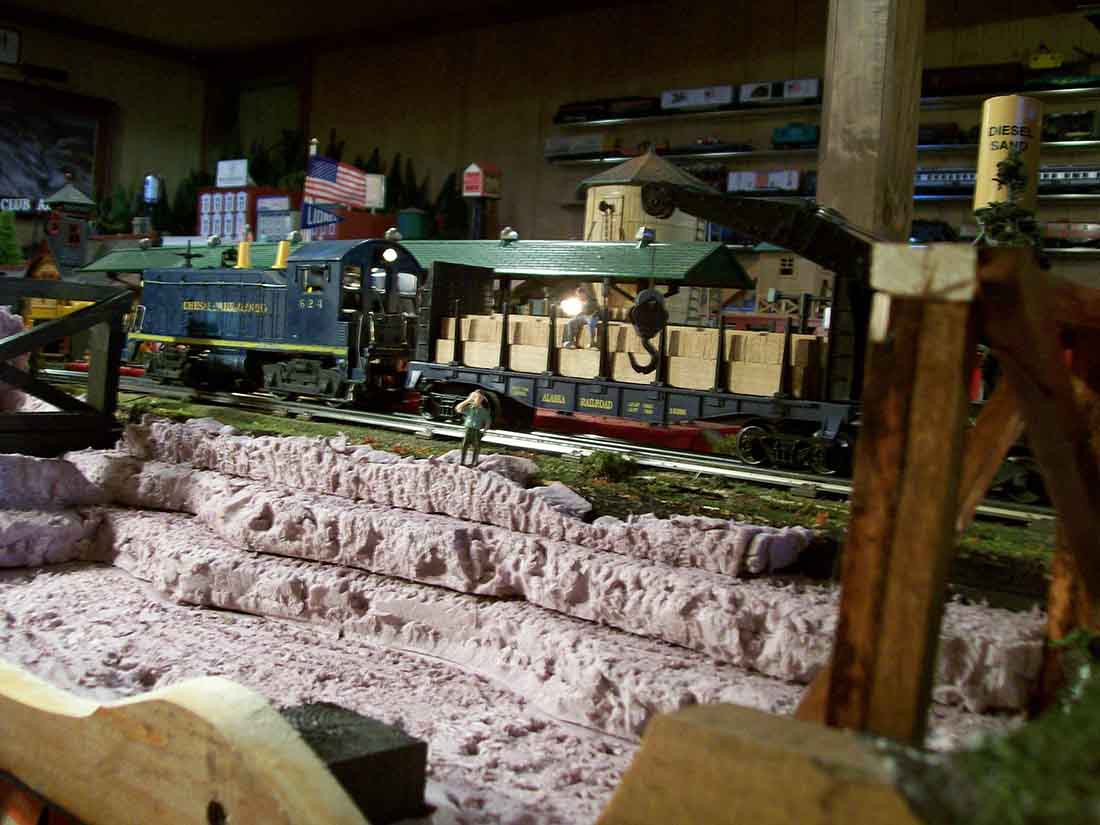
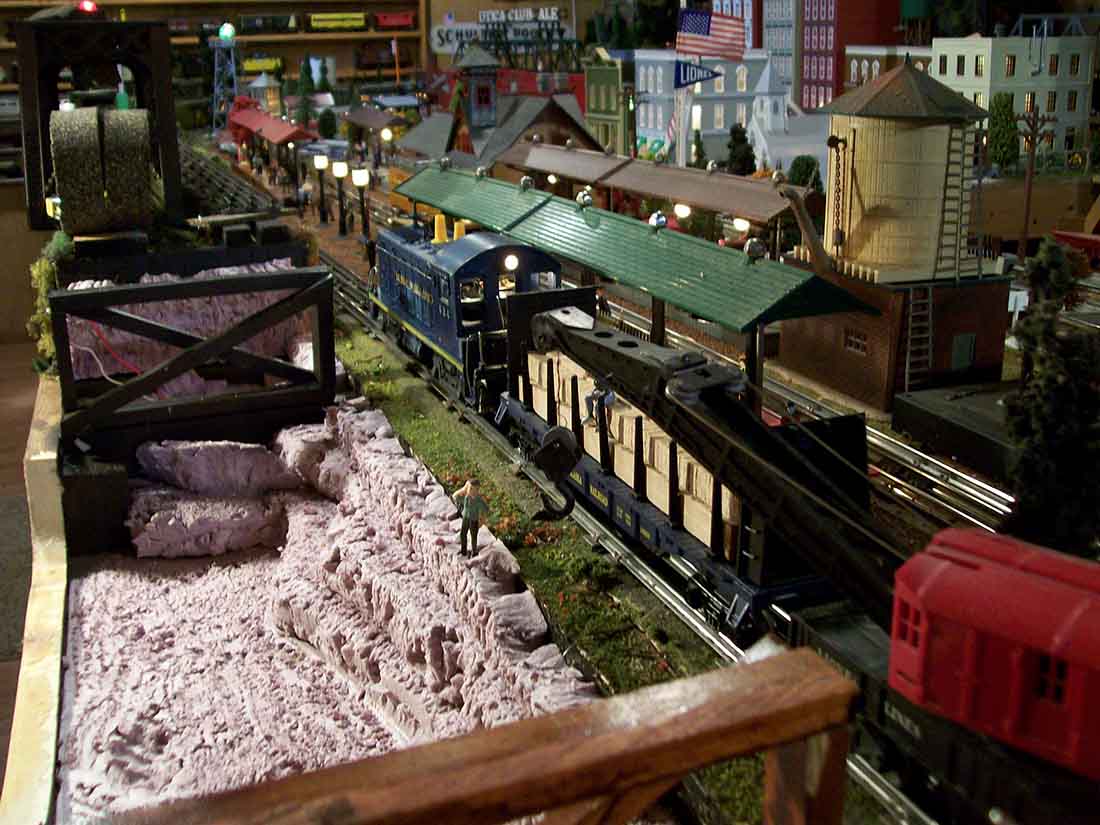
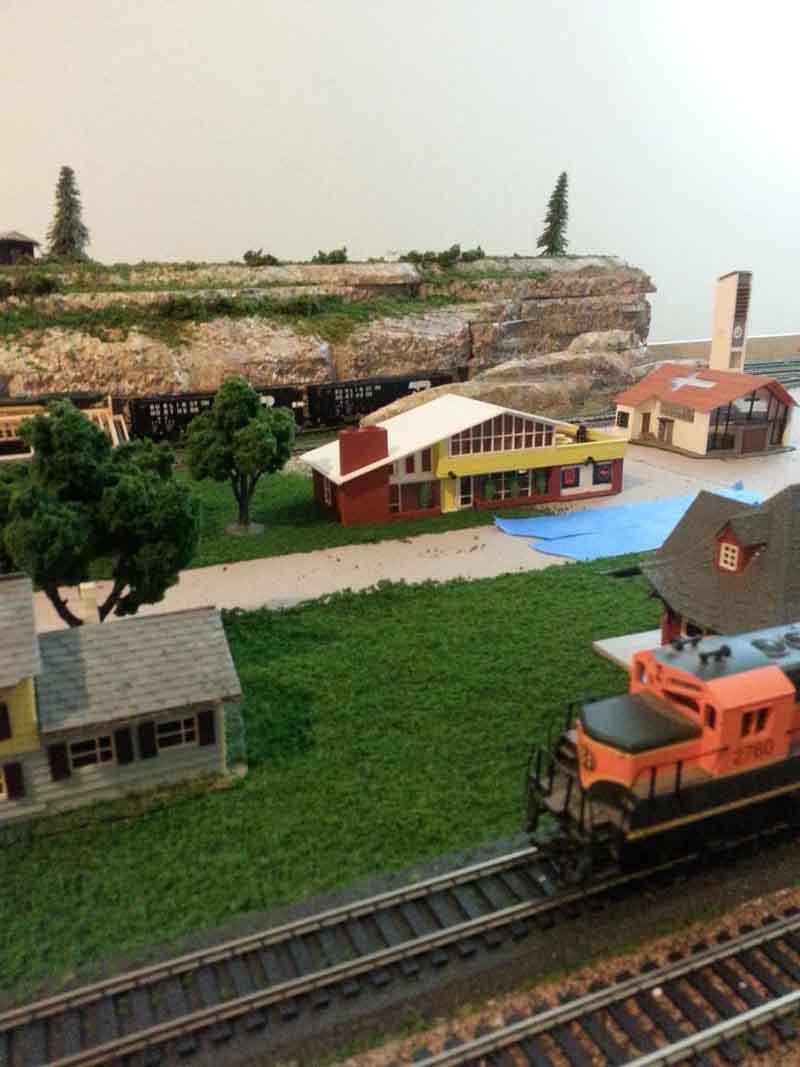
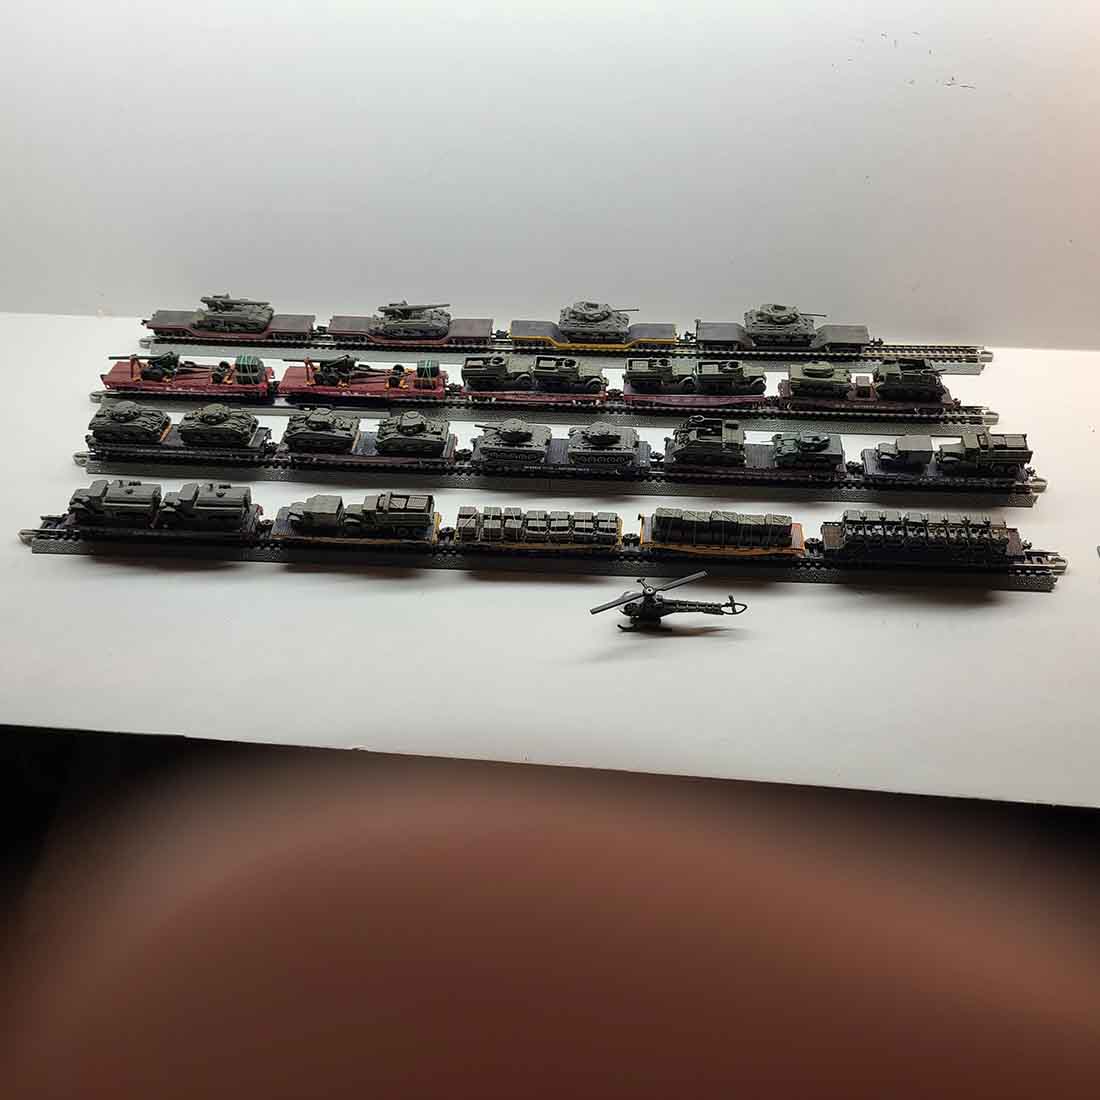
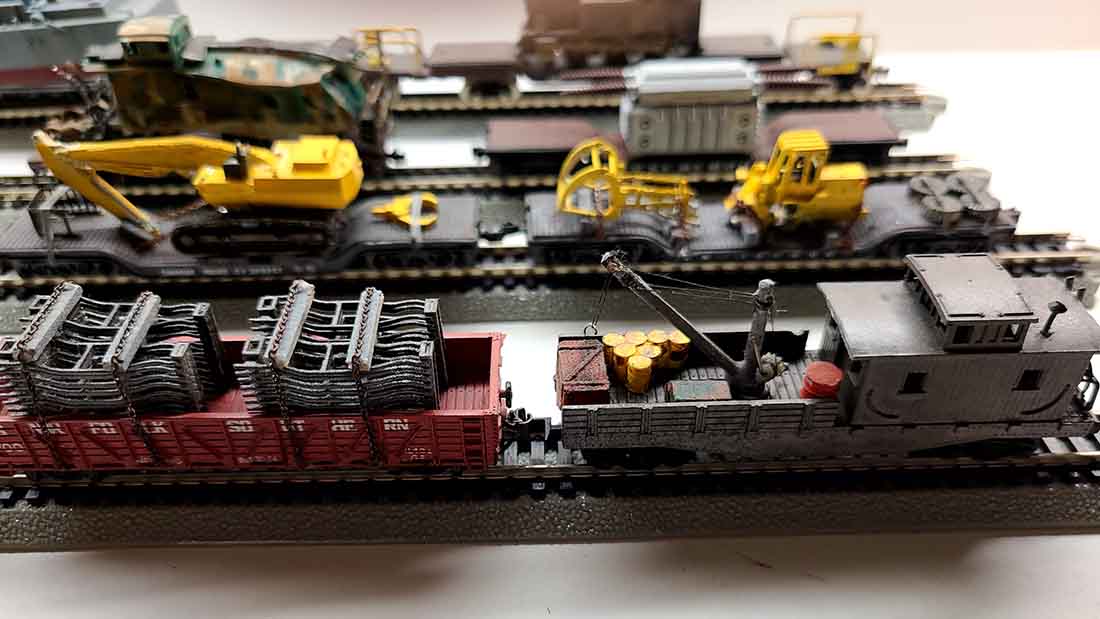
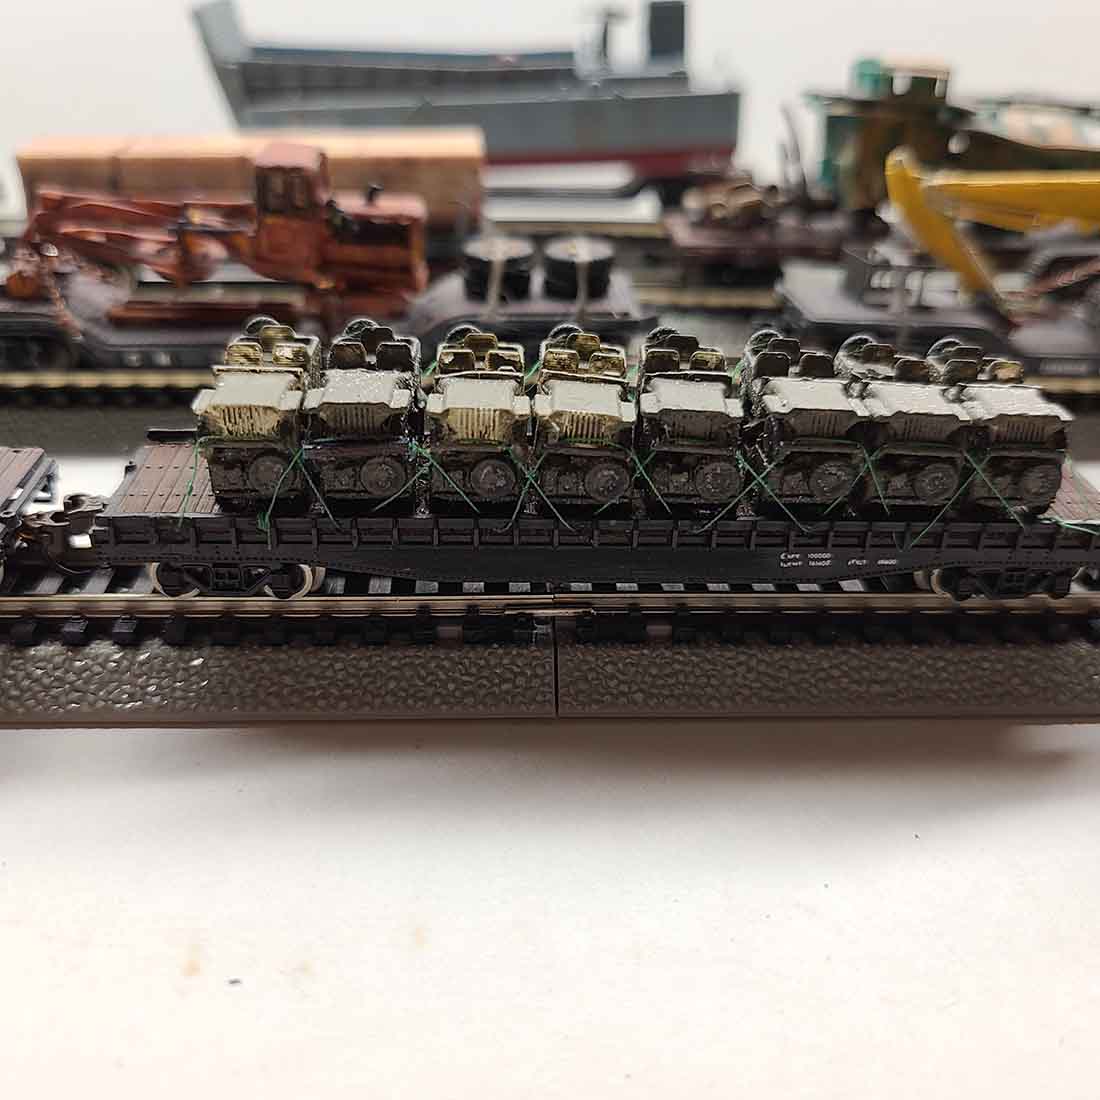
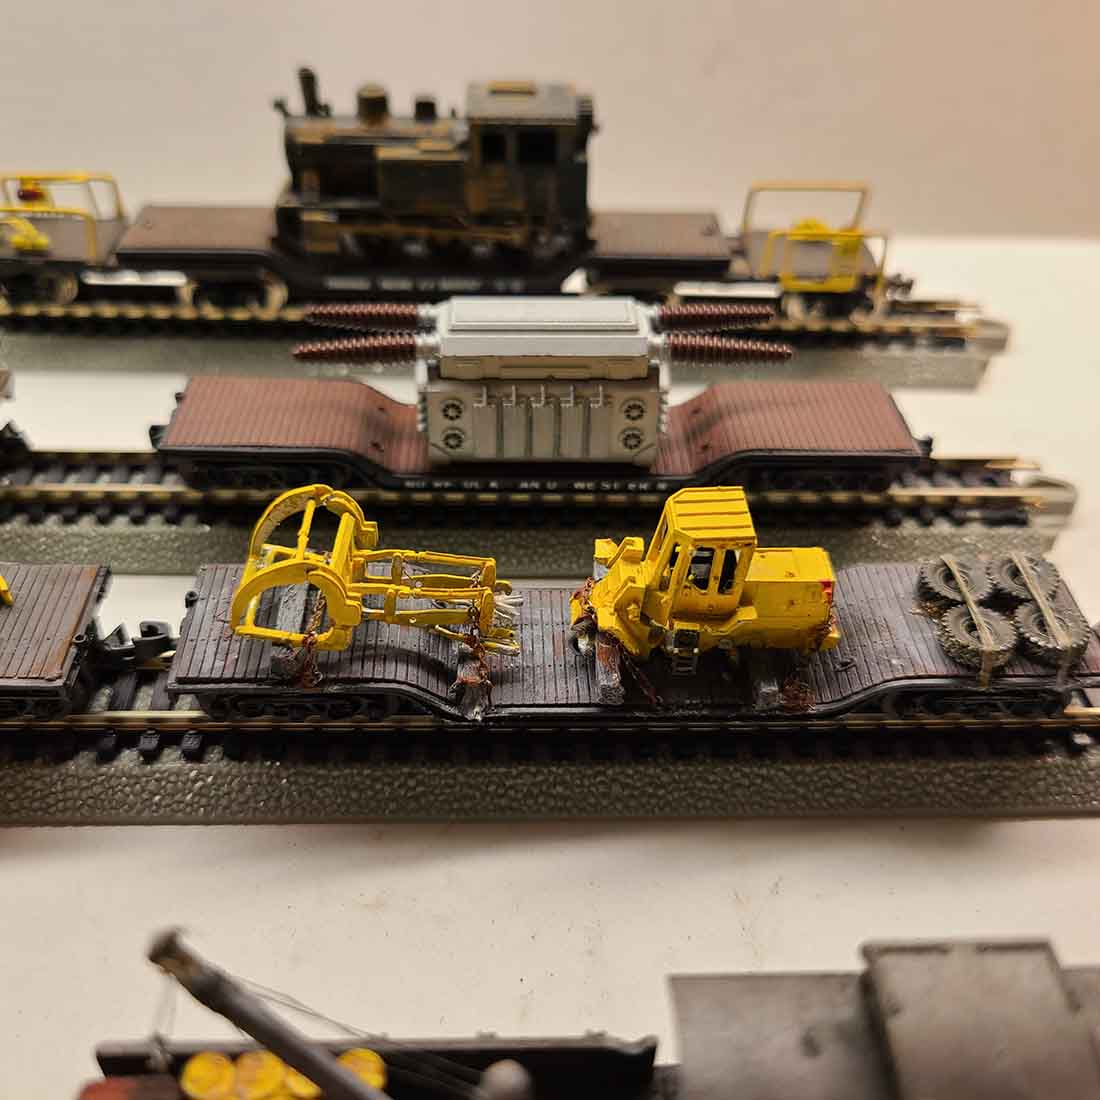
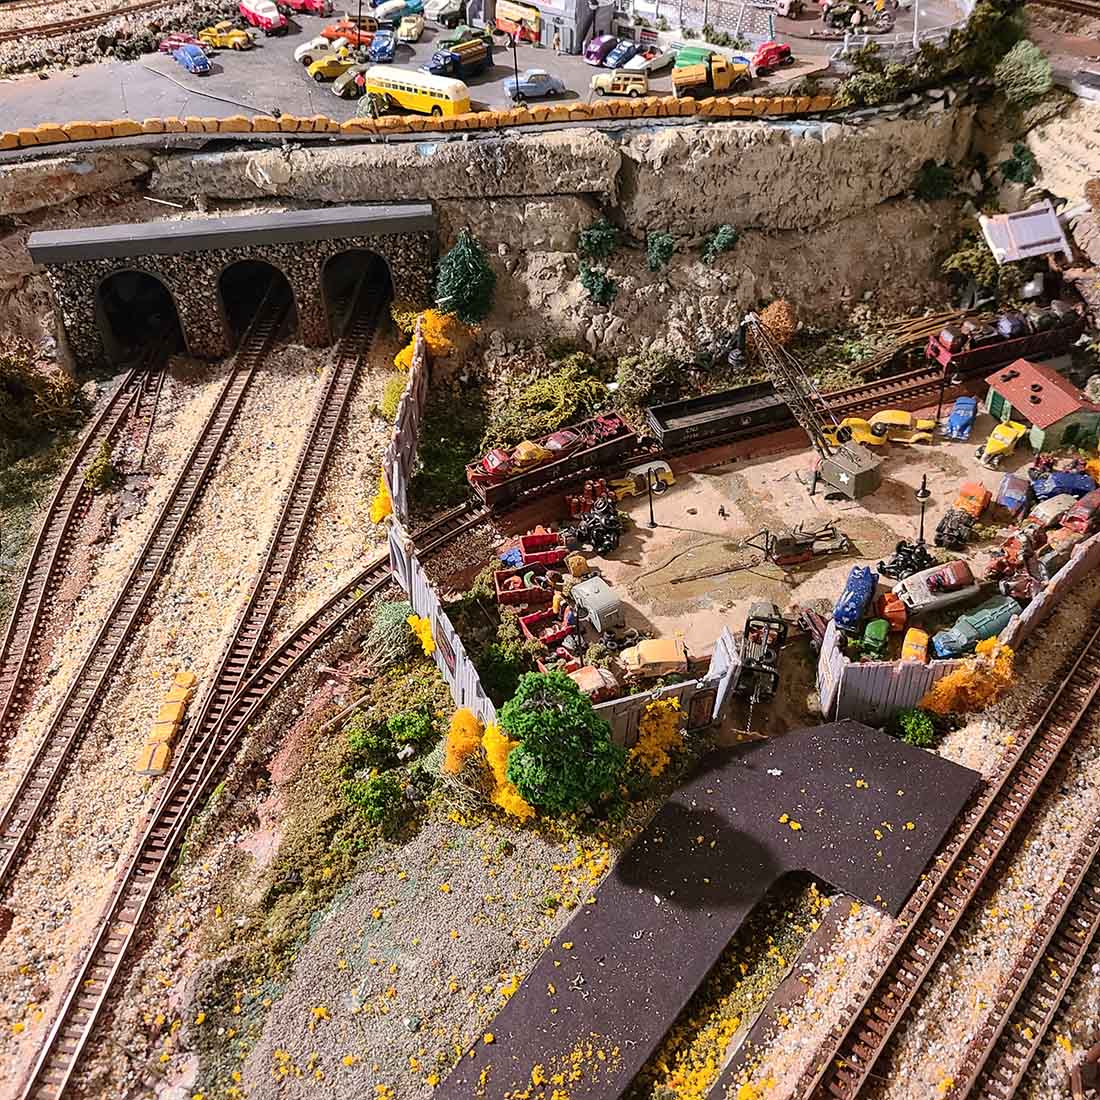
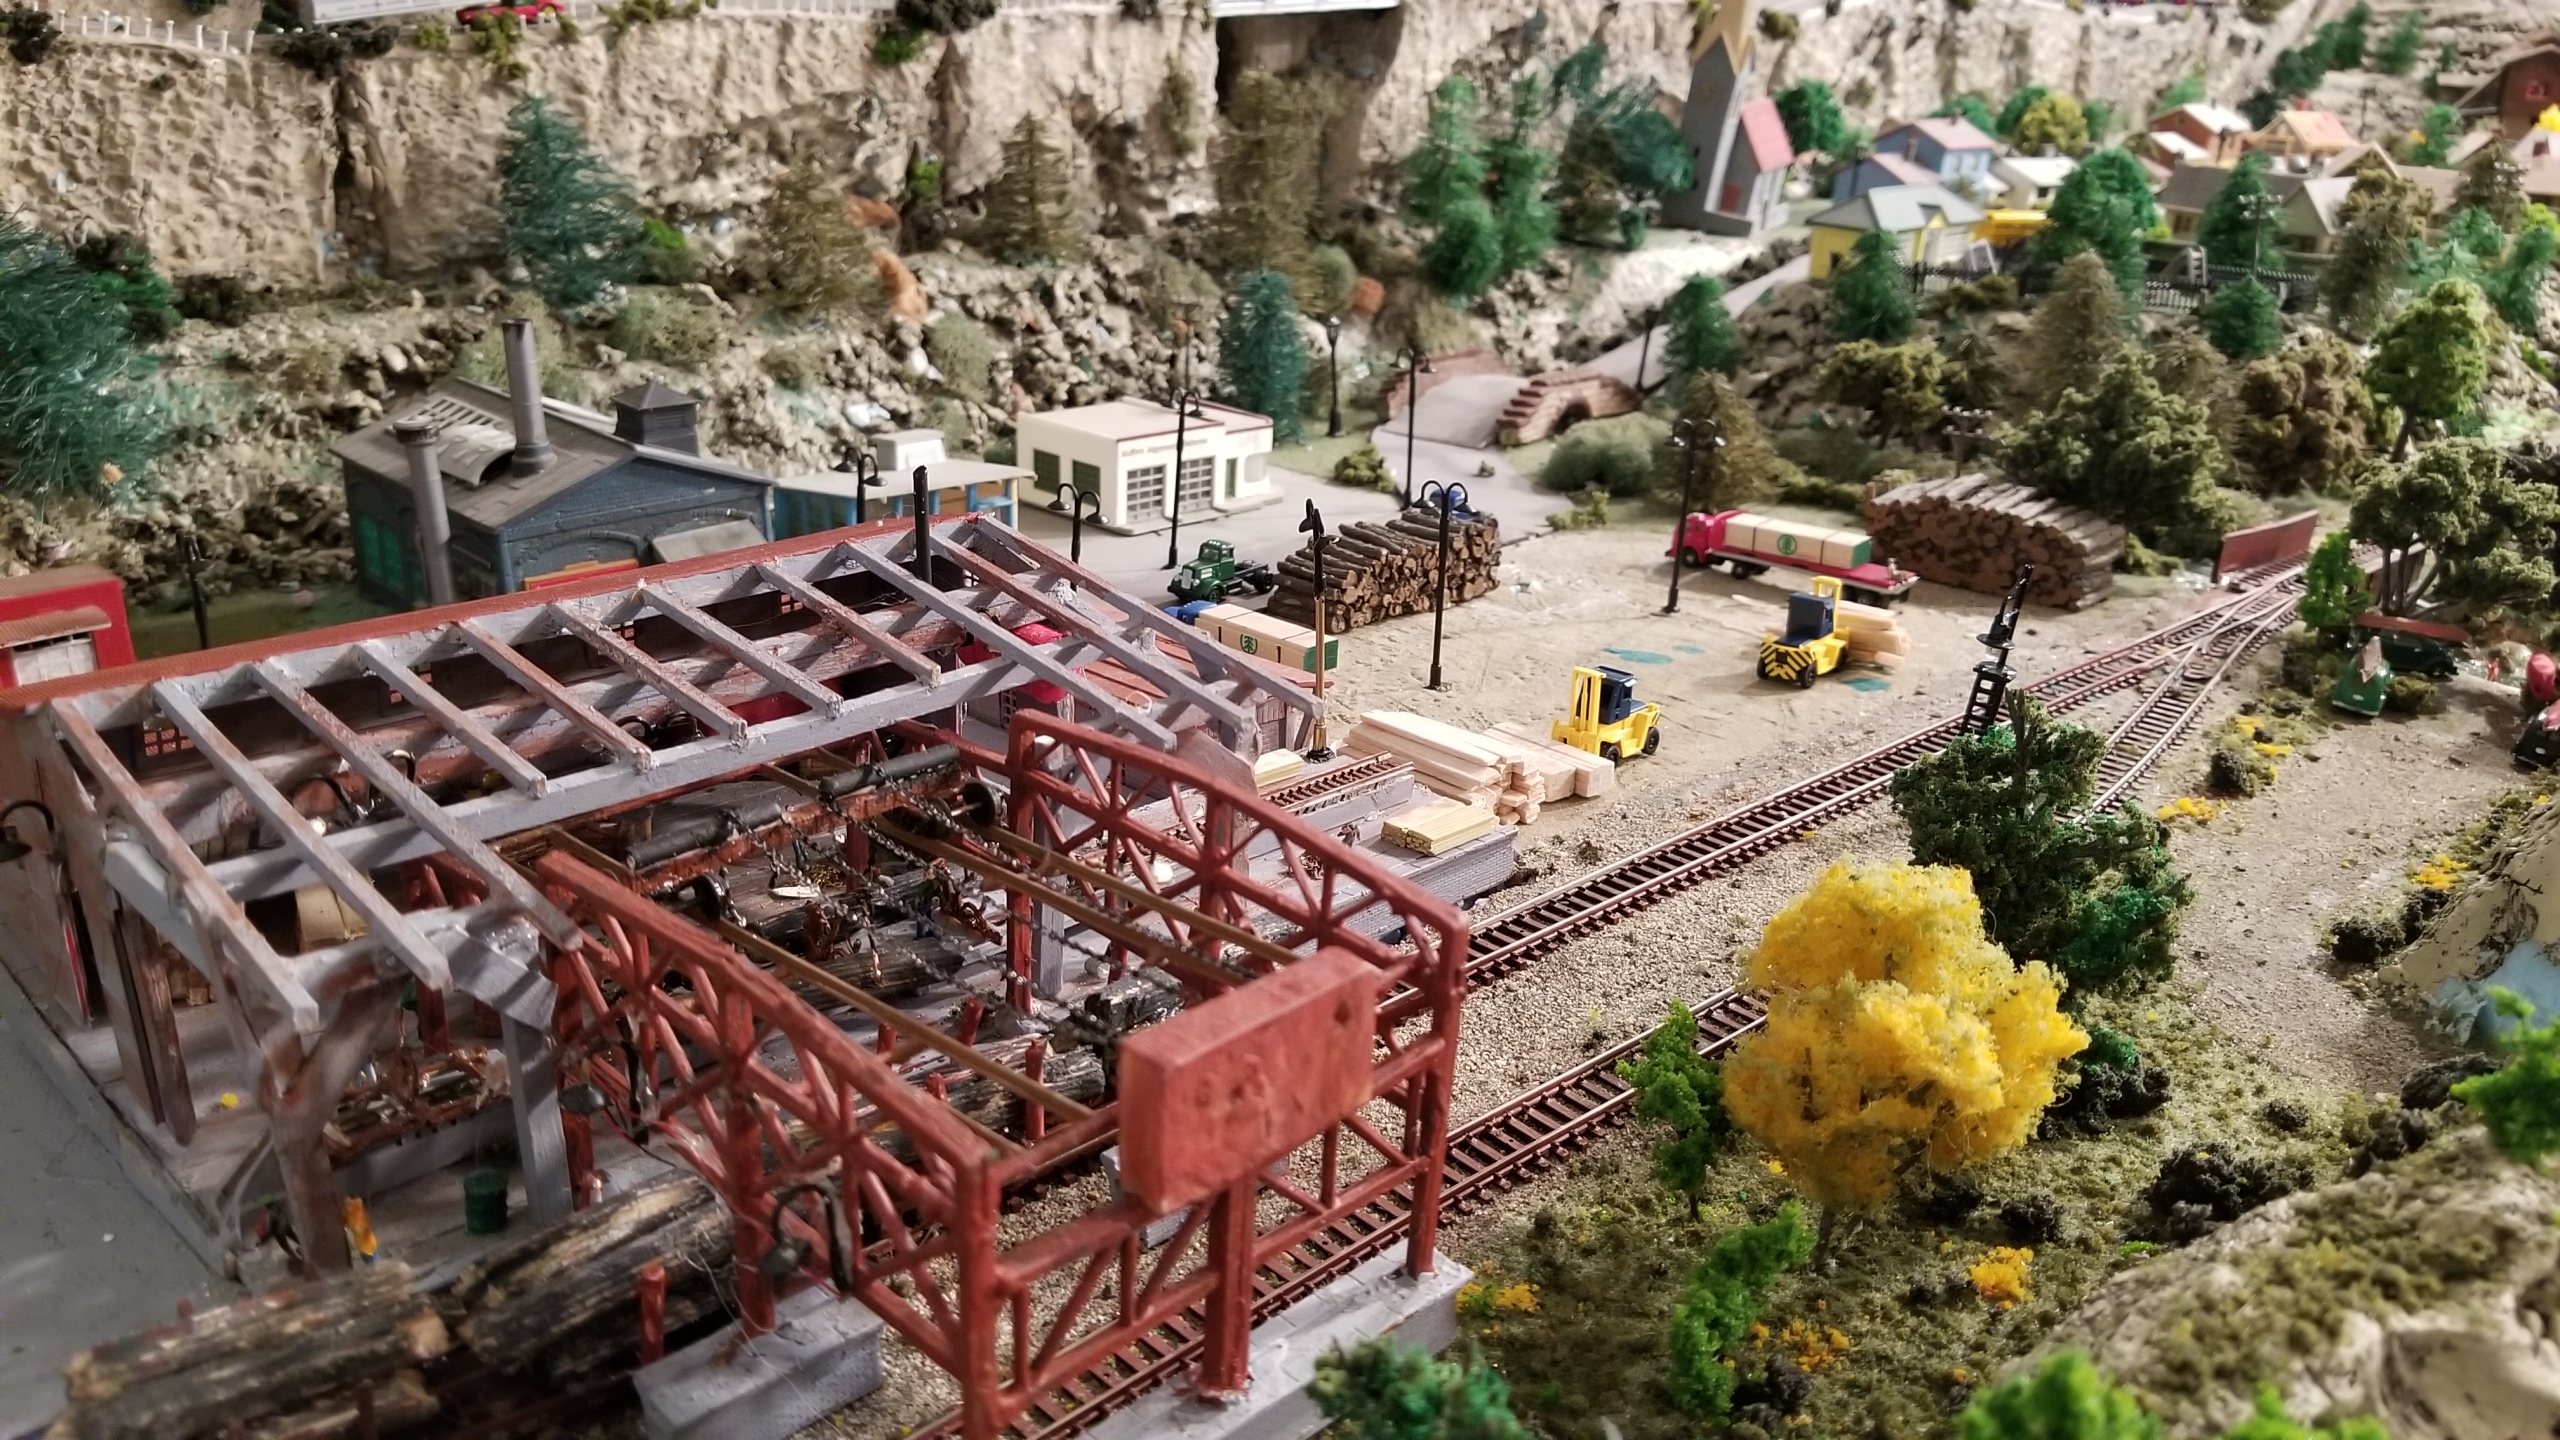
In some of the pictures you will see that I do not like empty flat cars.
OLDTAZ”
That’s all for today folks – a huge big thank you to Old Taz, for sharing his model railroad tools and what this hobby means to him.
Please do keep ’em coming.
And if today is the day you get started on your layout, the Beginner’s Guide is here.
Best
Al
PS Latest ebay cheat sheet is here.
PPS HO scale train layouts here if that’s your thing.