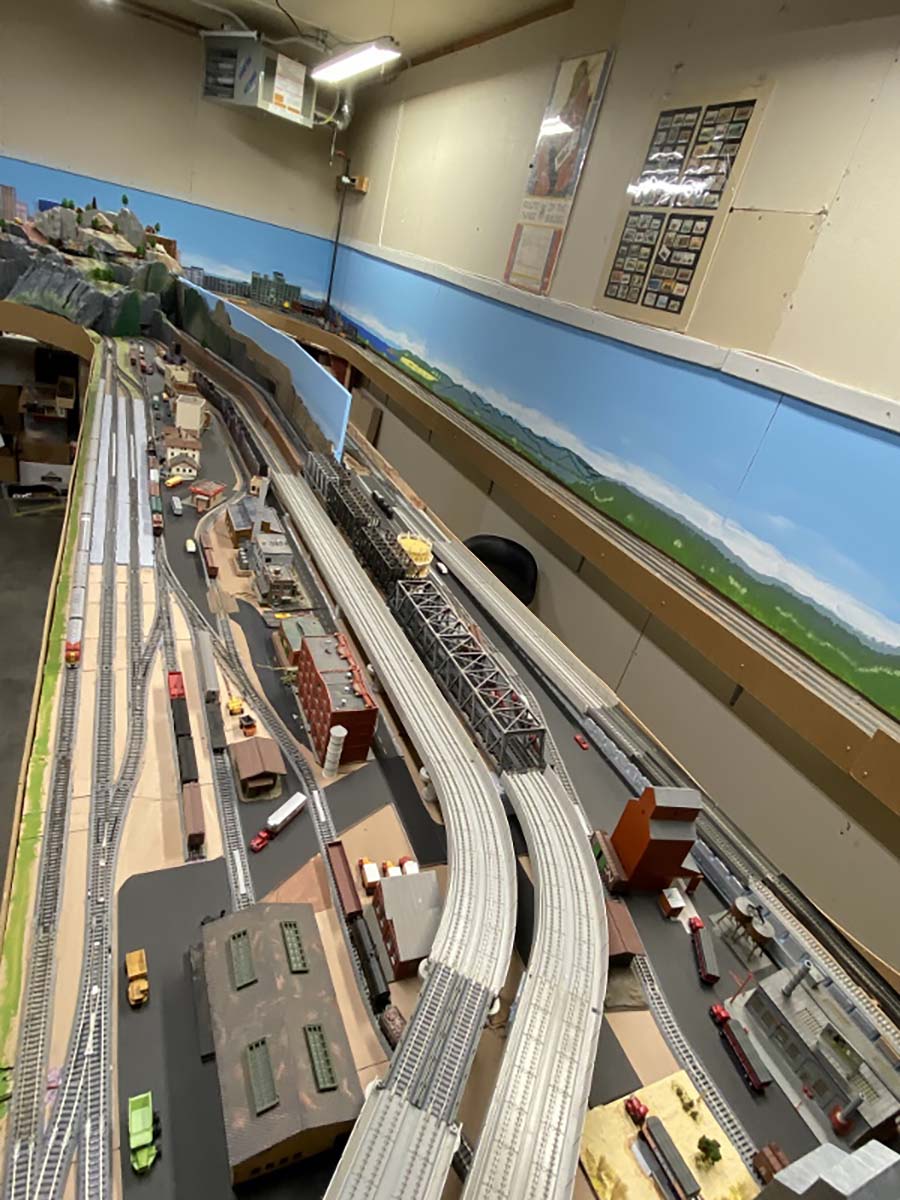
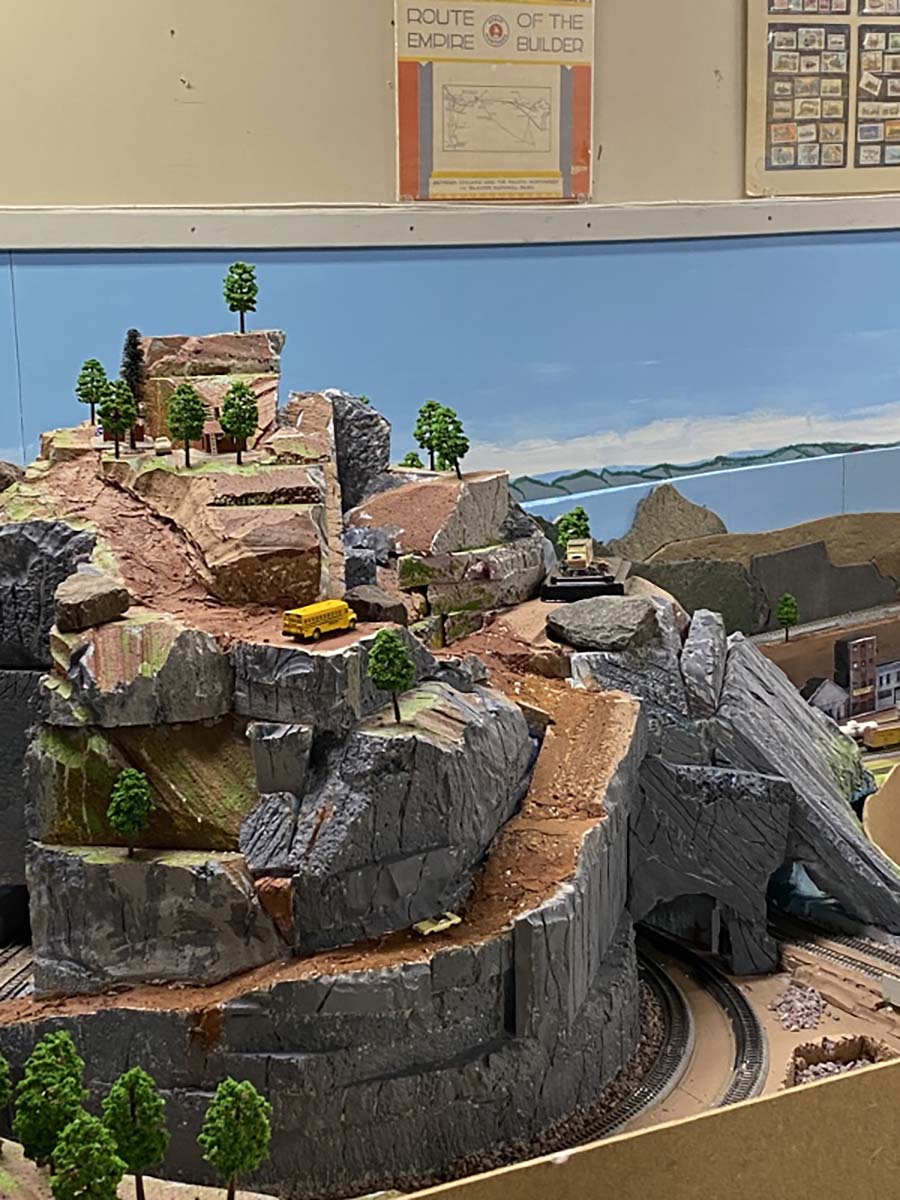
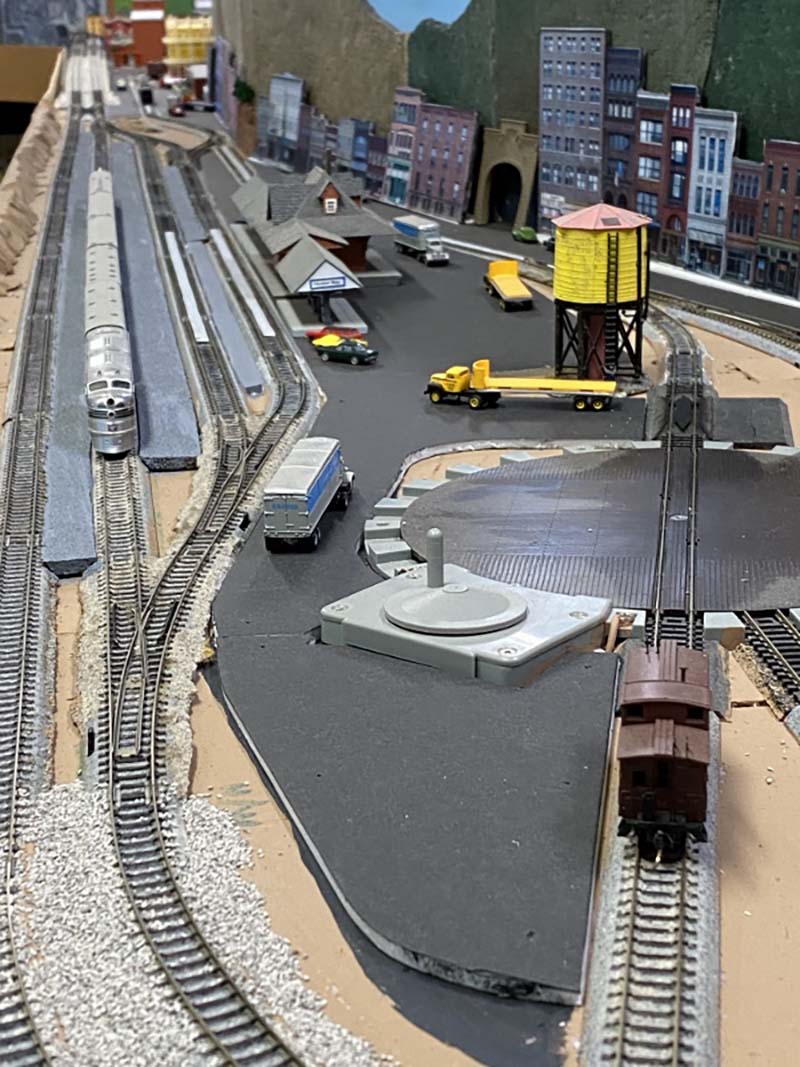
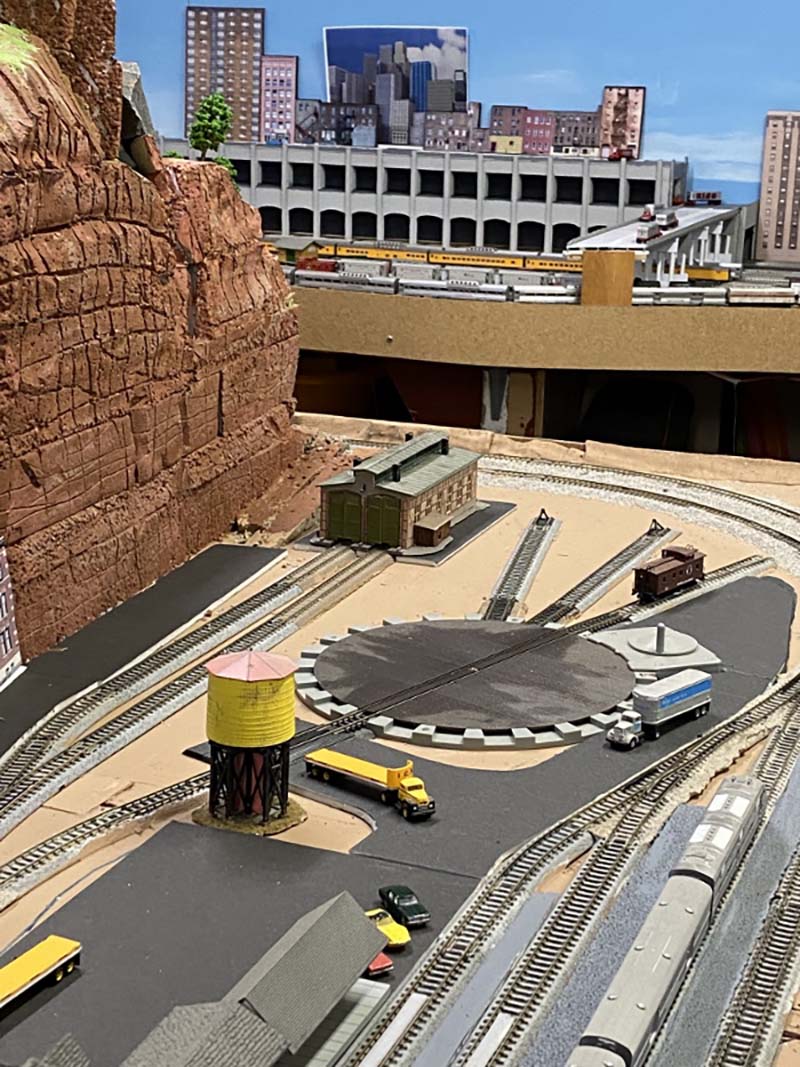
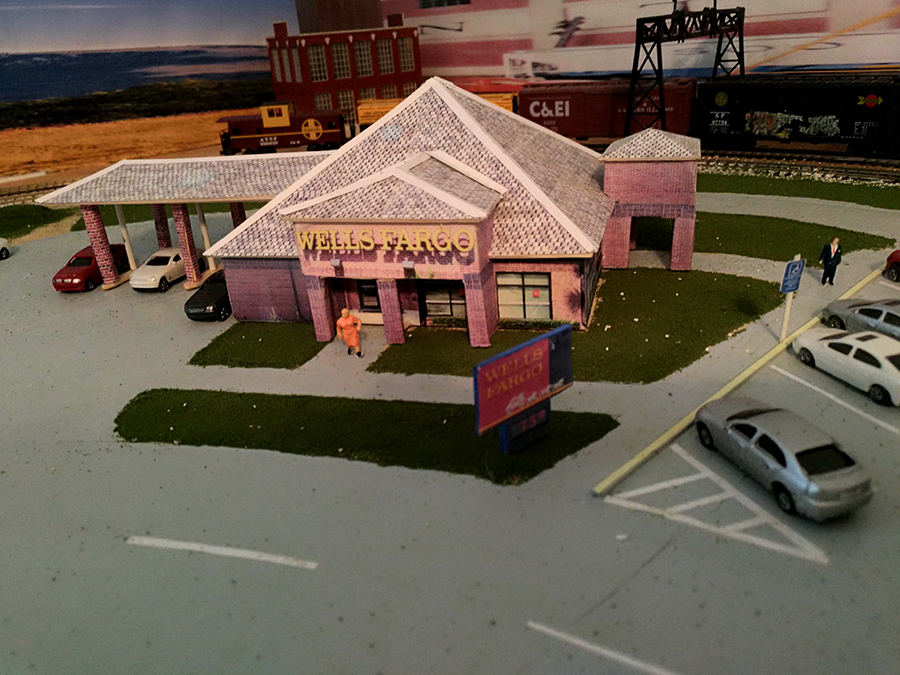
Eric has been in touch with a wonderful model railway diorama.
And have a look at his weatering work too:
“Dear Al,
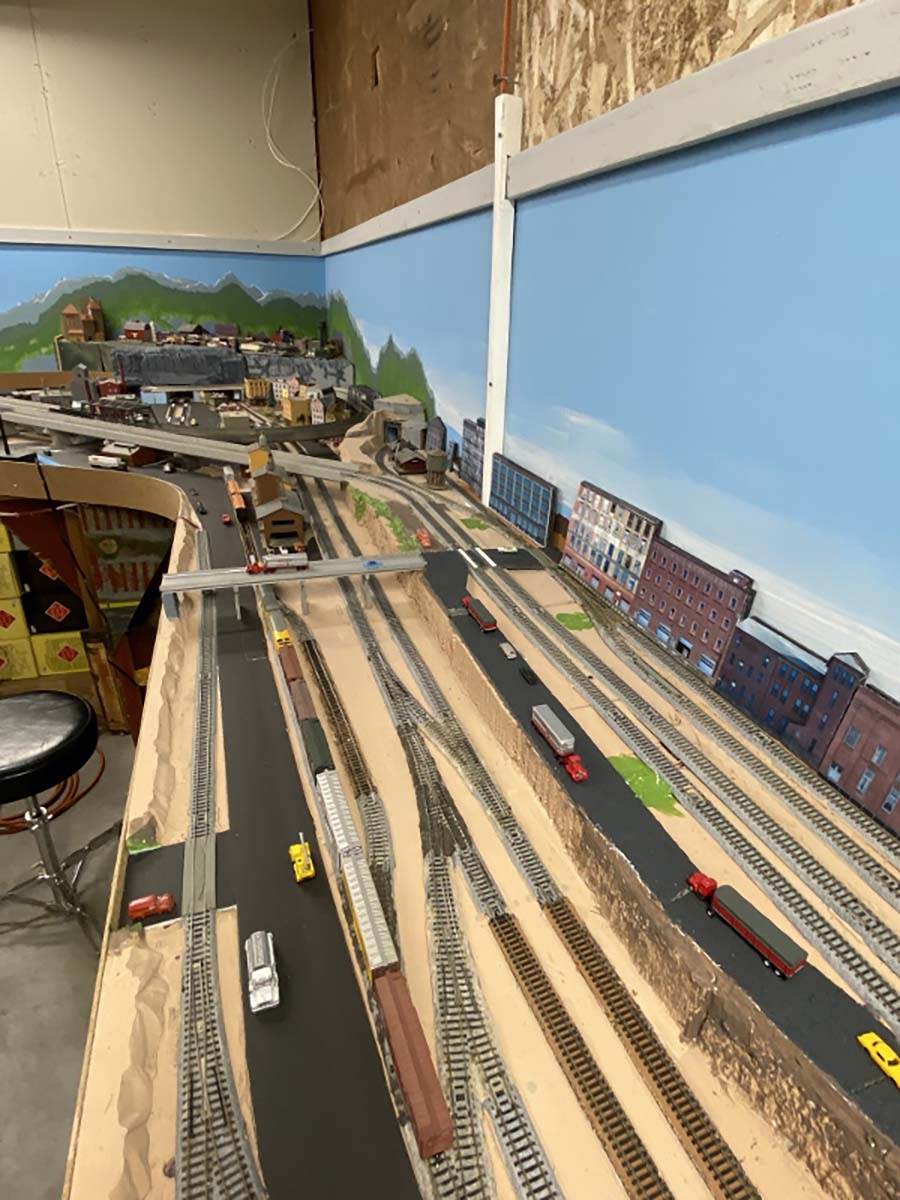
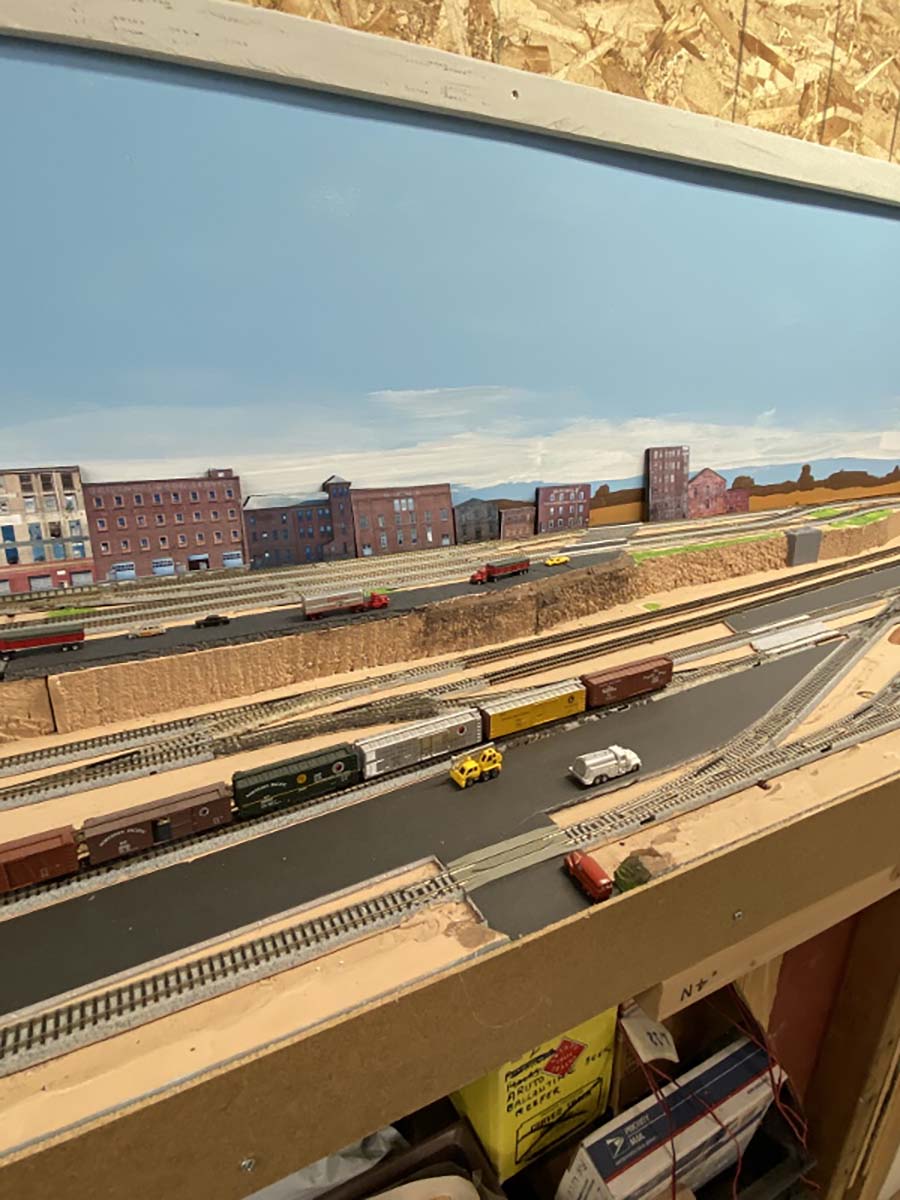
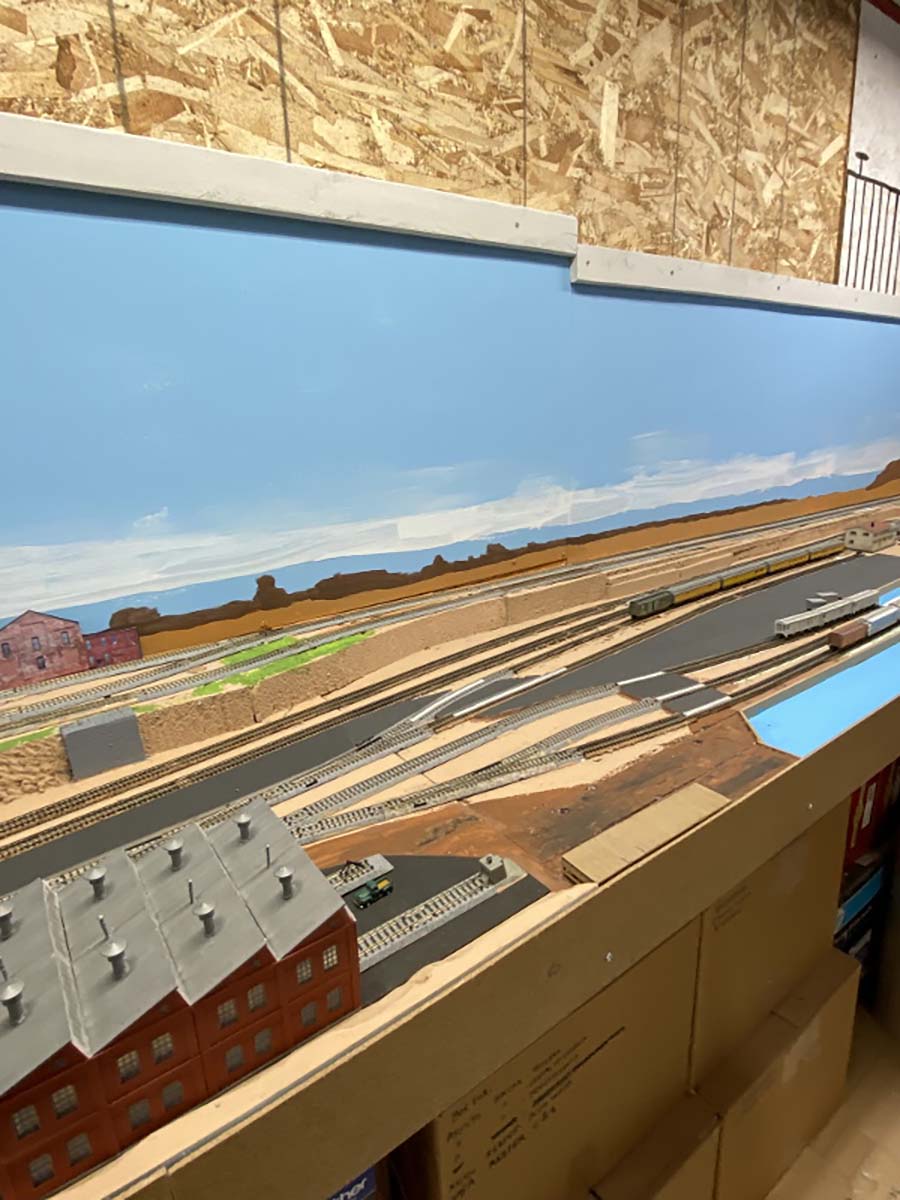
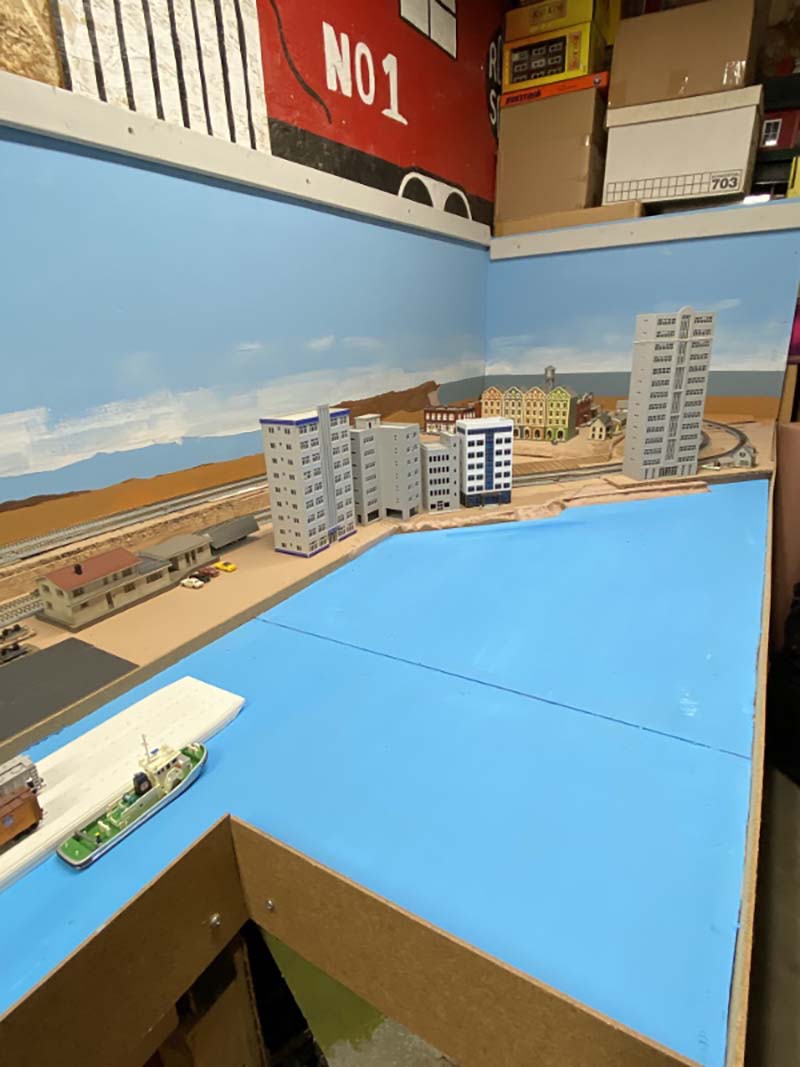
Here are some pictures to illustrate the work I’m doing here in Belgium. Actually I’m planning a small portable layout based on the GWR in early 1944 (with US & British troops waiting for D-Day).
But I already have done several dioramas based on the Belgian Railways prototype. Photographs shows a diorama of a Belgian Railways goods shed (with interior details)
Also, you’ll find pictures of a scratchbuilt Belgian Railways signal box (who could be found in Liège) with the interior fully detailed (model now displayed on my club layout)
The last pictures shows the weathering I’ve done to my Airfix BR “Royal Scot” steamer and two “Hogwarts Express” based LMS coaches from Märklin.
You can publish them on your website, just indicate that the models were made by Eric Sainte, from the Liege’s Train Fan Association (ALAF Asbl) in Belgium.
Best regards,
Eric.
P.S. : If you’d like, I can send you an article about how I weathered the Marklin LMS coaches and my Airfix steam locomotive in PDF format (I’d just have to translate it in English)”


Amazing pics, Eric, I’d love to see your weathering guide!
“Hi Al, few picture for you , just a couple of handy tips , a piece of garden trellising from the big D.I.Y. Store , cut a few cuts off, and ready made Logs , for the log carriers , then a new light for the buffers , it just clips on to the rail DCC or DC and it light up and at only £4 , If any use to you pick out which could be useful, will post a video within the next week or two featuring these two new additions
Regards
Dave”


“Alastair,
A few weeks ago, someone suggested using real rust for modeling rust. He suggested scrapping it off of some rust metal he had found laying around.
A better way is to take some fine steelwool and soak it in plain vinegar for a few minutes than remove it, apread it out and let it sit for 12 – 48 hours. All of the steel wool will turn into rust which easily crumbles into rust dust. This works well in the desert in Phoenix, Arizona. I assume that it will work even better for people who have relative humidities in the high two digit range.
Bruce”
“Hi Al,
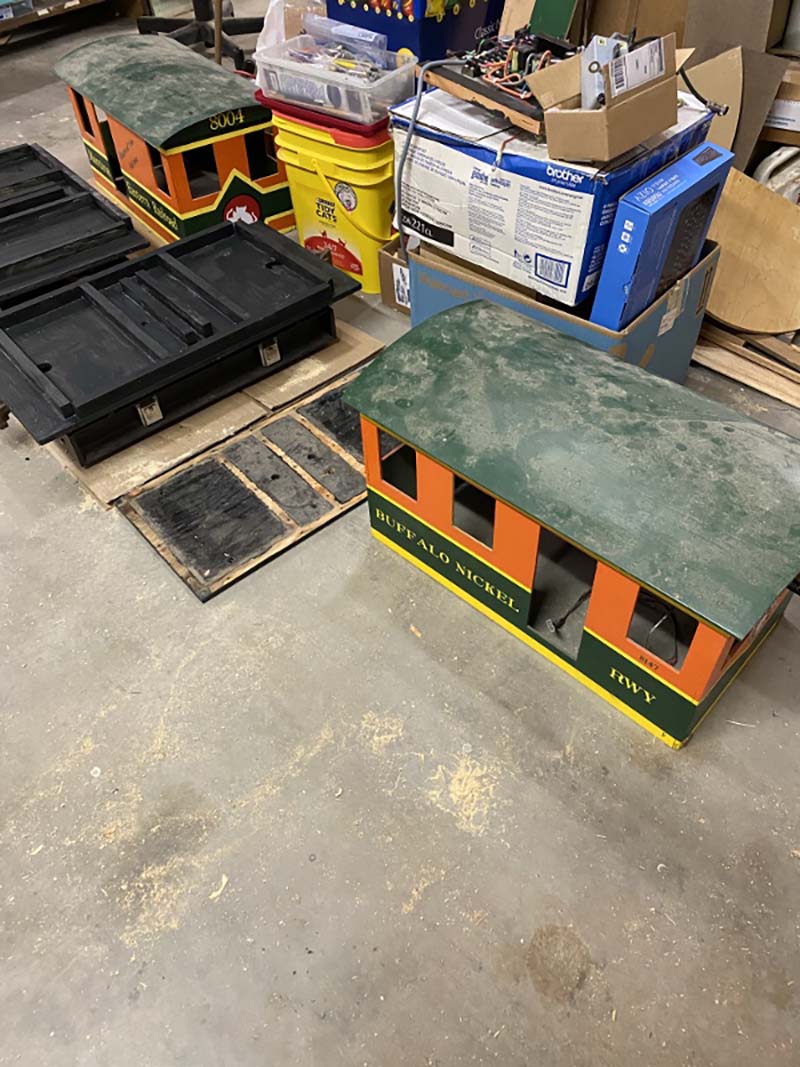
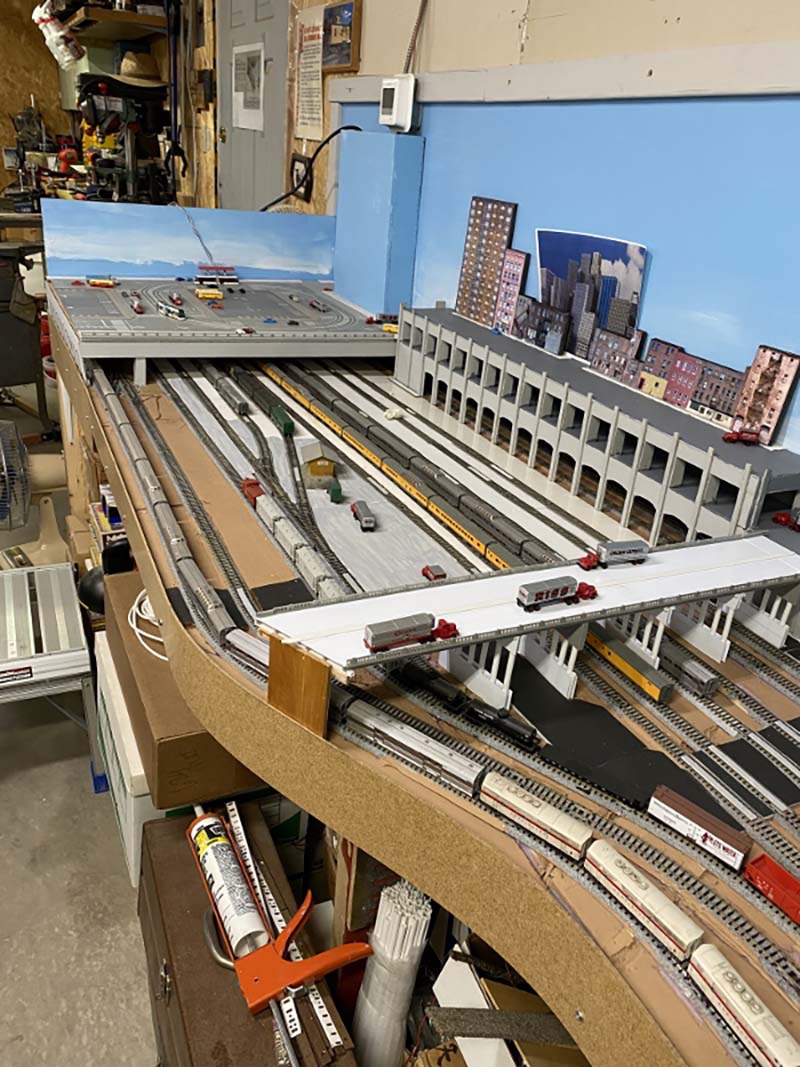
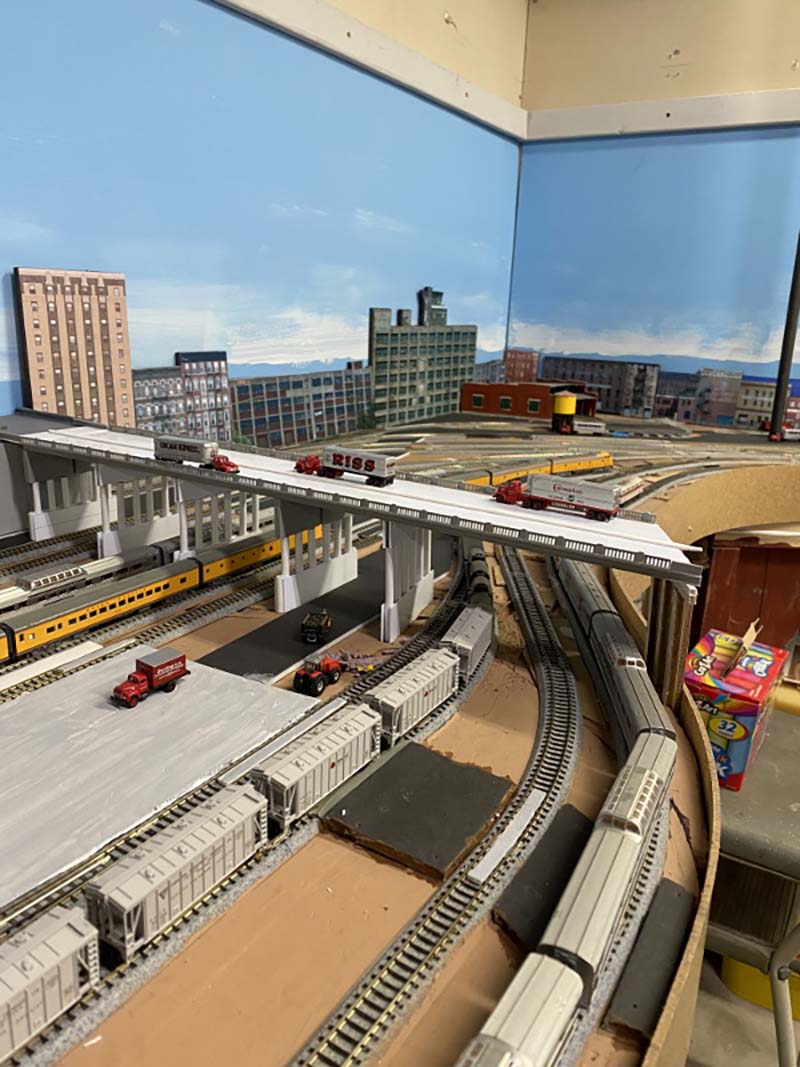
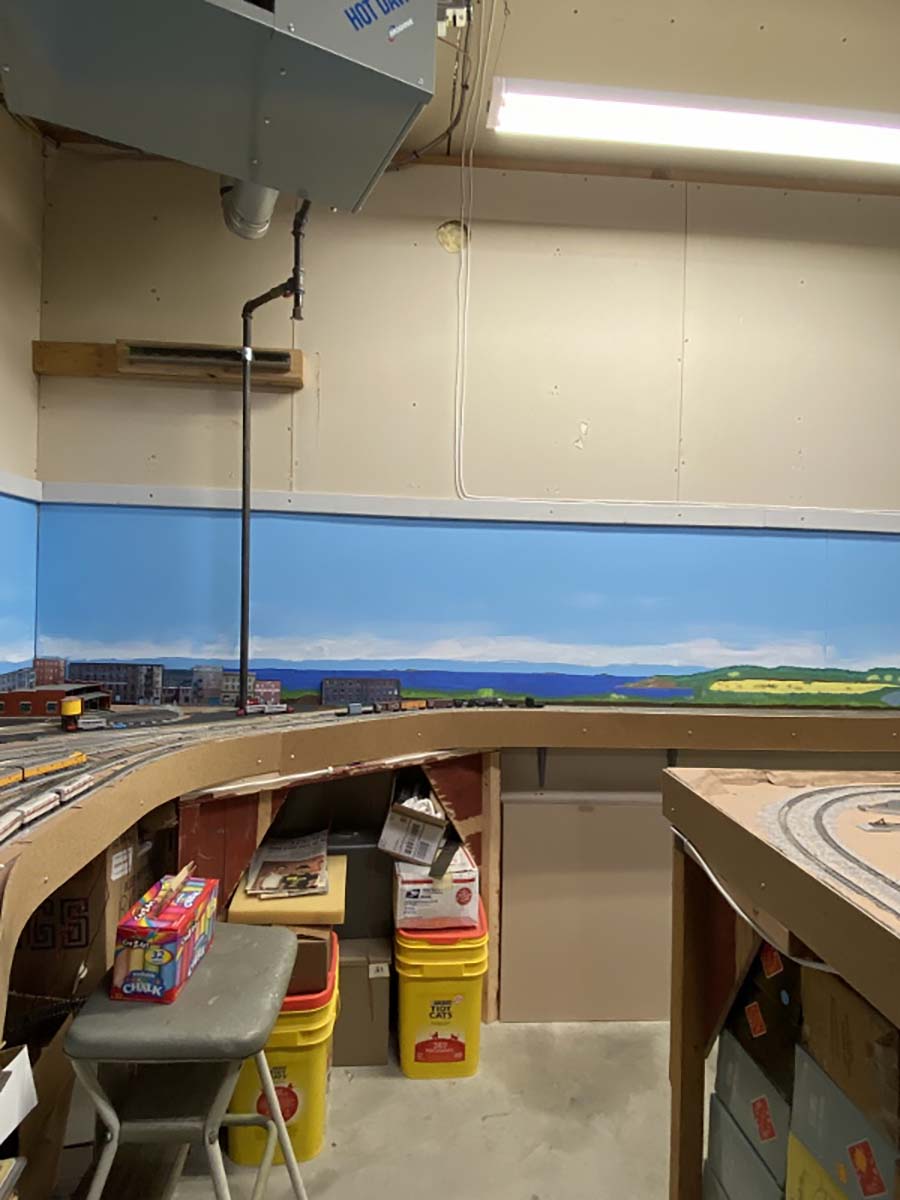
See attached images, recycled tracks used for modelling.
Hope you like it.
Roberto”


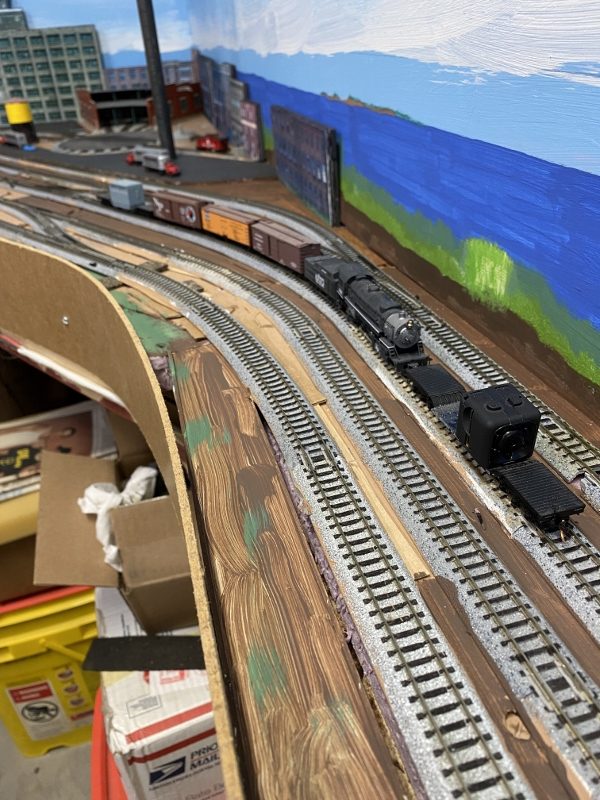
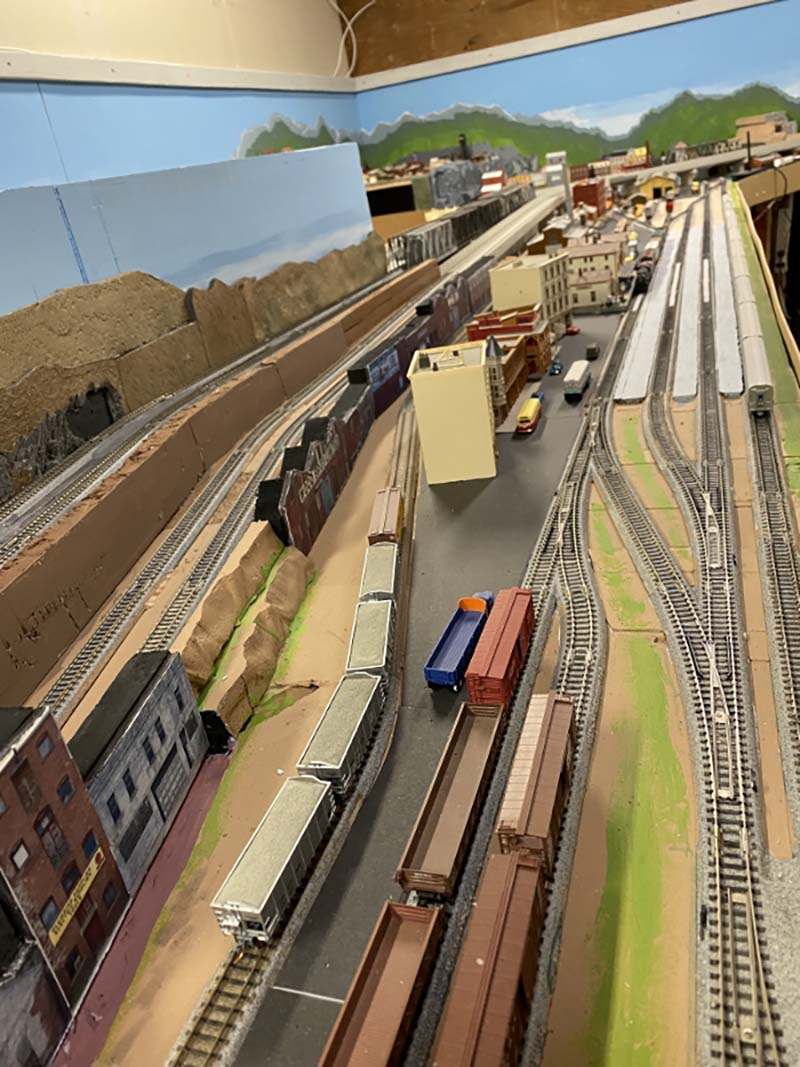
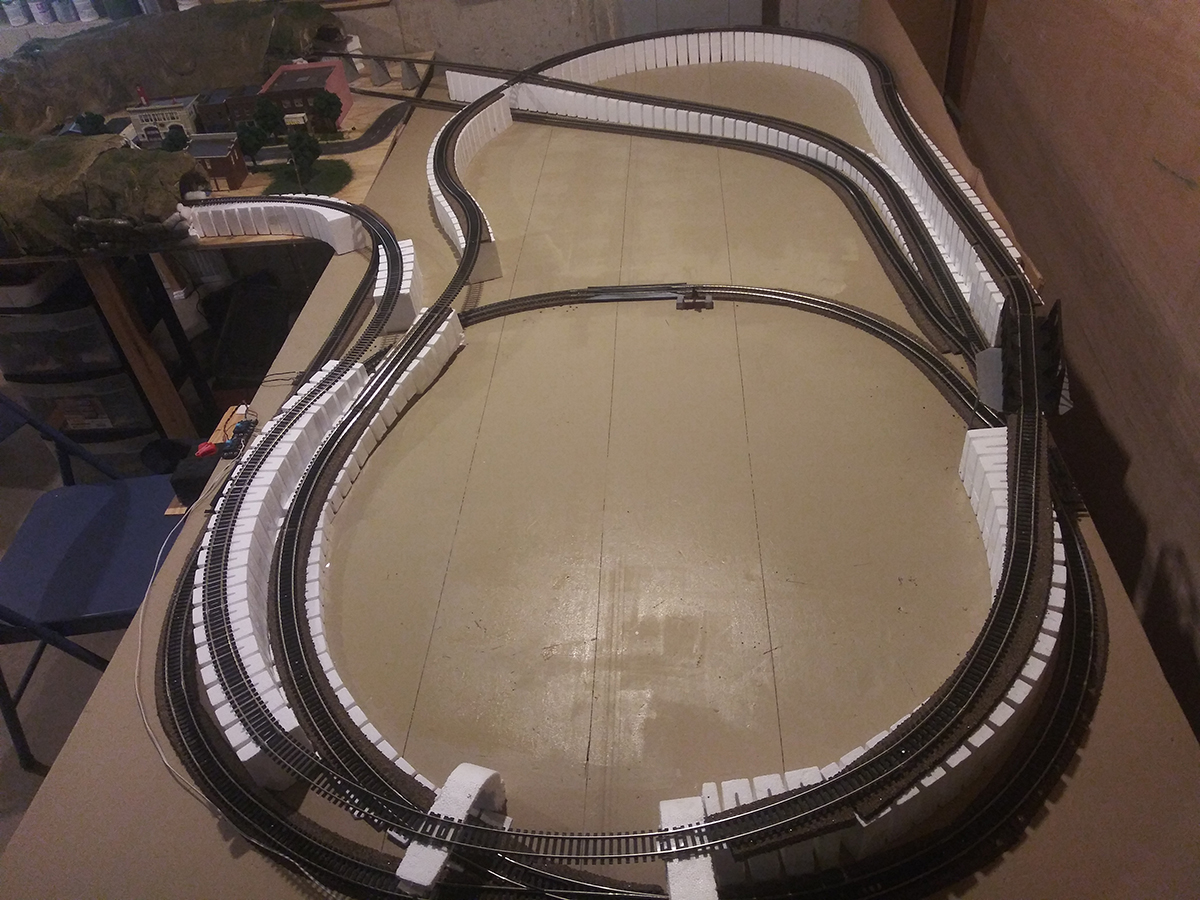
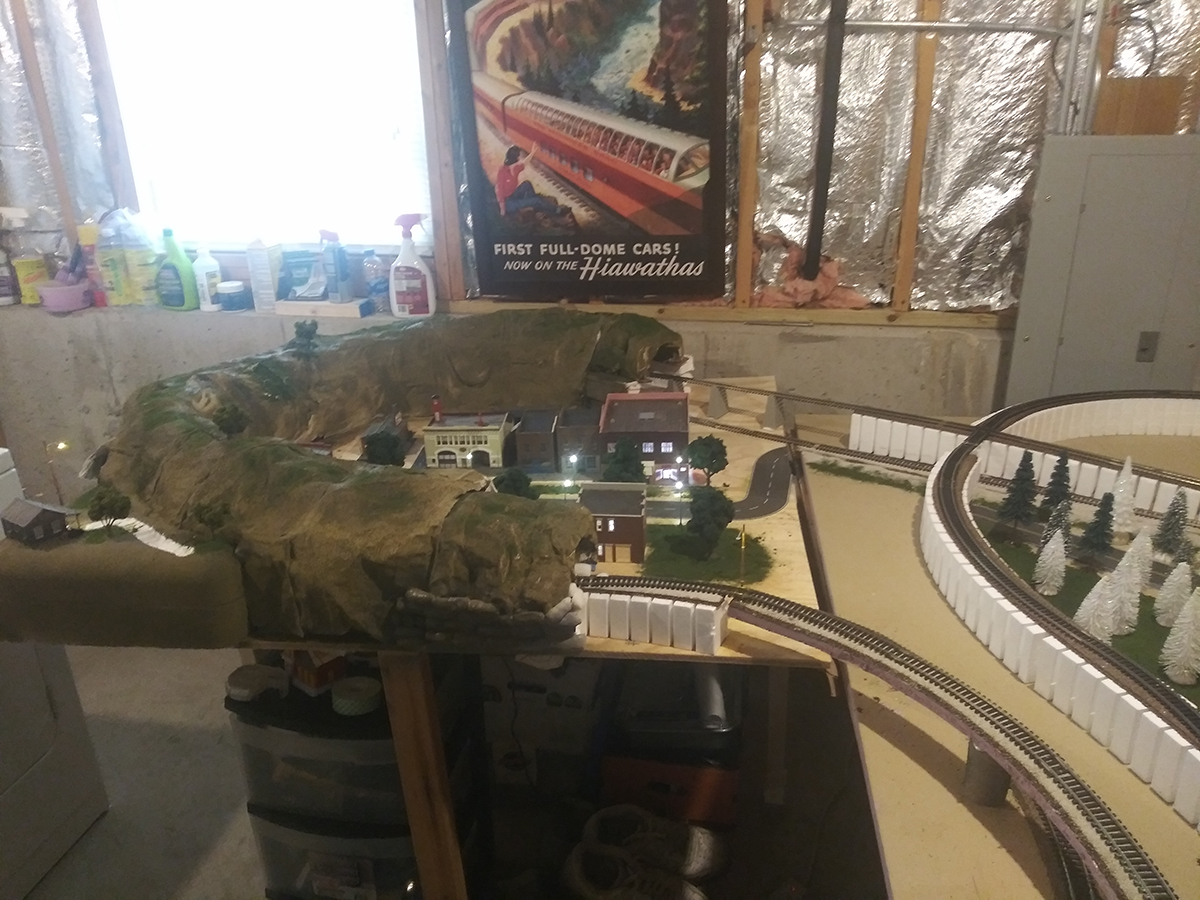
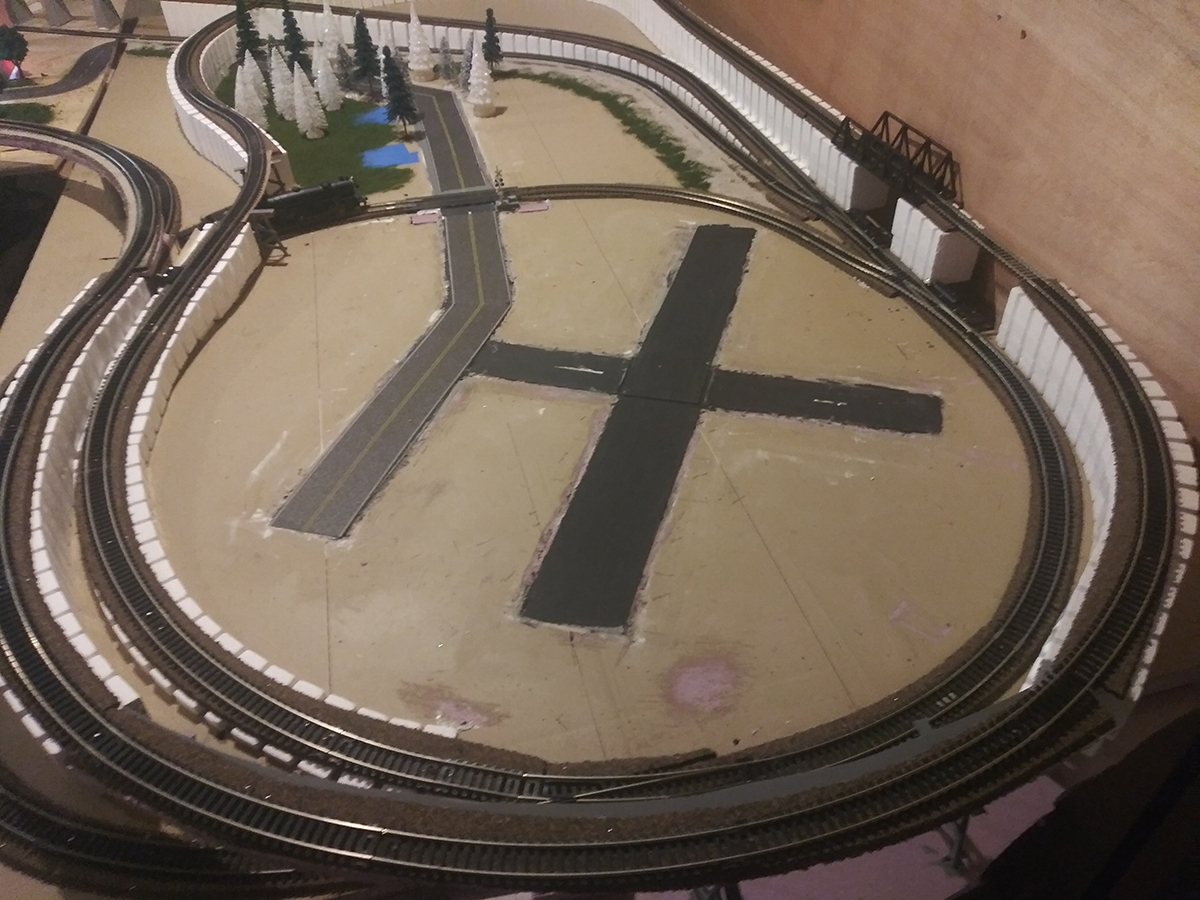
“hi Alister i have been working on my laout for a year all my pics are work in process i have many more thats if you want them the cemetry is made from ice lolly sticks i an trying to keep it as a Welsh theme.
All the best from Gwilym”


A big thanks to Eric for sharing his model railway diorama – and to Gwilym too.
That’s all for today folks.
Please do keep ’em coming.
If you’d like to share something, just hit reply to any of my mails to get in touch. I’d love to hear from you.
Don’t forget the Beginner’s Guide is here if you want to get going on your own layout.
Best
Al
PS Have you had a look at the new ebay cheat sheet yet?