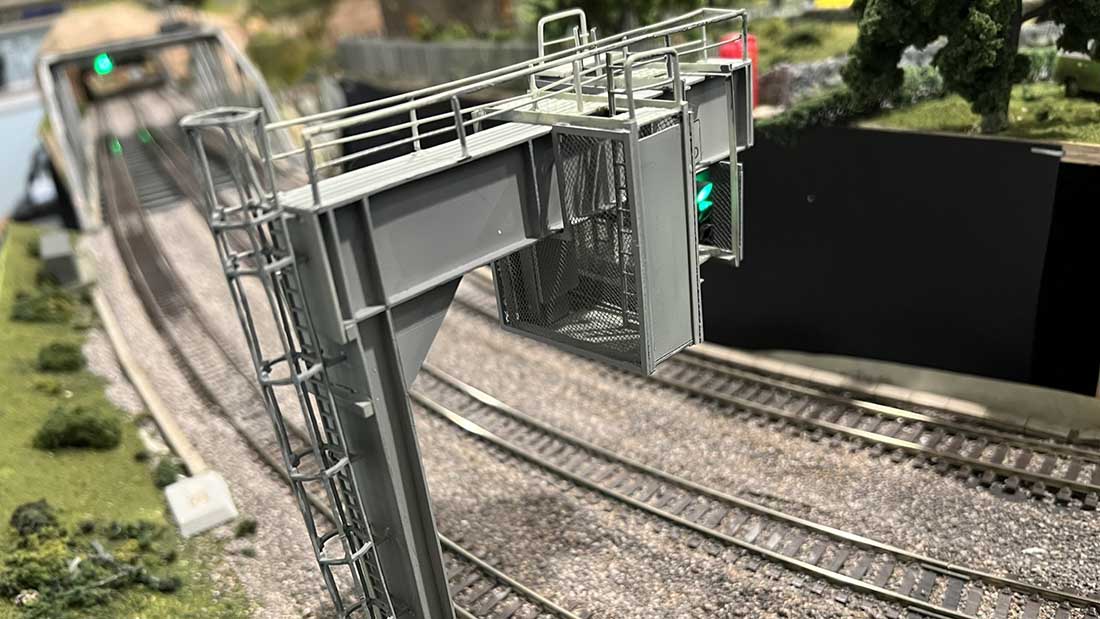
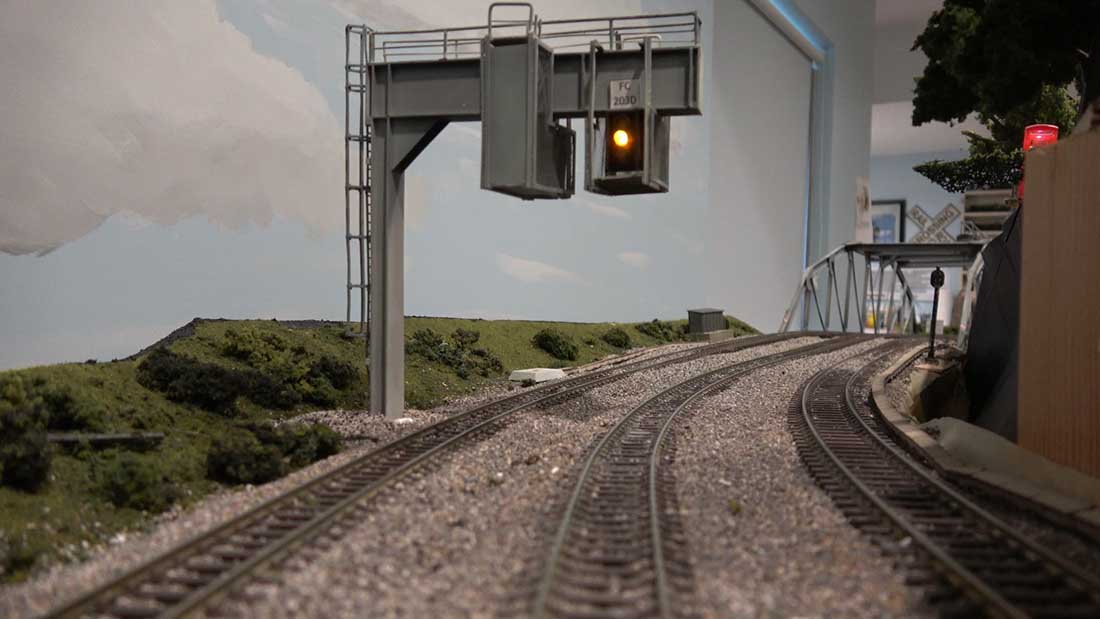
Rob’s been in touch with his take on LED lights for model railways.
I have to say, I think all his work has paid off, it looks fabulous:
“Hi Al,
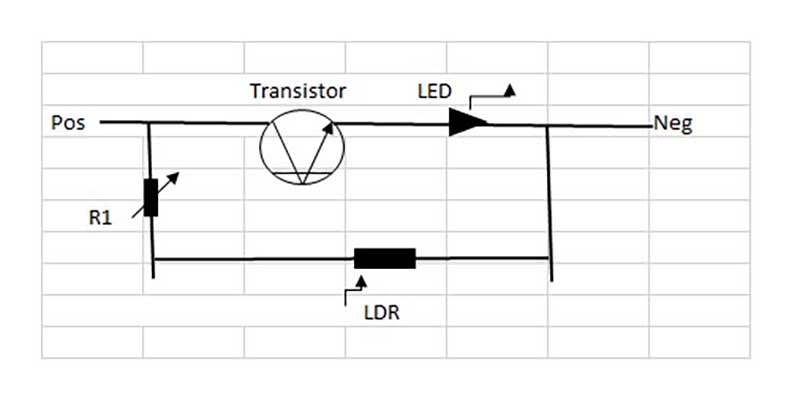
When I was designing and building the dimmer controls in my previous video, Dimmers for LED lights for Model Railways, I was making it to light the windows in my flats building that I call Terrace Park Flats.
I went on from this to fabricate new windows for the building out of styrene strips as I demonstrated in the last video.
This newest video is the conclusion where I adjust the intensity of the LEDs in the windows and have a look at the completed building.
Making the hundred or so windows to replace all the windows in the building proved to be too monotonous for me so I only replaced them on one side but did put lighting on the ends of the building where I assume the stairwell would be,
I added drapes and curtains to the windows after I replaced the windows and added diffusing plastic over selected windows as well as a darker plastic film over some of them.
A few windows were just covered with black paper to simulate dark windows where there were no lights on inside at all.
This has proven to be a very rewarding project and I am beginning to plan and build a second lighted building which is much smaller than this one. I expect it will take 3-4 weeks to complete it.
Here are some photos and the current LED lights for model railways video:
LED lights for model railways:
Thank you for all that you do for the modeling community around the world.
cheers,
Rob”
A huge big thanks for Hall of Fame Rob for sharing his LED lights for model railways step-by-step.
Jack’s been in touch – he’s been Modeling a 60s railroad:
“Hi Al,
Thanks for your interest in posting the progress on my layout.
Chesterfield is a fictitious town in Vermont in the 50s/60s. It is a typical New England town comprised of turn of the century buildings.
There are a variety of businesses, the Regal Movie Theater, Joe’s gas station / garage, a firehouse and a small park with Tracy’s lunch wagon housed in a repurposed trolley. (That is a nod to my wife whose name is Tracy).
Down one level from Main Street is the rail yard with a passenger station that is accessible by a staircase at the trolley stop on Main Street.
North Street crosses Main and over the rail yard with a bridge. Pete Smith, a local boy, earns a living selling papers down at the train station.
Modeling a 60s railroad:
Above the firehouse is a fire tower that protects the valley.
Also up on the hill is Jeremiah’s dairy farm. The family farm has a number of dairy cows, a greenhouse, a small orchard and of course a farmhouse and barn. Unfortunately the elder Jeremiah recently passed away and the interment is happening at the First Congregational church as we speak.
Above the farm there is a small cabin belonging to Ed Johnson who just wants to be by himself and only takes his pickup truck to town when absolutely necessary.
Modeling a 60s railroad
Down in the valley is the rural part of town with Chesterfield Creek, which is crossed over by a typical New England covered bridge.
There is also a small foot bridge that allows folks from the farm to walk down into the valley. That foot path allows access to the Chesterfield Water Company water tower.
There is still a lot to do but so far we have Interstate oil and gas, the First Congregational church with cemetery, some housing, a Kentucky Fried Chicken (the first fast food to arrive in Chesterfield), and a freight depot.
Modeling a 60s railroad
Trains run on two loops, one of which is accessed from the rail yard. There is a crossover which allows trains to switch from one loop to the other. The trolley run on Main Street, loops through town, around the park and in and out of a tunnel.
It is a relatively small layout, tucked in the corner of our garage in Florida. Because of the size I decided not to invest in DCC and just run DC.
I used pink foam instead of plywood for the base layer. This allowed me to carve out the creek and just by punching holes I can install trees, lamp posts etc. The mountains were constructed of white Styrofoam packing sheets, layered up and covered in drywall compound, painted black and highlighted with grey.
Because it is in a corner, the whole layout is on casters so I can wheel it out into the garage to work on it and the foam base helped keep it light. The background is also 1” pink foam for rigidity and is attached to the garage wall with Velcro strips.
Jack”
A huge big thank you to Jack for sharing his layout. A stunner!
I always think the layouts with a theme turn out the best and modeling a 60s railroad is a lot of fun too.
I didn’t have time to make a ‘spot on’ track layout, but this one is close enough for you all I hope:
Dean’s been back in touch with some of his small N scale track plans.
I do always enjoy the posts that go through the thought process too:
“Al, greetings from Dean in New Mexico.
As you know my current layout, the Conejos Valley Railroad, is almost finished. All it needs is a little bit of landscaping, some buildings, and roads.
I’m currently in a situation where I can’t work on it, but I’ll get back to it in a few weeks send some photos as I progress.
But with that almost done, I’m starting to think of my next small layout.
I use SCARM (Simple Computer Aided Railway Modeler) software to help me in my design process. (I have no connections with the product or its author and pay for my own copy of the software.) This software can be readily downloaded in a free version (up to 100 pieces of track) that lets you learn how to use it and design small layouts. To find it, google SCARM.
Below are three layouts that show my thinking process. I built the first one six or seven years ago when I first started in N Scale. I had purchased a DCC, N scale, “Golden Spike” layout (sadly, no longer available) from Bachmann and it had enough track to put this design together.
I put this layout together and played with it a while and used it to develop techniques for working with Styrofoam sheets and other scenery techniques. Then I pulled up the track and threw away the layout.
The design below is based on the first one but has more industrial sidings. I think you could run two engines on this, a local switcher and a fast freight that spends most of its time in the tunnel. Periodically, it would appear to drop off and pick up cars.
Finally, I designed the third layout below that adds an additional station and two hidden staging tracks in tunnels.
This third layout is designed for both train running and switching operations and can use three engines. Two trains, a freight and passenger, can be hidden in the tunnels and brought out periodically.
The freight train would come through, dropping off some cars and picking up others, then move back to the tunnel. Then the switching engine would shunt cars between the four sidings and return to the engine house.
When the passenger train comes through, it would stop at both stations then return to its tunnel. I’m also thinking about building this as a fold down, wall mounted, layout.
Thanks for looking. Any comments on improving the design would be appreciated.
Thanks, Al.
Dean from New Mexico”
A big thanks to Dean for sharing his small N scale track plans.
Now on to Jeffry, who sen this in:
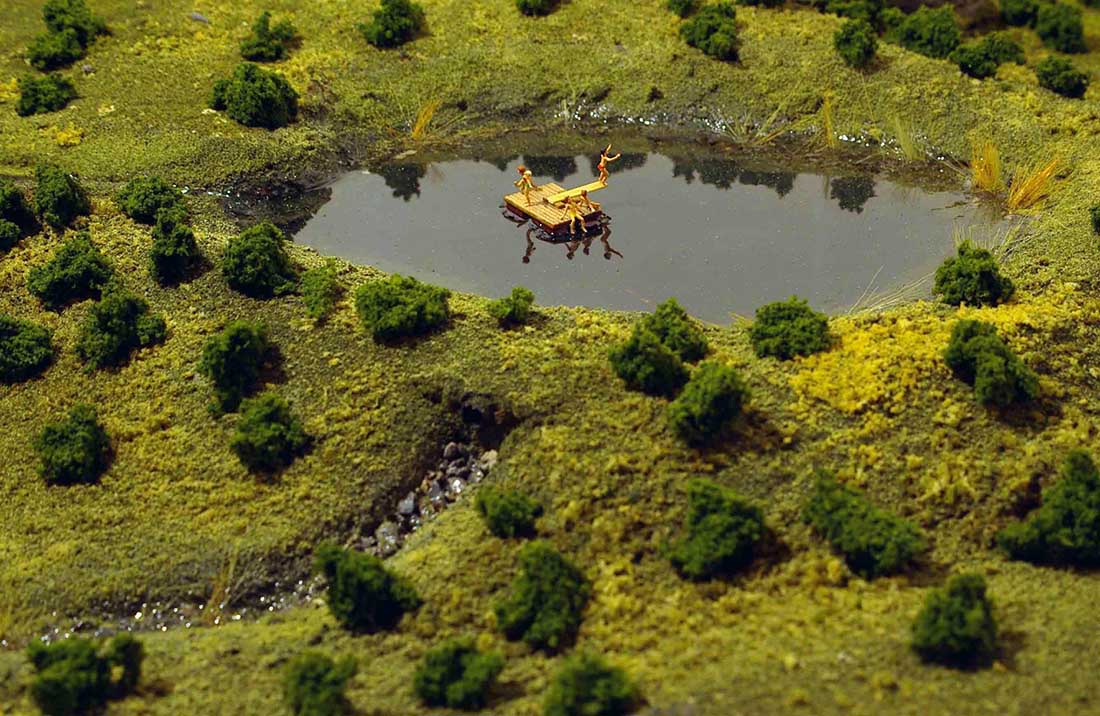
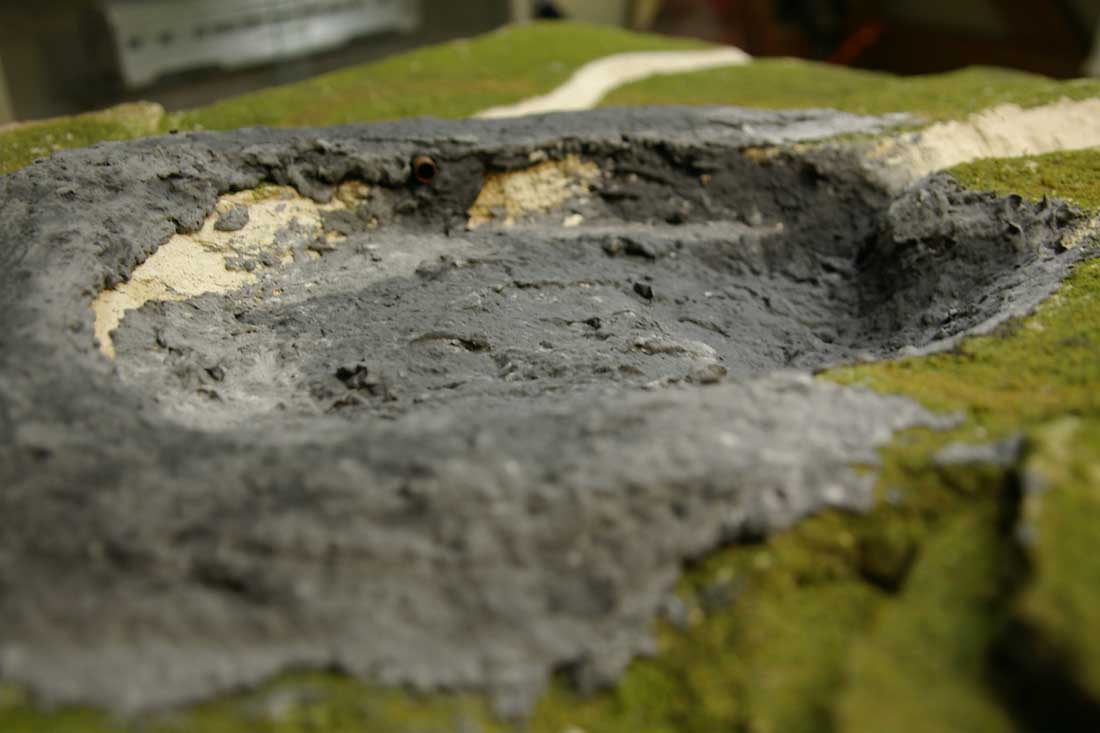
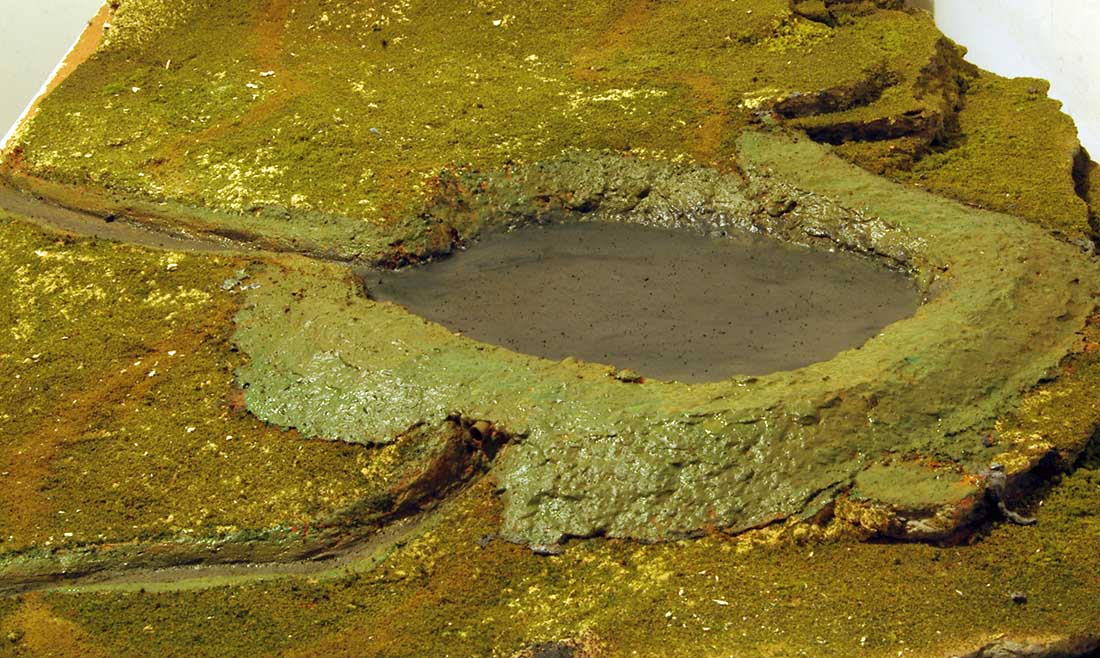
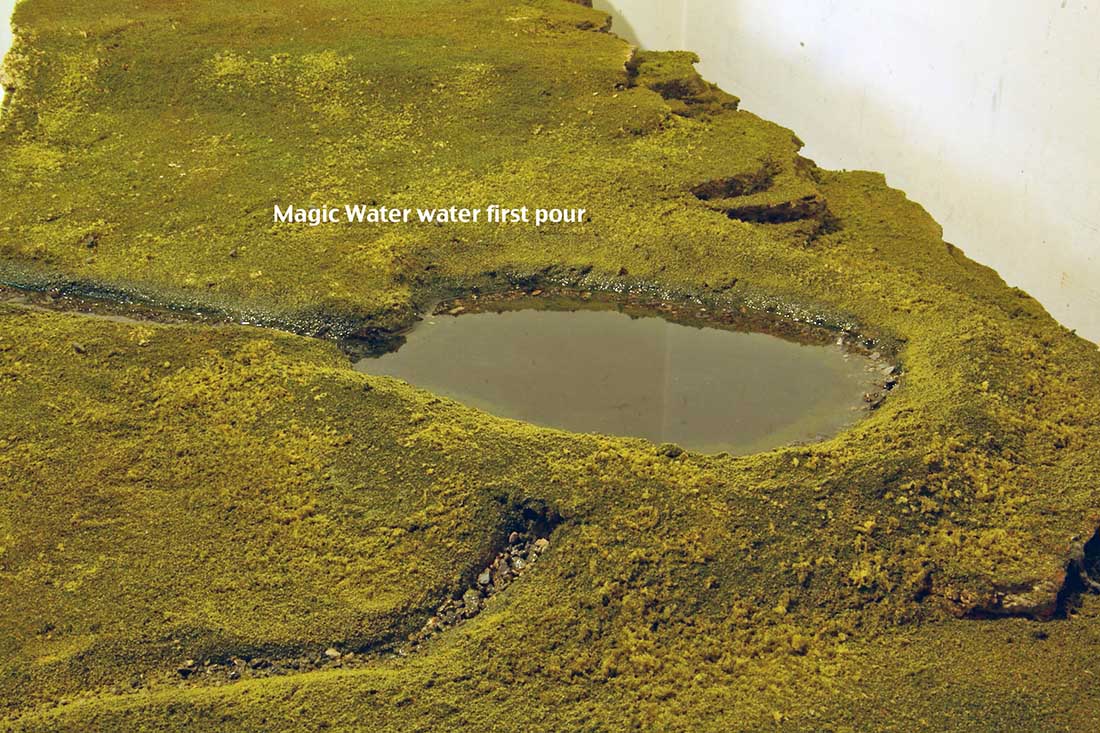
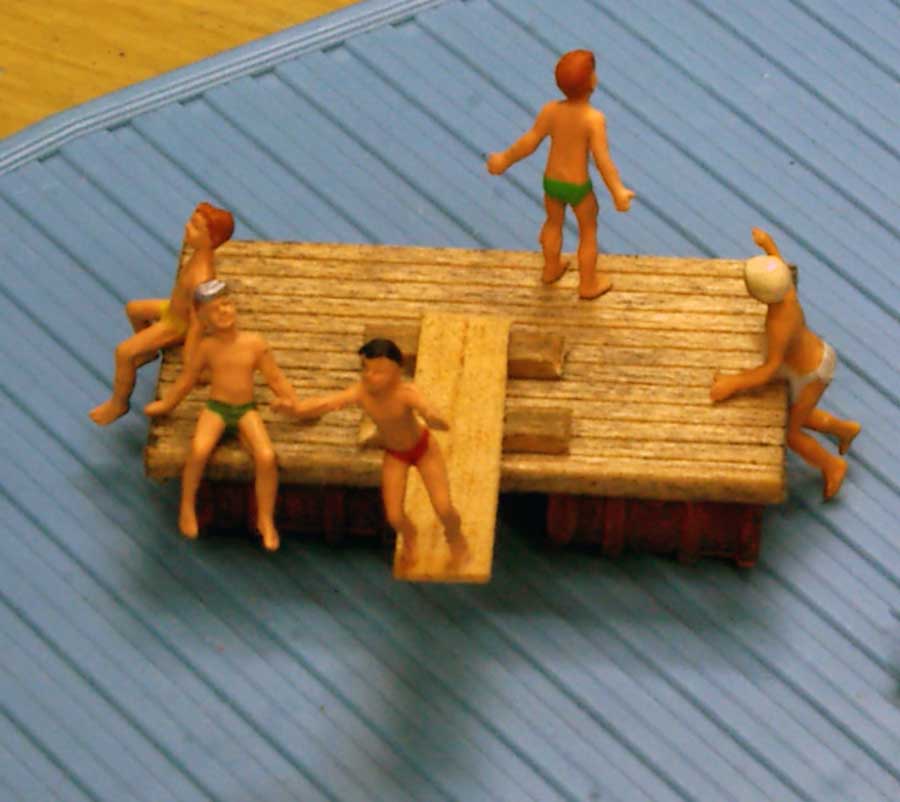
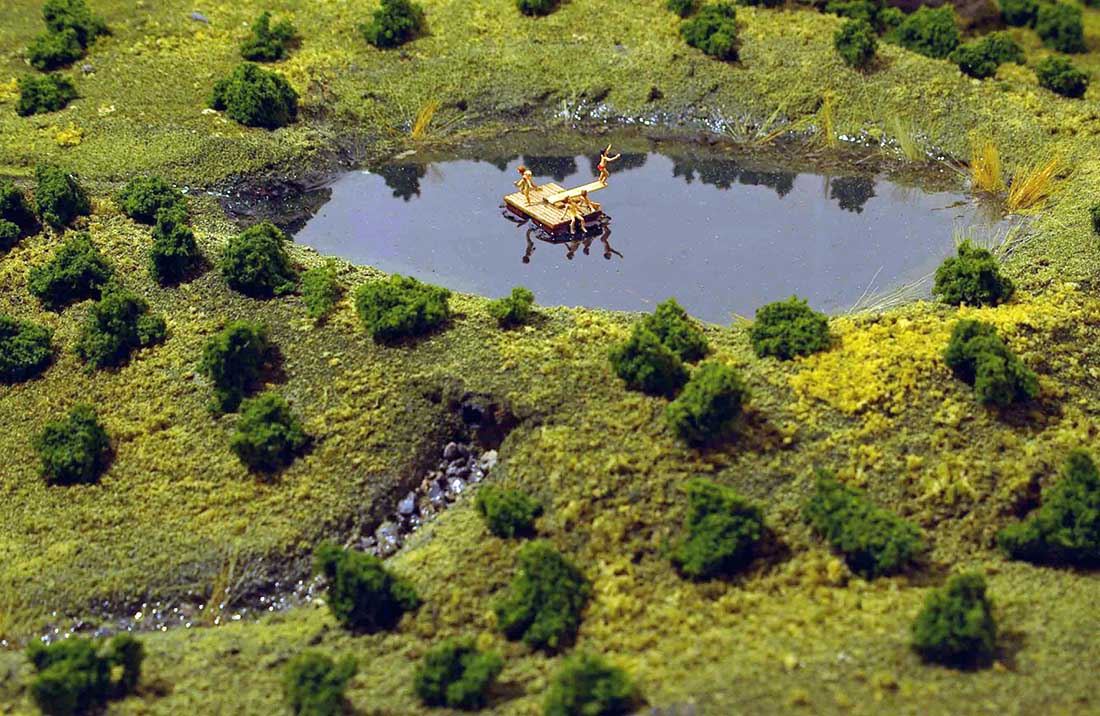
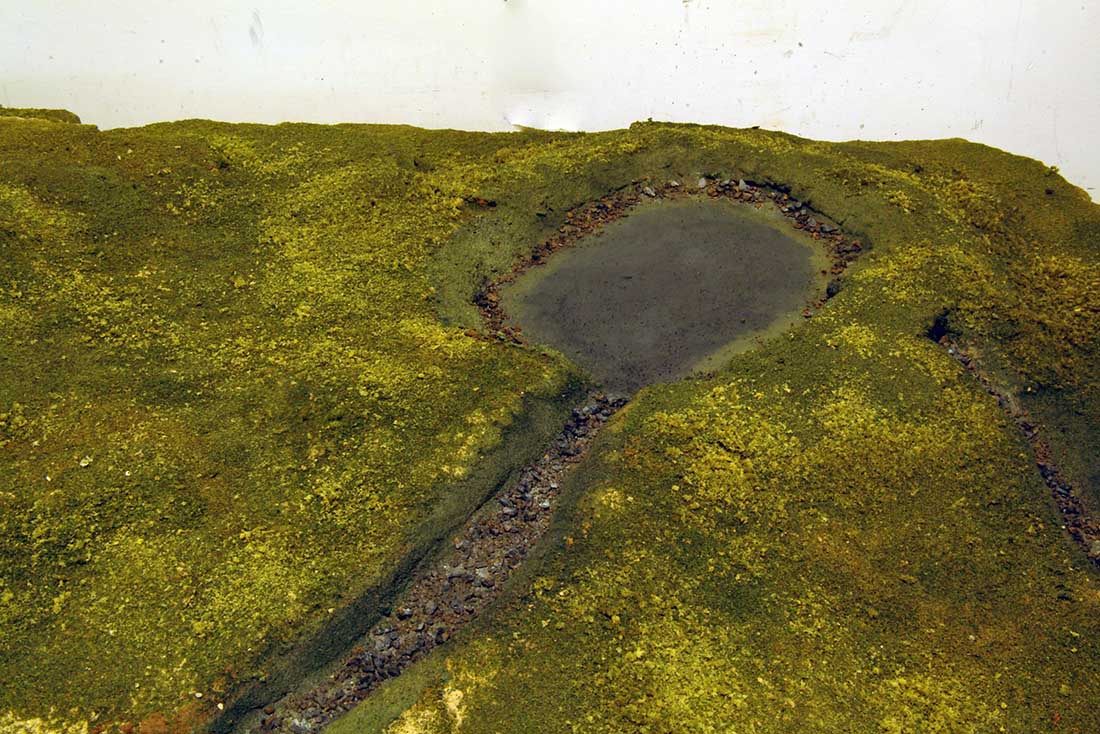
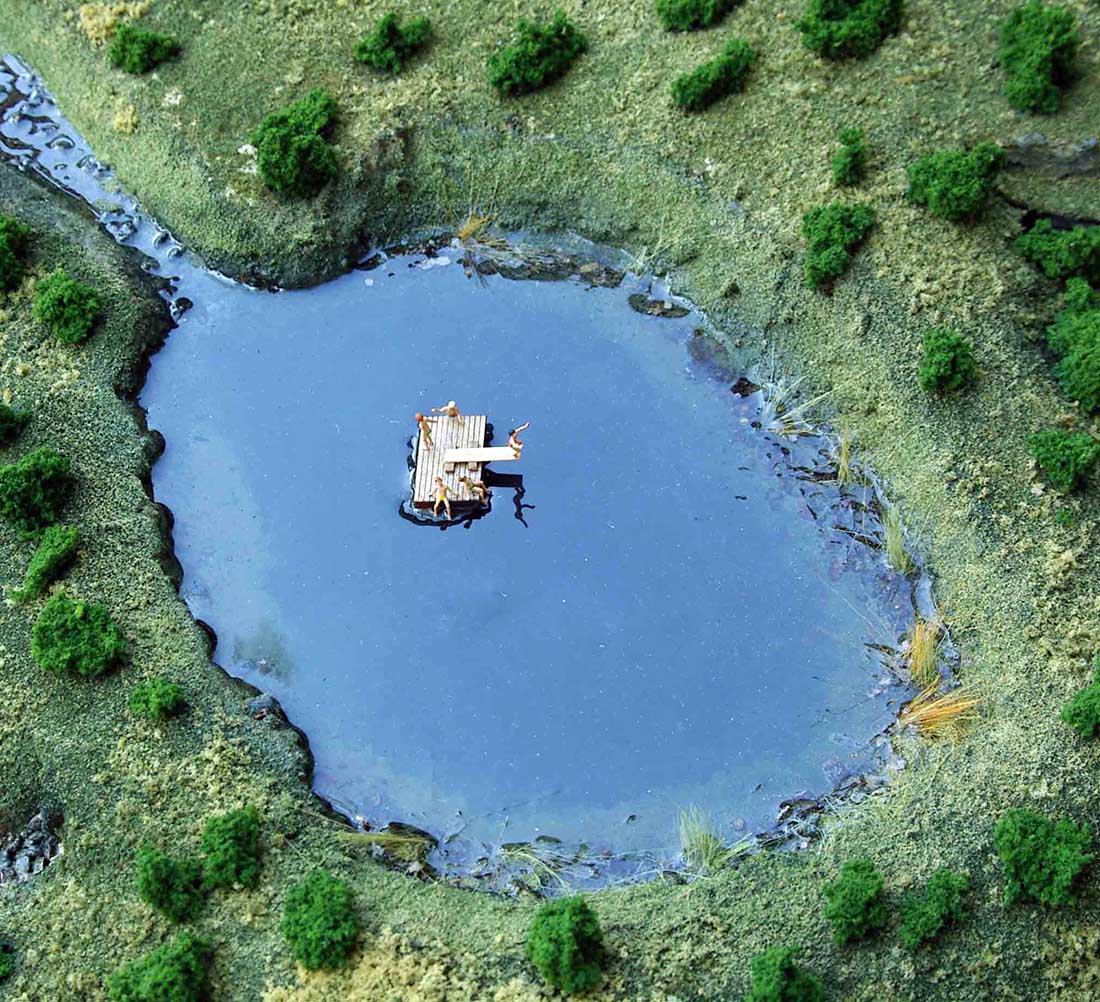
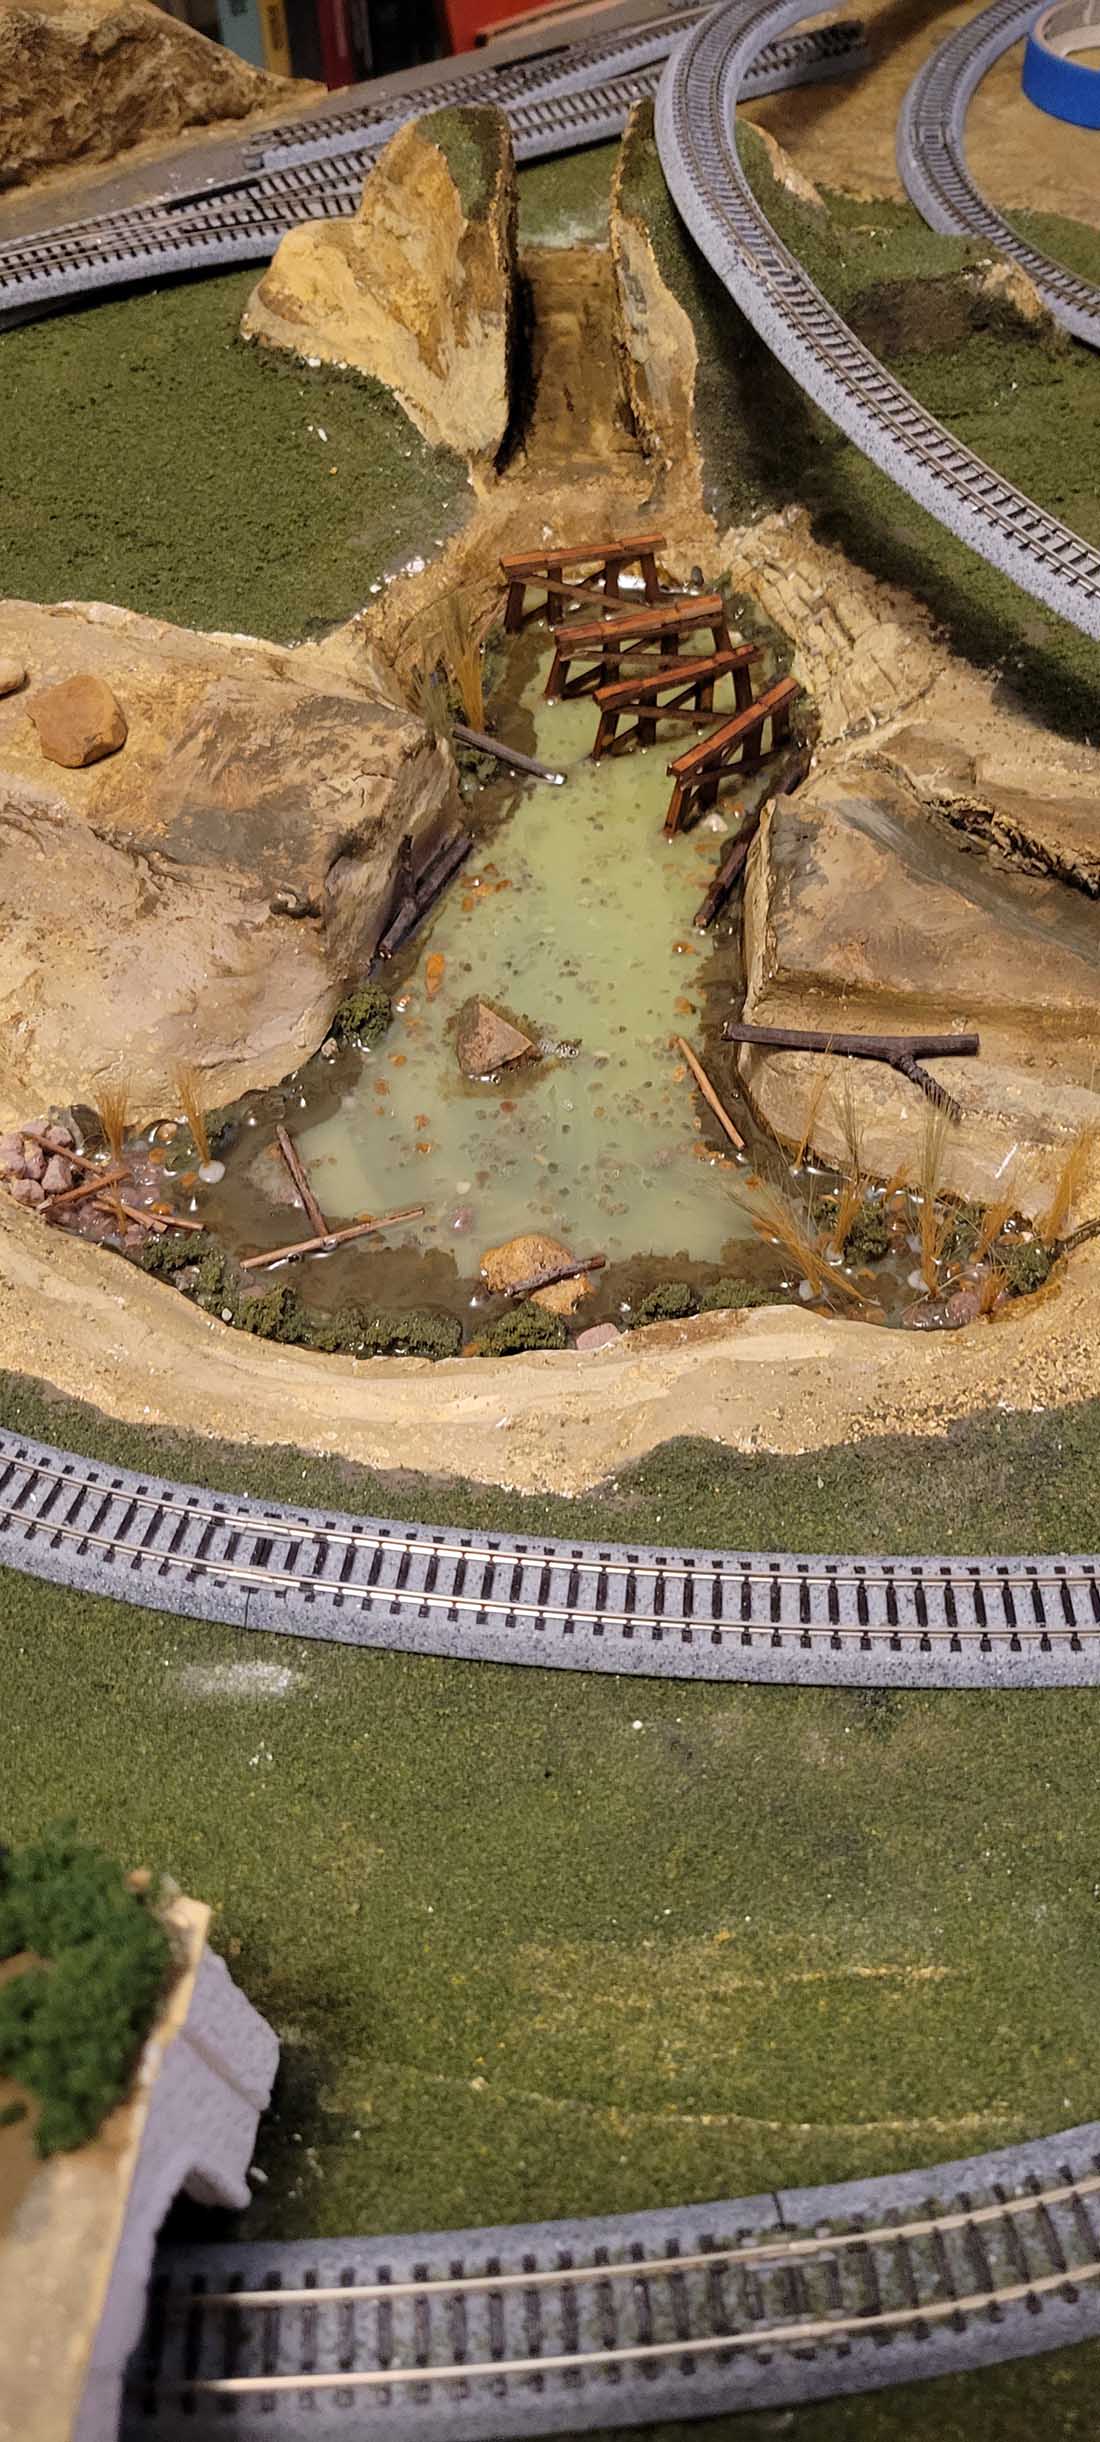
“Just wanted to share a favorite experiment with all of you, the water here was made with super clear silicone caulk, laid out on wax paper, and trimmed.
The rock formations were made from foam, scribe with an xacto blade, weathered and highlighted, sort of.
Jeff”
Now on to Henry:
“Hello Al
As promised, here are a few photos of my new layout that I am building in my study.
I lost my job last year in July and decided that while I am job hunting, I may just as well use my free time productively to build a small switching layout.
My main layout is in the garage, outside of the house, so I wanted this one to be inside the house, where I can work on it at any time and in any weather. My study seemed to be the best place for the layout, as it had some space that could be used for a layout.
The layout progress is being documented on video, and it also serves as a test bed for DC locomotives that I repair. (Model train repair has been an income generating hobby for me for many years).
The layout itself is in a L shape, and measures 140×280 cm and the shelves are 45cm wide.
The layout is now 7 months old, and still lots to do. I am particularly looking forward to do the ravine as there is a mirror placed underneath the road bridge, which will create the illusion of the ravine continuing way beyond the end of the layout.
Backdrop as still to be printed. The corner where the two legs of the L meet will be a small town scene, and the rest industrial scenes.
Regards
Henry”
A big thanks to Henry.
I always get mails asking why I post half built layouts – and my answers is always the same: it’s all about making a start!