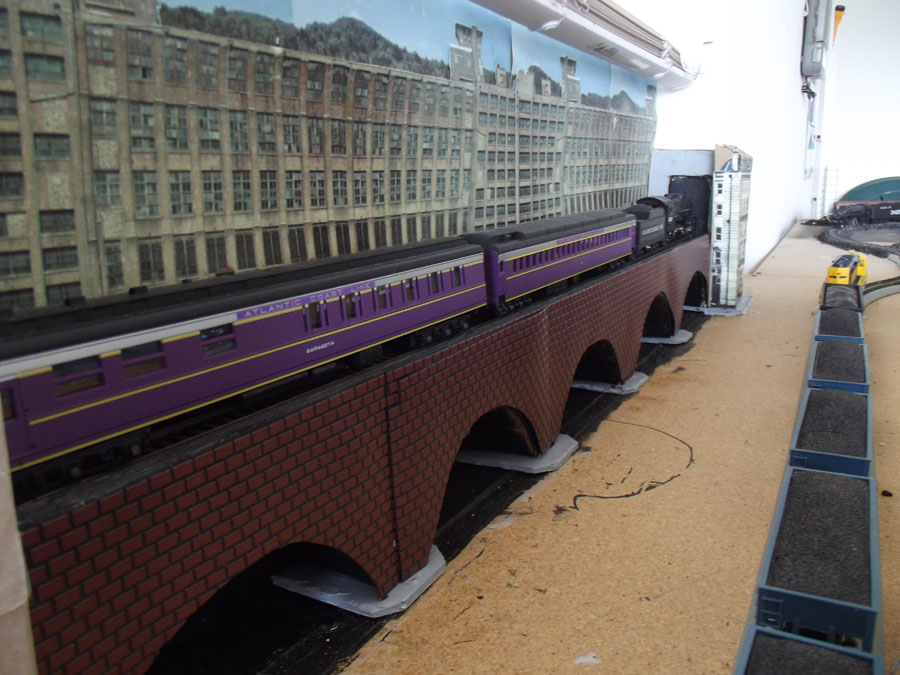
Terry has been in touch with his HO curved bridge – I do enjoy seeing the solutions you lot come up with:
“Al-I couldn’t help but admire the recent pictures from Michael which included a long straight trestle.
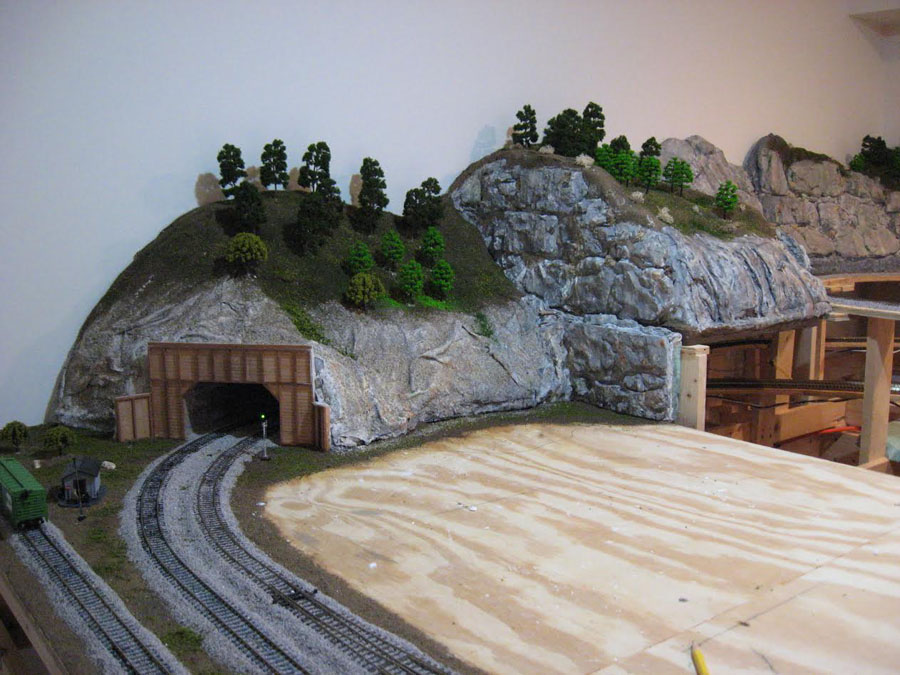
For some reason every time I build a HO layout (and I’ve done probably 20 in the past), my aerial crossing tracks always seem to end up on a curve and while I could have modified store bought items and made them fit, I’m not only cheap-I’m am also not a purist and so I decided to make my own and they came out very well.
As all my trestles cover a large distance, I needed something that would bend with the curve, look close to the real thing, and use what I had in my train box. After some thought I came up with the following method.
I use HO cork track bed which comes perforated down the center. By pulling them apart, I found that using one strip of the cork provided me with just enough heights to look realistic and not interfere with long cars overhangs.
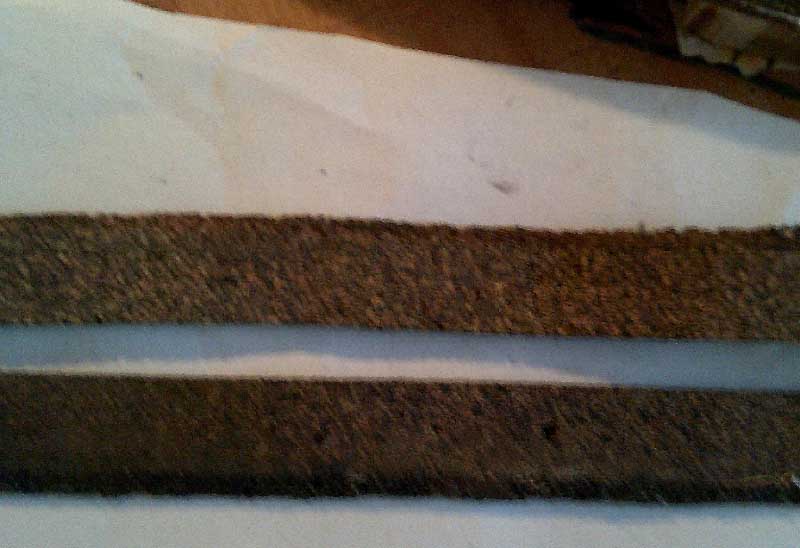
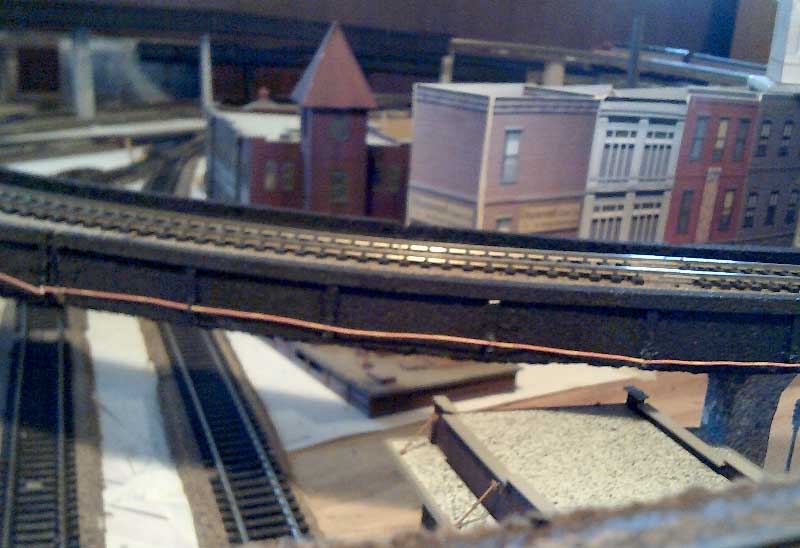
After splitting the cork I took another piece and cut a ¼ inch strip to serve as the cap for the top.
Spraying everything black I glued the ¼ in piece to the top so that it overhung the side panels. This didn’t look to bad but then I realized that there were no braces on the sides of the panels as there are on the real thing.
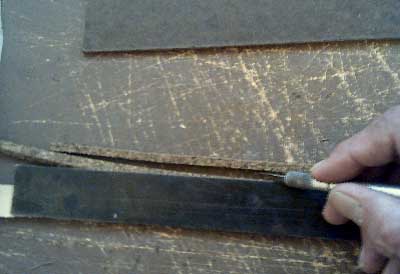
Because I use a lot of flex track cut to fit the track plan, I always seem to end up with a bunch of single ties in the scrapbox.
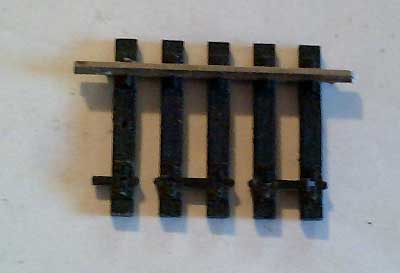
Because the ties have slots at each end to hold the actual rail and I found that by cutting the slot off one end made the brace the correct length to fit the height of the trestle panel.
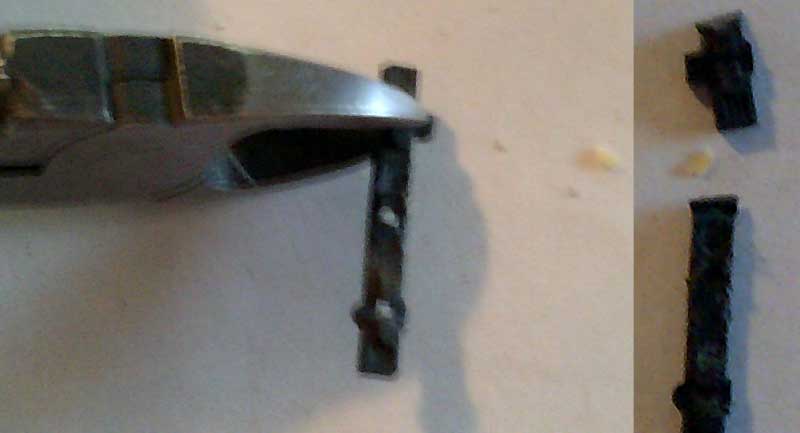
This left the slot at the other end of the tie open and I decided that if I was going to build a real railroad then it should also contain a pipe to carry wires, etc for railroad signaling etc
HO curved bridge:
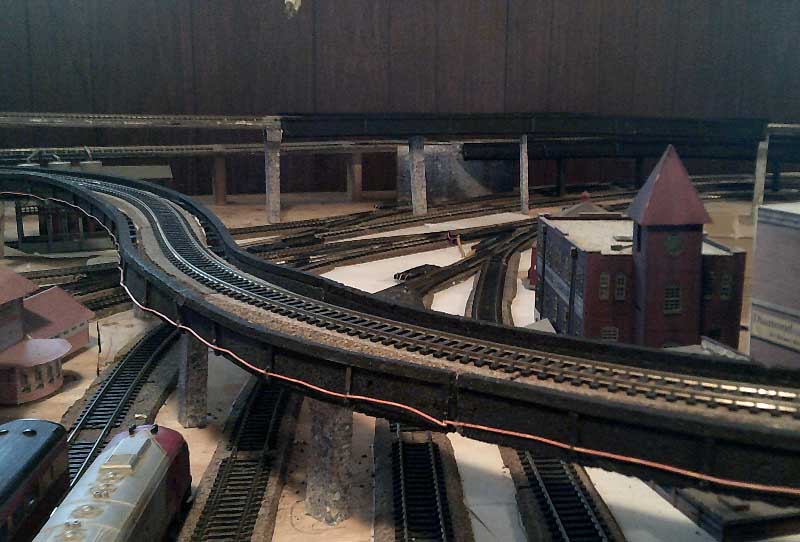
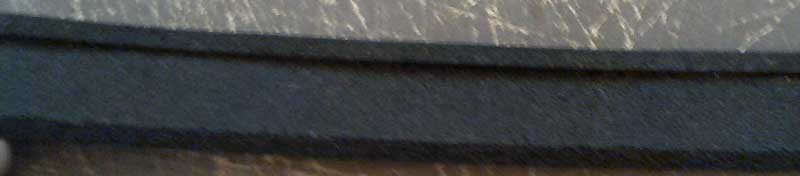
To my surprise the telephone wire that I use to wire the layout fit exactly into the rail slots on the braces and a simple glue job held them in place. As the wires were already color coded I just used the ones with orange/white colors to make the units stand out.
Every layout has a story even– if you have to make it up sometimes. While a close look may show the “pipe” sagging a bit I blame a bunch of pipe layers being on strike and the rest being drunk as the cause. Haha.
Terry/Idaho USA”
Now on to Geoff:
“Ok Al, its been a while since I contacted you.
Firstly I have completely dismantled my UK layout in my garden shed.
That’s a new project when I get back.
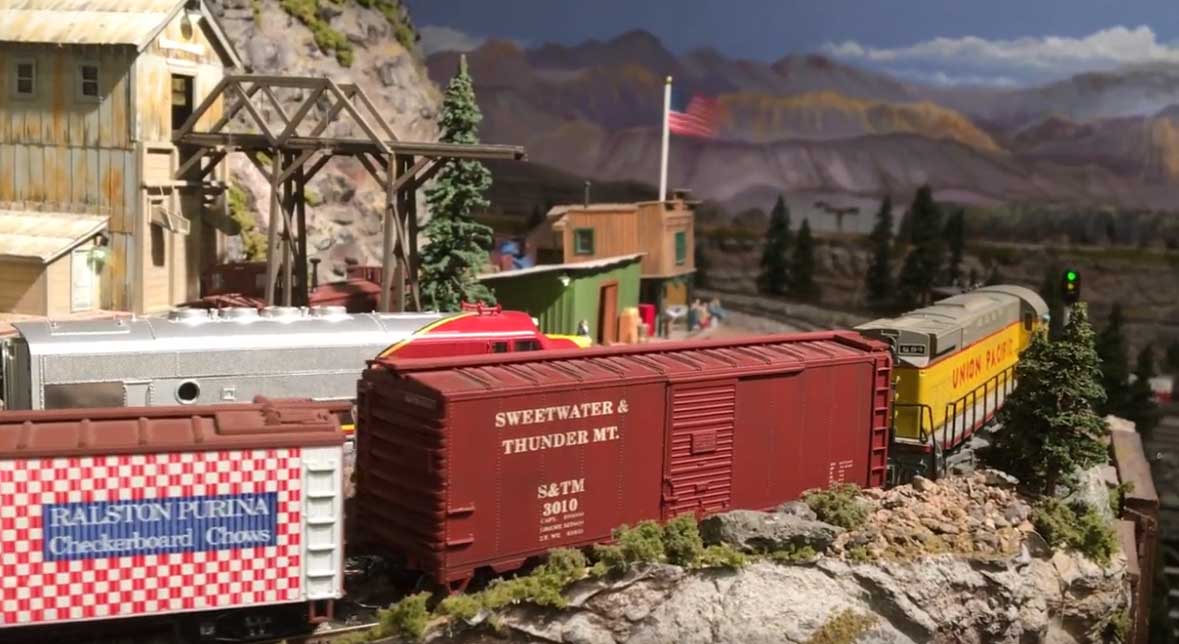
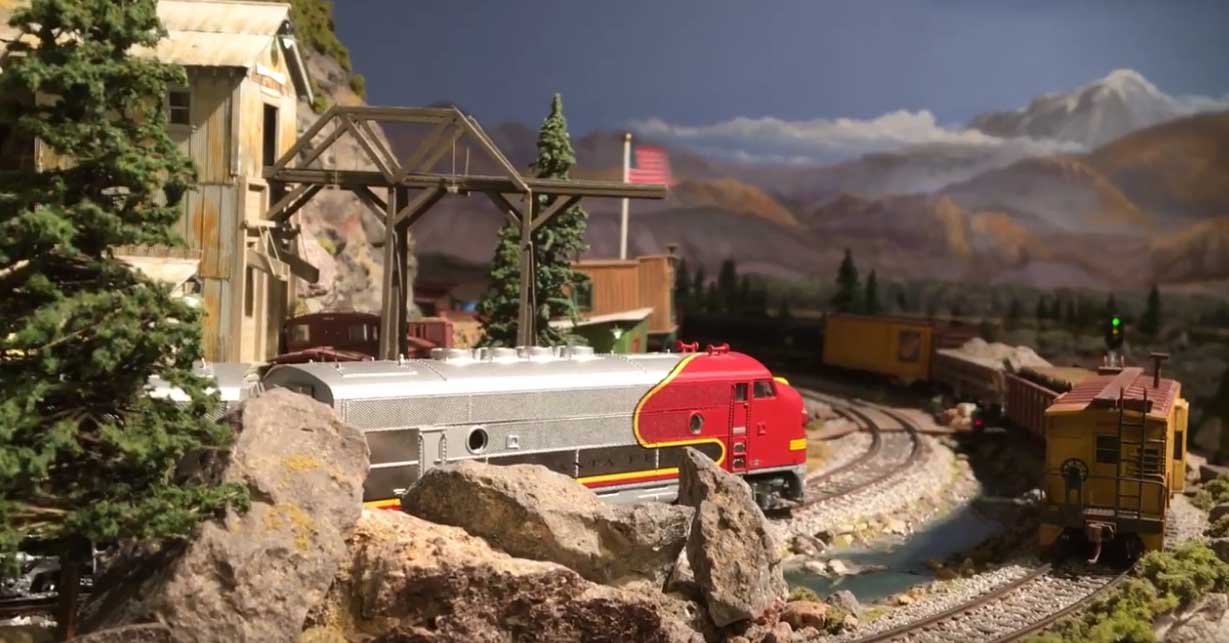
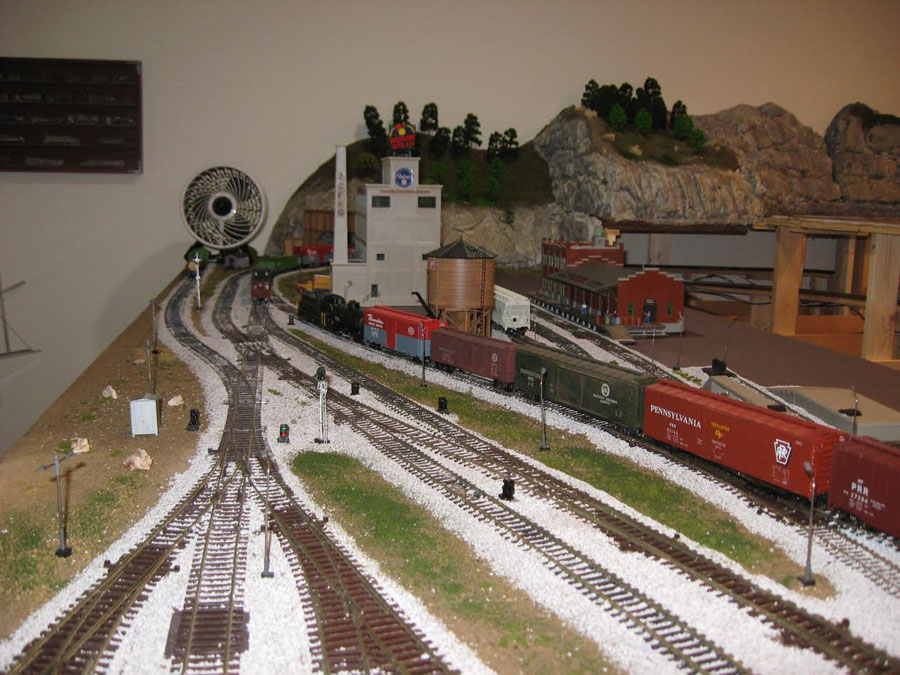
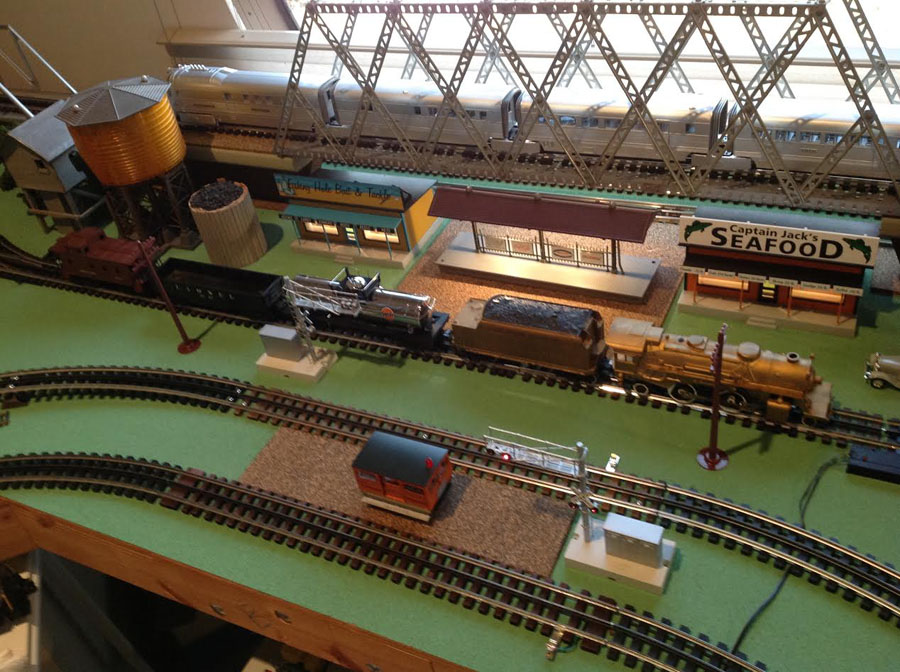
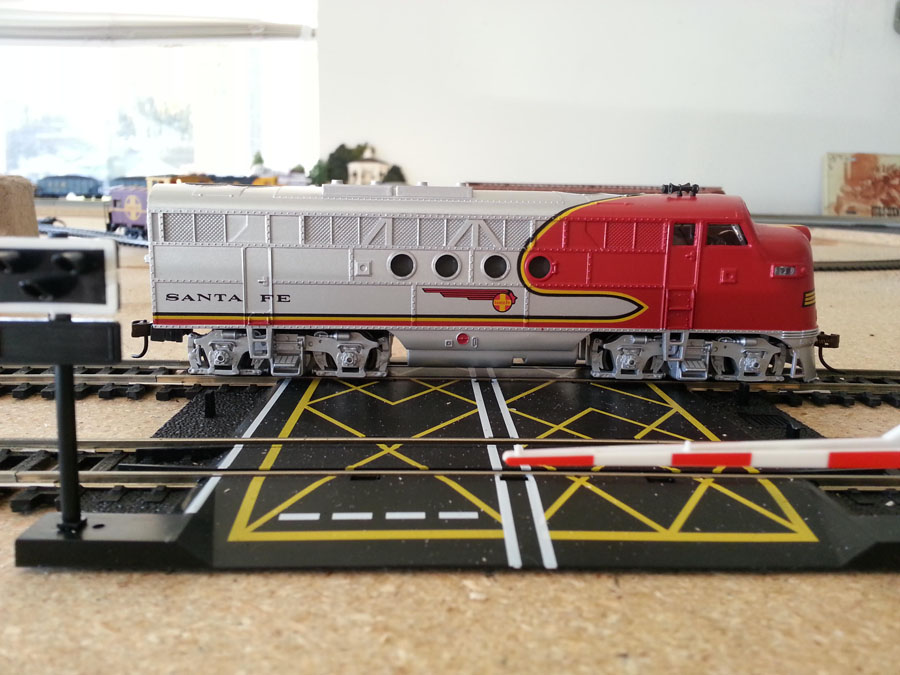
I have been in Florida for 3 months now which has given me a chance to work on my American Railroad.
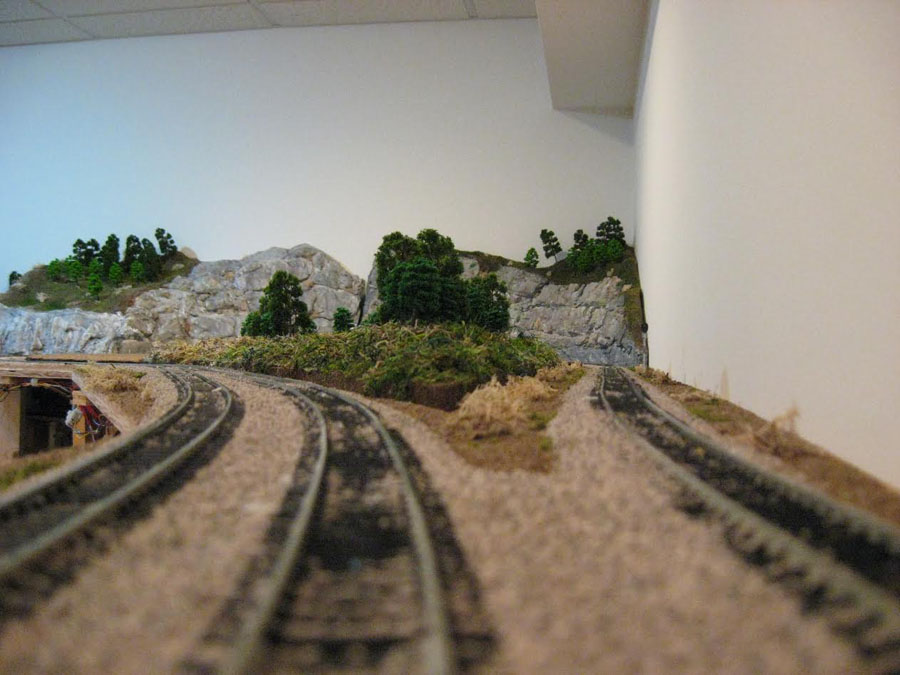
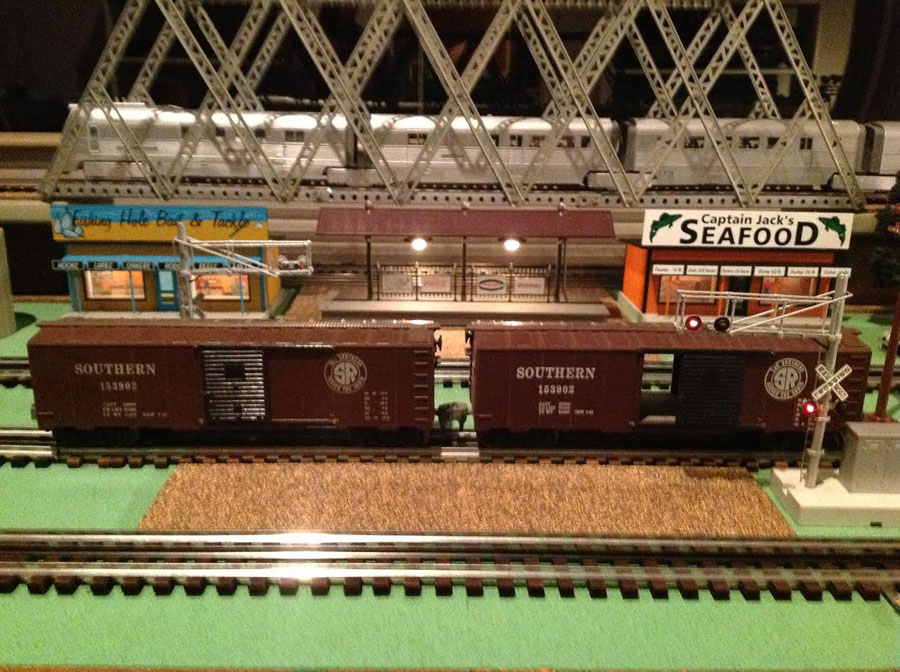
Scenery is a bit scant at present. I am not skilled enough to build a museum quality model railroad, and it doesn’t bother me that everything is not prototypical, but I like playing with trains.
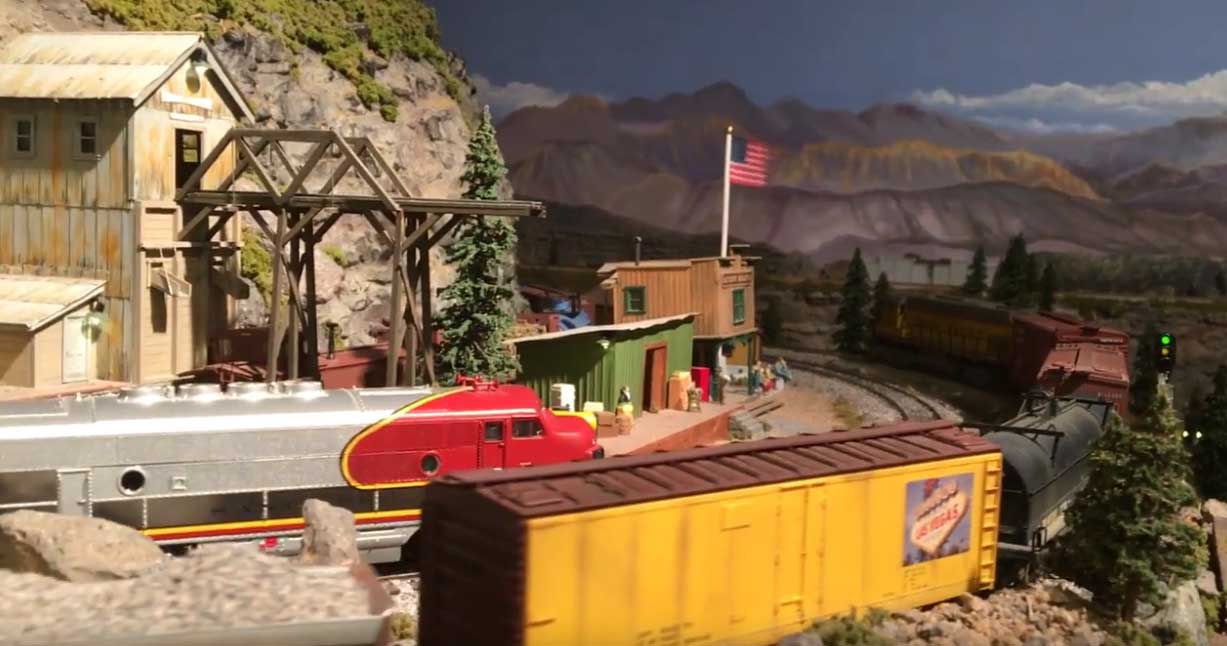
You could even find British trains on my US layout and American trains on my UK layout
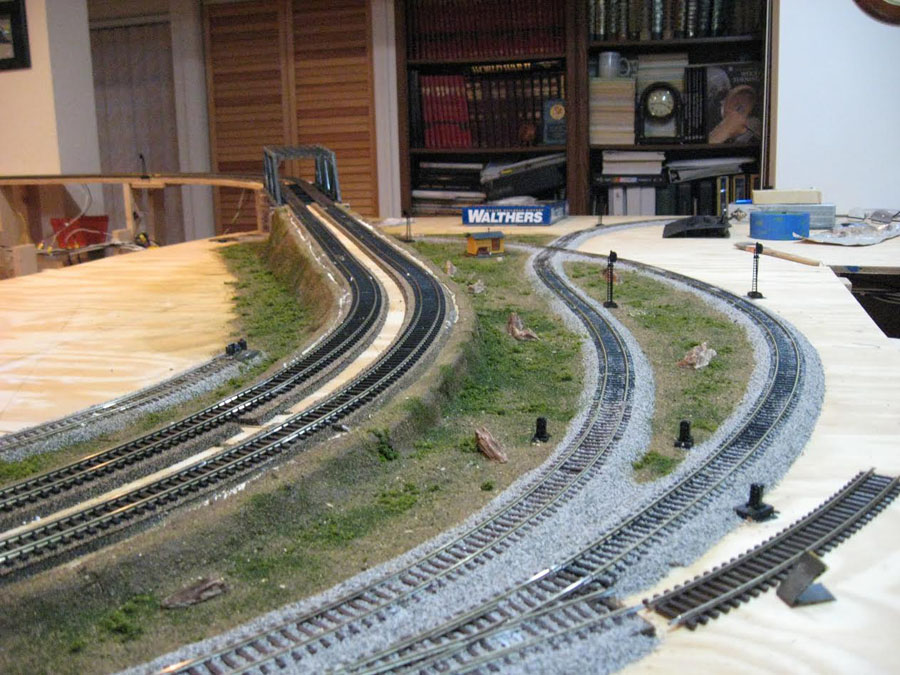
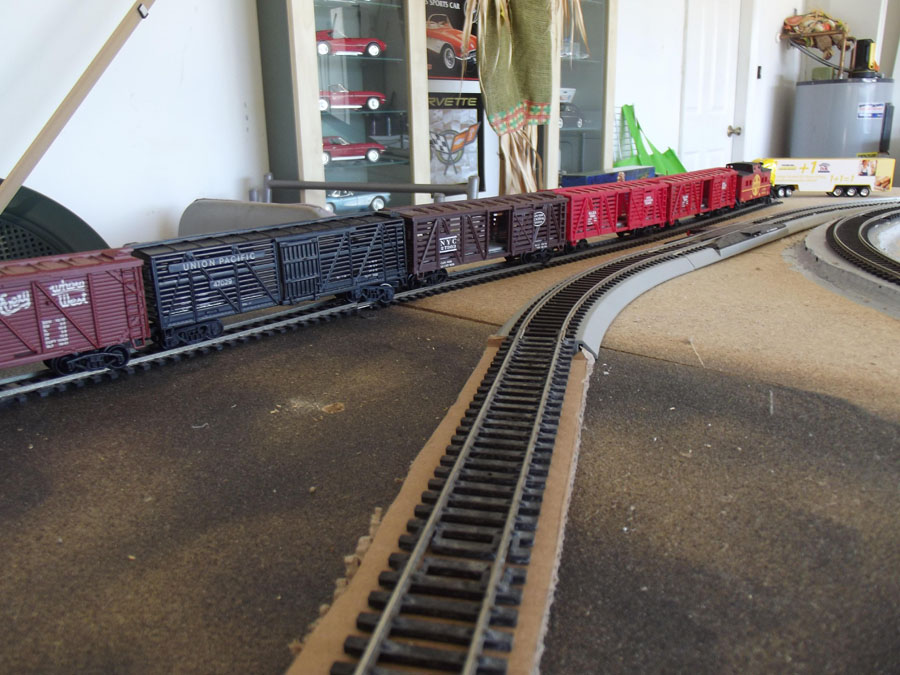
The track is Bachmann EZ track, Hornby, Peco and Atlas.
The points (switches) are Atlas with side mount motors plus a couple of Bachmann with under track motors.
The layout is DCC with sound, using a Bachmann EZ Command controller but the switches are conventional DC controlled.
I also have Hornby Railmaster, but you know what, I find the rotary control knob on the EZ Command easier to use
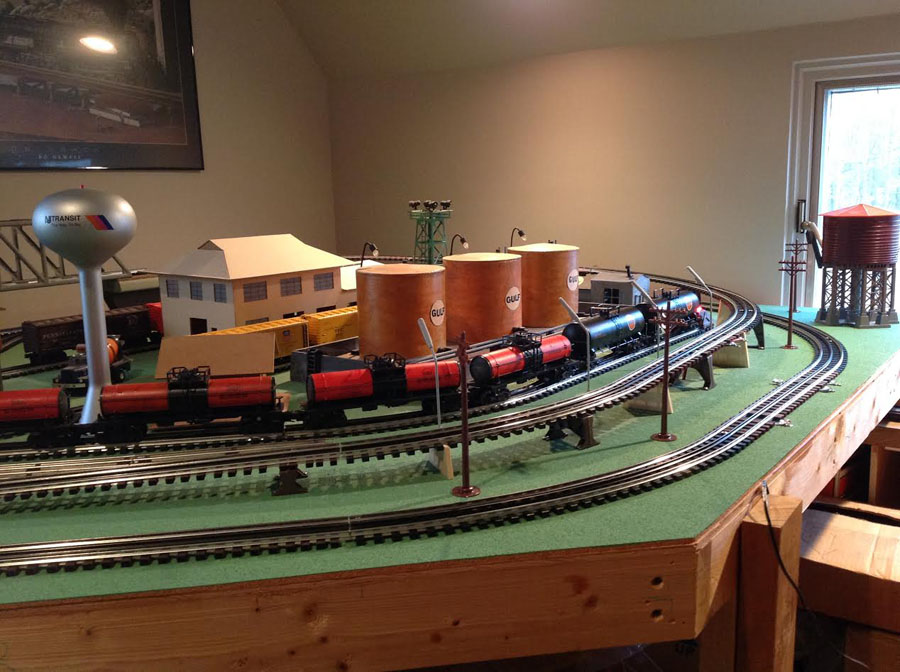
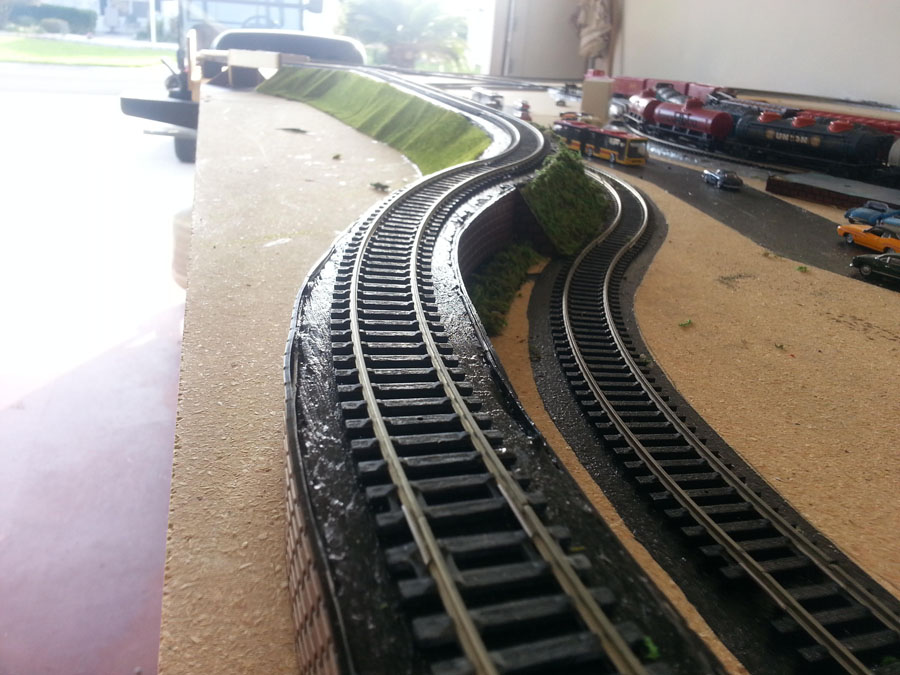
The track bed where it is not Bachmann EZ track is cardboard packaging edged with silicone sealer then painted grey to match the Bachmann .
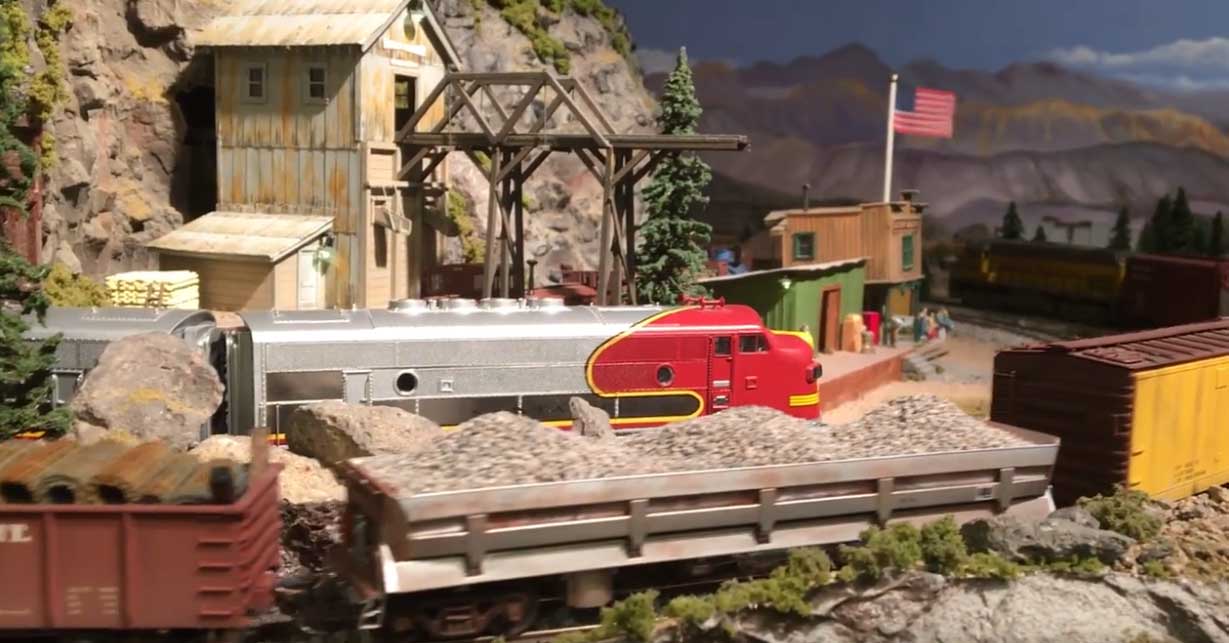
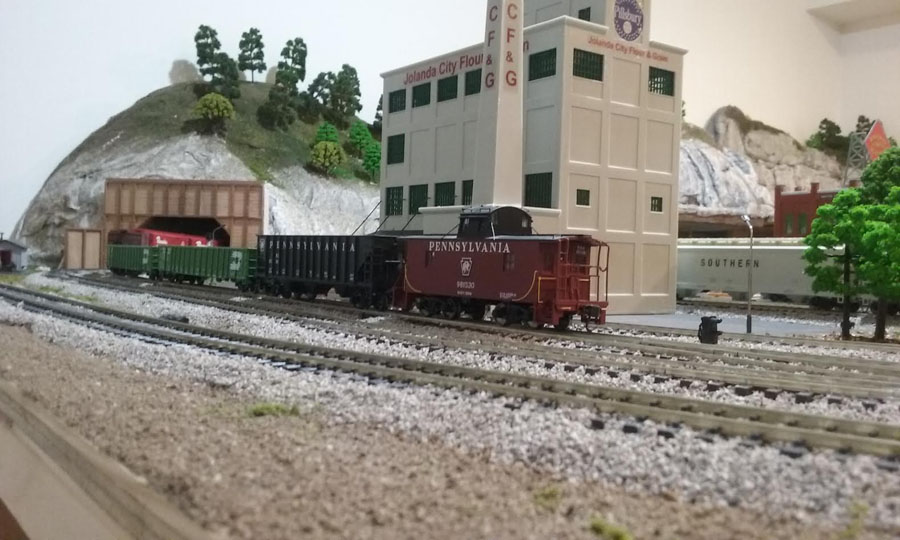
The ballast has evolved! I am now using fine (black/grey) coloured sand from Dollar Tree. At $1.00 for a 1.1lb bag it is really cheap.
It is stuck down with Aileens Tacky Glue from Wal Mart, painted on with a brush, then the sand sprinkled over the glue.
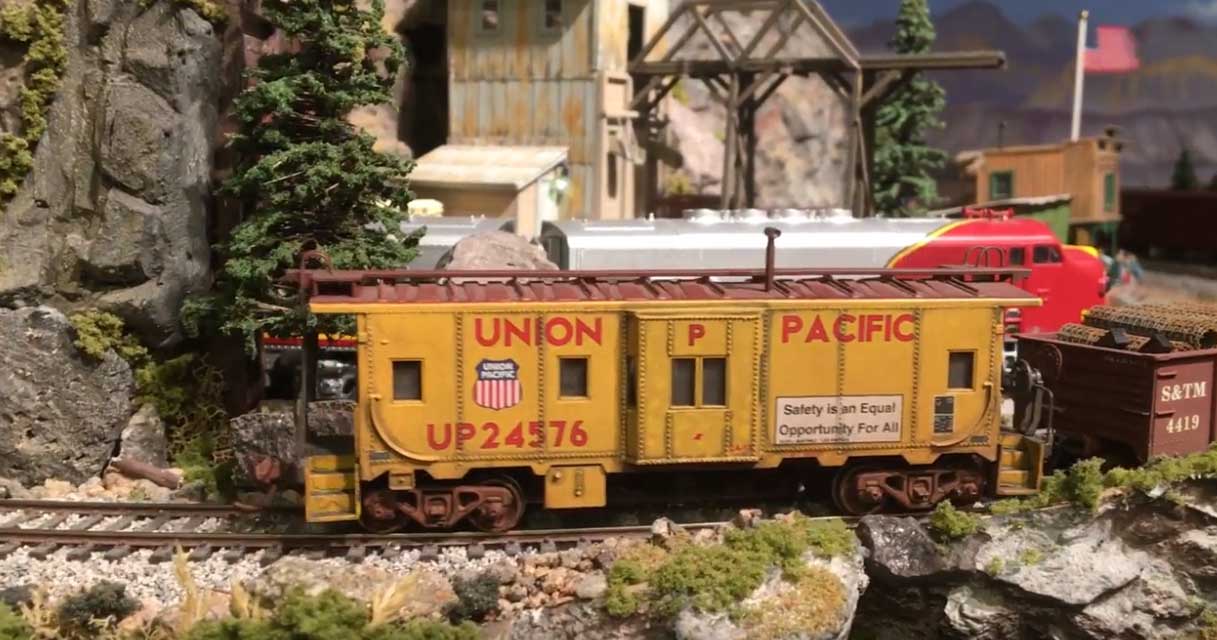
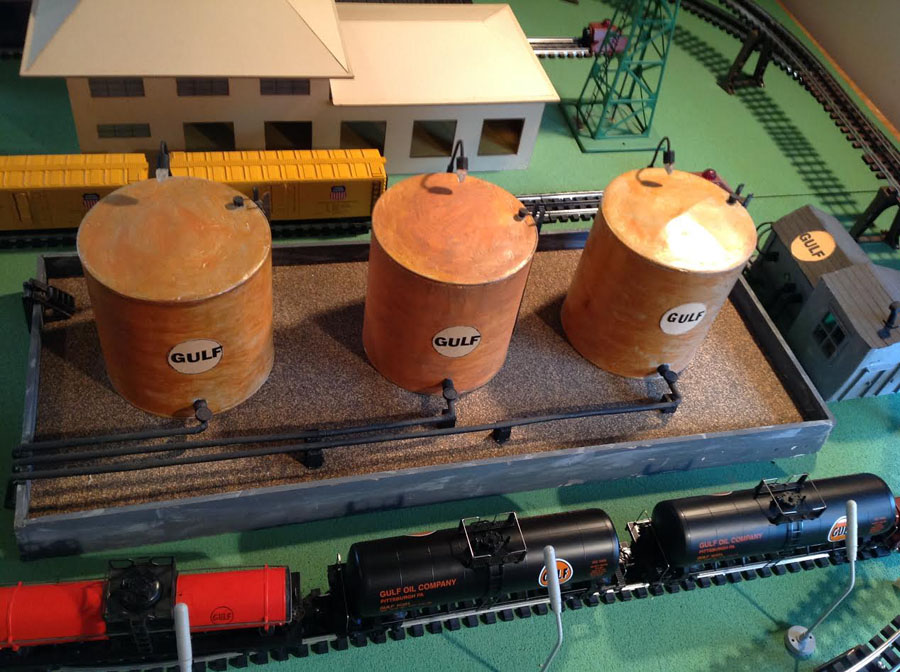
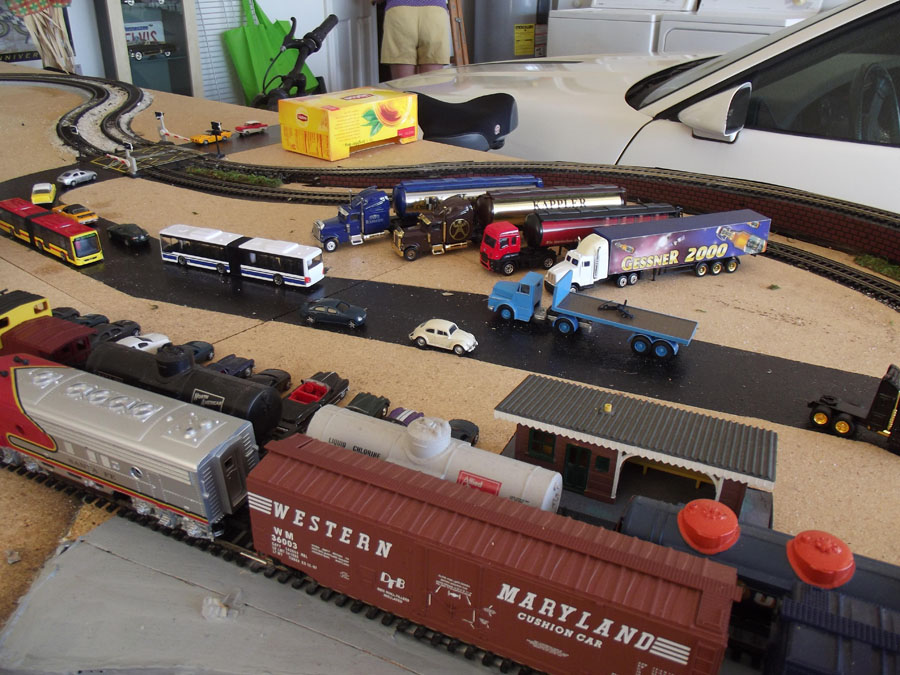
I bought a bag of 50 assorted (almost) HO scale vehicle from e bay which look quite convincing. The bendy buses came from TESCO. Again they are almost HO scale.
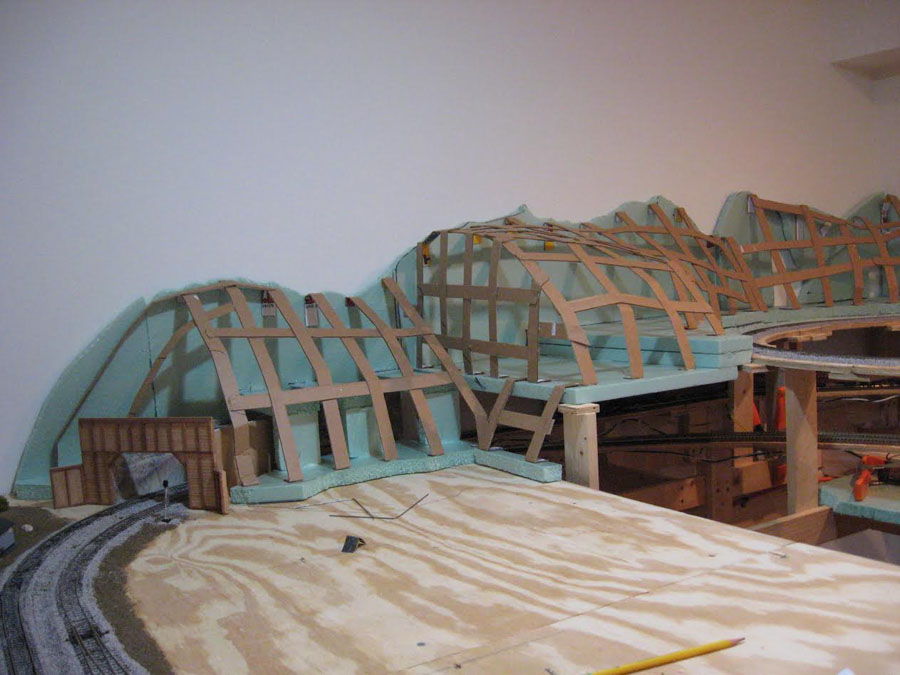
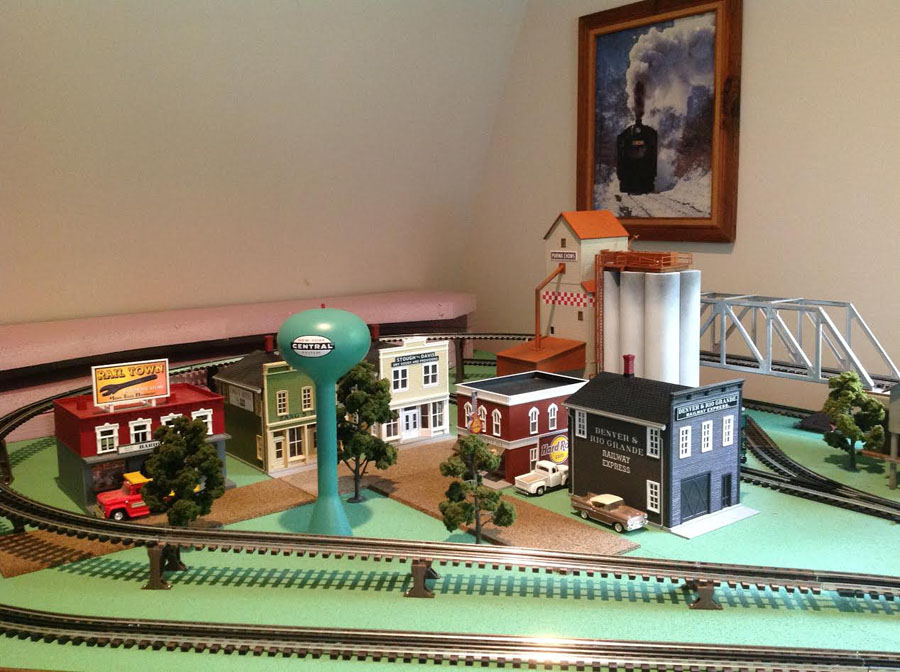
The viaduct is made from old cereal boxes and the backdrop is a photo I found on the internet repeated four times!
The hotel similarly is a photo stuck onto some cardboard. I am leaving the USA on Friday and won’t be back until October so this is where we are at.
Keep up the great work.
Geoff”


A huge thanks to Terry for sharing his HO curved bridge and to Geoff.
Even after all these years, it amazes me what you lot come up with. All clever stuff.
Please do keep ’em coming – and don’t forget the Beginner’s Guide is here if you want to get going on your layout. There’s no time like now…
That’s all this time folks.
Oh, and have a quick look-see at the latest ebay cheat sheet too.
Best
Al
PS More HO scale train layouts here if that’s your thing.