Cary has been in touch again with an update. This time he shows us how he makes his G scale people.
“My name is Cary in Crestwood, Kentucky. I’m 52 years old and started work on my garden railroad about 3 years ago.
It’s been slow going but I may be able to finally start laying track spring 2017. I did a post earlier this year on some of the buildings I was making, if you’d like to see it, it’s here.
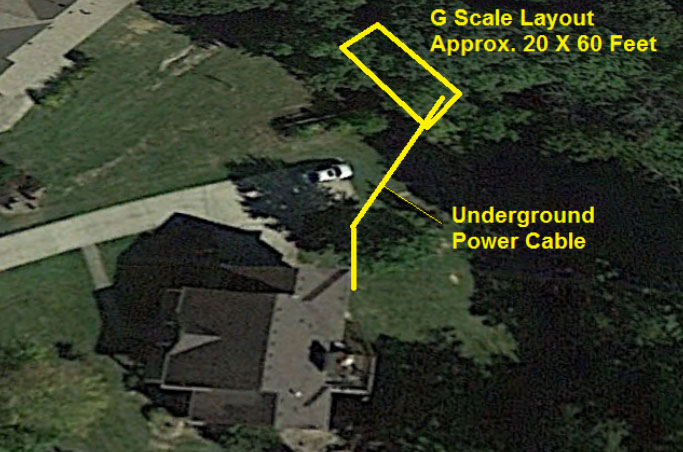
I always like seeing how people lay out their garden railroad in relation to their yard and house. In my case I selected a location in the woods behind my house. It’s heavily shaded which is nice, but I’ll have some cleanup every spring removing leaves and branches. The project has required a lot more digging than I anticipated chopping through roots and digging up rocks. I just finished running power to the site. I rented a trencher and ran about 100 feet of 10 gauge underground cable.
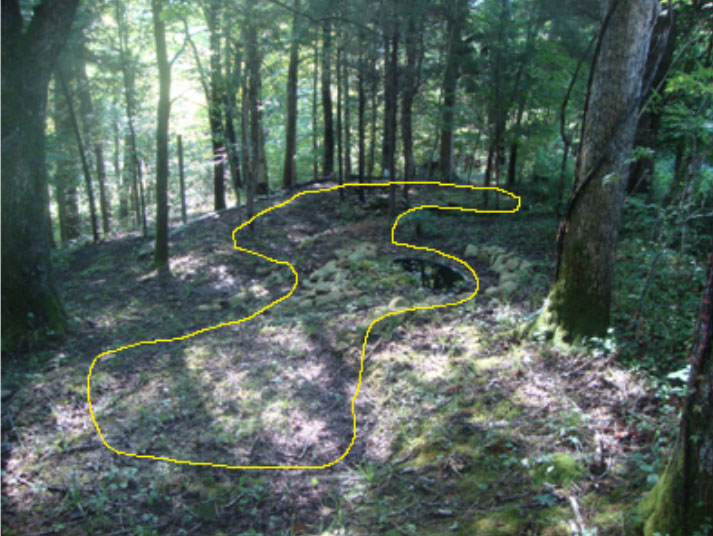
Here’s the layout so you have an idea of size:
The initial layout will consist of one loop and 3 dead end storage tracks. The operator’s station is raised to waist height so I can operate the switches without bending over.
I have just a little more ground work to do then I’ll be building a small deck to have a place to sit, relax, and watch the trains run. Then it’s on to laying track. I’m using LGB track and plan to solder the pieces into 6-8 foot sections. Those large sections will be joined together by a jumper wire soldered across the joint to allow for expansion/contraction. I plan to dig a 4-6 inch deep trench, fill with dense grade gravel, put the track on top and then ballast with more dense grade rock. If anyone has experience in this area, I would love to hear your comments.

Operator’s Station
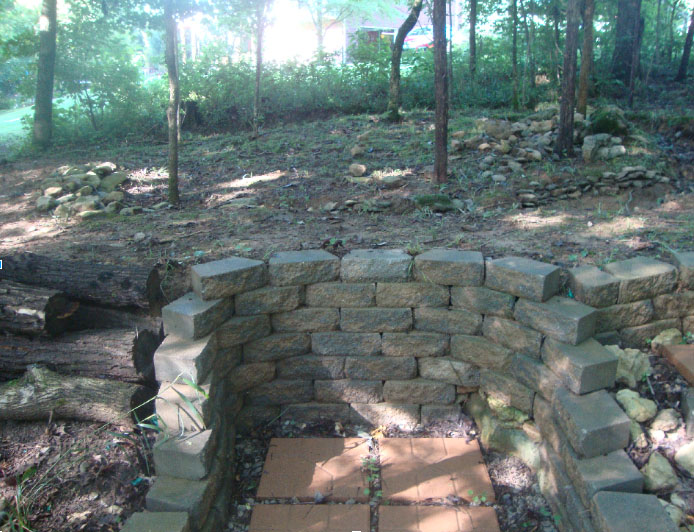
Storage tracks will run parallel with this retaining wall for ease of access.
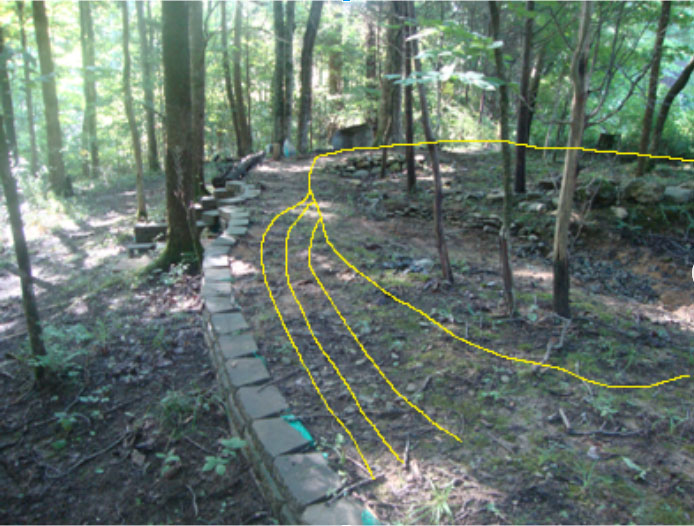
This is a view from the opposite end, the track will climb 2.5% grade to a high point behind the pond and then start the descent as it travels through town #2 and back to the operator’s station.
G scale people:
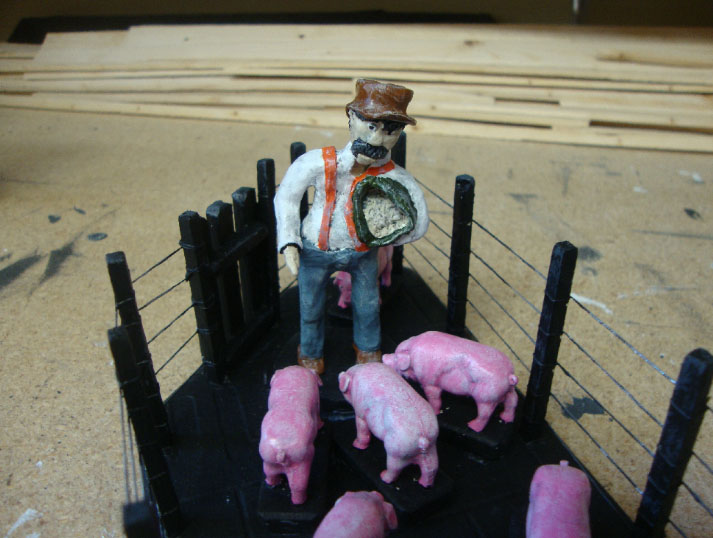
I’ve started using clay to sculpt figures. It takes some time and patience, but I’ve been quite pleased with the results. The Pig Farmer was my first attempt, could not believe how well he turned out. (I purchased the pigs)
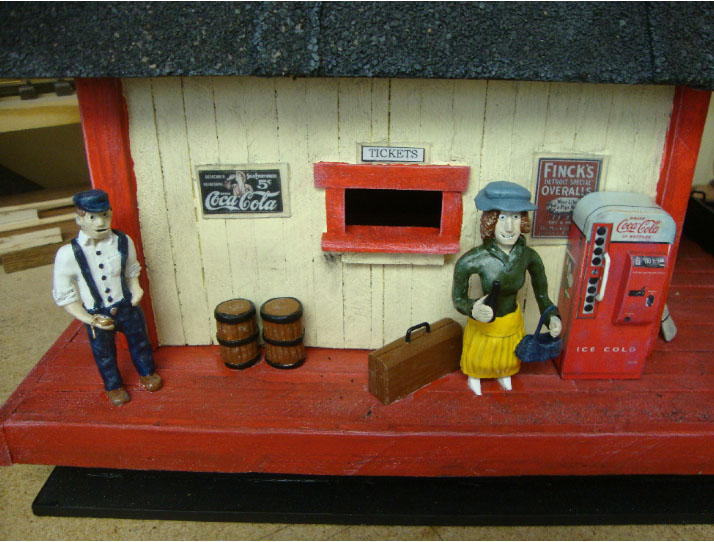
The Station Attendant and Lady Passenger drinking a coke. The coke machine came from a template I found at paperdiorama.com. The paper template is glued to a block of wood and then I applied several coats of clear polyurethane. The small barrels are also clay.
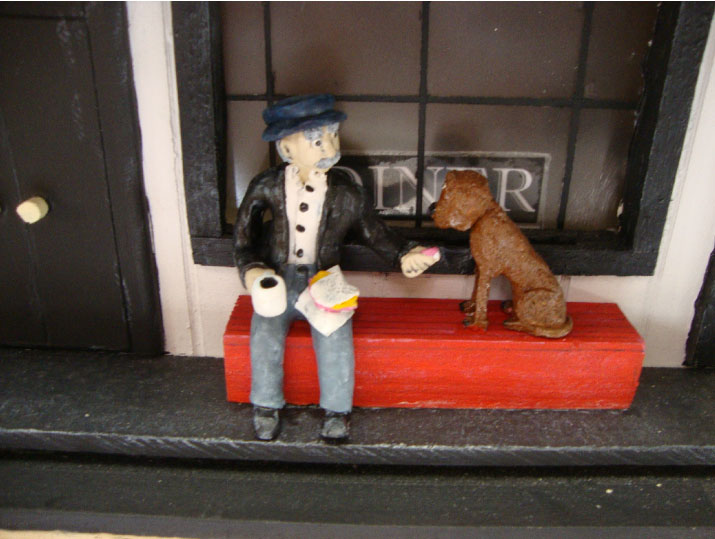
The Old Man and his Dog
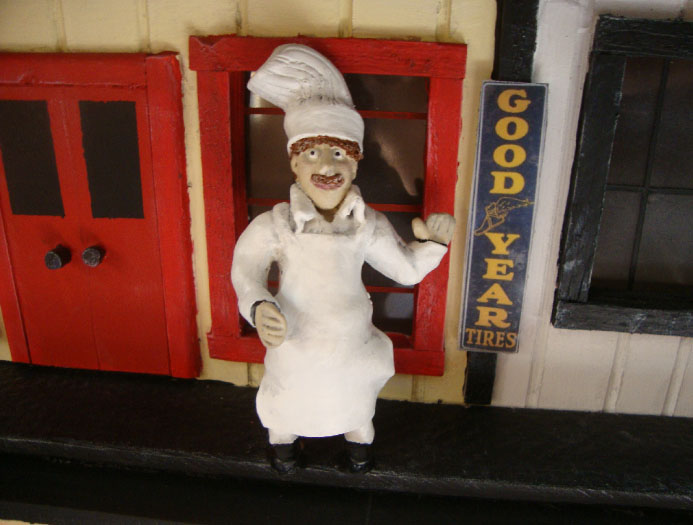
The Baker
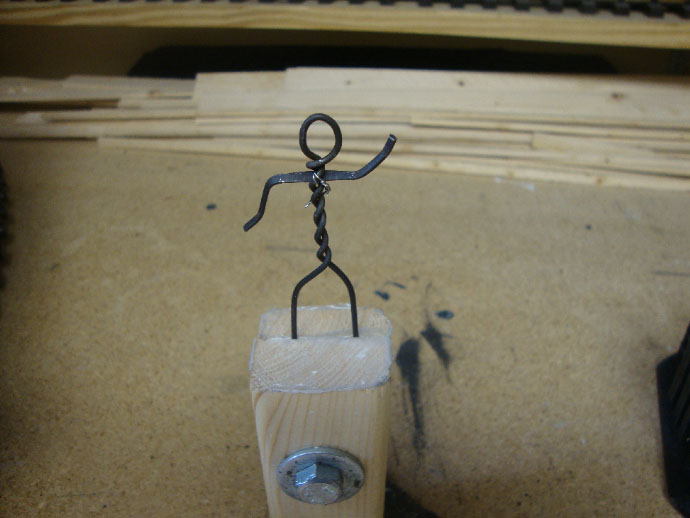
You start with a wire skeleton clamped between two pieces of wood. I’ve attached a piece a wax paper to the top of the wood clamp so the feet don’t stick to the wood.
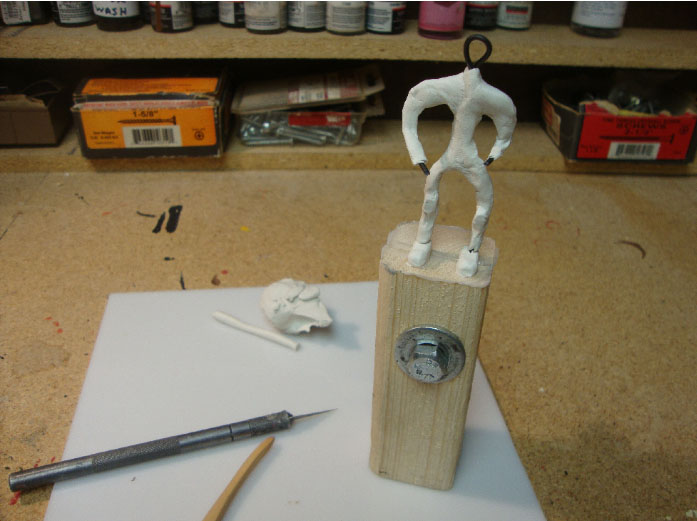
From there I build up the body features with clay. After that I roll out thin sheets of clay for clothing, add hats, beards etc…
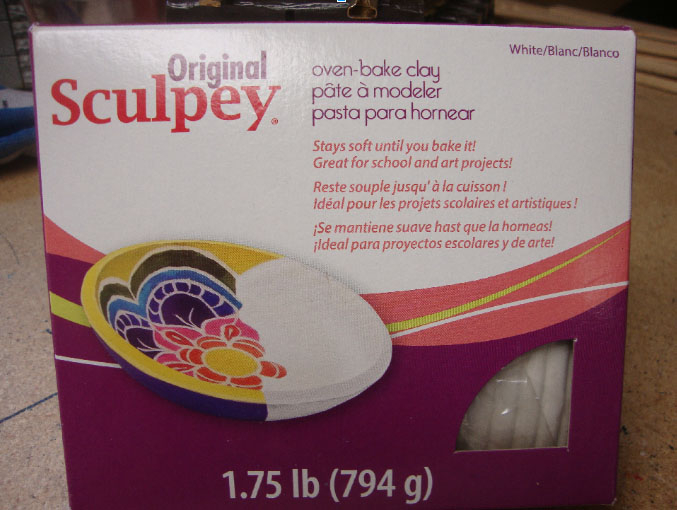
I’m using Sculpey clay. You can leave it out as long as you like. It gets little hard but then just work it a bit and it softens up again. Once your done sculpting put it in the oven at 275F and 15 minutes for every 1/4 inch of thickness. Once it’s fully cured you can sand and paint although I’ve found it doesn’t need sanding. I picked up 1.75 pounds of clay and a kit of sculpting tools for about $20 at the local hobby store. I like the idea that I can now make the specialty pieces I want inexpensively instead of trying to find them and buy them.
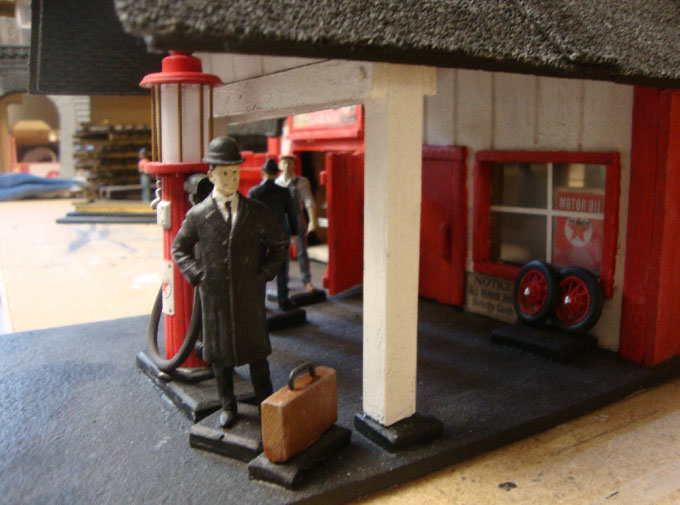
Here’s another project I recently completed, Pug’s Texaco and Garage. The base is concrete backer board, the vehicle is a 1/24 scale woody plastic model I thought too fragile to sit outdoors unprotected, but in the garage it works. The walls are birch plywood, the roof is also concrete board with real shingle material.
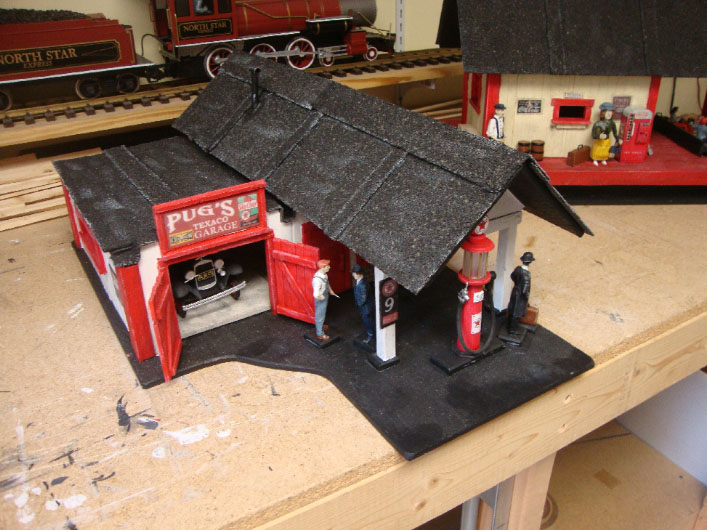
These are not clay figures. It was a kit of G scale people called Henry Ford and Company 1/24 scale. Kit #24003 made by the ICM company. The figures are highly detailed and were a joy to paint.
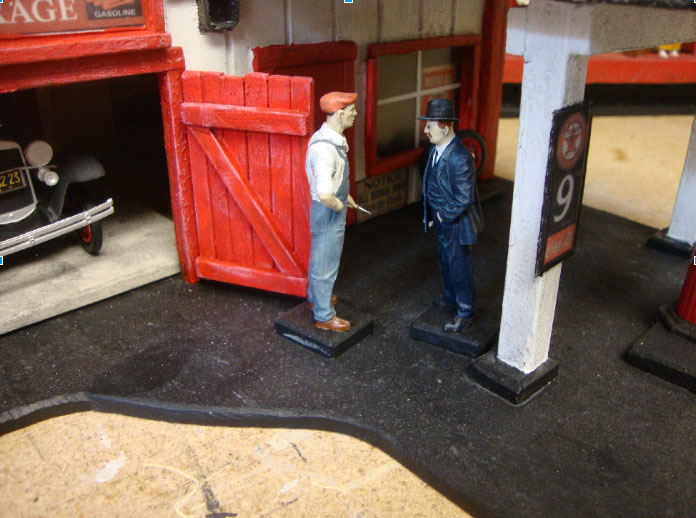
You’ll notice that the figures and accessories are raised. That’s so when I cover the base with dirt, they won’t look like they are buried up to their ankles.
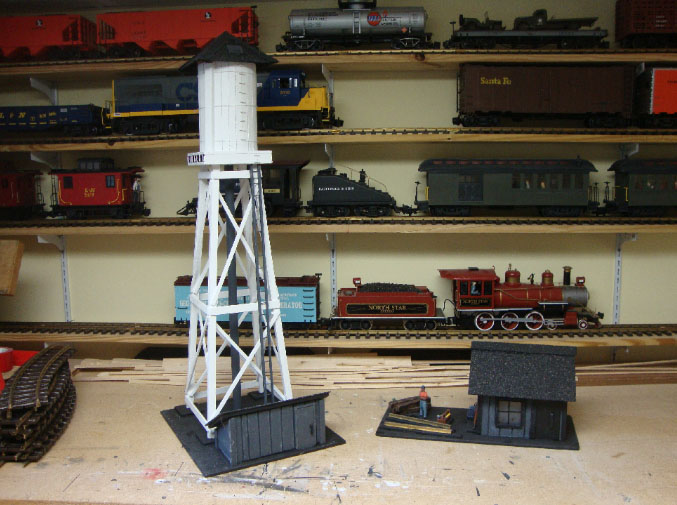
Here’s a few other projects, the town water tower and a track maintenance shed.
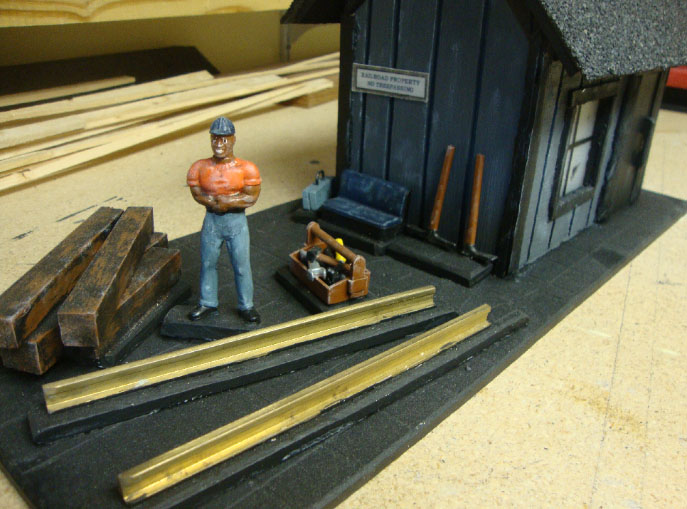
This figure was a toy as are the tools. Again everything is raised so when I cover the base with dirt, hopefully the items appear to be resting on top of the dirt.
Thanks to Alastair for sending the posts, it’s great to see what everyone is doing. Again, if anyone has experience laying G scale track outdoors, I’d be very interested in what you’ve learned.
Thanks, Cary”
As you all know, I do love seeing how a layout comes to life over the months, and Cary hasn’t disappointed. I can’t wait to see the next one. I think his G scale people from clay are wonderful.
A huge thanks to Cary for sharing his G scale people.
That’s all for today folks.
Please do keep ’em coming.
And if today is the day you get started on your layout, the Beginner’s Guide is here.
Best
Al
PS Latest ebay cheat sheet is here.
PPS More HO scale train layouts here if that’s your thing.