Another layout ‘how to’ from Dave

“Hi Al , Just posted this HOW TO video, showing how to add lighting to buildings with cheap strip LED lights , also a few new Neon signs added , and Tonys Night Club in Full swing at 15.45 min. ..its a bit of a longer video but a few tips in there .

Regards

Dave”


“Hi Al,

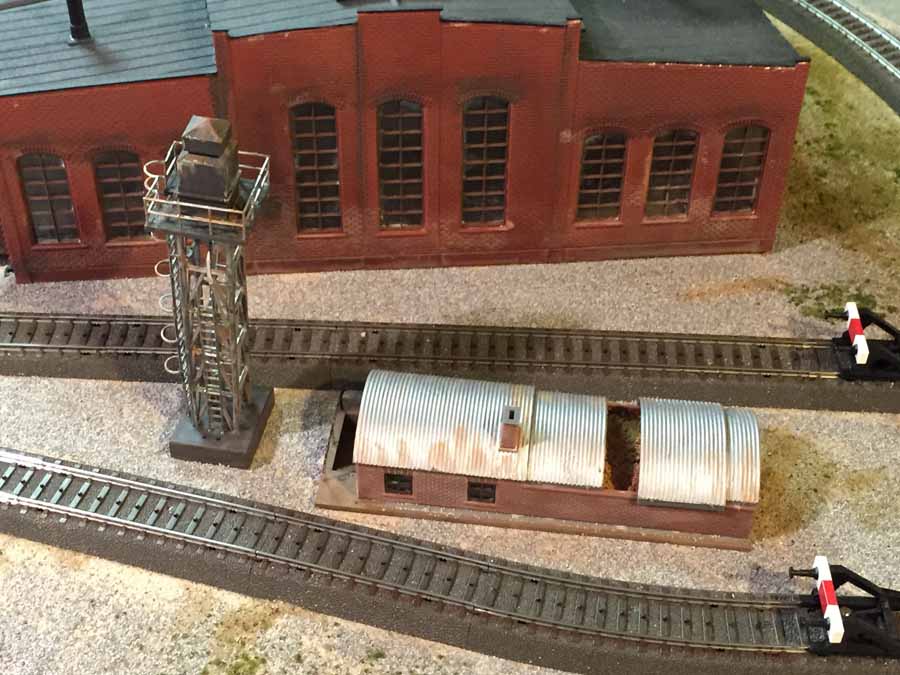
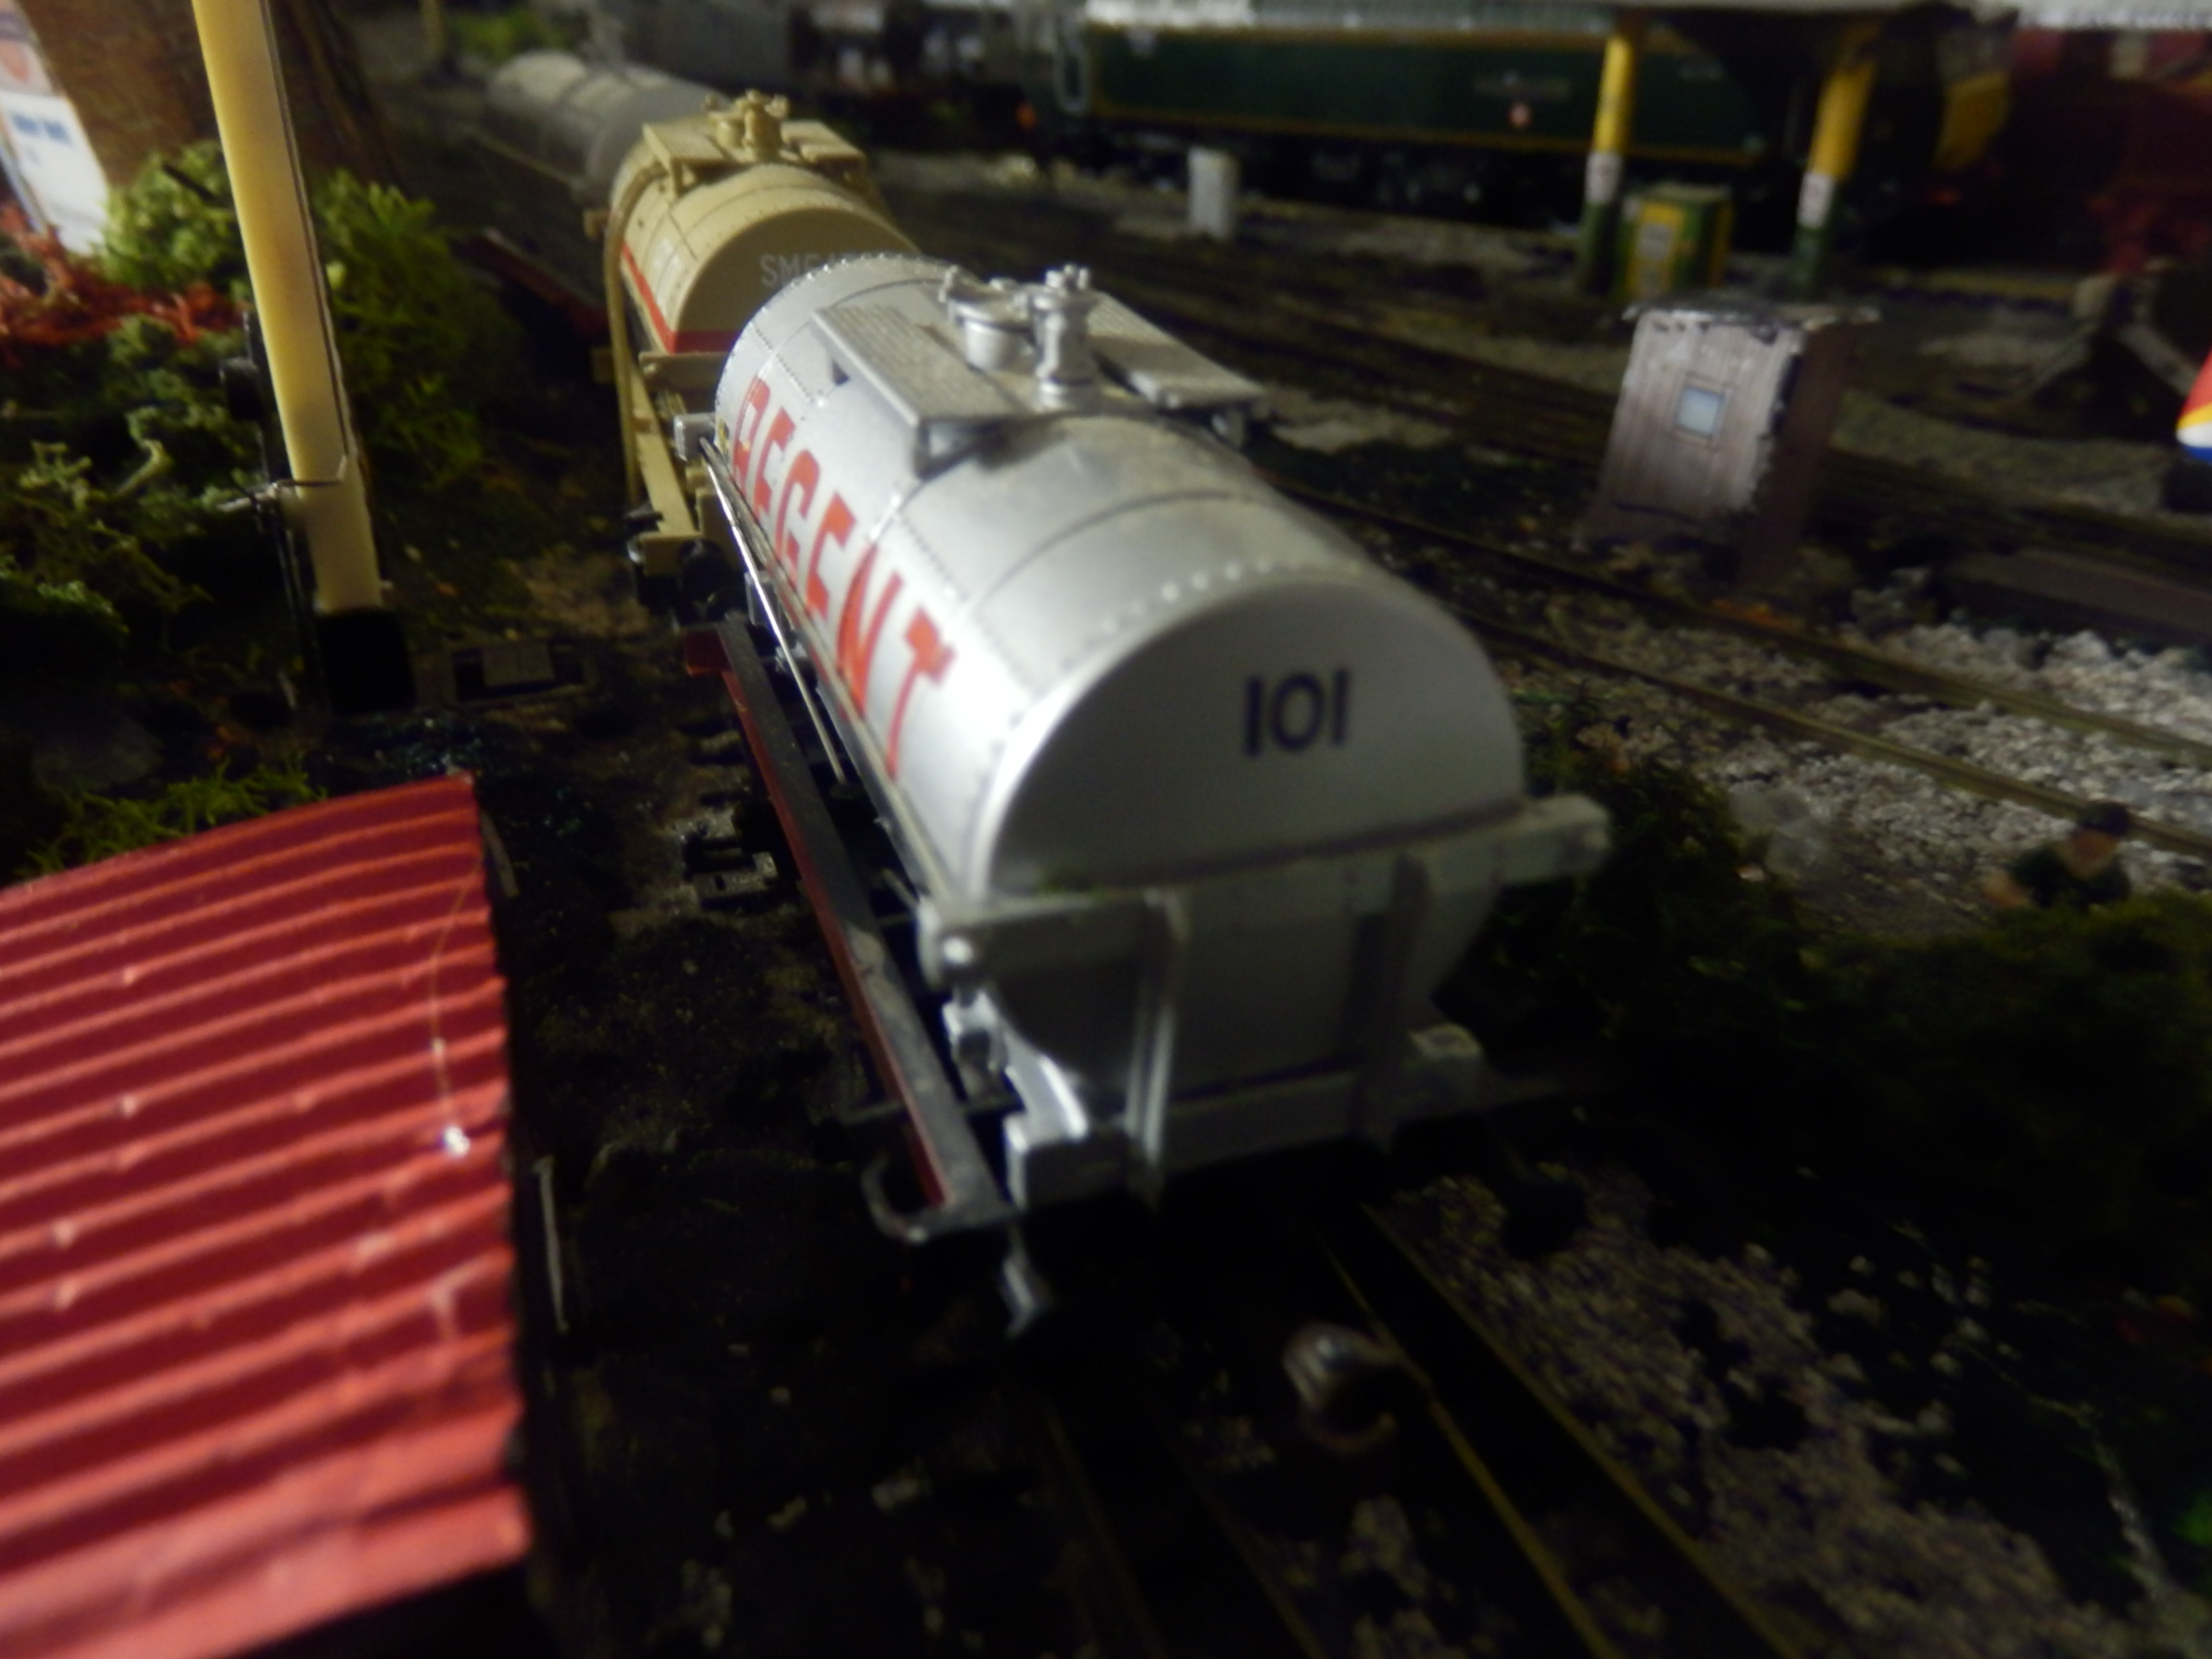
Here is a photo of a Bachmann 14 ton tank wagon plus a platelyers hut, which I assembled from a kit.

The kit just had a printed corrugated iron roof, so I brought some corrugated cardboard from a craft discount store, and made a new roof for it.

Paul”

model train


Thanks to Dave and Paul. I have no idea where Dave finds all the time for his layout – but I’m thankful he does.

In my last missive I showed you the most viewed layout of this year. It was no surprise. But the second most viewed post is.

It might strike you as a novelty layout, but no, have a closer look. It’s superb. It’s here.

That’s all this time folks – unless you want to grab the Beginners Guide and get going.

Please do keep ’em coming. Submissions have gone awfully quiet (just hit reply to any of my mails) – but I guess it’s because it’s that time of year again.

At least the ebay cheat sheet prospers when it’s like this. Have a look and you’ll see what I mean.

Best

Al

How to build model train scenery

Mark’s been in touch with a very useful tip on how to build model train scenery.

“Hi Al.

Here is my ‘Tip for the Day’. Trying to complete a lot of scenery on your layout all at once can become very tedious and sometimes frustrating.

I’ve found that taking a small area, planning it out and then completing it before moving on to the next project is more rewarding.

This method allows you to try different techniques using various materials. If you complete a scene, and are not truly happy with it, you haven’t wasted a lot time and material.

You can continue to ‘tweak’ it until you are completely satisfied and then move on to the next project.

Every time I complete a project, I like to add a small “signature” of some sort – much like putting a cherry on top of the ice cream!

Sometimes it’s just a small sign that I remember from my younger days, or naming something after a friend or, in this case, I placed “myself” in the scene enjoying two of my favorite things – railroads and fishing!

Anyway, whatever you do on your layout should be fun and bring you great satisfaction at completion.

Attached is a ‘before’ picture and two photos of the completed scene along with a short video.

Keep your rails shiny!

Mark”

model railroad before scenery

How to build model train scenery

How to build model train scenery


Next, on to John:

“Hi Al,

I had been using Sea Foam to make trees for my layout and have been very pleased with the results, but have been looking for a cheaper option.

Yesterday whilst sitting in my garden I noticed our Smoke Bush ( Cotinus Coggyria) had what looks like a viable alternative.

The ‘flowers’ have some tiny seeds which need to be snipped off, but my first attempt, using hairspray and scatter, shows promise.

Maybe needs a trim, some more scatter and placed in a group.

Obviously I don’t know yet if they’ll stand the test of time, but at the moment they seem pretty robust.

Best regards

John”

model railroad tree

model railroad tree scenery

Wise words from Mark – A big thanks to him for sharing his ‘how to build model train scenery’ tip.

It’s a tip that is echoed by others in the Beginners Guide too.

There are also more scenery tips here too:

Model train scenery.

That’s all this time folks.

Please do keep ’em coming.

Best

Al


Model train yard – Glyn’s update

Glyn’s been back in touch with an update on his model train yard:

“Hello Al

A few days ago I was able to get back to modeling and built a new steam loco service shed which was the final kit I needed to complete the structures integral to my steam and diesel service area.

The first image is the un-assembled layout showing the 3 limbs of the basic E structure with the marshaling yard as the center limb.

The 2nd image shows it all bolted together minus any structures or scenic components.

The 3rd image is a close up of the track layout for the yard with some connecting roadway ramp added.

I then glued down some foam construction board painted grey, as a foundation concrete slab for several of the warehouse buildings abutting sidings. With these in place I built a coaling station, sanding tower, water tower, signal tower, diesel fuel facility and a steam loco repair shed.

I juggled them around a little to achieve the effect I wanted and make the yard as functional as possible prototypically then set them in position and applied my ground cover of gravel and light sand to hide the base board.I spray painted a road along the left hand side of the yard and centre striped it for traffic flow.

I haven’t applied pools of standing water, grass or any lights and figures yet but at least the basic form of this section of the layout is now set and glued down. Next will be insertion of the yard illumination with Brawa light towers and then some detail landscaping before figures are added.

It’s all been great fun which is what it should be. I hope to provide a video of the construction to date in the not too distant future.

Thanks again

Glyn”

model train yard Coaling station

Construction foam board concrete pad

model train yard Diesel fuel facility

Final assembly model railroad crane

model train yard final set-up


Model train yard:

model train yard Marshaling yard 2

sanding tower

HO scale Unassembled model rairoad modules

HO scale Water tower


Huge thanks to Glyn for sharing his model train yard update. Stunning work and stunning pics. And as you know, I do love the progress pics.

That’s all for today folks.

Please do keep ’em coming.

And if today is the day you get started on your layout, the Beginner’s Guide is here.

Best

Al

PS More HO scale train layouts here if that’s your thing.


Need buildings for your layout? Have a look at the Silly Discount bundle.