HO train trestles

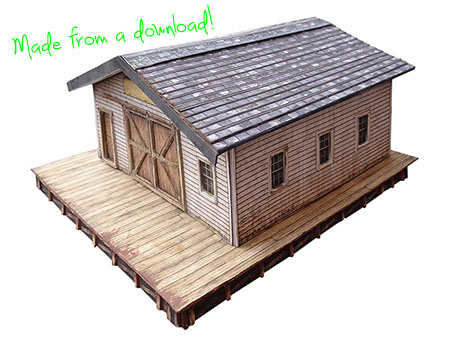
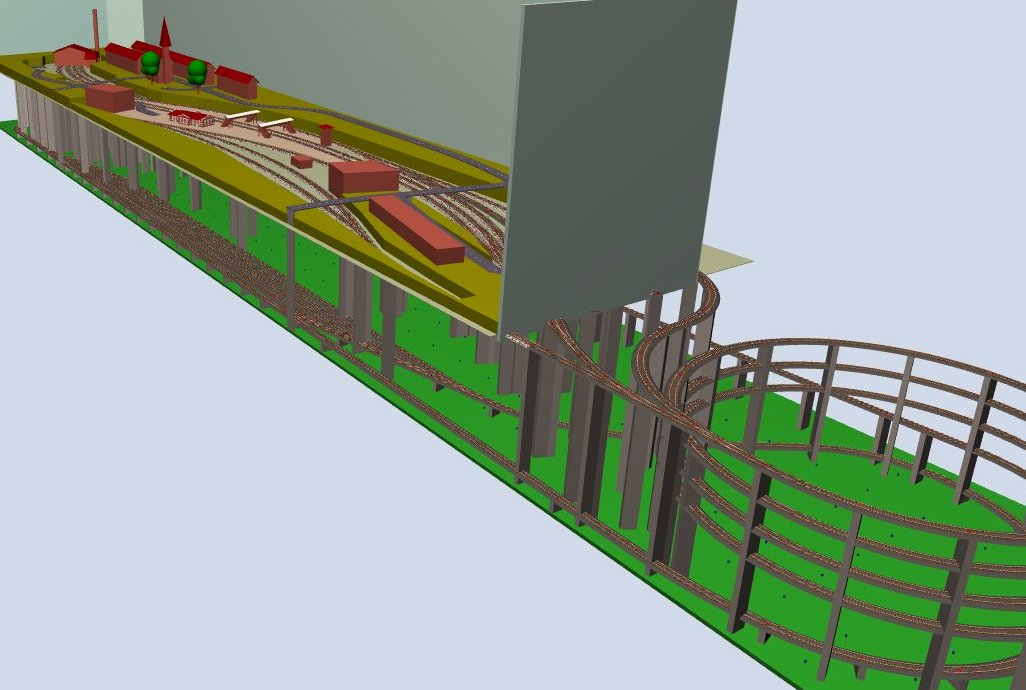
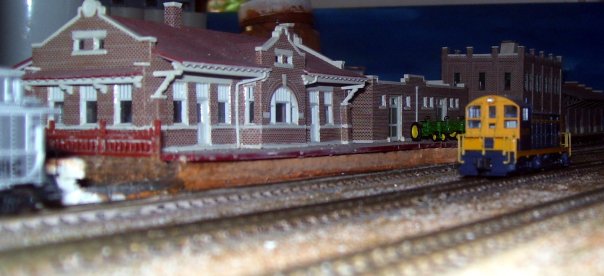
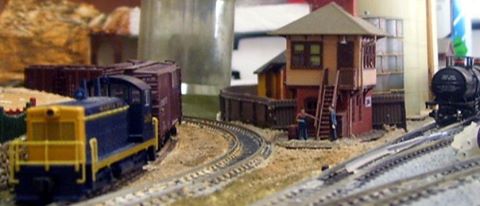
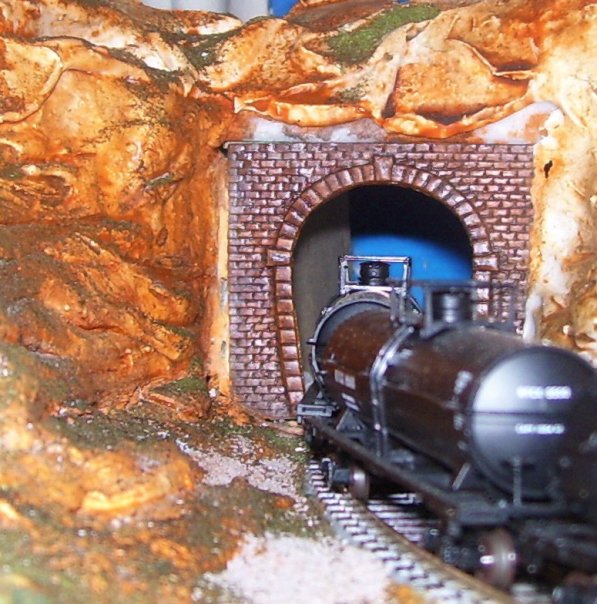
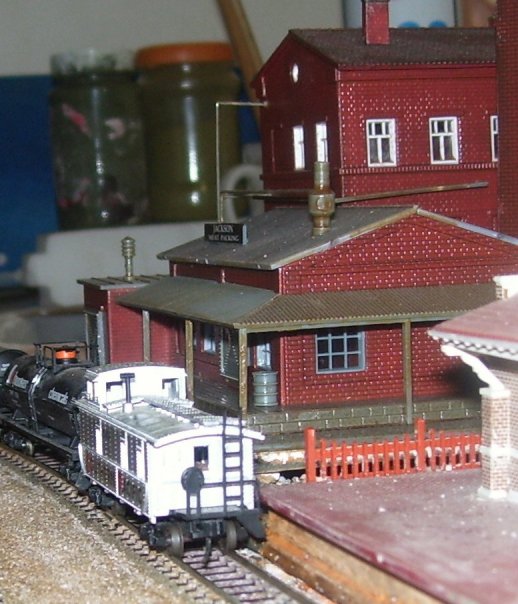
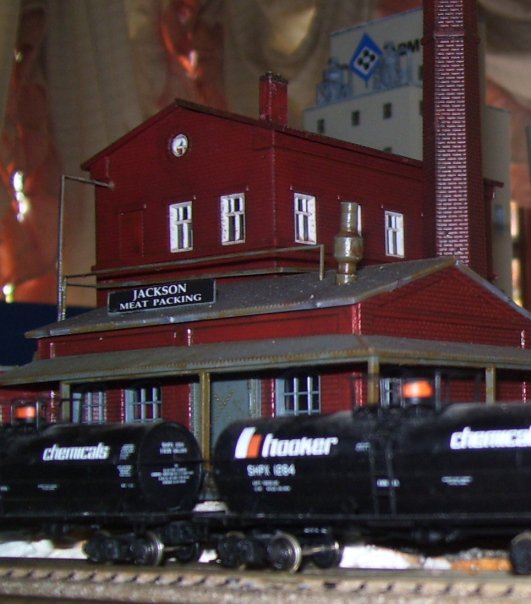
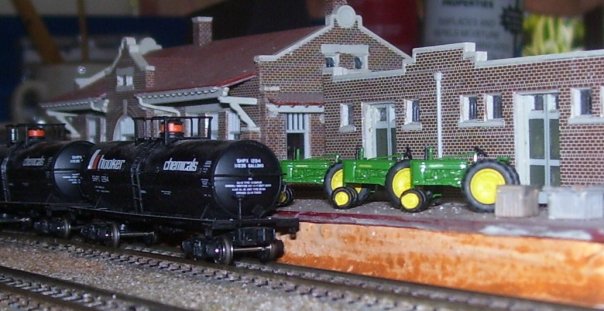
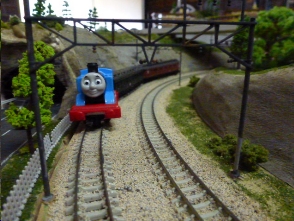
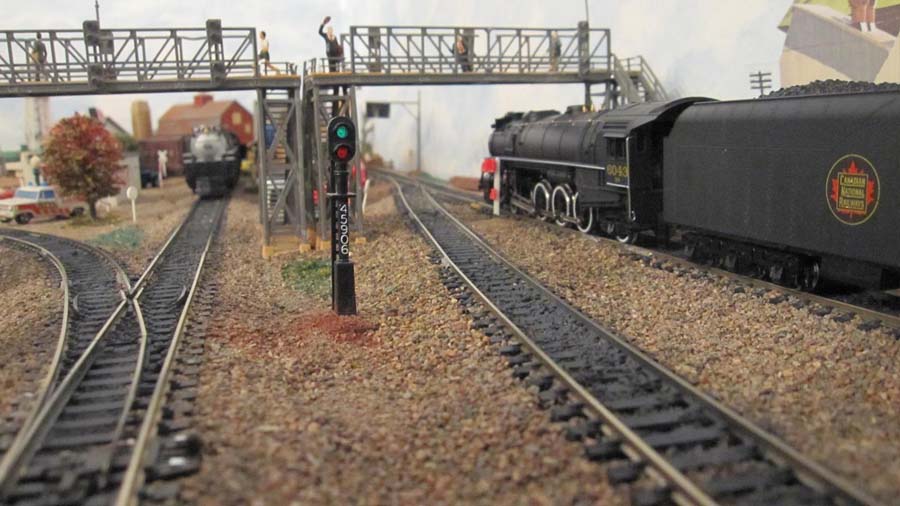
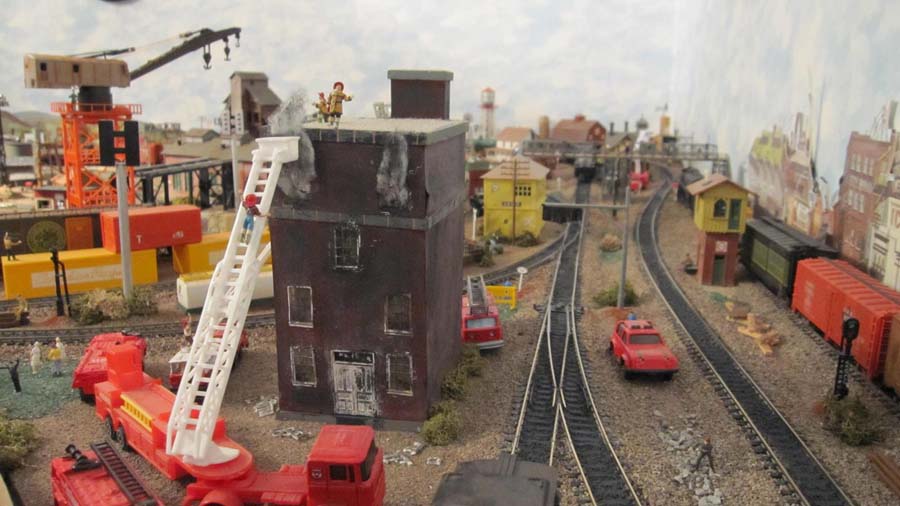
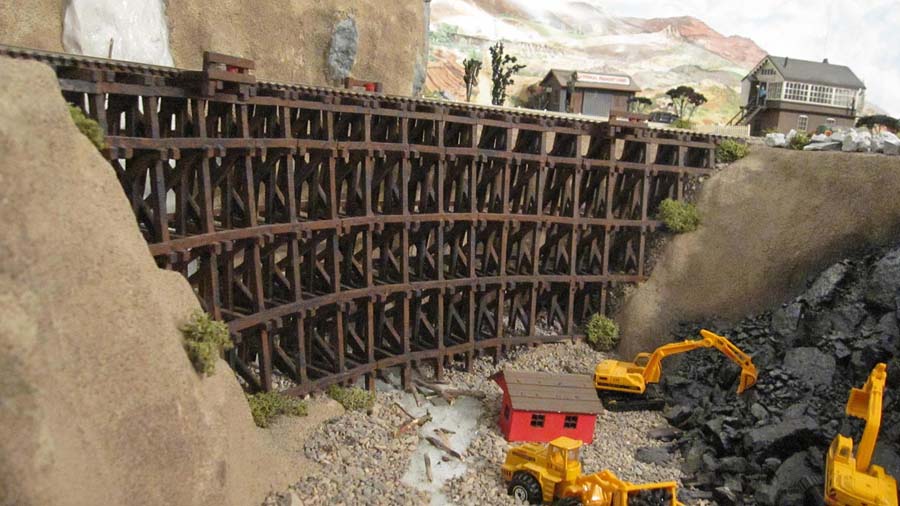
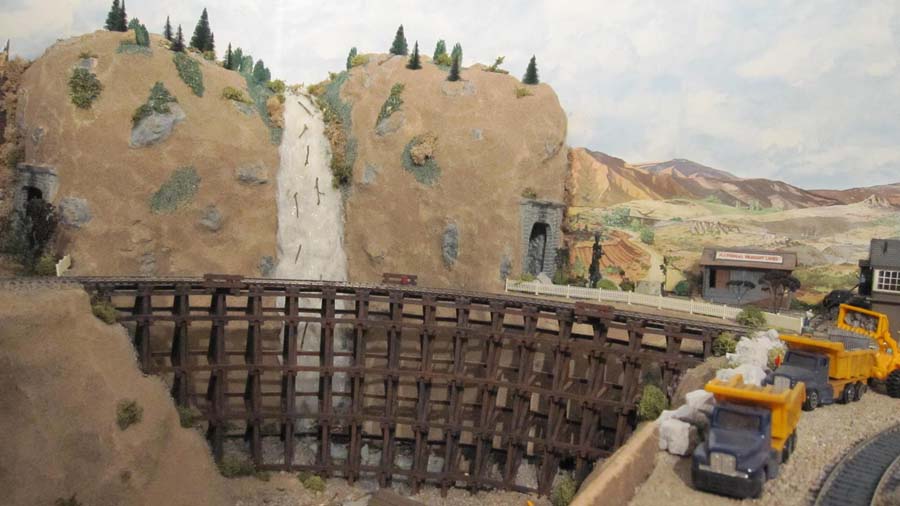
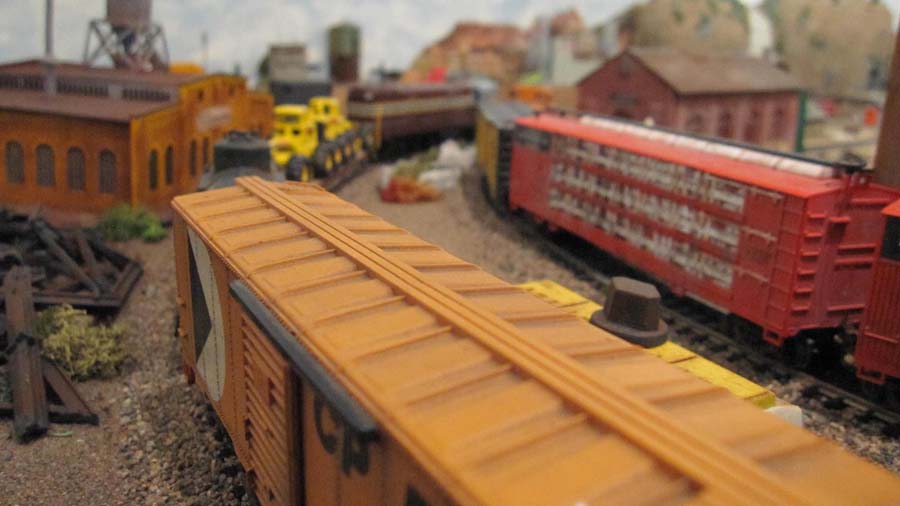
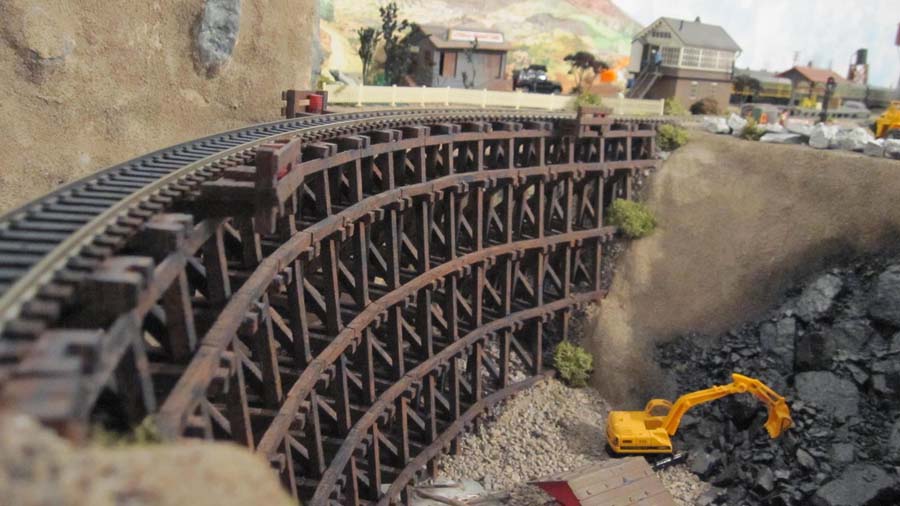
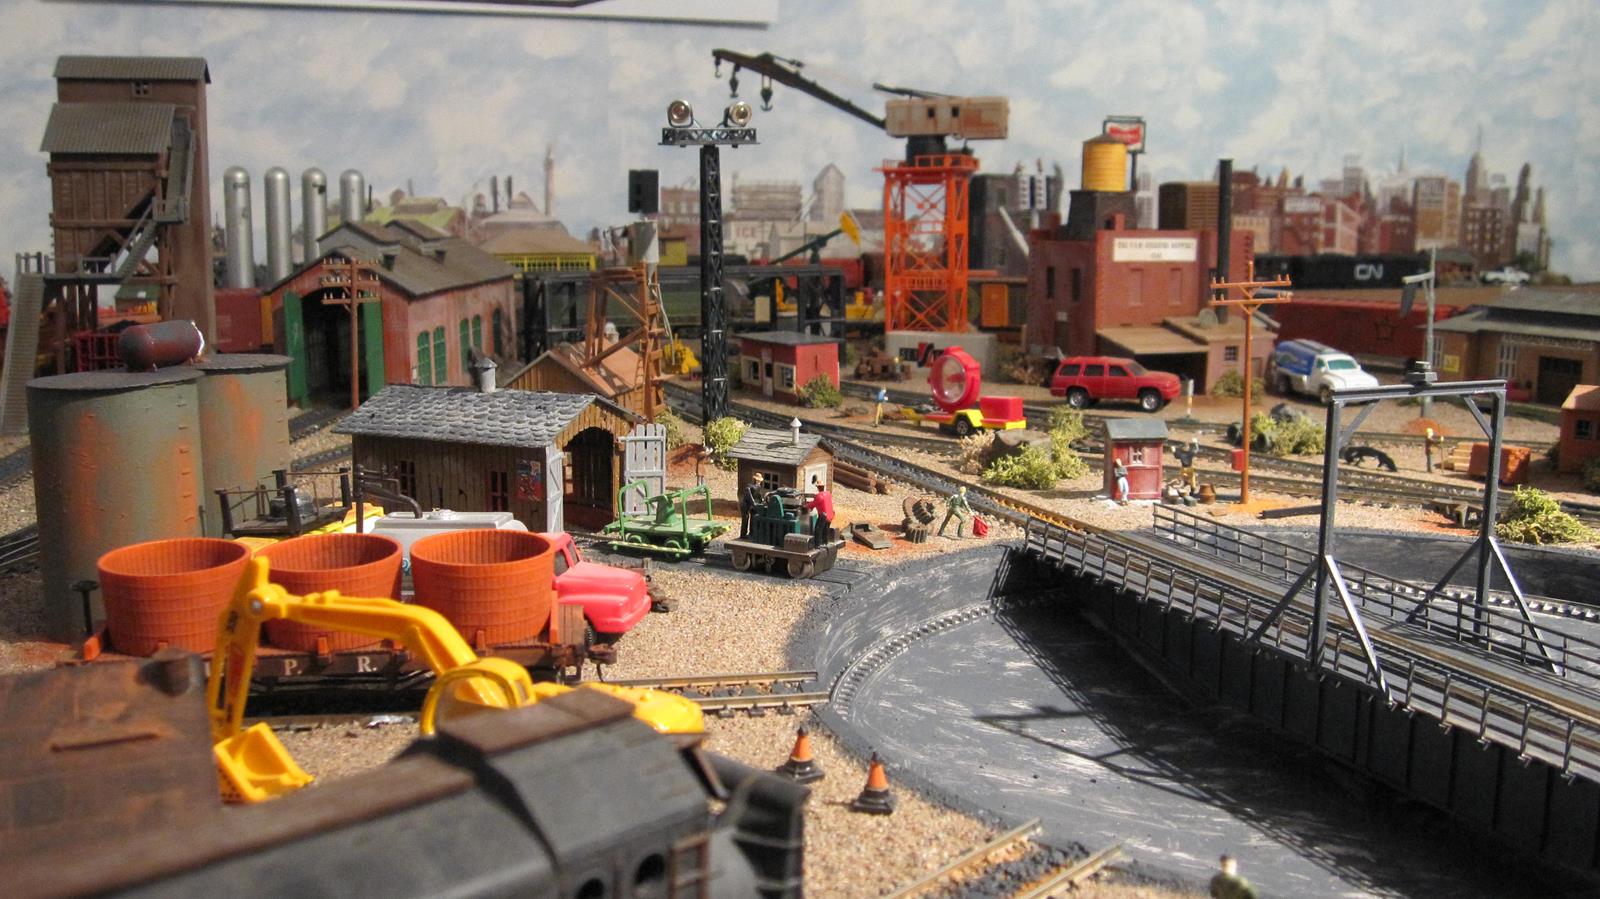
Jim’s been in touch with his scratch built HO train trestles – the curve really adds to the look of the layout:

“Hi Al.

I really enjoy & look forward to your daily e-mails. Very informative & lots of helpful tips. I’m 68 & live in Cape Breton, Nova Scotia, Canada.

I’ve been modeling in HO scale off & on now for about 30 years and have been a railway enthusiast ever since my dad, or should I say Santa, gave me a wind-up train when I was only 3. The memory of it running with a smoking cigarette butt sticking out of it’s stack is still vivid.

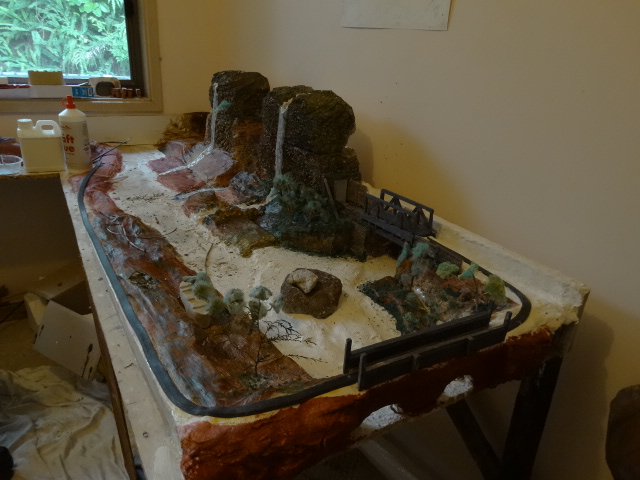
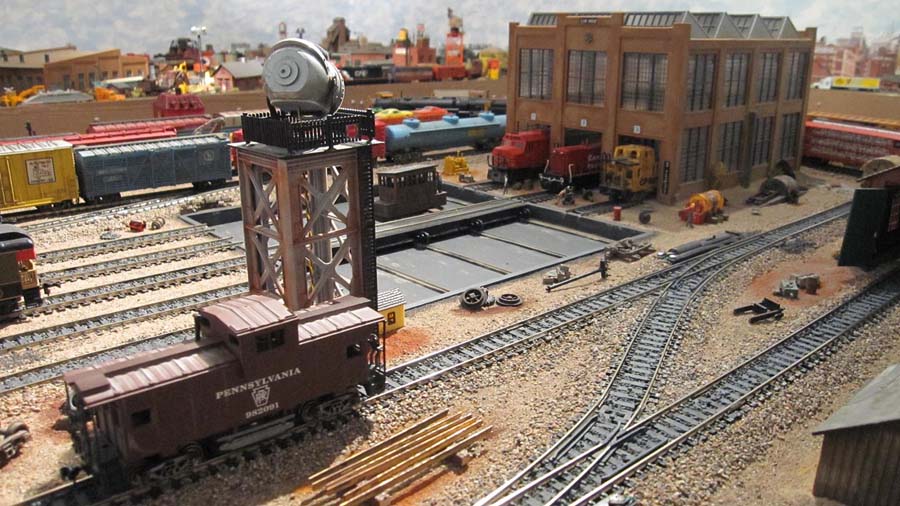
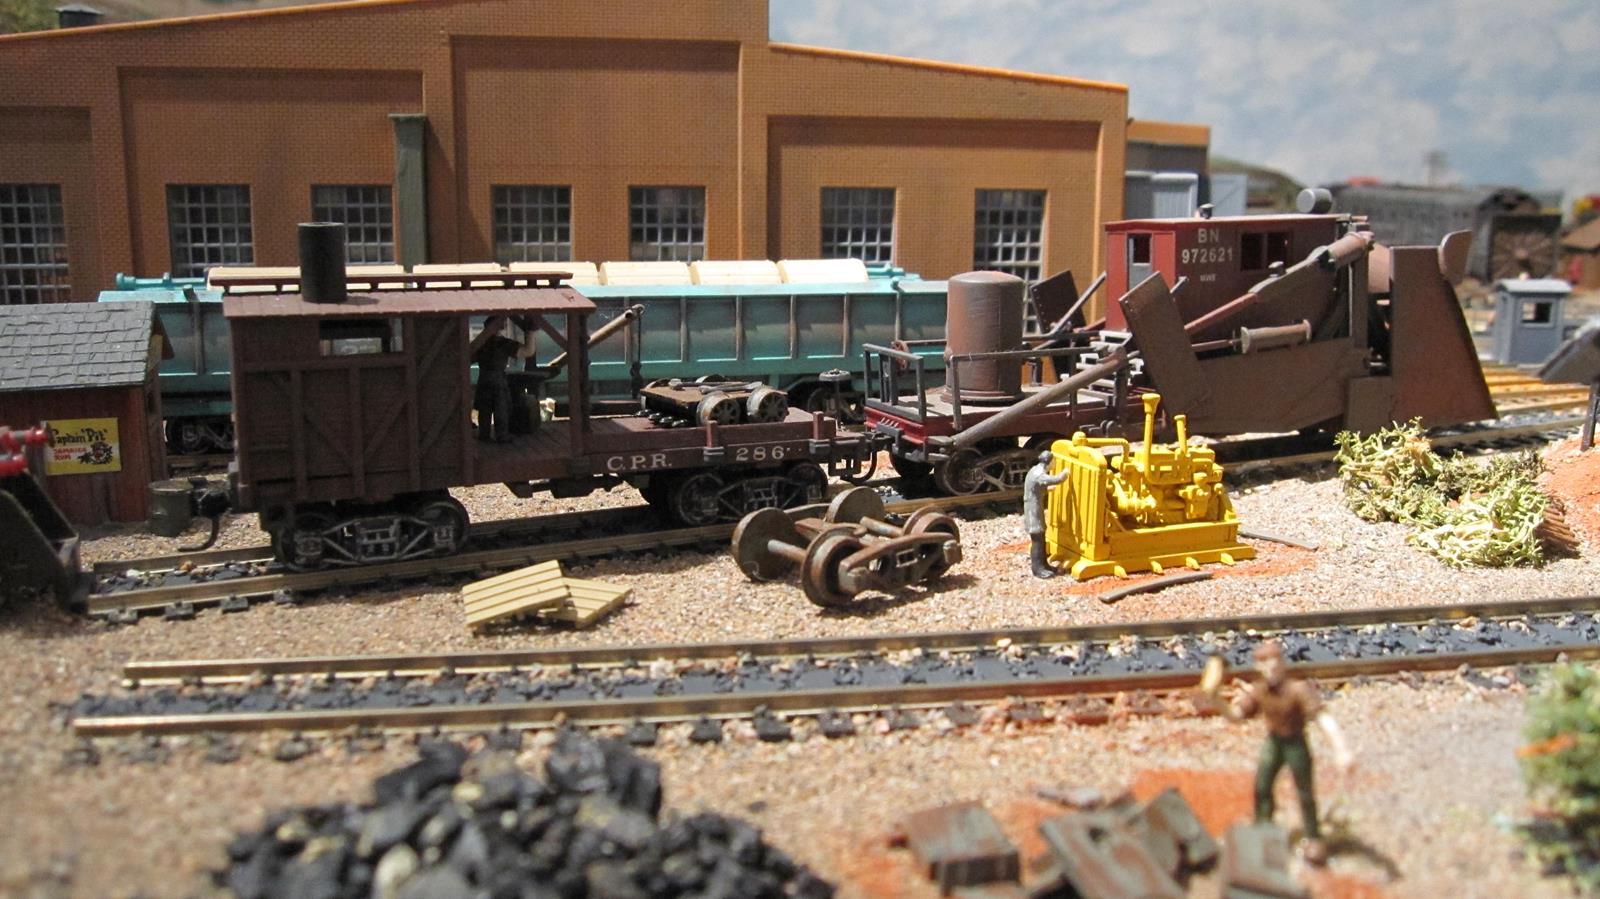
My layout is HO in a 12’x14′ room.

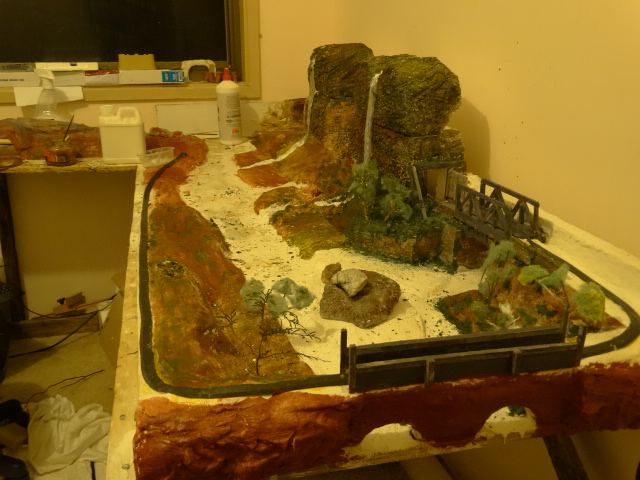
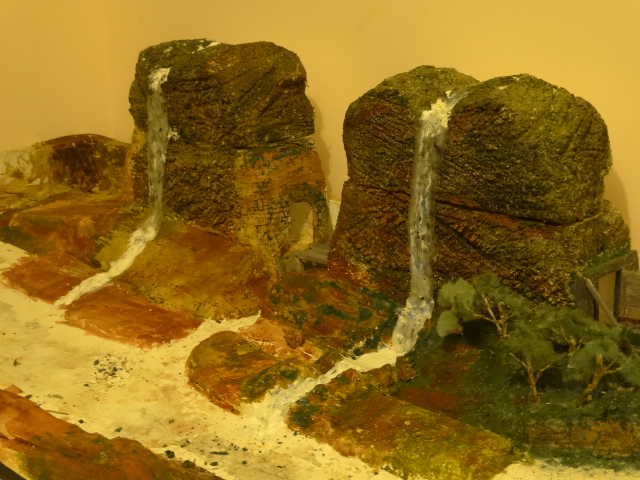
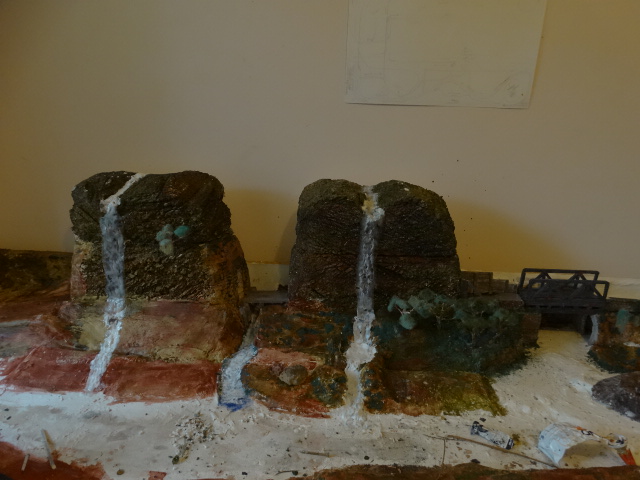
I scratch-built the curved trestle upside down on my work table with 3/16″ x 3/16″ strips of pine sawed with a bandsaw.

It took approx. 500 pieces of various lengths to assemble & with a 36″ section of flex-track, it was placed on the layout & the mountain & gulch was then fitted around the HO train trestles.

Keep up the great e-mails.

Jim”

HO scale steam engine

HO scale industial scene fire

HO scale hoffa cement

HO train trestles

HO train trestles

model railroad freight

ho train trestles

model railroad freight

ho train trestle roundhouse view


087

“Good morning Al,

I just got back from a nice vacation visiting my daughter and inlaws in Holland. I had lived there for a while after college and my wife is Dutch. We go there often and I am always so impressed with their Rail system. So organized, so clean, and so easy to get anywhere in the country. So of course I had to visit as many hobby shops as possible and add a couple Dutch locos to my collection. I purchased a beautiful NS “hondakop” and a NS Grey-Yellow loco and a bunch of NS passenger wagons.

I also visited the Dutch Railway Museum in Utrecht which was awesome. A must take for anyone who visits the Netherlands

I have appreciated you posting a few of my entries (photos) in the past so I figured I would try a video. This is a real amateur video entry compared to some that you post,but here are my new Dutch NS loco on my New England layout together with one of my older “switchers”.

Best,

Ray”


Two fantastic layouts from Ray and James for sharing his HO train trestles – thanks to both of them for sharing. Hope you enjoyed them as much as I did.

And if they have inspired you, grab the guide and get to work on yours today. There’s no point sitting on the side lines…

Thanks for all the nice comments on the guide and the site by the way. I really do appreciate them.

Best

Al

PS More HO scale train layouts here if that’s your thing.


model train printable building

Atlas N scale code 55 track plans – Steve’s

Steve has been in touch and added to the Atlas N scale code 55 track plans on the blog.

(As always, it’s the comments at the bottom that shed the most light.)

“Hi Al,
 
I am fairly new at model railroading & are in the process of planning a second layout that I hope to be able to show one day.

Like most I guess, I am very constrained for space.
 
The idea is to have a realistic junction with trains able to enter from both ends with some shunting.
 
Below is my current proposal. 

Atlas N scale code 55 track plans

Atlas N scale code 55 track plans

Atlas N scale code 55 track plans

Overall dimensions are 4500mm x 700mm  (will fit a small bukkie. (“pick-up” in american))
Track is atlas code-55
Minimum radius is 11.25in: 
All switches are #5
DCC will be used
 
There needs to be plenty of storage so a variety of rolling stock can enter without to much delay.

Continuous running must also be possible.

Comments and criticisms from your users will be appreciated.

I include some images from my existing layout

Regards,

Steve Perlman”

Atlas N scale code 55 track plans

n scale model railroad

Atlas N scale code 55 track plans


model train n scale

Atlas N scale code 55 track plans

model railroad

Atlas N scale code 55 track plans


“Hi Al,

Here are some pics of my n scale layout, a work in progress. Once this side is finished I intend adding a similar sized section and having a walkway in the middle betwwen sections which will be joined at the far wall in the poc.

This is the Byron Bay to Lismore lone in northern NSW Australia, near where I live. The actual line has been a topic of contention and debate in this region as a section, from the town of Casino to Murwillumbah via Byron Bay was shut down due to it’s poor conditon and the then governments shortsightedness in not paying to maintain it.

Now there are bridges being demolished and not replaced as the debate over what to do with it continues. Being what was once a large rainforest area which is recovering from over clearing I have tried to make the scenery as lush and ‘wet’ looking as possible. Hope you like it.

Cheers

Mike Mizzi”

N scale

n scale

n scale

n scale


Thanks to Steve for adding to the Atlas N scale code 55 track plans and to Mike for sharing. Can’t wait to read your comments on Steve’s plan.

Please do keep ’em coming folks – it’s all getting a bit thin on ground this end. Just mail me and I’ll do the rest.

That’s all this time folks.

And if you want to roll your sleeves up and get stuck back in, the Beginner’s Guide is here.

Best

Al

PS More HO scale train layouts here if that’s your thing.


Need buildings for your layout? Have a look at the Silly Discount bundle.

Thomas the tank engine model

Paul’s been in touch with a clever way to get a Thomas the tank engine model running on your layout without spending a fortune:

“My two year old grandson is a big fan of Thomas the Tank Engine, so I thought I’d purchase one for my n scale layout.

After a lot of searching, including a number of hobby shops in Japan, I finally found one on the Plaza Japan’s Ebay store.

It was on auction so I had a punt at US $75. (all prices estimated in US $s) It finally went for close to $200! Seems Thomas and friends are in very short supply!

My “toy bashed” version based on a Fisher-Price diecast toy, worked out at around $22.

A WARNING from the outset!

The Fisher-Price Thomas is over scale, so you may have to fiddle around a bit to get Thomas to make it around your n scale layout. My layout has several tunnels and Thomas was unable to get through some of them. Signals and station platforms might also be too narrow on some layouts. However, with a few minor adjustments to Thomas and to my landscaping, I was able to get Thomas around a simple routing avoiding the major trouble spots.

Materials:
Thomas The Tank Engine, Take-n-Play By Fisher Price ($4)
Kato 11-105 Powered Motorized Chassis, n scale mechanism, Plaza Japan ($13) plus $5 postage to Australia. North America and European postage will be slightly dearer.

thomas 1

Tools:

Small vice (optional, but useful)
Small file
Hobby Dremel (Rotary tool) with cutting disk and small burr.
Small snips
Power drill
Glue

Construction:

The difficulty in ‘bashing’ any Fisher-Price toy is a testament to the quality product this company puts out! They can be tough to crack!

To remove the diecast shell from its plastic base, drill out the rivet like ends of the small retaining posts holding these parts together. The rear post is metal and will require some gentle pressure on the drill to sever it from the plastic chassis. I had to complete the job with a sharp tap on metal punch. The front post is plastic and burs out easily.

thomas the tank engine model

Remove the three blue wheel sets. Cut the wheel axles and remove the wheels. File or grind down the small studs in the back of all wheels and set aside for now. . The black plastic portion of the chassis can be discarded.

thomas the tank engine model

The Kato mechanism measures 58mm x 15.3mm. (Sorry Americans, Burmese and Liberians, but metric only!) As it turns out, the inner portion of the red chassis is also very close to 58mm long. For a perfect fit, a ‘whisker’ might need needs to be filed off the end of the mechanism. (either an imperial whisker, or a standard metric whisker will suffice! )

Cut out the base of the red chassis to accommodate the mechanism. This is very much a ‘cut and file’ process until the mechanism fits snugly. Cut off the ends of the mechanism’s cowling as shown. below.

thomas the tank engine model

Now cut and grind off the plastic and metal posts on the diecast shell. I added two packing strips to the red plastic chassis to lift the chassis a little higher (see photo) to avoid major grinding out of the diecast shell. The opening for the couplers will also need to be enlarged to allow the bogie to swing freely.

thomas the tank engine model

Optional LED light
An LED and 600 ohm resistor will fit neatly behind Thomas’s face and with a little careful burring-out, to thin the plastic; Thomas can have spooky glowing eyes!)

thomas6

I then glued the shell to the chassis and very lightly glued the mechanism into the chassis. (This final joint can be easily levered open if required.)

Cut the wheels just above the raised hub and glue them to the side of the chassis.

thomas7

Thomas is now happily chugging around dragging a couple of vintage DB Rail coaches. My next project will be to ‘toy bash’ a couple of Fisher-Price “Clarabel and Annie” coaches.

thomas the tank engine model

Best of all, 2 year old Jack (aka Captain Chaos) just loves HIS Thomas.

Paul”


Well, I have to say, I never thought Thomas would be appearing on this site – but I’m glad he has, it’s an excellent ‘how to’ what ever cab you use.

A huge thank you to Paul for sharing his Thomas the tank engine model ‘how to’. It really did make me smile when I saw it in my inbox.

It also reminded me of Mike’s post:

Kids model train.

And if it’s got you thinking too, there are lots more like it here.

Please do keep ’em coming.

Latest ebay cheat sheet is here. Some cracking stuff about at the mo.

Best

Al