“Alistair – These are pictures of my Mine and the rest so far. You don’t need to publish, just wanted to show you what that river runs through. All the rocks are natural, and the bridges are all hand built using 2 sizes of match sticks.
Thanks again,
Thomas”
“Hi Alastair
A model train tip that will save a lot of frustration: Leave room around your baseboard so you can reach track and rolling stock on top and wiring underneath. In a confined space make an operator hole in the baseboard to achieve the same object. I recently designed a new baseboard and discovered that I would not be able to reach the wiring.
Best wishes
Geoff”
And Thomas has just sent in another update too! Watch this space.
I have written you a few times and submitted some movies of the Leaky Creek railroad. You said that you liked the entrance of one movie where I closed up the loop and started the trains running. I was thinking you might like some photos of how the loop was built as you seem to like instructive material.
I have been in this hobby a long time. You know one way to set up trains is with blocks on DC currant. Two trains can follow each other but the block where one engine is and the block ahead is the one powered at the time. Other blocks can be off. You can set up a block signal wired with a red LED and supply one volt to light this up. When power for the trains is supplied in opposite polarity but forward for that engine, the red led will go off as polarity is reversed and a green aspect can show. Once the train passes, power is shut off the blocks and the red aspect reappears. The low voltage could be left on all the time to illuminate the layout and those nine volt plugs in for telephones and such is a good source of power for non operational layout lighting. Almost everyone has thrown away one of these old transformers at one time or another.
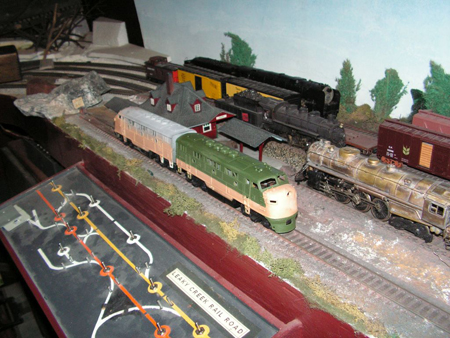
I like building models and painting them. Almost everyone models equipment near where they live and I am no exception. I love the long Alco PA diesels nut we only had two for a demonstration for a year at Montréal. Another interesting engine was a GP 7 diesel I saw one day down by the steel mills, except the end of the engine was missing. One end was like a GM GP7 but the other end had no hood The gP7’s were called geeps in slang but without the hood they were called sweeps, because they were often mated with a GM sw-7 locomotive. These were made from Athearn model kits.
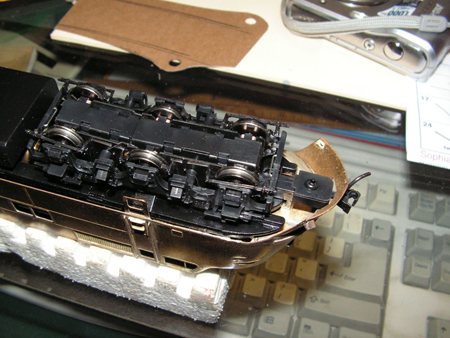
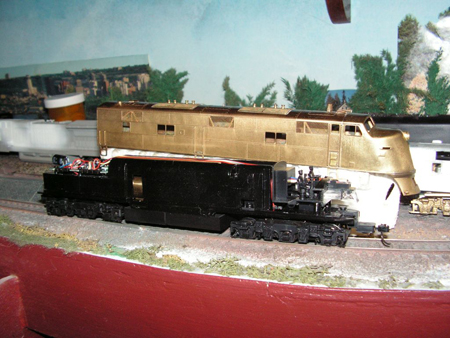
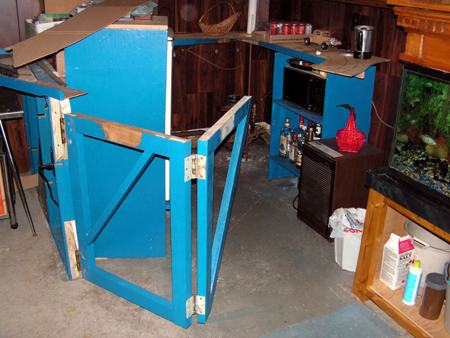
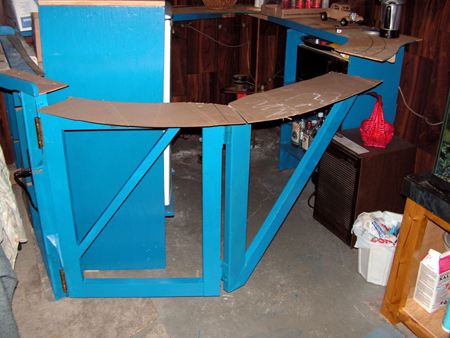
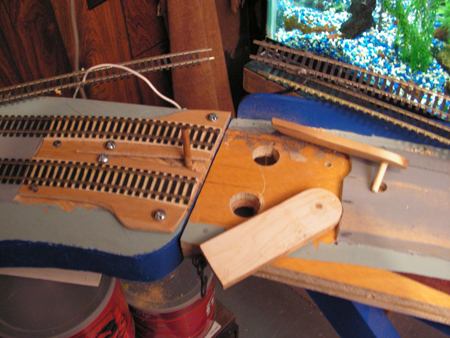
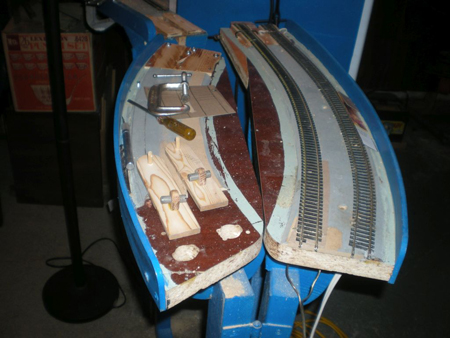
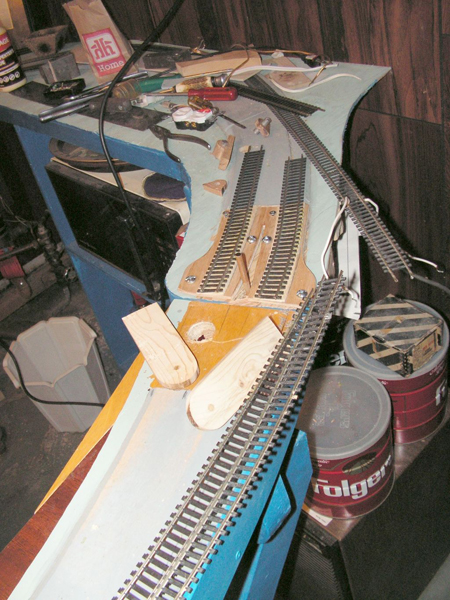
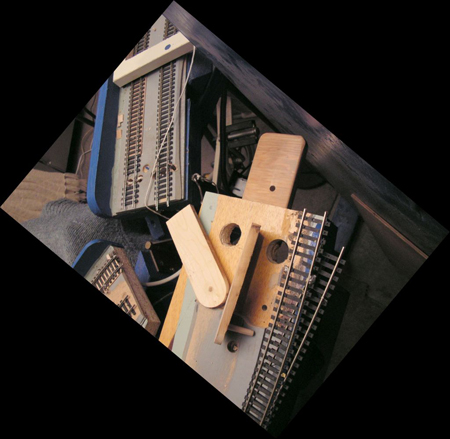
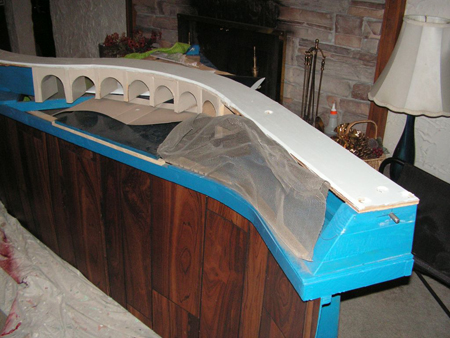
I sent you four more shots of the Hallmark e3/6 diesel I repowered with a Proto 2000 motor. Then there is a photo of a Mallet I modified before and after photo. This was a powerhouse model bought on Ebay. I lost my best friend a few years back but he used to say he would never ride on my railroad because it was all reconditioned junk! The next photos are of the way I built the moveable bridge. I saw someone else make a dutch door idea like this but his was straight and was cut on an angle where it closed where the tracks met.
Picture 003 is of a F3 diesel that came from eBay made by Cox. I carefully cut out the plastic to open the side screens and used wedding veil for screening. I painted ot early CNR colors but the CNR soon found it more economical to use yellow paint instead of the gold leaf they started to use This color scheme did not last very long but I really liked it and so did a lot of other railroad fans. Picture 005-2009, the year was correct when I made these, is of a Bowser 2-10 4 I still nave not completed of an engine used in Toronto, CNR 4100, which was used to push trains up the hill leading north from Toronto. The other engine was my modified mallet, and the cow catcher on the 2-10 4 came from the original mallet engine.
Picture 015ac is painting in progress of an Alco FA engine bought on eBay to match an older train I made of a CNR Via passenger set. The FA models were shorter than the PA models because they did not have a steam generator for passenger trains. However the CNR eventually retired the FA units to light duty passenger service as heavier diesel engines took over the freight business. The SD 30 units are an example in photo picture 20 with the new CNR colors replacing the old green black and yellow.
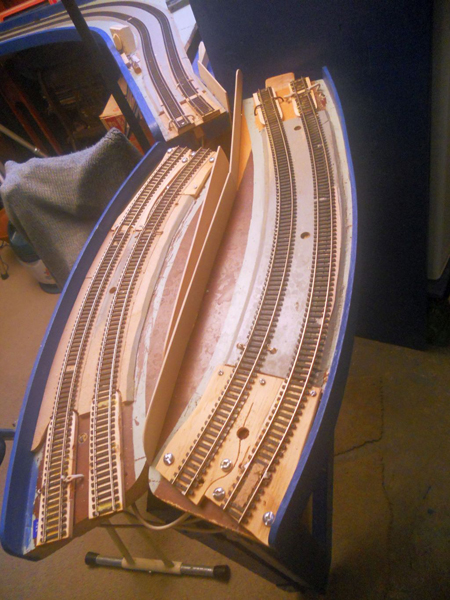
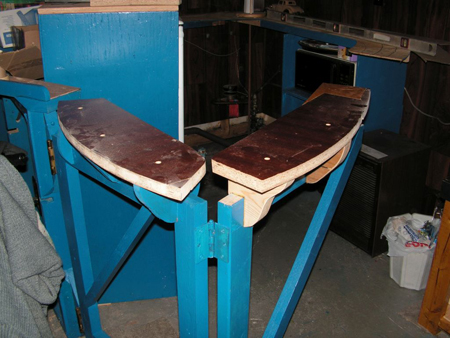
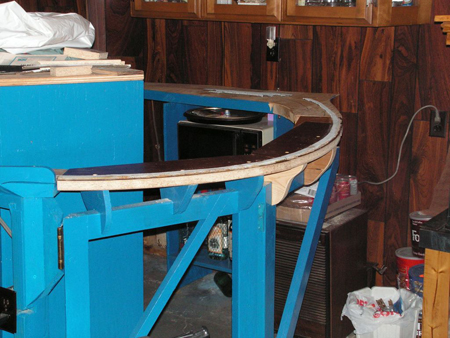
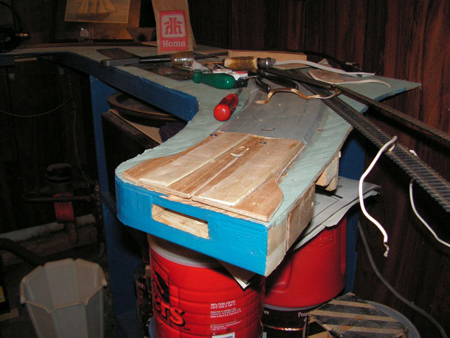
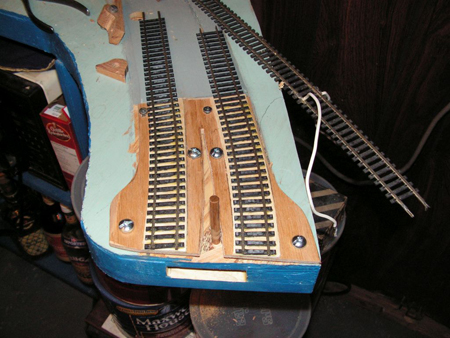
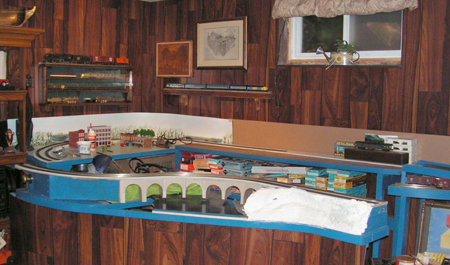
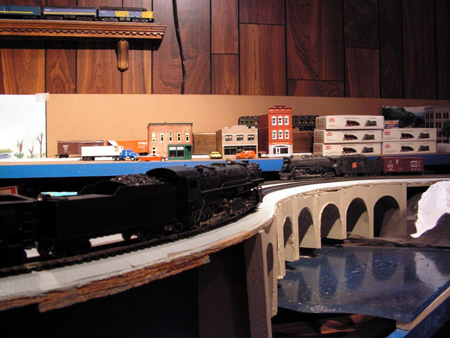
The rest of the photos I picked try to show how the table is built in sections with the section with the viaduct built on casters and car be opened by using the doorknob and pulling the table out and then pulling the table so that the locating steel rod is free at the end. The wiring for the tracks has a tether with two regular plugs and a wall socket is set up to receive these four wires near the locating pin. The plugs are color coded painted so polarity is respected as my trains only run on DC and no fancy DCC systems are in use. I do not have any models of the CNR turbo trains that ran between Montreal and Toronto but there are models of the turbo trains for sale. Speaking of turbines, about twenty years ago I tried to sell ideas to automobile companies as I always wanted to have turbines in each wheel of my car. When I was a mechanic I found hydraulic power can be used to great advantage and I believe we could use ery small engines to drive pumps and still have cars with lots of power but would be far more economical and efficient.
I hope these photos are of interest to you and you many fans.
Sincerely,
Bob”
Phew! Bob sent in a gazillion pics – I hope I picked out the right ones.
One last thing – some of you have got in touch saying the link to the silly ridiculous Big Kahuna wasn’t working.
I have fixed it, so I’ll run it for another day or two:
Steve has asked for a little help and some comments with his layout.
Have a look at all the suggestions at the bottom of the page.
“Alastair,
I’ve attached some “progress pictures” and would appreciate any feedback or comments anyone might care to provide. This is my 1st real non-Christmas layout.
It’s O gauge, bench is three 4’x8’s making an ___—–___ shape. I have some passenger trains and Intermodals that need 54″ turns, but 80% only need 31″…so my plan was all 54″ with an inner loop(s) with 31″.
The 31″ loop(s) concept was also to have an isolated loop that was very “kid, friend & cocktail safe” before letting them out on the “big” track where the larger more expensive trains play ( Platinum Ghost, Southern Daylight, GG1s, etc)
I used the Troy & Mohawk Valley Plan from 101 Track Plans as a basis and tried to modify it for my bench space. I also used software from AnyRail initially.
I have thick skin and would appreciate any guidance…
Steve”
“Hi Alastair,
You can use a lot of bought in or found items as scenery, such as cars, animals or figures, but these plastic items always look “cheap and plasticky”. Just give them a light coat of matt varnish, avoiding any ‘glassed’ areas. It tones down colours and evens the finish – it works great on rolling stock too.
Regards
Neil”
Who can help Steve? I think it has the makings of a wonderful layout.