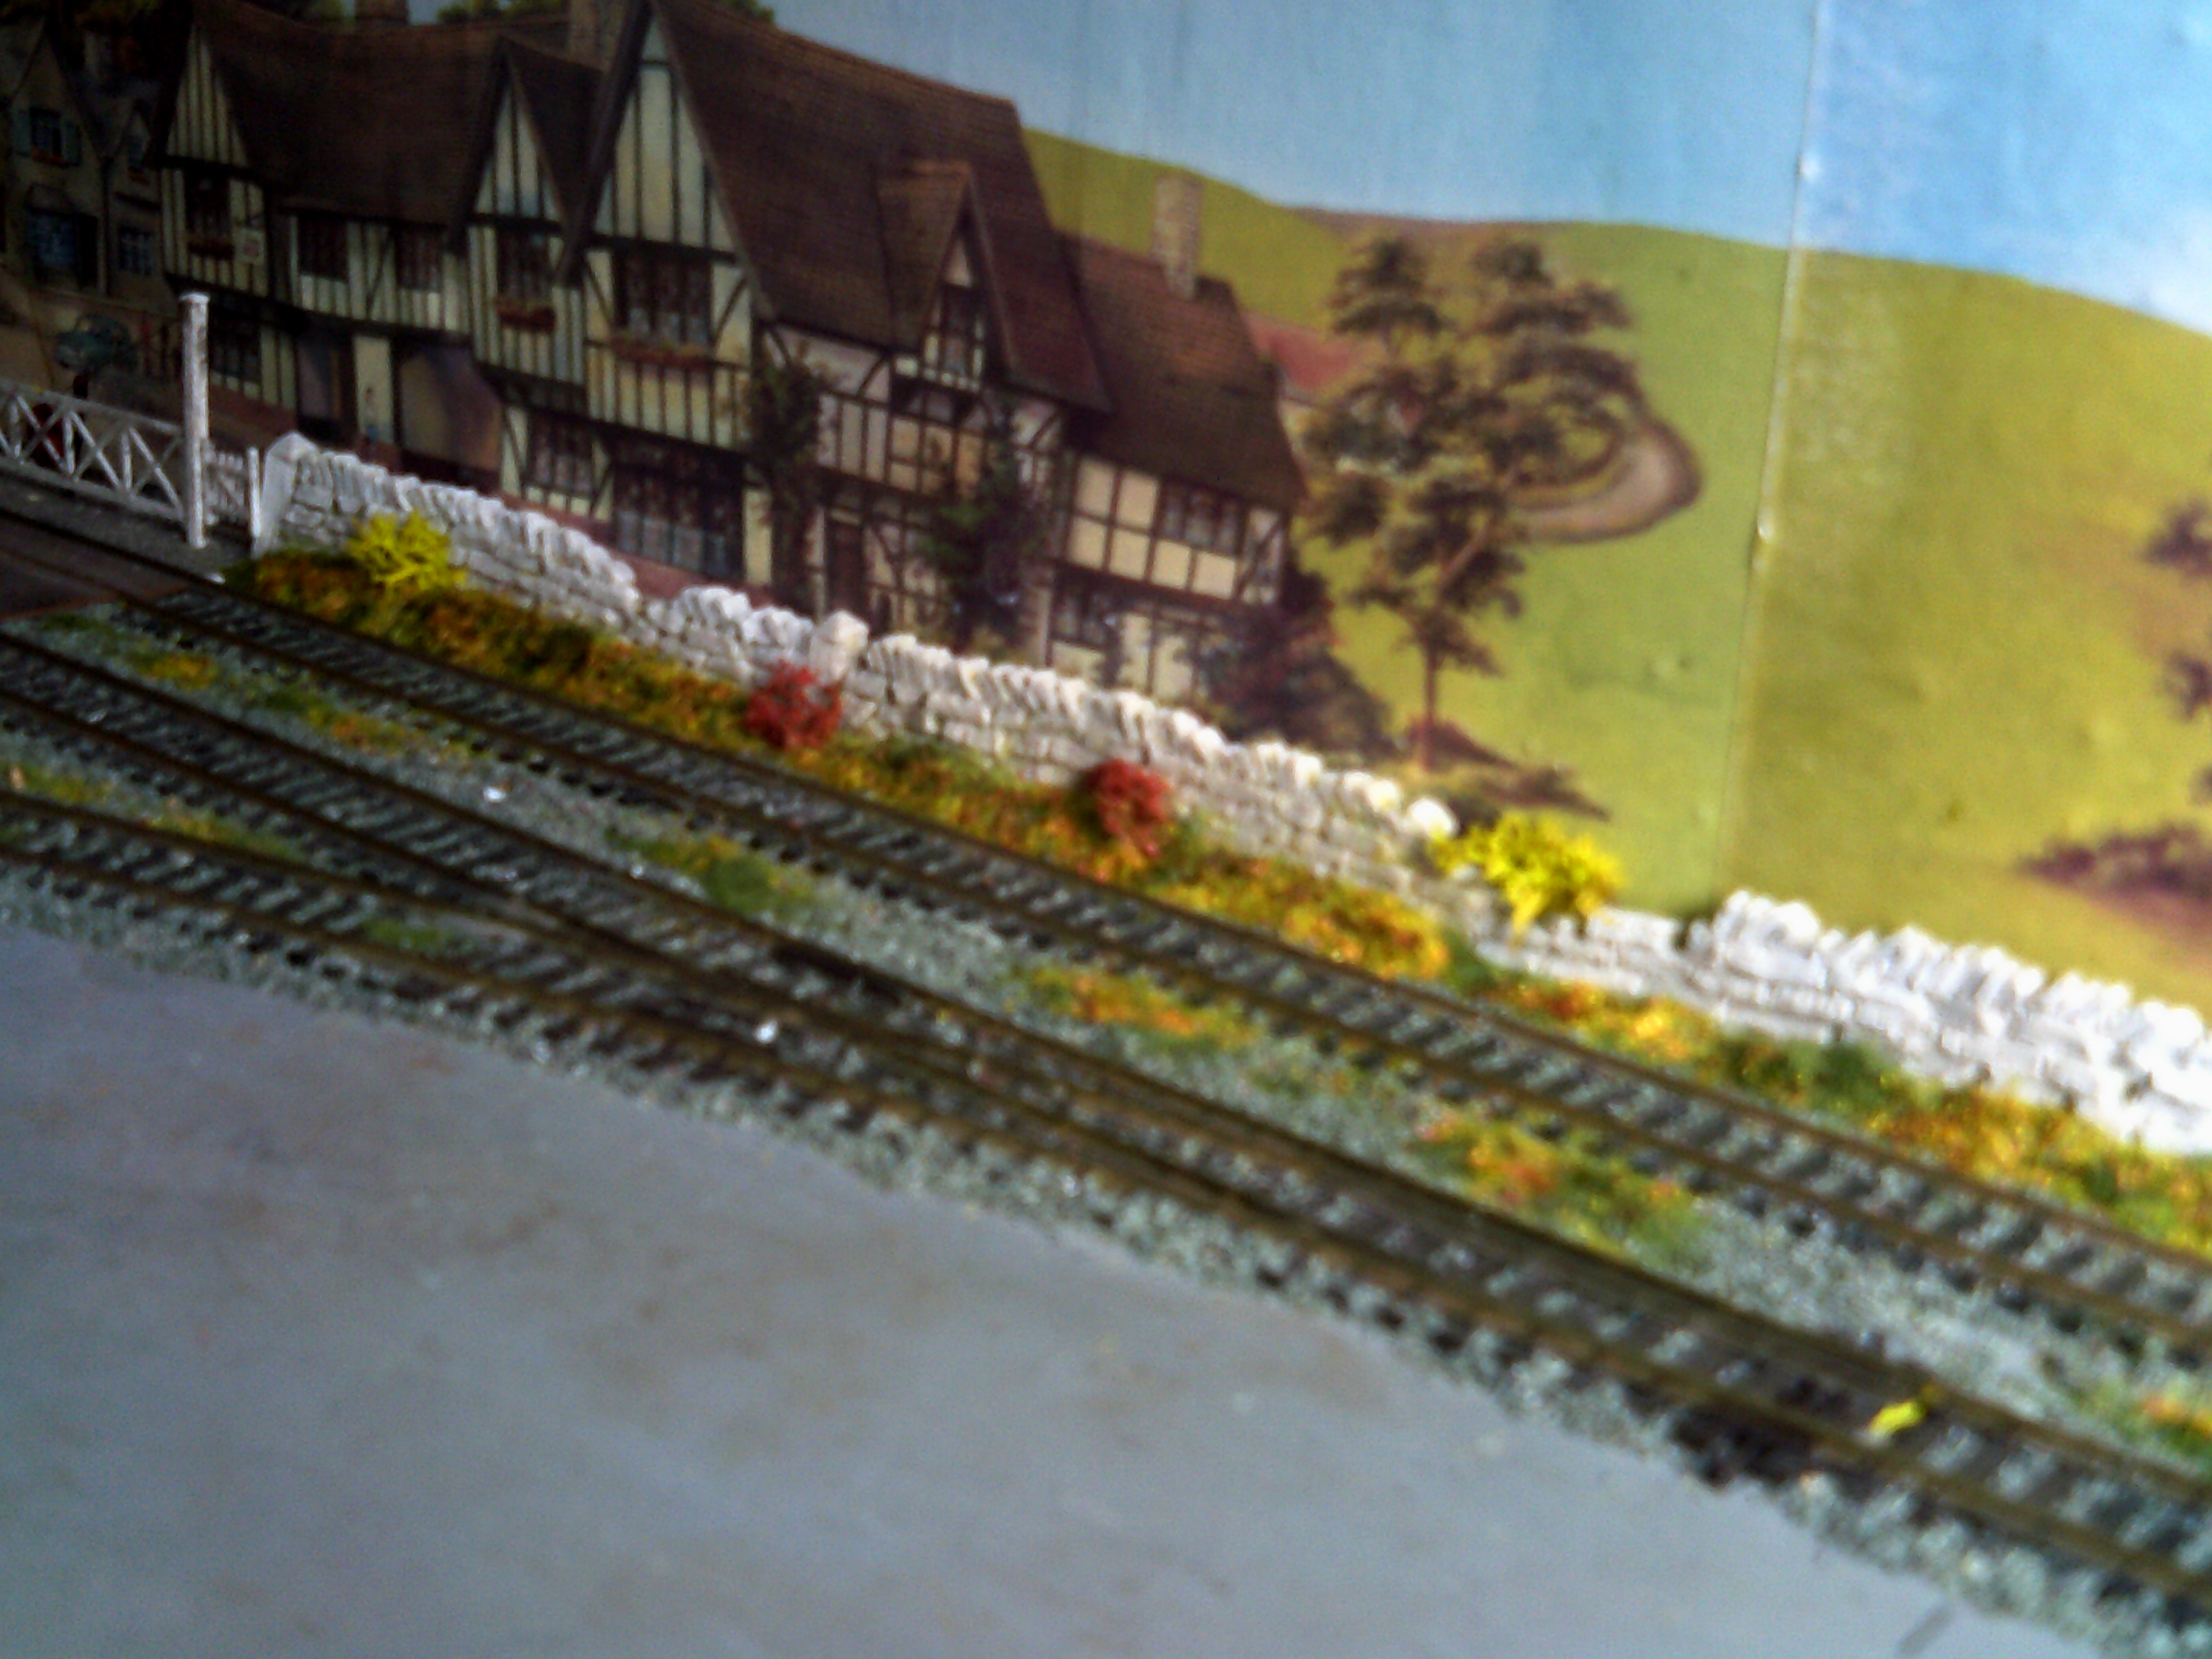
“Alistair – These are pictures of my Mine and the rest so far. You don’t need to publish, just wanted to show you what that river runs through. All the rocks are natural, and the bridges are all hand built using 2 sizes of match sticks.
Thanks again,
Thomas”
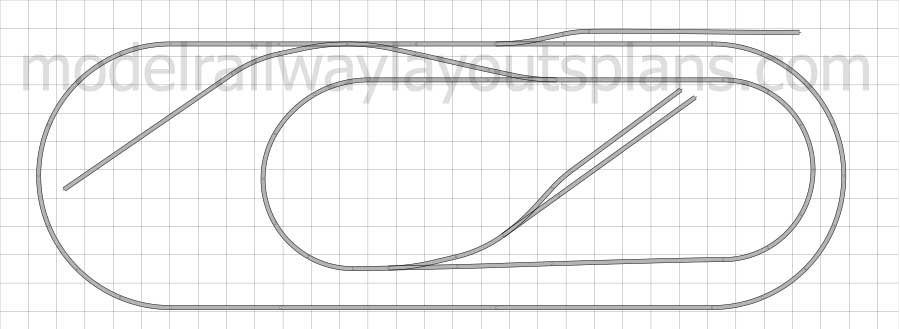
(top level – bottom track not connected)
“Hi Alastair,
Attached some pics of my latest Layout (now for sale on Ebay) with working catenary, signals, crossing barriers (slow motion and flashing lights) and smoke generator in police building (burning criminals, I guess?)
regards
Claus”
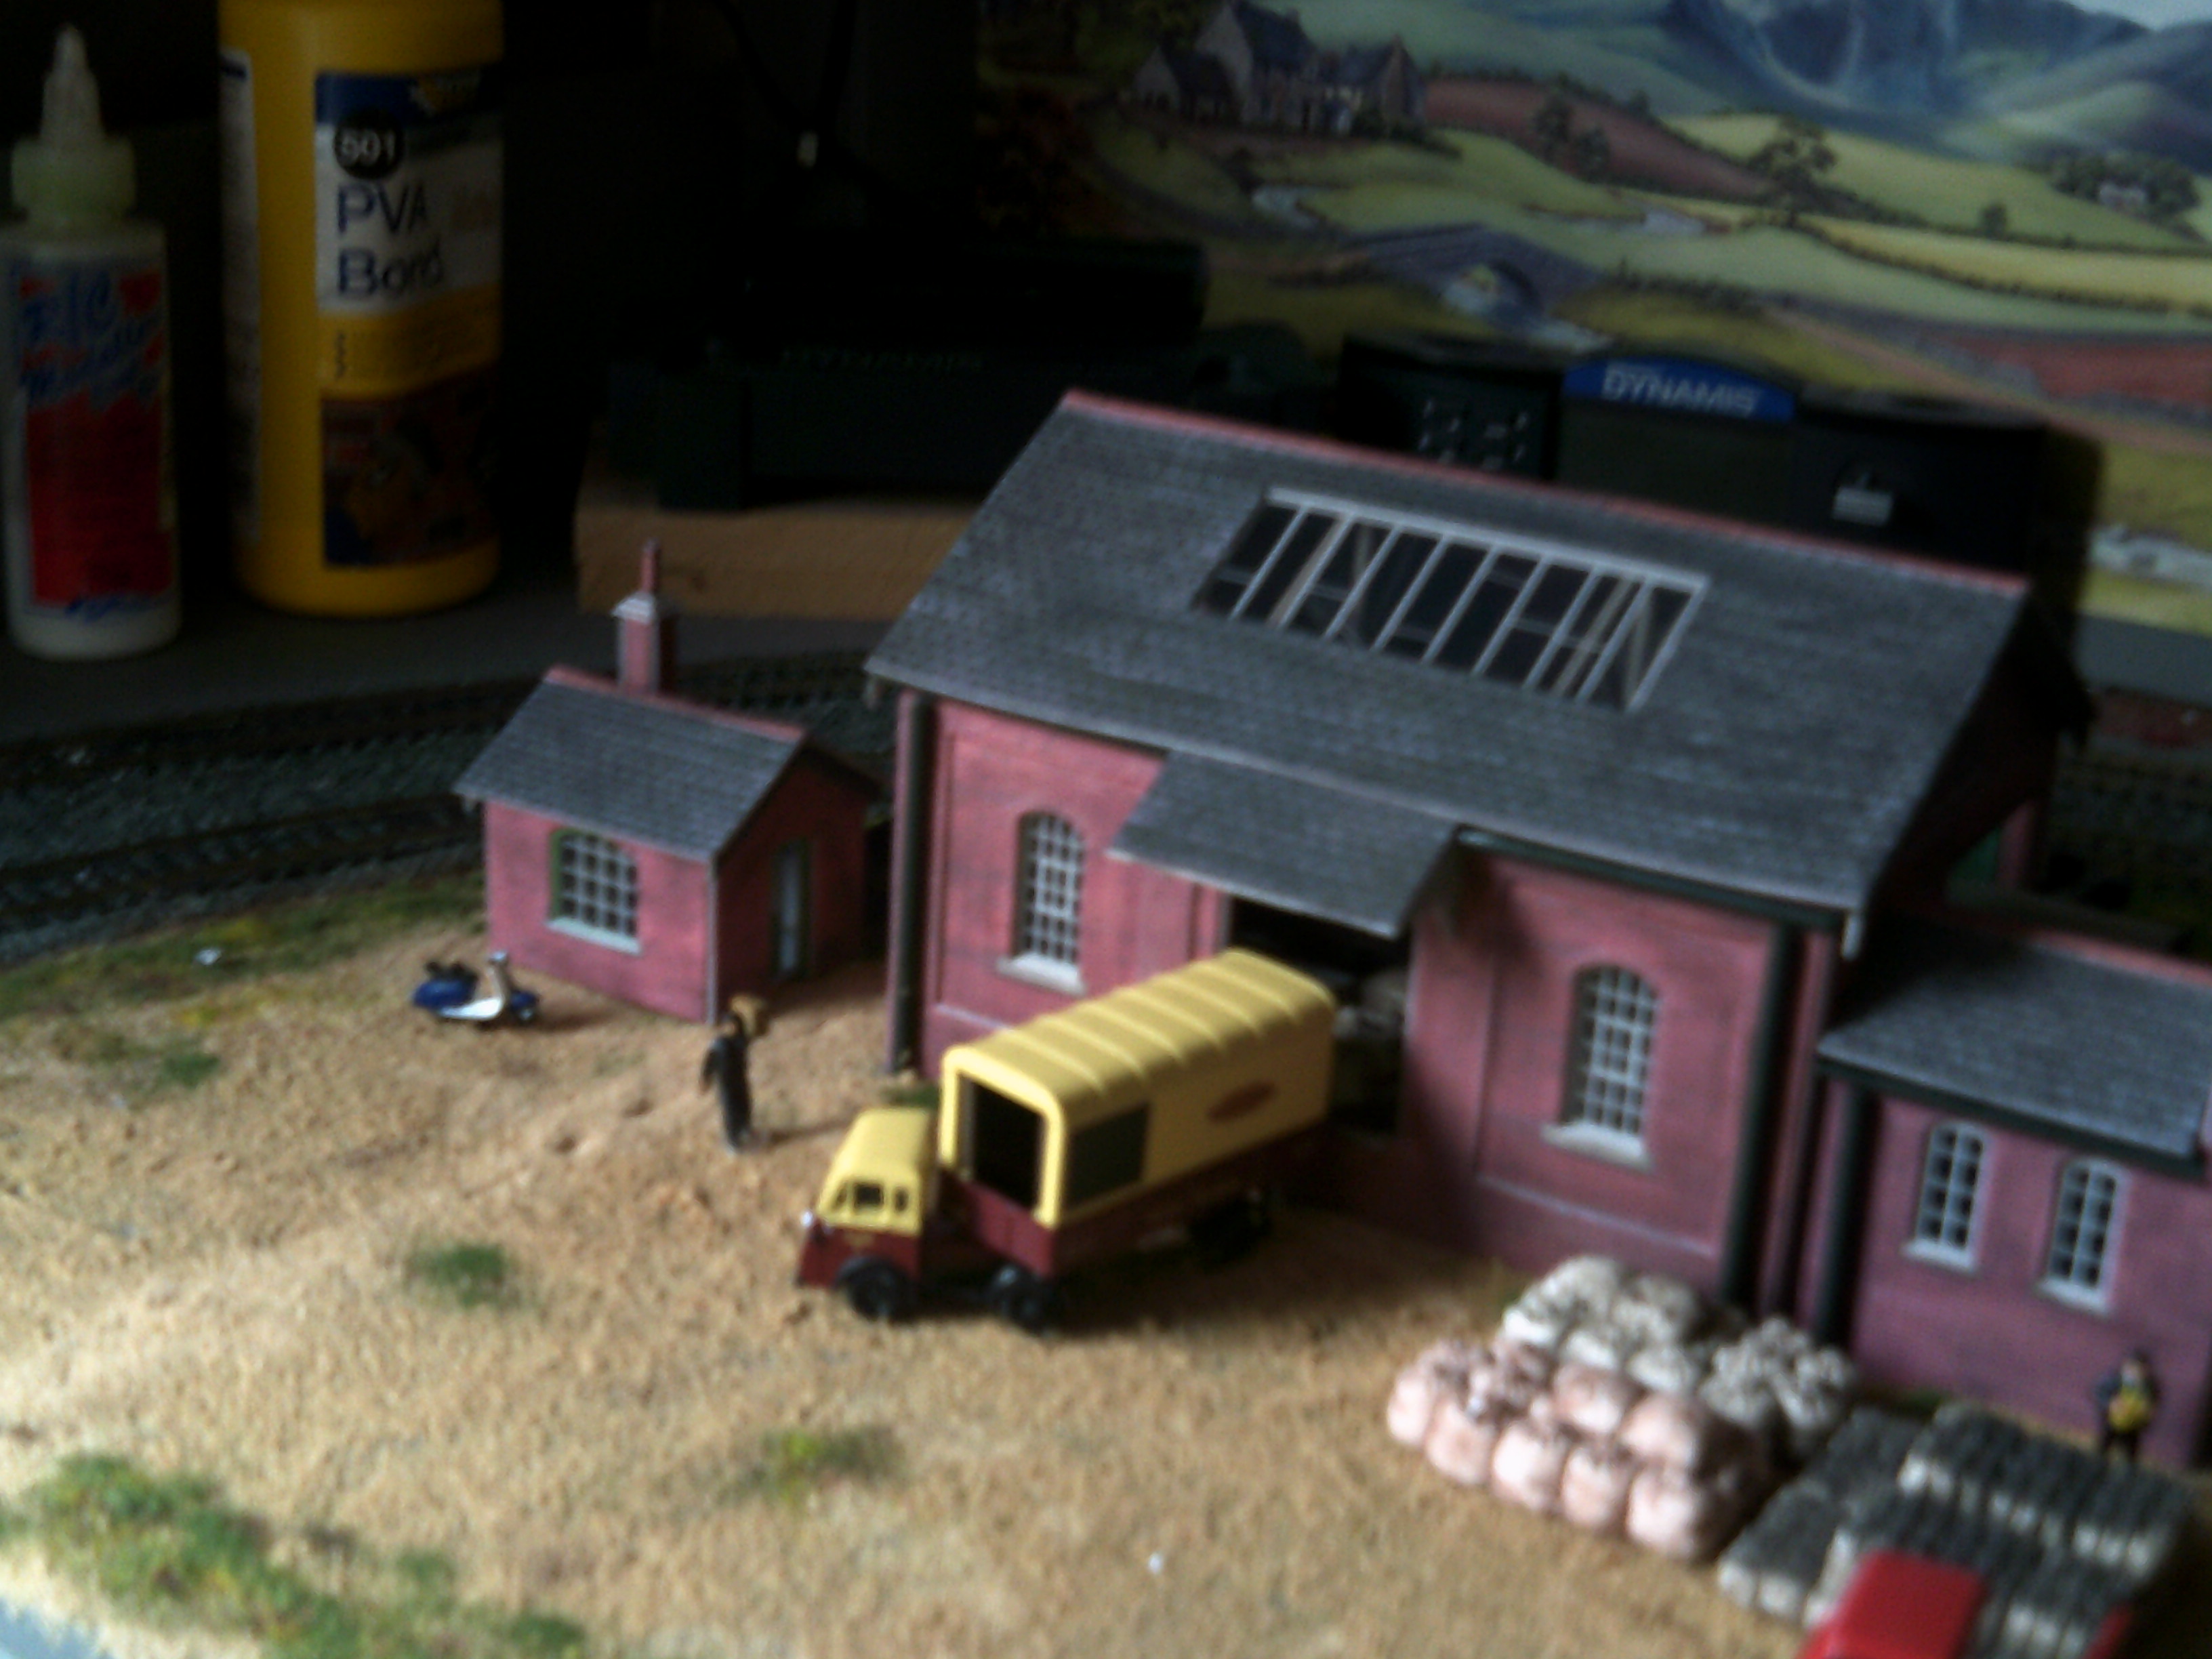
“Hi Al, just a couple of pics of the corner tunnel I made on my shed layout, I got the retaining walls from a guy in Bristol on ebay, he makes them from MDF and presses out the brickwork etc, I weathered them with my weathering powders in about an hour, really easy to do, I wanted access to my track for cleaning and maintenance so I bought a couple of those magnetic latches you get for wardrobe doors etc, it works great, I hope the tip is useful to somebody out there, by the way the whole tunnel and scenery cost me about £20.00 using scrap timber and scatter etc from my bits box.
Thanks for all the brilliant tips and information from some really great modelers on here.
“Hi Al. Best tip I can give anyone – If your track work does not work flawlessly, no amount of electronics. scenery, realism, operations, etc will ever make you want to head for the train room. Take your time on the track work, make if bullet proof, and everything else will be a delight!
Mark”
“Hi Alastair
A model train tip that will save a lot of frustration: Leave room around your baseboard so you can reach track and rolling stock on top and wiring underneath. In a confined space make an operator hole in the baseboard to achieve the same object. I recently designed a new baseboard and discovered that I would not be able to reach the wiring.
Best wishes
Geoff”
And the latest from Dangerous Dave:
“Hi Al
Back from Scotland now , so decided to go in the loft and test that class 33 on pulling power here is the result
Ron’s been in touch with his garden shed model railway layout:
“Hi Al, thought you would be interested in some pics of my layout, I built this layout over the last 12 months in my 6ftx6ft shed.
I didn’t have much room as you can imagine, so I just made it up as I went, I tried to get as much in without making it look overdone, the buildings I made from the Metcalf range and the rest from scatter materials etc.
I wired the layout for dcc, and the lighting is 12v-6v-3v, all the 12v is run from an old computer power pack that I converted, all the locos have sound fitted exept the little jinty, all the locos were scrapped and cut up by BR, the only one to survive was the jinty.
Thanks for all your info and tips and ideas from this web site.
Cheers Ron, Manchester.”
A big thanks to Ron for sharing his garden shed model railway layout.
Now onto Rod:
“Hi Al,
Never done an entire loco thank heavens, the time commitment must be huge, but I have had to make a couple of simple chassis sort-of from scratch, albeit using commercial axles, wheels, gears etc. The first was to replace a cast whitemetal chassis block in a loco kit which seemed to have been cast with the sides at an angle to each other, quite unsalvageable. I had tried sending it back as a complaint only to be told the pre-drilled axle holes were “supposed” to be breaking out through the bottom of the casting on one side “to make it easier for you to fit springing”! Yeah, right.
The second one was because a mate turned up with an old K’s kit of a GER tram-engine (like Toby the tram engine) which wouldn’t run. All it was, the body was a little low one end and the cowcatcher was fouling the rails and shorting out. It just needed a little Plasticard pad sticking onto the chassis mount, so I did that, held it in place for a count of thirty, said “There, fixed it!” and whipped my fingers away – needless to say I had superglued the plastic to a bit of skin as well, and the whole chassis flew into the air, tore the skin loose, and fell to the tiled floor with a resounding bang. It was one of those old K’s ones with the motor sides and bearings glued together and integral with the frames, so a total write-off (I couldn’t get the motor to run again properly, although I did try). You should have seen his little face, a proper picture, so I had to replace it.
The replacement was made from 16th brass frames, bolted together for drilling of axle positions and tube spacers, and fitted with flanged bearings, reamed for Romford axles. The old chassis was a four-wheeler but the real things were six-coupled so I thought I’d do it right, although there was no point adding cylinders and running gear as they would be behind the side-skirts. I used a Branchlines slimline gearbox/motor mount and a Mashima motor, and added little black ‘platforms’ either end to form floors for the driving cabs. For some reason, the model had never had a chimney, I think the real ones were just stovepipe-type but all I had in the junkbox was a cast one for a GWR King, so that had to do, capuchon and all. That was a bit of a departure from prototype, so I painted the finished loco blue and brown and moulded a little face onto the end in low-melt solder, sculpted with the iron and a bit of chasing with a ball cutter in the minidrill – great fun but wear goggles.
The photo shows the new chassis in the foreground, the reassembled old chassis and tidied-up body behind, and a Reverend Awdry book for livery reference!
Rod”
Hello,
I was wondering if you’d like to feature my newly repainted 28xx by hornby?
It’s not finished but I hand painted it and it’s going GWR wartime black,