Homemade model train track cleaner

Kim’s been in touch with a good homemade model train track cleaner tip.

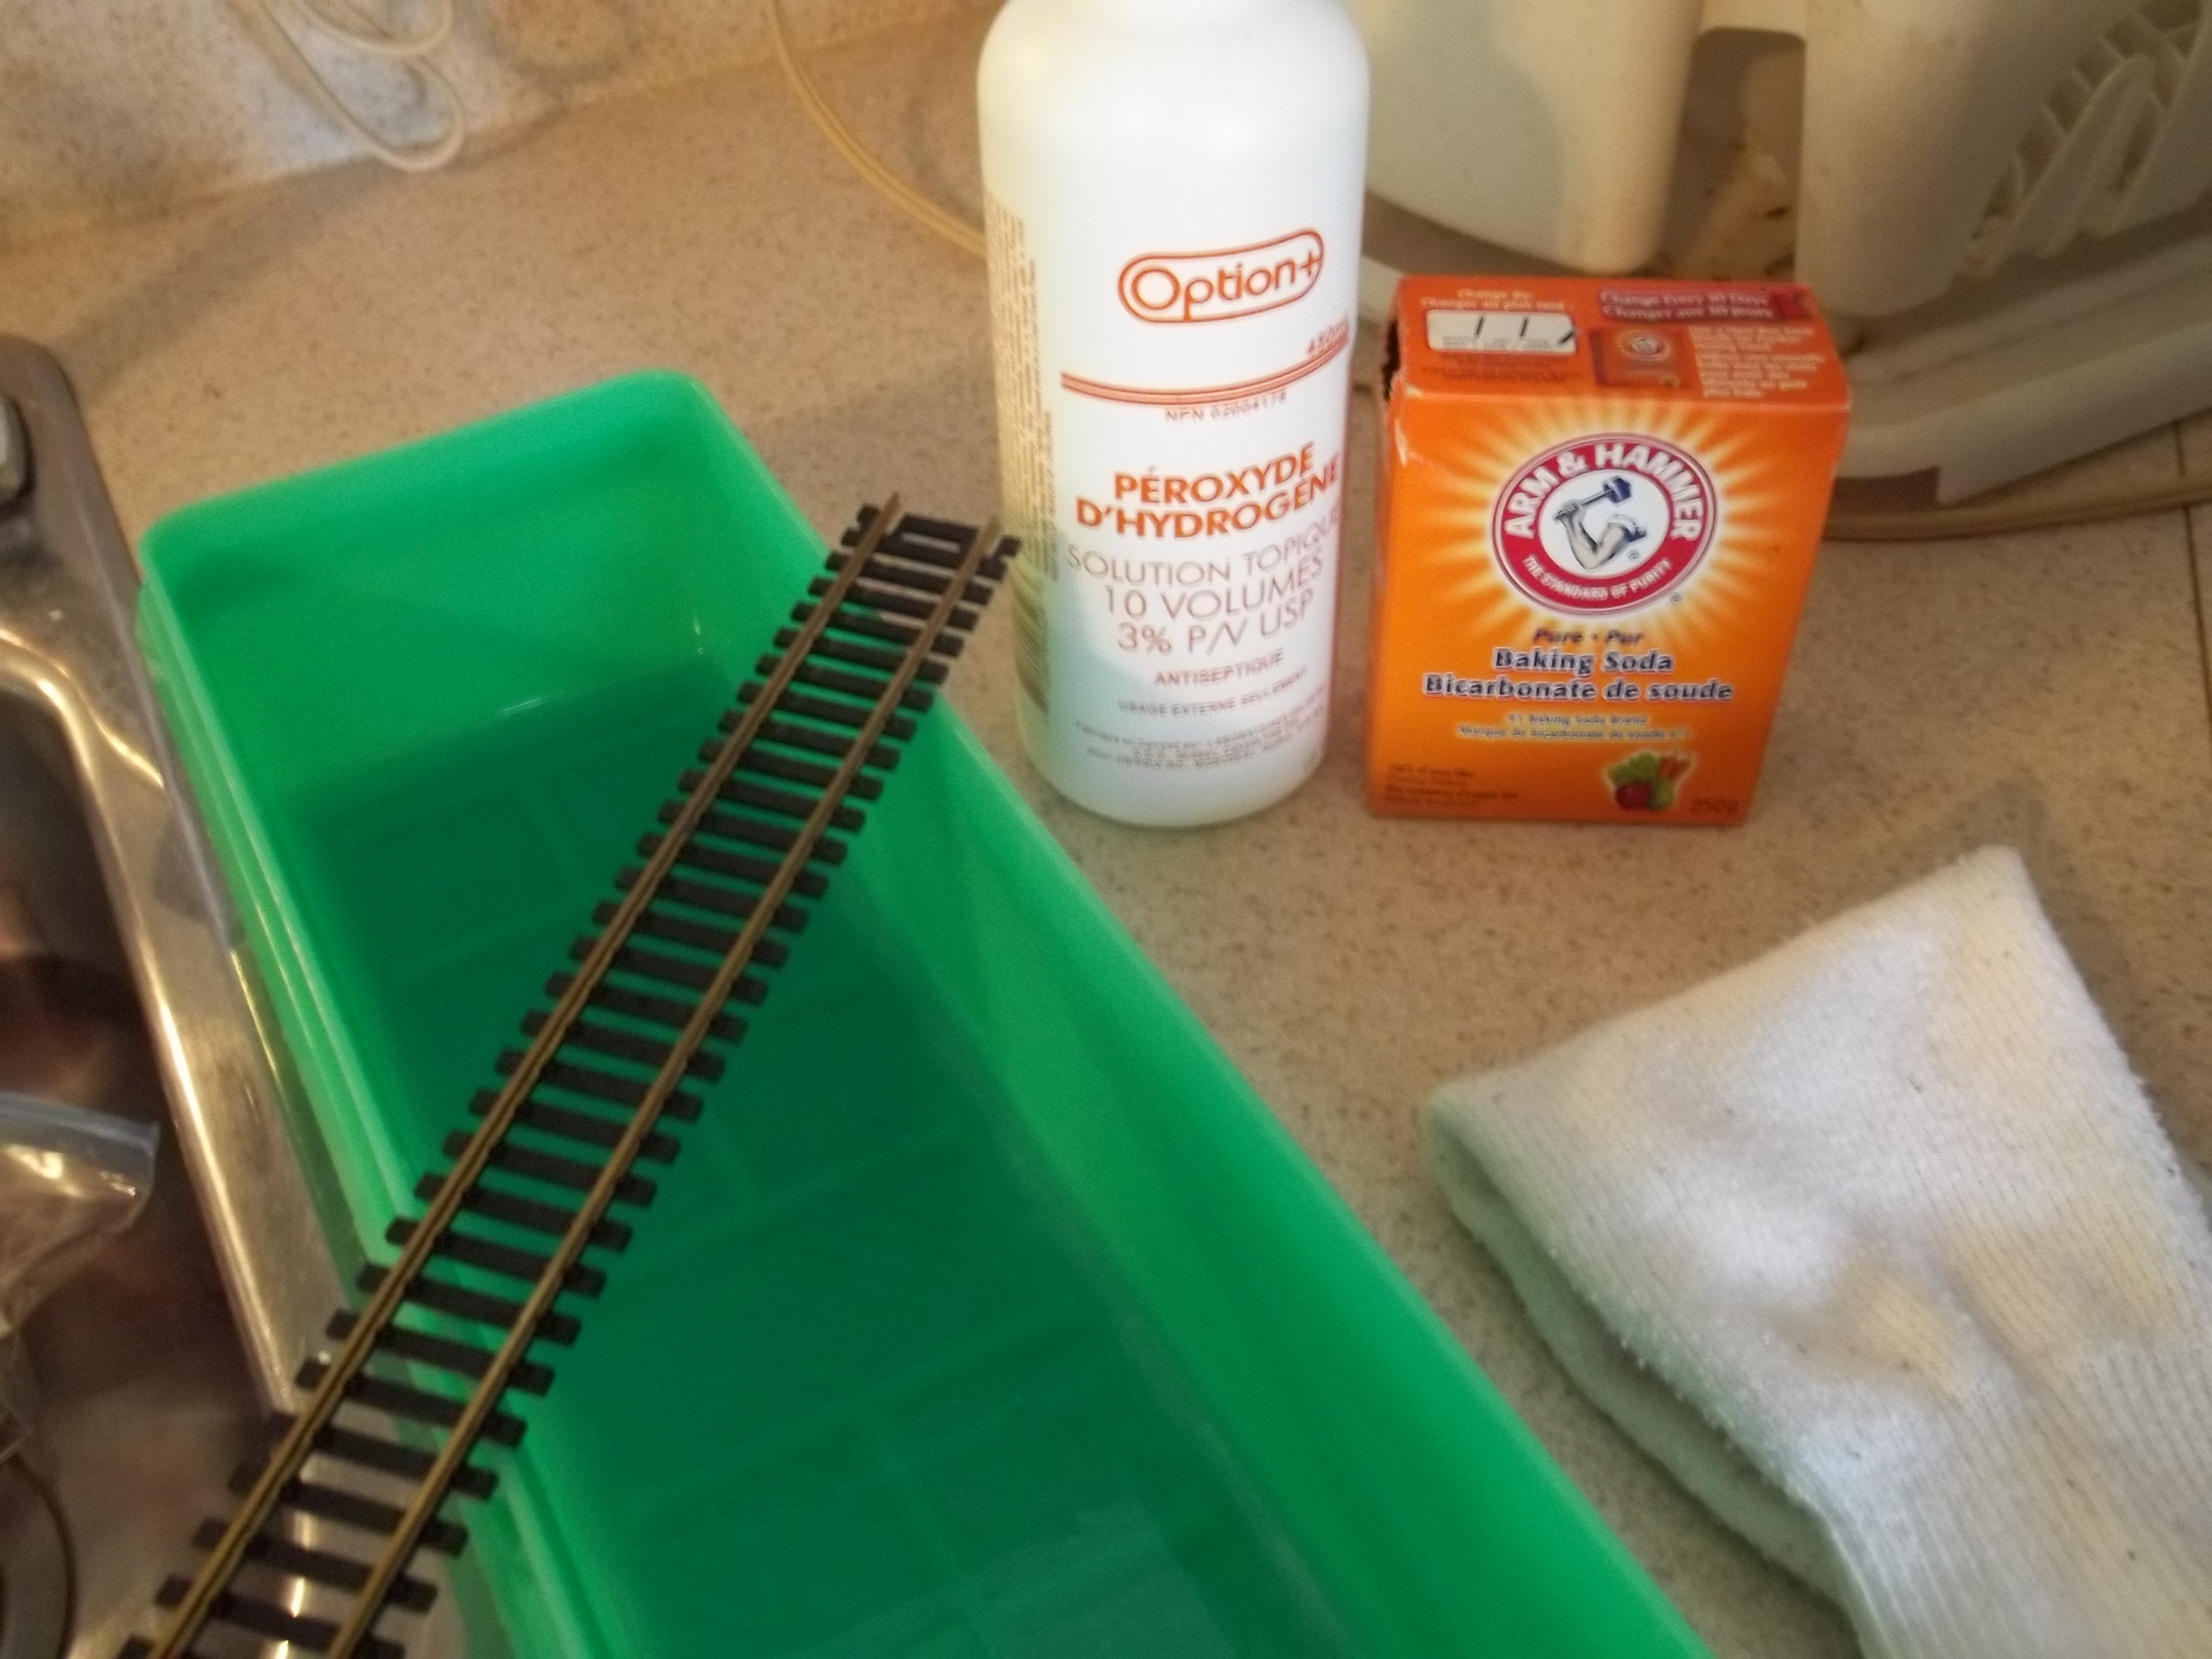
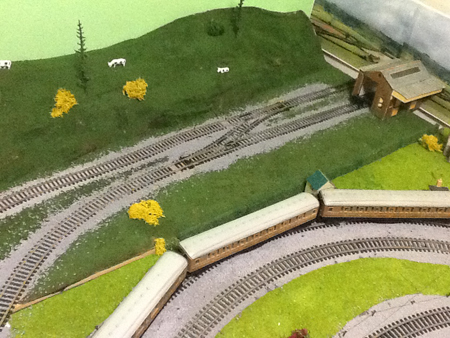
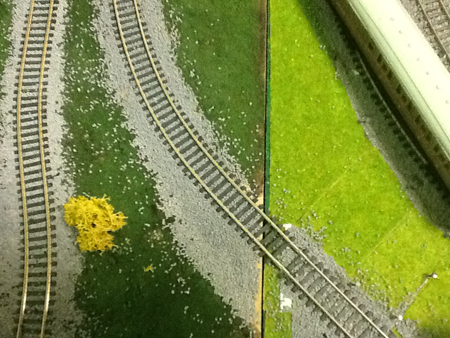
“Hi Al. Im sure you have run into this problem. Most do after a while. I made up a cleaner that takes 5 minutes to change the nasty dirty track to brand new. You will notice an unclean track to the left. When your trains start to jerk or stall or don’t seem to run right. Dirty track.

Wont hurt plastic. and if you have really dirty wheels it will work there as well.

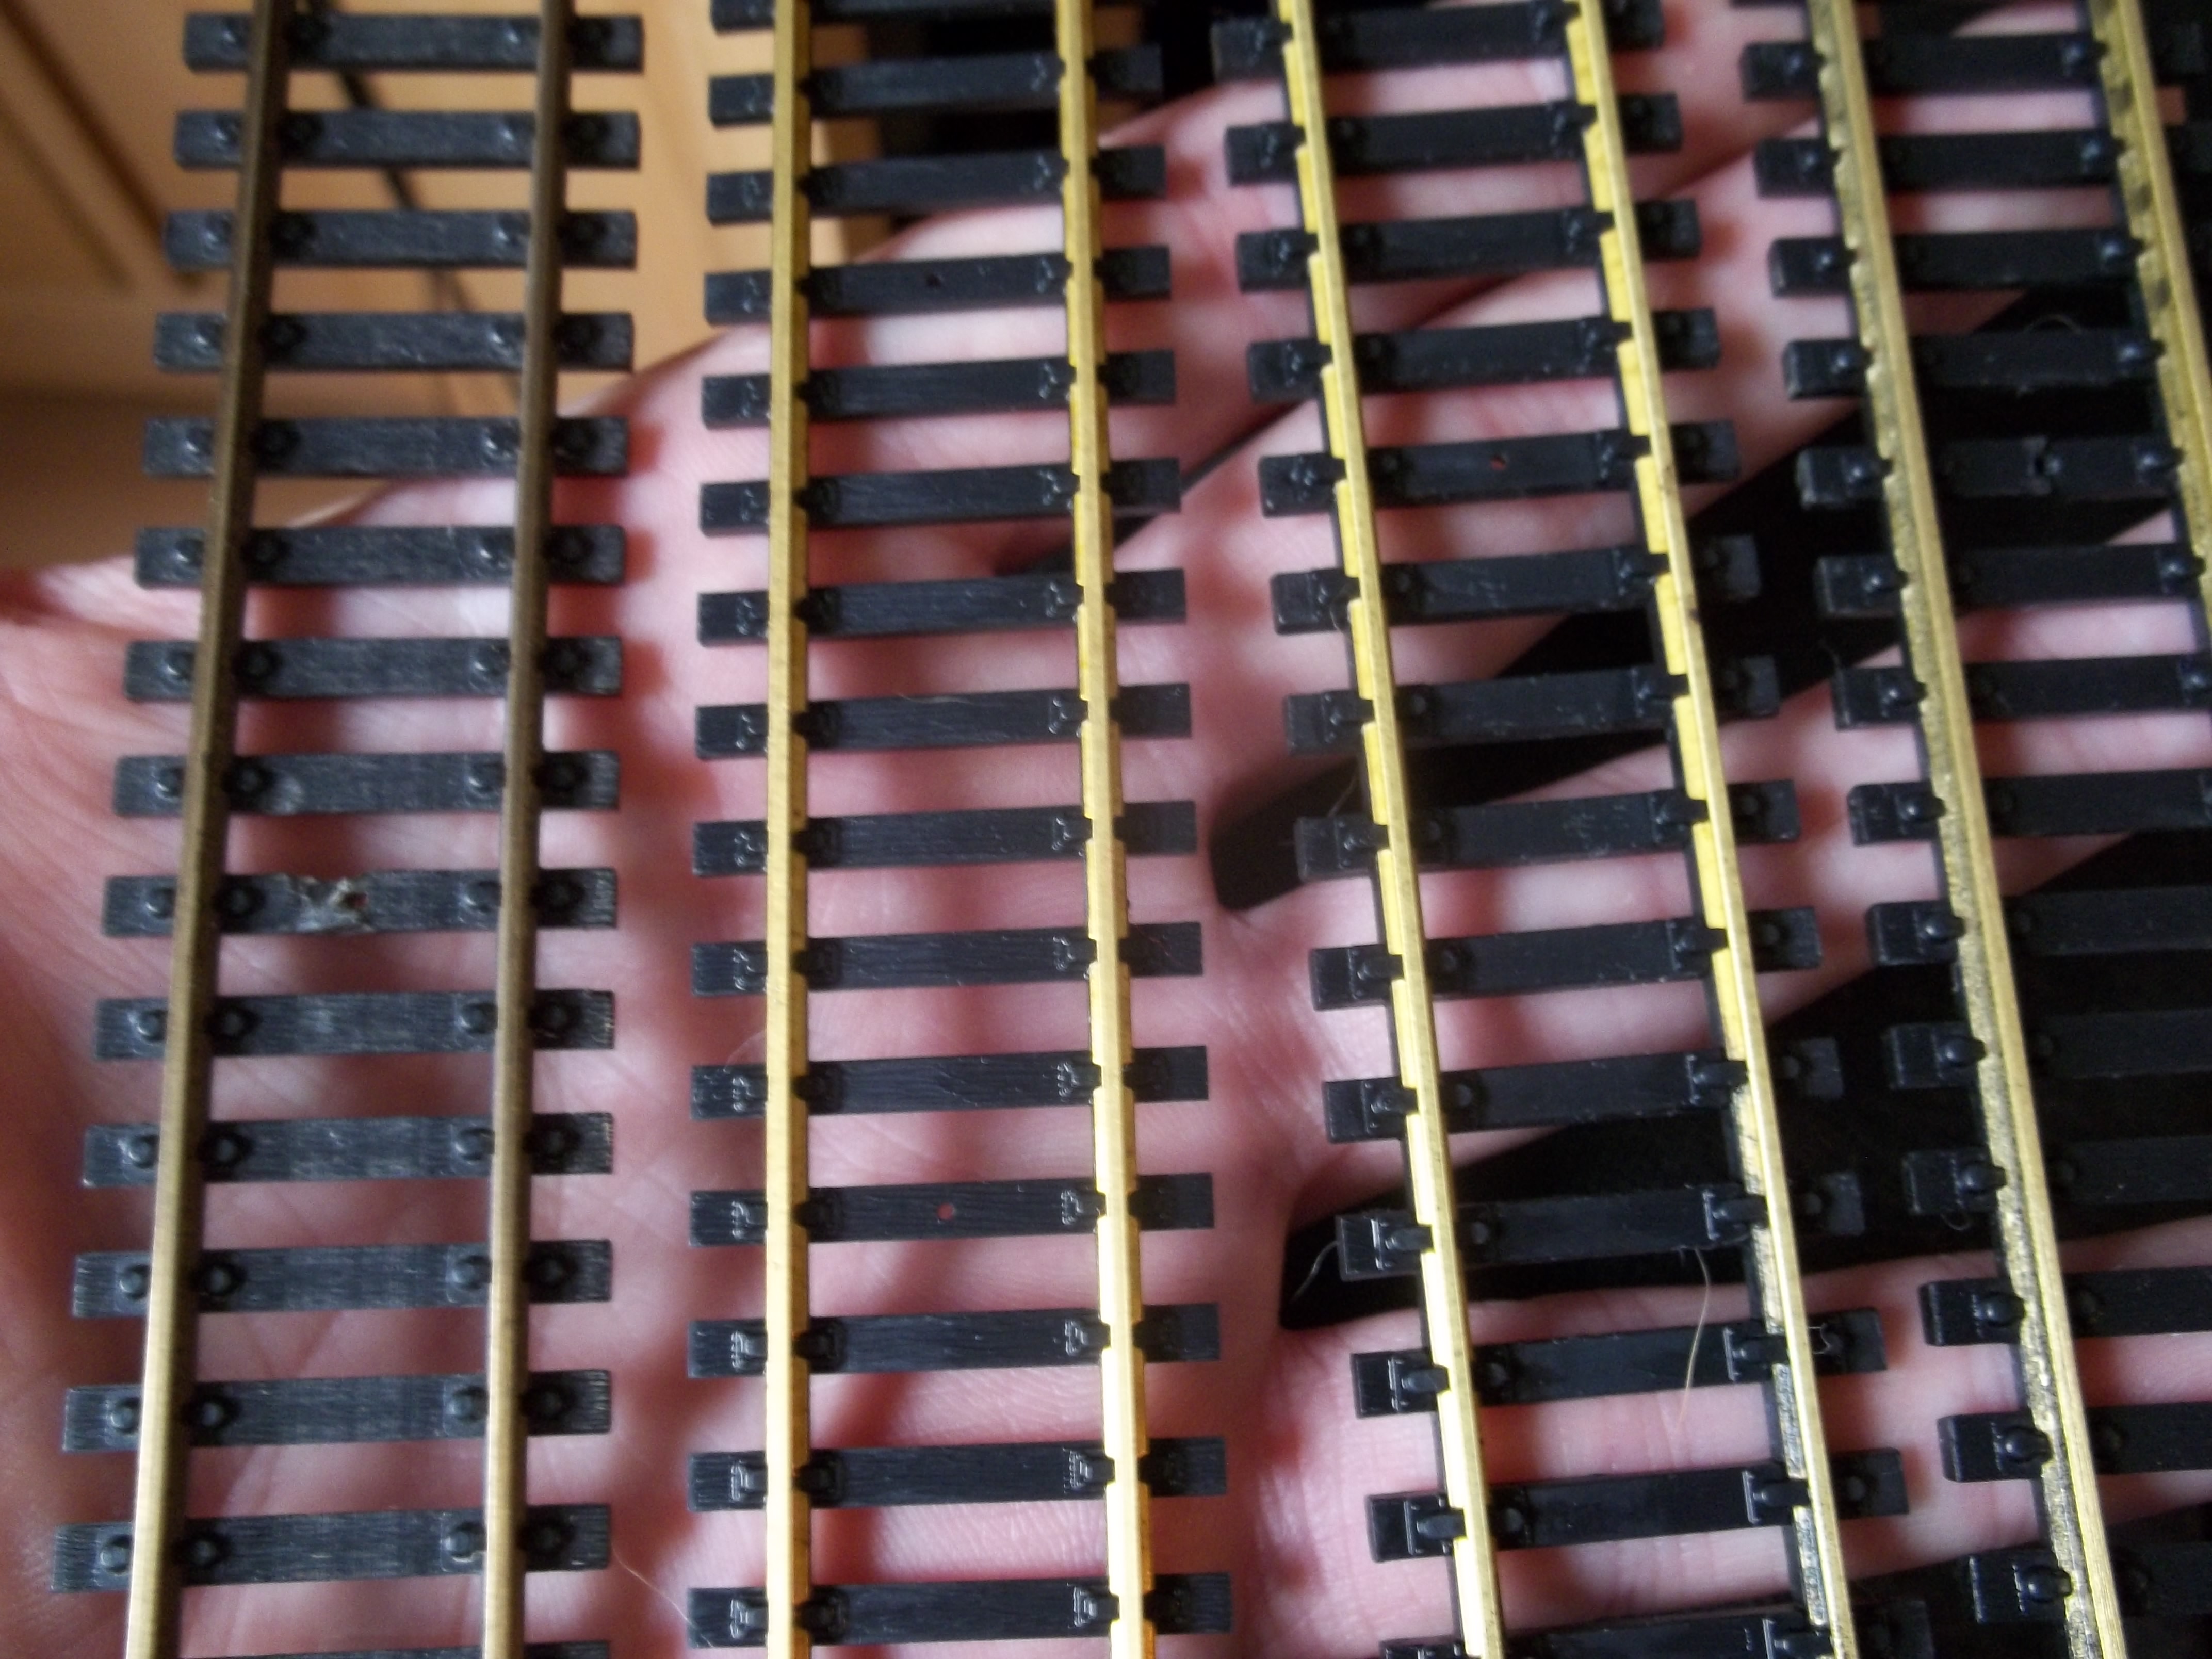
Formula to clean your track or any metal I guess: Pour the peroxide level with the track laying face down in the plastic container.Then sprinkle the soda all over it.

Dont have to use a lot of soda sort of sprinkle it all over the liquid and track.Let sit I say 5 minutes but found it took less than a minute. When happy with the track, rinse hot water on the track to clean of the cleaner off. Dry the track and away ya go.

I guess using say a cloth with the mixture on track that is nailed down.Let it sit on the track a few minutes and then use a cloth with warm water on it to clean off the mixture. just don’t get it all over the place as it will remove paint ,gim,dirt,electrical stains,just about anything lol.And don’t touch any train with wet finger’s or your going to hate me.Remove anything on the track before hand.And get rid of the mixture after done as so no pets or kids get at it.

Kim”
homemade model train track cleaner

homemade model train track cleaner

A big thanks to Kim, it reminded me of his track cleaning car: How to cleam model railroad tracks.

And Steve’s too: Track cleaner.

Now on to Mike:

“Light bars for lighting cabooses or passenger cars can be made from 5mm LEDs and clear drinking straws. One LED goes in each end of the straw and wired in series. The light carrying medium is 5 minute epoxy from one of those Loctite instant mix tubes. (One minute epoxy is too fast and sets in the mixing tube.) Squirt it into the straw, cap with the LED then cap the other end with the other LED. This is all much less expensive than lighting kits. With the new Evan Designs LEDs, no decoder is needed. Any voltage source works.

Mike, Illinois”

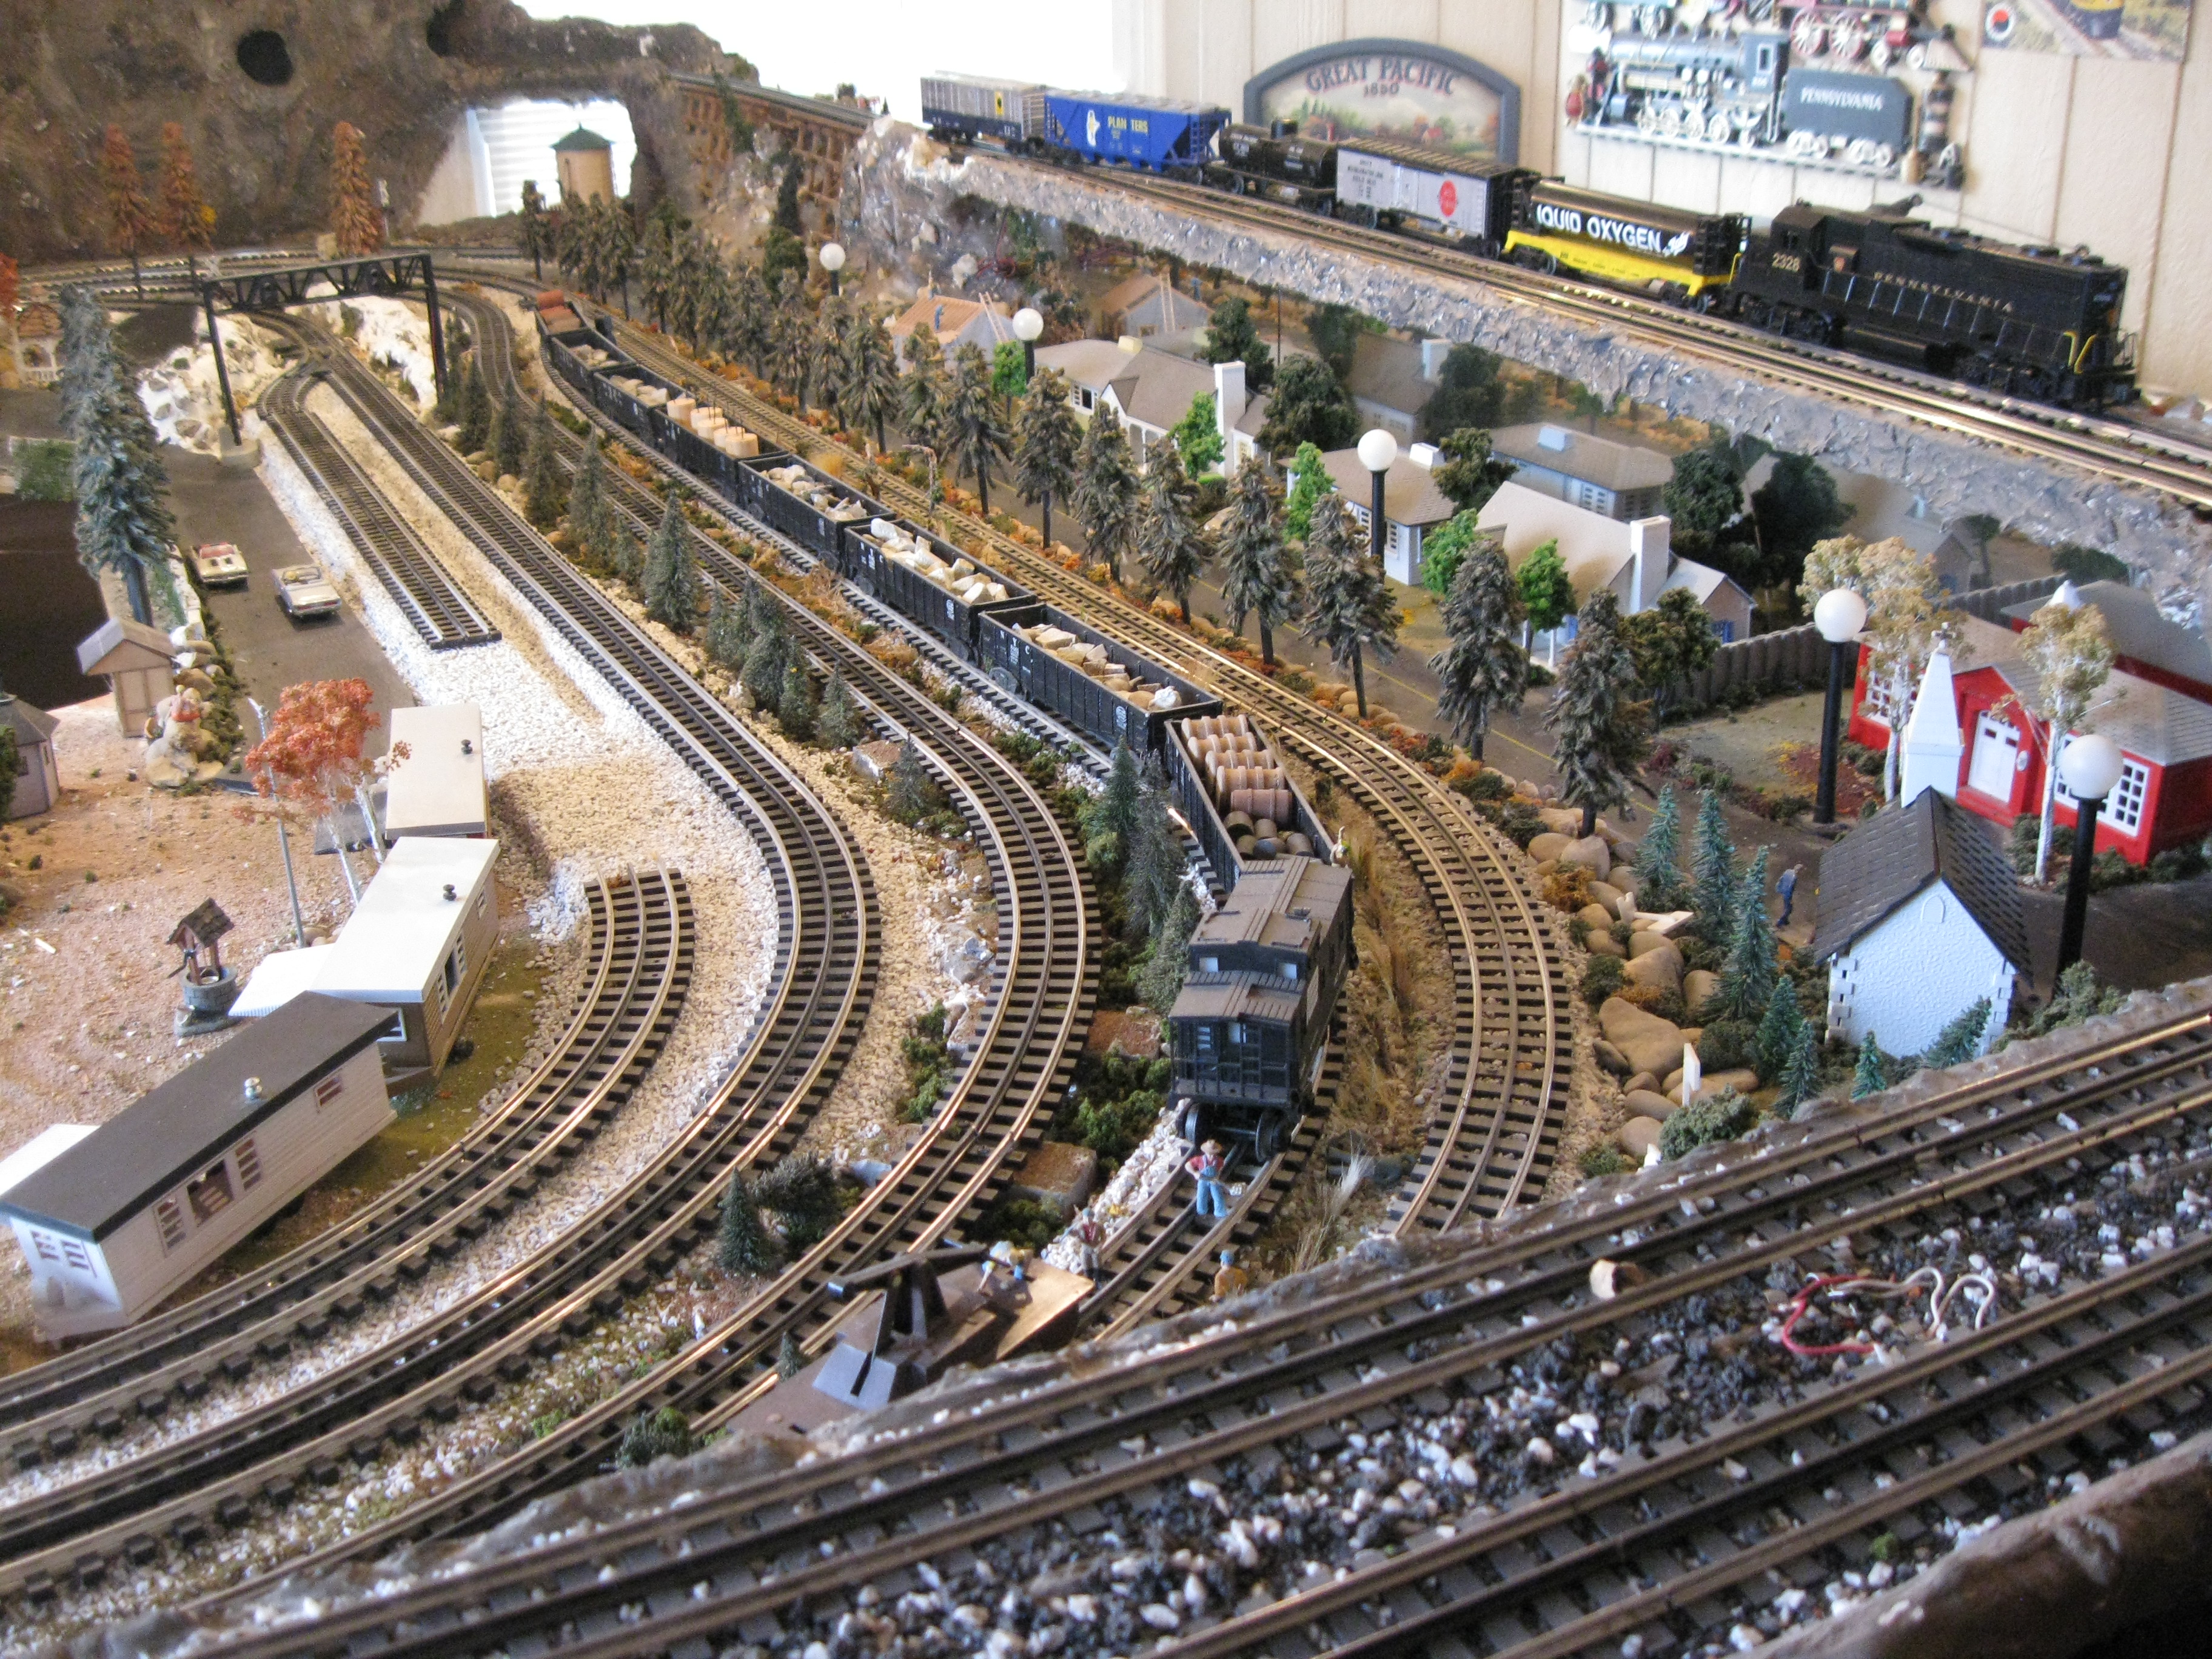
“Thanks for all the great info you provide, I Am looking to sell my entire layout, I have provided a few pics, It is very highly detailed, with Gargraves O Scale Phantohm Rail Track and Ross Switches, It is around 90% complete, But is approx. 14′ X 10′ in 1 section, could be moved with carefull planning, It is in a temperature controlled garage, I have tons of Extras to, Let me know what you think, Or if you need more pics to see if you want to show it,

Thanks so much

Mark”

O scale train layout

O scale train layout

O scale train layout

O scale train layout


“Alaister,

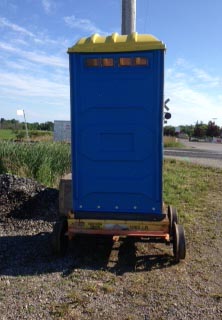
My son and his wife found this in Smithville Ontario Canada recently. Not sure what to call it but jigger loo might work
Cheers

Perry”
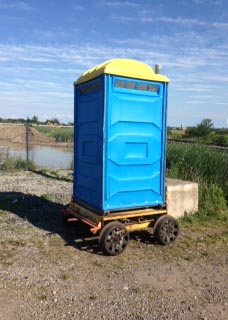
railroad toilet

railroad loo

Perry’s pics made me laugh so I thought I’d share them!


“I found a new source for plaster cloth. Walmart sells a 4″x180” roll for
$6.49 It is called “Rigid Wrap Plaster Cloth” and can be found in the kids section. If your local store doesn’t stock it you can get it shipped to your local store for “free”. Scenic Express product sells for about same price but shipping and handling is $8.00.

Randy”


“The only tip i have at the moment is i have found station platforms seem to be very expensive. so what i use now a days is plasterboard. naturally depending on how big you want your station but they are easy to cut, manipulate and paint. i then use balsa wood on one edge and carve out the station side and brickwork on the outer side.
regards

david”


A big thanks to Kim for sharing his homemade model train track cleaner. And to all the others too.

That’s all for today folks – please do keep ’em coming.

And if today is the day you get started on your layout, the Beginner’s Guide is here.

Best

Al

PS Latest ebay cheat sheet is here.

PPS More HO scale train layouts here if that’s your thing.


printable buildings

And there’s the Silly Discount bundle too.

Another dollop of pics and tips

“Hello Al,

Go to the kitchen: it is a wonderland of scenic bits.

Dried oregano can be used two ways to make very convincing greenery. Used as it comes from the bag, it is a dull green-brown which is a perfect match for many different shrubs and leaves. A coat of spray varnish (carry out a test and give it a week to see how the varnish reacts with the herb) will seal it. If you spread it out and let it sit a couple of months, perhaps on a window ledge to get the sun, it fades to a neutral tannish colour. Use it like this or grind it up a little between your palms for variety. Dried basil is similar in use but seems to fade faster and in my experience becomes brittle, but this may work well for someone making a ‘sun-drenched’ setting.

Dried onion flakes (not powder) can be tinted to any number of subtle colours with a wash of water-based paints, and keeps some of it’s original hue. This feature is especially useful for detailing areas where you want to ‘bring alive’ a section of shrubbery. Once it is tinted, let it dry thoroughly and grind it between your palms.

A thin wash of dilute white glue will hold the herbs in place.

Liquorice sticks in their natural state are perfect little logs.

Hope this helps,

Bruce”


“Hi Al,

I have found that touching up my Metcalf buildings with a felt tip pen to get rid of the white edges etc. makes a bit difference to a building.

Regards

Duncan”


“Alstair,

For Chain Link Fence, I’d use netting – a material sold in fabric shops that is used for making wedding dress veils. It is fabric and can be cut with scissors. If you use screen, I’d choose aluminum screen over steel because of the possible rust staining the layout.

Cats and train layouts do not mix.

Mine chewed the tops off of 2 skewer stick pines made from fondue skewers and furnace filter patches covered with ground foam. Loose ballast and coal is a definite no-no. Wiring becomes an object of attention if left to dangle beneath the layout. Any fine layout detail under the paws of a large (read that Maine Coon variety) kitty is subject to damage and at the very least, relocation. No cars or locomotives are left near the edge of the layout and stray cars that move on the4 track when bumped become the new “mouse” for kitty to play with.

Locomotive tender trucks can be used as additional sources of electrical pickup and connected to the locomotive using miniature 2 pin connectors.

Tunnels should not be longer than arms length and definitely not located in the farthest corner without access holes somewhere below.

Duckunders are fine when you are in your 20’s or 30′ but as you age, the novelty of extended running through their use diminishes.

Charlie”


“Hello Al,

I don’t know about the rest of your followers, but I find when the layout is finished and running well, I get itching to make amendments and alter things, hopefully for the better.

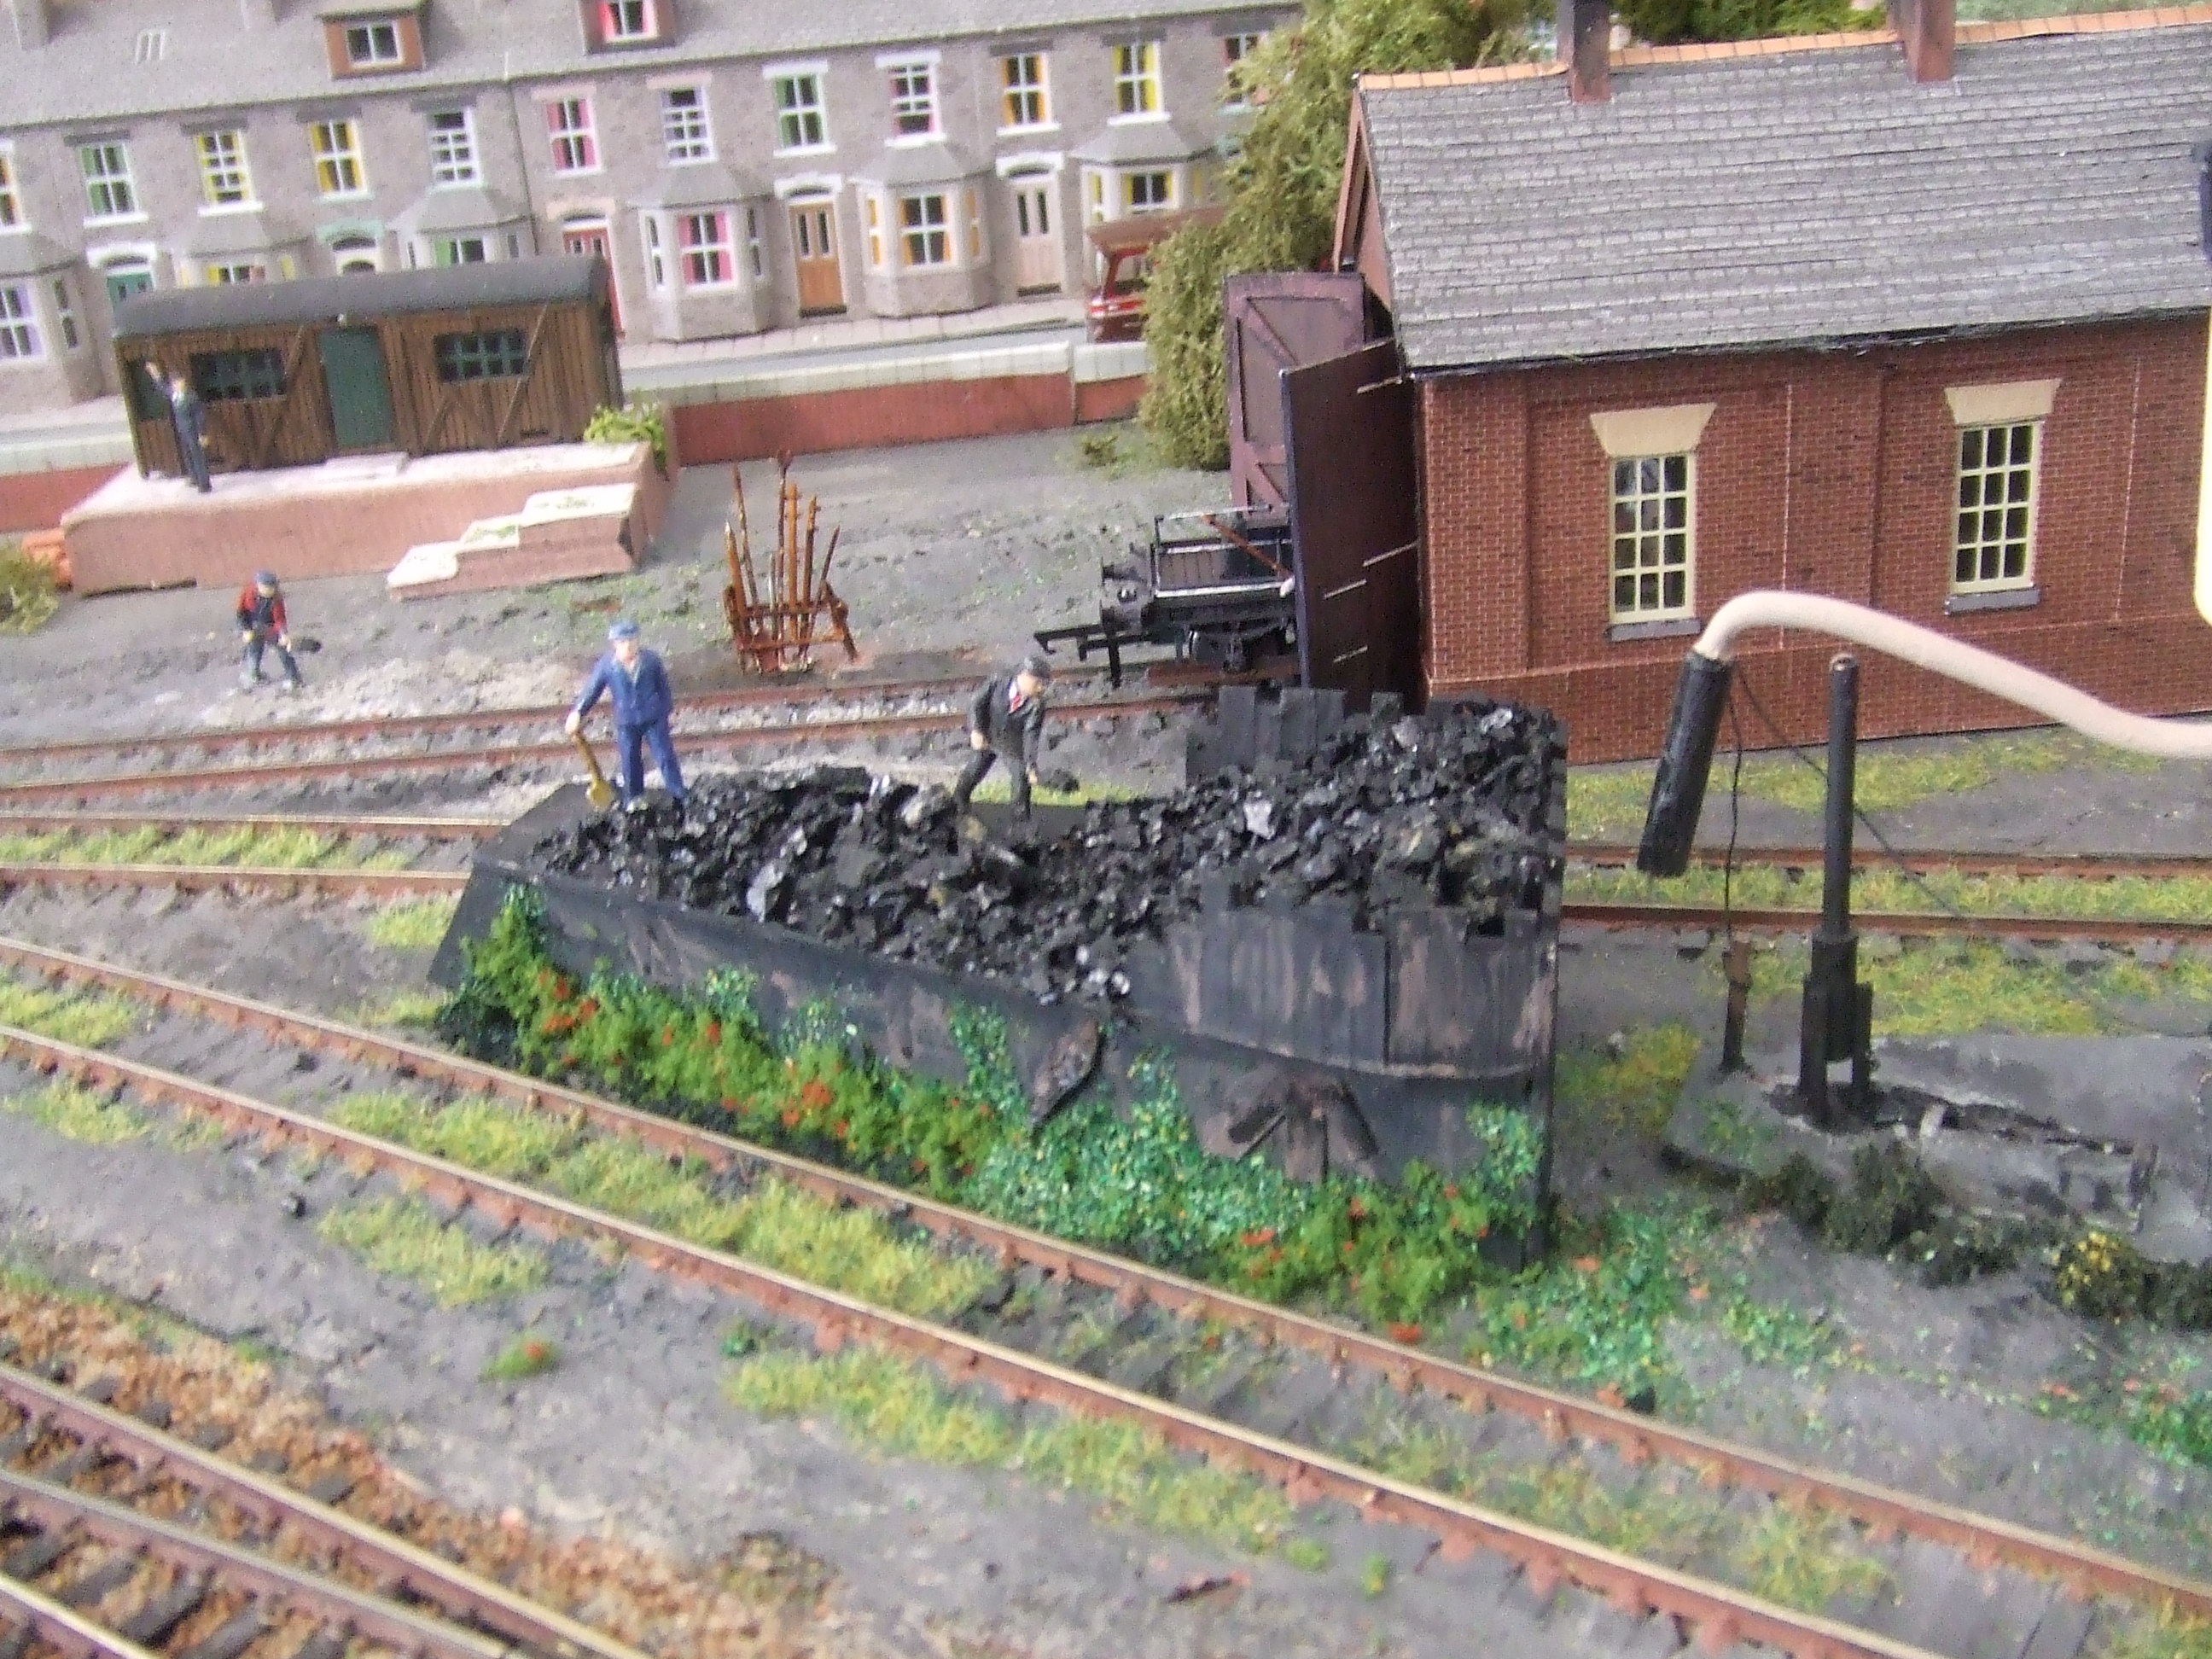
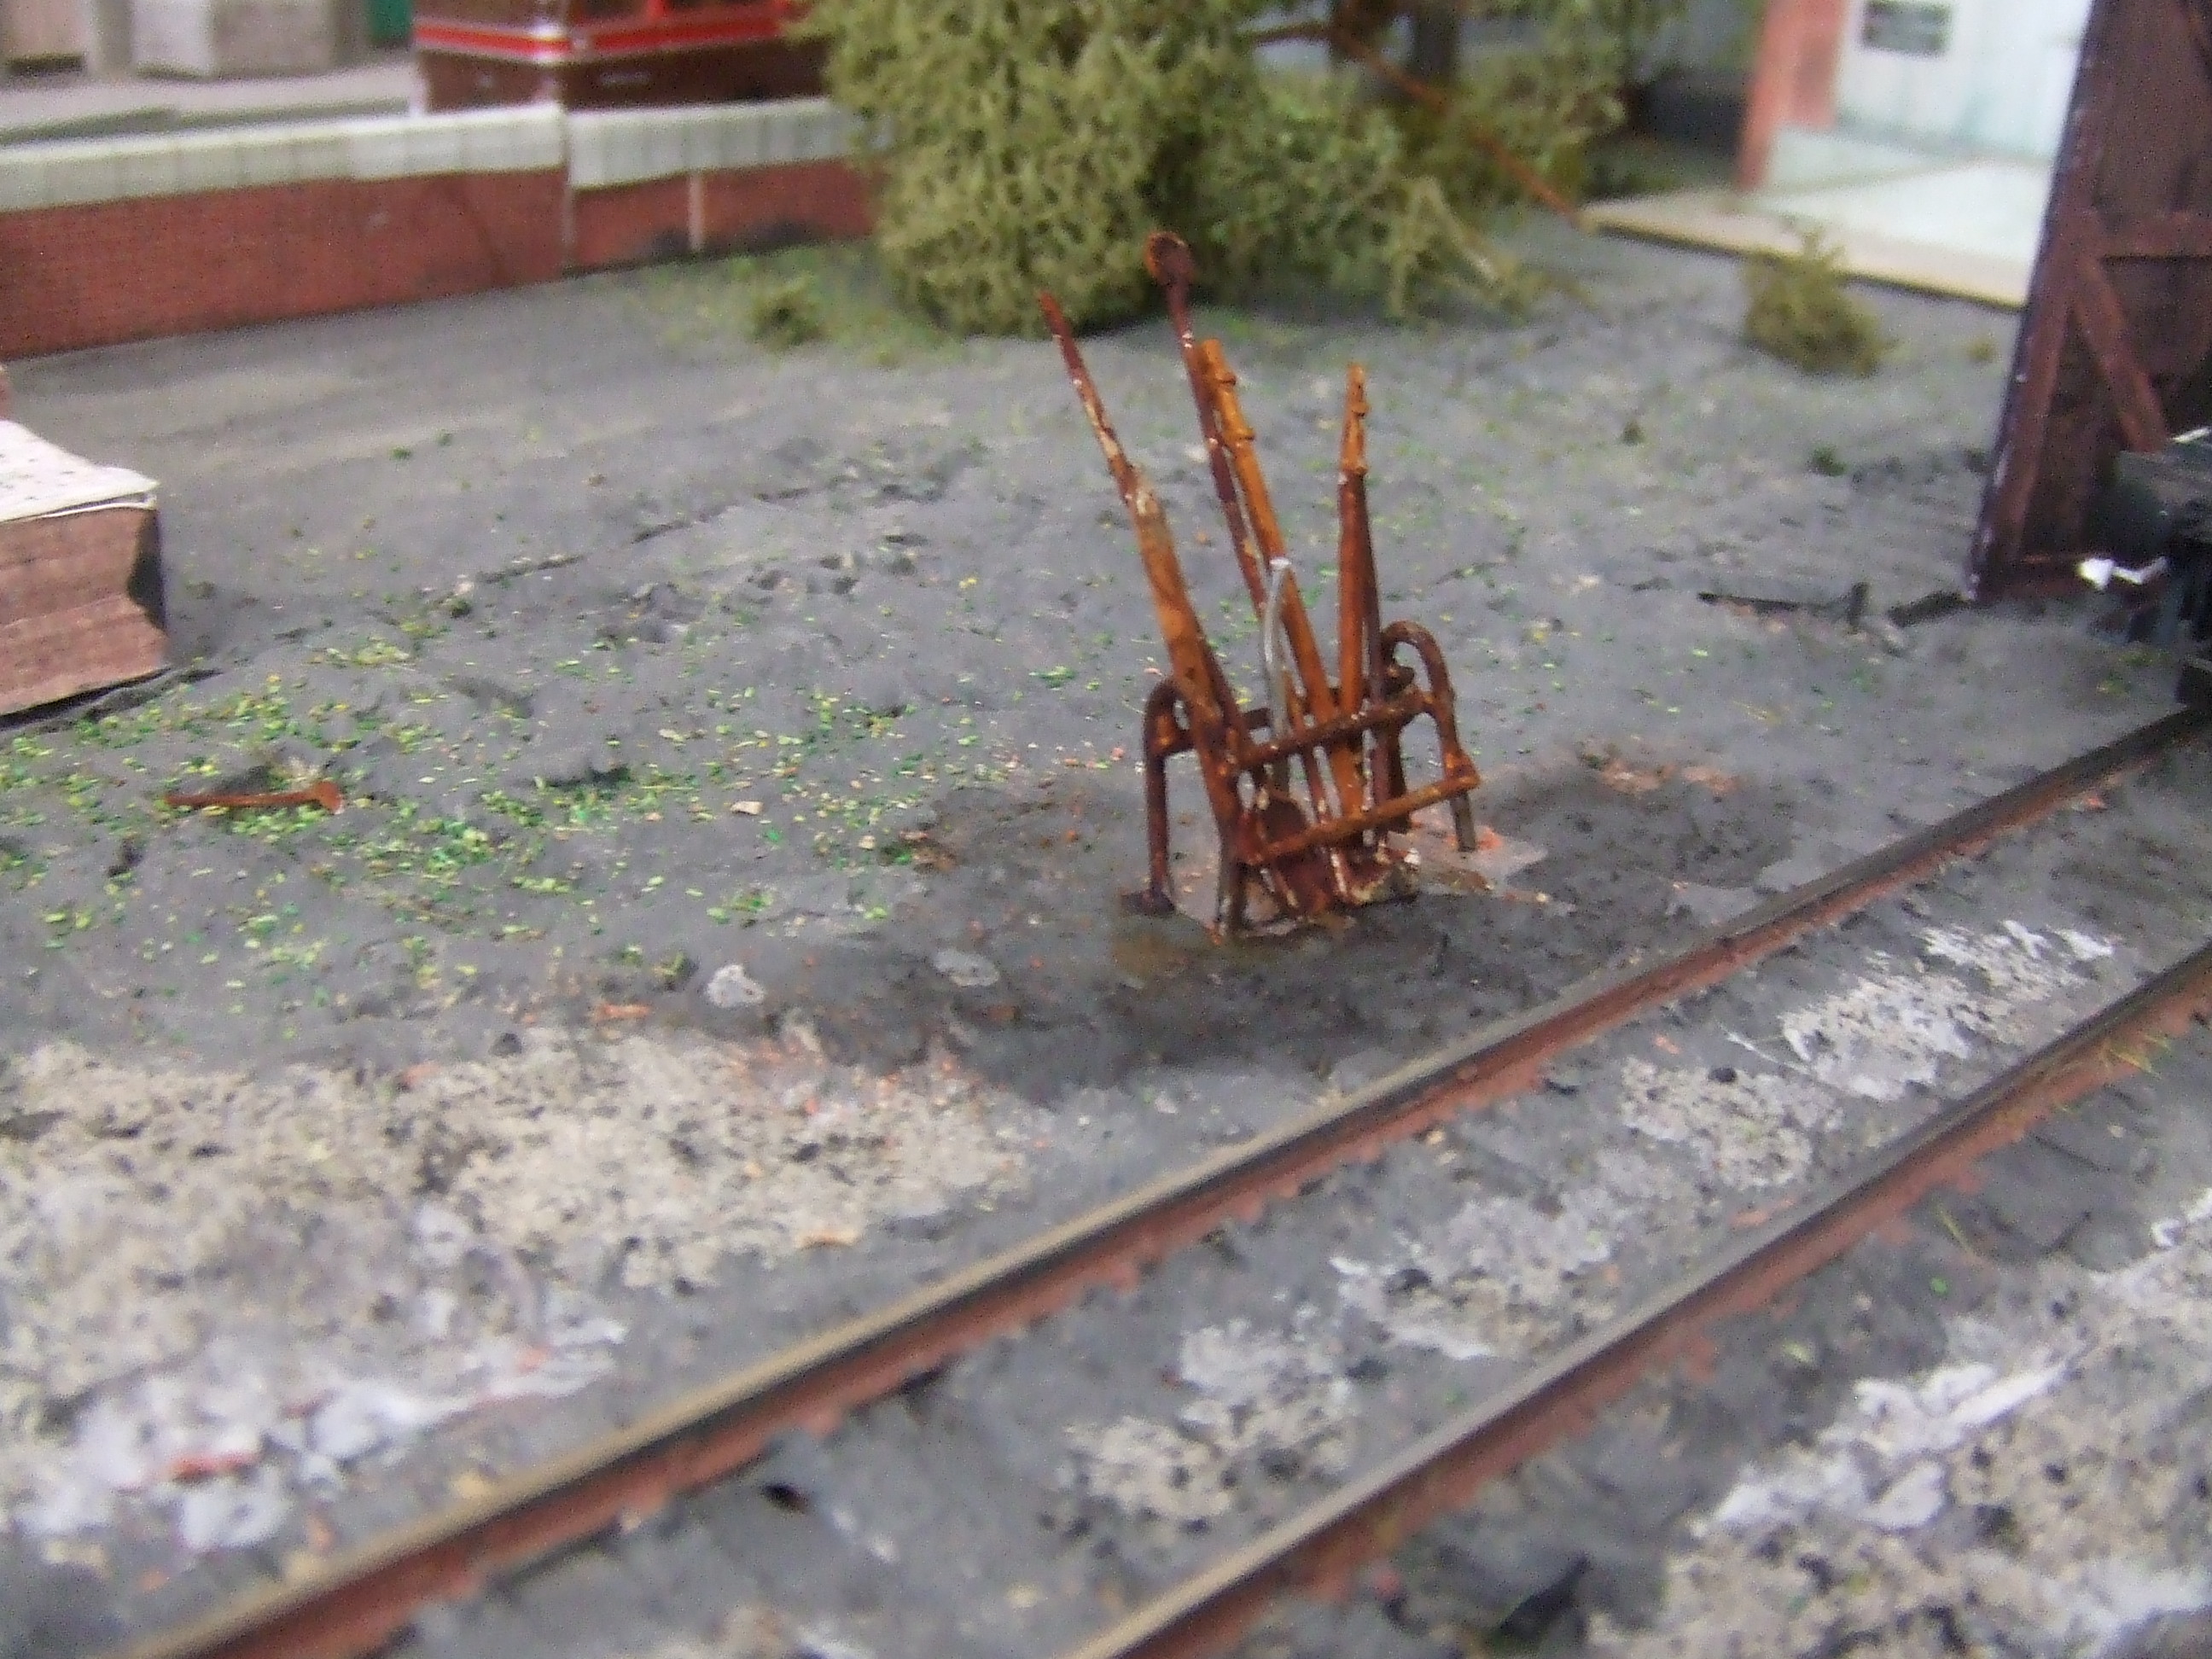
To this end I thought I would make a fire iron stand which I saw at the old Somerset & Dorset sheds at Highbridge. I already had some ready made fire irons and made some more using bits of thin wire. The stand was made from a paperclip soldering the pieces together.

(not for the faint hearted) Tricky is an understatement, but it’s not a bad effort. Its so small you cant see the imperfections. When complete it was painted with Modelmates RUST.

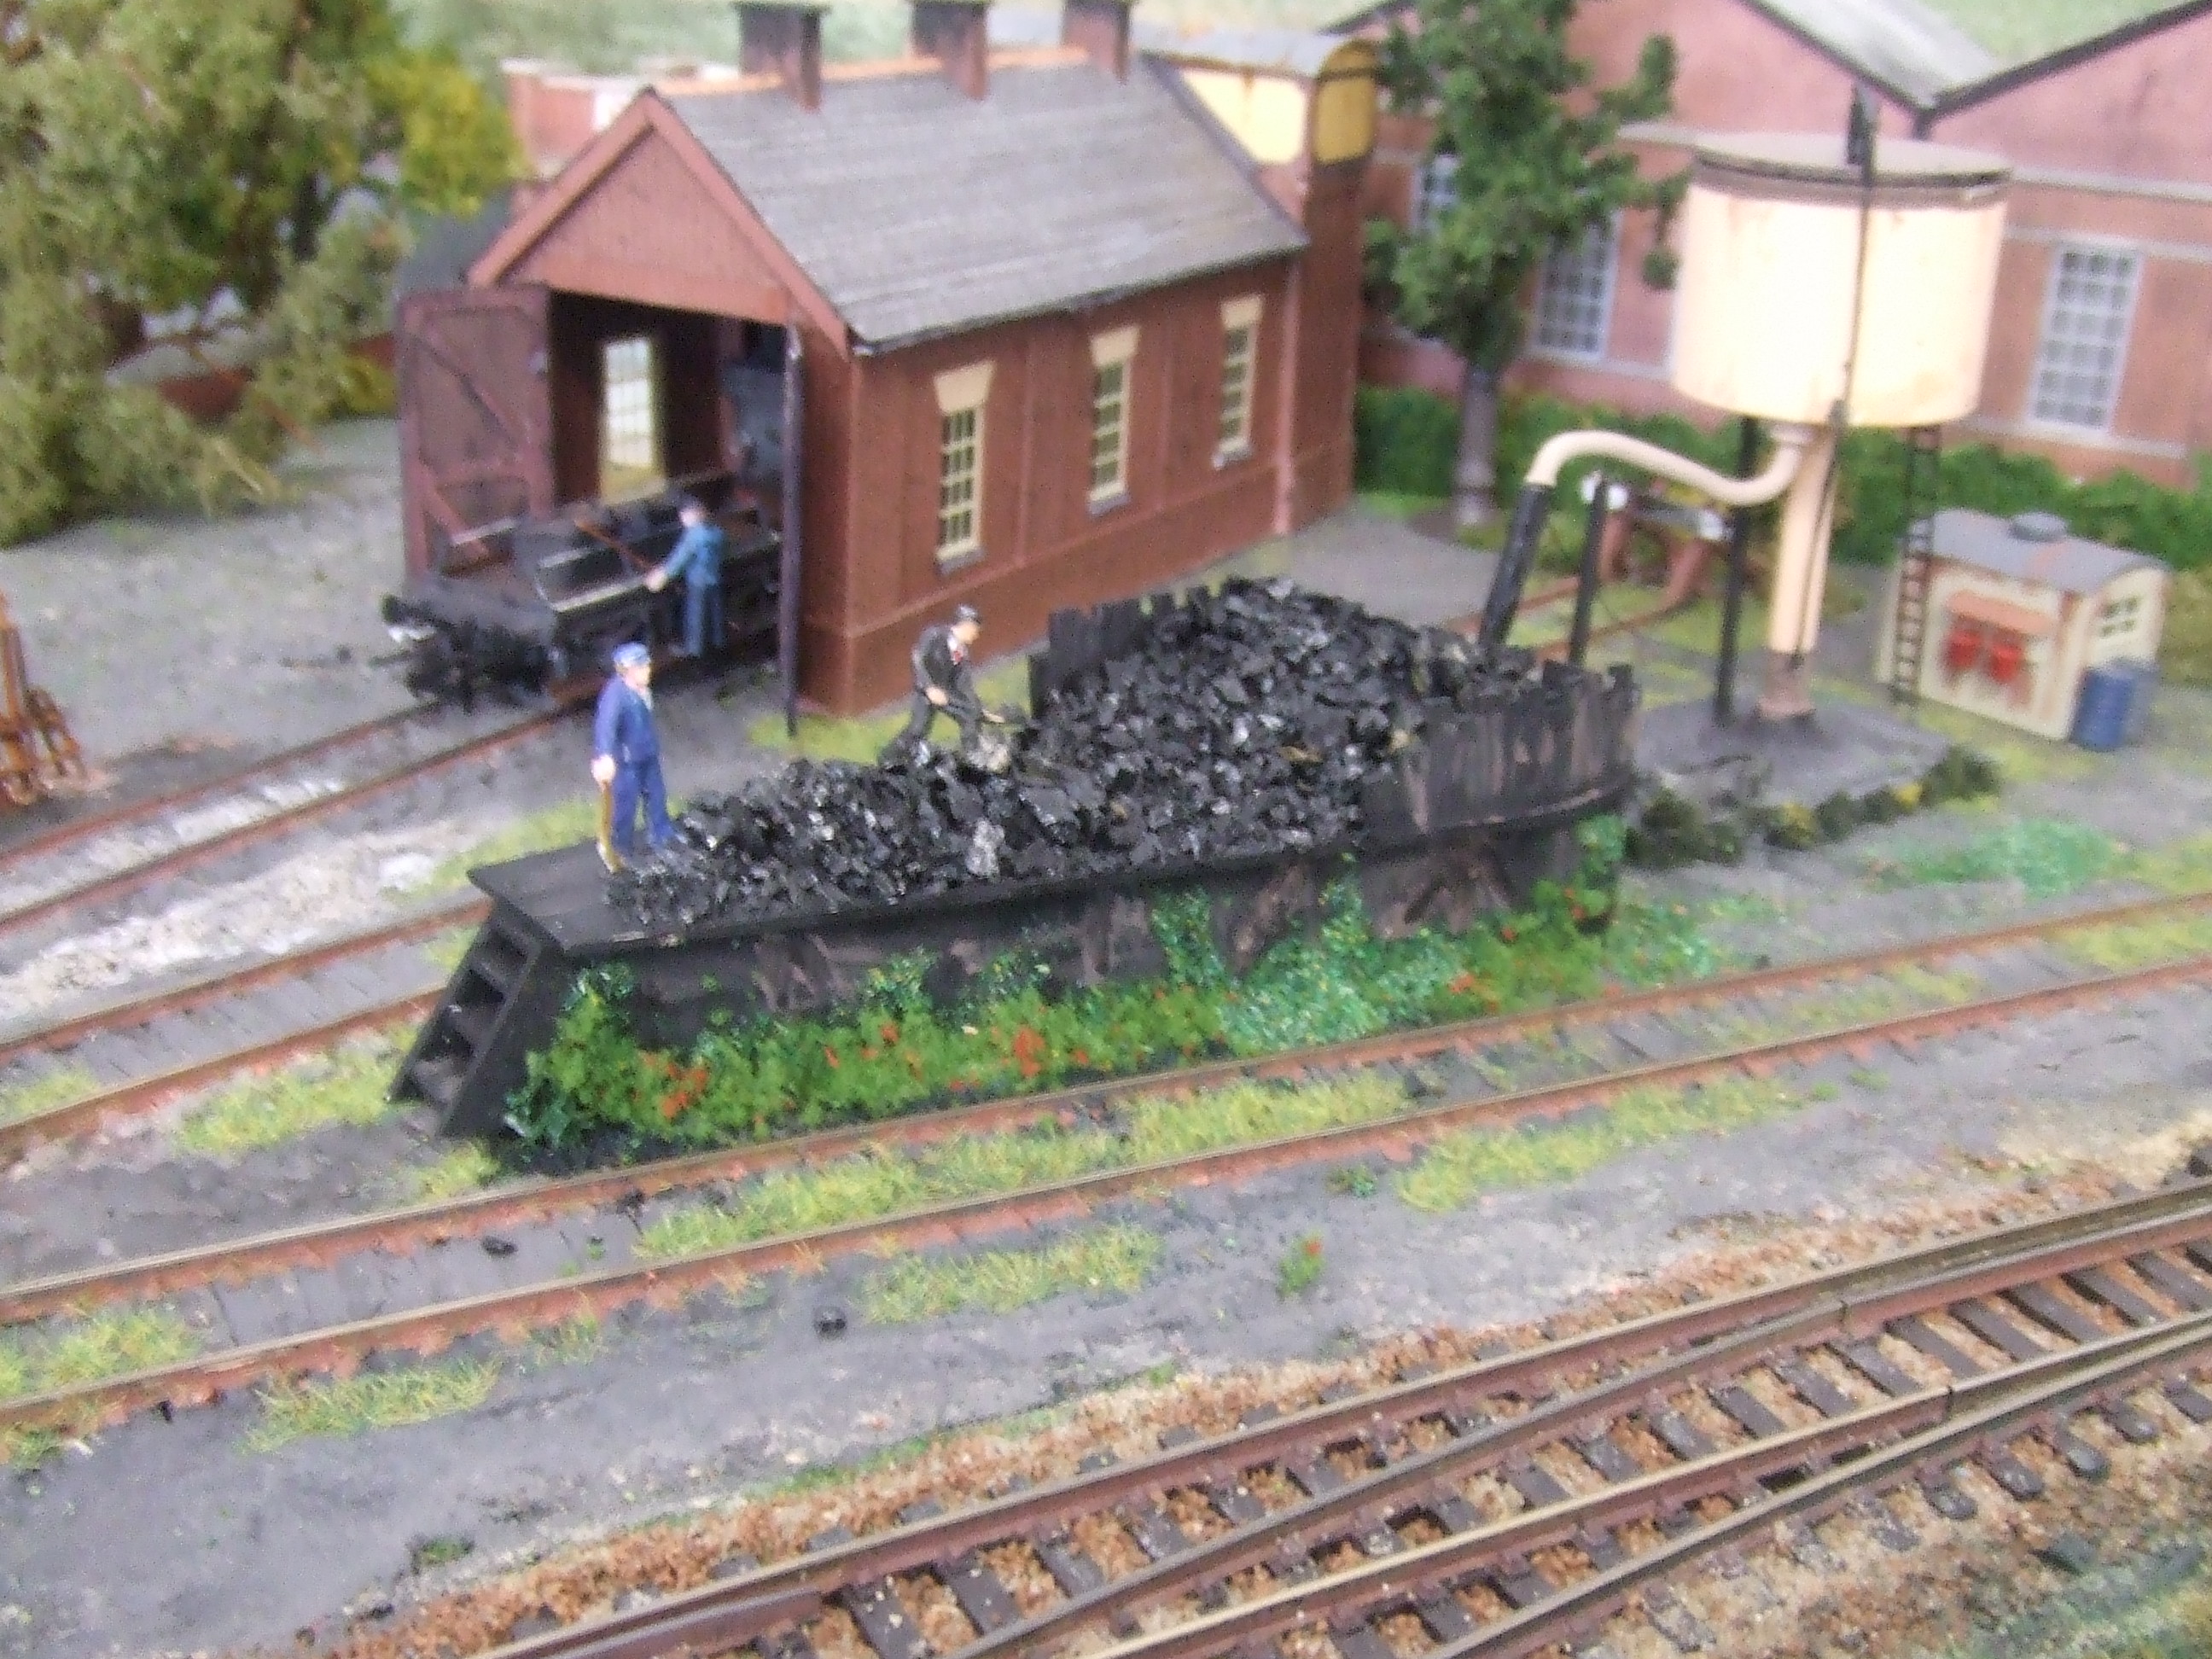
I already had a coaling stage from my first layout which was OK but itching to improve things. I decided to make one to fit between two tracks radiating from a 3 way point. One track leads to the loco shed and the other two are used for coaling & watering, except that the coaling stage only served one track. So I built a V shaped stage so that locos on either track could be refueled. It was constructed from mount board, scoring lines to represent old sleepers and varying the lengths of each to mimic the real ones. The water tower was moved behind the new stage.

Incidentally, the fire devil ( a device for preventing the water freezing in the pipe of the water tower) was made using different size lengths of plastic tube.

Thats all for now I hope it will be of some interest. Keep up the good work

Best wishes

Alan”


That’s all for today folks.

Please do keep ’em coming, because I enjoy your missives as much as you do.

And if today is the day you get started on your layout, the Beginner’s Guide is here.

Best

Al

PS Latest ebay cheat sheet is here.


The good, the bad and the ugly

“Dear Mr. Lee,

After at least two failed attempts to send you a narrative with photos of my current layout project, here are some individual photos. Hopefully you will enjoy them.

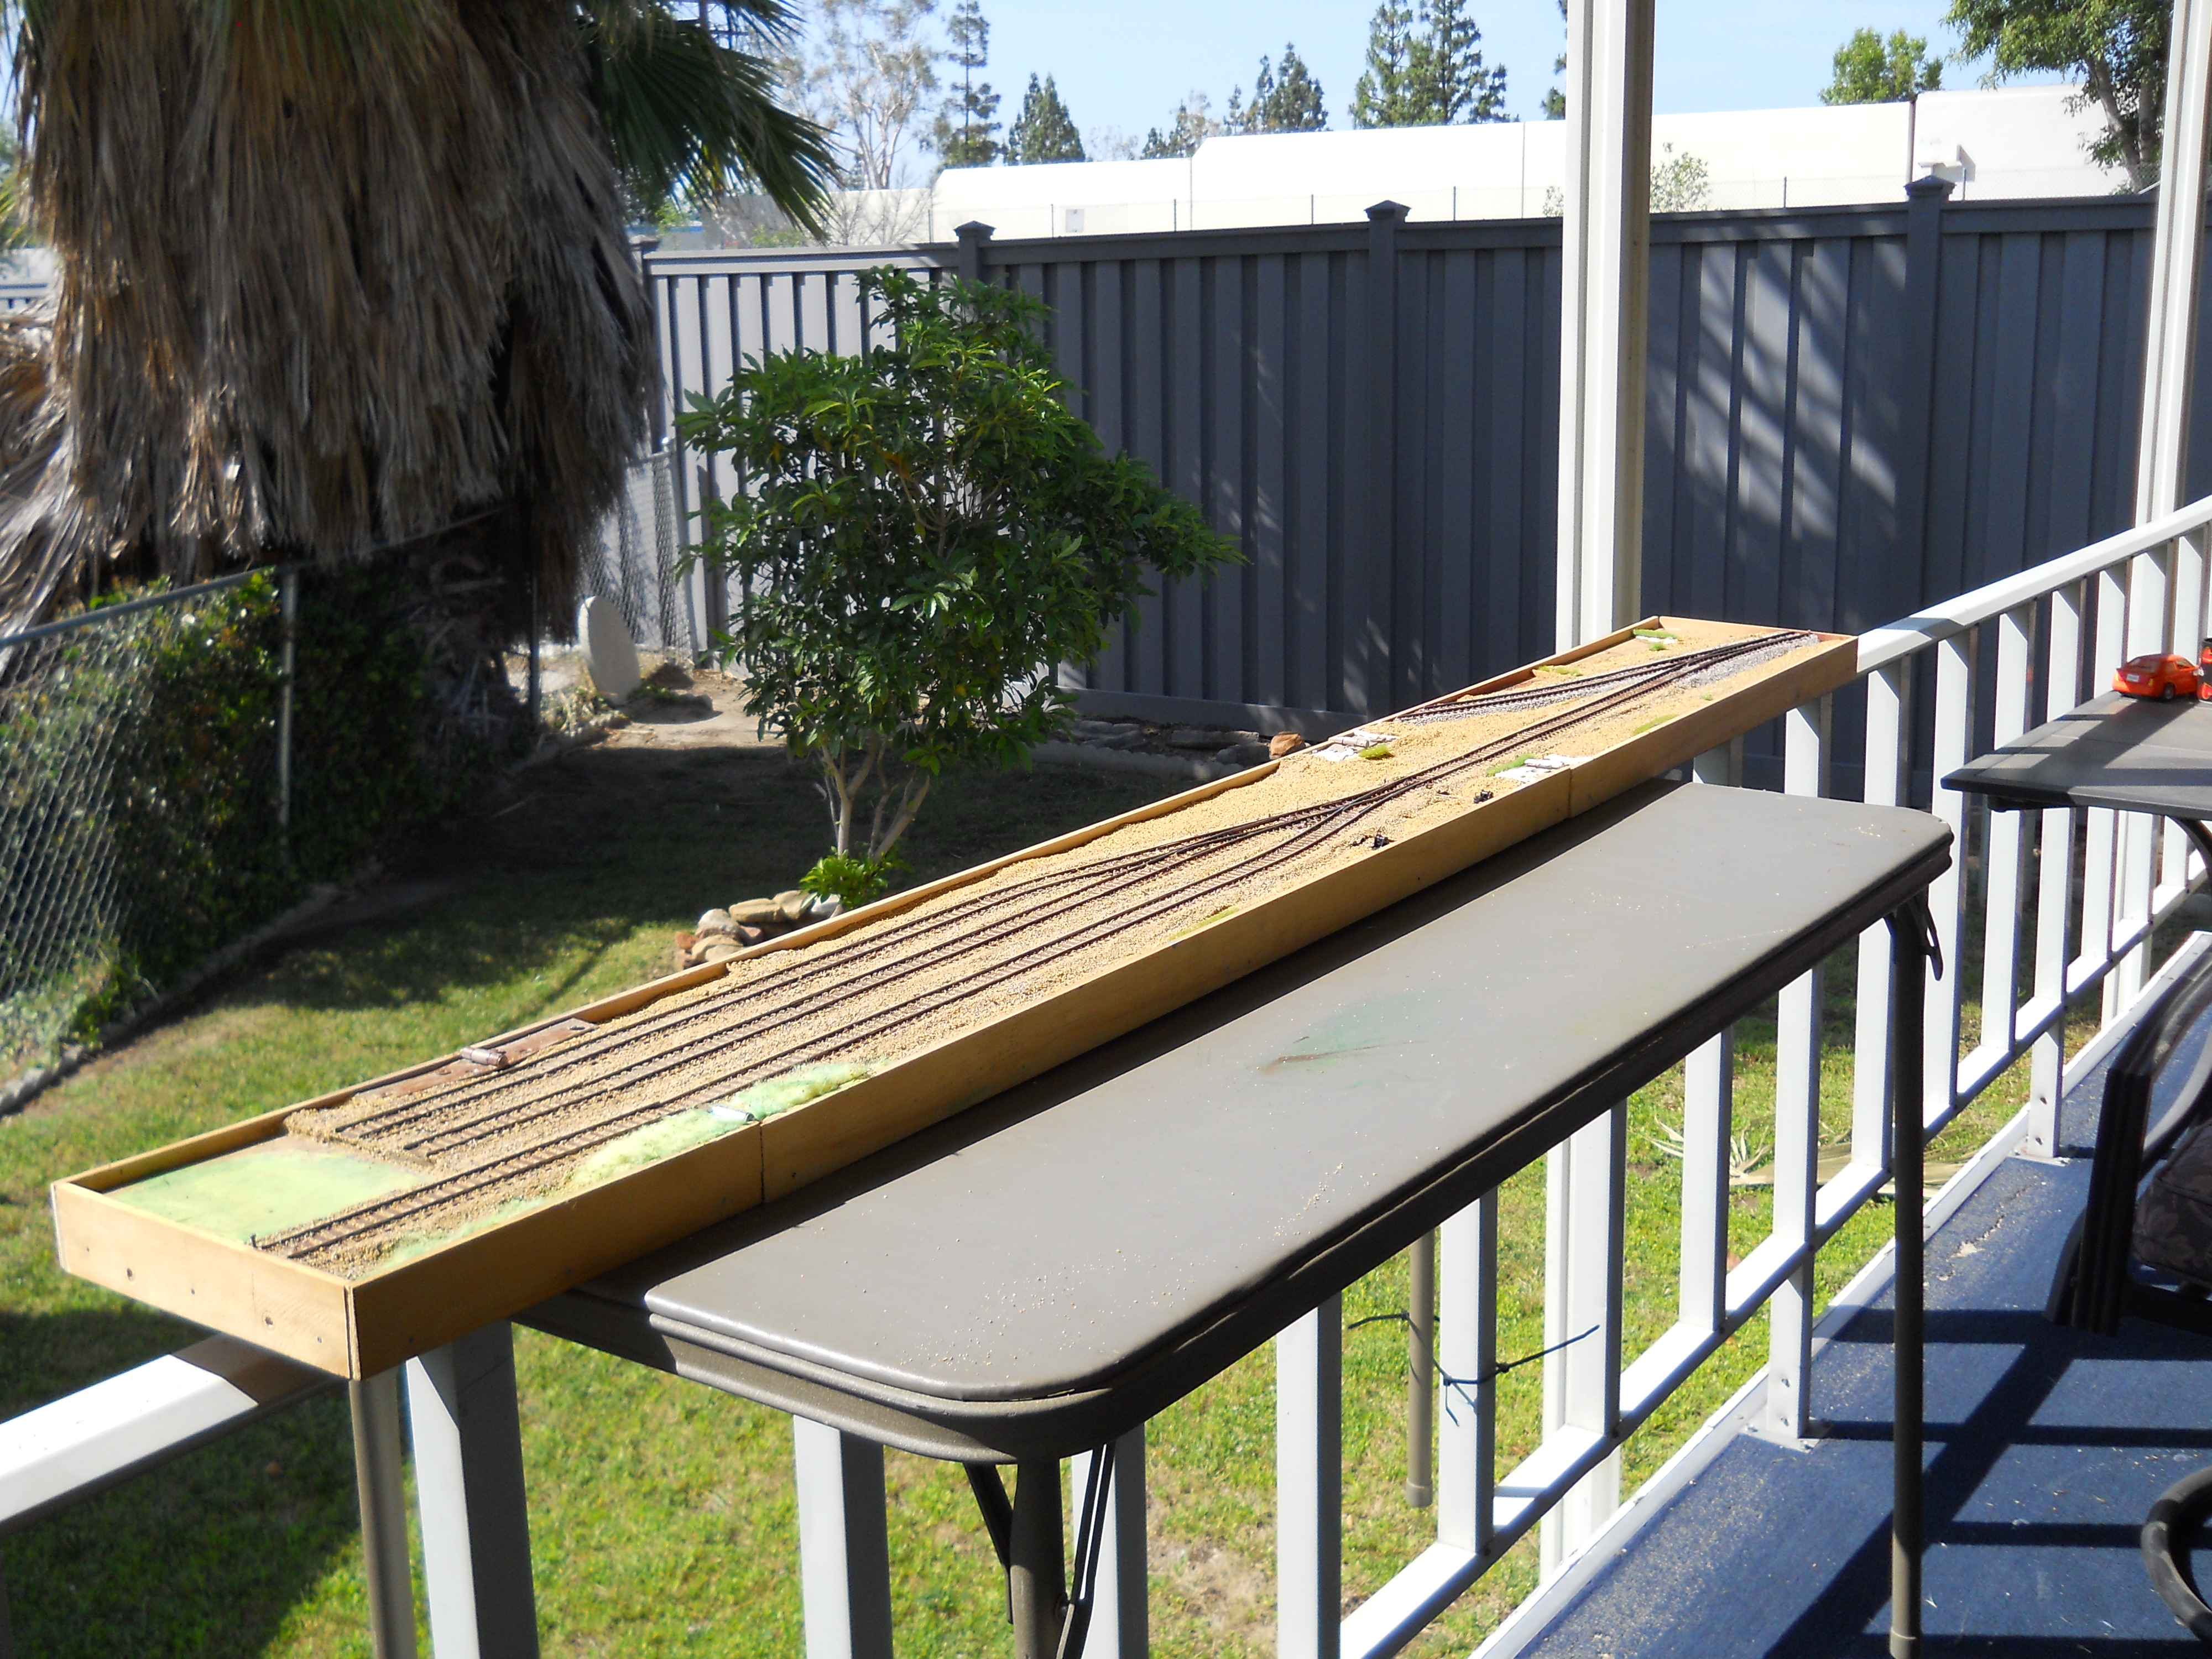
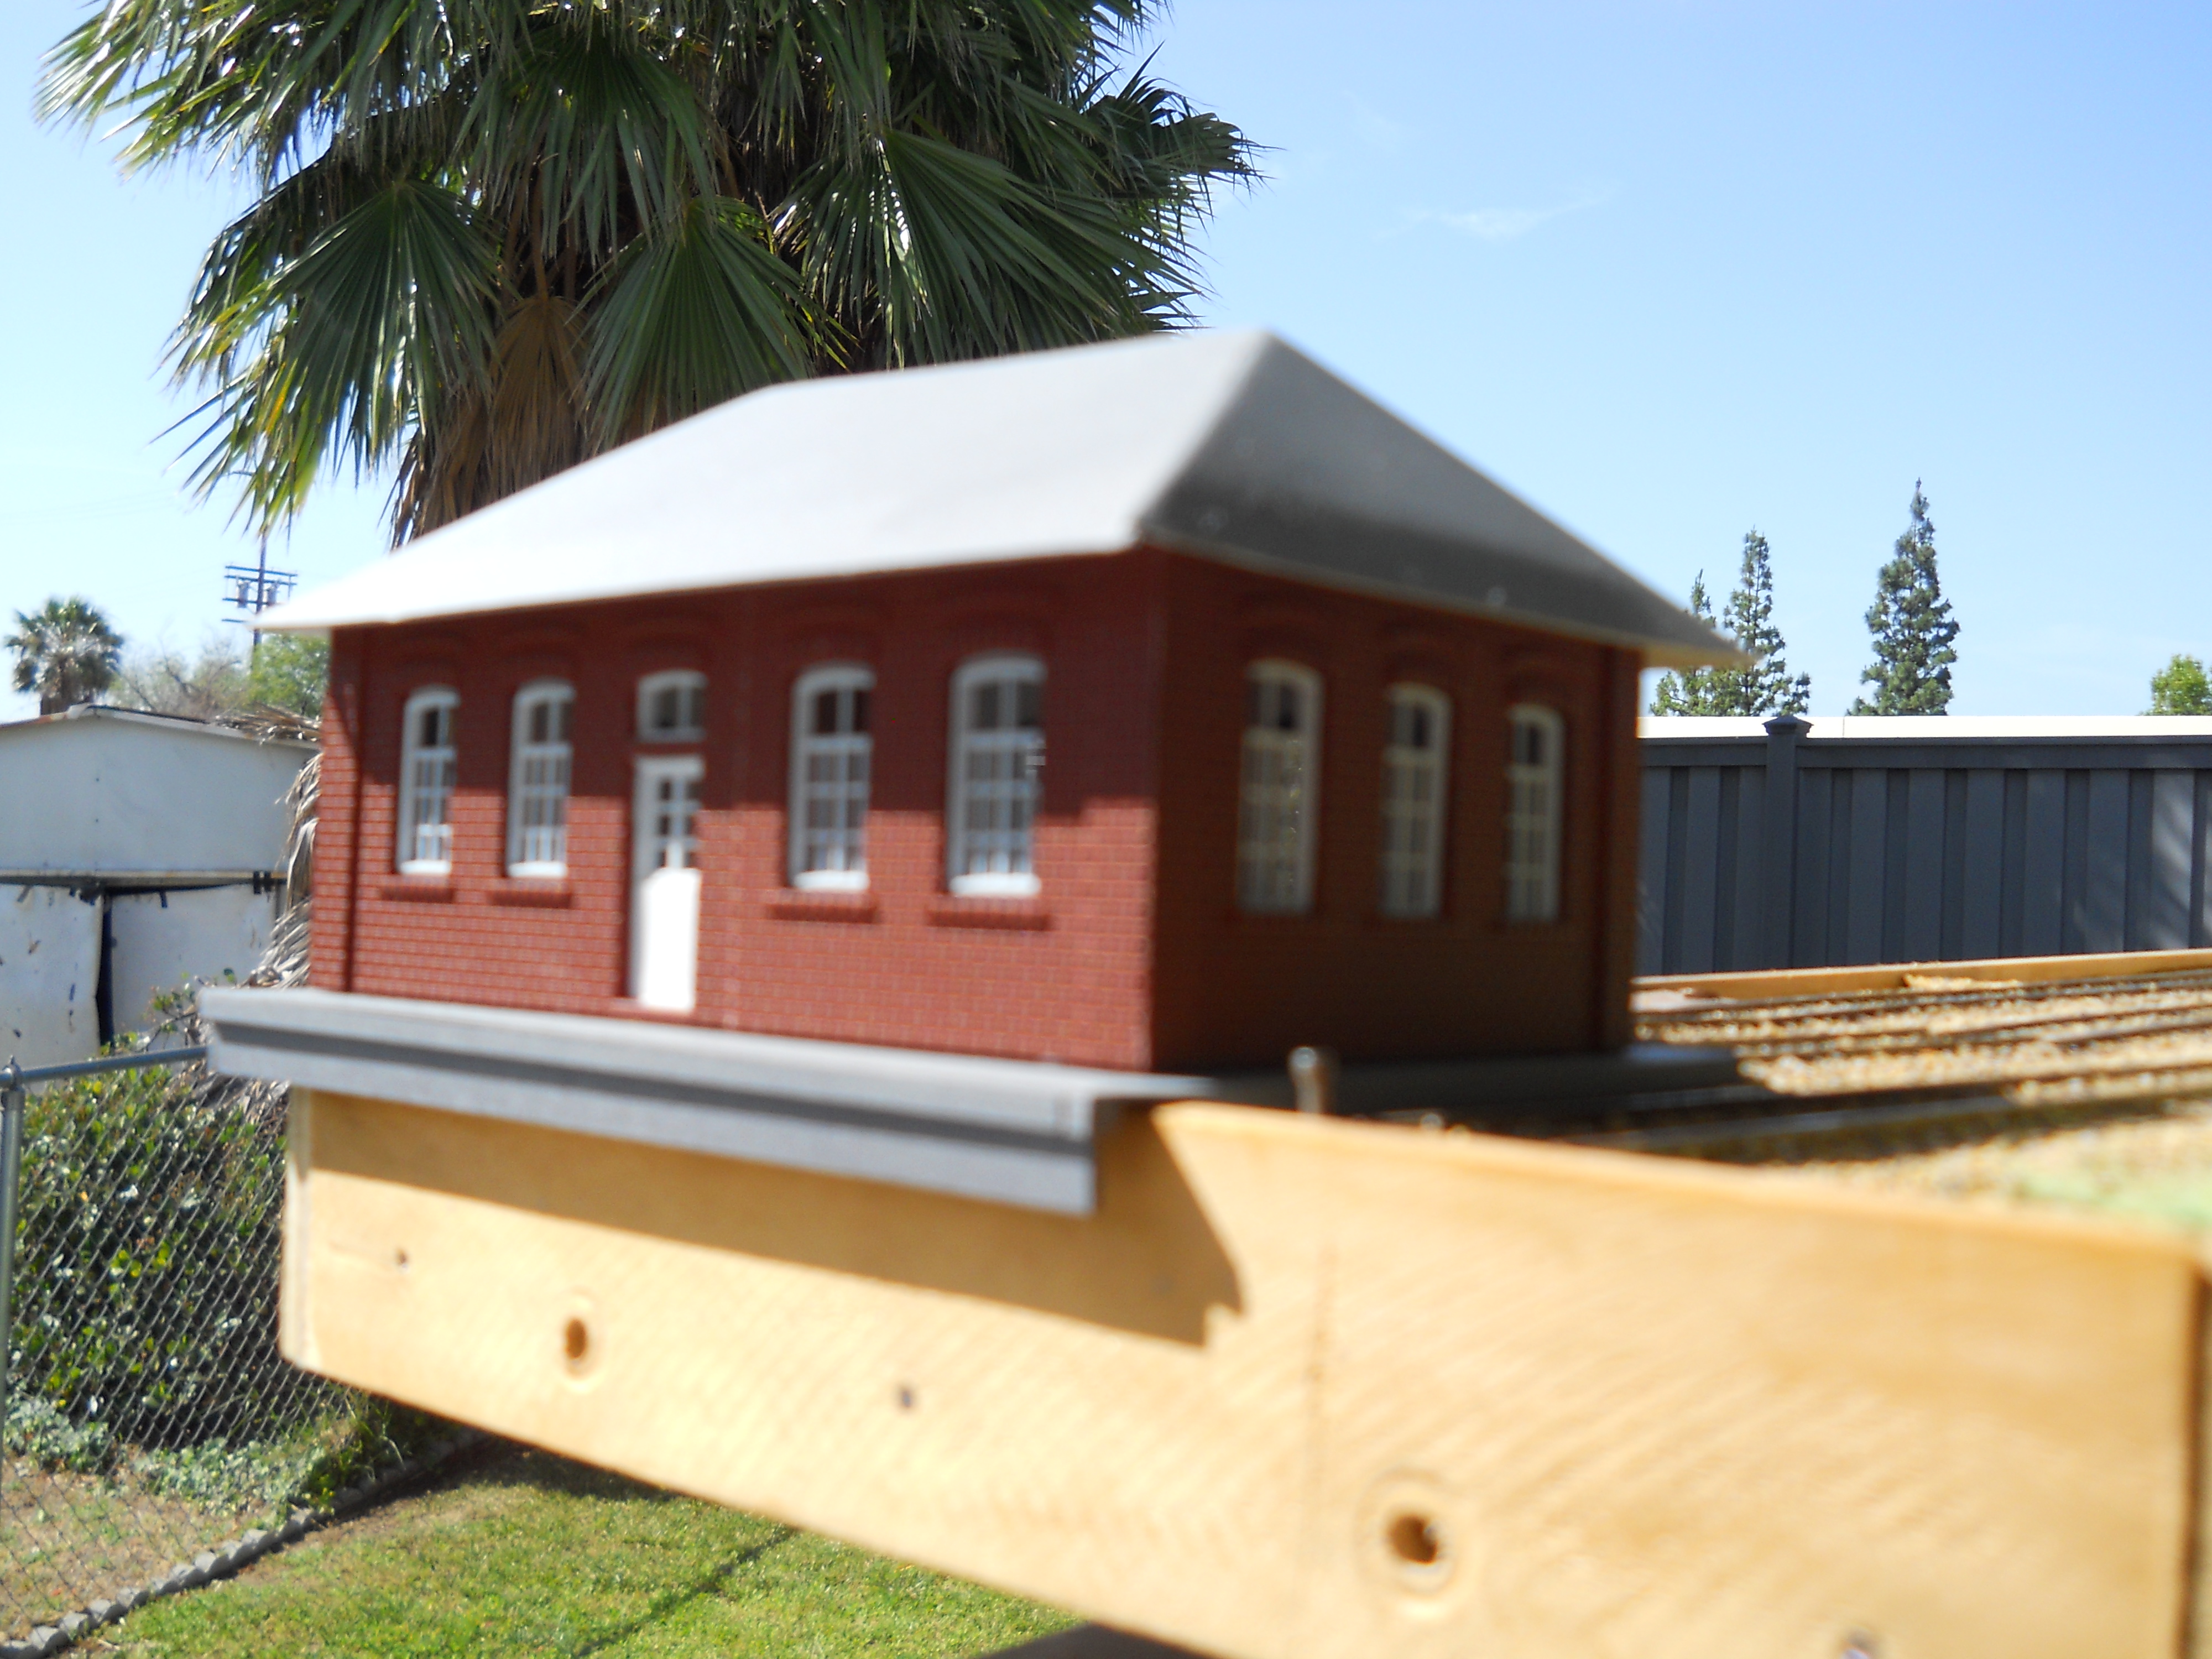
The layout is an 8.5 inch by 72 inch Inglenook that folds into an 8.5 inch by 36 inch space. To be more specific, it is a “proper” 3-3-5 Inglenook plan using Peco turnouts and Atlas track. The structures are all designed to “Plug-in” to specific areas on the layout. Two of the six structures are kitbashed and the balance have been scratchbuilt from plasticard and styrene strips. Most of the photos were taken outside in with the morning sun lighting the layout; the last photo is of the layout in its normal home.

If you enjoy these, I can also send you photos of my other layout — Mischief –. Mischief is a Timesaver that is 12 (or 14) inches wide (need to check again) by 72 inches long and also folds into a 36 inch long package for easy transport.

Sincerely,

John”


“Hi Alastair,

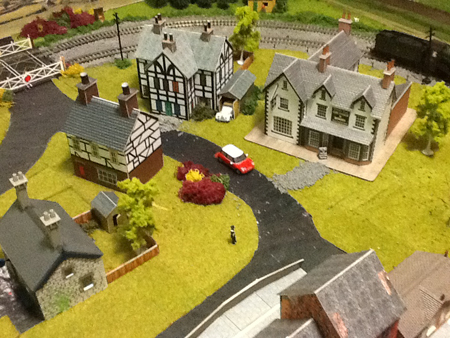
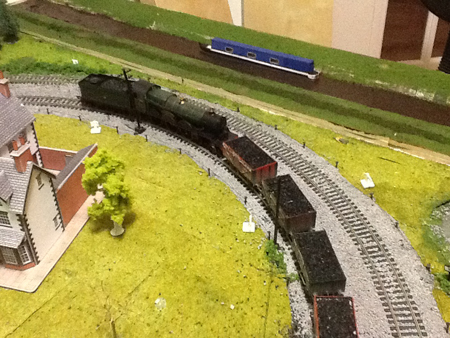
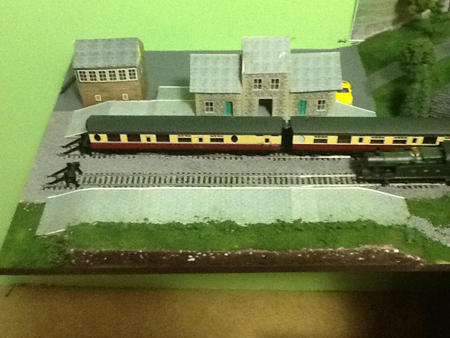
I just thought that I would send you some pics of my layout. I think it’s interesting because it’s actually a hornby trakmat layout (as I don’t have that much space for a massive layout) but I’ve added a whole new section, aswell as a canal and other small bits. It might interest people with smaller layouts.

Many thanks,

Mark”


And now on to the good, the bad and the ugly.

They are, of course, the comments I got after announcing what I’m doing with the mailing list.

Because it’s costing me too much, I can’t mail everyone any longer.

Monday will be my last mailing day – then I’m just mailing the folk who have bought the ‘golden key’.

The good: Most folk understand and sent some wonderful messages of support, like David’s

“…Now I come to the purpose of this email. Your web site and all those contributors is an inspiration and I have signed up to Golden Key to ensure I continue to be inspired. I hope, as our layout develops, I will be able to share our puny efforts with you and all your other satisfied subscribers. Thank you so much for all the work you devote to our enjoyment.

David”

The bad:
Many people mailed me saying they’d like to carry on with the mails, but they just can’t afford it. It does sadden me, but that’s why I’m doing this – I’m in the same boat as them. I can’t afford to carry on doing what I’m doing.

“To whom it may concern:

Thought I would be formal about this seeing how you have become all about business and not about the hobby,I have been a faithful subscriber for 4 years, I cannot afford to purchase your golden key nor would I want to as a condition of receiving your post.

It is unfortunate that it has come to this, I really got a lot of good tips for my layout from your mails and will miss reading them. I have been on disability payments for the last 4 years and my model railway is all I have left in my life that brings me happiness,But with my current financial status I do not have the money to spend more than a few dollars here and there, so I find ways to do my scenery using reused household Items,coffee grounds for ballast,limb clippings for trees, so forth.

Sincerely

Tator”

And now on to the ugly. No point publishing them. But it’s safe to say some out there think I’m a “money grabbing shit”.

I do feel stuck between a rock and a hard thing.

My priority now is for the folk that have bought the ‘golden key’. They will still get the mails as normal. Everybody else gets them once in a blue moon. I shall try a couple with ads on, as Walter suggested, to see if they can pay for themselves, but please don’t hold your breath.

If you’d like to carry on getting the mails, click here to buy the Golden Key.

Lastly, on to Dangerous Dave.

It really has been a big week for me, so his latest cheered me up no end. I think you have to be familiar with his other stuff to find it funny. But you all are, aren’t you?


Best

Al

PS Latest ebay cheat sheet is here.