Rod’s been in touch with his European model railroad:
“Dear Al,
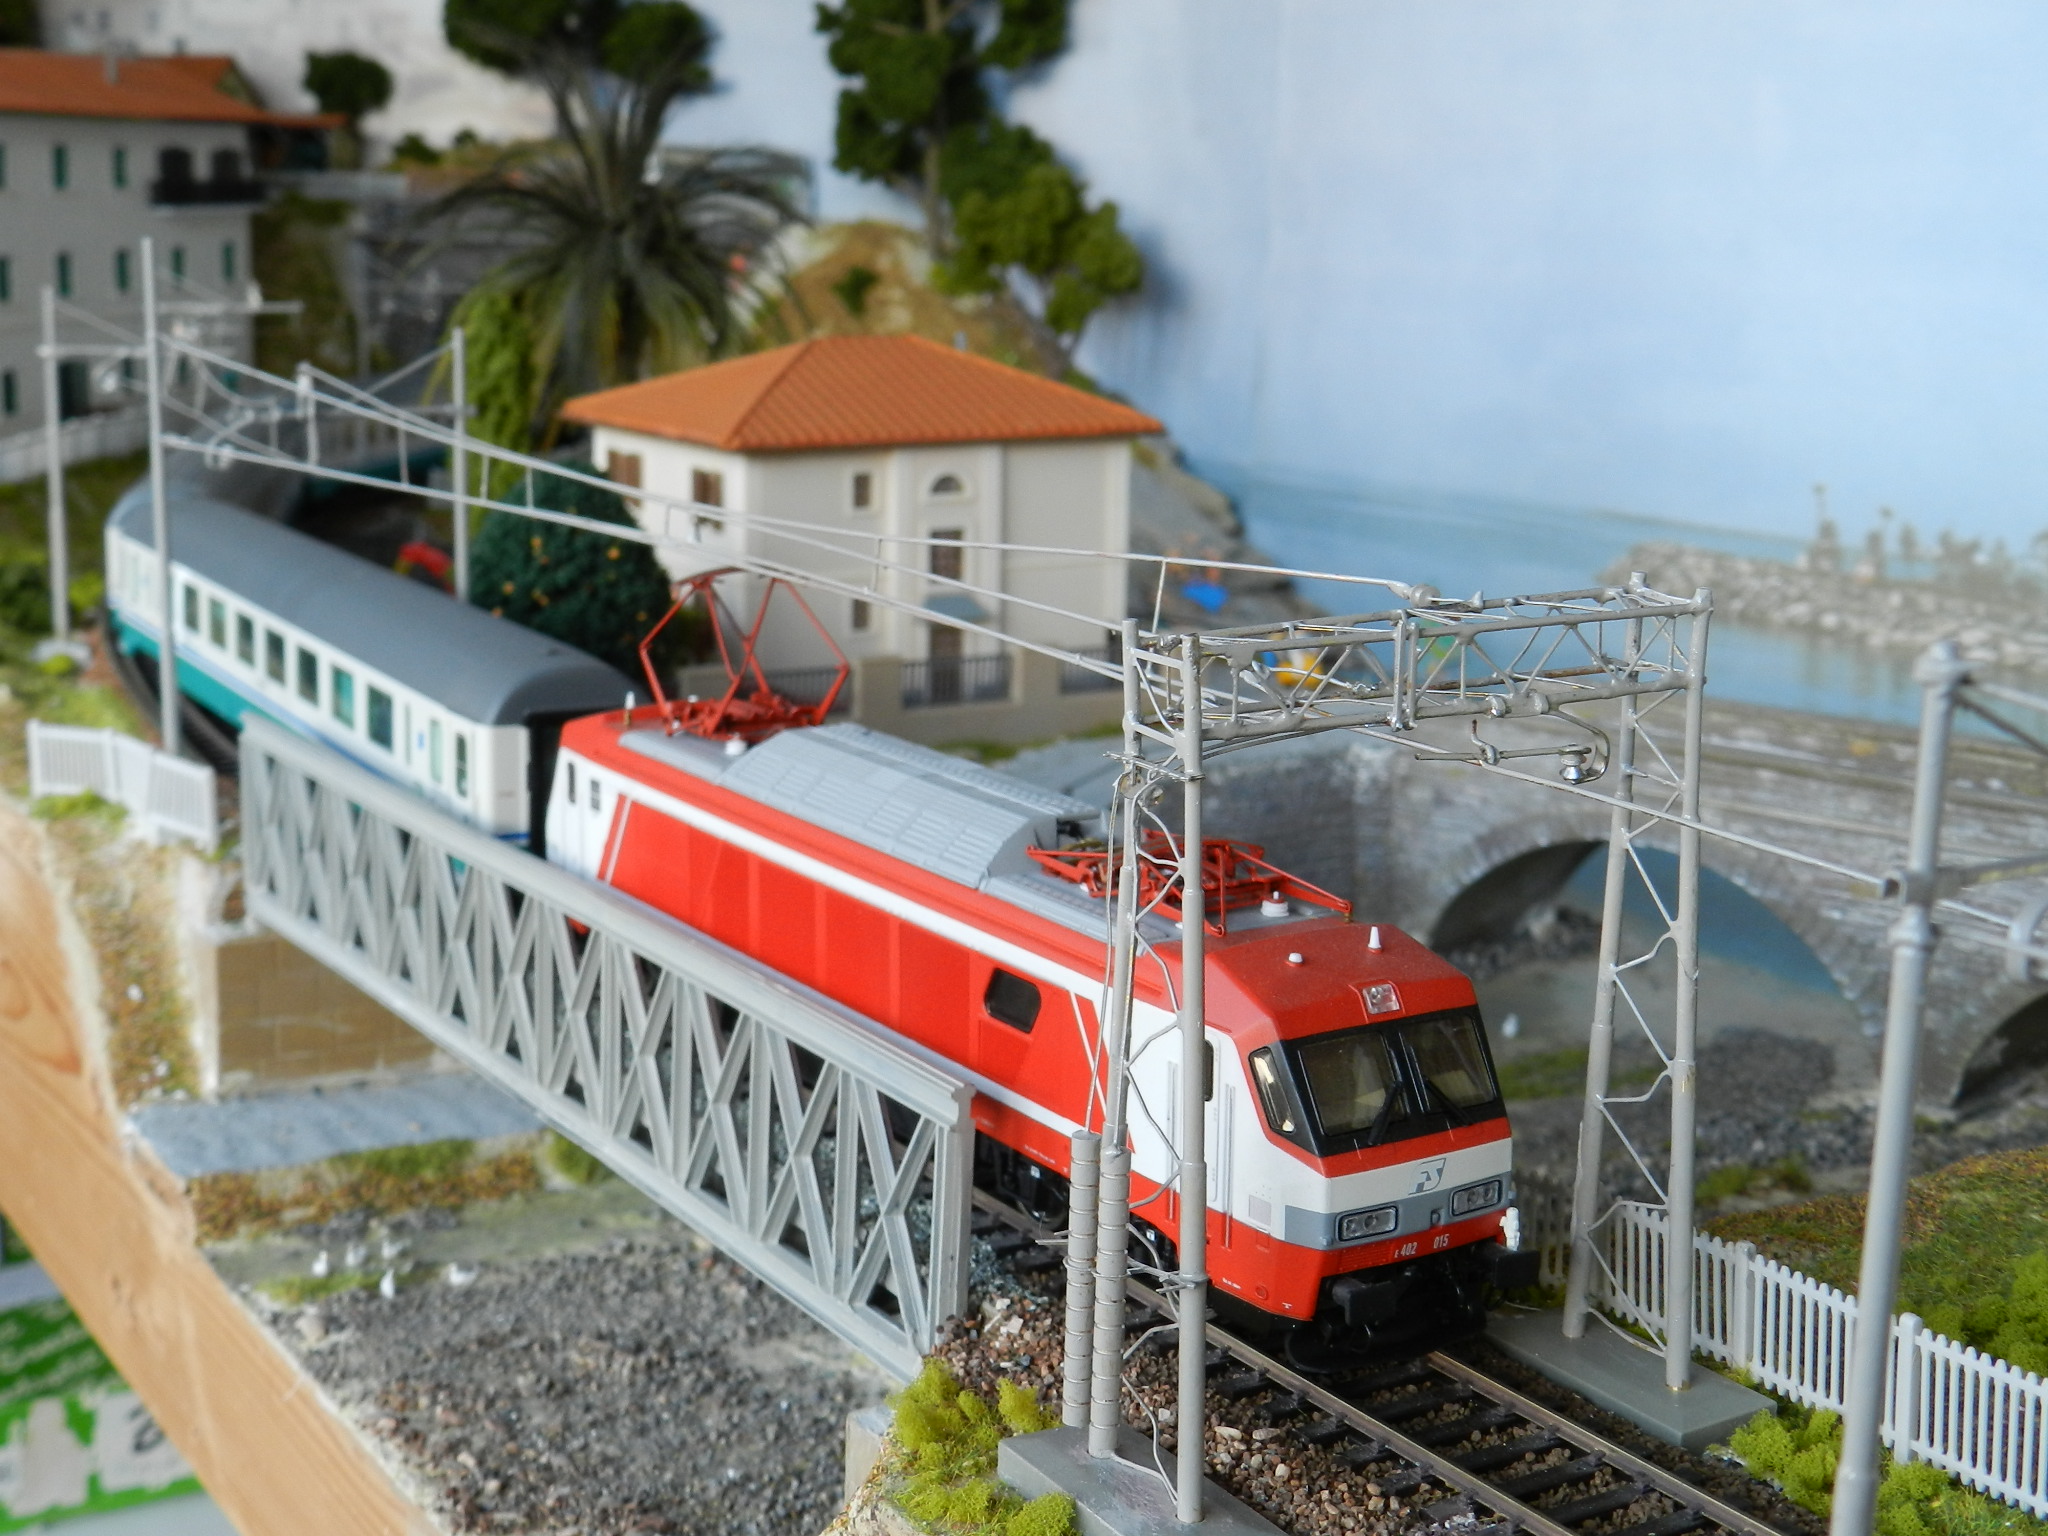
A friend forwards your output to me which is always interesting, so I thought you might care to see a few shots of Diano Marina in HO.
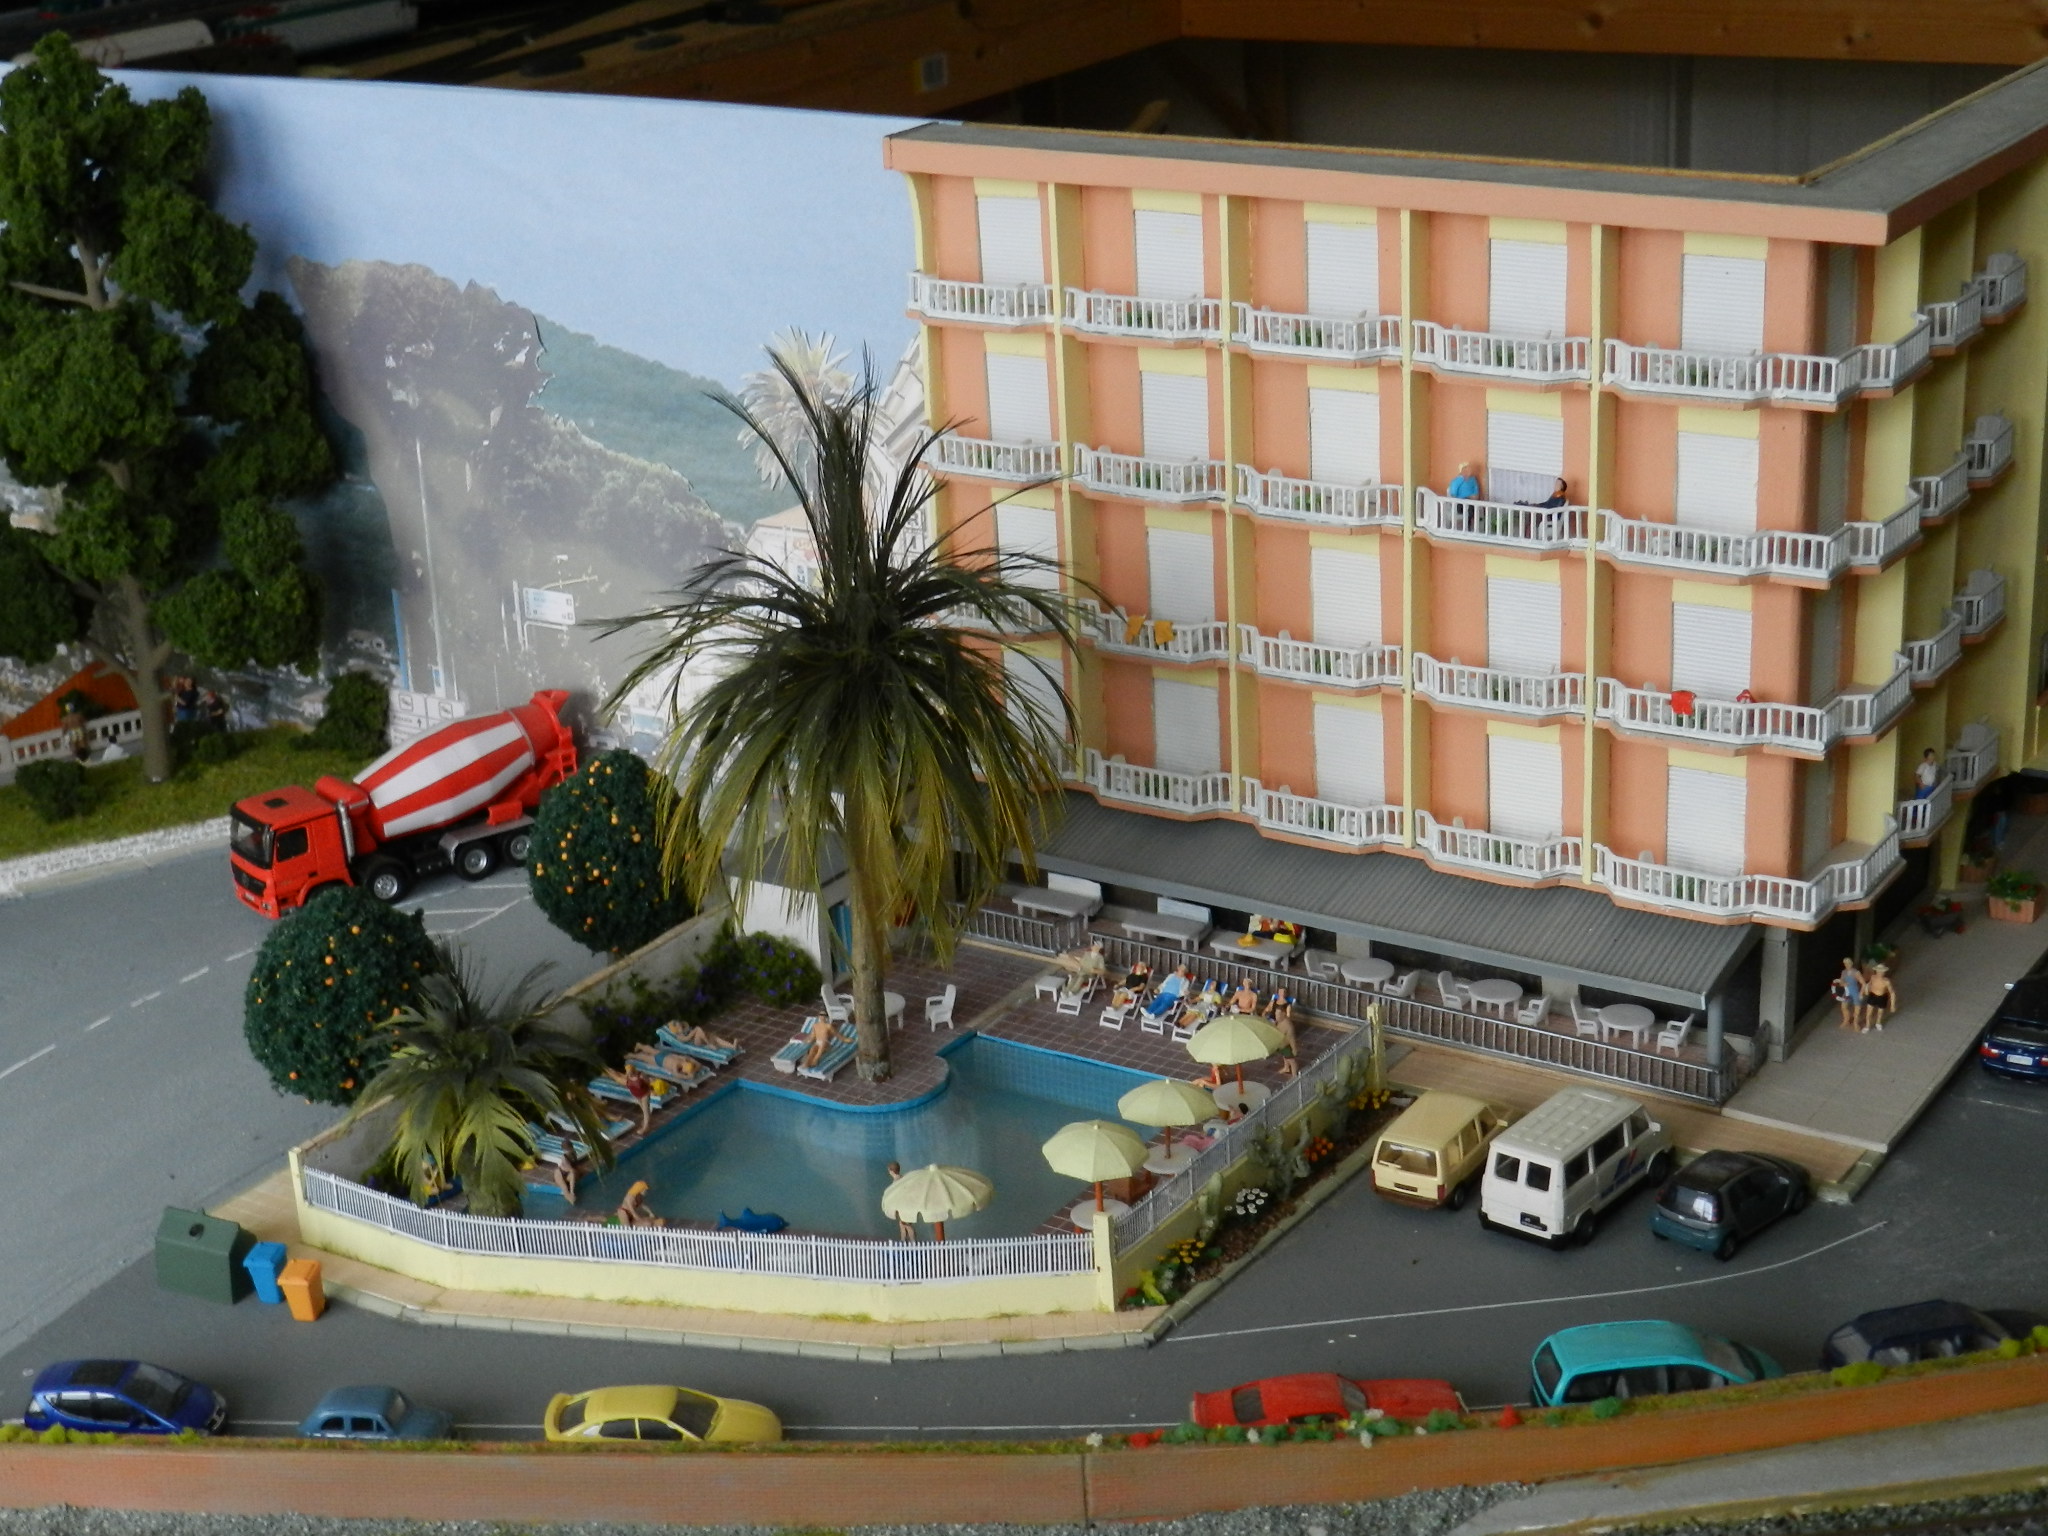
It’s based on our favourite resort on the Italian Riviera dei Fiori, although we’ve had to take some liberties such as moving our hotel fifty yards nearer the railway so we can see the trains go by from the swimming pool.
The very spooky part was that I had to add a floor to the model of the hotel to fully cover the corner of the sky backscene, and when we rang to reserve our next summer’s holiday we were told, “we’re so sorry, we’re not going to be open then as we’re adding a new floor!”
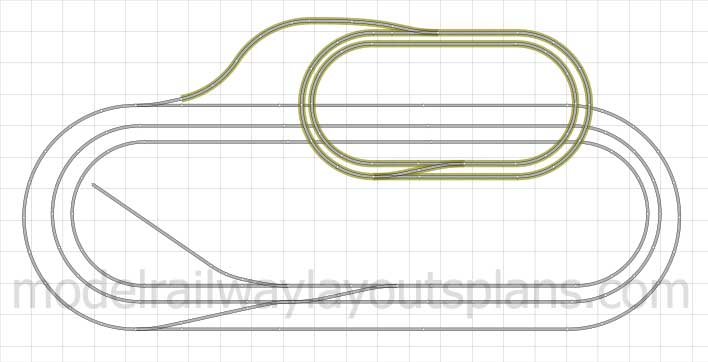
The layout is 9′ x 11′ using Peco track, Sommerfeldt overhead and mostly Roco or Rivarossi stock.
The track plan is simple – just a platform loop and a goods loop off the single main line, but there are ten roads in the fiddle yard to offer some variety. Control is ordinary DC with control panels mountable outside for home use or inside for exhibiting.
I’ve put in over 500 sessions on the layout to date so probably a thousand hours, but then I take forever to get anything much done.
Rod”
(images are clickable)


A big thanks to Rod, there’s quite a few European layouts on the blog now: European model train layouts.
“Hi Alastair
Progress on the new wharf:
This is the 2nd building of 9 in the Red Hook Wharf kit build. (FOS Scale product -limited issue) Complete with interior and exterior lighting, window shades, lifebelt and life ring on the wall, dirt bins, tool rack and odd tins. (extras from the good old “scrap” box – bits box)
Weathering – the building was painted white, stippled with 2 shades of blue and a tan color. A very thin black wash finished off the weathering.
The yellow sign on the side of the building was sanded on the back side to get it very thin and see through, glued it to the building using a very watered down white glue.
The sign was then distressed using a Fiberglass eraser after it had dried. The top sign was glued to a piece of card-stock and distressed in the same way.
The total size of this 9 building kit when built (the way I plan it) will be 36″ long x 14″ wide.
Brian”


A big thanks to Rod and Brian.
I thought Brian’s buildings look excellent – but if you’re not a talented as Brian (like me) have a look at the print out buildings here.
That’s all there is for today peeps.
But please do keep ’em coming. My inbox is ready and waiting.
And if today is the day you get going on your masterpiece, the Beginner’s Guide is here.
Best
Al
PS Latest ebay cheat sheet is here.
PPS More HO scale train layouts here if that’s your thing.