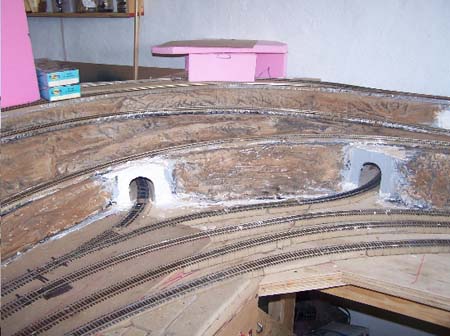
Brian’s fantastic railroad scenery

“Alastair,

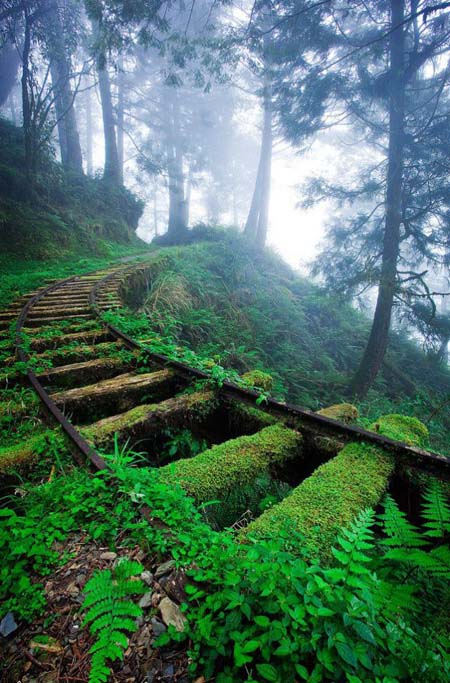
I cannot resist sending the attached photo to you for all those modelers who research real life RR sites for possible incorporation into their layouts.

That said, I don’t know how one might travel the track below.

Love getting your emails and photos/videos of what others are doing.

Sincerely,

John”

“Hi Al

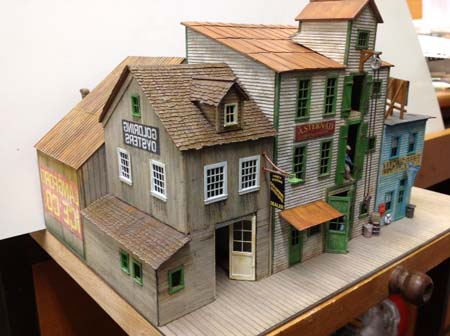
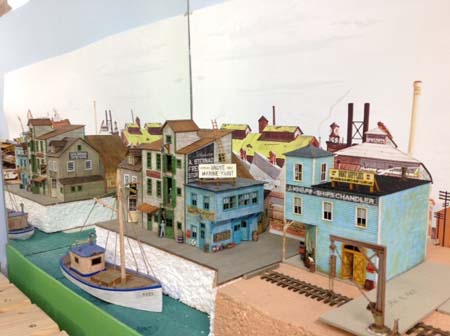
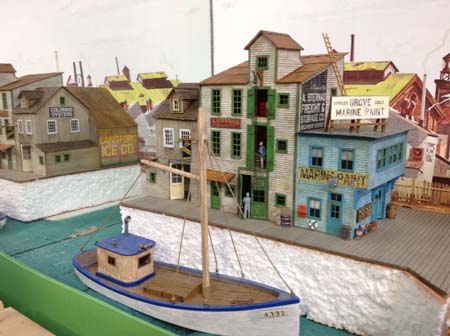
Progress on the wharf model, 5 buildings shown in the photo. Must cut the pilings to fit under it and add the details on it.

Mirror show reversed signs on building in order to read them correctly.

Cheers

Brian”
“Hi Al.

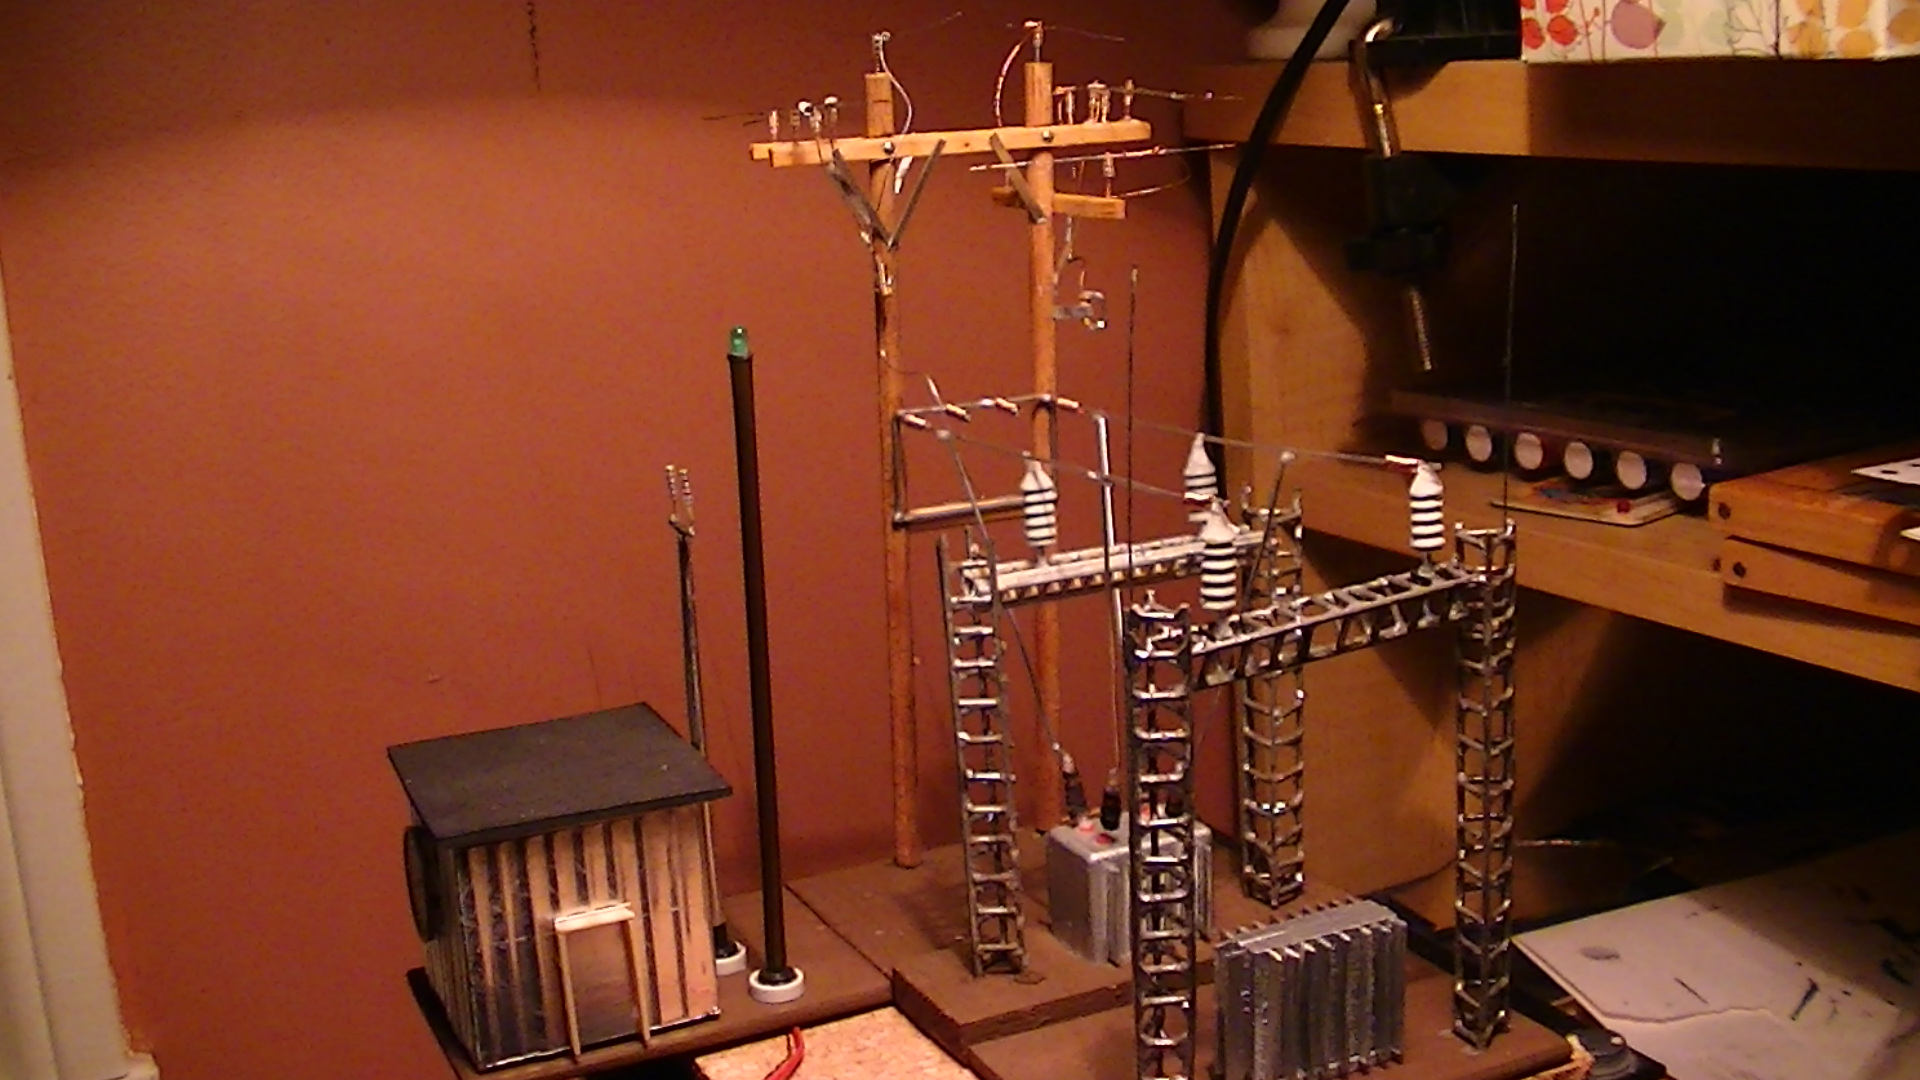
Remember awhile back I made up a small power station. well im finally finishing it off. I started adding power lines and such.not finished yet. lol

Kim”

“ok, so you want my best tip,this is probably my only tip for scenery, when using styrofoam for mountains, spray with elmers spray on adhesive, small sections at a time. the glue will melt into the foam and make indentations lie real rocks have. i of course reccommend a little practice and experimentation first. have fun.

bojos”


“Hi,

I have an good tip; if you want to fill up your/a wagon with coal and you don’t want to use loads of it, you can fill your wagon up ¾ of the way with cardboard, then you can mix some coal with PVA glue until it makes a paste and the glue goes greyish, then you just put it on until you can’t see any cardboard and then leave it to dry. Once it has dried it will look realistic.

Adam”


Thanks to everyone who has mailed me.

Please do keep ’em coming. I hope you enjoy them as much as I do.

Latest ebay cheat sheet is here. Still more comments on this than anything else.

Best

Al


Tom’s N gauge takes shape

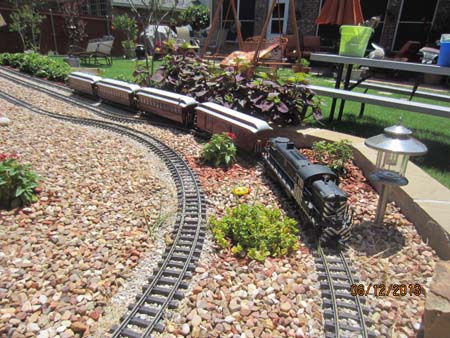
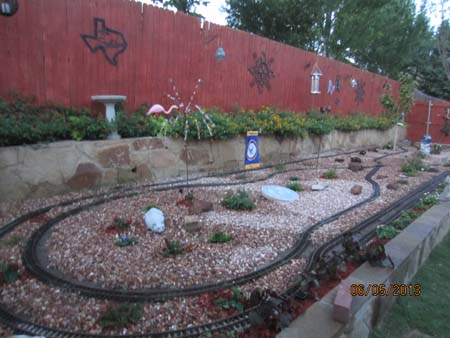
“Here’s a few of our S & L garden RR in Keller, Texas 15 miles northwest of the DFW airport.

Louis”


And this in from Tom:


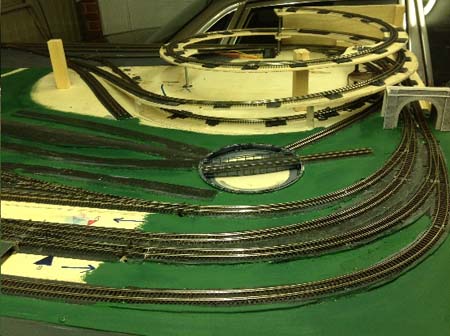
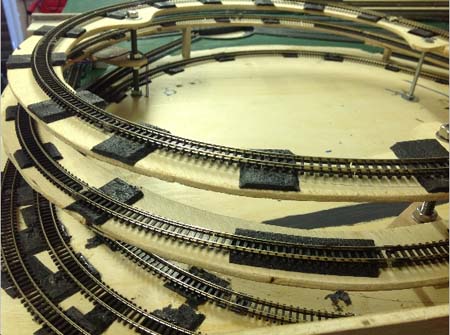
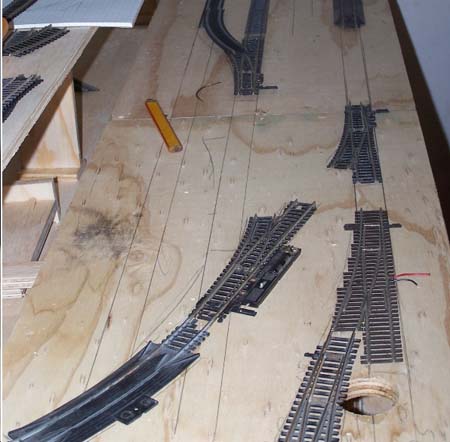
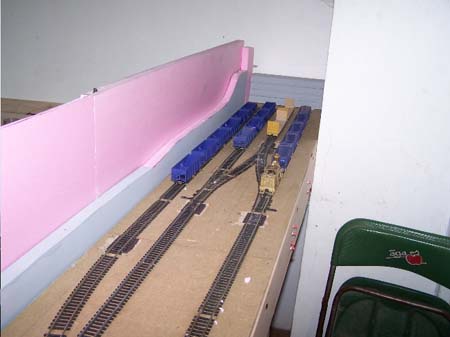
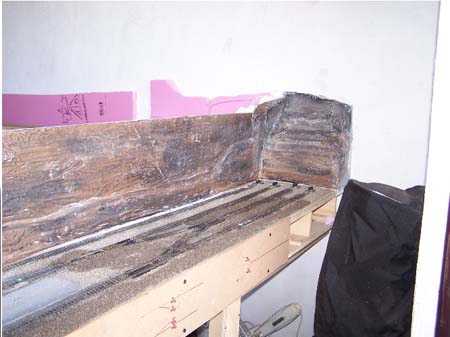
“Very early stages of a small N gauge layout.

Having to down size from a large N gauge layout with it’s realistic sweeping curves and long straights I decided, not being a lover of end to end layouts, the best compromise was to make a very comprehensive continuous circuit with an elevated section and a large yard area for shunting operations and steam/diesel loco servicing.

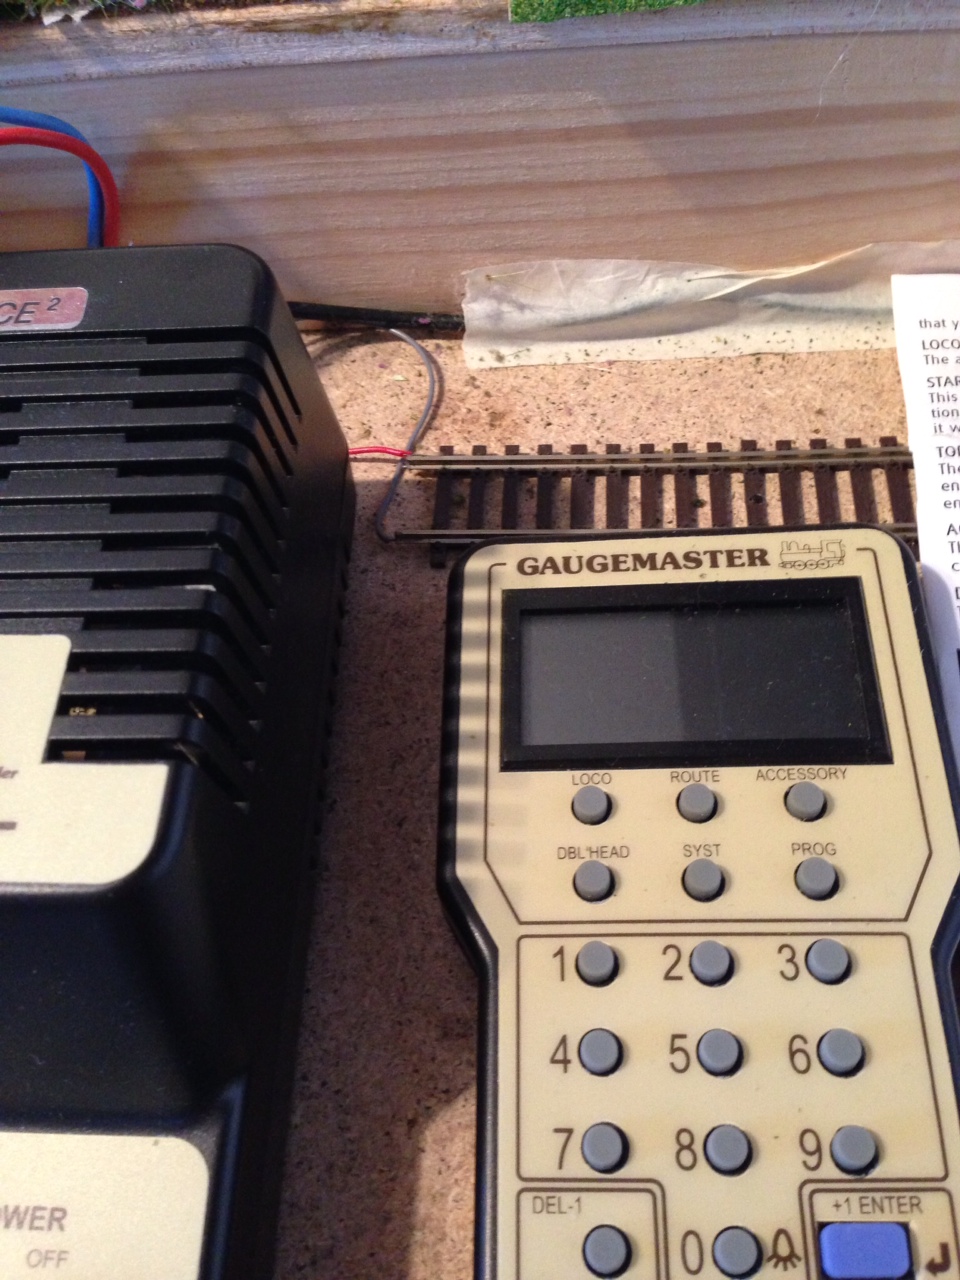
With the space available and to avoid a wiring nightmare with DC it was only possible with DCC and full computer control.
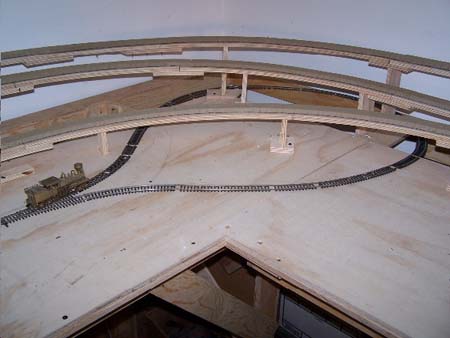
The 6ft X 3ft base board is constructed of 6mm exterior grade plywood including the legs, to keep the weight to a minimum and give some portability.

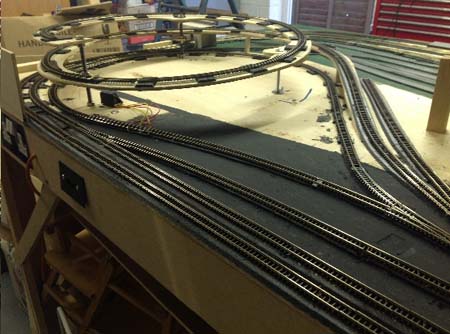
The elevated circuit will traverse a valley between 2 hill areas with a viaduct, to a height of 12cms, to allow under board fitting of cobalt point motors. With the restricted space a spiral is used under the larger right side hill giving a reasonable gradient of 1 in 36.

The hill area will have a level top for a farm and rural landscape harking back to my childhood days.

The track, ( laid todate 15 metres) is Peco 80 streamline mainly flexible, laid on Track Bed. I find this easier to lay than code 55 used previously and find the points are more robust, which will total 26. I have found the recently available Peco ready wired rail joiners making the job of wiring the large number of drop wires to N track, an easier task, especially for us of advanced years.

The elevated circuit is accessed from the inner main line and requires reverse loops and auto reverse to enable the train to return on the spiral forward and join the main line again in the same direction as leaving. This makes for some very interesting action in the fiddle yard and under the two hills.

The steam servicing yard area is accessed by a turntable, again because of the small space and to leave an area for goods, coal and weighbridge facilities.

The Diesels will have a single shed behind the carriage sidings adjacent to the station.

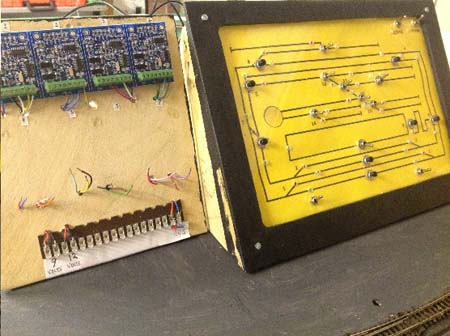
DCC control is by NCE( I consider the best), with DCC Concepts Cobalt

Point motors with decoders.

A monitoring panel for all points and track installed in front of the back scenery will be mounted behind the back panel having LED indication and manual override only.

All points installed behind the back scenery will have override pushbuttons and indicator LEDs mounted in the track.

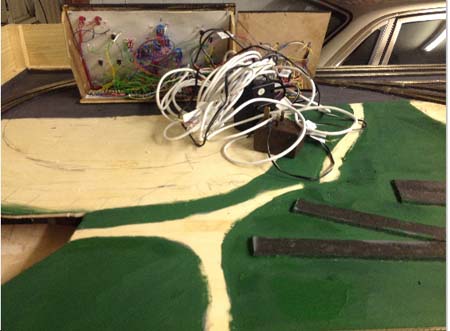
This still involves a large wiring job, having used todate over 20 metres of 6 core signal cable to the monitoring panel.

Still requiring the bus, track position, signals, building lighting, etc wiring to be installed. Who says DCC makes wiring simple, just 2 wires to the track is all that is required. They forget the frog switching, the reverse polarity modules, the drop wiring, the extra power areas, the track and point isolations, etc. all very necessary outside a simple circuit with a few sidings.

As the photos show it is very much in the early stages and will certainly provide an interesting task to landscape.
Most people will probably think it is too much in such a small space, but I am enjoying the logic,electronic and planning challenge and is certainly keeping my aging brain active.

Tom”


And lastly, it looks like Dave has been on the sherry again:

Latest ebay cheat sheet is here.

Please keep ’em coming.

Just hit reply to any of my emails and send in your videos, pics and tips.

And if today is the day you decide to get busy on your layout, the Beginner’s Guide is here.

Best

Al

Another collection of your layout pics and tips

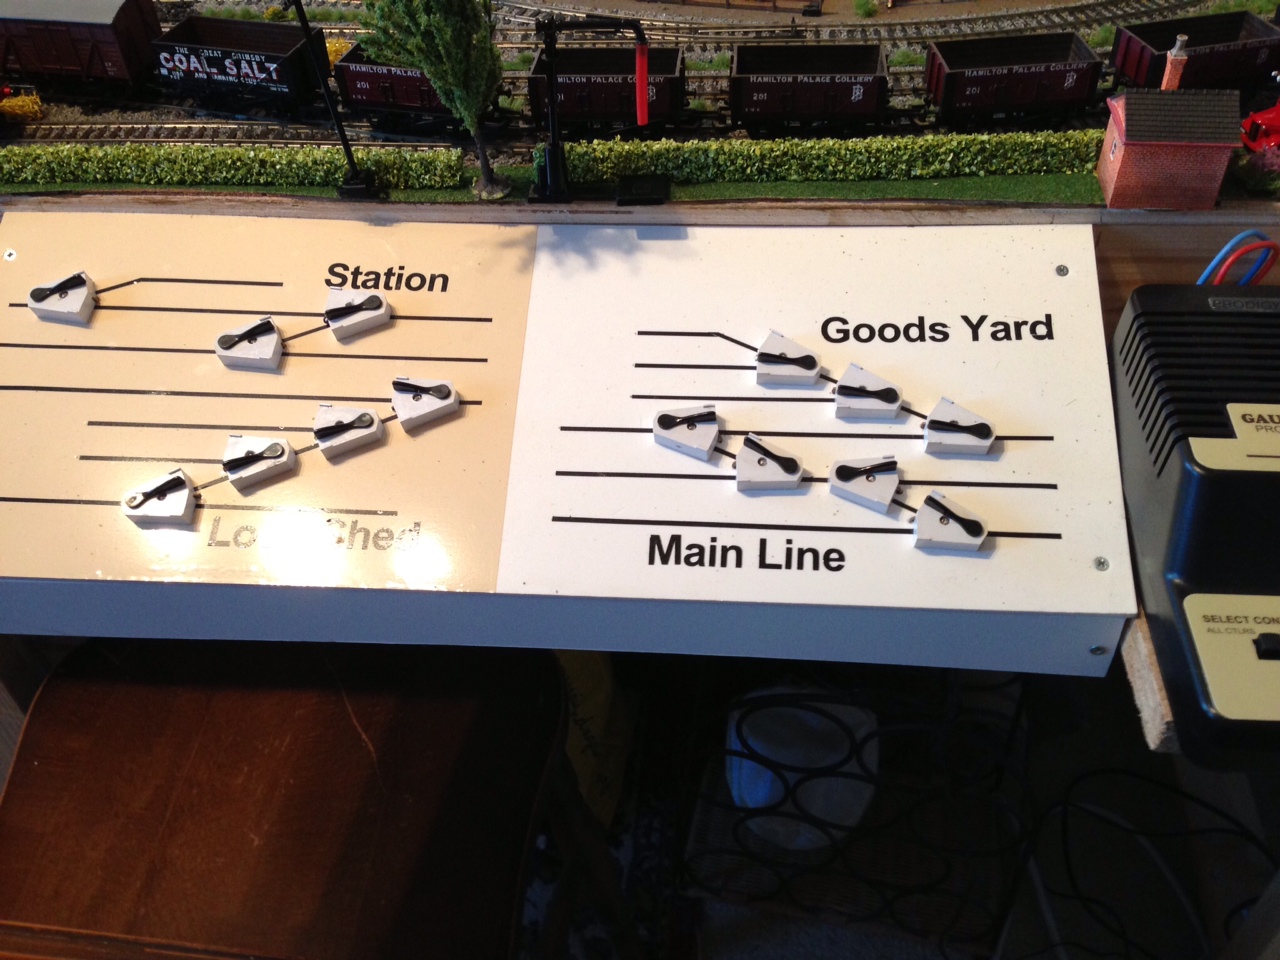
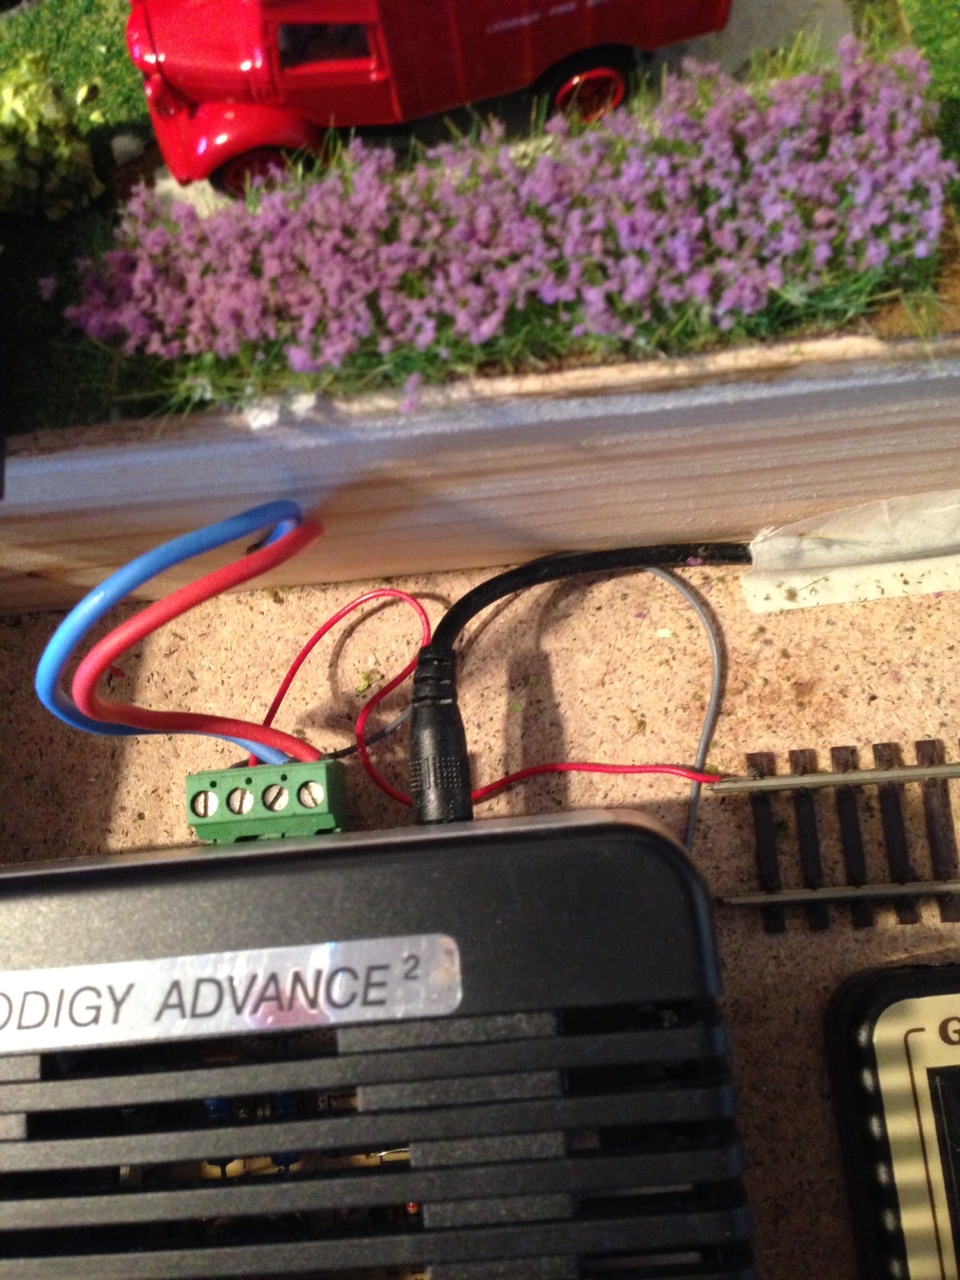
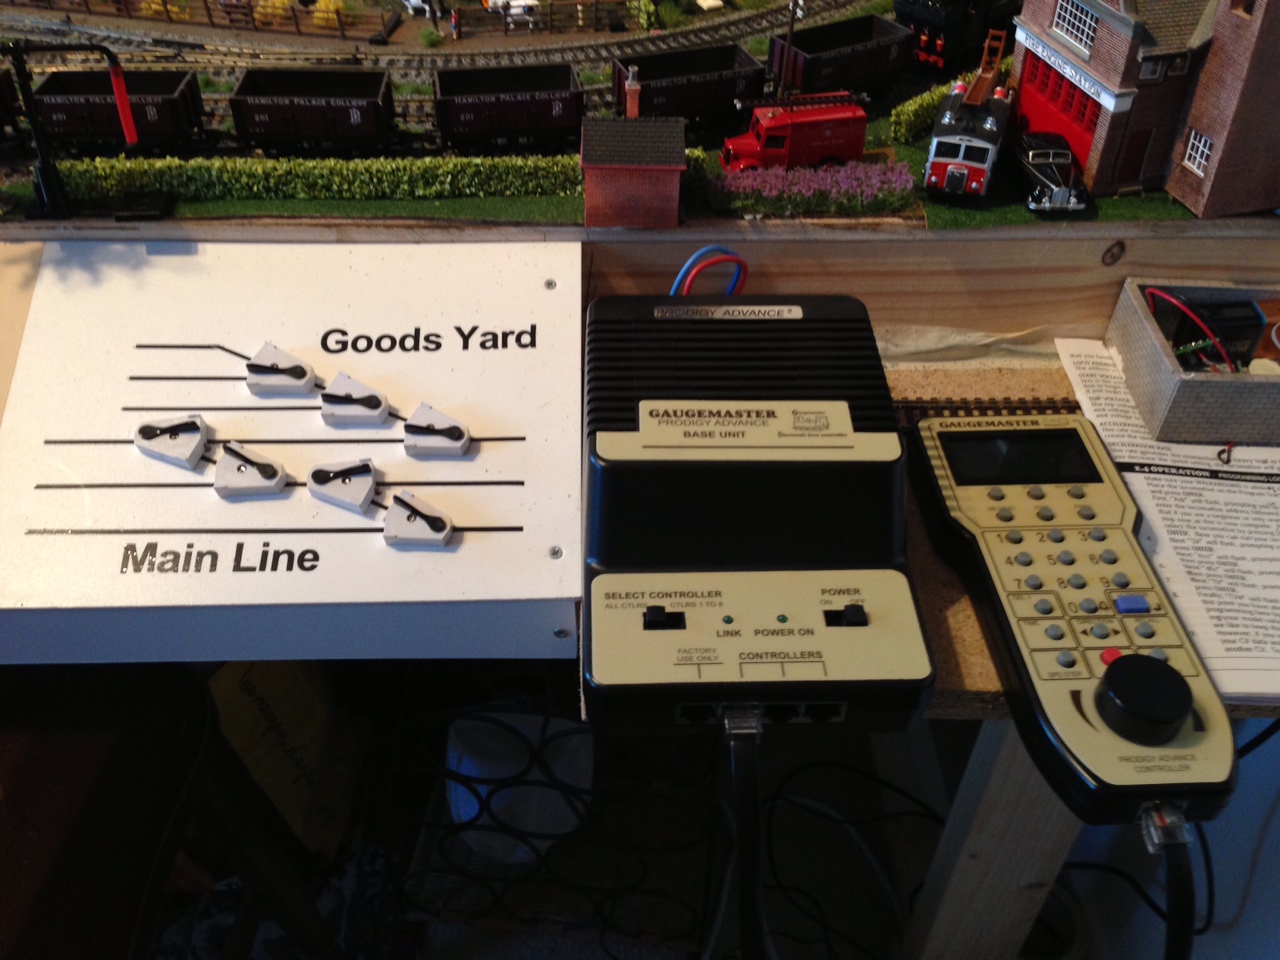
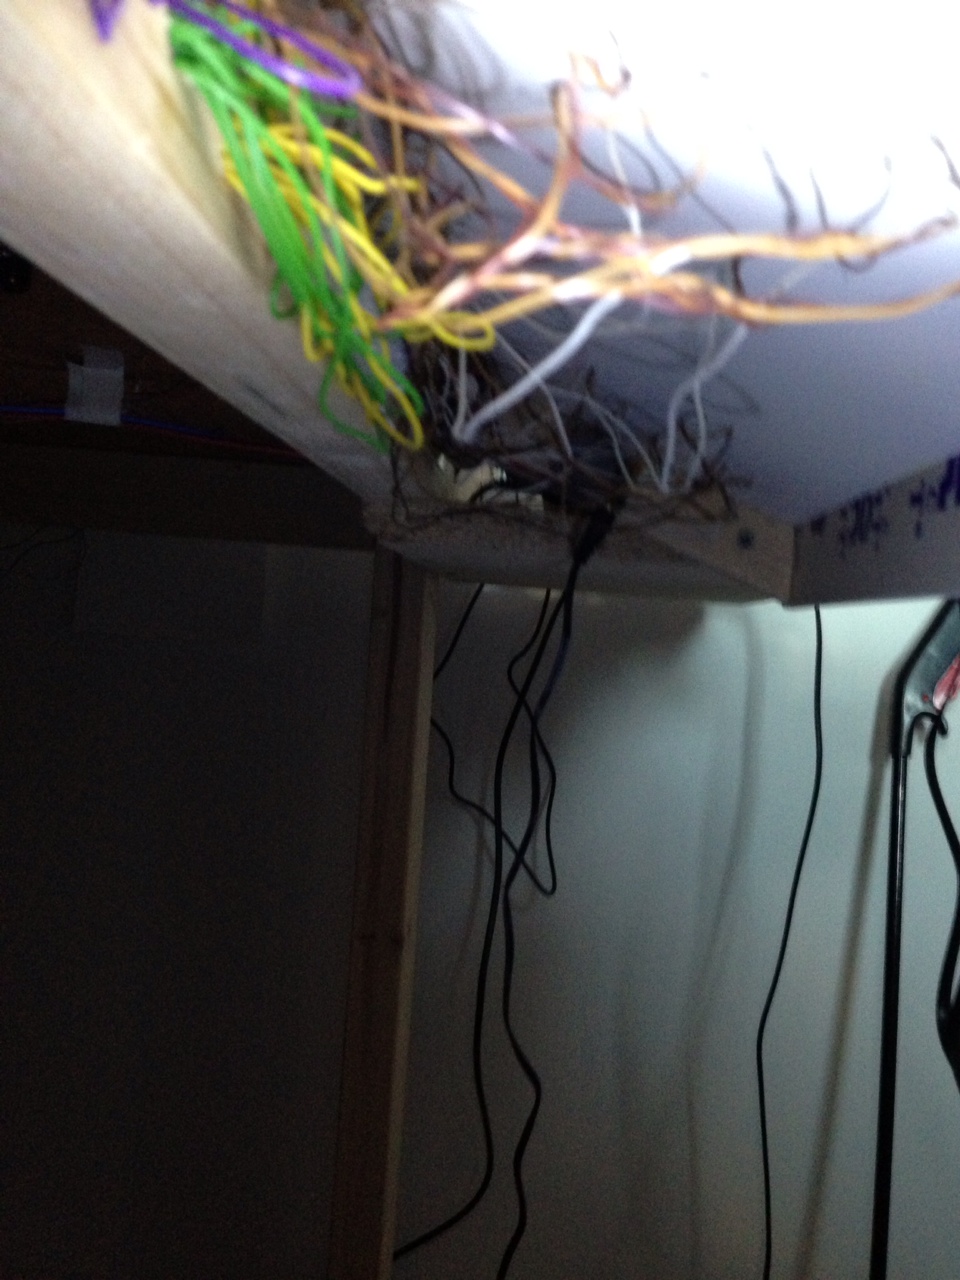
Last time I got quite a few mails asking about Alasdair’s wiring, so he’s kindly set this explanation in:

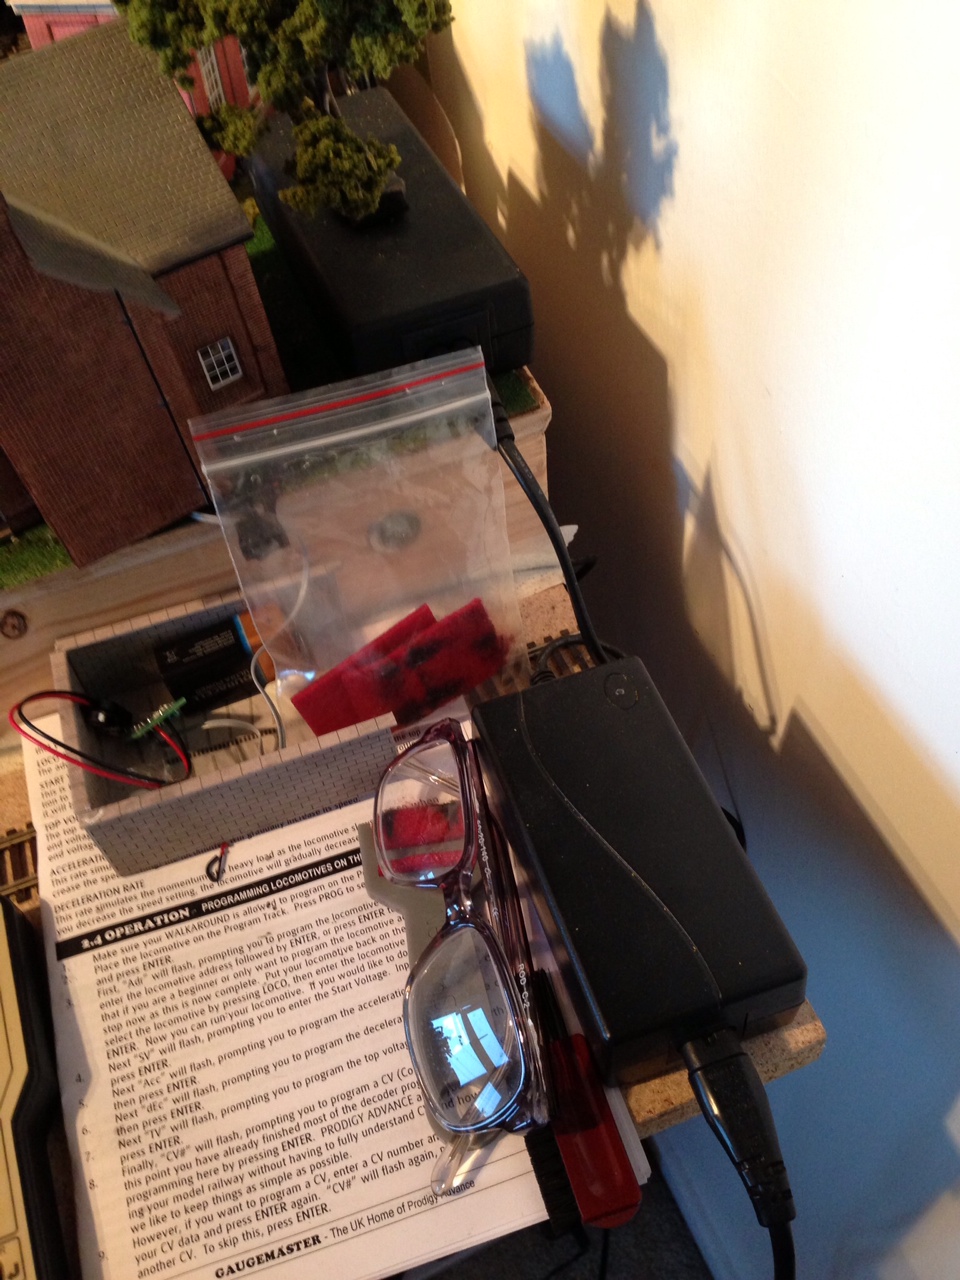
“Hi Al , thank you all for your very kind comments as to my layout, the control panel is like a canopy fixed to the baseboard flush as to save taking up scenic space, it is hollow underneath to hide all the wires,and a little shelf for the controls,hope this helps.

regards

Alasdair”


“Hi Al

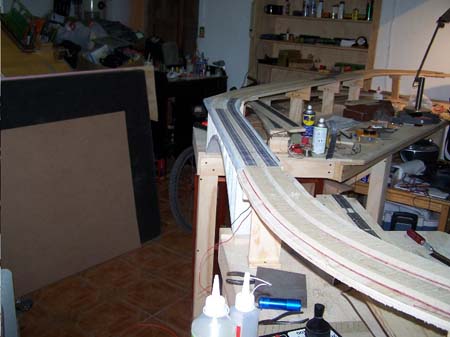
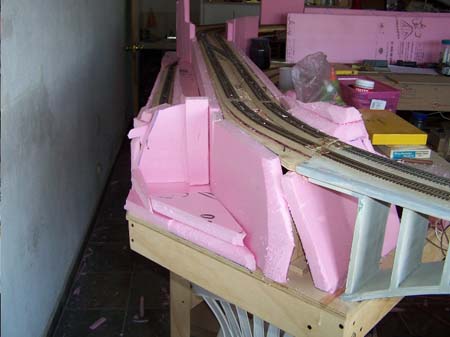
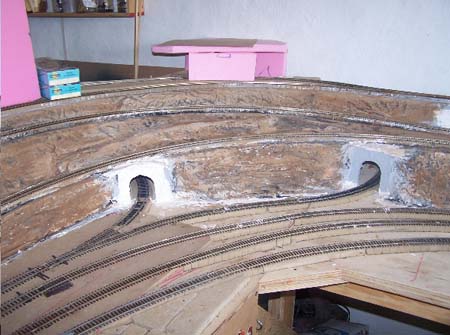
Well it has been almost 1 year since I started my layout. It is far from finished, however the track laying is complete. Here are some pictures showing progress so far.

Remember I am in Mexico and some things others take for granted just do not exist here. Also because this is in a rented space, like a storage unit facing a busy street, I have a constant flow of people stopping to look and talk, most have never seen anything like this and the children are the best , with their excited expressions and wide eyes as I run a train for them.

All the best, enjoy.

The beginning: From this;

To this;

To this;

To this;

To this;

And this;

And from this;

To this;


To this;

And from this;

To this;

To this;

To this;

To this;

And from this;

To this;

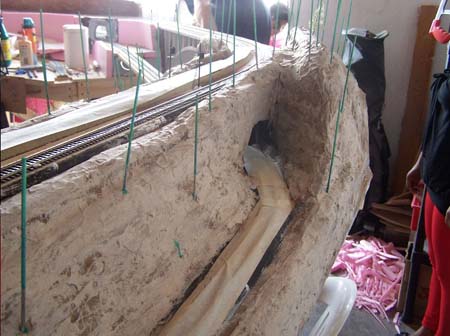
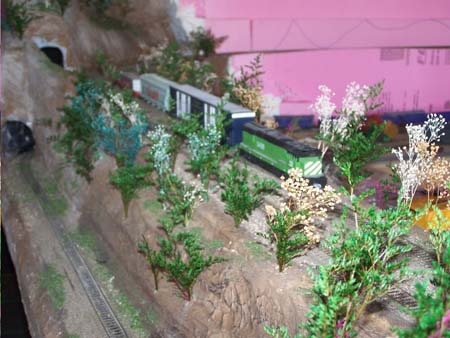
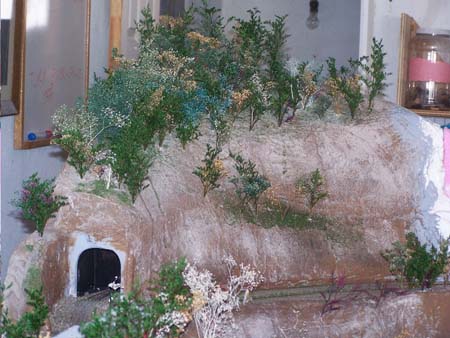
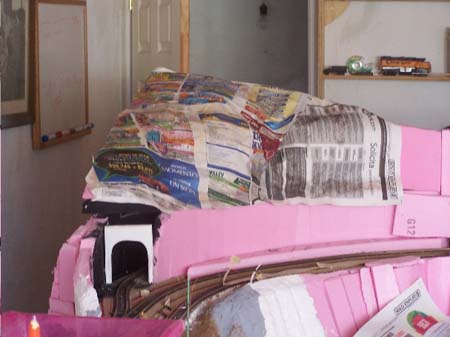
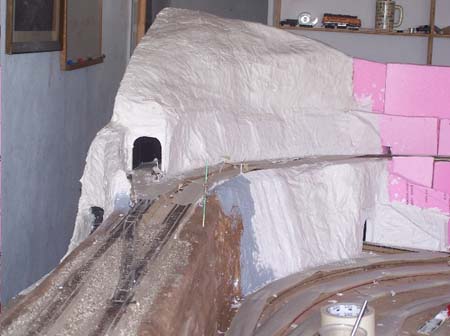
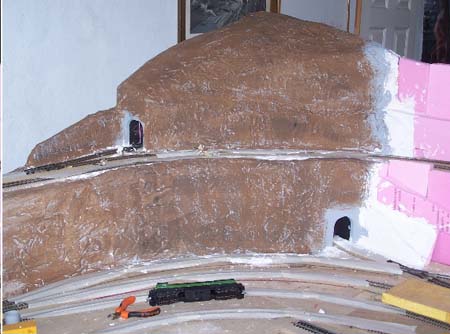
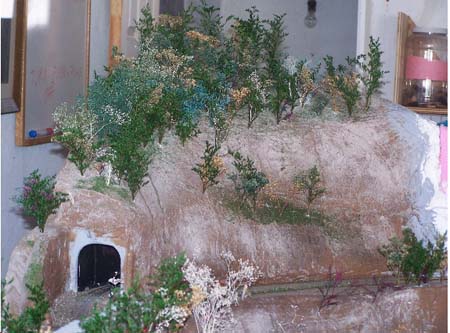
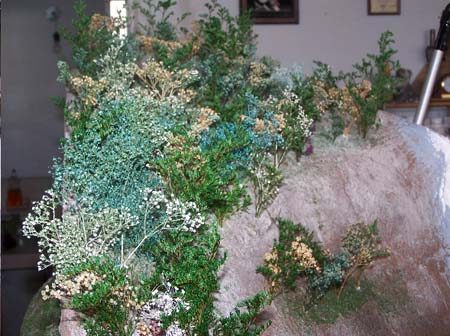
Materials are simple, pink building foam, dry wall compound, clothes dryer sheets, news paper, regular house paint. For track ballast I use sifted sand, the kind used in construction from local building site. Trees come from fabric store, or dried flower supply store.

Also along the way I discovered a few places where changes were called for.

For example;

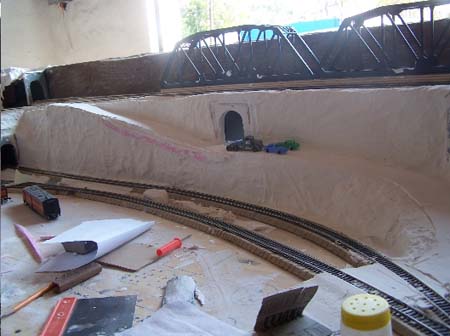
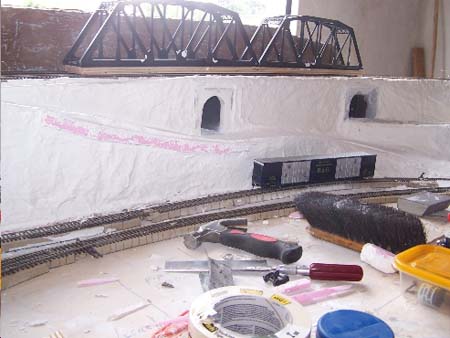
This view is the back side of the mine, main line on top, mine track through tunnel just off right, and the road that goes through the tunnel to the mine. The lower track begins the climb up to main, closer one to the main platform. This is how I planned it and saw it in my mind, then wife comes along and asks, where are the houses going, got to have houses? Only one place left, above everything else.

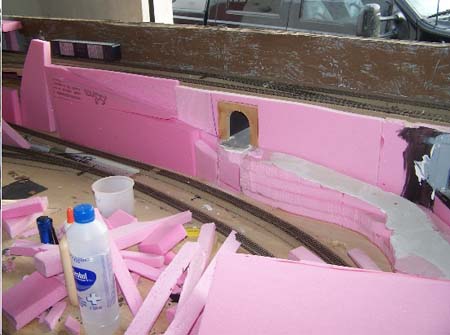
This road is the only place to do this, so continue road up and build a bridge.

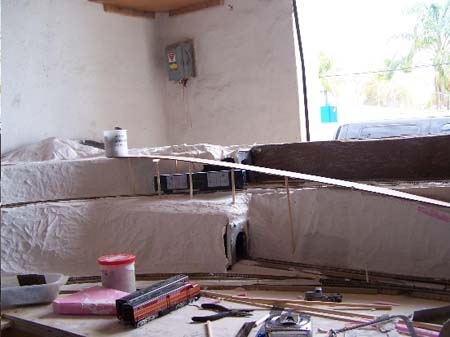
Bridge under construction, checking clearance with large box car, so far so good.

Trouble; same car, hits wall.

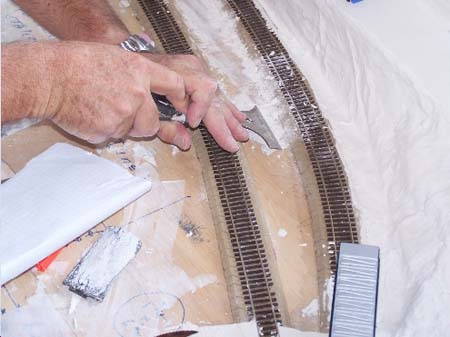
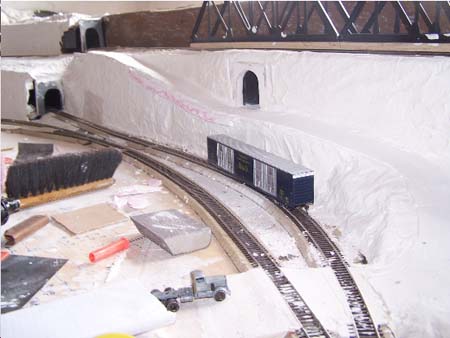
Track surgery called for, move away for clearance.

Change complete, track moved, aligned, leveled and checked,

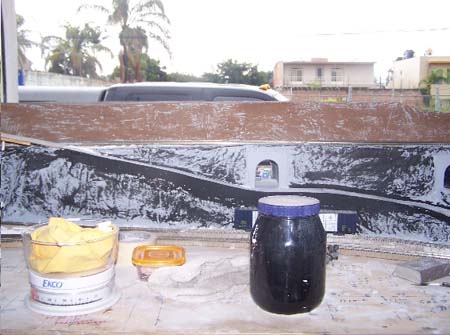
Next is paint, base coat is grey, why , you ask, because I have lots of it. Then comes black,

Then washes of brown,

All for now, hope this helps some one, I decided before I started that operation was first, looks second, because I could over time improve and or change the looks easier than operation.

Ken”


A big thanks to Ken, I do love seeing the progress – and the time and effort – that goes in to a layout.

Please do leave a comment below if you’d like to join in.

That’s all for today folks.

Please do keep ’em coming.

And if today is the day you take big strides towards your own layout, the Beginner’s Guide is here.

Best

Al
PS Latest ebay cheat sheet is here.