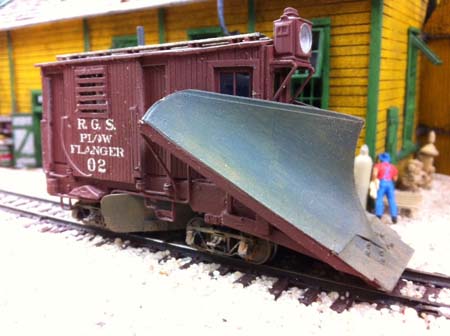
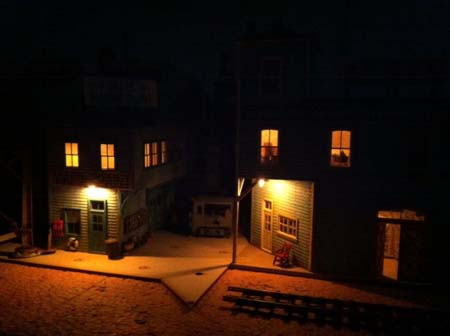
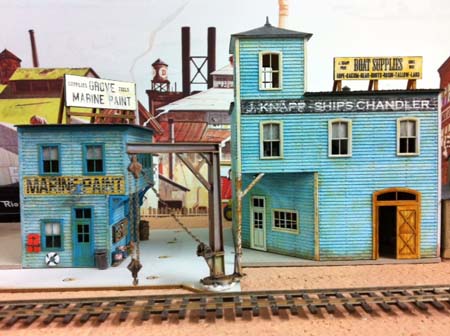
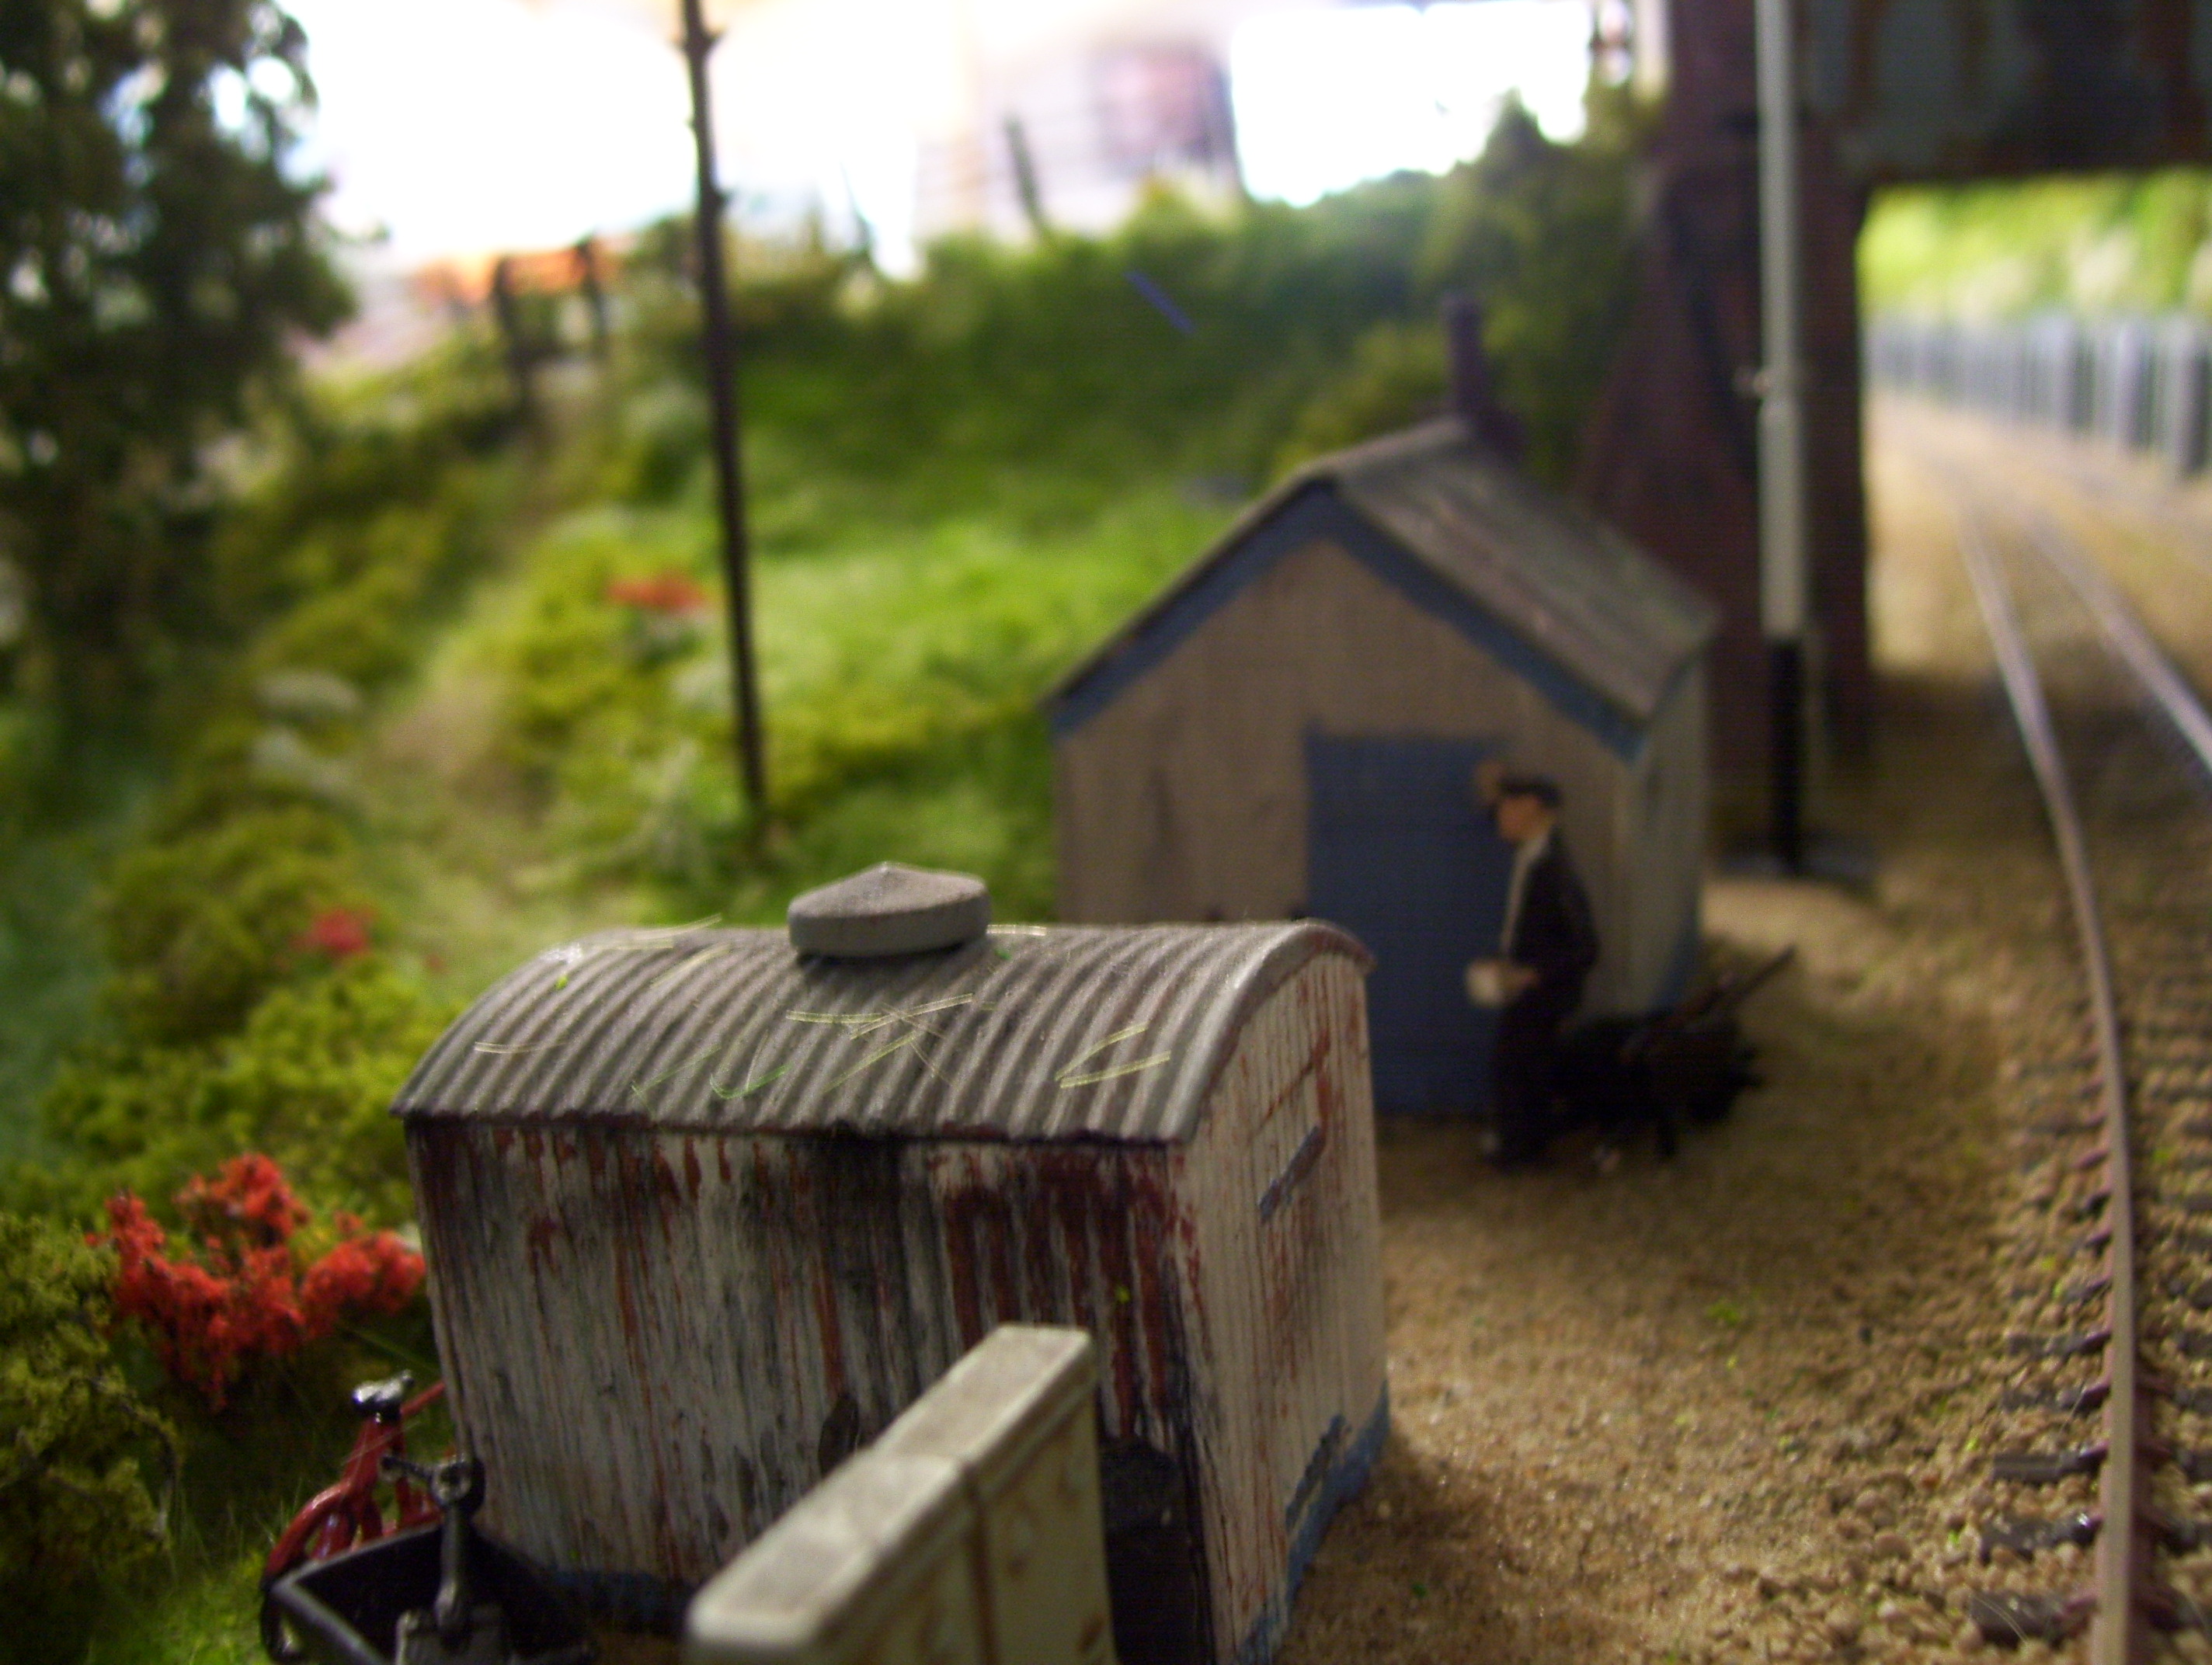
“Hi Alastair, with winter and snow in the mountains, the wedge plow has been prepared and will be used shortly, pushed by two powerful Heislers to clear the line for the log trains.
Btw, we have had some heavy snow fall here in Cape Town even on Table mountain.
Cheers
Brian”
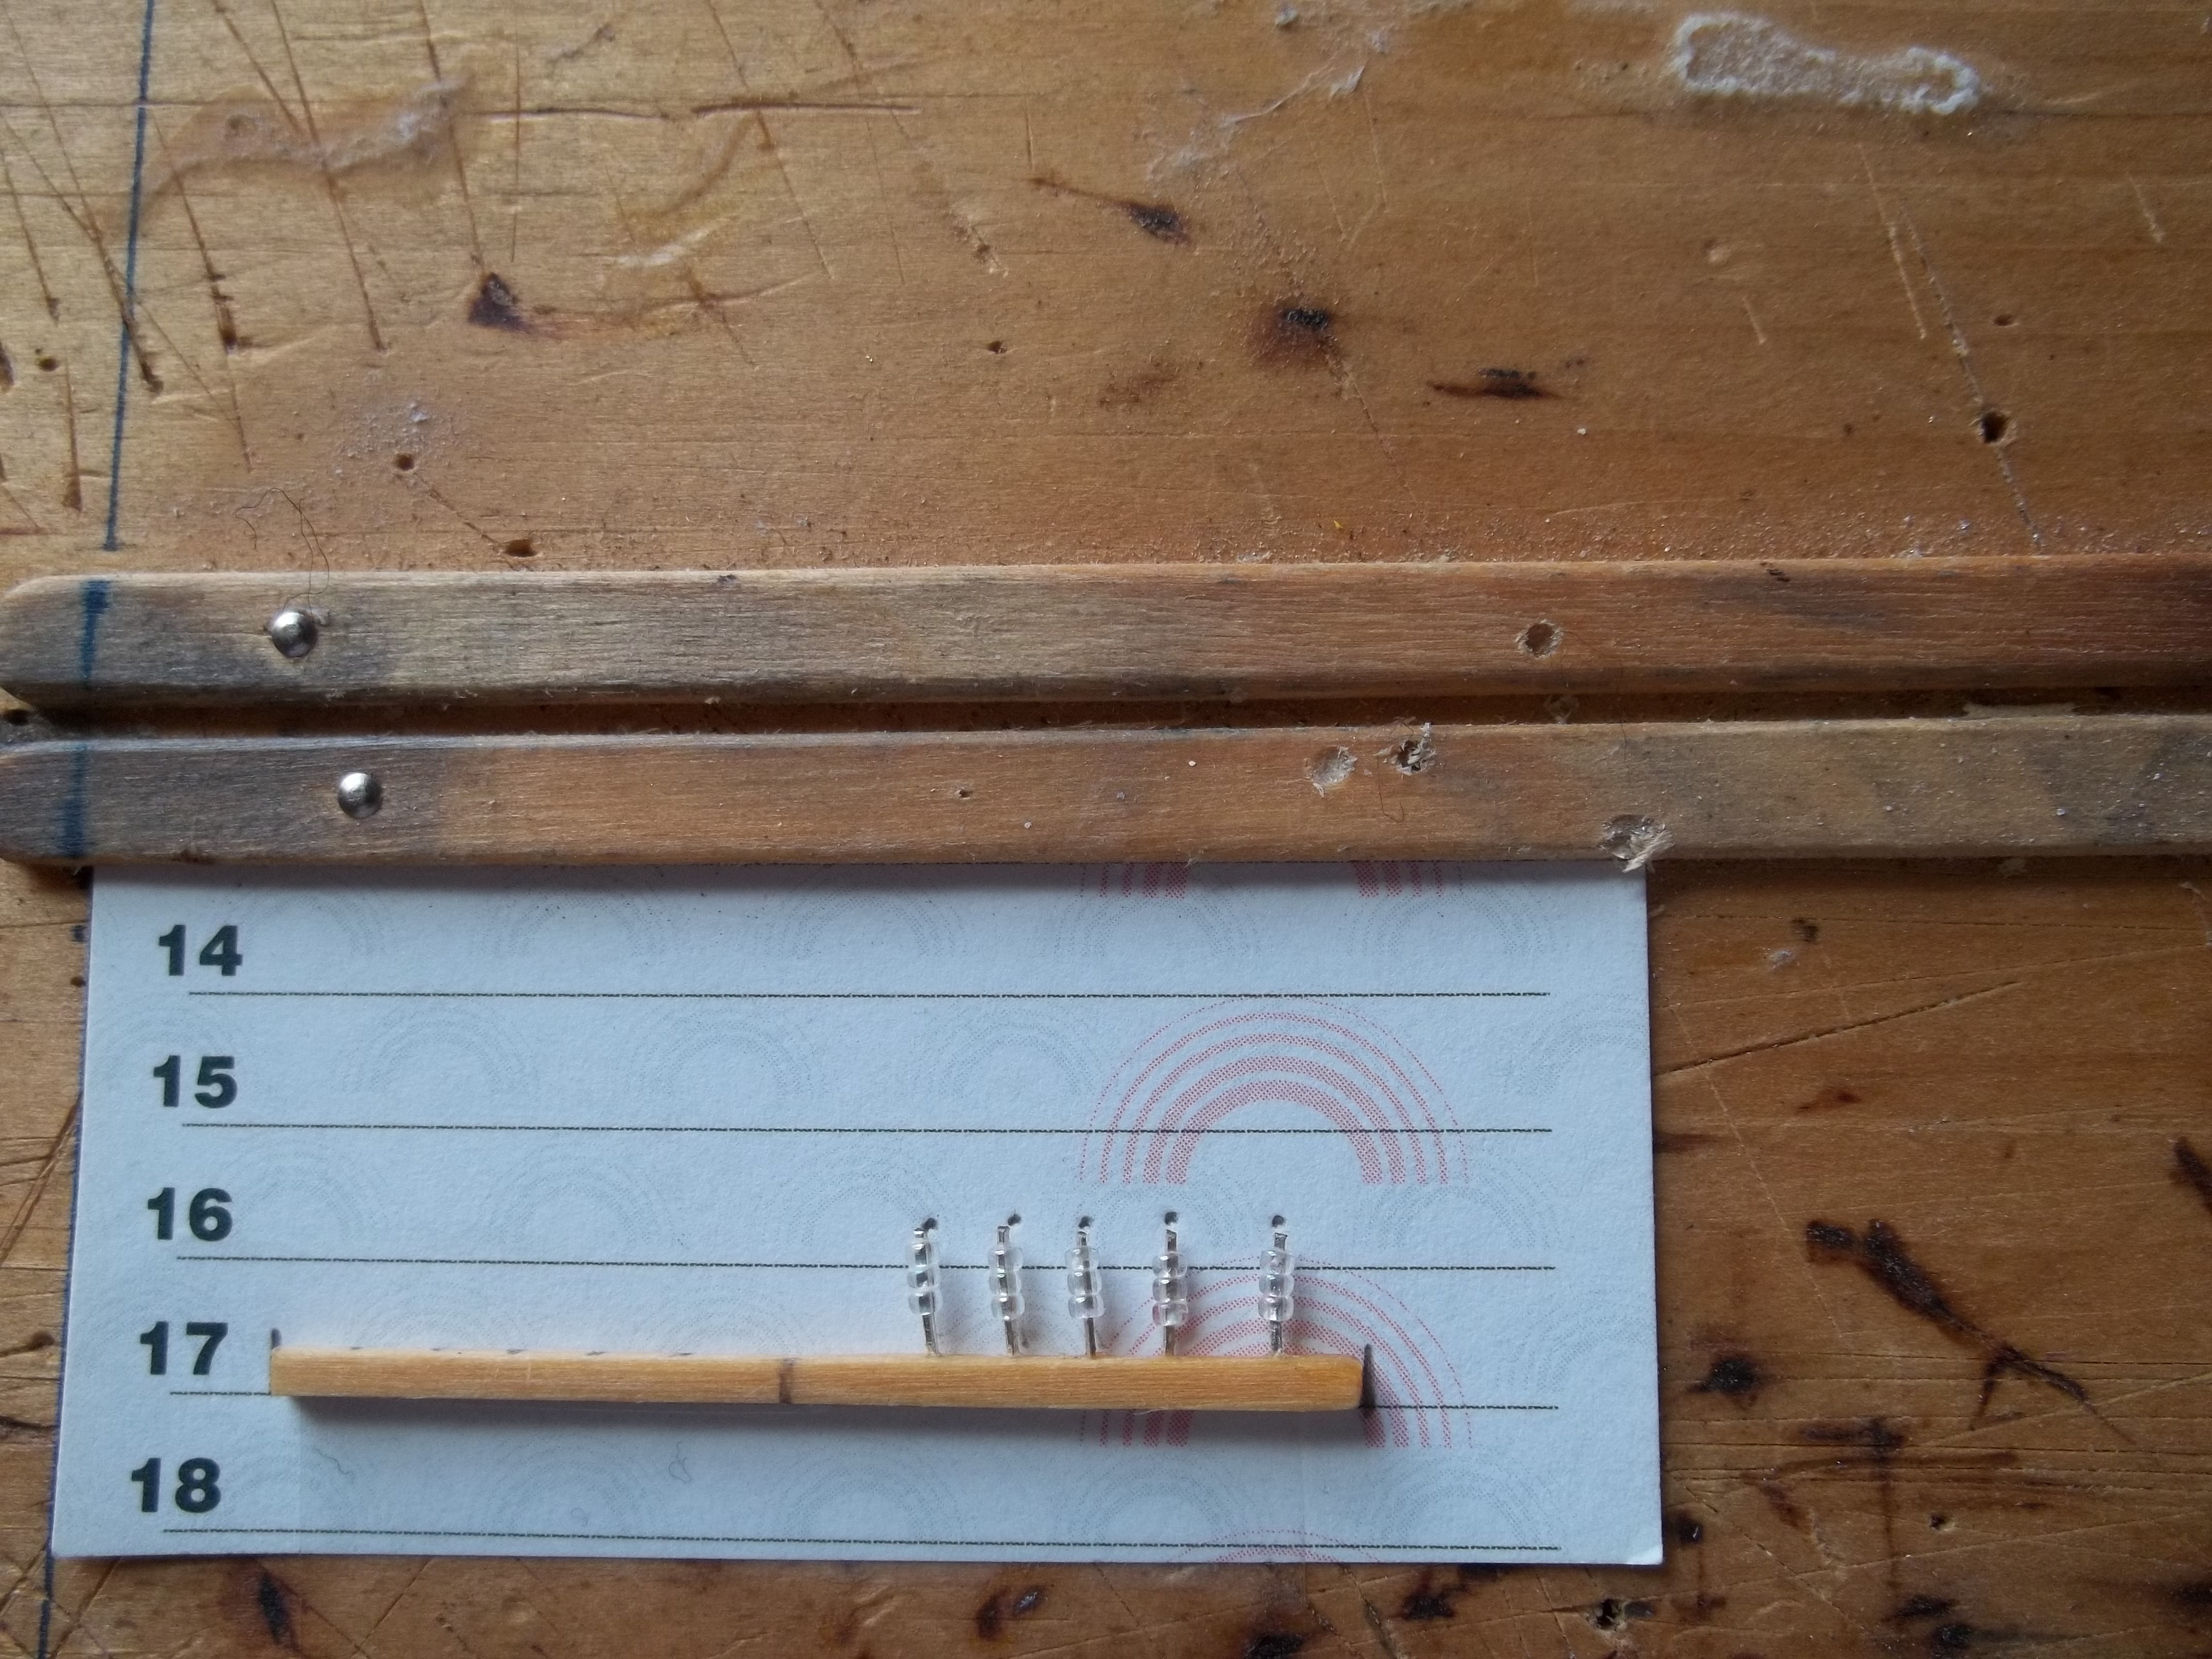
“Hi Al.Here is the telegragh pole I made up. Weather it and I bet it be better than plastic. Was pretty easy to make.Just was slow mounting the pin’s for the insulator’s.And be very consistant with the building of these, I made a very simple sort of jig or pattern.
I figured out the first pin pattern and stuck with it. I took a piece of paper and made pencil dot’s showing where to mark on the beam to place the pegs.Now making holes in the beam to place pin’s.You have marked on the beam where your post’s go.Now take the large pin and s o slowly and gentaly push the pin in.go slow or risk cracking the beam.Dont go all the way threw.make all the holes.
Now take a left over led post and push it into the hole you made carefuly.Do one at a time.
Put just anough instant glue to the pin and hole. Use a tissue to suckup extra glue. Try not to get any glue on the rest of the post or it will be hard to slip the insulators on.
Okay now put 3 beads on and leave them at the end of the post. Just touch the wet end of the instant glue tip to the post and slide the beads down quickly.
The hole to attach to the post is made with the sewing pin where you see the line in the photo after all the insulators are installed and trimmed from all the extra led post.Carefuly push the large pin into the beam and threw the other side. Sit to one side.
Now take your 1/2 a quarter inch dowel.And figure from the top make a tiny notch to sit the beam to.
Take another pin and pliers and make a hole where you made the notch.
Push all the way threw the dowel.
Remove pin and take the beam with the pin in it and stick it to the post where you have the notch and hole you made.
Snip off the extra pin and glue the two pieces together with instant glue or white glue.Okay here is what you need.
1/2 a quarter inch dowel.
popsicle stick.cut to 2 inches long
left over led post’s
1 sewing pin with the head.pins you use to hem up pants and such before sewing now there is a large pin and a small pin.use the small pin for the post bolt.
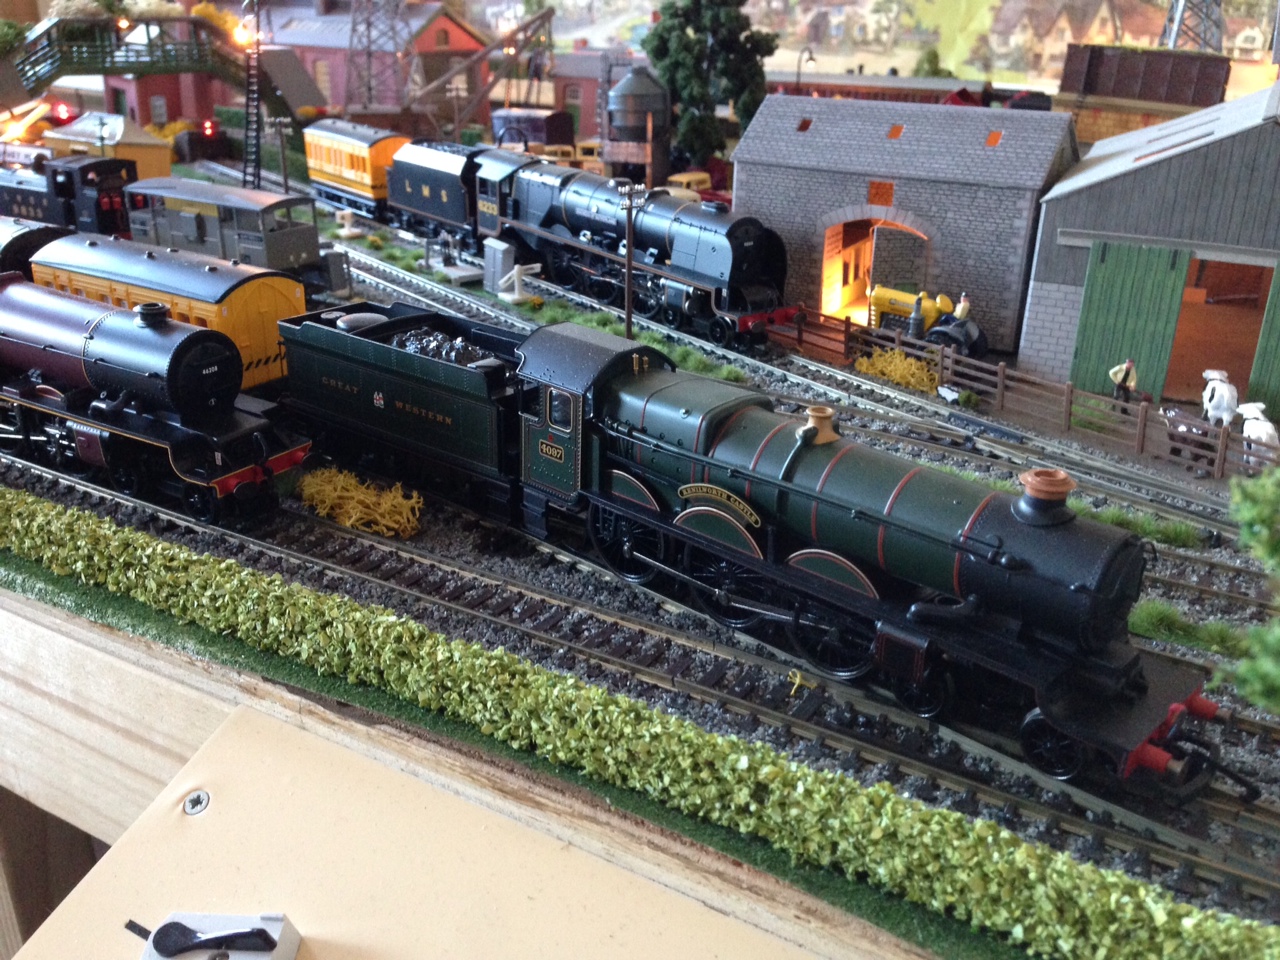
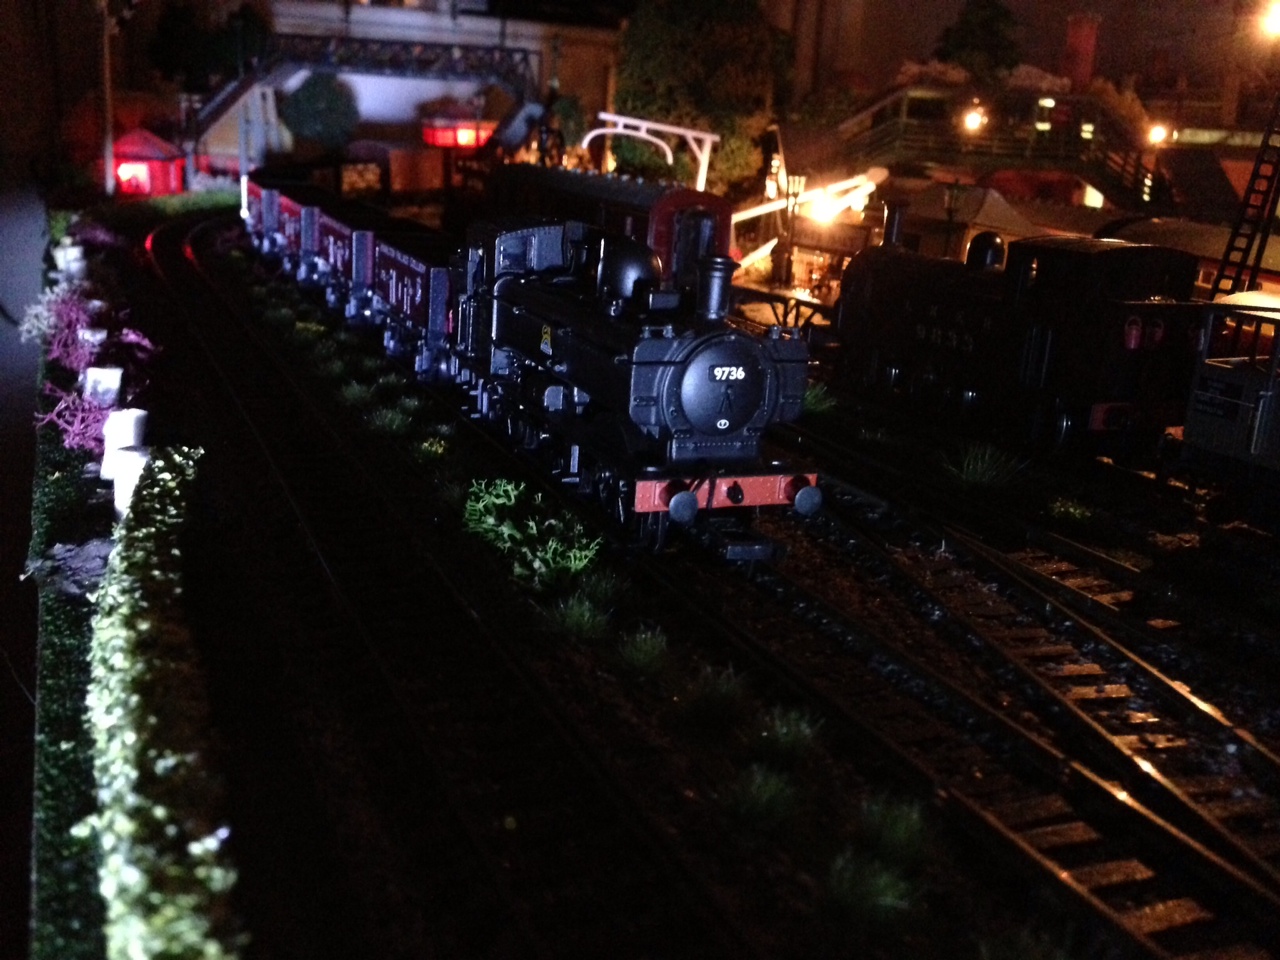
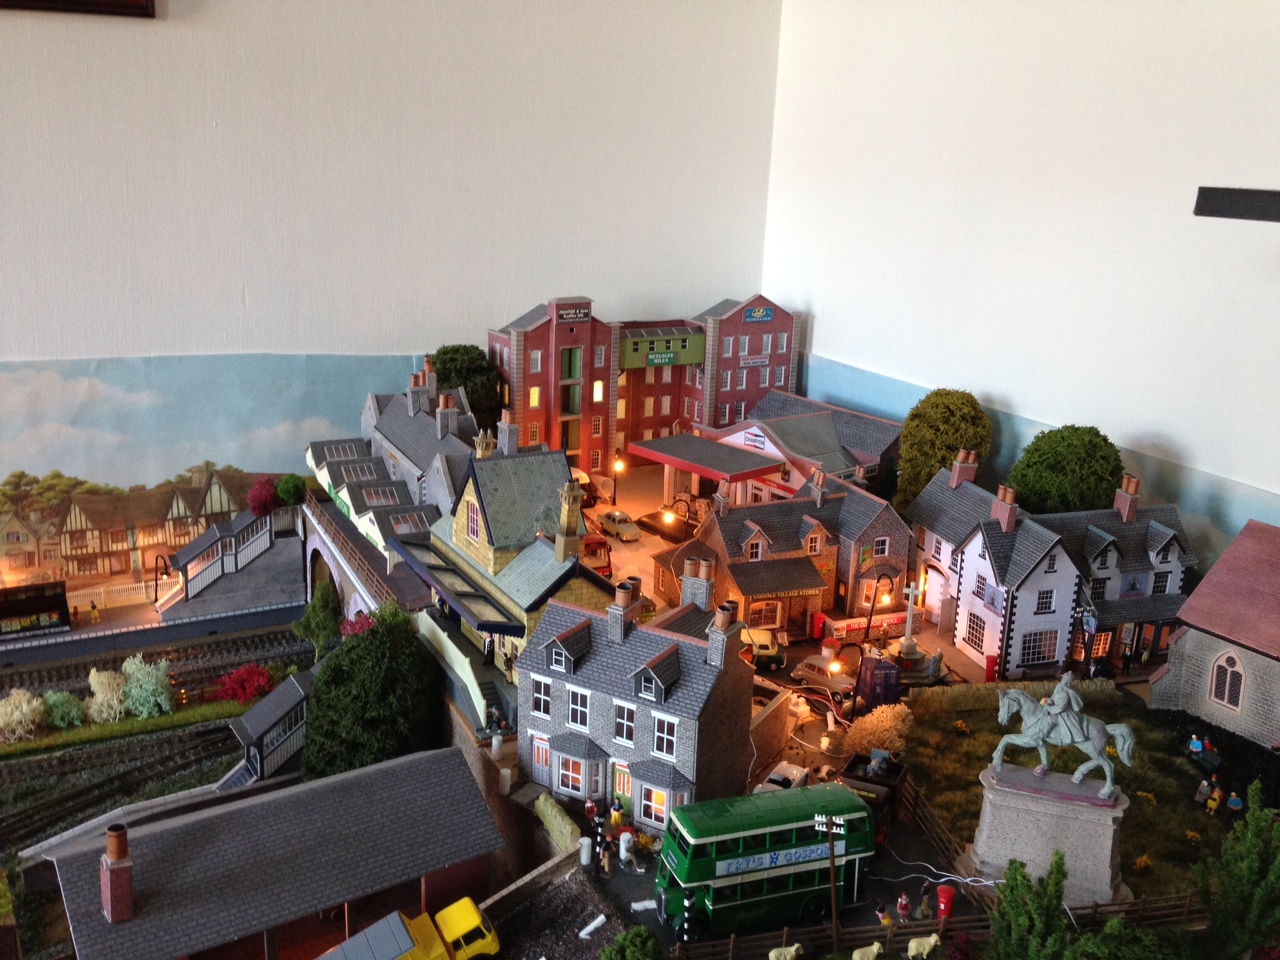
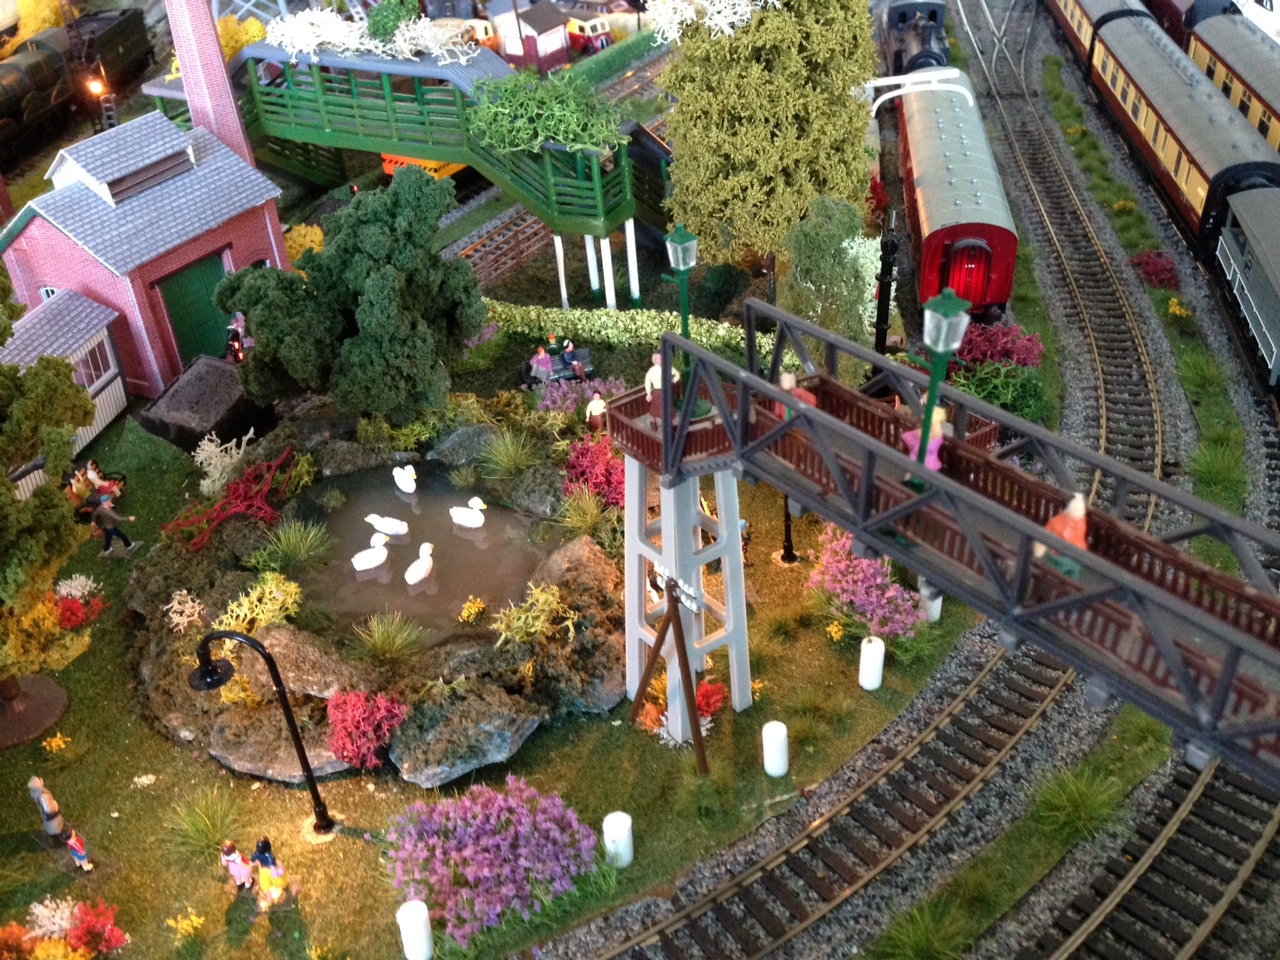
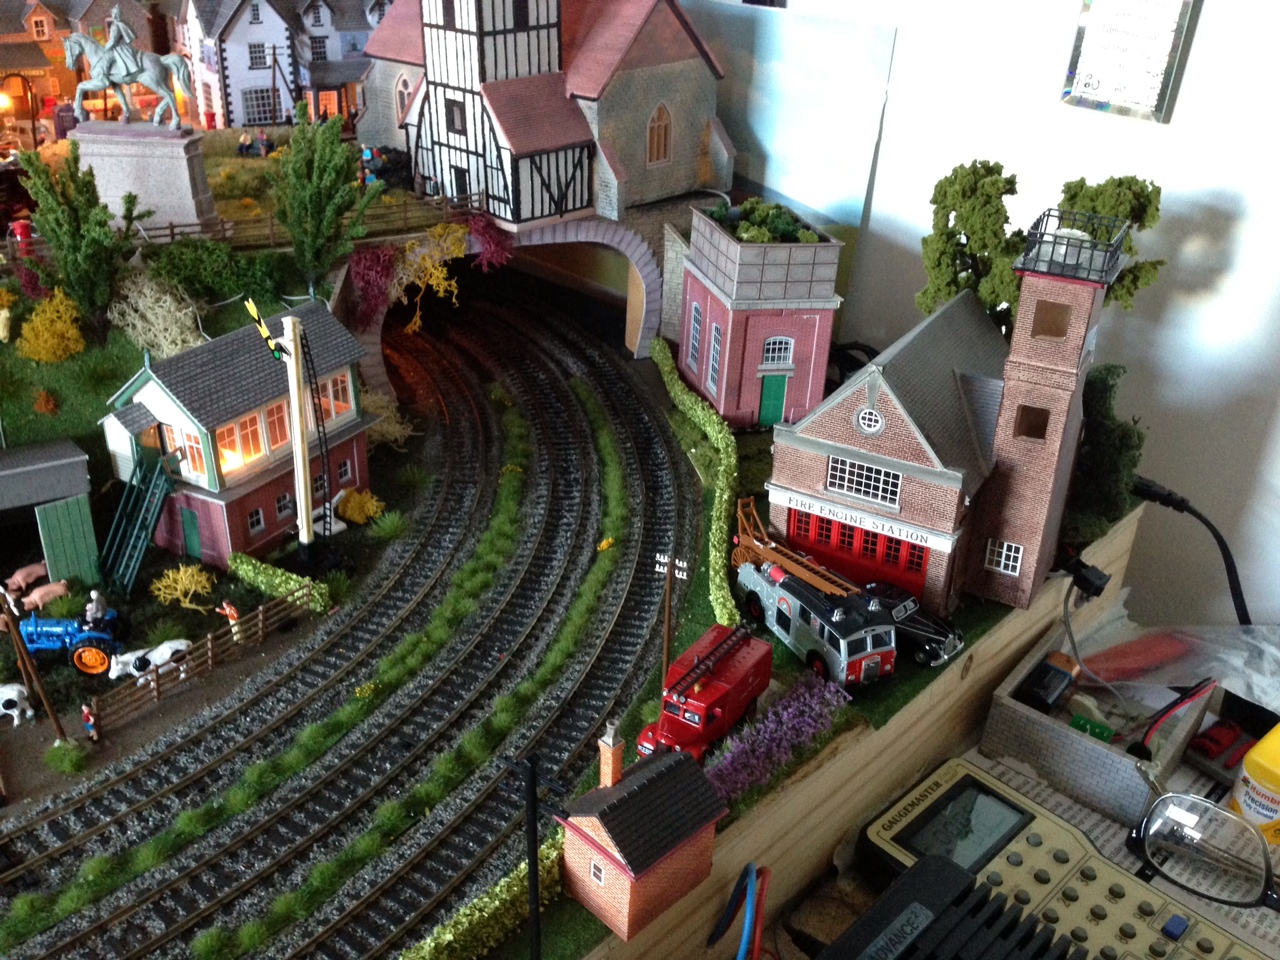
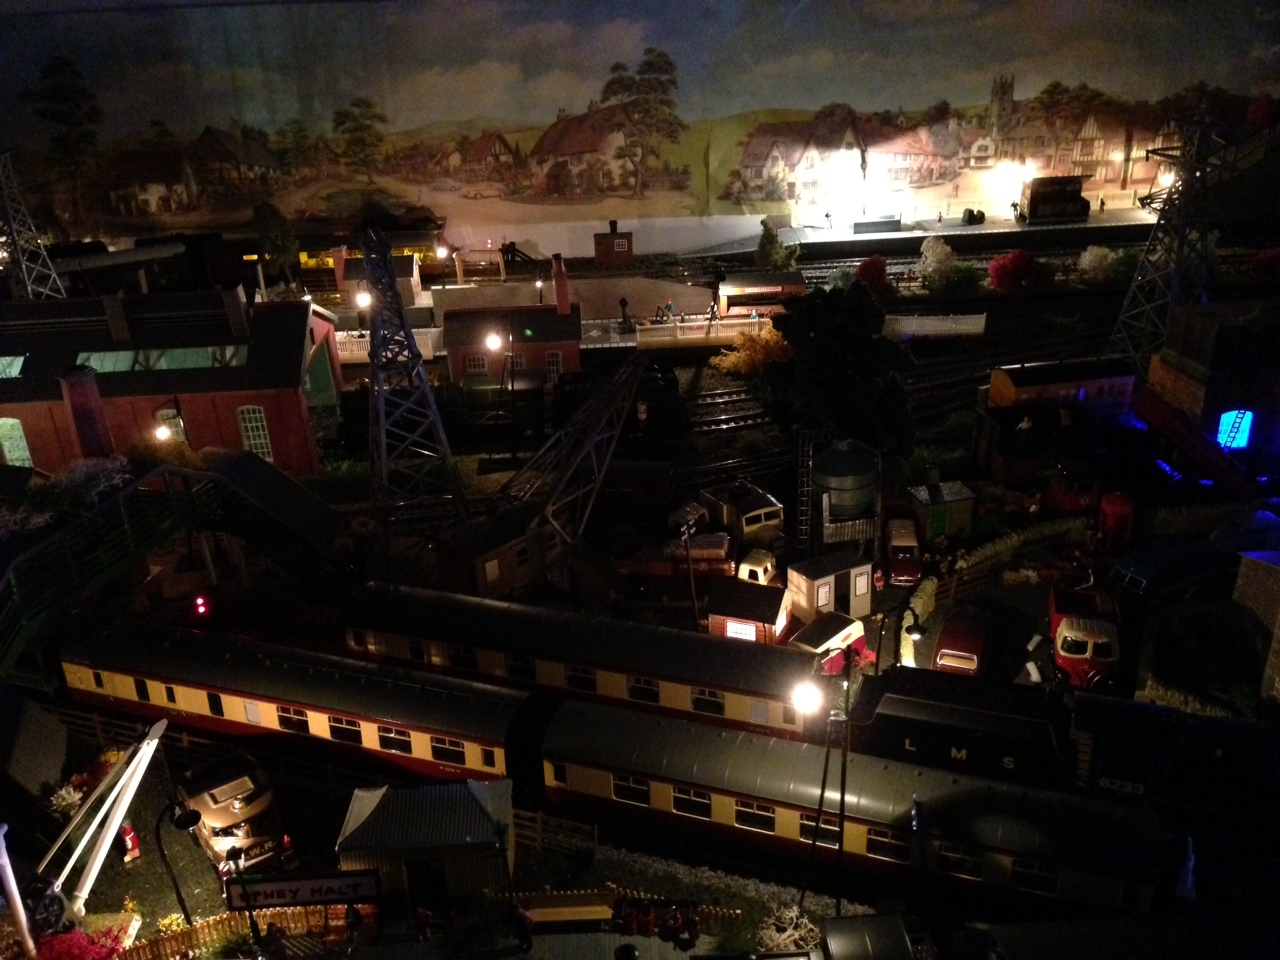
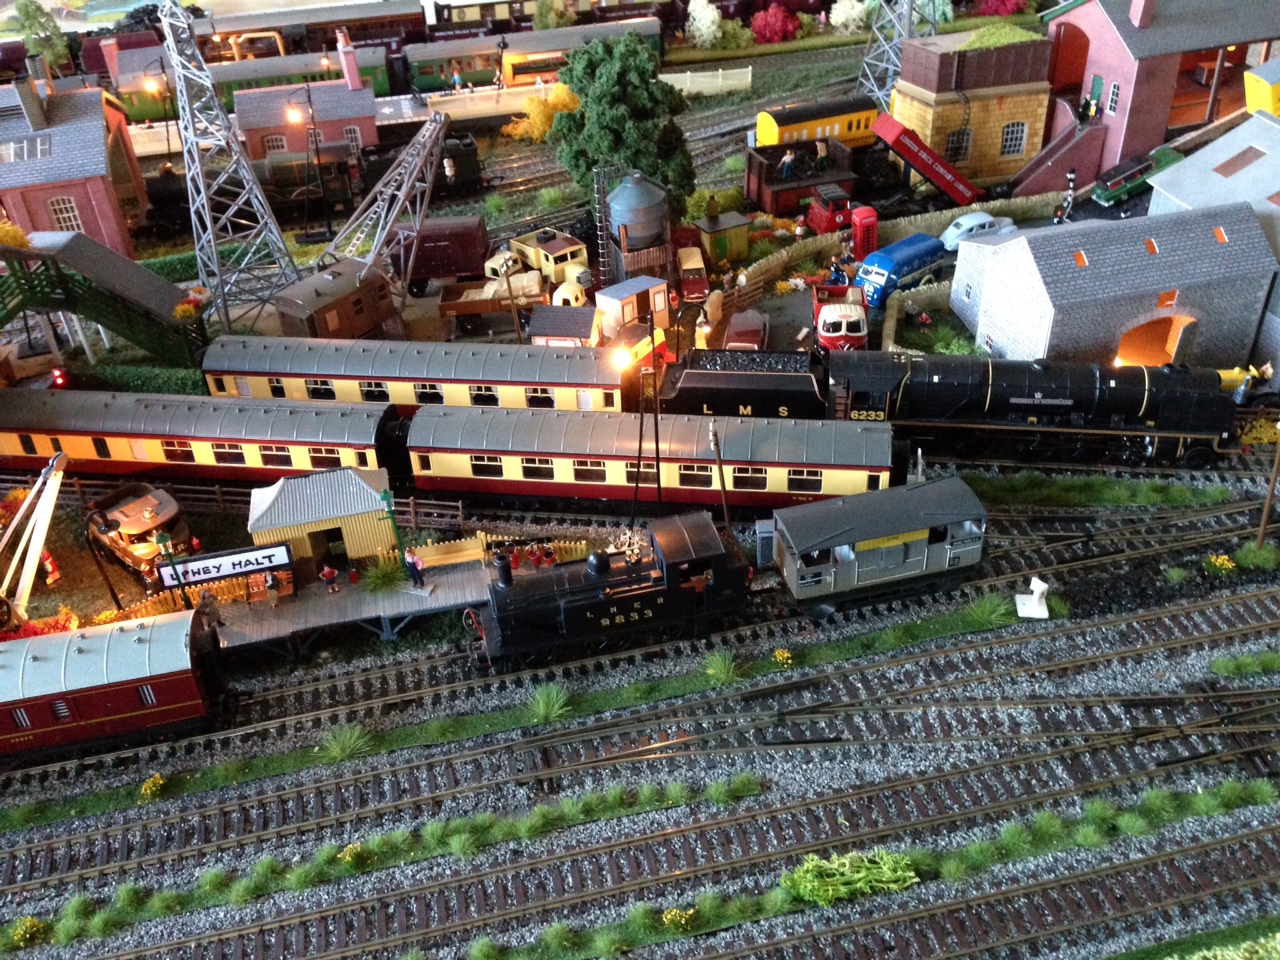
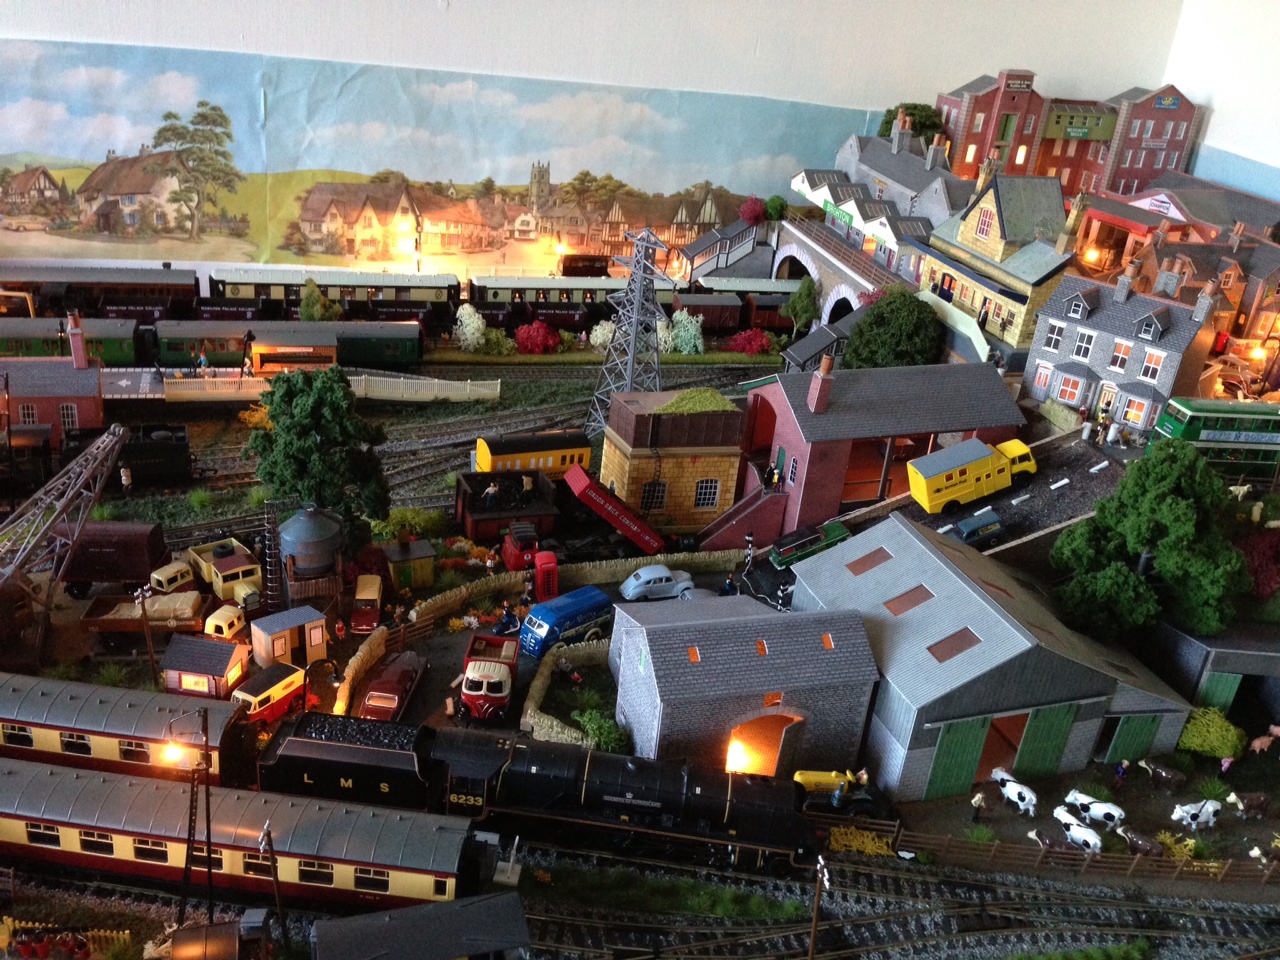
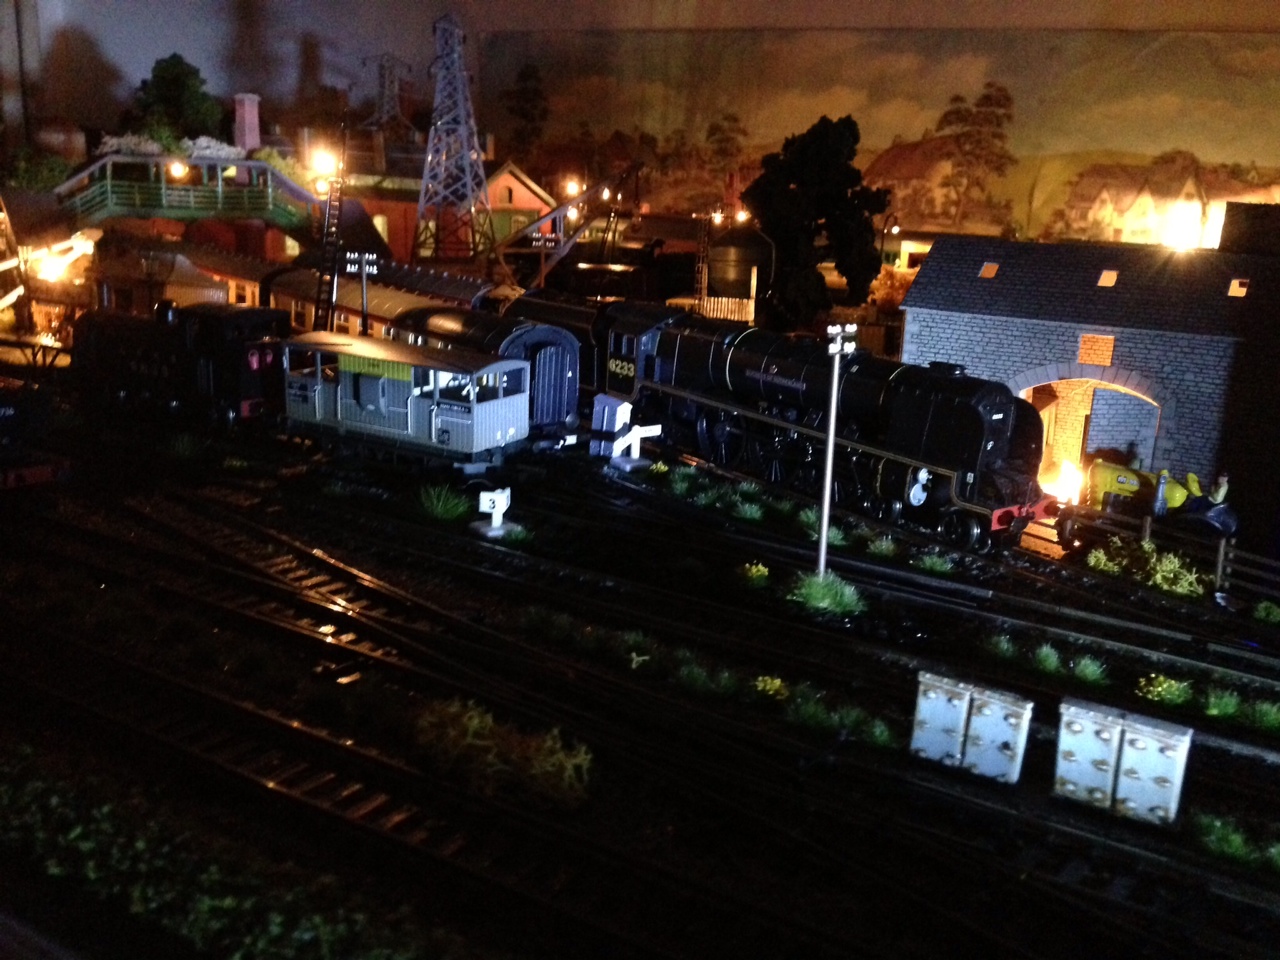
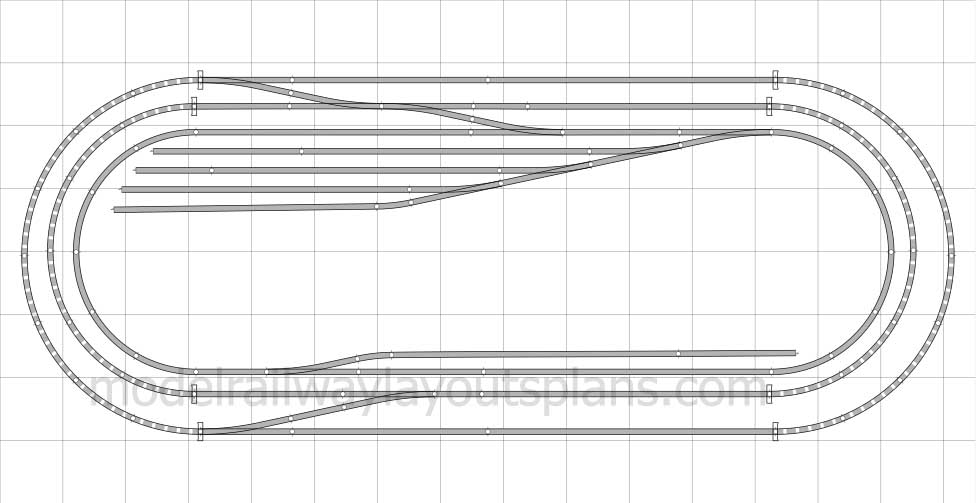
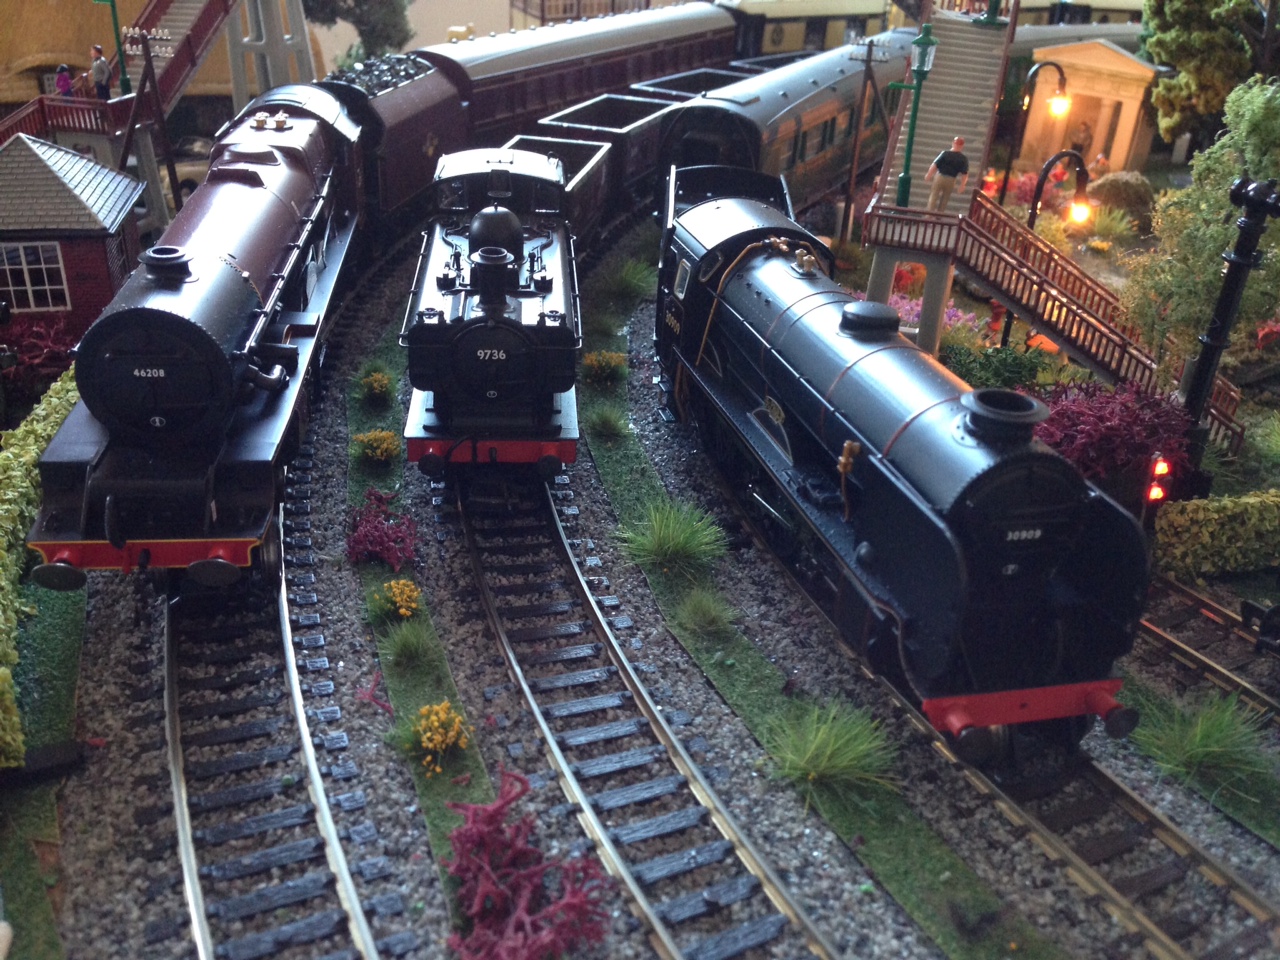
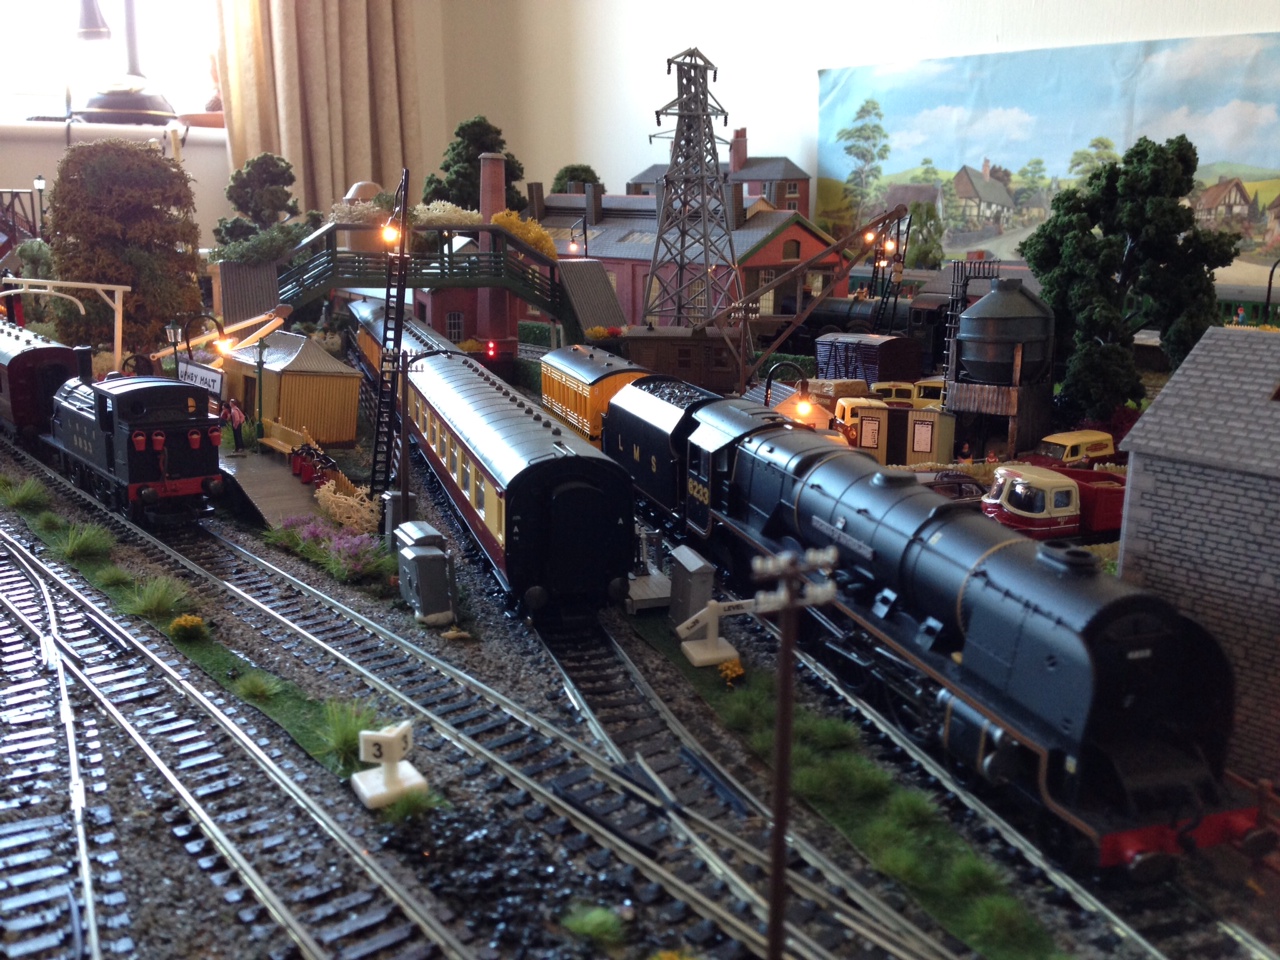
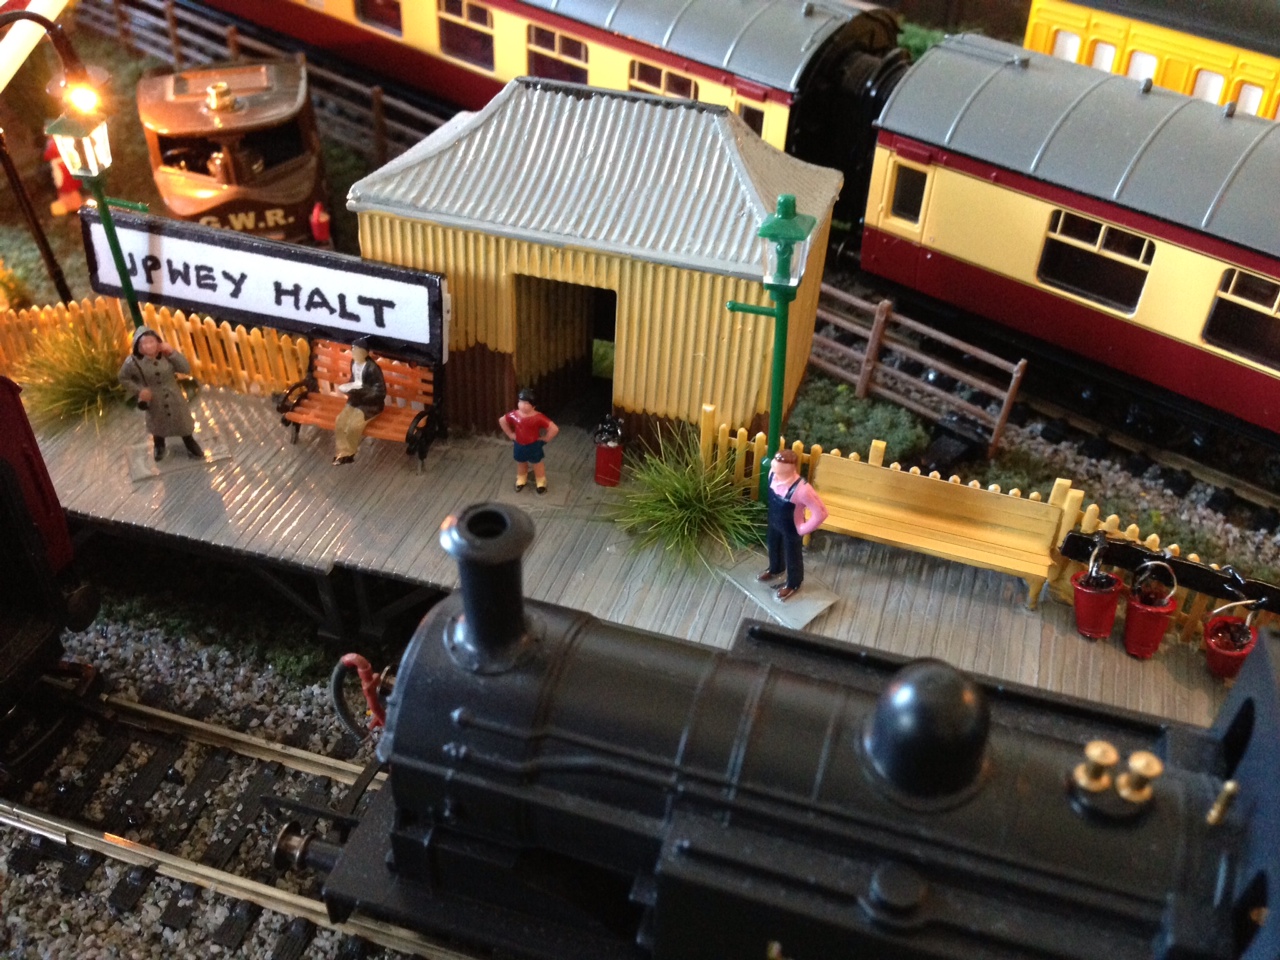
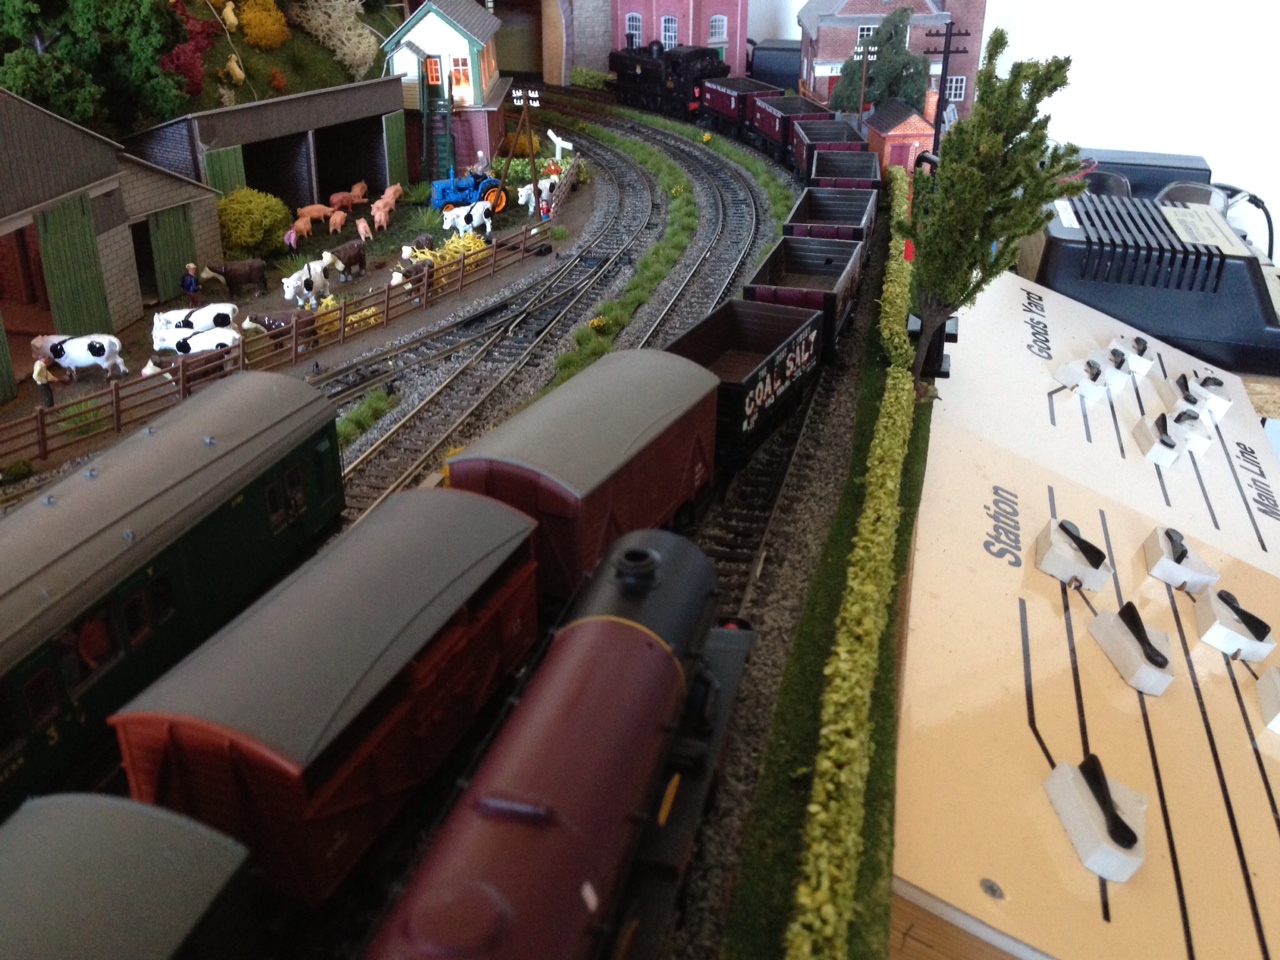
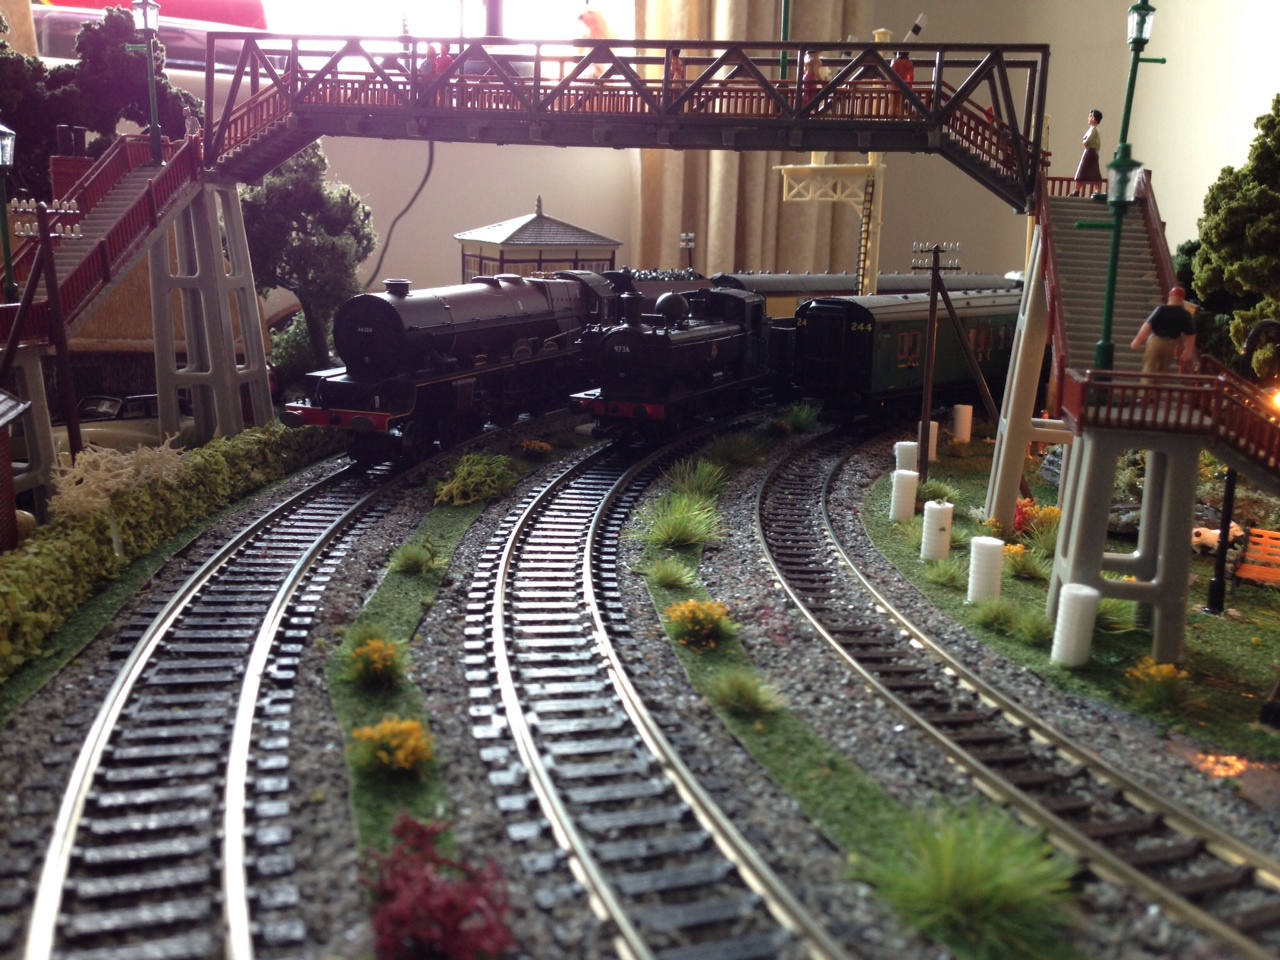
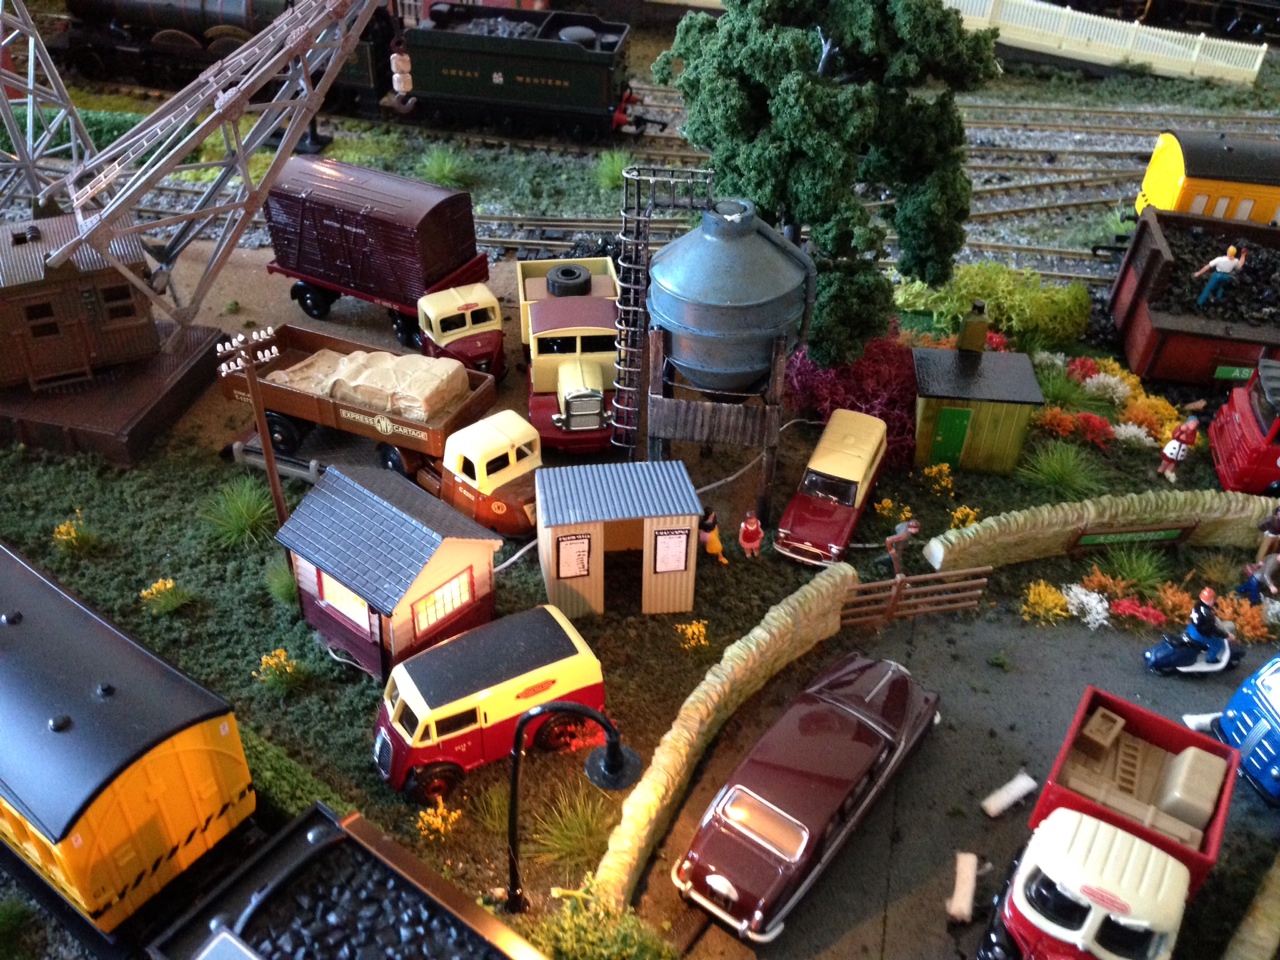
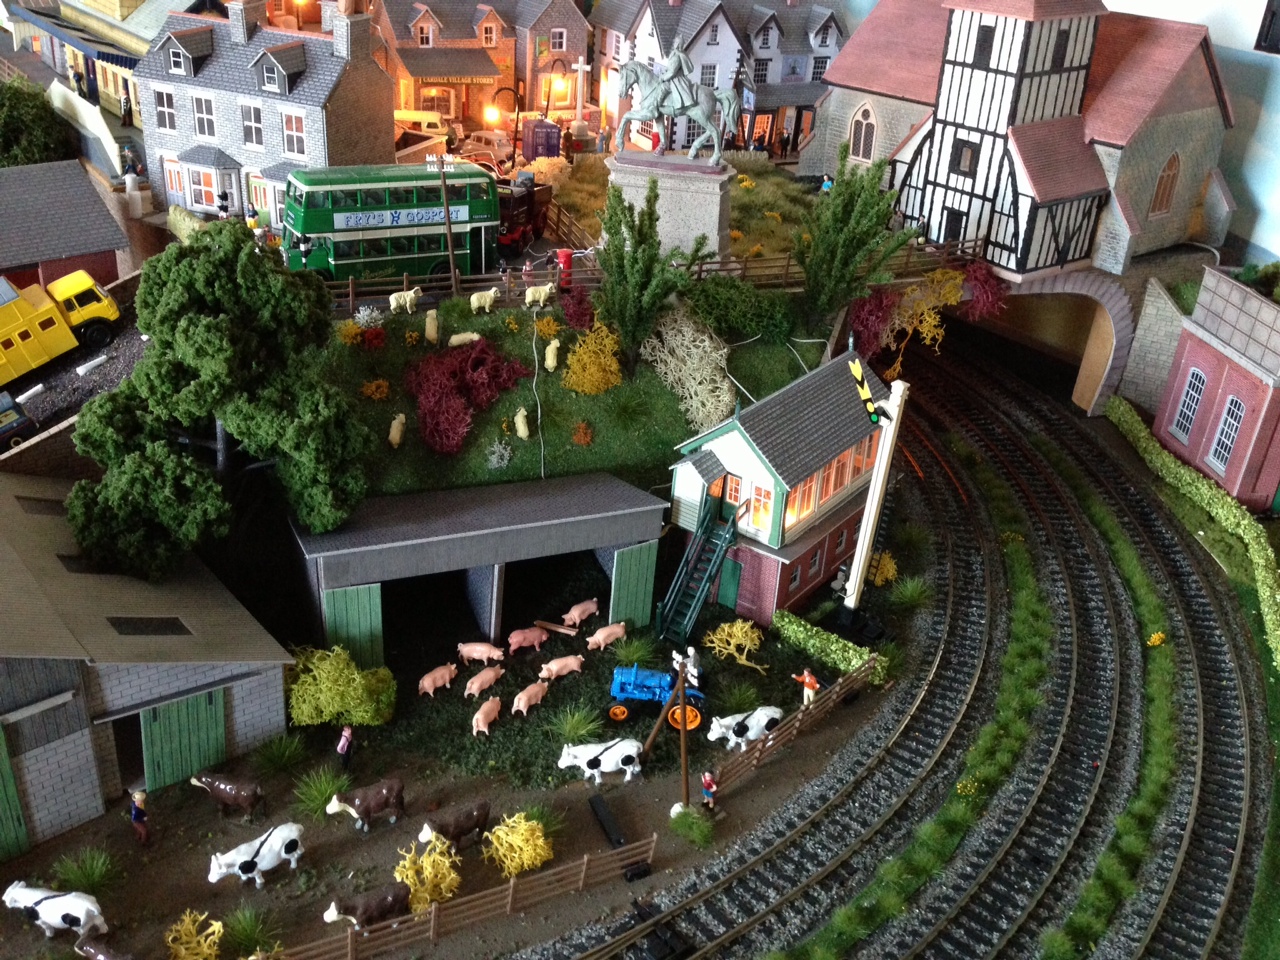
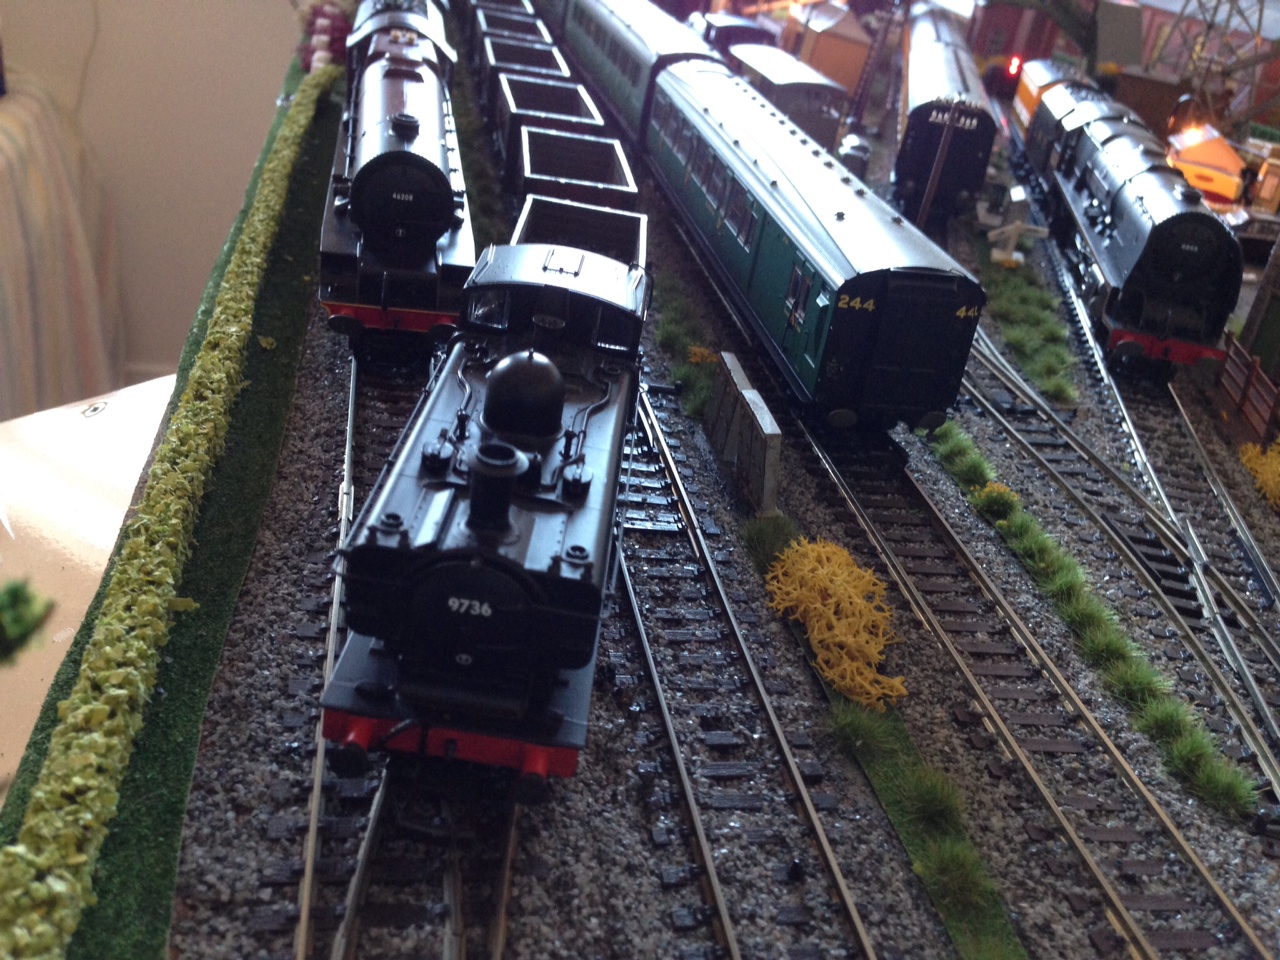
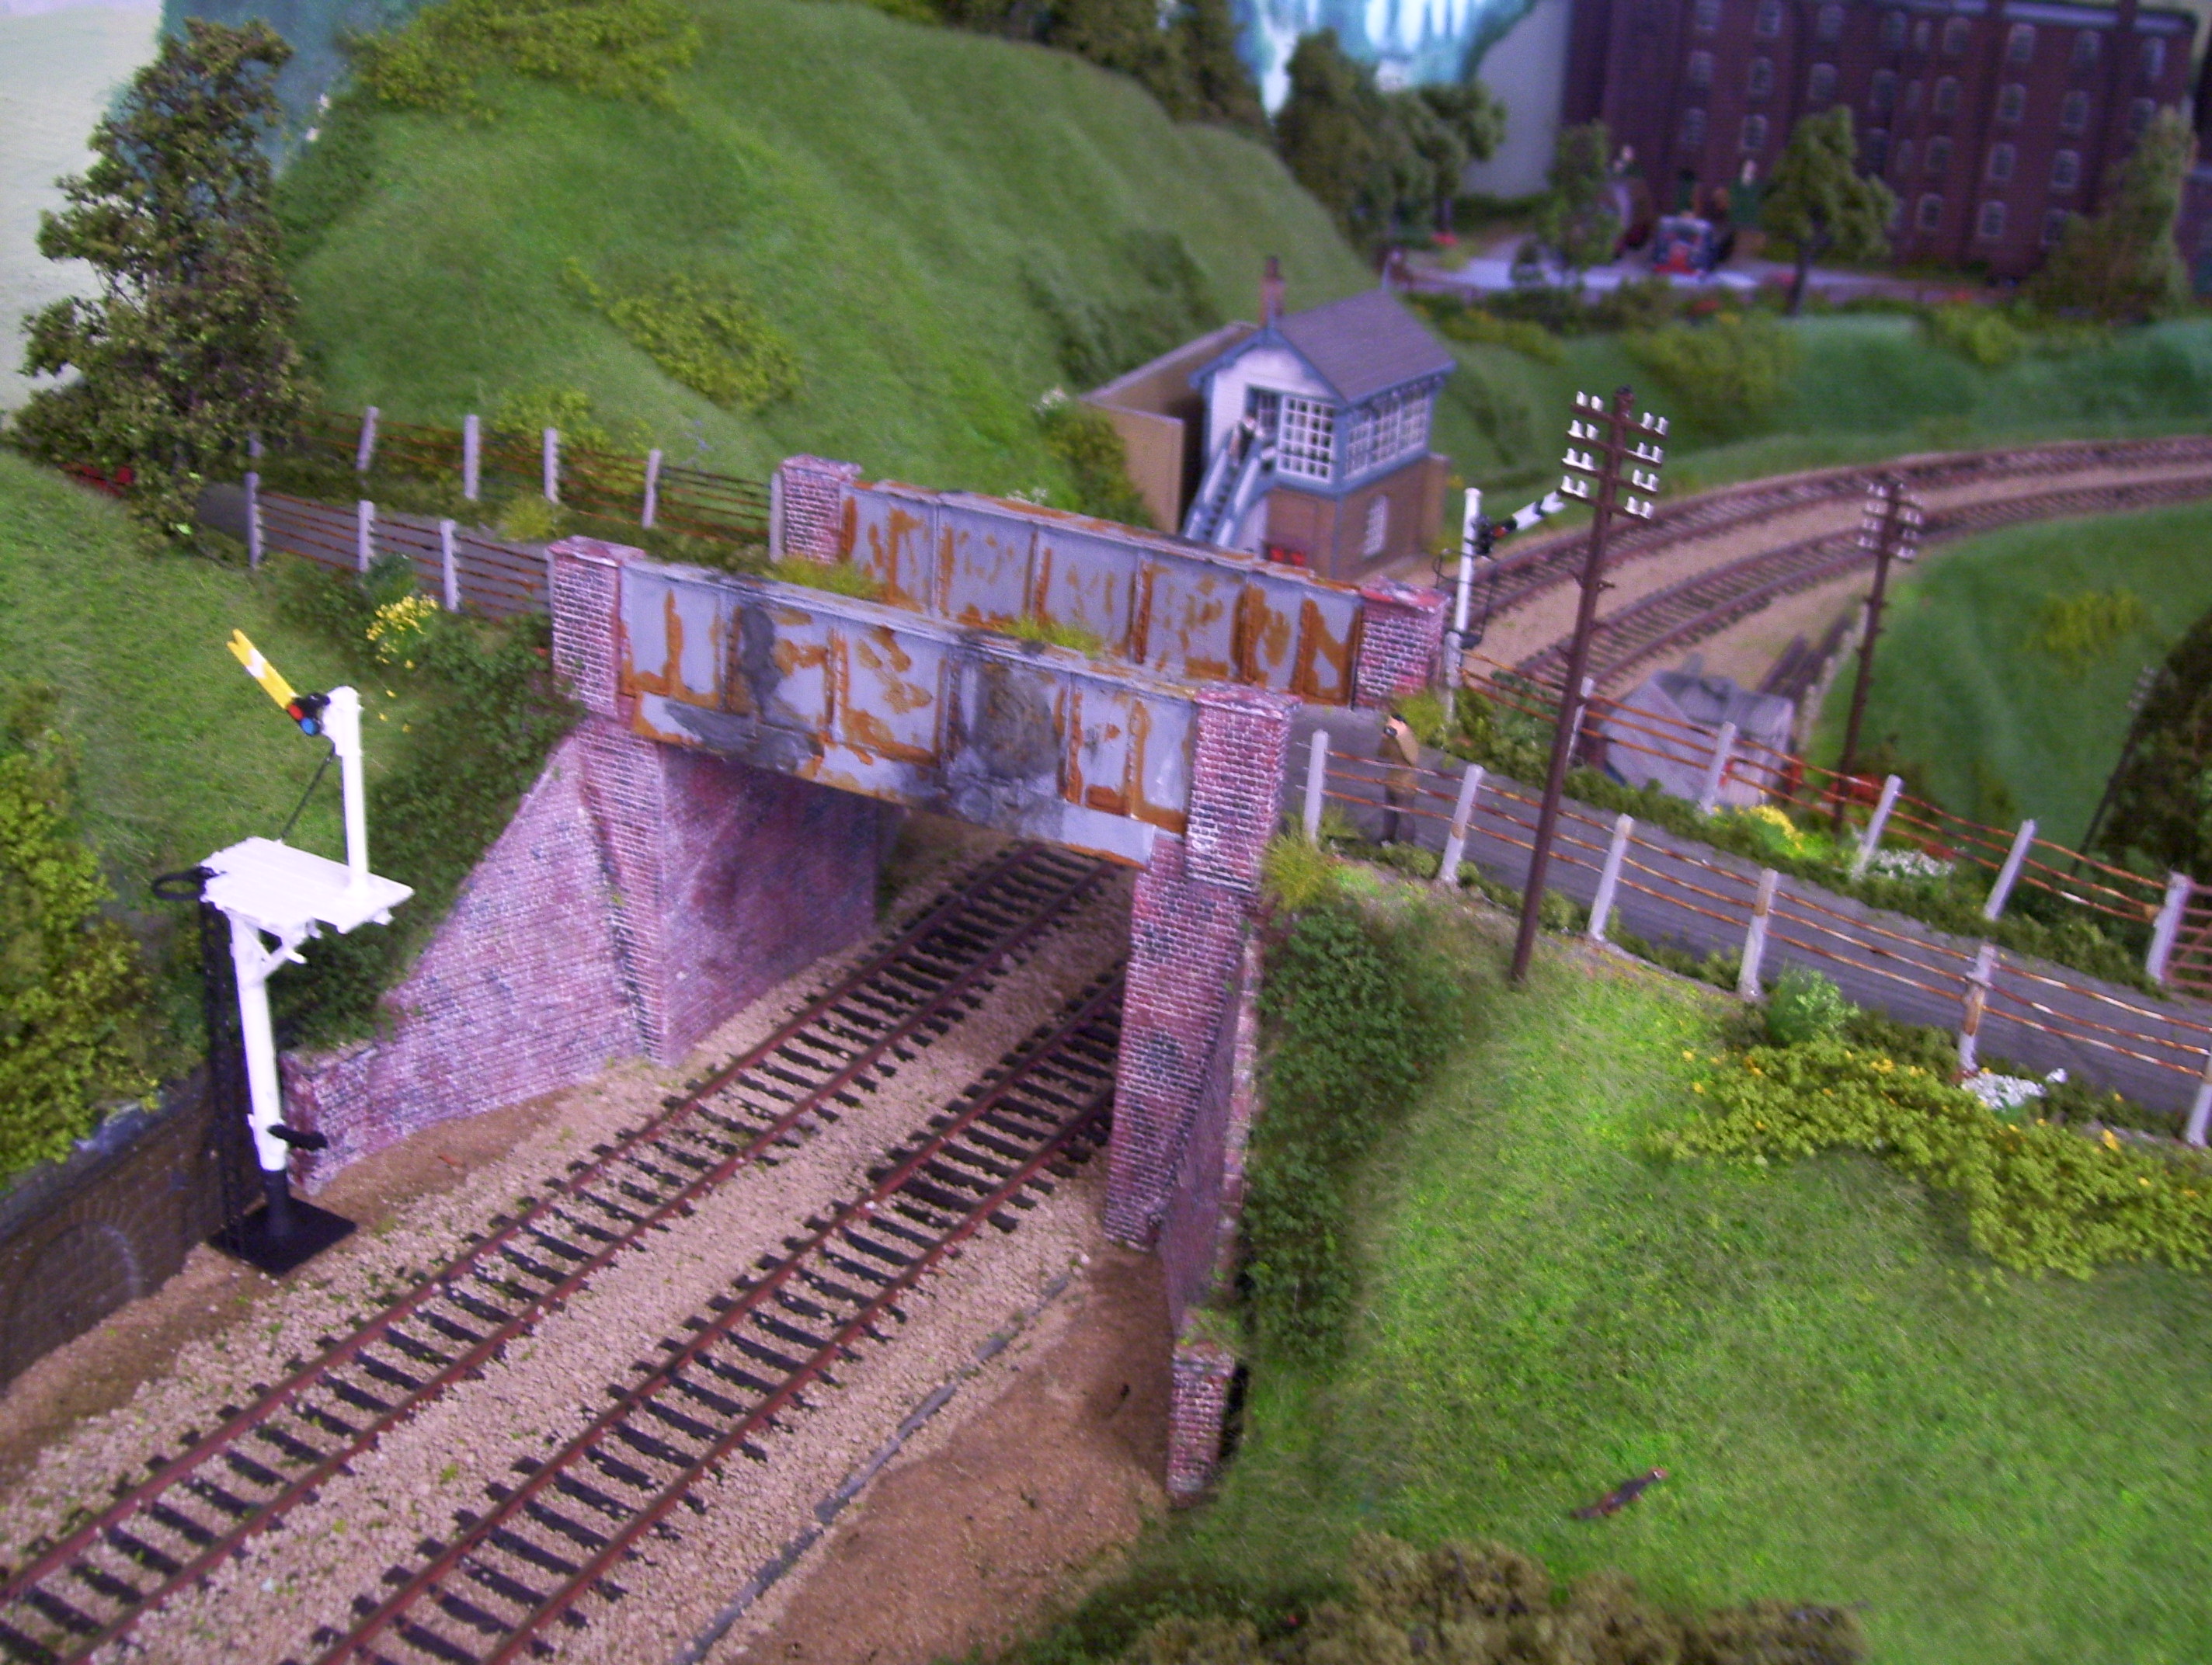
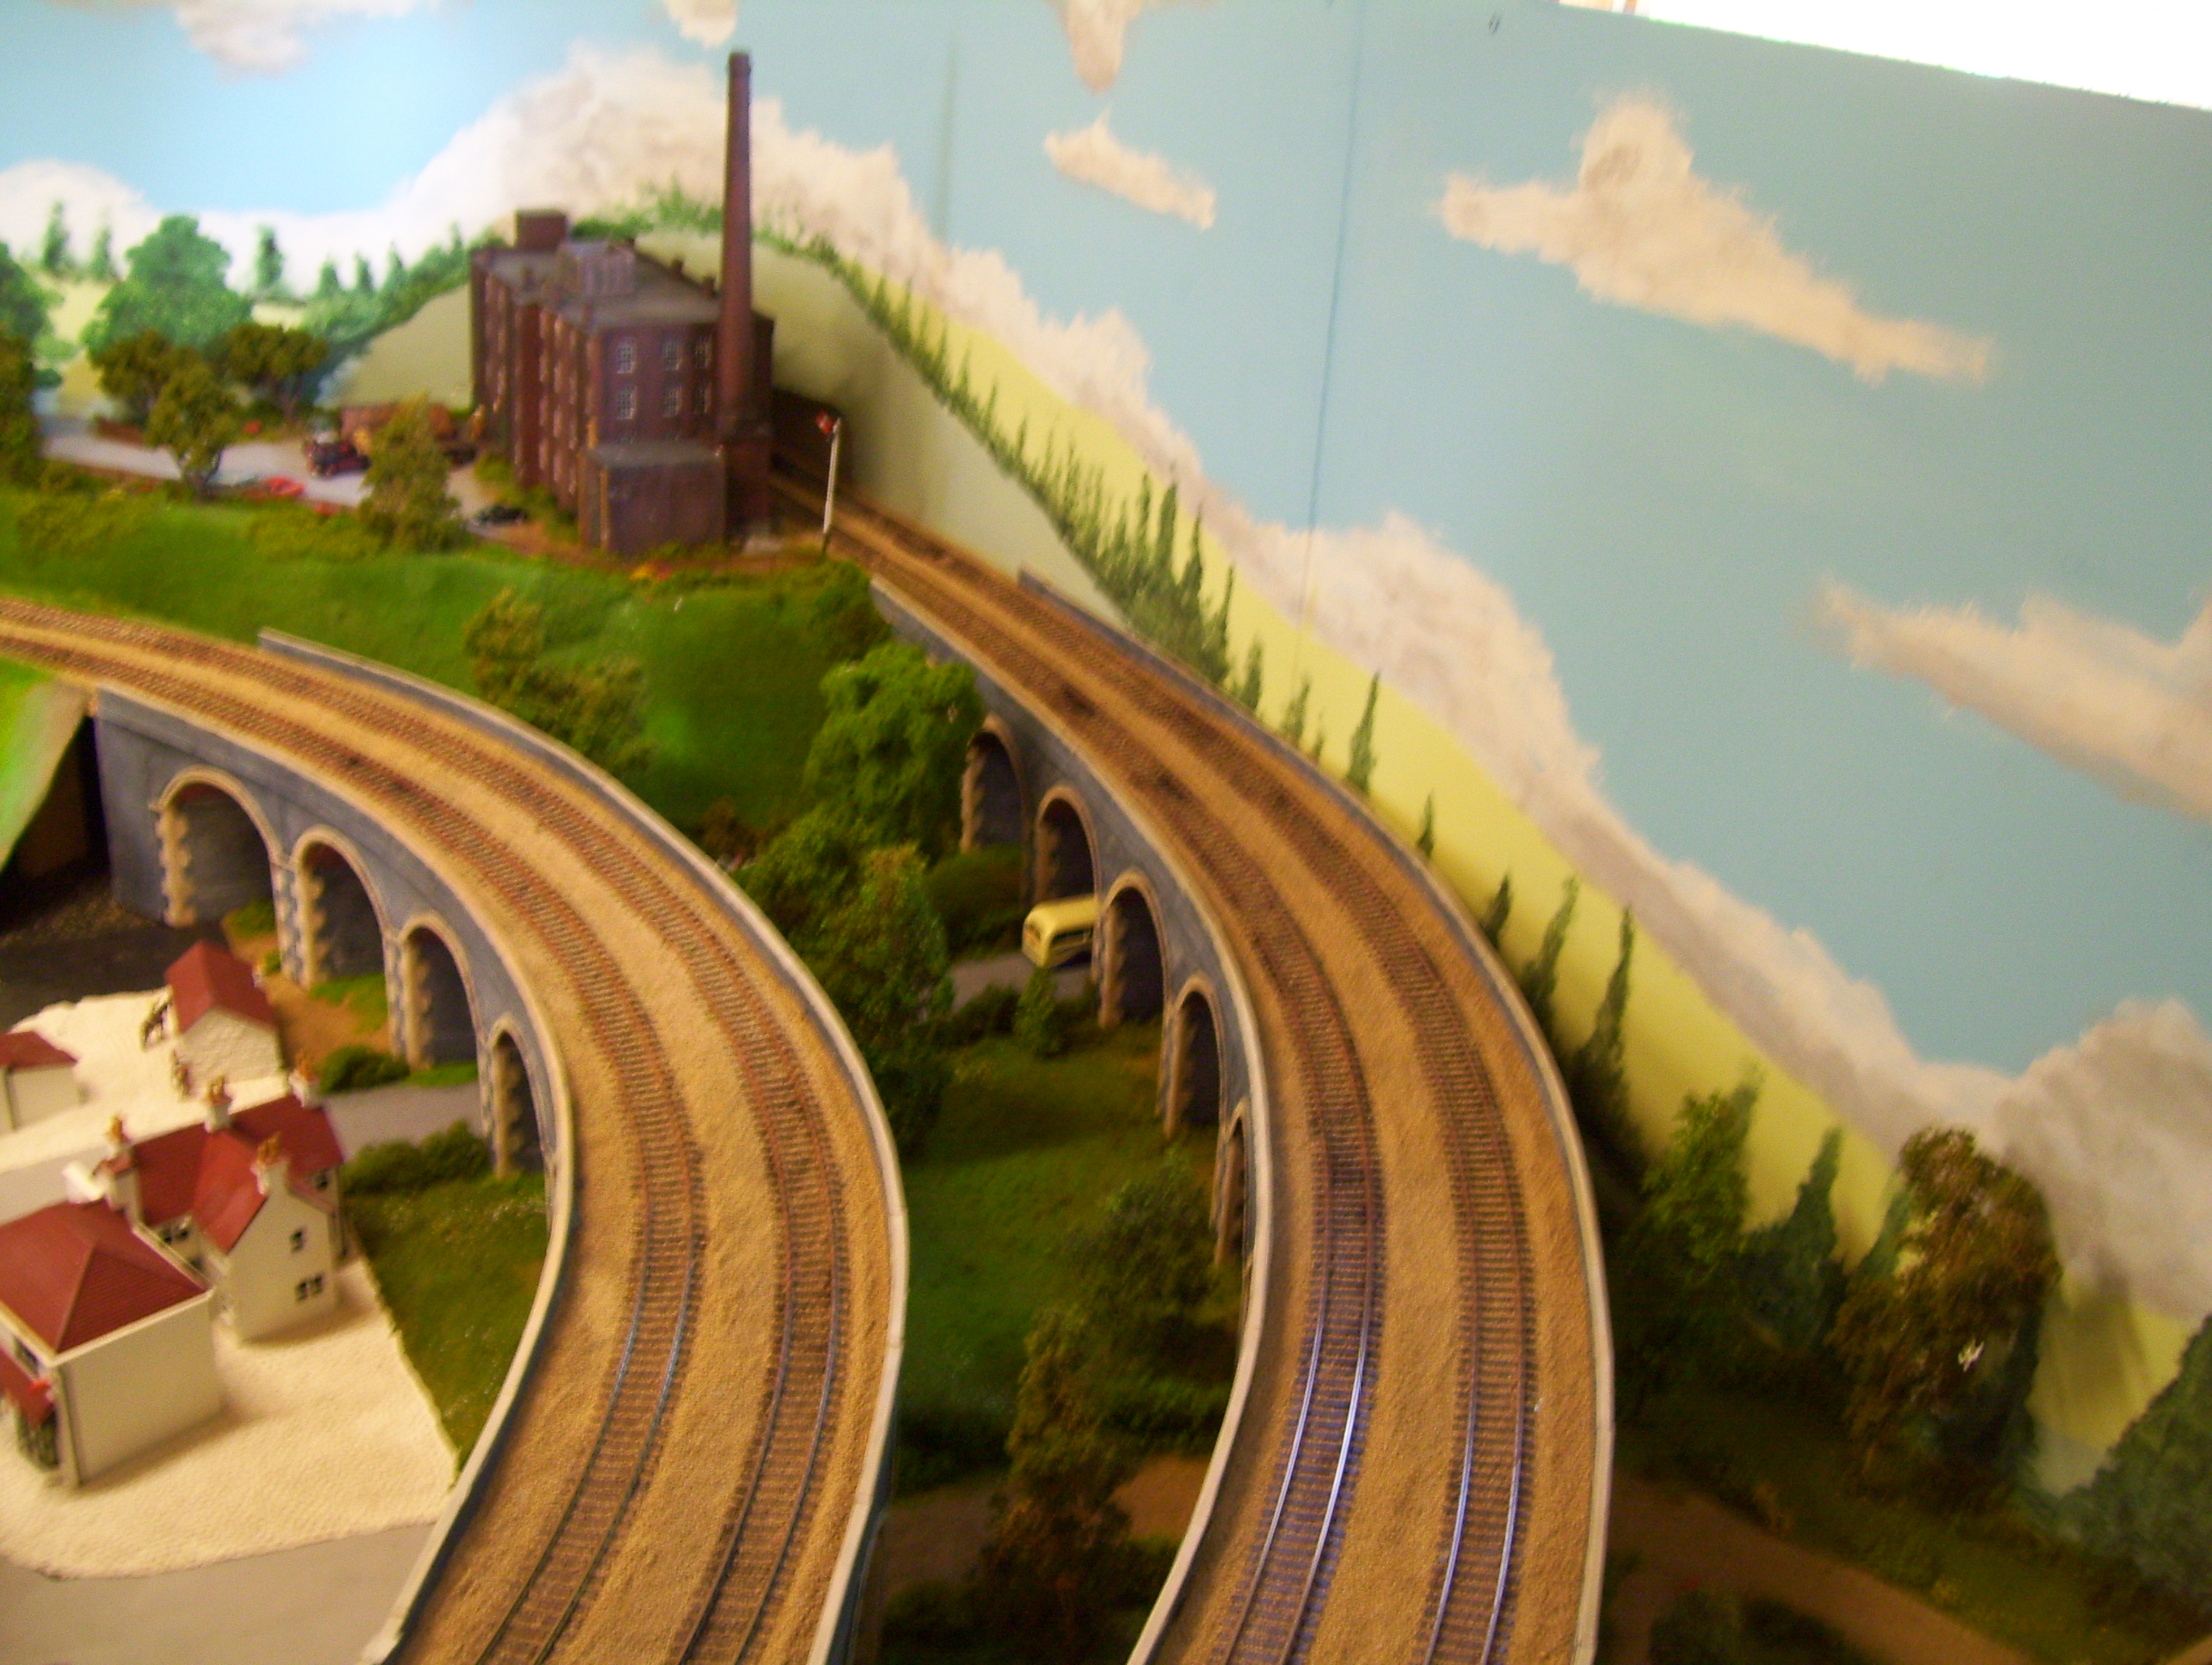
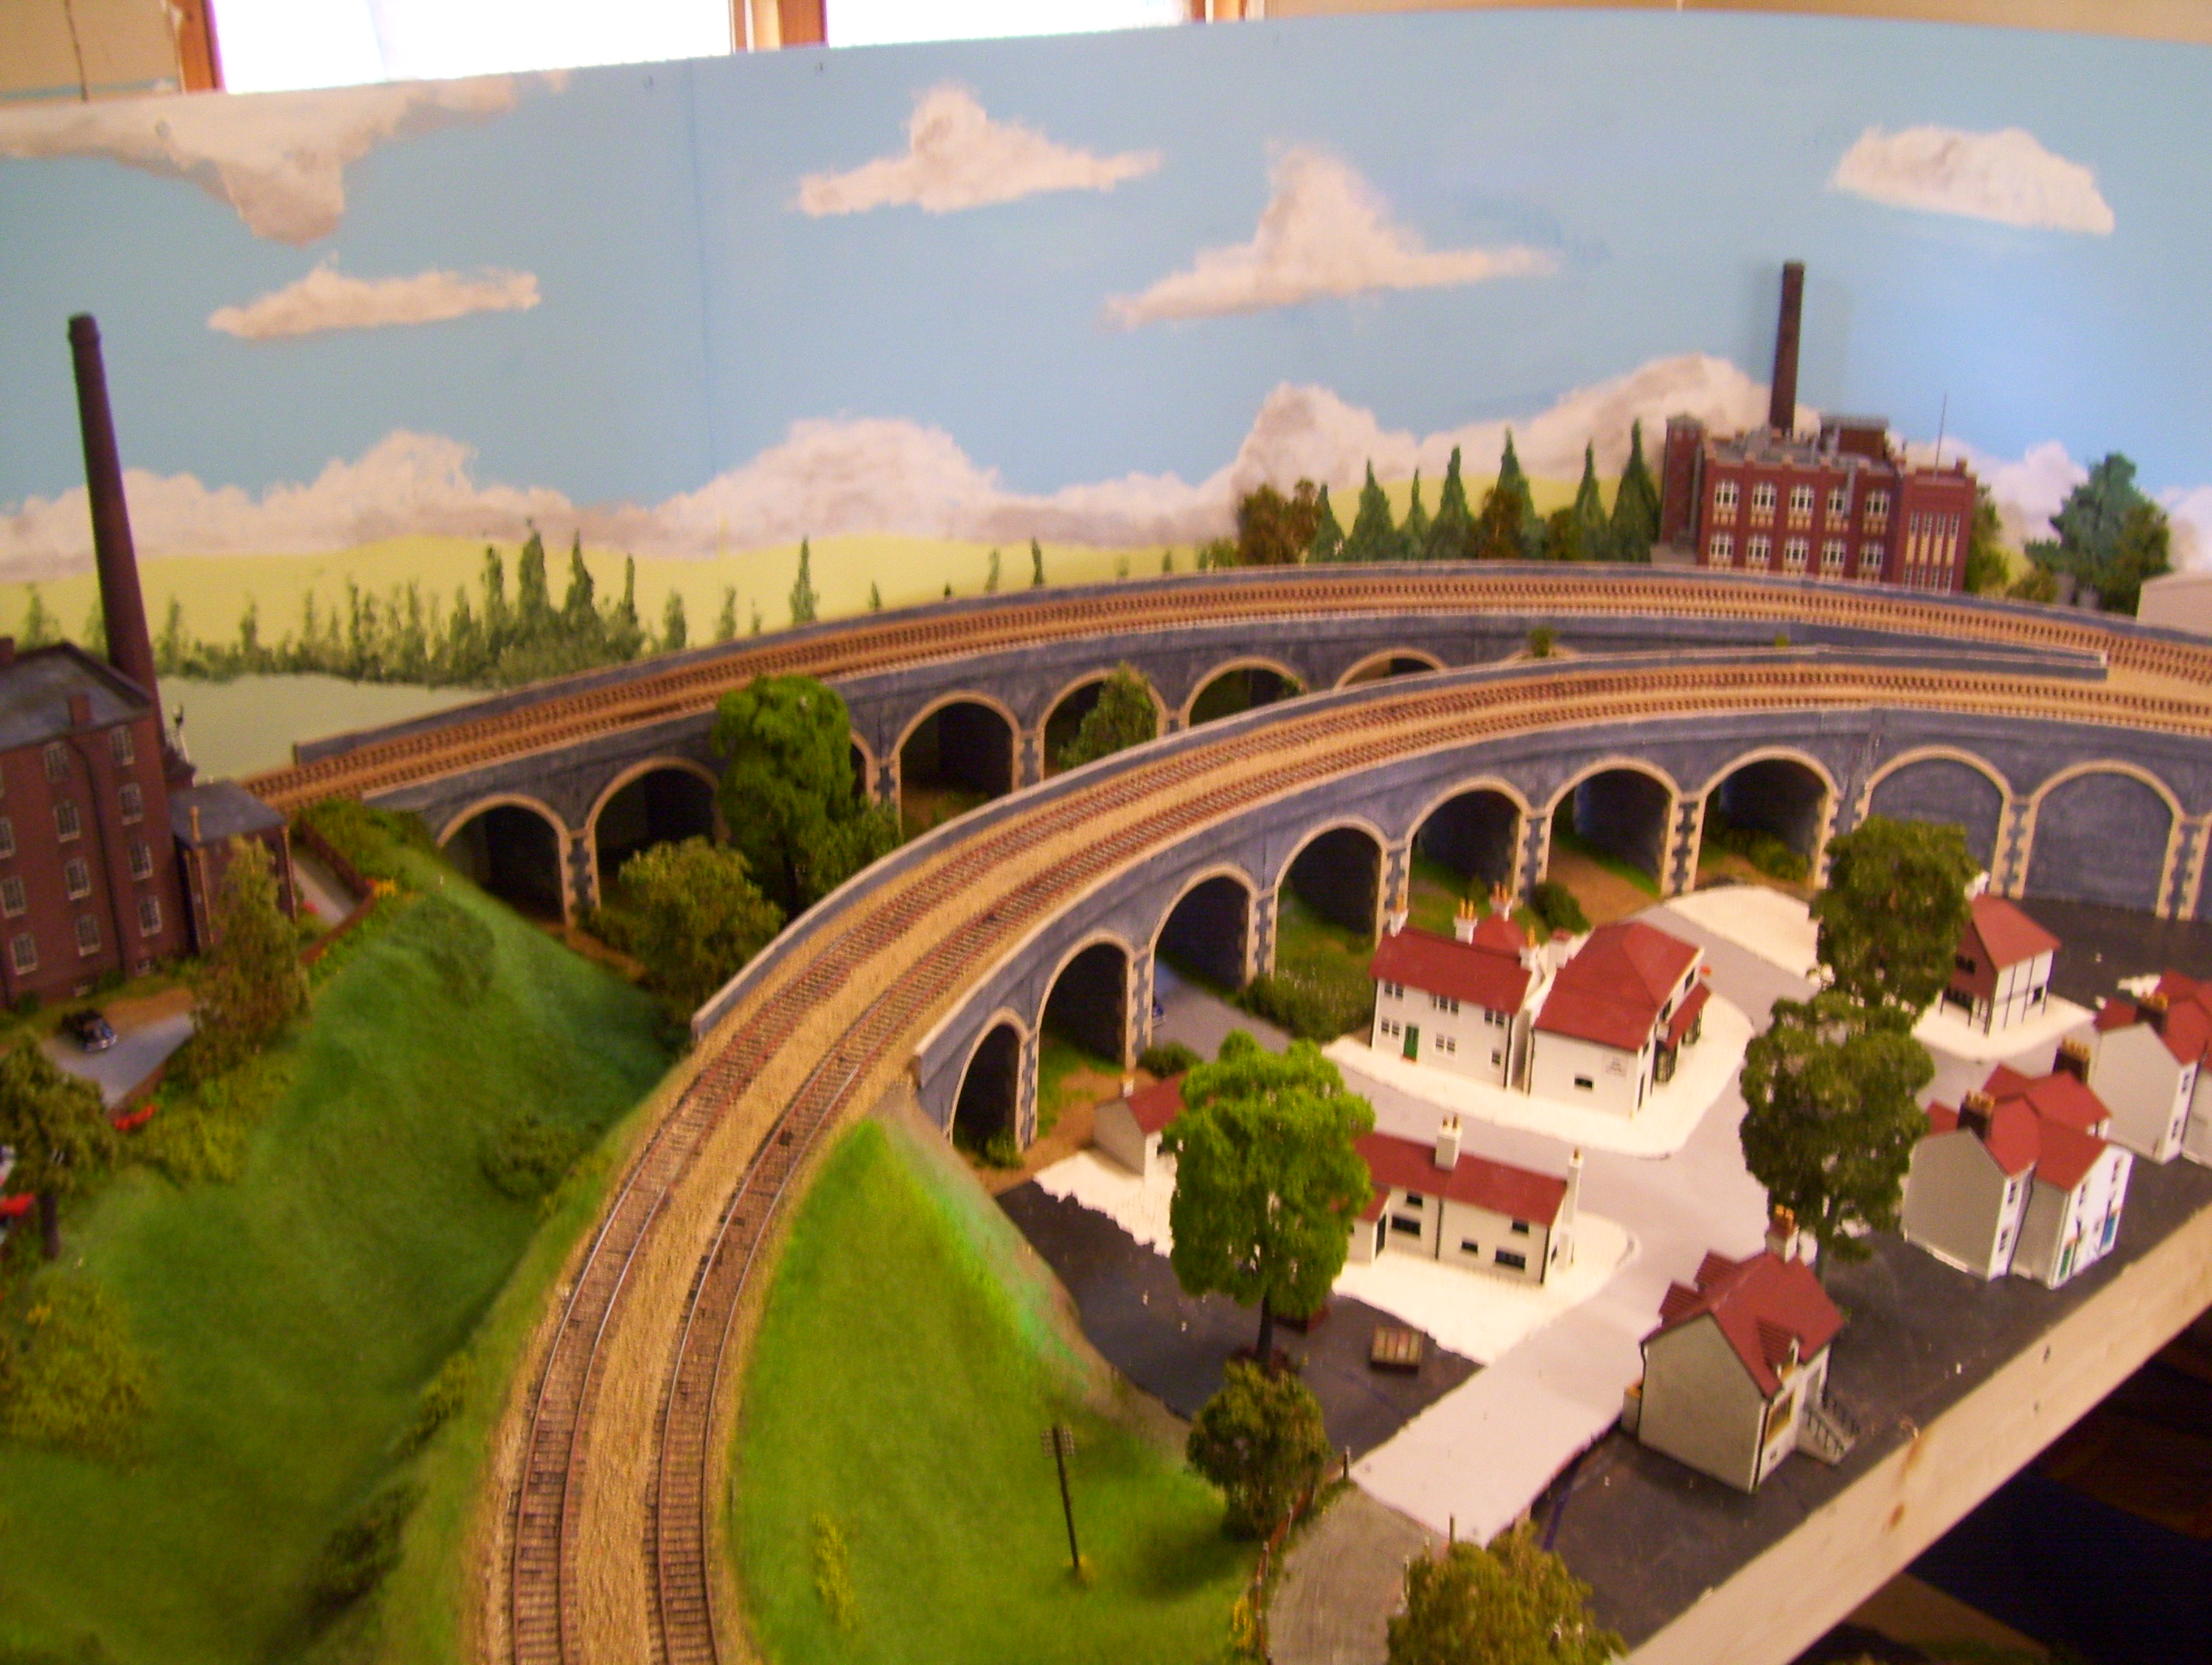
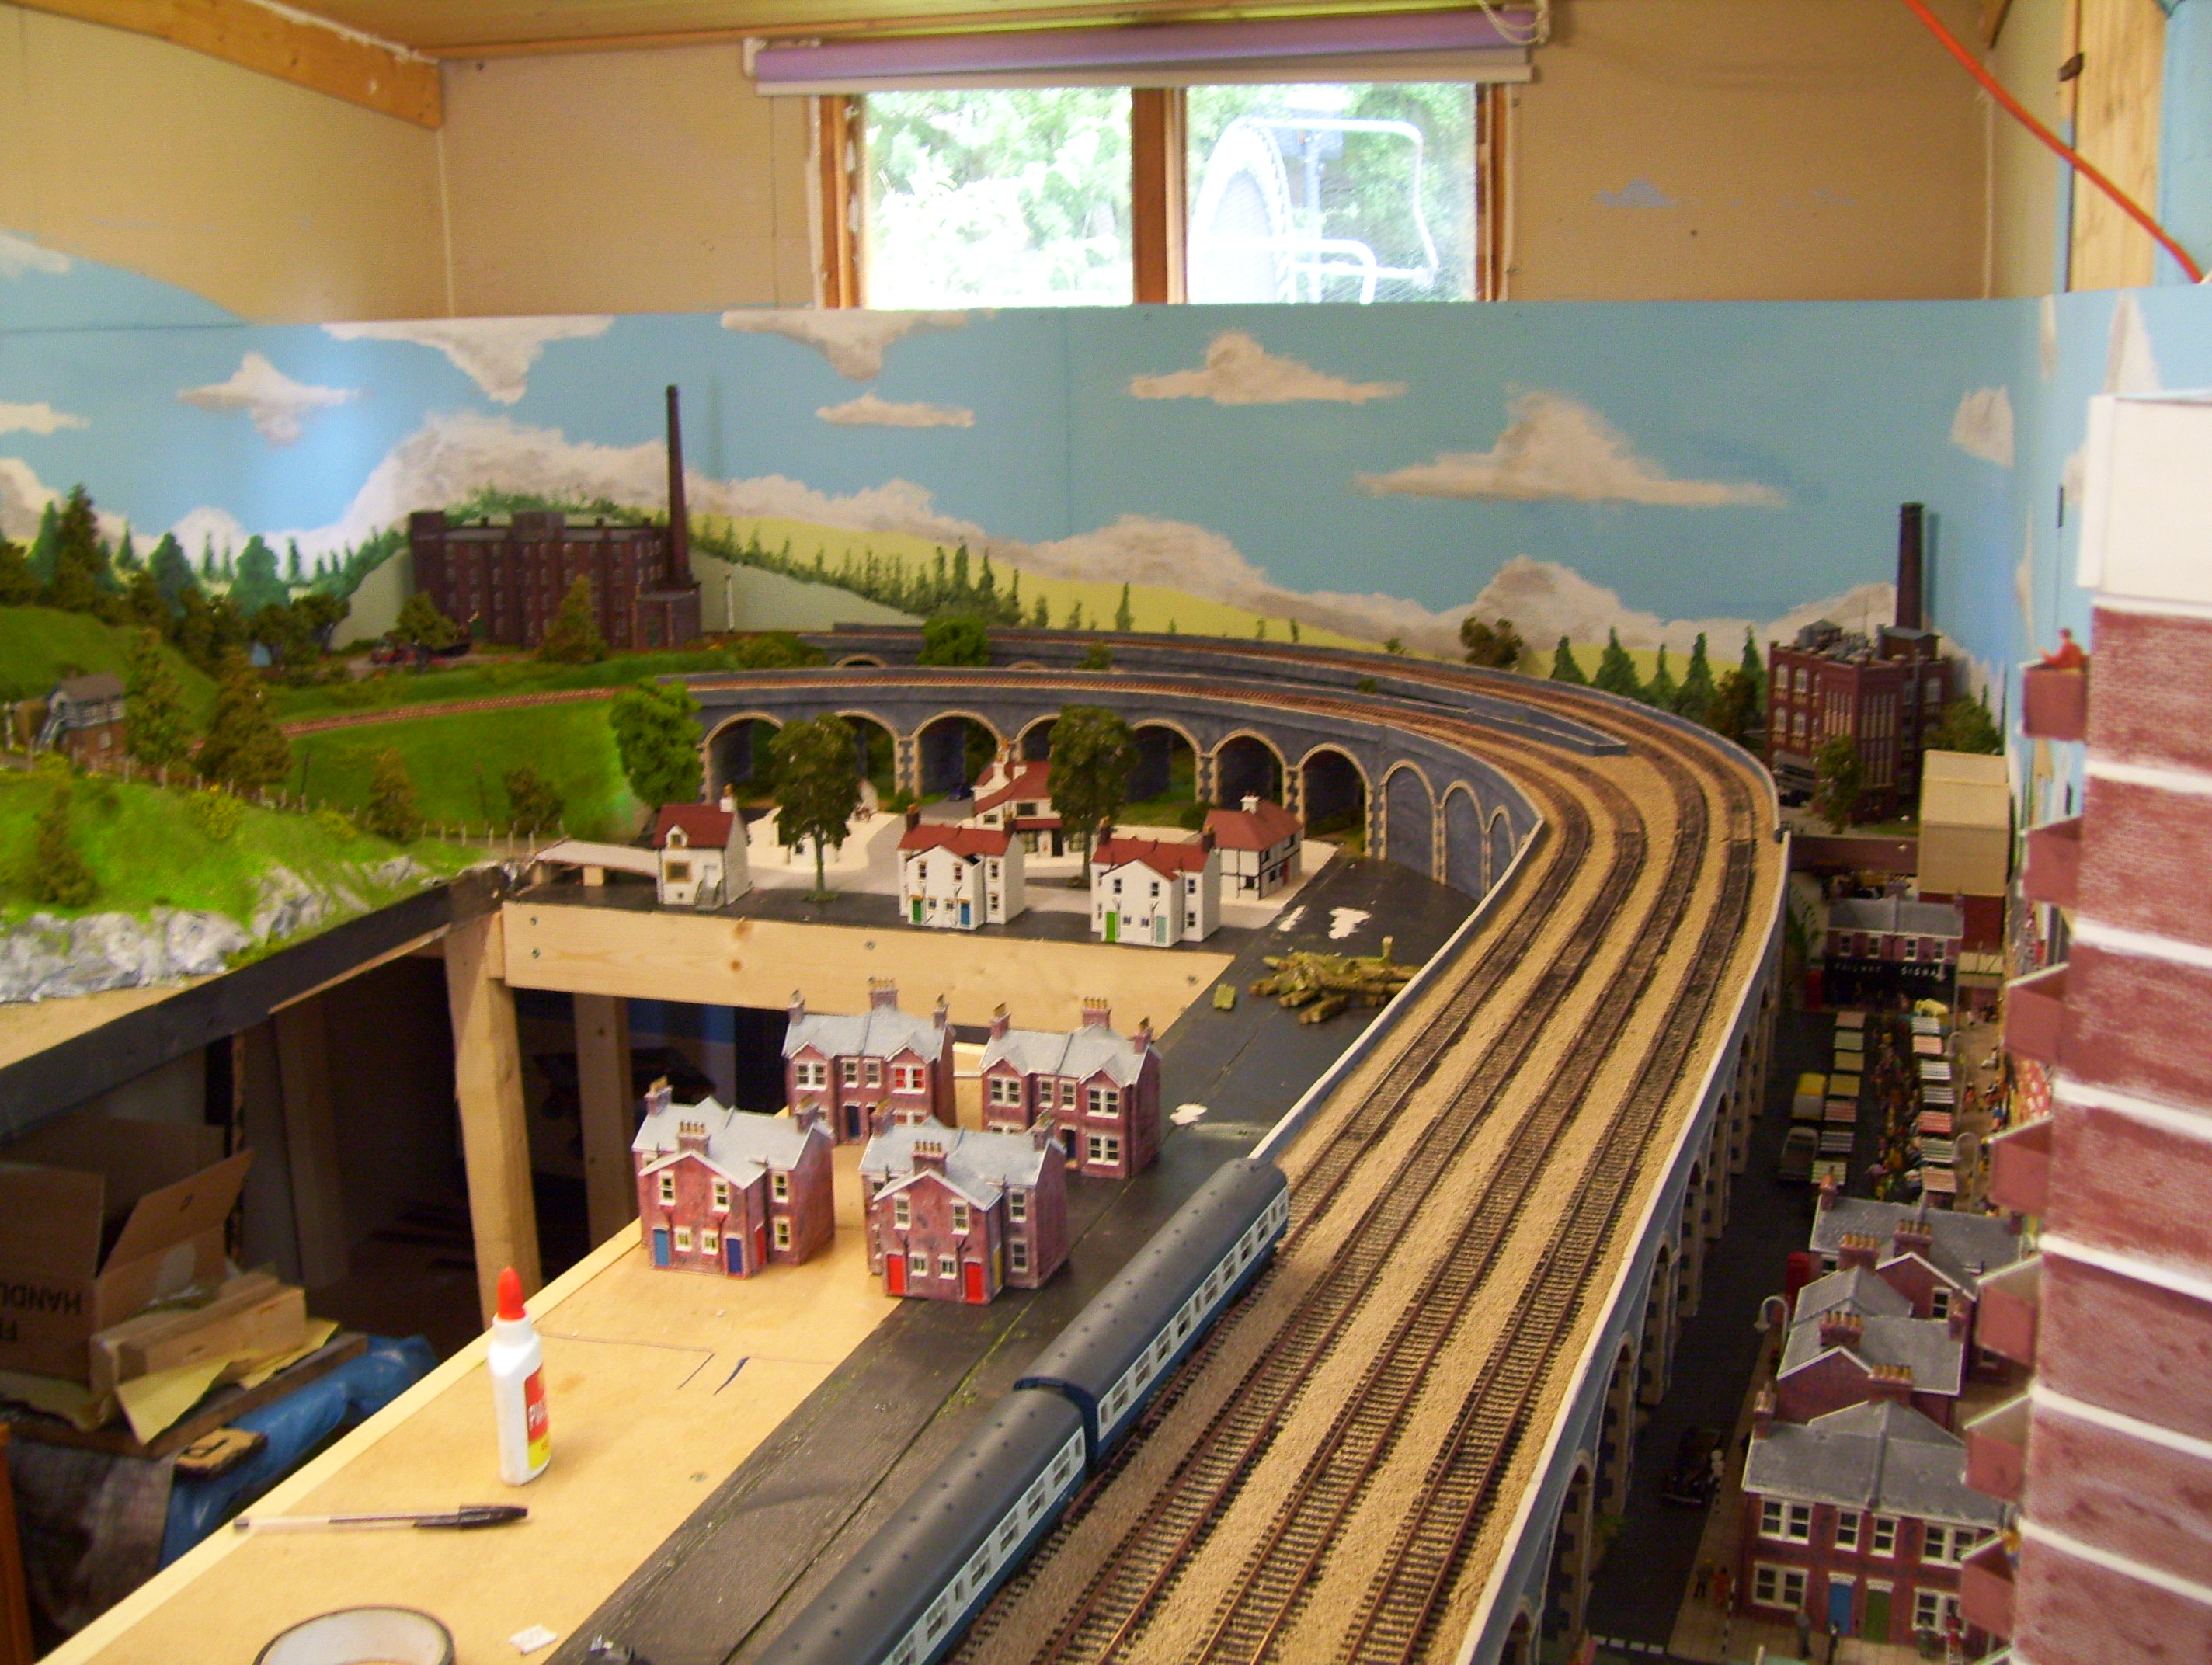
Thought you might like these photos of my rebuild of Amberton its still very much a work in progress.
kevin”
(Images are clickable)
“Al,
Here is the last and final part of my series about the second Farland expansion. I am glad to be done with construction so I can get back to the business of running trains. Thanks much.