Rob’s battery powered trains

“Hello Al,

As I mentioned in my last posting, I have been killing time waiting for my locomotives to be modified to run on battery.

They finally arrived and I have been having a great time running them around my layout.

For those of you who have not built your layouts yet, I recommend that you look into this method of running.

There is no wiring to be done, you never have to clean your tracks and you can ignore all polarity problems with reverse loops and turntables and such since the track is not powered.

I run On30 with DCC and sound and have an NCE system installed.

The installation involved isolating the motor from the wheels, adding a Radio Control Receiver and battery control circuit into each locomotive and supplying a battery pack.

The system has a transmitter that I plugged into my NCE track output connectors so that I can use my existing system to run my trains.

The system will function just fine with or without DCC.

If you want to go the DCC route, all you really need is the decoders installed into your locomotives and a Radio Controlled hand set to complement the battery controlled system.

For DC the same applies except you don’t need the decoders obviously.

I installed the the transmitter inside the roof of my depot and have included pictures of the components to give you an idea of what they look like.

The yellow looking thing is the battery pack. It’s about 1/2 the size of my thumb and powers my locomotives without any problems.

I have run with the bell and whistle on and found no hesitation in operation with these little battery packs.

I don’t know how long they will run without requiring a charge as they are still going strong.

The system runs on OO/HO and up but maybe could go down to N scale as well.

I elected to have one system placed into a separate car so that I could attach it to other locomotives without major modifications. All I would need to do is add a plug from the tender into the trailing car.

I forgot to mention that the system comes with an Off/On switch as well. I hope this gives some of the more adventurous of you some ideas for the future.

Bob”


A big thanks to Bob, his post really reminded me of Richard’s:

Battery powered model trains.

That’s all for today folks.

Please do keep ’em coming.

And maybe, just maybe, today is the day where you recapture the fun of your last layout: the Beginner’s Guide is here.

Best

Al

PS Latest ebay cheat sheet is here.
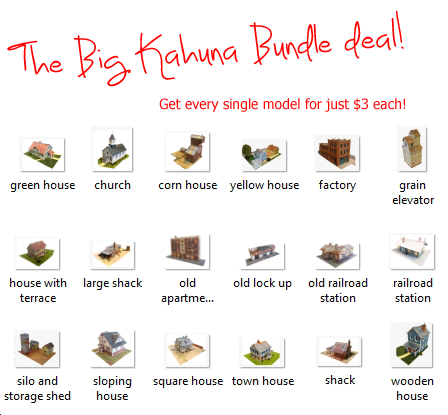
Paul’s railroad layout

“Hi Al,

Here are some photos of My new layout, built on top of the old one.

I even got a name for it ,MIDLAND GREAT CENTRAL JOINT RAILWAY.

The line is jointly operated by the Great Central and the LMS.

The line used to go further than Sherwood but in its freelance history closed the rest of the line..

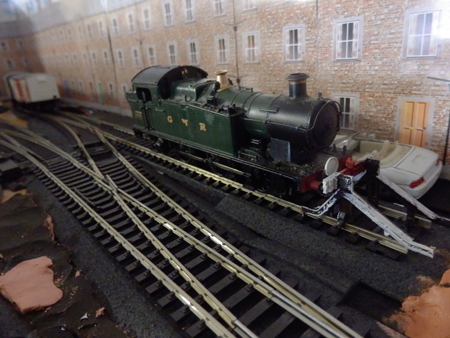
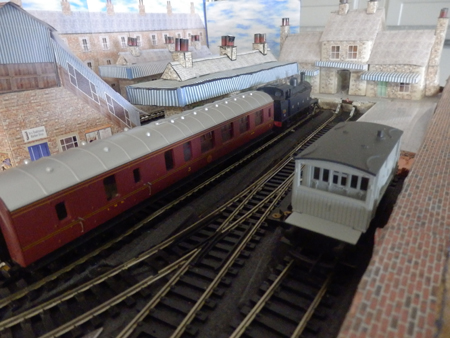
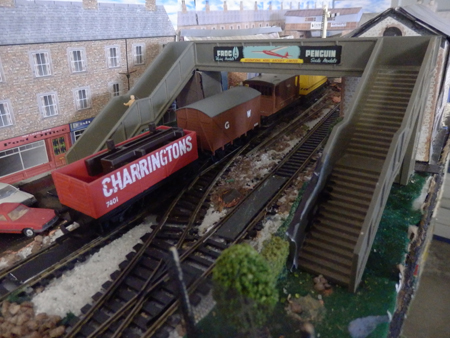
The Station in the photos is called Sherwood Central. The photos show the trains I am using and the goods yard area.

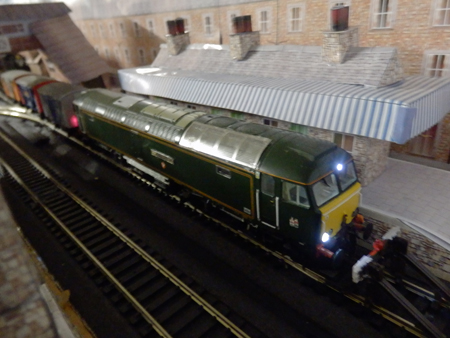
One of my locos is the Bachmann/ Rail exclusive limited edition model of Class 57 57604 Pendennis Castle, she is the green diesel at Platform one with her lights on.

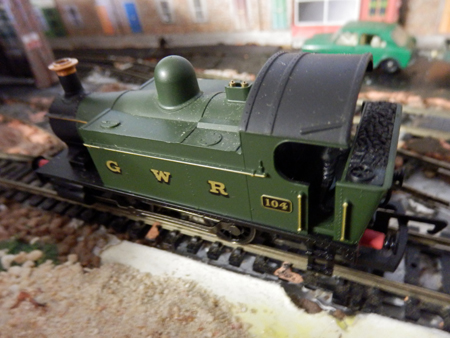
Other locos are 0-6-2 56 class 6606 and class 104 0-4-0 tank.

The line is still being built but I done the scenery first.

Paul”


“Ever wondered how to make an Ariel or lightening conductor for free especially for those card buildings? Simple really.

just take a piece of the waste plastic rod from any model kit or you can buy the thin plastic rod (polystyrene rod works best).use a heat source and hold 1 ONE end of the rod and twirl. slowly around to heat around 25mm 1 inch from the other end till it starts to bend under its own weight then gently and slowly pull the ends apart until you have the length you require.

If you need a really thin piece just pull a little quicker – a longer one just keep pulling the ends stay soft longer than the middle so if you are careful you get a real long Ariel – lightening conductor or a number of them happy modeling

John”


“Hey Al,

Here’s a tip for making screen for HO windows and doors.

Take a pair of your wife’s old panty hose, ask first. Cut them into 4, 6, or what ever size squares are easiest for you to work with. Take a piece of old ceiling tile, and cover it with wax paper. Stretch the hose out until it looks like scale screen, and thumb tack it down over the wax paper to hold it in position. I use India ink and alcohol to stain the hose black, but any stain will work so long as it does not dissolve the hose. India ink and alcohol doesn’t. Let the India ink and alcohol dry, then coat the screen with diluted white glue or matt medium. Let dry, remove from wax paper and cut your screens to size. This method looks very much like real screen when mounted on a scratch built window or door.

Ray”


And seeing as Rob’s video explaining his layout went down so well, here’s another one:

Click here for the latest ebay cheat shee.

Thanks to everyone – please do keep ’em coming.

Apologies to anyone who has sent in a mail and I’ve not got back to them. I do my best but I get too many to manage…

That’s all for today folks. Please do keep ’em coming.

And if you want to take that first step, the Beginner’s Guide is here.

Best

Al

PS Latest ebay cheat sheet is here.

Rob’s track plan diagram

“Dear Alastair,

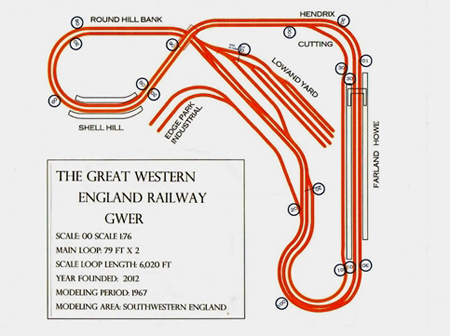
Thanks for posting my pictures. Some folks seemed to be interested in layout diagrams so I thought I would send them along.

I am also including a link to a couple You Tube postings you may be interested in.

I recently expanded my layout by about 35 feet of doubled track.

I wanted a mountain with a tunnel and a valley with an arched viaduct crossing it.

I have a lot of work to do on the new section, but the track is laid, the mountain is built and the viaduct is in place.

Now for the fun of landscaping.

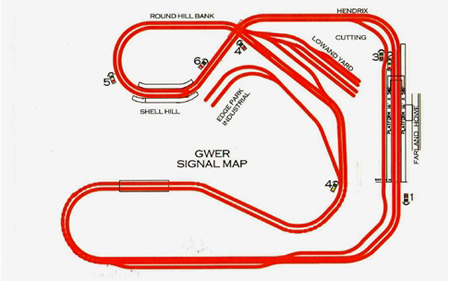
Here are the two diagrams.

This one is the original layout began in June. The circles are the posted speeds for the track ahead of the circle and numerals.

Below in a slightly different scale is the expanded layout,

Rob”

I thought Rob’s invention for moving around under the table was genius!

It was very similar to Joe’s.

That’s all for today folks.

Please do keep ’em coming. I do love seeing what’s in my inbox each morning.

And the Beginner’s Guide is here if today is that day when you leap off the armchair and spring into action.

Best

Al

PS Latest ebay cheat sheet is here.