“Hello Al,
I’m a new “subscriber” from Pennsylvania in the U.S. I have been modeling in N-gauge since 1970, but still consider myself an amateur.
I think I have a twist on one of your contributor’s submissions. When ballasting in N-gauge, I use a very fine screen to eliminate dust in the ballast. The real “trick” is to add a few drops of “wetting agent” (dishwasher product like JET DRY) to the diluted white glue/water mixture.
This eliminates surface tension in the water which causes bubbles when applied to the roadbed. The applied ballast will absorb the glue/water mixture like a sponge.
Has anyone ever suggested using the metal tops from pencil erasers? Here in the U.S. some of them look identical to oil drums. (probably best for use in HO modeling due to scale)
One silly question. What is the most popular height (from the floor) for setting up N-gauge layout tables?
M”
“Alastair,
Here is a useful tool. I had a bunch of baby food jars. Filled with play sand from the home center store, they make excellent weights for holding down foam, cork or track if you are using glue to attach any of these. Just enough weight but not too much to damage track or push track out of guage. I have enclosed three pictures of the jars in use. A plus, the glue you use (I use yellow carpenter’s glue) doesn’t stick to the glass jars if you use a little too much.
Ed”


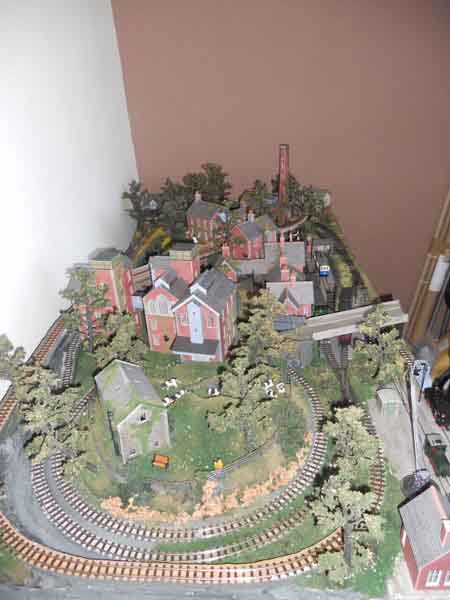
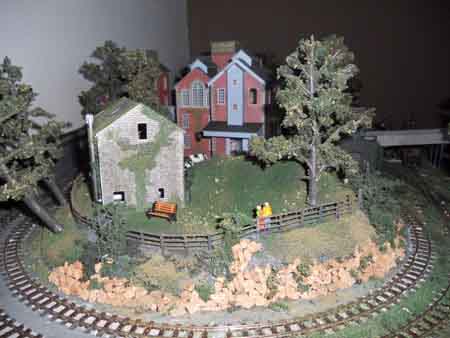
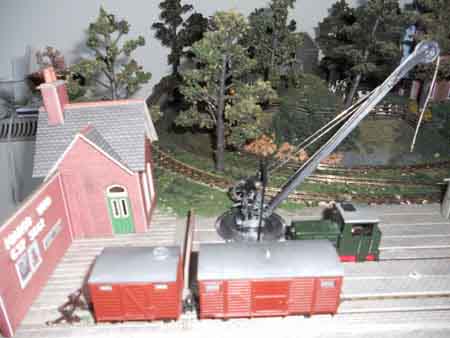
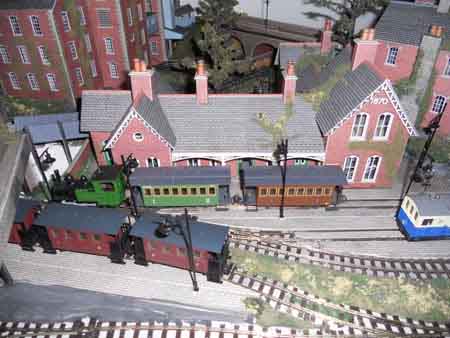
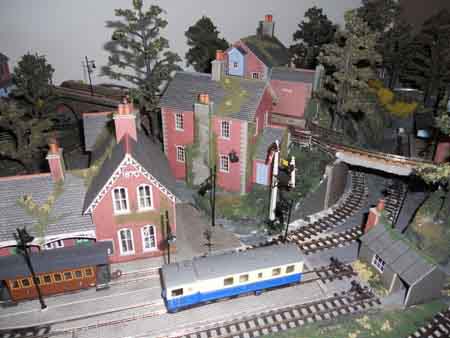
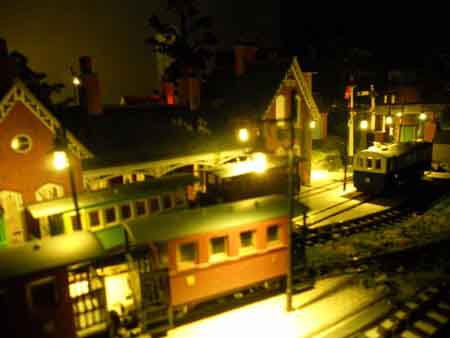
“Hi Al,
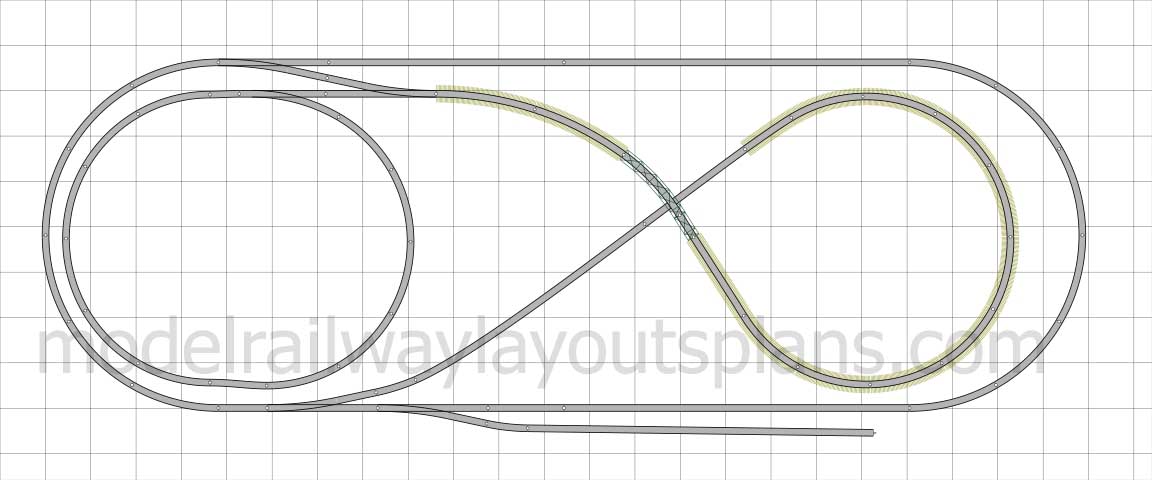
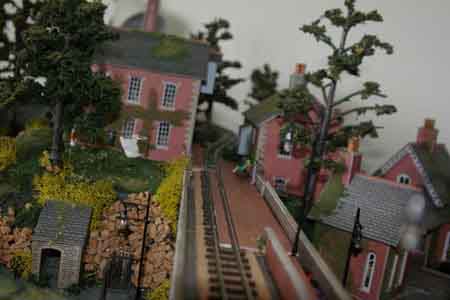
Here are some photos showing my Layout, including my turntable made from a cd disc.
Paul”


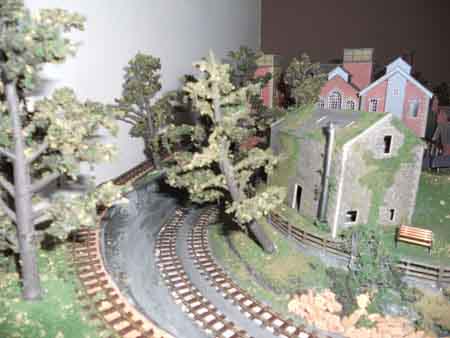
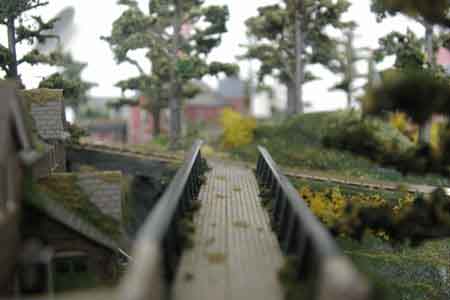
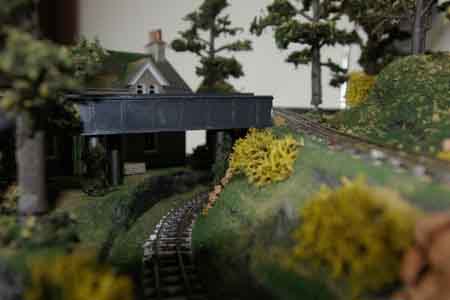
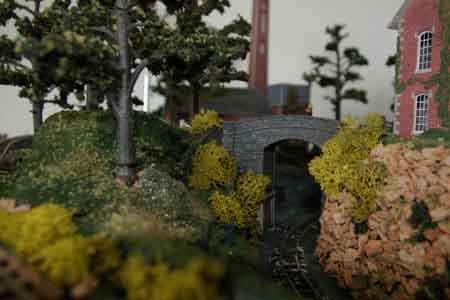
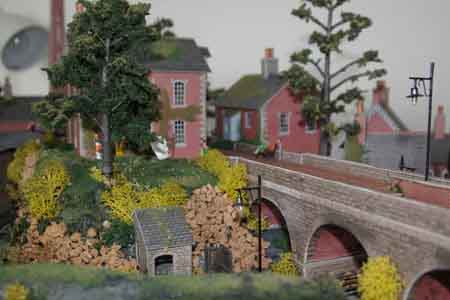
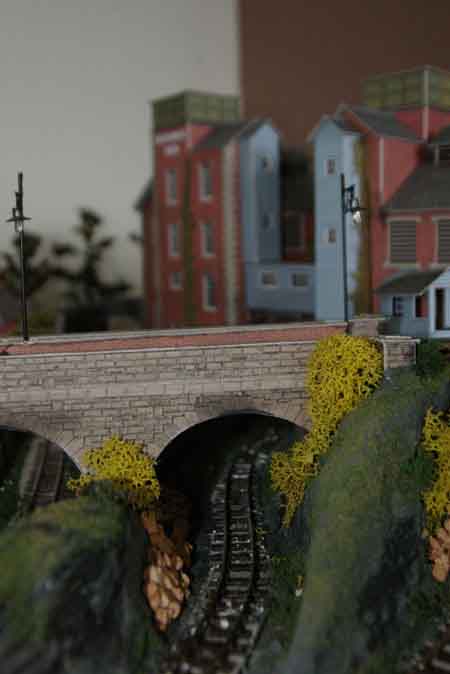
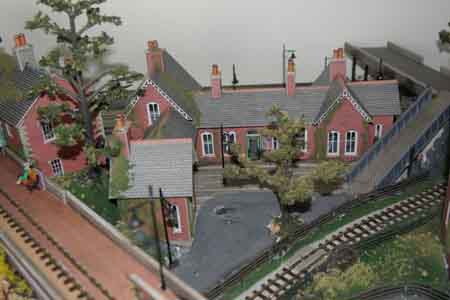
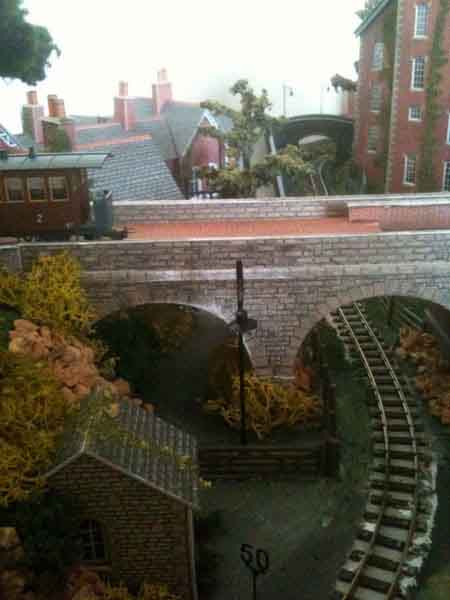
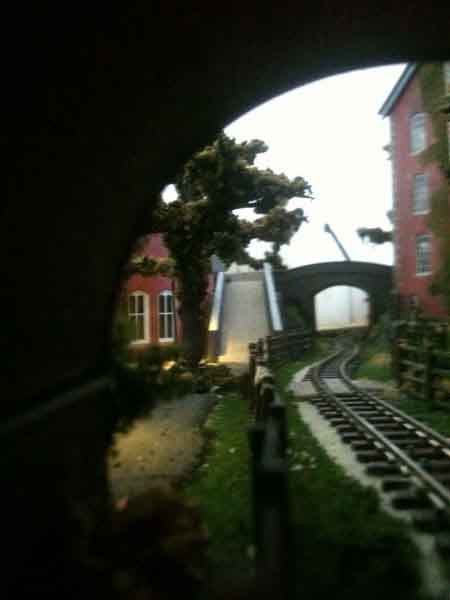
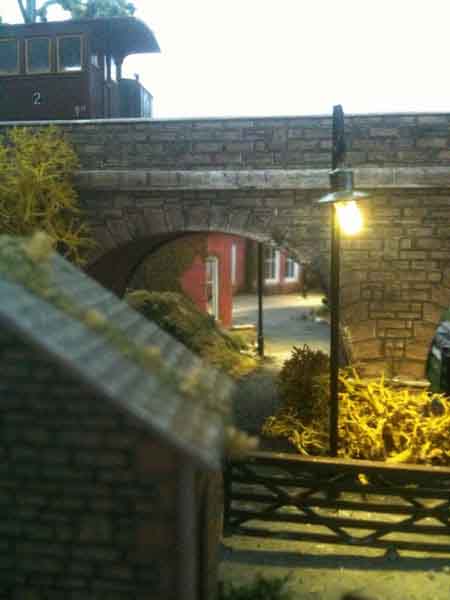
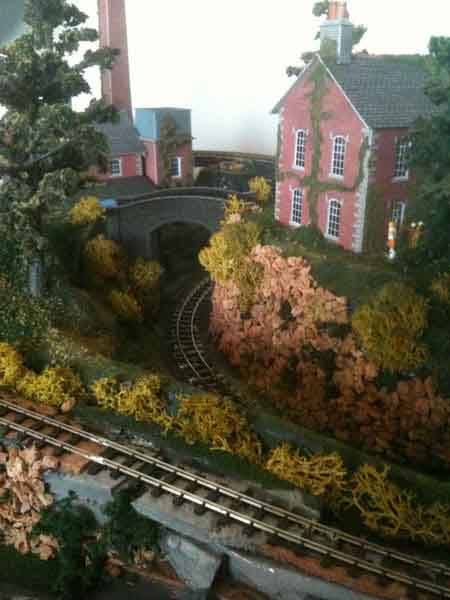
“Al,
Here some pictures of the grey house. I hope you can use them. As you can see I am still in a starting stage. I’m a bridge freak so I’m trying to get them in place right before I move on.
Thanks,
Ken”


You can download the house ken has made here.
A real mixed bag this time – hope you liked them. Let us know below!
That’s all for today folks.
Please do keep ’em coming.
And don’t forget the Beginner’s Guide, if you want to get going on your layout.
Best
Al
PS Latest ebay cheat sheet is here.