(If you missed his earlier missives, they are here).
“Hi Al,
I responded to Cameron’s work directly, but I wanted to say to you that his submission was an excellent selection on your part. The step-by-step process in model railroad building is invaluable to modelers, especially those wanting to get started in the hobby and who may be daunted by what can seem to be an overwhelming endeavor. And great tips from Cameron on creative solutions to various parts of the creative process.
I also wanted to submit to you for publication consderation a follow-up video I did to my recent night scene video you recently published of the New York Central’s “20th Century Limited” passing through Susquehanna Station. I wanted to make a more comprehensive video showing how my SV&GS layout can automatically transition from daytime to nighttime operations. It’s about nine and a half minutes long, I apologize, but I think the readers would enjoy it: It shows a sampling of the automatic lighting and sound effects on the layout including the burning building.
Again thanks for showing my previous submissions and the great asset that you’ve created via your website for modelers and spectators alike.
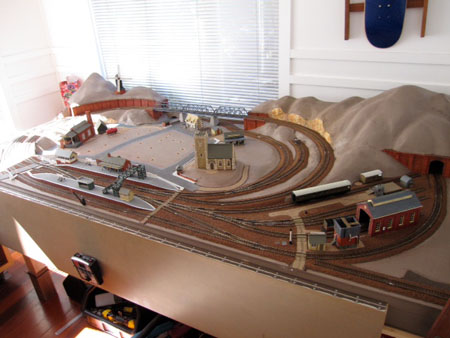
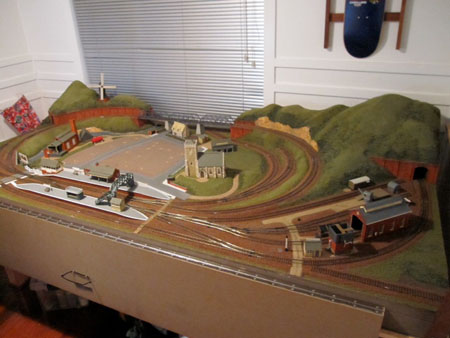
With all the dusty bits out of the way I tried to convince my wife that the layout needed to be inside the house to be completed properly. This took some careful negotiations. Two months later with the help of a few local lads it was lifted through the second floor window into the study. Another two months later and she was talking to me again. Patience is a virtue.
I got straight into the roads, cliffs and ballasting. Some useful techniques picked up along the way were as follows.
Cliffs
I found a great technique for this.
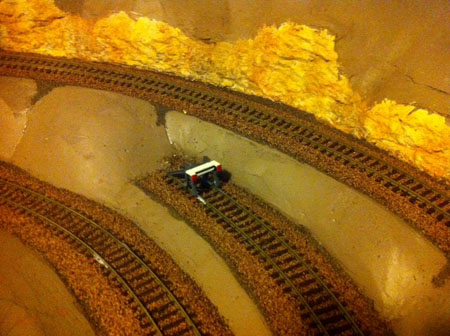
1. Spread a good thick plaster mixture over the cliff surface. (I used some cornice cement from the hardware) 2. Crumple up some aluminum foil and push it onto the cliff surface.
3. Once dry peal off the foil and bush the surface horizontally with a tough scrubbing brush.
4. Colour using light washes of diluted acrylic paint. I used burnt umber, burnt sienna and yellow ochre. Allow to dry between each coat. Start with very light washes.
Roads.
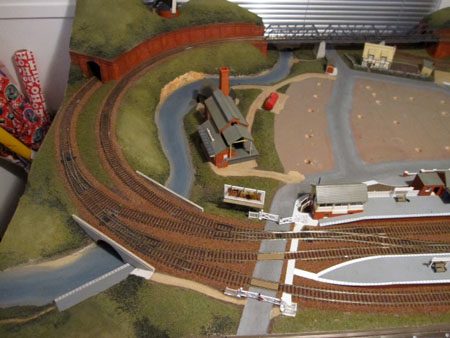
Step 1- One coat of acrylic grey paint sprinkled with fine sand while still wet.
Step 2 – another coat of paint.
Step 3 – A light wash of diluted ‘burnt umber’ acrylic paint over the parts of the road that get the most tyre wear.
Rail crossings.
The rail crossings I made myself from pieces of styrene plastic with either a fine sand grit surface or scored to give the impression of boards. The pieces between the tracks are fixed wit BlueTac just in case they foul future locos or rolling stock.
Ballast
I lashed out and bought some proper ballast. There are plenty of free alternatives that would probably be fine to use. At the end of the day I didn’t want to take any chances with such a crucial part of the layout. There are lots of good guides on how to apply ballast. The method I chose was as follows:
1. Working in 2ft long sections sprinkle it over the tracks 2. Brushed it down with some wide artists brushes and shape it until it looks right.
3. Wet it with alcohol using a spray bottle 4. Soaked it in a 50/50 mix of water and PVA glue.
Grass
No great tips here I’m afraid. Glue it down and once dry spray it with 75/25 mix of water and PVA glue.
I did, at one stage, try to make my own ground cover using a kitchen blender and an old foam mattress. While I didn’t manage to get any decent ground cover out of the process I did manage to generate a thin ribbon of white smoke from the blender. There is now a distinct lack of blending going on in our kitchen.”
A big thanks to Cam for a great ‘how to’!
Keep the tips rolling in everyone.
Latest ‘ebay cheat sheet‘ here – thanks for all the comments. Hope it saves you lots.
“Tunnels and retaining can be pretty expensive at a hobby shop. On a tight layout you can also end up needing allot of retaining. I for one got a pretty rude shock when I saw the price for my layout. I did some hunting around and found this great solution using silicone bathroom sealant and car body filler to make your own moulds.
Step 1 – Make Something to Cast
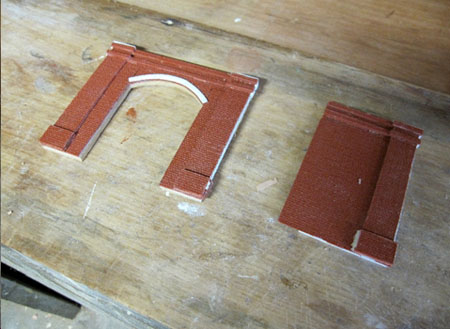
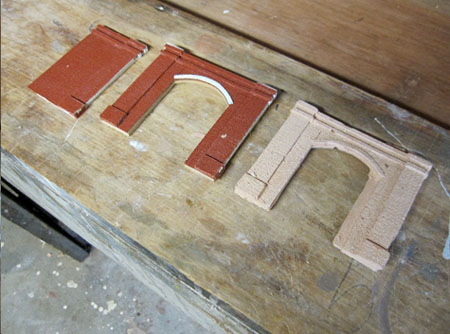
I guess I could of purchased a cheap tunnel for the mould but instead decided to make my own using some plastic brick sheets I bought off Ebay. I made a tunnel and section of retaining that would fit together. On the back I put some thick cardboard to build up the thickness of the original. A mould about 5mm thick seamed about right to me.
Step 2 – Make the Mould
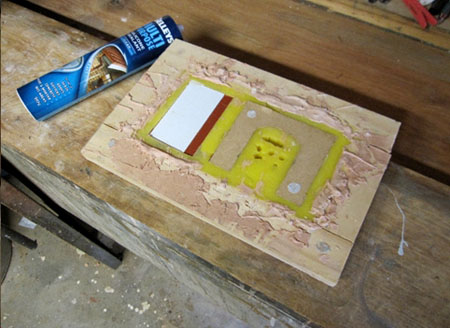
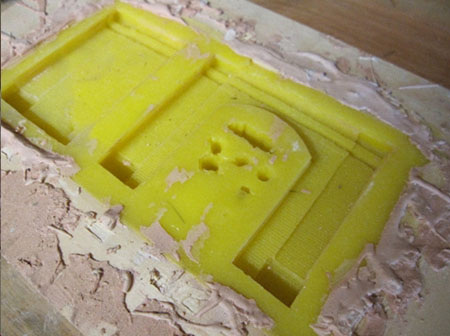
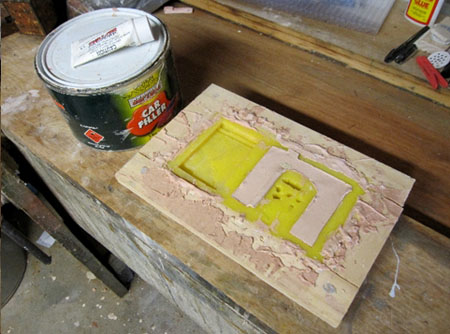
Firstly make a small box from timber off cuts that is big enough to take your originals and deep enough to have a good layer of silicone under them. Then comes the best bit. Instead of buying an expensive silicone moulding kit I used some regular bathroom silicone sealant from the hardware (not the odorless one). Mix one ounce of regular bathroom sealant with 5 drops of glycerine and a drop of acrylic paint in a small cup. Pour the mixture into the box and press in the originals. The acrylic paint helps the silicone to set properly and the glycerin helps the castings release from the mould. I left the lot for 48 hours. Before I took the originals out.
Step 3 – Cast Away
You can cast either plaster of epoxy in the mould. I used some cheap car filler from the auto repair shop. Following the directions mix the car bog and the catalyst in a tub then pour it into the mould. The epoxy sets quite quickly so you can run off a mould every 30 minutes. If the castings start to stick in the mould wipe them with a thin layer of soapy water before you pour in the epoxy.
Laying some track in the next episode.
Cheers
Cameron”
And now let’s fast forward to the next installment…
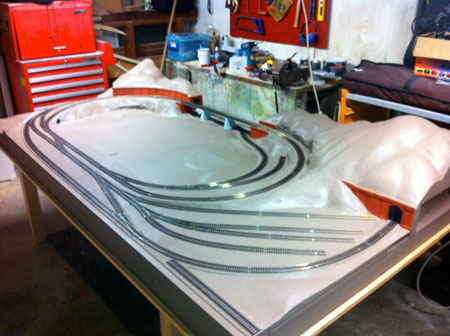
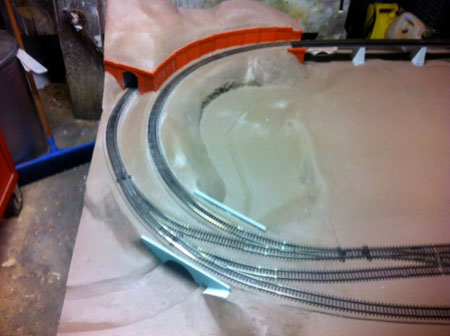
“Laying the track would have to be one of the most rewarding stages of building a layout. With all the centre lines marked out it is a simple task. Just work your way around from one end to the other. My track is Peco code 100 and the points are a combination of Streamline and curved Setrack points.
Before fixing any track I drilled holes in the middle of the track at every point slide to accommodate point motors in the future. The point motor manufacturers have guides for how big the hole should be and exactly where it goes. I wasn’t sure if I was going to use point motors but I figured this would be a lot easier now than retrospectively. It was just one little extra task but, as it worked out, well worth it.
To fix the track I used the larger track pins which I found to be a lot easier to work with and easy to pull out for adjustments. Map pins are handy for holding down curves before putting in the track pins. I first tacked down the track with the minimum number of track pins. I didn’t push them all the way in to make it easier to remove them if I needed to adjust. Before running the trains I cleaned the track and train wheels thoroughly with mentholated spirits.
I then ran the largest loco I had along with the longest rolling stock over the whole track multiple times in forward and reverse. There were lots of little adjustments to make along the way.
When I was happy with the running I pinned down a bit more track and repeated the process until the whole lot was fastened into place. I had a few weeks of running every train and every bit of rolling stock before I finally had the nerve to push down all the pins flush. It was great to finally see trains going round the layout.
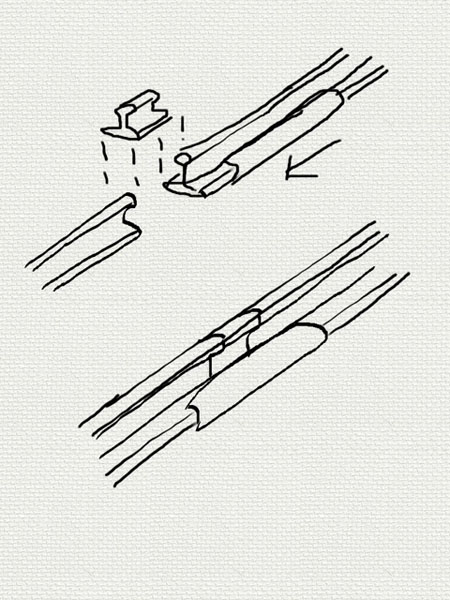
One unfortunate outcome of the whole process was a small gap in the track where a curve met a point. This caused frequent derailments. I did however find a great fix which I have drawn a crude drawing if bellow. I slid the rail in question along until the gap was in a straight section of the layout. Then I cut a very short piece of track that was the same size as the gap and slid it into the fishplate. It was pretty fiddly but easier than ripping up a whole length of track. It worked so well I have a hard time finding it now.
Next installment will be ballast.
Cheers
Cameron”
And now, breaking off at a tangent, I got this question in from Rev. Ron:
“Hi, Al ….. Enjoy your site and the layouts and info sent to you. I wonder if any can advise me re how to get constant brightness of lights in passenger cars, cabooses, and locos. I use conventional method right now (varying voltage via track). I have only one loco equipped for digital (MTH).There are 3 other engines that are not so equipped. So, lights vary in brightness according to speed. What is the best way to change all this? Do I have to put decoders in locos and get a DCS system? Someone mentioned voltage regulators instead. Is this possible? As you can tell, I’m a bit technically challenged. I got back into the hobby at the age of 70 (almost 76 now).
Keep up your good work.
Awaiting a reply.
Rev. Ron”
And that’s your lot this time folks.
Don’t forget to let me know what you think by posting below – and have a look see at the latest ‘ebay cheat sheet‘ before you buy anything!