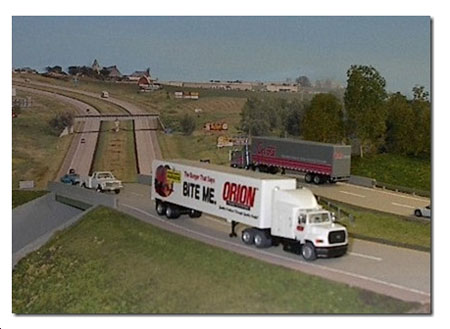
I did do some professional enlarging for one backdrop, and just a plain 8X10 for a small piece.
You can see two of three panels for which I took the pictures, and had them enlarged to 30”
poster size. I then cut away the actual sky in the photos, and glued the posters to my back-
drop, made of 1/8 inch masonite, which had previously been painted blue.
To take the pictures, I stood in the ditch in the middle of I-90, and took one to the left, one to the middle, and one to the right. I made sure there was “overlap” of the three exposures (Yeah, it was a 35mm camera, years ago) so that there were no gaps.
The other was a shot down a busy street, and that just fit the roadway in one town. There was a little “massaging” of the image by a friend who used Photoshop.
Sadly, I don’t have a saved copy of that one.
Bill”
“Hi Alastair,
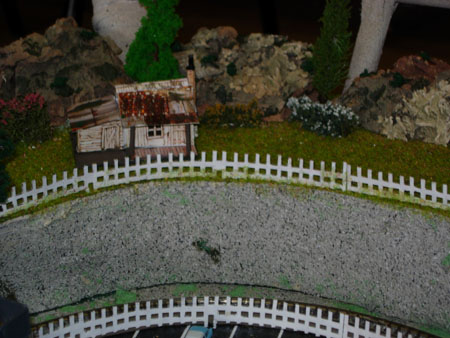
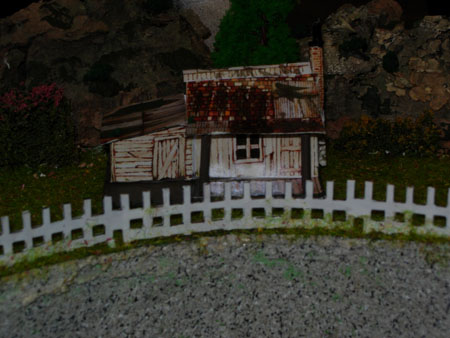
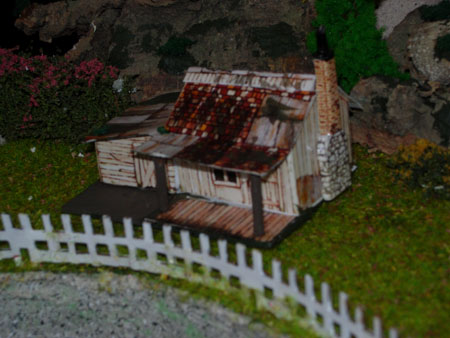
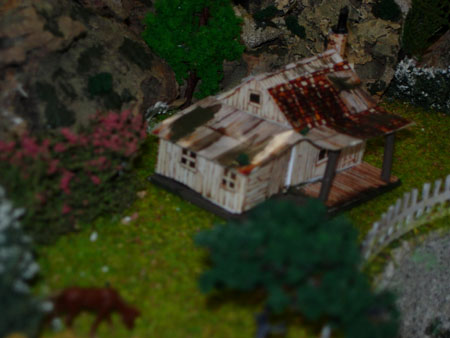
Here is my Model of the shack in N gauge printed out on photo paper and glued with PVA
I am a quarter way through this project The Shack works a treat on my mountain top
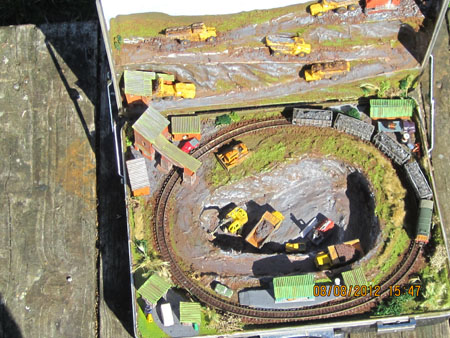
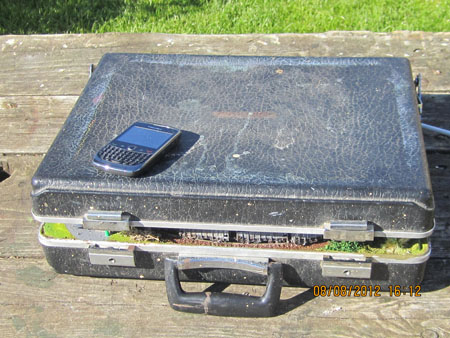
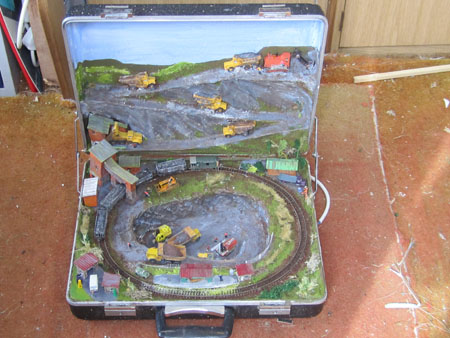
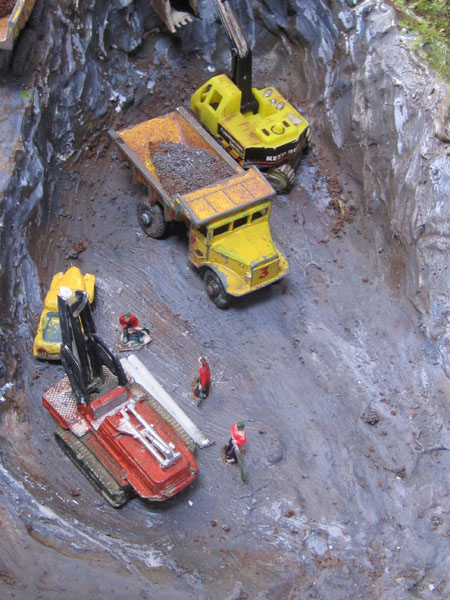
“Hi Al, here is the last “quirky” layout I will be making for a while. It is N gge made in the old briefcase I used to carry to work in the Copperbelt mines in Zambia in the 1980s.
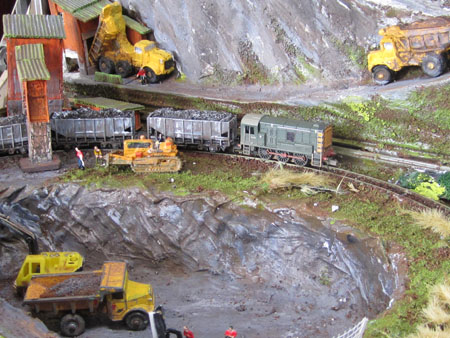
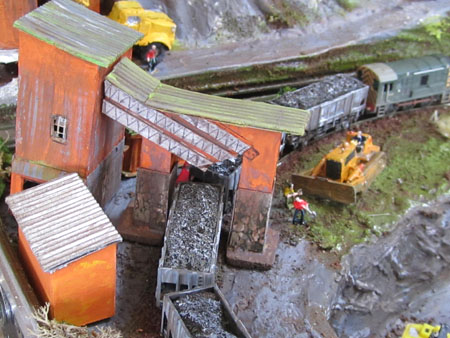
The trucks are supposed to be Euclid R45s. The two matchbox models are very old, 50 yrs+ from my childhood. When it is all folded up the conveyor tower and chute go into the open pit.
Runs rather well. The ore wagons are converted Farish grain wagons.
D/”
Thanks Duncan. A hat railway, a toilet railway… and now a briefcase railway! There is no end to your talents 🙂
That’s all for today folks.
Please do keep ’em coming.
And don’t forget the Beginner’s Guide, if today is the day you start your railroad adventure.
Don’t care how many times you’ve made rock formations – there’s some good stuff here.
“Good morning I enjoy receiving your emails and the various links great ideas here is one for making ledges and rocks .
I spend a lot of time outside but am always on the look out for things I can use in my N scale railroad.
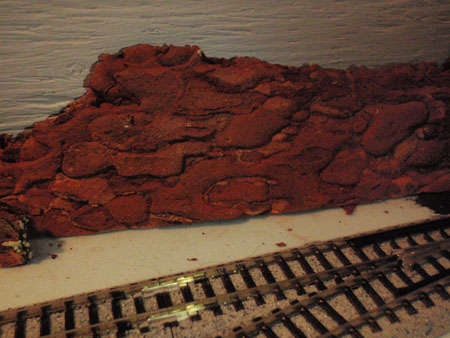
I have found tree bark a very good item to use for making rock ledges and rocks – search out trees that have thick layered bark such as hemlock or ash – I prefer hemlock as it has a reddish colour to it which gives it a good colour for rocks and ledges .
Also I have sanded the bark on a belt sander 60 or 80 grit to get the sanding dust ( wear a mask) and the dust can be used to give you a wash out effect below the ledge or rocks . But I also found it can be painted any colour you want.
I usually wire brush the bark to clean it out then break it of in irregulary pieces to suit the size of ledge I need – the I make a hole in the foam insert the bark and finish arround it with trees etc .
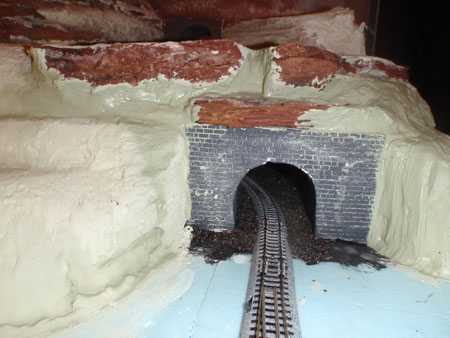
The other thing about layerd bark especially hemlock is if you seperate the layers the between layers looks like boulders . Check out the photos .
photo 1 – inbetween layers of barks – gives you rocks
photo2 – bark on edge place in foam with palster
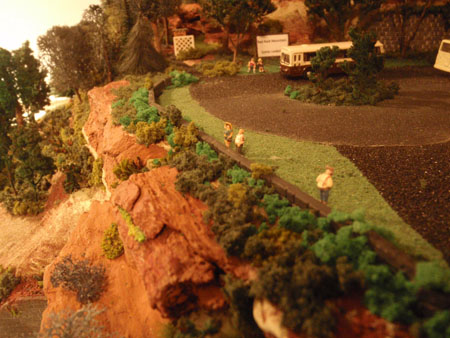
photo 3 finished ledge with other cover
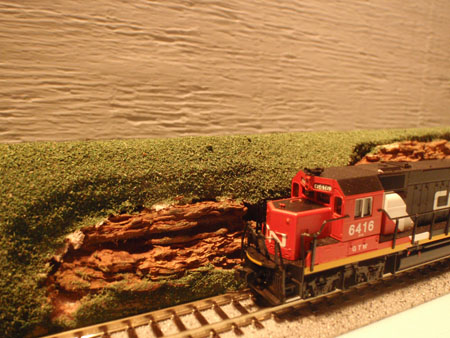
photo 4 CN loco passing rock ledges made from bark inset in foam with palster still needs trees shrubs etc I think folks will get the idea
regards
Dan”
A Big thanks to Dan.
And thanks also to anyone that’s emailed in about the ebay cheat sheet. Glad you like it. Latest one is here.
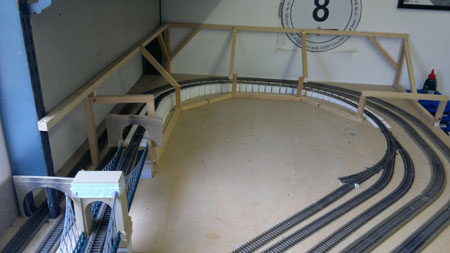
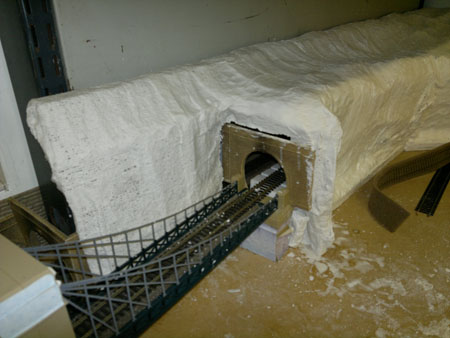
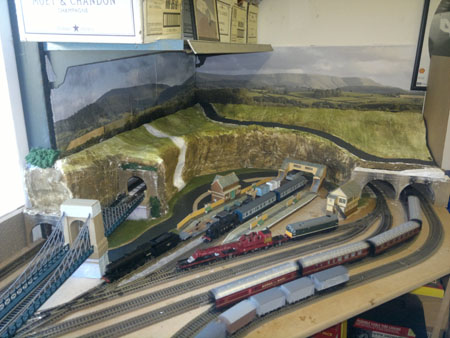
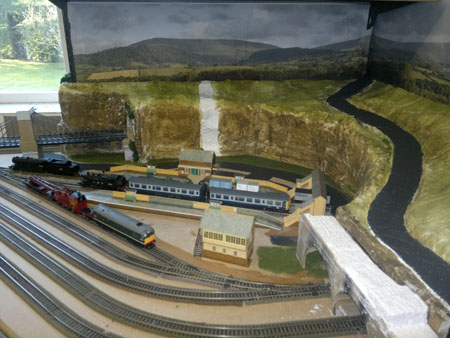
Alan’s been in touch – he sent in pics of his layout. If you’ve ever wondered about building model railway inclines, have a look at how Alan has done it:
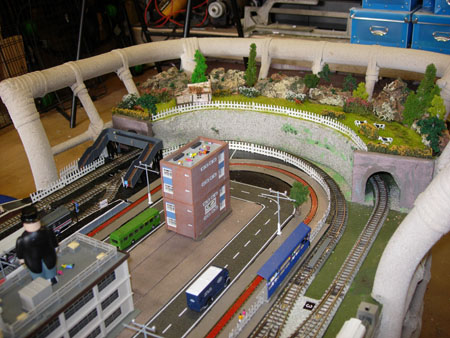
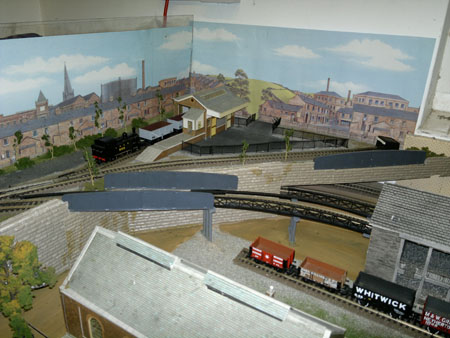
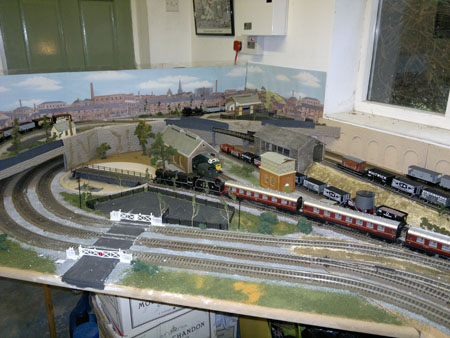
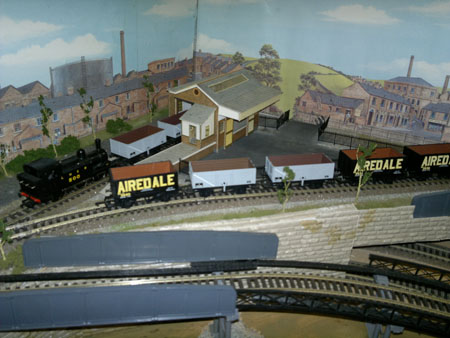
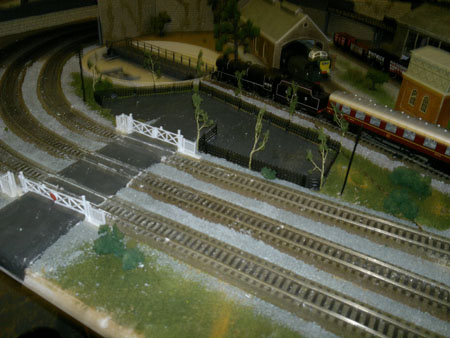
“Dear Alastair i am not a big train modeller but every 5 or 6 years i seam to get the bug, so at Christmas I decided to start a fresh project hope you find it of some interest.
regards
Alan”
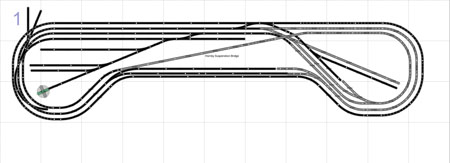
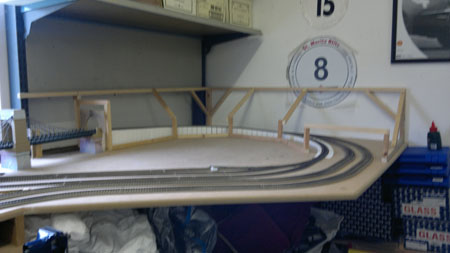
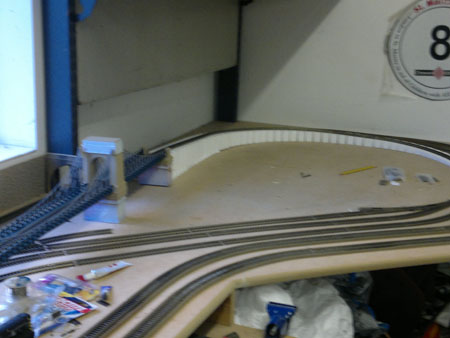
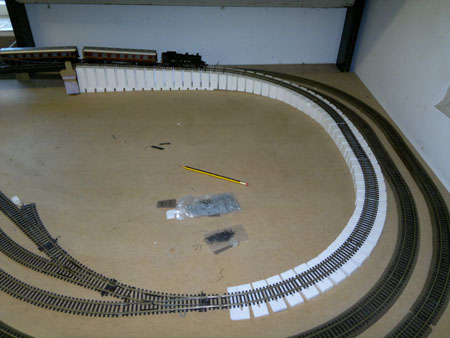
Building model railway inclines:
A superb layout – a big thank you to Alan. There’s lots of different methods when it comes to building model railway inclines, but I’m always reminded of Chris’s post:
“Okay, here is a set of tips for those who make their own scenery materials.
1) For those that need to use a blender. Look about at garage sales, flea markets, swap meets and thrift stores like Salvation Army, Goodwill, Saint Vincent DePaul’s or other second-hand stores.
2) If possible, buy two blenders. That way if one burns out you have the other as a back-up or you can use them both at the same time when you have a large amount of something to process in a short time.
3) Keep your eyes open for a food dehydrator that you can use for drying wet or moist material in, like leaves, weeds and twigs for ground cover and trees, or decals and paint on your models.
4) And don’t forget looking for a good condition, but quiet hair dryer to use when drying your models or small areas of your layout.
Tip #5) You can combine tips #3 and #4 by making your own dehydrator. Find or make a fair sized box of thin wood or metal with matched grooves or wooden strip on the inside walls to hold racks made of wooden frames with screen material stapled on their bottom sides, that can slide in the grooves or on the wood strips inside the box. Then have a large enough hole in the bottom back of the box that will accept the barrel or hose of the hair dryer. The front door of the box can be made like a tray that fits over the front of the box and can be attached with a set of small hinges and a latch to secure it. When you need to dry something, place it on a rack and slide it on to the lowest level in your dehydrator, plug in the above mentioned hair dryer’s barrel or hose in the hole at the back of the box, close and latch the front door of the unit then turn on the hair dryer at lowest to medium setting. If you are drying something, remember to set the dryer on lowest heat, so as not to cause paint to bubble up or the material to be blown about.
R. Olivarez”
So then, in my ignorance, I asked, “What do you use a blender for?”
“Mr. Lee,
Easy answer about the use of blenders.
I had the need to use a blender when I was making some simple papier mache’ for a retaining wall that I needed for a light-weight layout that I am putting together. You basically tear apart egg cartons and newspaper by hand into small pieces. Put a hand full or so of the stuff in a blender, with some salted water and blend it into a pulp. Pour that into a container for temporary storage until you feel that you have enough. When I made the wall piece, I poured the mixture into a small bowl and added some white glue, stirred it well and poured it onto newspaper, laying on a flat surface. When it started to solidify, I took a fork and stroked the surface with long, soft strokes to create the impression of a rough texture. When it starts to firm-up, you could put curves into it by draping it over objects. When fully dried, carefully tear off the newspaper from around the edges. Due to the white glue, the papier mache’ will retain the desired shape. When dried and ready, it is glued in place, sealed and finished in whatever fashion as needed. You could also alter the piece by either ripping off or trimming um-needed material with a knife or scissors, until it fits in place.
You could use the homemade papier mache’ to create other things like tunnels, small hills and cliffs.
Another use for the blender. Take some dried, brittle leaves and put them into a blender, run it until the leaves have been ground to the desired consistency that you want. You then store the material in a container until needed for use as ground cover. (You could add some real dry dirt in with it.) The the same technique could be used with dried coffee grounds. It is surprising the realistic texture that you can get. Secure the material to your layout with the standard mix of water, white glue and liquid dish soap or you could use spray-on adhesive that you can get from almost any hardware store.
The reasoning for two blenders is in case one fails, you have the other as a backup. Another reason is while you maybe making your papier mache’ in one you could be using the other for making ground cover material.
R. Olivarez”
“If you have a HO gauge and you want to run fine scale OO gauge trains. The layout can be modified by relaying the curves with Hornby track, thus making possible to run big Hornby or Bach mann Branch line trains. There fore saving you the job of ripping it all up and starting again.
Paul”
“hi i just bought some telephone poles for my layout their made by lioneli wanted to mount them without damaging my brand new bauchmans grass mats the poles come with a plastic round stand the size of a quater with a hole on each side i didint want to screw on nail them down so i turned them upside down and glued on an old style thumtack with 5 min. epoxyi let them dry overnight when i mounted them they pushed into my 3/4 inch plywood easily and if you need to remove them the hole left from the thumtack is not seen so you can move them if you like.
Ron”
“Hey, I’m in a situation that I put my train up for winter & take it down for summer. I use 3 – 4 X 10
plywood boards. To give it some reality, I use green indoor-outdoor carpet for grass.Staple it on the sides & I can reuse it form year to year. The most trains I got on these boards is 18 running at once.
Tom”
“Alastair
Here is a tip that might save a fair bit for any modeler. When looking for timber/plywood for baseboards or inclines etc try your local export packer or engineering company, as export packers can have off-cuts especially softwood/plywood or OSB and engineering companies these days import components that usually come packed in plywood cases etc and it costs them to get rid of the waste timber / plywood board. Having worked for several export packers I can say that we often gave away free timber or ply to anyone who wanted to collect it. useful for building model railway inclines too