Some model train questions and some tips too

This time a few questions  – as well as some tips.

I’m sure the ‘collective’ can help!

Al.


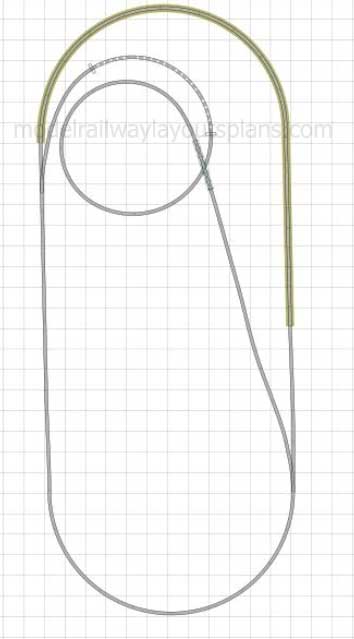
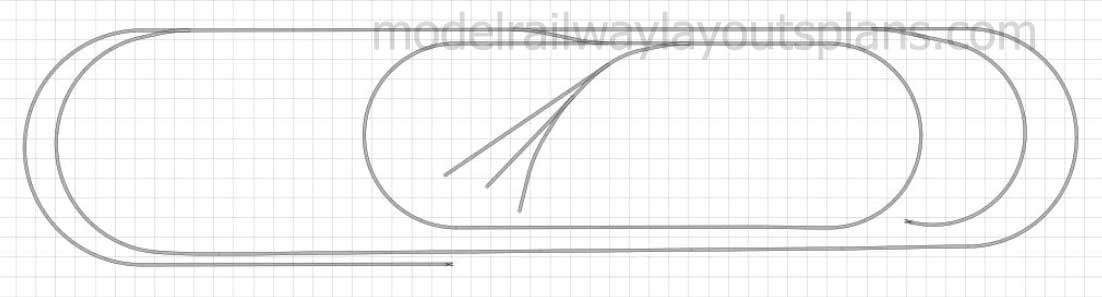
“I’m designing a Colorado mountain layout including an ascending/descending Durango-Silverton route, weaving “in the valley” Denver Rio-grande passenger train and an  “along the edge of the mountain” coal train with tunnels, bridges, etc

Any ideas for this 6 foot by 13 foot project would be really appreciated.

Here’s a concept (see below) but adding the coal train, etc.

Thanks and Blessings

Duane”
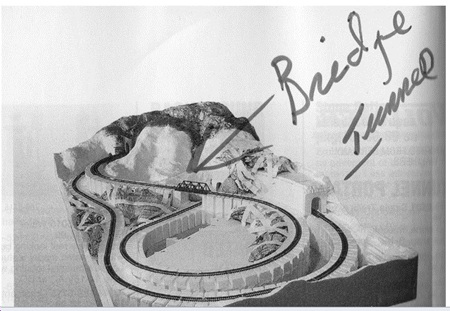
6x13 model train track plan


Alastair,

I am on my 4th layout and probably have tried most ways of fixing my track down to the baseboard before ballasting. This is the latest and while I am certain that others have tried this, it was a first for me. Instead of using “track pins” I tacked the track in place using a small (very small) hot glue gun. A spot of glue every 8″ or so between the ties. This method holds the track in place, is easily moved if not quite right and does not distort the track by pushing pins through or having to drill sleepers (ties) every few inches. The spot of glue is eventually covered by the ballast.

I happen to use a dense foam as track bed but the idea would work equally with cork, homasote (softboard) or commercial track bed.

The foam I use is a cheap camping mat available from camping stores and Walmart .

Chris”


Hi Alastair

Not sure if anyone has posted this tip yet, not seen it yet but still reading

I make a lot of card kits, both in N and OO for friends and now myself

I have taken a 6″ and a 12″ Rule and stuck using doubled side sticky tape Fine Wet & Dry Paper around 600 – 1000 grade this dose two things 1st give you a non – slip cutting straight edge and 2nd a bed for sharpening your scalpel blades I can make a scalpel blade last 4 – 5 times longer. Great for card and plastic card both.

Bob”


Excelent! Thanks Bob – I shall try it out on the next print out kit. My boy has also posted a youtube video to show you how easy the print out scenery buildings are to put together too. It’s here


“About 40 years ago in Model Railroader magazine there was an article on how to “pickle” live plants so that they would be preserved and never deteriorate.  Does anyone know how to do that successfully?

Walt”


“I have a tip. It is for track and wheel cleaning. Get automobile transmission fluid a brush or felt; brush or rub the tracks with the fluid  let dry. This increases electrical pickup and cleans the track and wheels. Just have to use about every month if not a high traffic area. All it cost is about $3. and you have a cleaner for many years.

Bob”


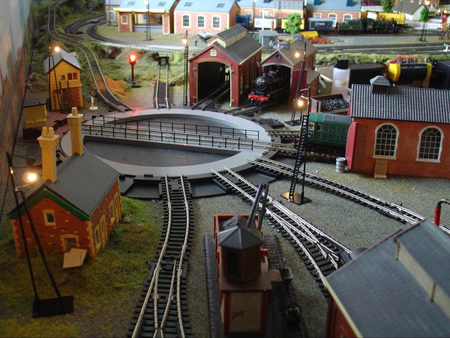
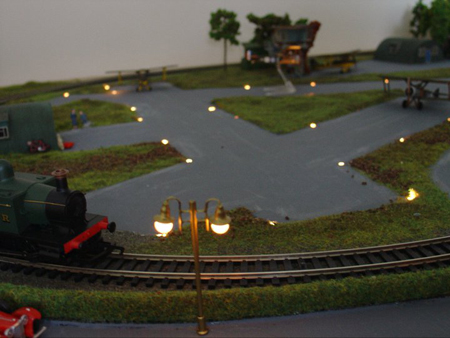
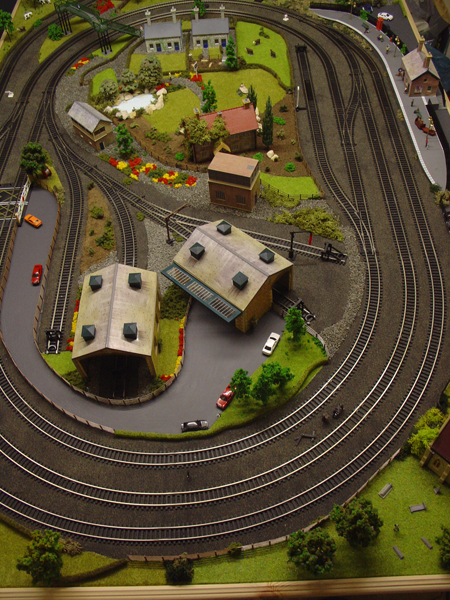
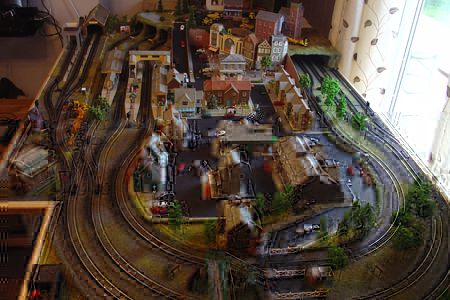
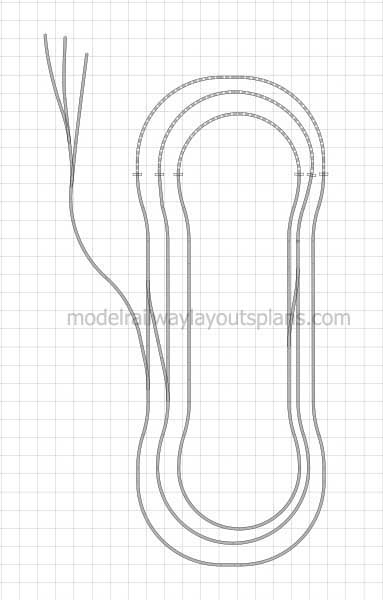
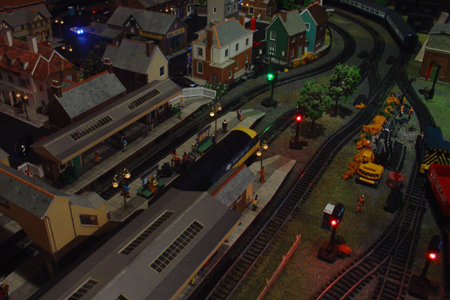
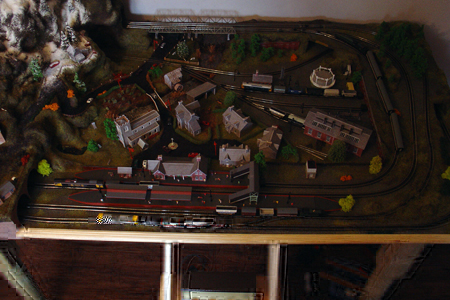
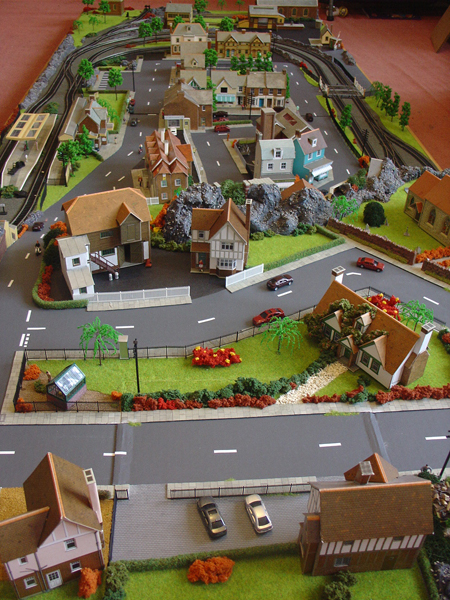
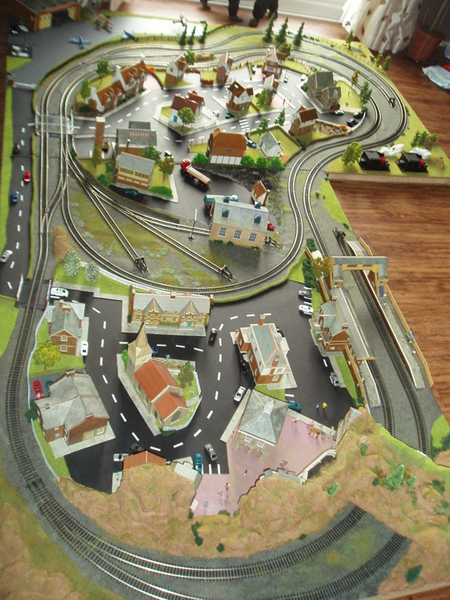
“Hi i have added pic’s of layout’s i have made over the year’s witch i’m happy to let other’s see.

I have many other pic’s that im happy for you all 2 look at so fill free to email me for more.
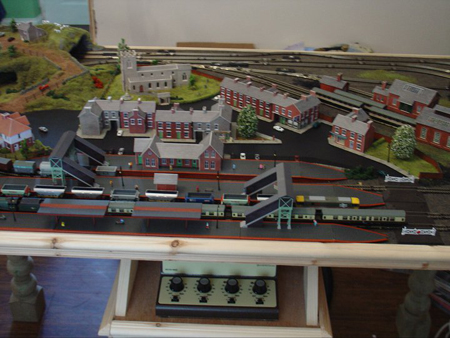
track plan double loop engine shed

triple loop with sidings track plan


Wow! Thanks Chris – there’s a few years of layouts there! Al.


“Help Al! I bought a Bachman freightliner DCC. But I run Hornby. I bought a new decoder and installed it. But the error message I get on my hornby controller says the decoder I bought isn’t programmed for Hornby – or anything, come to that. How do I get it programmed?? Should it have come programmed What have I done wrong? I have a train that cost me a small fortune which I can’t use 🙁

Alex”


Please do post your answers! And keep those tips rolling in.

Thanks too for all the comments on the ebay cheat sheet page. Glad it’s working out for you.

And if you’re still sitting on the side lines, the easiest way to get involved is here.

Best

Al
Railroading scenery tips

Here’s the lastest, in from the ‘collective’. Please do keep them coming!


“I do appreciate the time you take and the information that you pass along.

So, I thought I would let you and the other readers know of something I have been doing.

Most home health stores and/or pharmacies receive in the shipping cartons for their lift chairs
two blocks of polyfoam, guessing it is polystyrene, that which I have gotten, measures 3″x4″x29″.

I have used it in pretty basic landscaping and it works well. My biggest pleasure is that I can
have all I want and free, because otherwise the rest is trashed.

Bill”


“I use free styrofoam. You know the stuff they use for packing. It comes in verious shapes, sizes and thickness. Carve it to shape then paint. I use spray paint to make it look like rock or granite. Vakspar Stone looks like grannit and Krylon has different colors in theiir “Make it Stone!” Both paints are Premium Enamel and they do not harm the styrofoam in any way.

Wayne”


“When building mountains and hills I use Oatmeal (as in Quaker) to create texture. It’s inexpensive and easy to do and it dries hard as rock.

Marc”


“Al,

I attach the anode of a red LED to the cathode of a green LED and then attach the other ends together.
I put a 800 ohm resister on one end (series)and attach them to a track.
When the train travels one direction, the green LED lights. When traveling in the other direction, the red LED lights.
It’s an automatic switching signal powered by the track voltage and polarity.

–Ben”


“Here’s an old way to produce hills. Get several sheets of news print, but of the blank page kind. Soak them in water into which a small quantity of flour has been added. While wet, drape the sheets over a rough frame built from scrap wood stock and screen wire. Let dry.
Then color, using a water based dye, or water paints.
I learned how to do this from reading an old issue of Model Railroader, circa 1937.

Deranged Dragon 99”


“Hi Al,

Modelling Clay is ideal for making model railway scenery especially mountains, and if the clay is brown or terracotta it does not matter if it gets chipped after it has been painted.

To plant trees on the clay mountains and hills after the clay has set, drill a small hole and put a drop of super glue on the bottom of the tree and install.

Paul”


” I use real tree branches to make trees for my o scale layout. Bunch them like a real tree, and wire them together. Put some crayola air-dry clay on it for the trunk. Paint it brown. Trim any wire that is exposed-try to put it where it will not show. Then use a glue gun/glue to apply elk fern on the branches to make it look like a real tree. These can be made any size, or any way you like them to be. You should make a base as well, or use some other way to keep them upright. I always get a lot of compliments on them! Trim the branches to lengh with a pruner or wire cutter.

Cudds”


“Bark from trees such as oak or ash will make good rock faces.

Stewart”


“Not modelling directly, but this may help someone:

A lot of modellers use an electric soldering iron and get frustrated when the copper bit gets dirty and/or corroded with use, needing frequent “re-tinning”.
A way to eliminate this is to remove the bit from the iron and give it a protective coating of silver solder, a.k.a. silver-brazing alloy. Use an SBA with a minimum of 35% silver content.
SBAs come in 35, 45 and 50% silver – any of these will do. You won’t need much, as you’re only coating the operating end.

If you don’t know about silver-soldering – you have to clean off the bit down to shiny copper, coat with SBA flux (a paste of wetted borax powder also works), heat to a dull red with an LPG torch (until the flux melts and looks like clear water) then apply the SBA rod until it flows onto the bit. Allow to cool naturally.
Replace the bit in the iron, re-heat, “tin” with soft solder and use as normal. The bit will come clean with a wipe on a wet pad but not corrode any further.

Note: Be sure to clean the copper bit down to shiny copper before coating with SBA flux as soft solder will take on top of the SBA, but the SBA will not coat the bit if any soft solder or scale remains on the surface.

Dave.”


“put automatic transmission fluid on the tracks to increase electrical contact and reduce the need to clean the tracks just apply.

James”


“Hi Al,

Tip: If you ever find the need to clean the leaves out of your eaves trough, look on the bottom of the gutter.
If you have an asphalt roof you will find little stones that have come off the shingles.
Black stones make great coal loads, brown and grey can be used for ballast.
Best of all, it’s free.

Have a great modeling day!


“Never make any print out scenery flat. Always recess it – it’s amazing the difference it makes – as this picture here proves.

Er….me. Al.”

Joking aside, if you look at the pictures of the green house made from the print out scenery, and compare it to the pictures of the blue and yellow houses, they are worlds apart. My boy is making up some new ones to show the difference.

Don’t forget to have a look at his latest edits on the ebay cheat sheet. You’ll save a fortune.

Best

Al

More on model railroad trees

Hot off the press after Martin’s superb model trees, Tom sent his ‘how to’ version in:

“Alastair

Please find attached a method of making a tree that you would find in an orchard. It uses readily available materials and is pretty cheap and quick to manufacture.
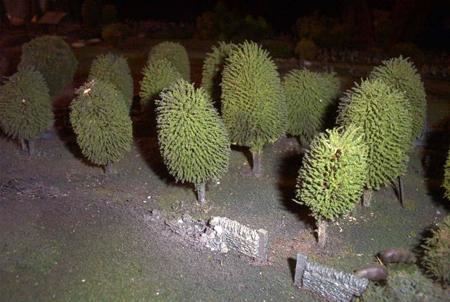
The trees shown are part of a war games table – `the orchard` of Gettysburg – but would be equally at home on a HO/00 gauge railway.


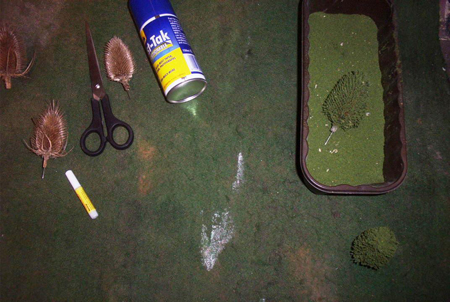
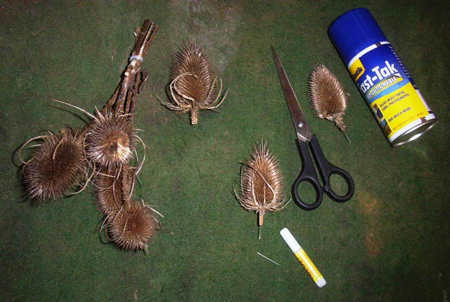
Referring to picture 1:

Collect the heads of dry teasel plants – can be found most of the year in country parks, woodlands etc.

Cut them to give a `trunk`.

I usually insert a pin – sharp side down and glue it with superglue – attachment to the base will depend on what the base is made of.

Using scissors trim up the outer surface – remove the long woody bits from the base of the `tree`. You can also trim away some of the sides to give a less even appearance.

Then using a spray adhesive – I use a mounting adhesive – which is good enough. Spray all of the tree liberally, and avoid the trunk and pin.

Roll the sprayed up tree into a fine powdered scatter material of suitable colour. Could use a variety of colours to indicate season – or indeed add some red pieces for fruit.

Stand tree up to dry.

With this method it only takes a few minutes for each tree to be made to completion.

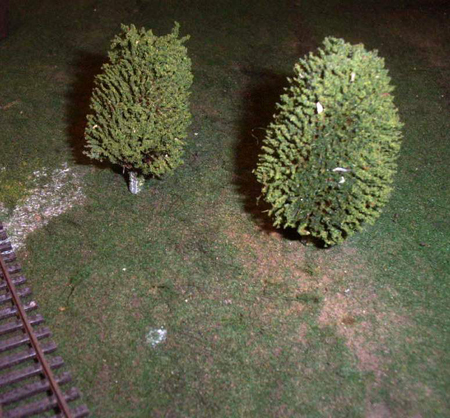
The finished article – `Completed tree` & `Completed orchard trees` (If you look hard you can see advancing confederate troops beyond the orchard).

When I get the chance I will show how I made a wheat field – again using teasels, glue and scatter material.

Tom”


Impressive stuff from Tom.

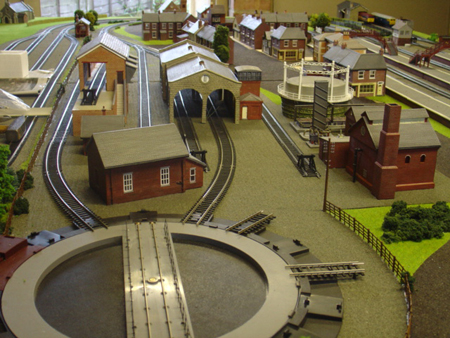
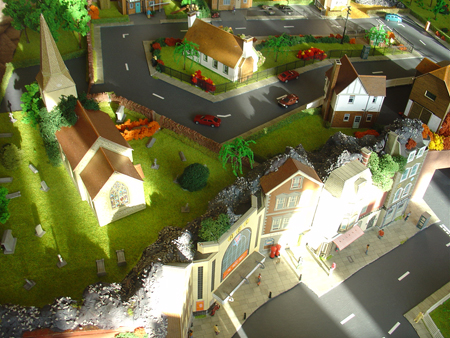
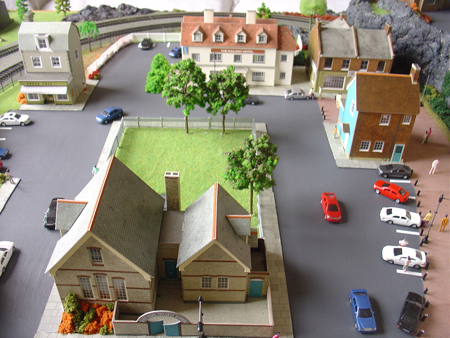
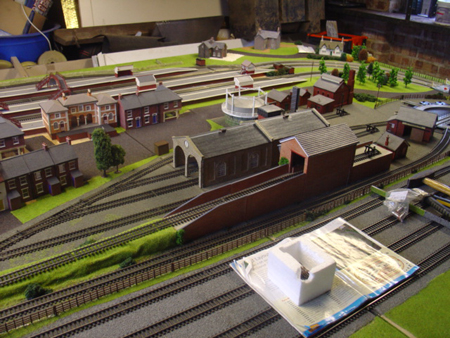
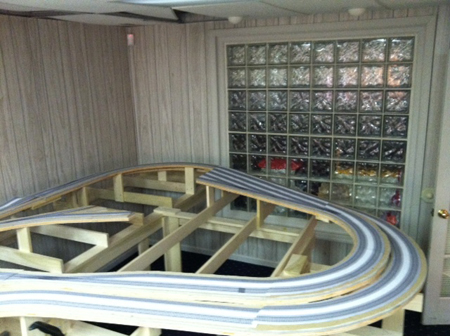
And lastly, Lou sent this in. Looks like it’s going to be a monster layout. Can’t wait to see it finished.


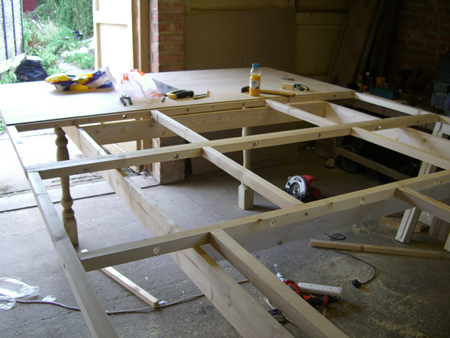
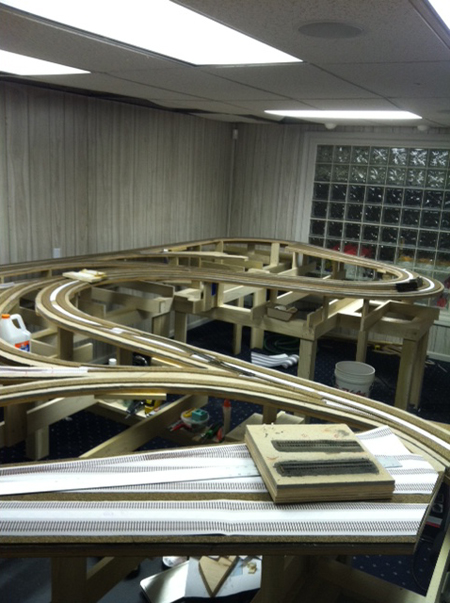
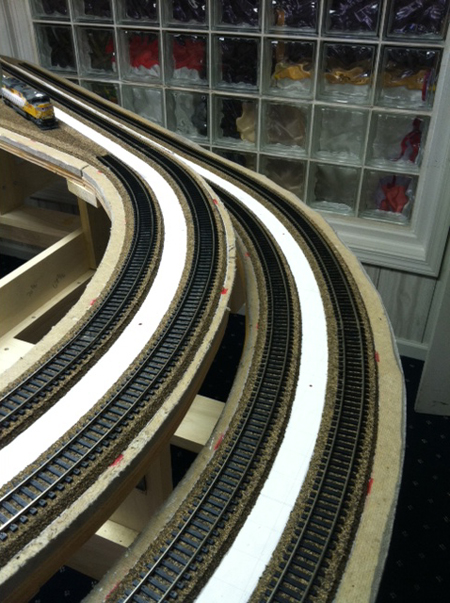
“Here’s some if my layouts. I just started 4 weeks ago.

Lou”


Hope I’ve helped!

And please let me know about your latest ‘steals’ in ebay (cheat sheet here).

Best

Al

PS Martin has sent in some more tree pics which are amazing. But I’ve run out of time today. Next time!