I have really enjoyed the great tips you send out.
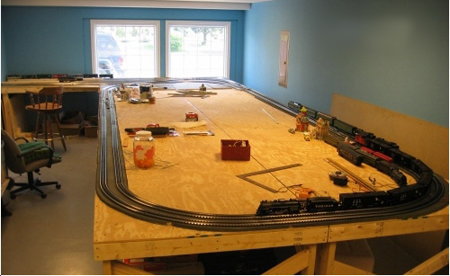
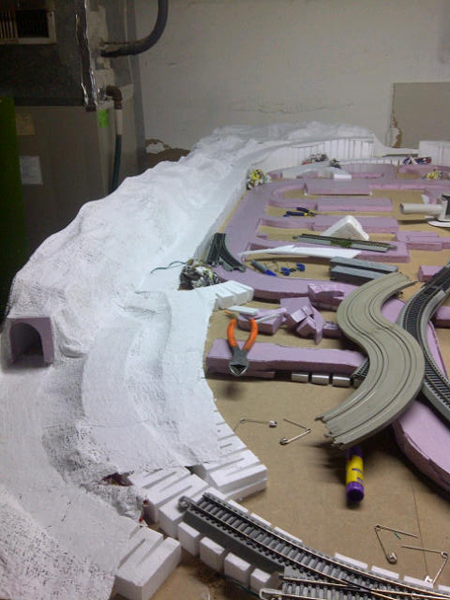
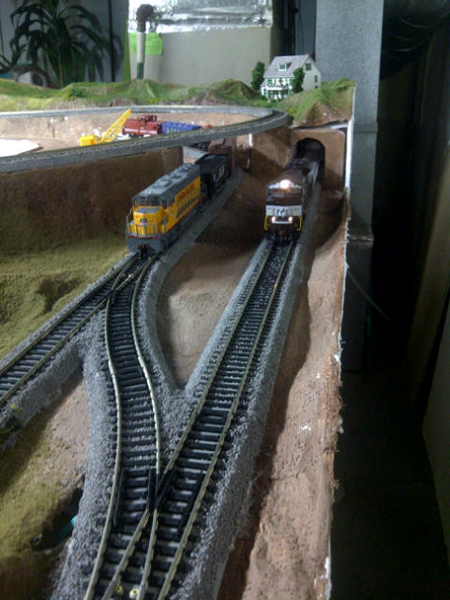
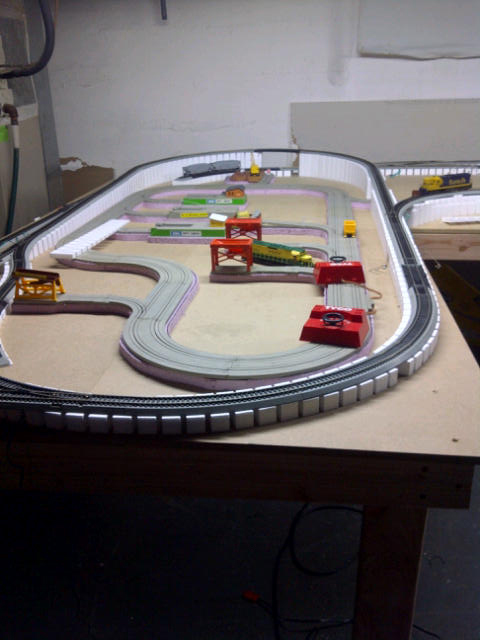
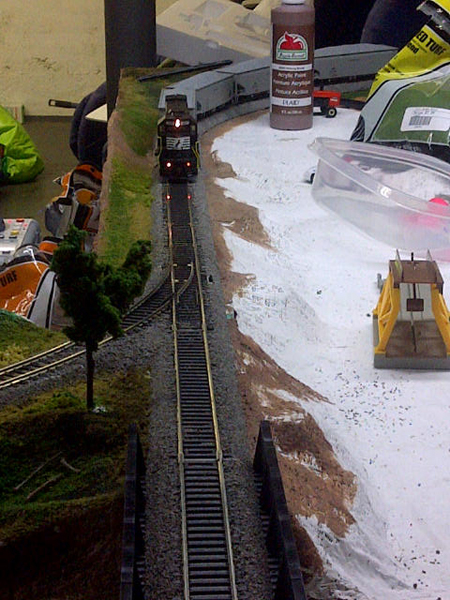
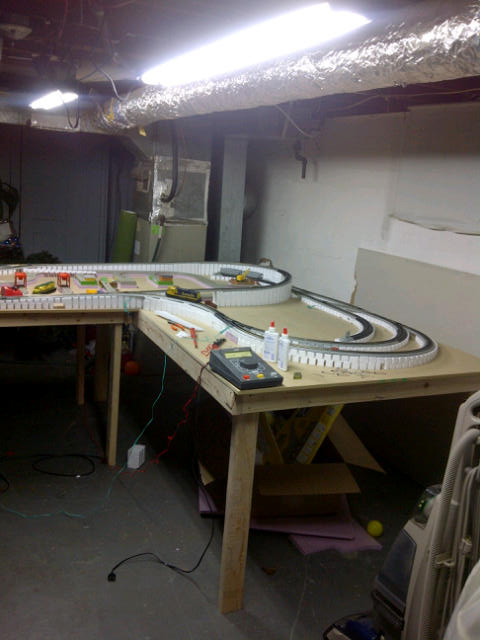
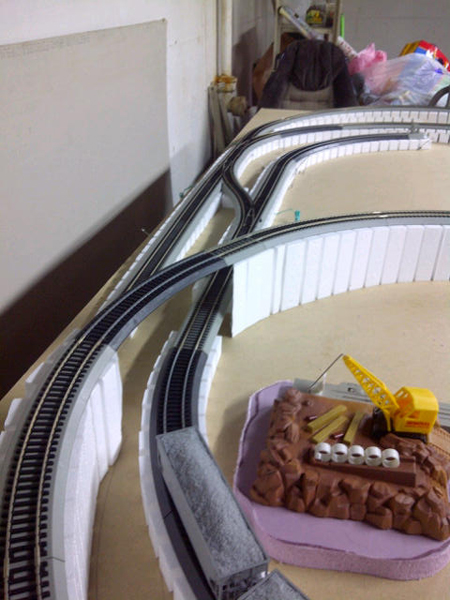
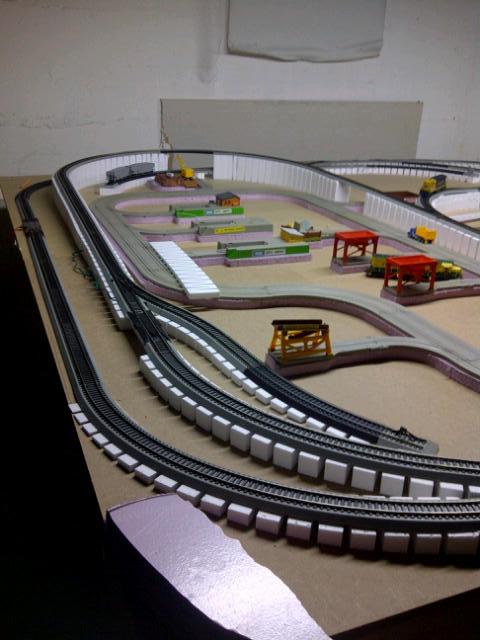
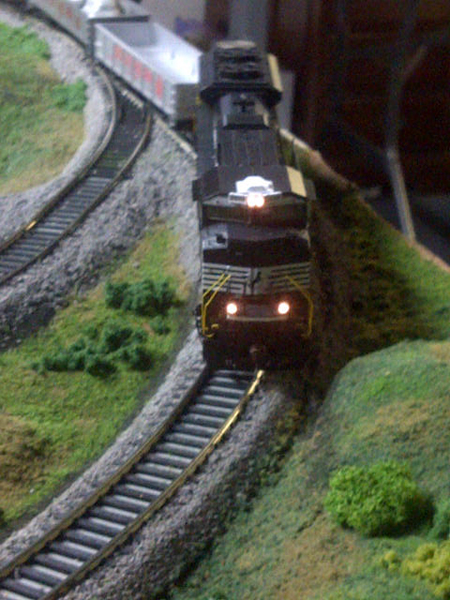
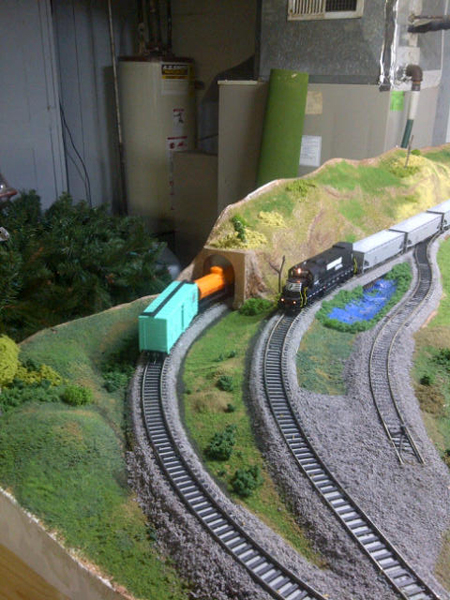
I’m building a 12′ by 4′ N scale layout on foam insulation board. The board is held together by lengths of aluminum “L” bars. BTW I got the boards by asking a local home store if they would discount boards that were less than perfect. As I left the worker told me to always ask whenever I saw something that I might want. So next time I went to the cutting section and saw a bunch of ply wood scraps, 2 x 3 etc. Just what I needed for elevated track section. I got my pick for $0.51.
I recently saw mention of a foam cutter and unpacked one I had purchased 5 years ago sold by Avalon or Tippi. They are really a time saver. They come in many different configurations most under $25. I got a battery operated one for $14 and change at AC Moore
Instant Road Bed:
The product has returned to the market under a new name. It is a black two adhesive sides. I found some of the very old stuff that had been sitting out in the garage for years. I was able to rejuvenate it by placing it in the microwave for five minutes. It was in almost a molten state. But worked well after it cooled down a bit. The time in the microwave can vary with the age and loss of adhesiveness.
Wire:
I had lots of odd lengths of telephone 4 wire wrapped in a shield left over from the rewiring of our home. It is a very inexpensive source of wire even if you have to buy it new from a home improvement store. The shielding also comes in handy.
Curves:
This is for those of you like me who use the hit or miss approach without a well worked out master plan. We lay out track to fit the space. Drawing the curves can be a challenge. You can get an aid called Mars flexible curve. It is like a snake that takes and keeps the curve you want. So even the most ad hoc one of a kind curve comes out smooth. It has a 18″ ruler on one side and a 45.7 cm on the other. It is great for calculating the needed length of flex track.
Best
Del”
“Best tip I ever had was to use leftover ceiling tile for roadbed on my O gauge layout as well as scenery.
Carl”
“I make ceader trees using different sizes of pine cones and golden rod plants I find in fields. I first paint the golden rod green using cheap spray cans, then glue the small branches to the pine cones. They look just like those in the southeast and look great planted on bluffs and cut throughs.
Carrol”
“Instead of buying prewired power connectors I solder short small wires to track connectors and install them as I initially put down track,after I’m happy with the way I want it I drill small holes between the ties and thread the wires through,I can then make the connections under the table.
Joseph”
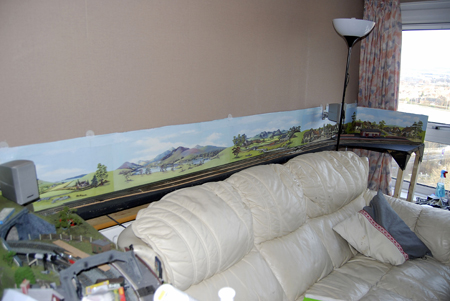
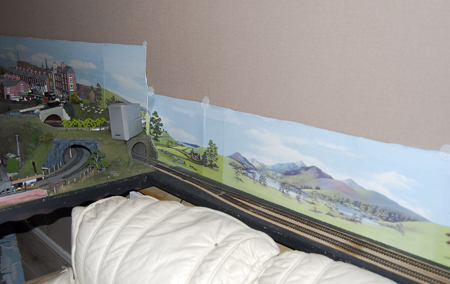
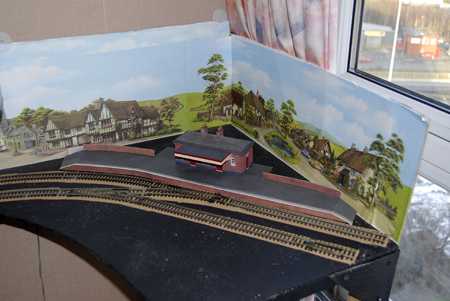
“Hey Al! I do love the pic’s! I will send in my pic’s soon, my layout is under construction at the moment, its not as big as the one’s you send me and I’m not doing it the traditional way, my layout has the tyco us1 trucking set incorporated into it ( to keep my 5 year old entertained) these r the pic’s so far!
Mike”
Big thank to you Mike for sending those pictures in. Just superb!
Alan posted the below on one of the previous pages – but I thought it merited its own page!
Thank you, Alan.
Best
Al
“A few ideas I have used over the years
1. Buy a selection of Permanent Marking pens from the Newsagents. They come in a variety of tips and are ideal for very fine detailing.
2. I make scenery by screwing wood to the baseboard, then covering it with flywire which I staple down. I then mix Cornice Adhesive with cement colouring (if it chips its still brown etc) to a stiff consistency and trowel it on. It has a working life of about 30 mins. It dries overnight into a hard shell and will readily absorb kids poster paints. It is about 3 times dearer than casting plaster which is practically impossible to sculpt as it dries in about 5 mins. and any working of it tears it up into lumps. However it is the best thing going if you have a mould.
3. Most building models come with clear polystrene for window glass. I used to use white poly. to cover lavatory and factory windows as no one seemed to make a frosted glass. However I was going to throw away a mince pie packet and noticed that the base was very well dimpled. I cut it up and used it in windows to get a frosted look. I was so impressed that I placed it behind existing clear windows and it looked even better as it had a reflective quality about it. Another tray had a very well defined small diamond pattern to it, so I cut it up and using a fine permanent marking pen I drew in the lead light and then placed it beind the large windows in the Dapol Inn. It looks like genuine leadlight. Only problem is that this type of plastic will only stick using Super Glue.
4. Never throw anything away. I have shoe box’s full of offcuts and old sprues. They can be used to repair or reinforce corners of existing buildings and make very good loads of scrap iron etc. The shape determines the use.
5. Old locos with burnt out motors, remove the motor and double head. Broken carriages and goods wagons that are damaged, remove the bogies and place upon blocks about the track as storeage units etc.
6. I had an old Airfix house from last century, the roof got lost. How I don’t know so I simply turned it into a building site.
7. I came across an old pill bottle which looked for all the world to be a pottery kiln. Wall papering it was a bit of a problem, but tucked away in a corner it looks OK. My Oil Refinery is made from Storm Water plastic pipe joiners. Simply draw up the steel plates on a piece of paper and glue on. Put the join at the back out of sight.
8. Aluminiun angle is extruded and not drawn so the inside is a perfect 90 degrees. A small length by 1.5″ X 1.5″ is ideal to set up the corner of buildings on the inside or outside of the angle. Simply apply the glue and clamp in place on the inside or outside and allow to set overnight. Cover the corner you are using with some masking tape just in case the glue you are using takes a liking to the aluminium.
9. I found a box with an arched lid at the local junk shop. Stuck some legs on the lid, covered it with black paper, glued some corrugated iron to the sides and made a 3 road engine shed for about A$15.