Dave’s been back in touch with his HO train layout 3 loops:
“Al
Thanks for posting my layout and thank you to the very kind commenters.
This gives me the courage to follow up.
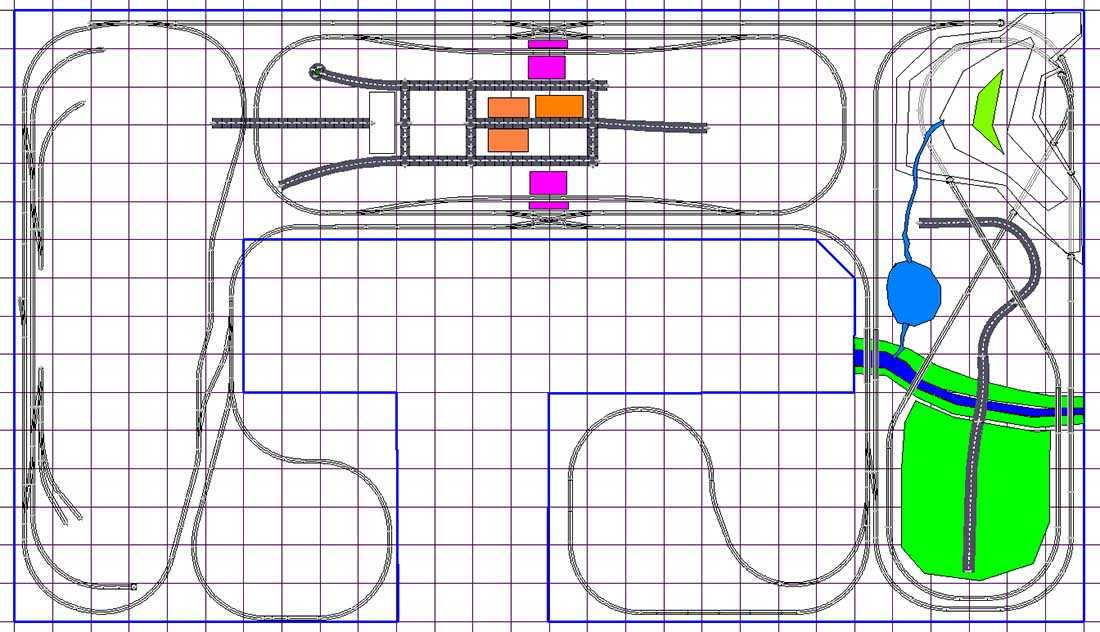
One of the things mentioned was a track plan. I meant to include it, but here it is:
There are three main sections with 2 reverse loops. On the right side is basically a reimagined Scenic Ridge. The roads shown didn’t make the final cut.
This section has my mountain and the suburbs. My original intention was for the road to connect up with the center section. Once I modeled the mountain, lake and river I found I painted myself in a corner and had a road to nowhere.
So I continued the road from the bottom and into the right hand reverse loop which then connects virtually to the center section.
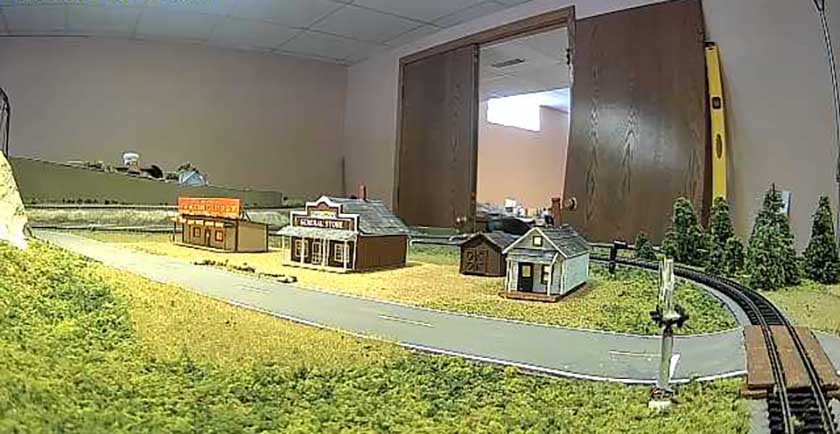
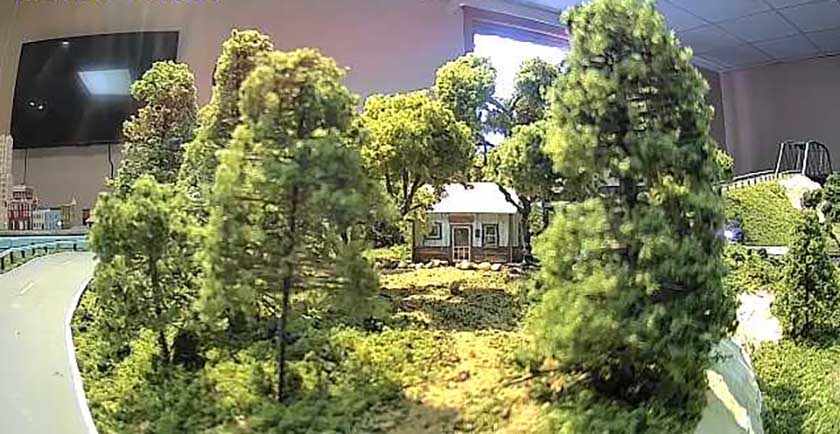
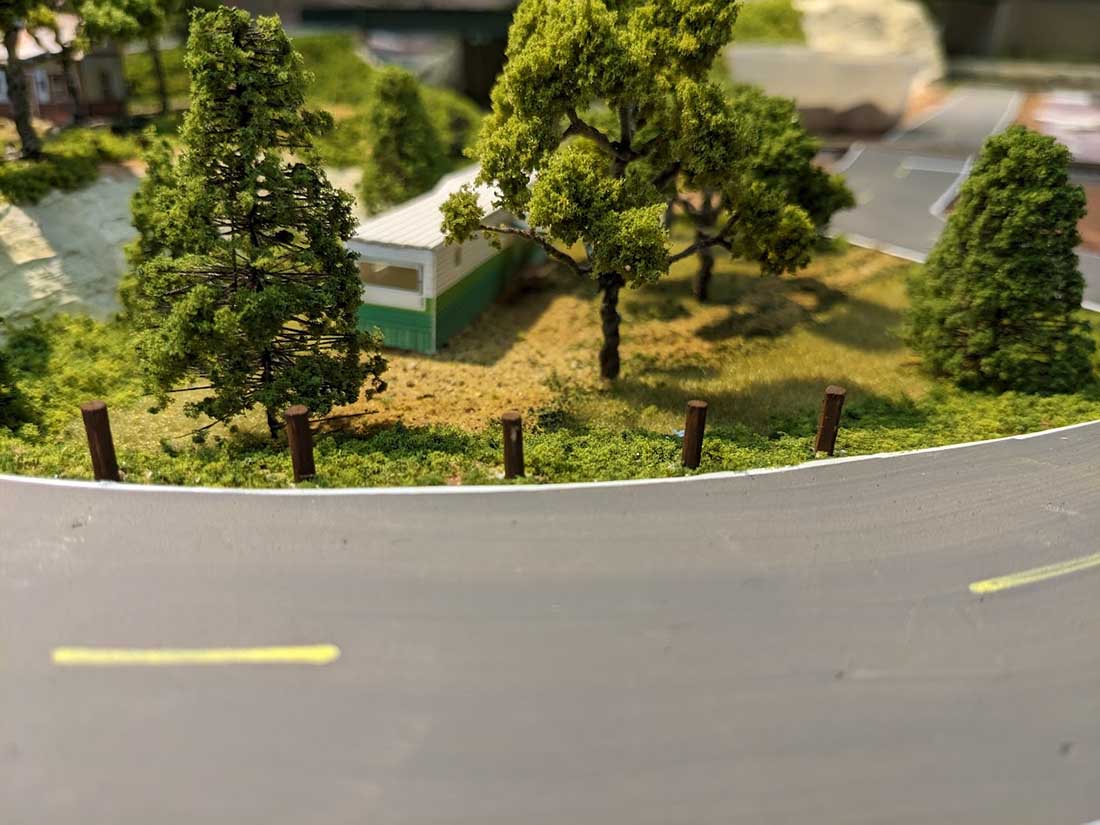
The right hand reverse loop is my rural area with roadside shops, cabins and trailers. Kind of like you might see in northern Michigan.
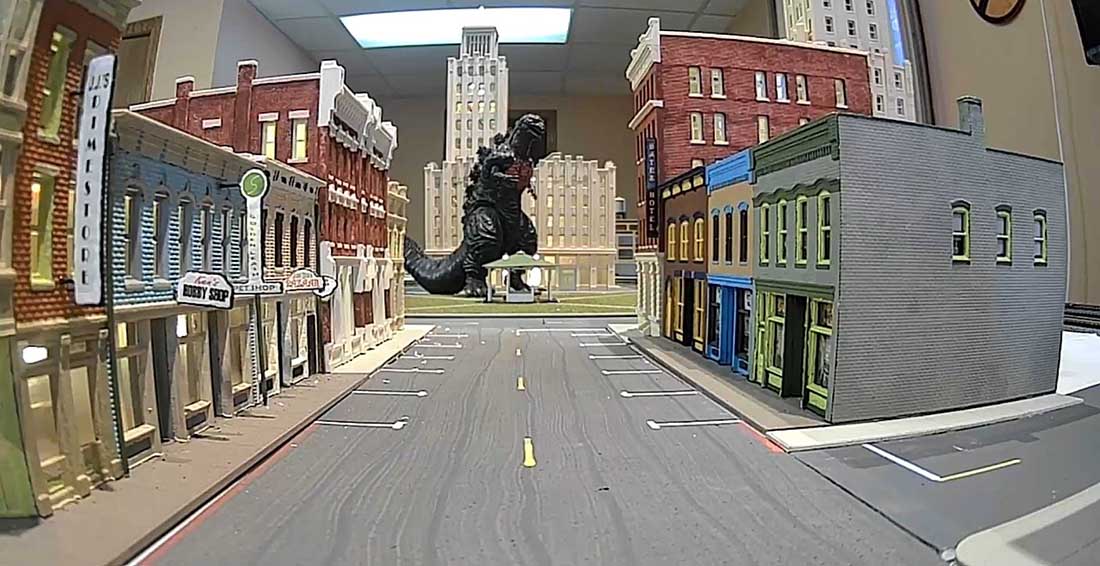
The center 3 x 8 section is farmland leading to the city.
The left hand 3 x 8 section and the left hand reversing loop are industrial. Just getting started on this.
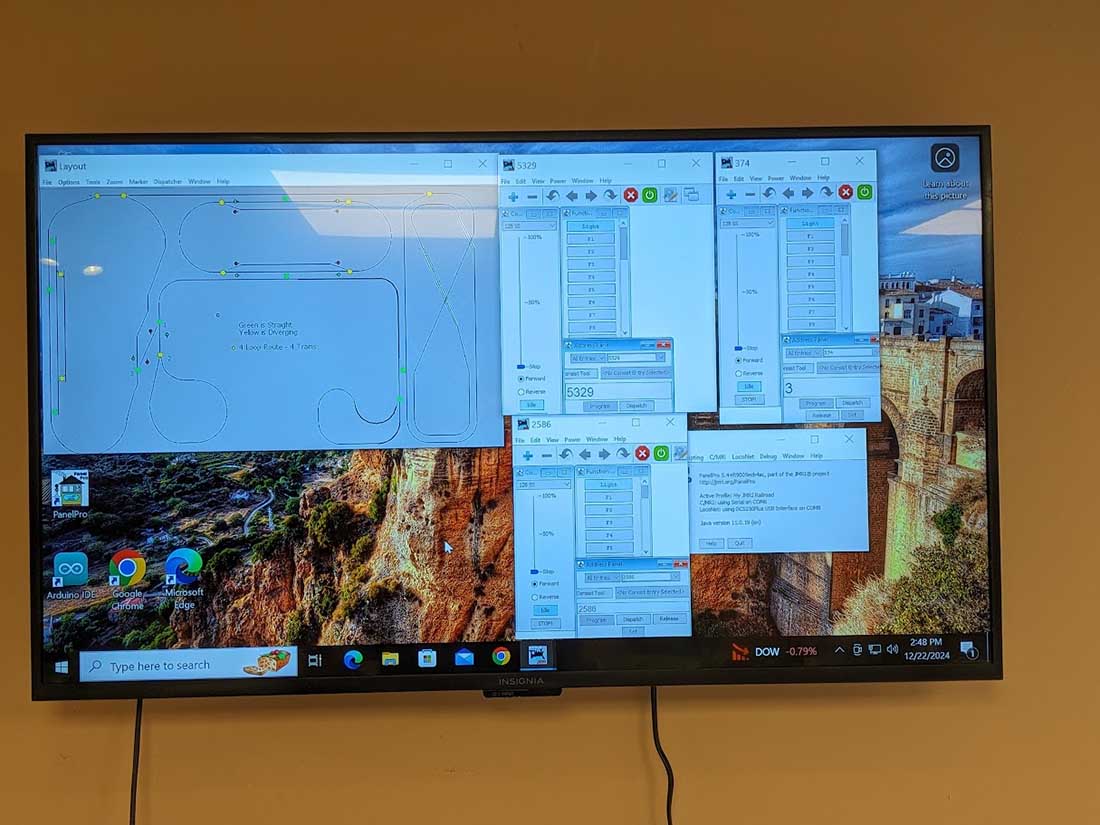
I control the layout via JMRI using a TV as the monitor.
I can run 4 trains in loops unattended and control the turnouts by clicking on them. I also set up the turnouts to operate in pairs where it makes sense (sidings and crossovers). Part of the fun for me is fiddling with the electronics. I have 4 arduinos in various spots under the layout connected to the computer via serial cards. These control the servos driving the turnouts and the crossing signals.
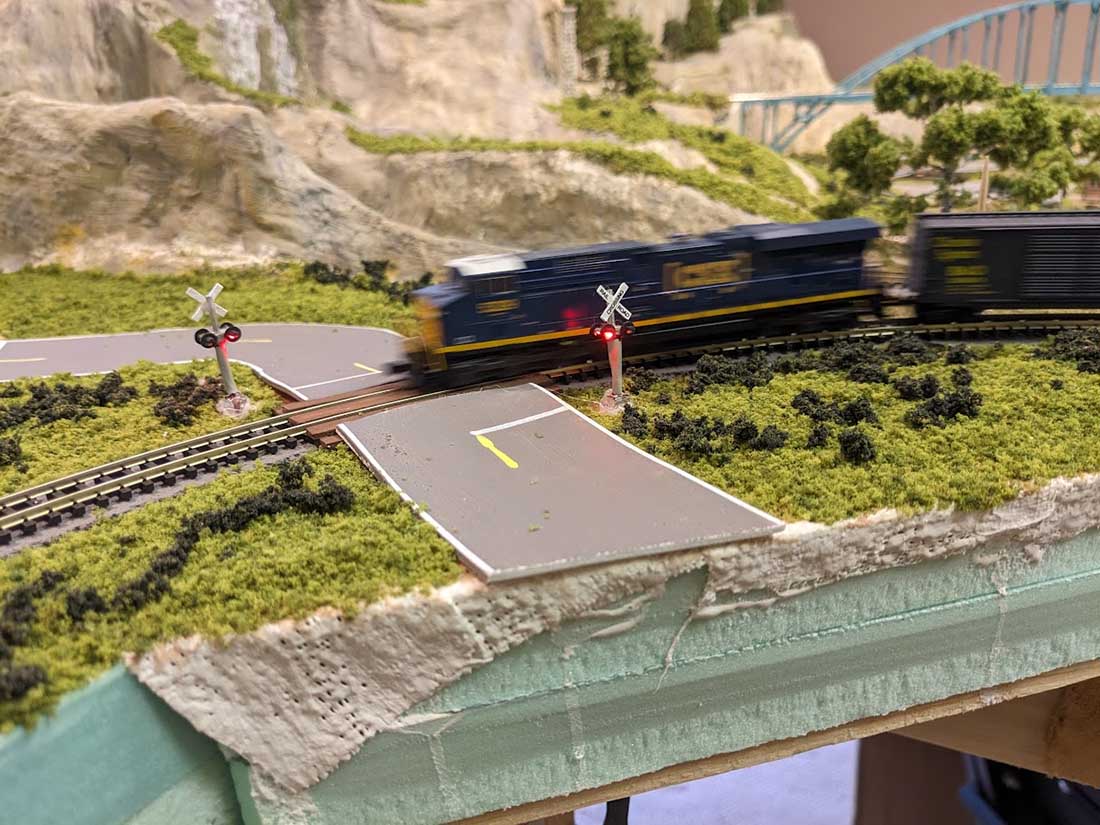
I took static Osborne model crossings and added tiny LEDs to them so they operate when a train passes. I use optical LED detectors as Arduino inputs to operate them.
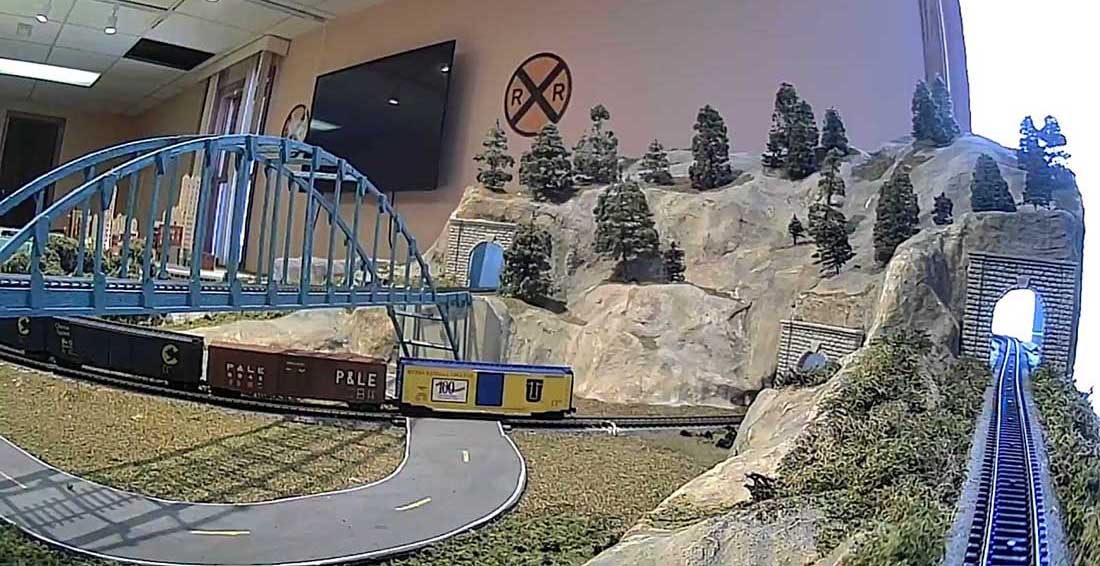
There were a couple of comments on my bridges and I thought there might be some interest in how I constructed them.
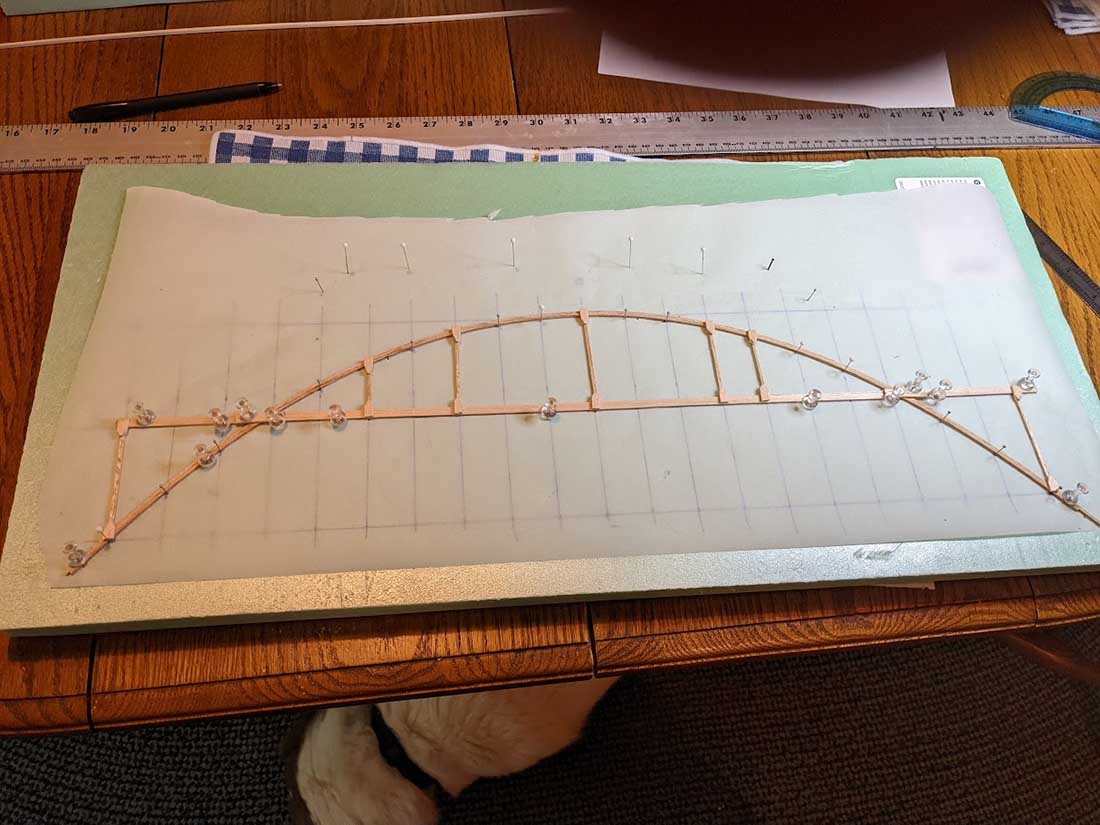
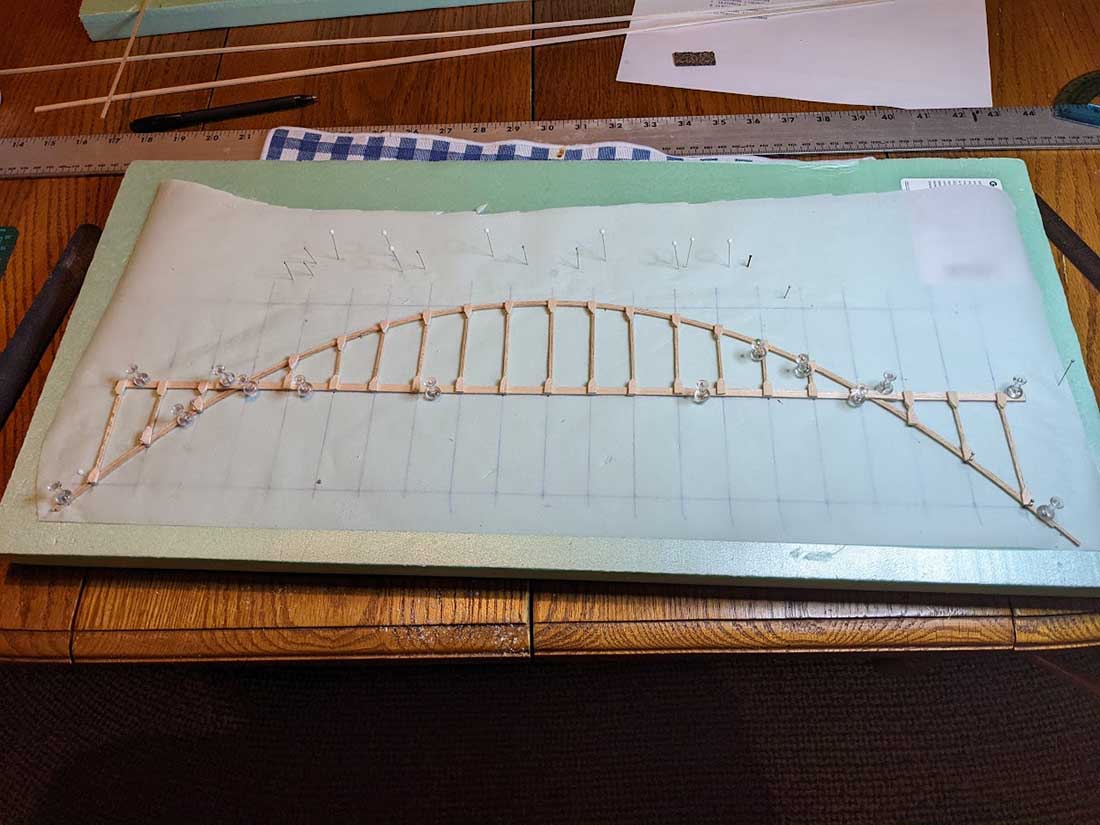
The arch is a catenary arch. Basically the curve you see on suspension bridges turned upside down. I got the formula for this curve and put it in a spreadsheet. Then played with the parameters so I got the span I wanted as well as the height I needed to allow trains to pass.
Then I laid it out on a foam sheet.
Put down wax paper and insert pins where the curve goes. I used 1 inch horizontal intervals.
Next, soak 1/16 x 1/16 balsa in water to make it flexible. Stretch the first one along the pins then apply white glue to it. Repeat with a second piece, clamp and let dry completely. This forms a lamination and it will hold the shape. Then add bottom bridge deck side. Then the drops every inch.
Repeat for the second side.
Unfortunately, I didn’t take photos of the rest of the assembly, but it is pretty straightforward.
The result was a pretty bridge (IMHO), that is functional. It doesn’t flex at all when a 2 locomotive consist goes over it.
Thanks for all you do and thanks to the commenters.
Dave in Strongsville Ohio.”
A big thanks to Dave for sharing his HO train layout 3 loops – if you want to remind yourself of his last post, it’s here:
How to run multiple trains on one track.
That’s all for this time folks. Hope you’re having a very merry Christmas.
Please do keep ’em coming.
And if today is the day you get started on your layout, the Beginner’s Guide is here.
Best
Al
PS Latest ebay cheat sheet is here.
PPS More HO scale train layouts here if that’s your thing.
Need buildings for your layout? Have a look at the Silly Discount bundle.

Swesome
FIRST MERRY CHRISTMAS EVERYONE. I was impress by your bridge Al great build.
THANKS AL FOR ALL YOU DOFOR THR SITE.
HEALTHY AND HAPPY NEW YEARS TO ALL.
Great bridge work and such a wonderful layout. Nicely done. Rob
So, on “O” gauge for the bridge construction instead of 1/16″ I should use 1/8″ balsa due to weight of a 4-6-4 loco (pre-war) or do you think 3/16″? I’m just getting into this.
Replying to Marc:
If you need to add more strength for weight, I would maybe go with 1/16 x 1/8 or 3/16. The 1/16 seemed to bend pretty easily when soaked in water. More laminations would add stiffness. I used 2, maybe go with 3.
Very nice layout