More HO train scenery layouts today, Dan has been back in touch:
“Al, this is the next installment of the layout I had to come up with the scenery on an incomplete layout.
Background. I was building a layout for a friend. The NMRA convention was approaching here in Indianapolis Indiana. It was to be a double decked generic layout. It became clear that, it would not be nearly complete enough to have trains running over the “Plywood Empire” in time for the convention. He hired a company that did layouts. They did the upper level to the point that the track, ballasting and basic wiring was done. They did not consult about any scenic ideas. They left us with just the grid work.
In the previous installment, I showed how I did the helix scenery to meet the owner’s request that he be able to stand up in the helix for any repair work in the future. This will feature “The Wall.” This created a very interesting, for me, situation. I normally use the “cookie cutter ” method to get elevation either up or down. The foam risers were a new problem to tackle. I had seen others use it. I had mixed opinion as to it’s use.
My main objection was that there is practically no space to put scenery. With the “cookie cutter” method you put in the space for “things to come.” I do a lot of pre-planning when working out a layout plan. I know a lot of readers of your blog use the foam for elevation. I am impressed with their work. Here is my attempt to “fix” the attachment problem. It was a challenge and worth the effort trying out a new technique for me.
This section had to look good from each side and this complicated things.
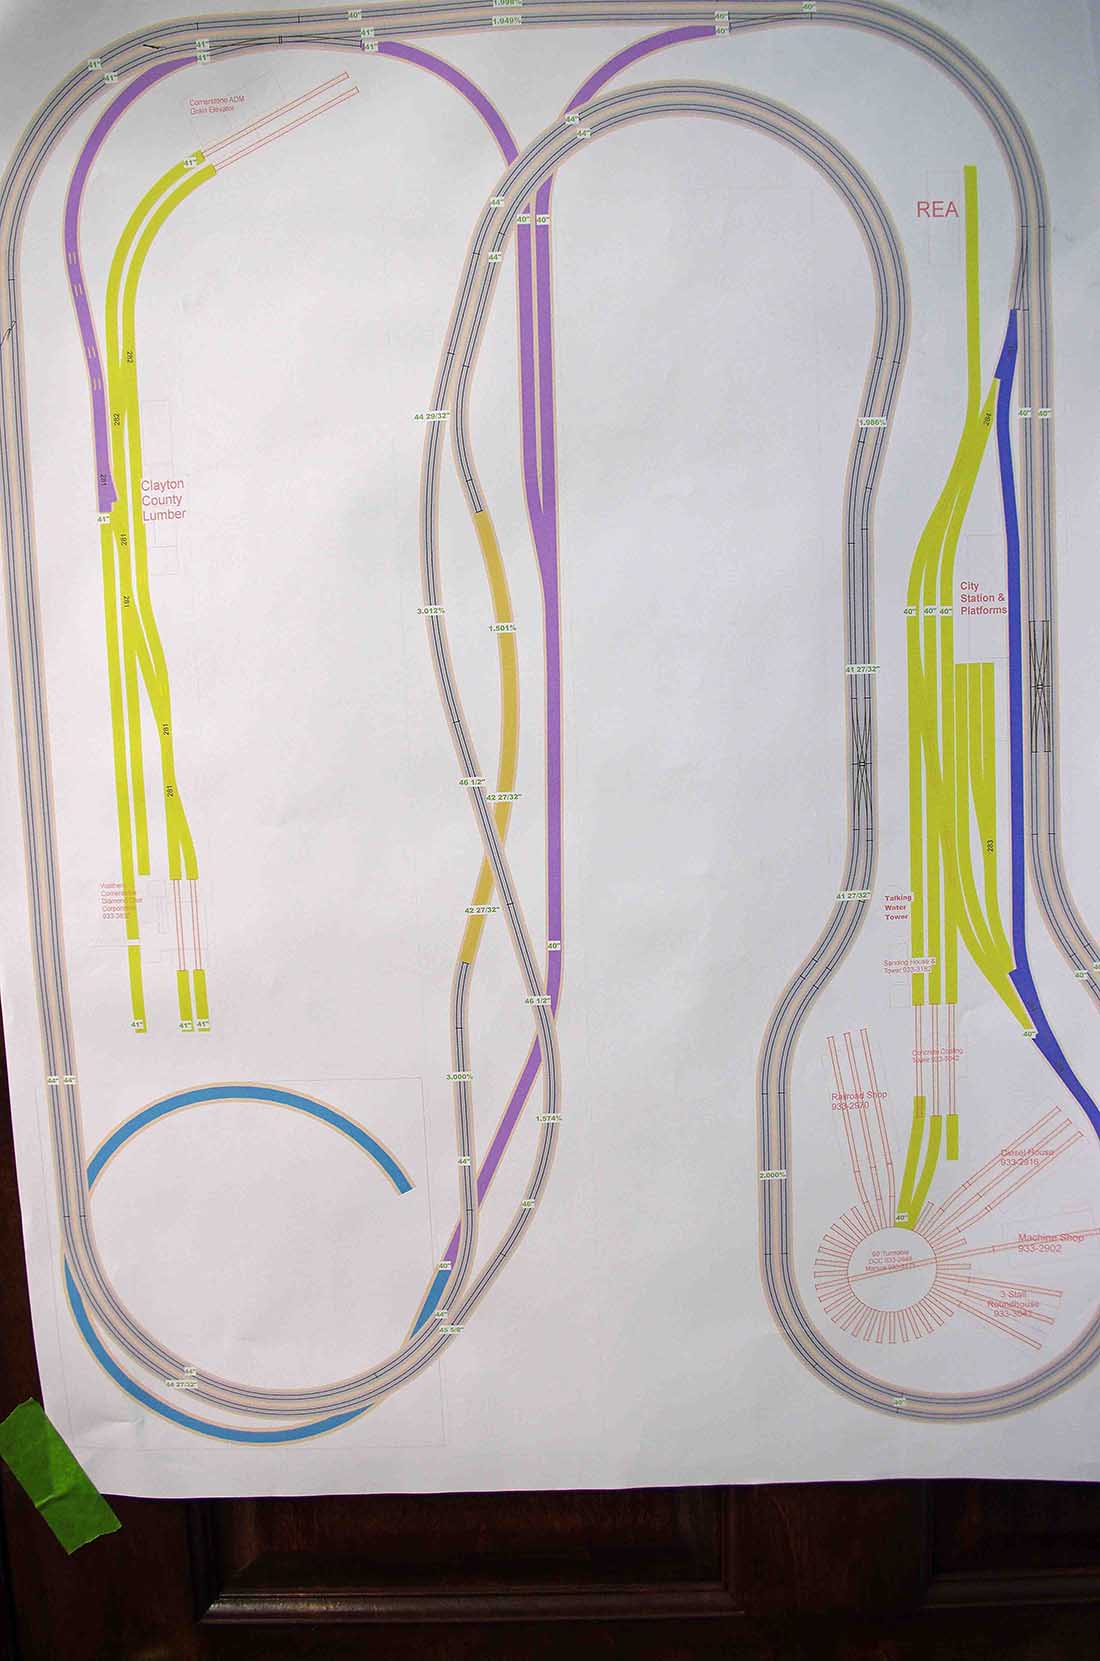
Photo 1 The track plan.
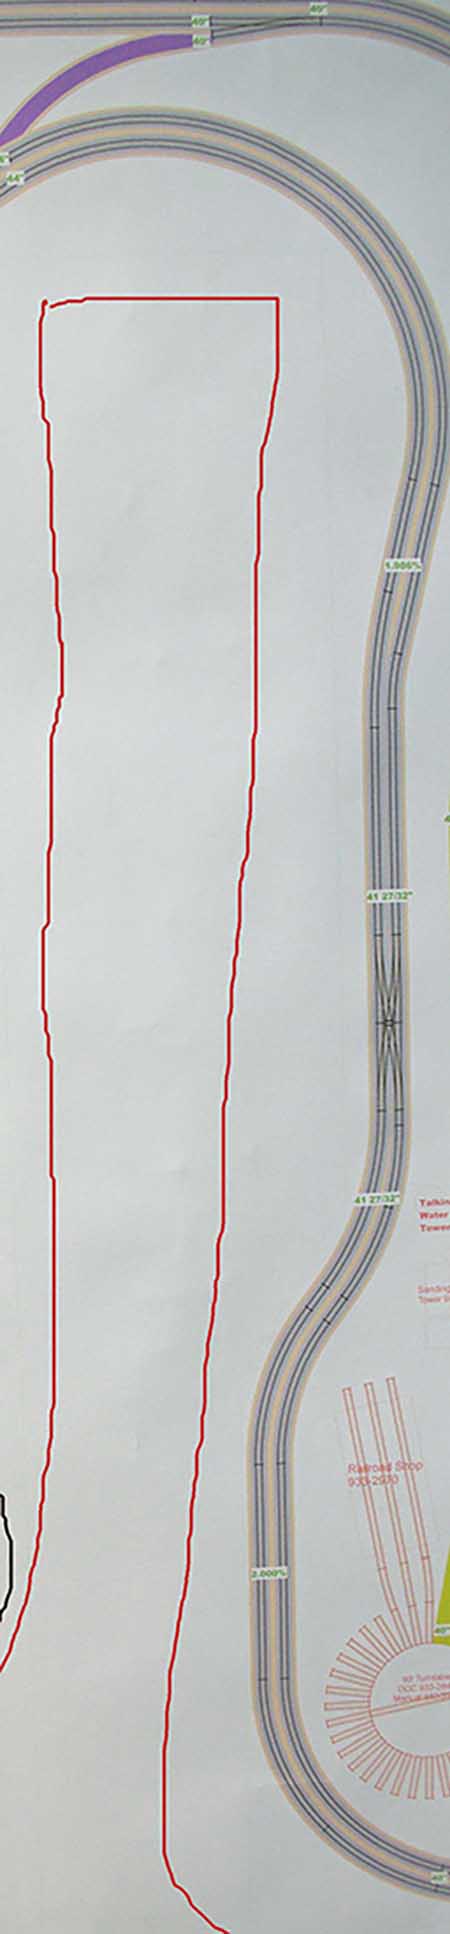
Photo 2 The section that I call “The Wall” is a grade starting from near the bottom to where the lines cross at the purple colored track. The purple track passes under the double track and goes toward the helix and the coal mine seen in the previous post.
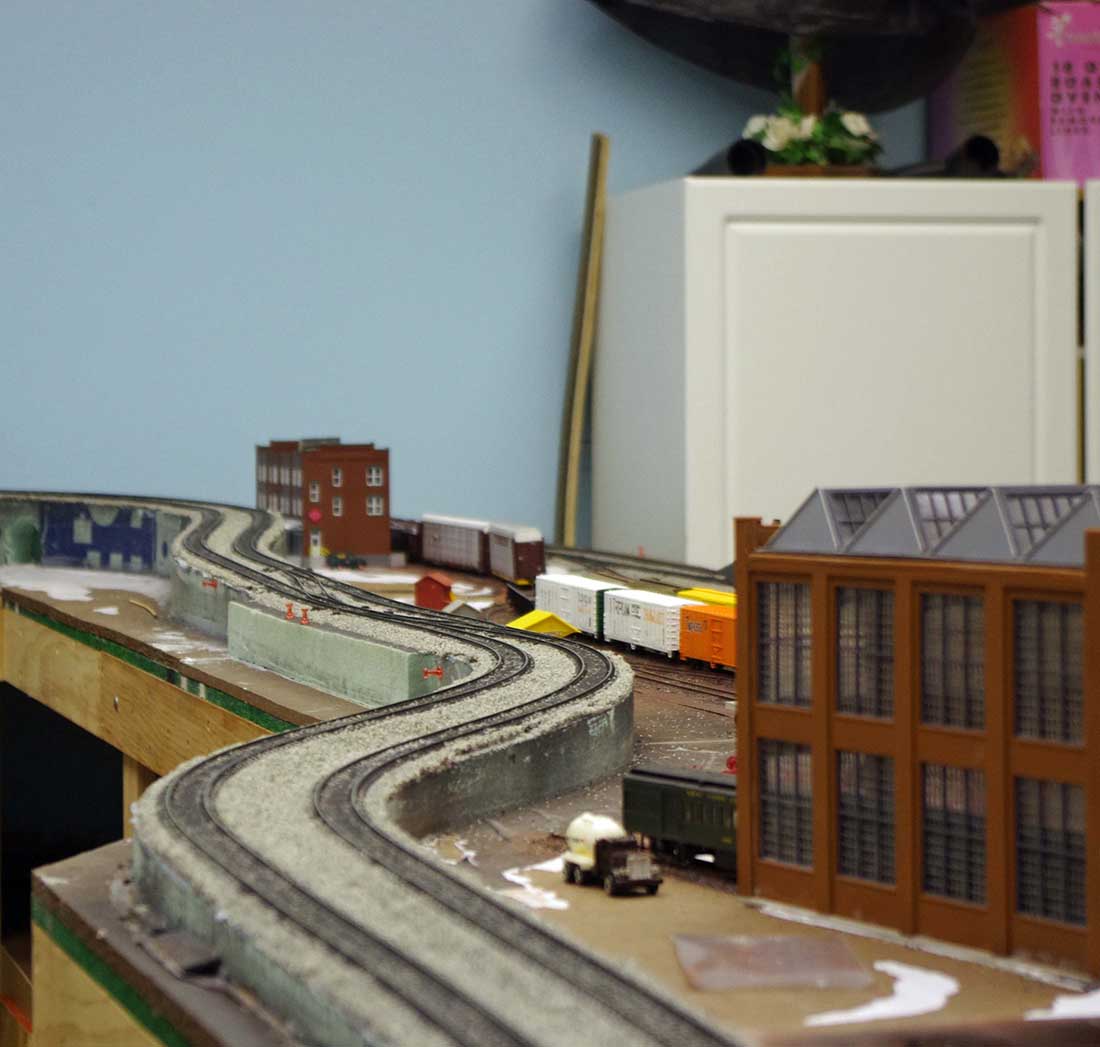
Photo 3 The beginning of the incline.
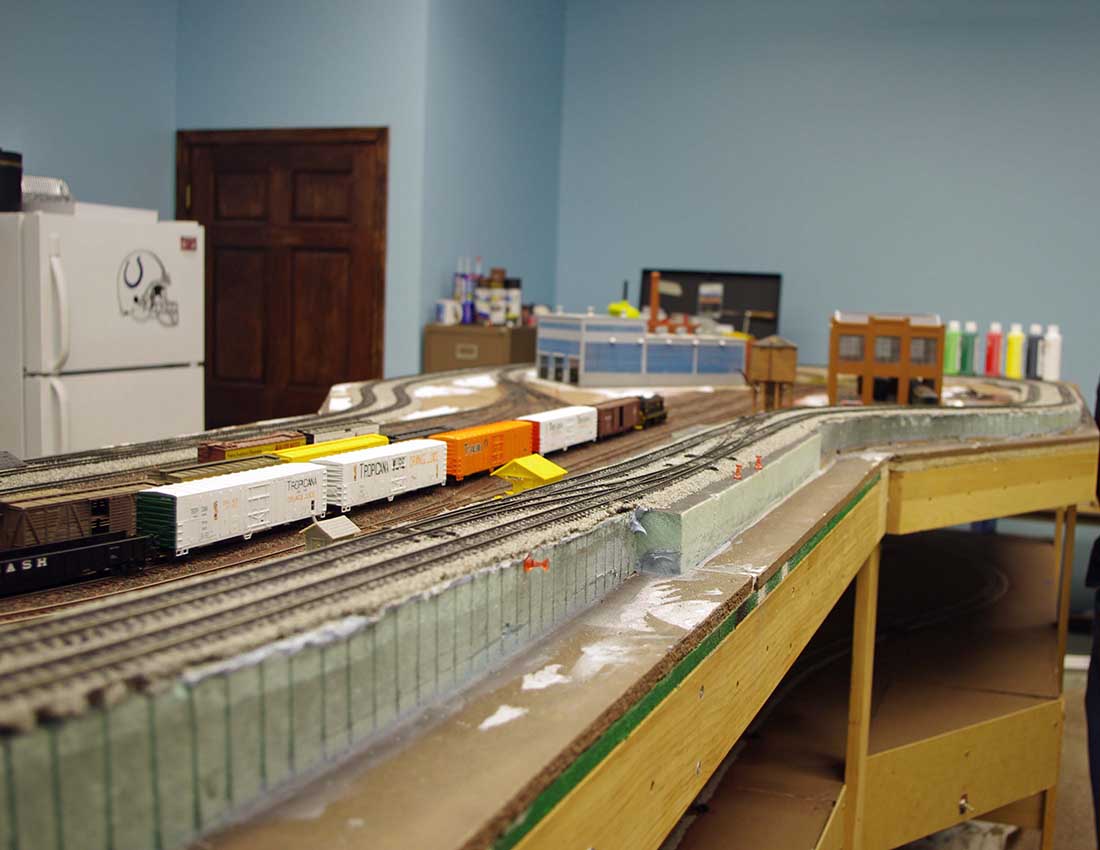
Photo 4 Looking the other way.
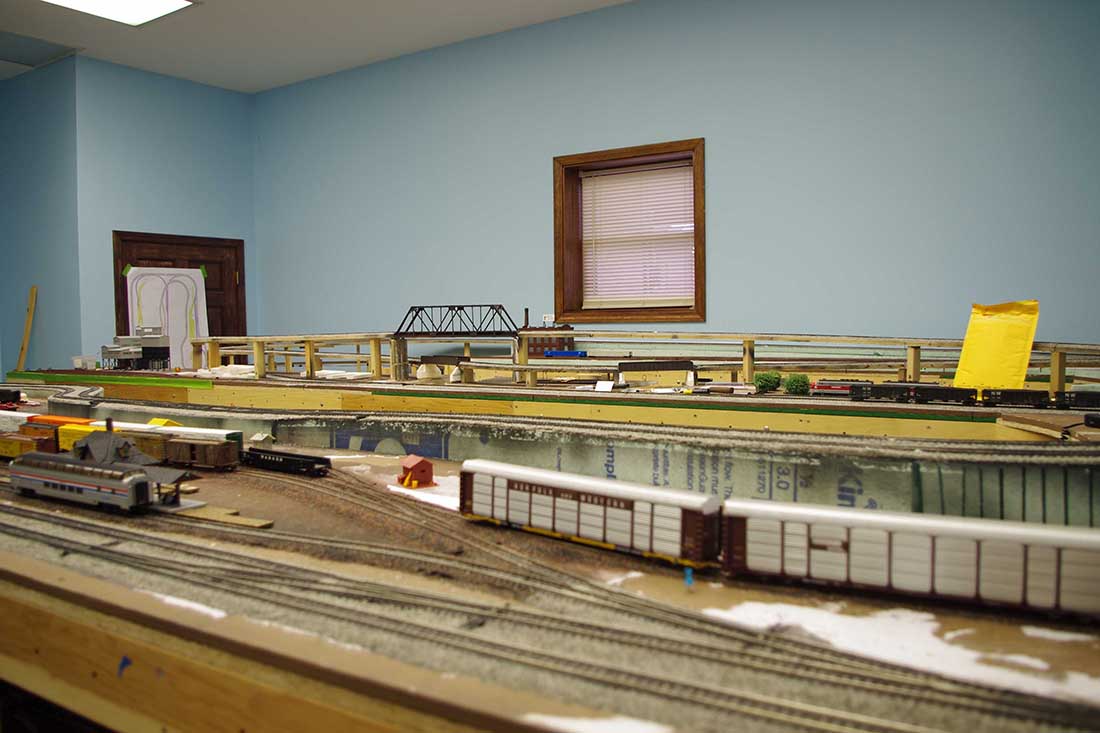
Photo 5 From the other side.
HO train scenery layouts:
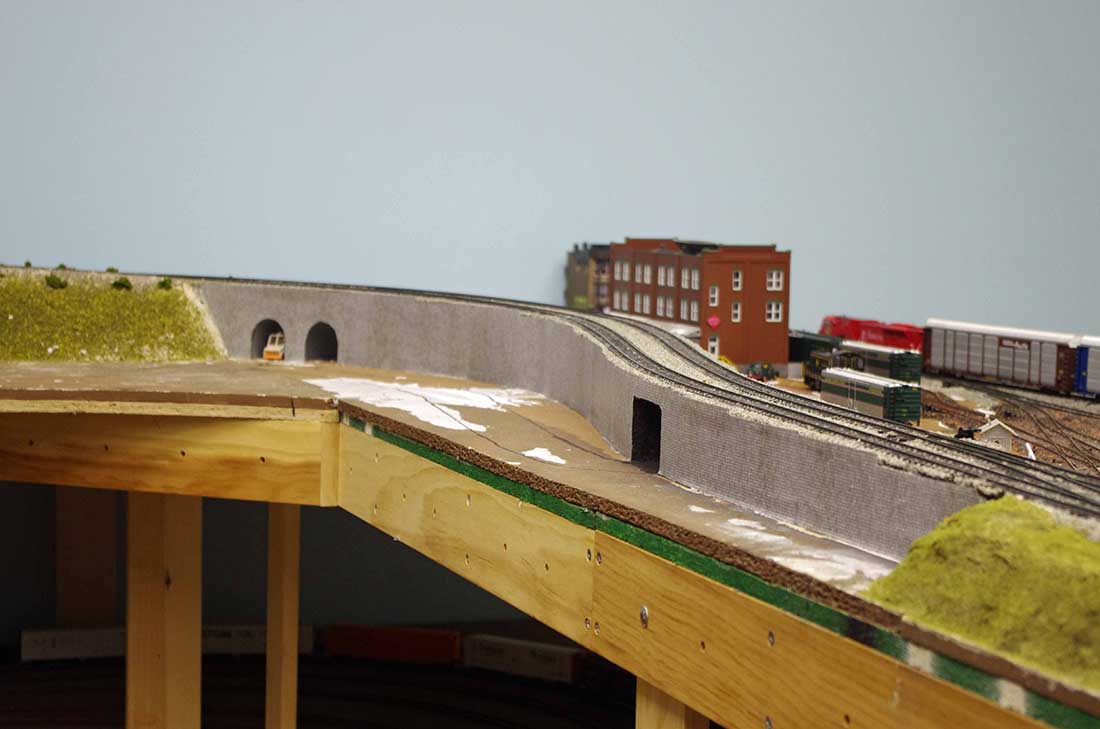
Photo 6 I first put a thin sheet of foam all along the the sides to fill in the gaps in the riser.( I tested a sample of the panel on some scrap to see how it took to the foam. The sections of the foam caused ripples in the wall panel to form. The foam sheet took care of this.)
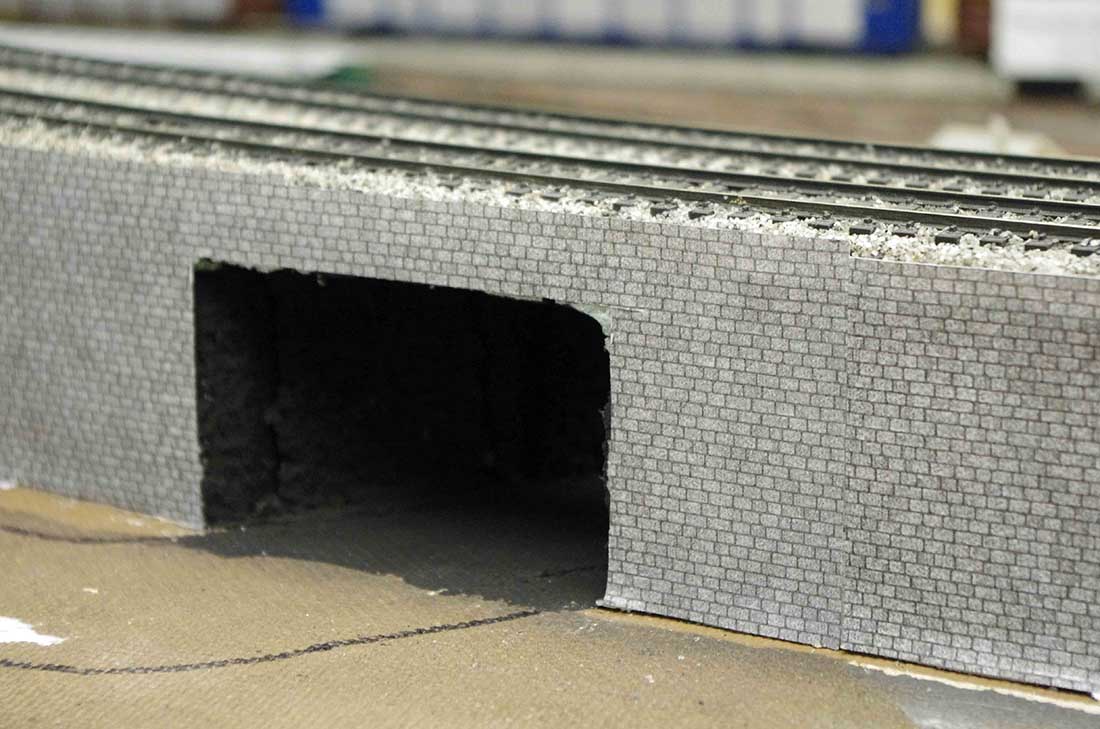
Photo 7 Take a close look at photo 4. You can see an offset from the risers. This was to accommodate the crossover switches and the switch throws. I cut an opening for a road to pass under the embankment to get to some access to a work area. You will see this later.
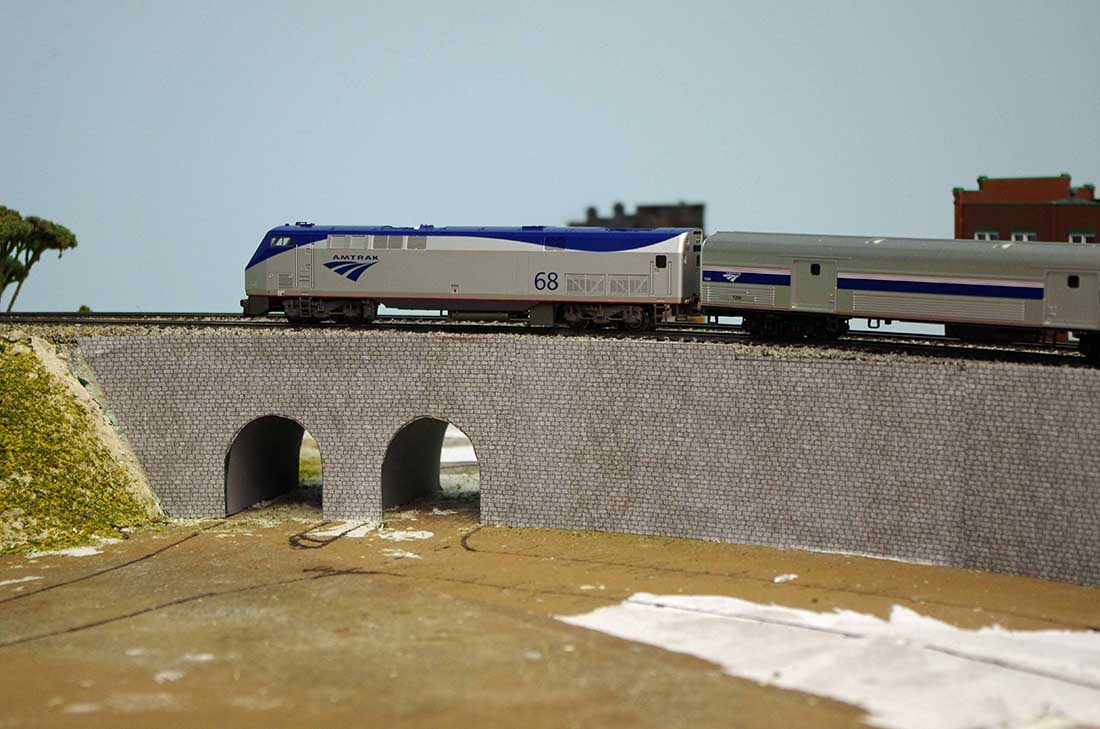
Photo 8 Here is the opening for a main road that leads into town. I did not make it two lanes wide because the opening would likely weaken the track above. So I made two openings to keep some support in place. This made it harder because now I had two openings to work out. It may have been overkill…but better then finding out later.
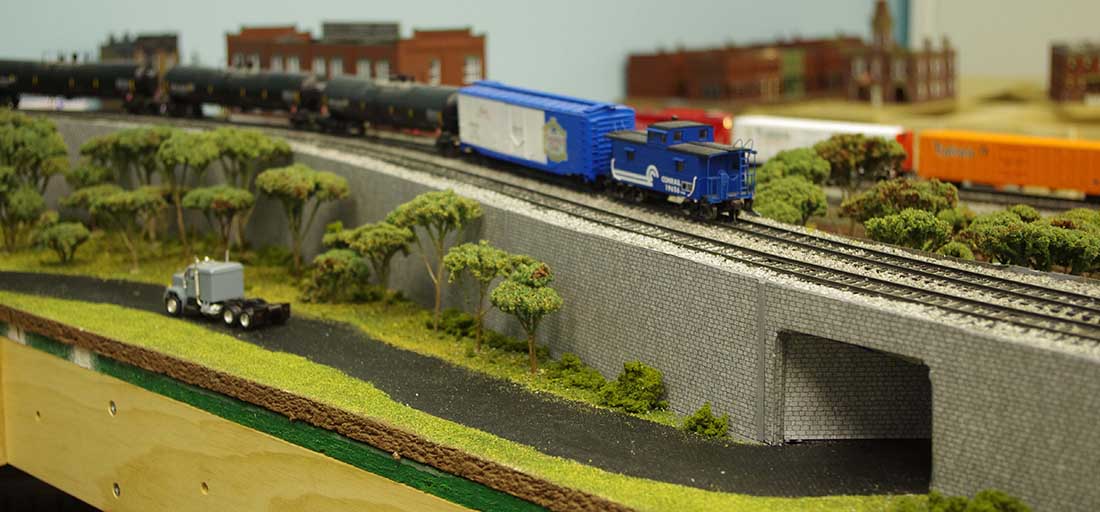
Photo 9 Finished look at one of the openings.
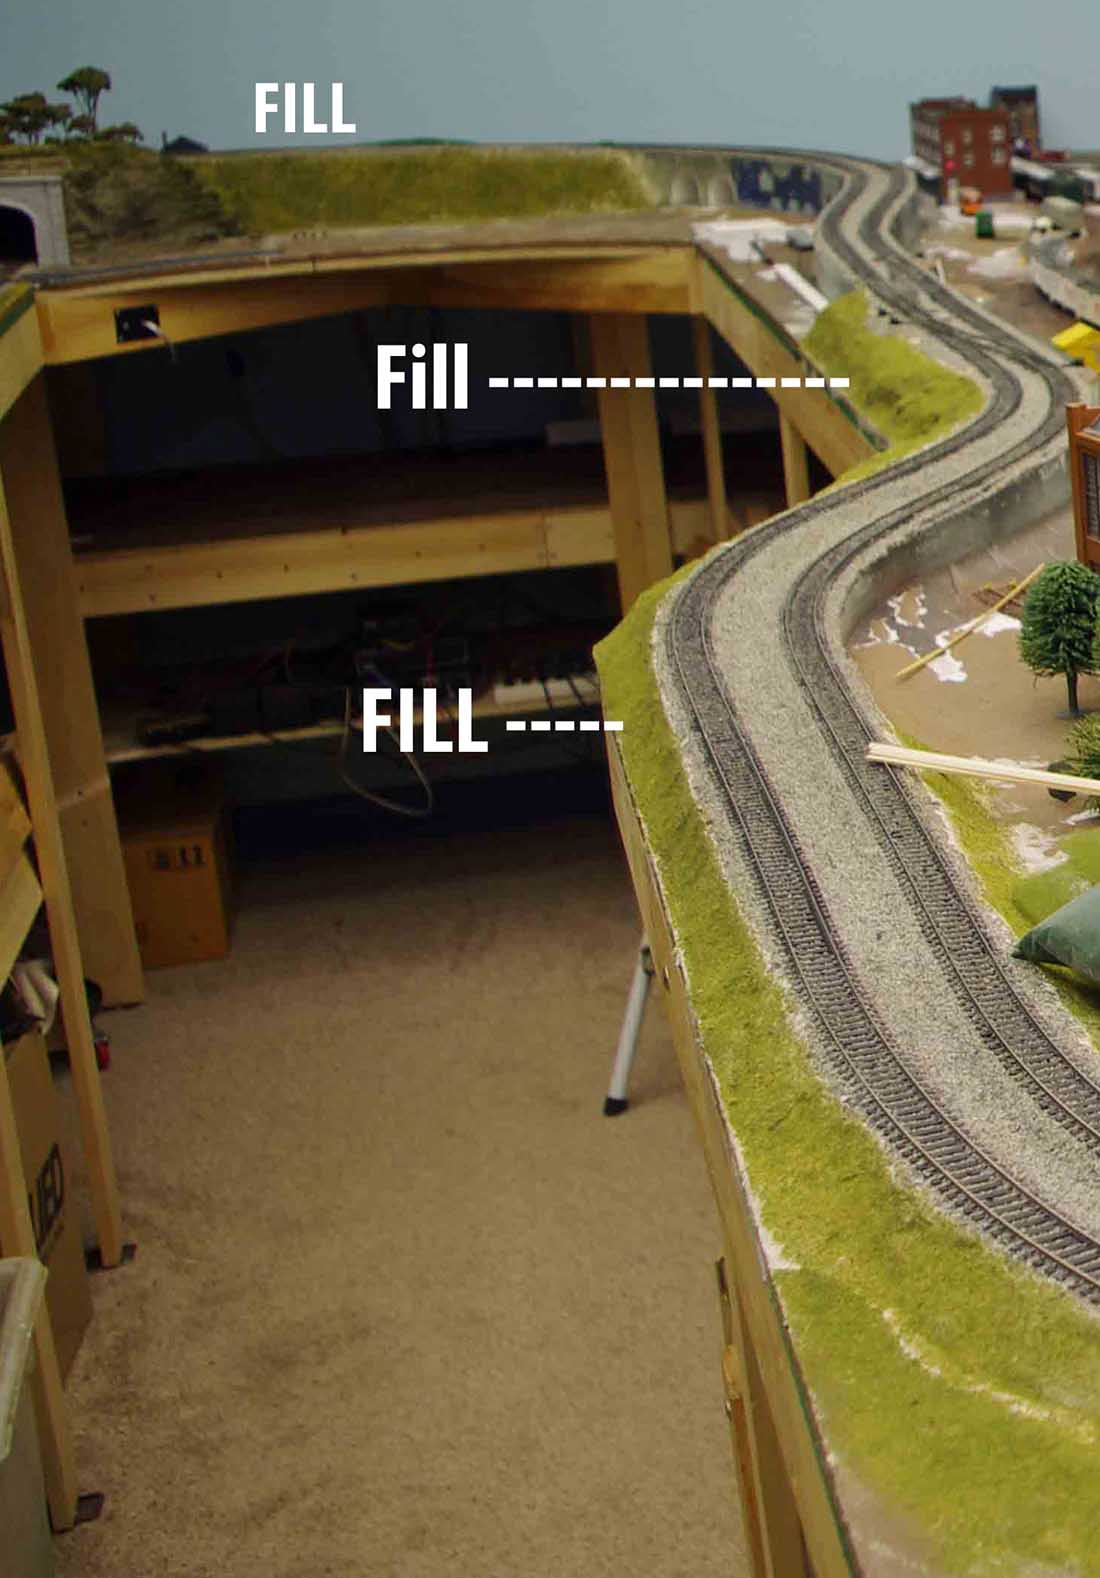
Photo 10 Here is how I got the scenery to the wall and have it look natural. In the distance in the photo I used some support for the plaster cloth to come and then scupta mold. In the near portions showing the fill, I just used the scupta mold to fill the spaces.
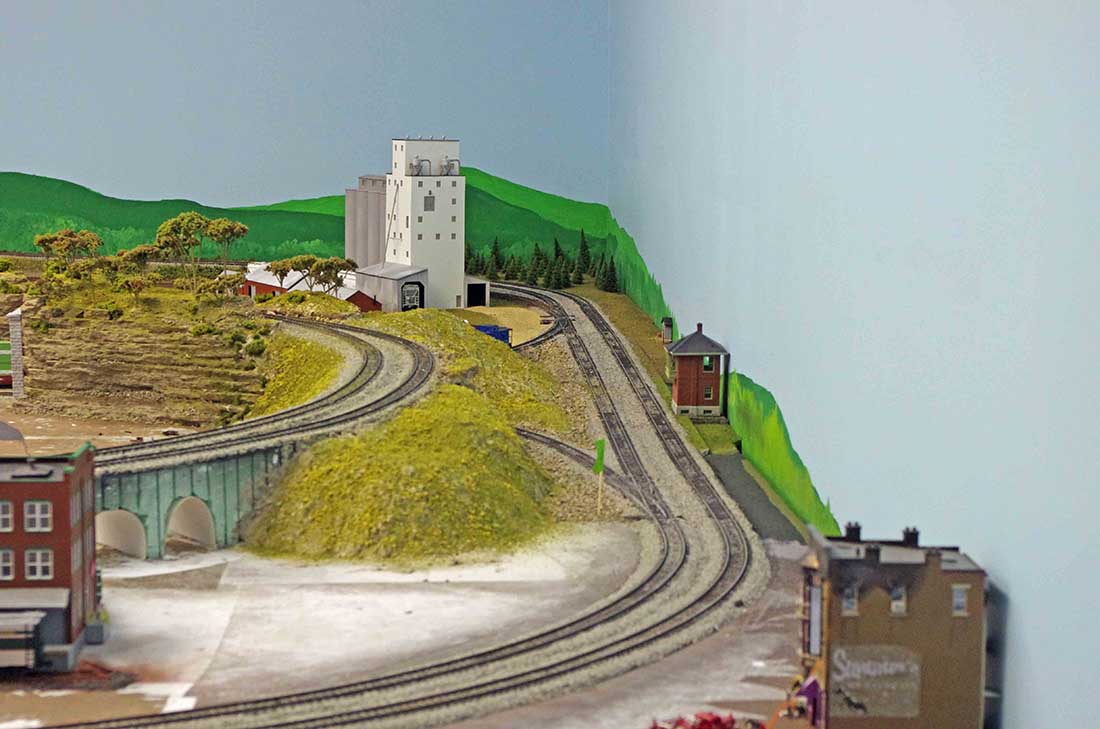
Photo 11 The far side of the fill where the access for the track to the helix and coal mine pass under the riser.
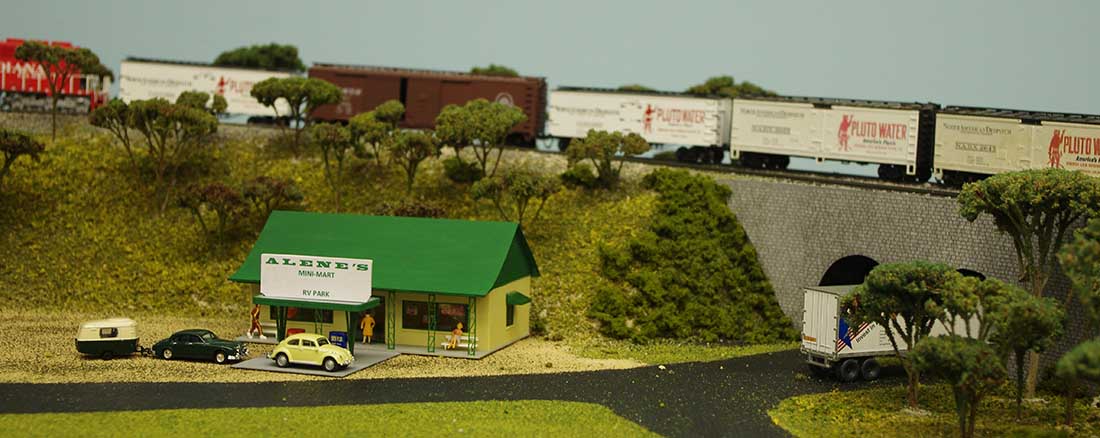
Photo 12 Finished look at the double underpass.
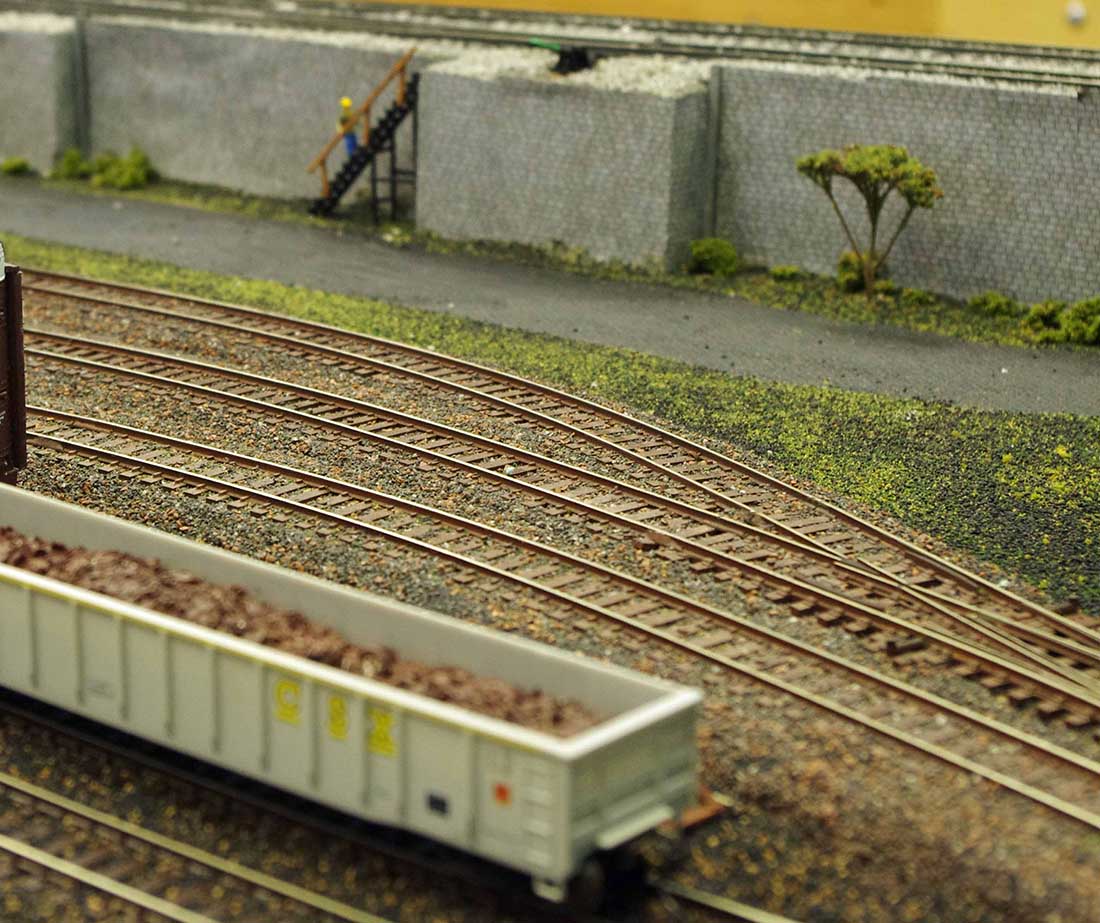
Photo 13 The opposite side of the fill showing access to the switch work so the workers can get up to work on them.
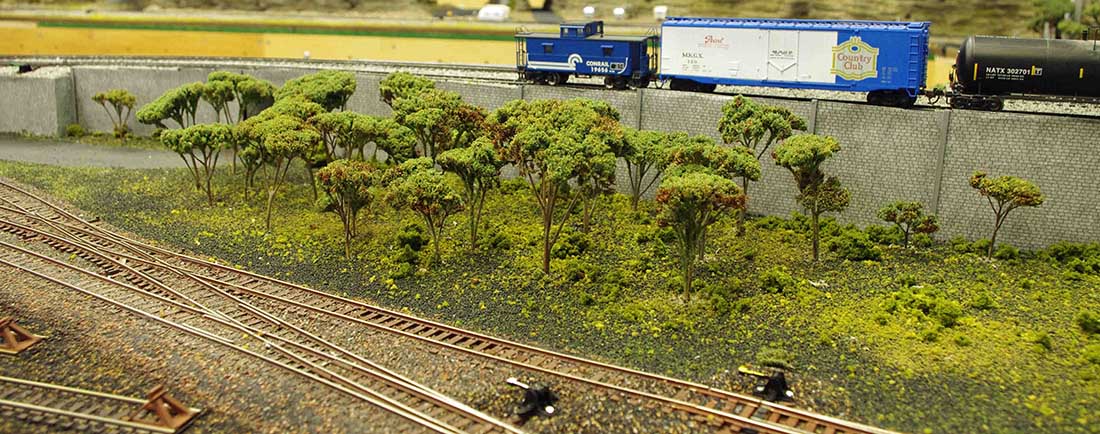
Photo 14 More of the other side.
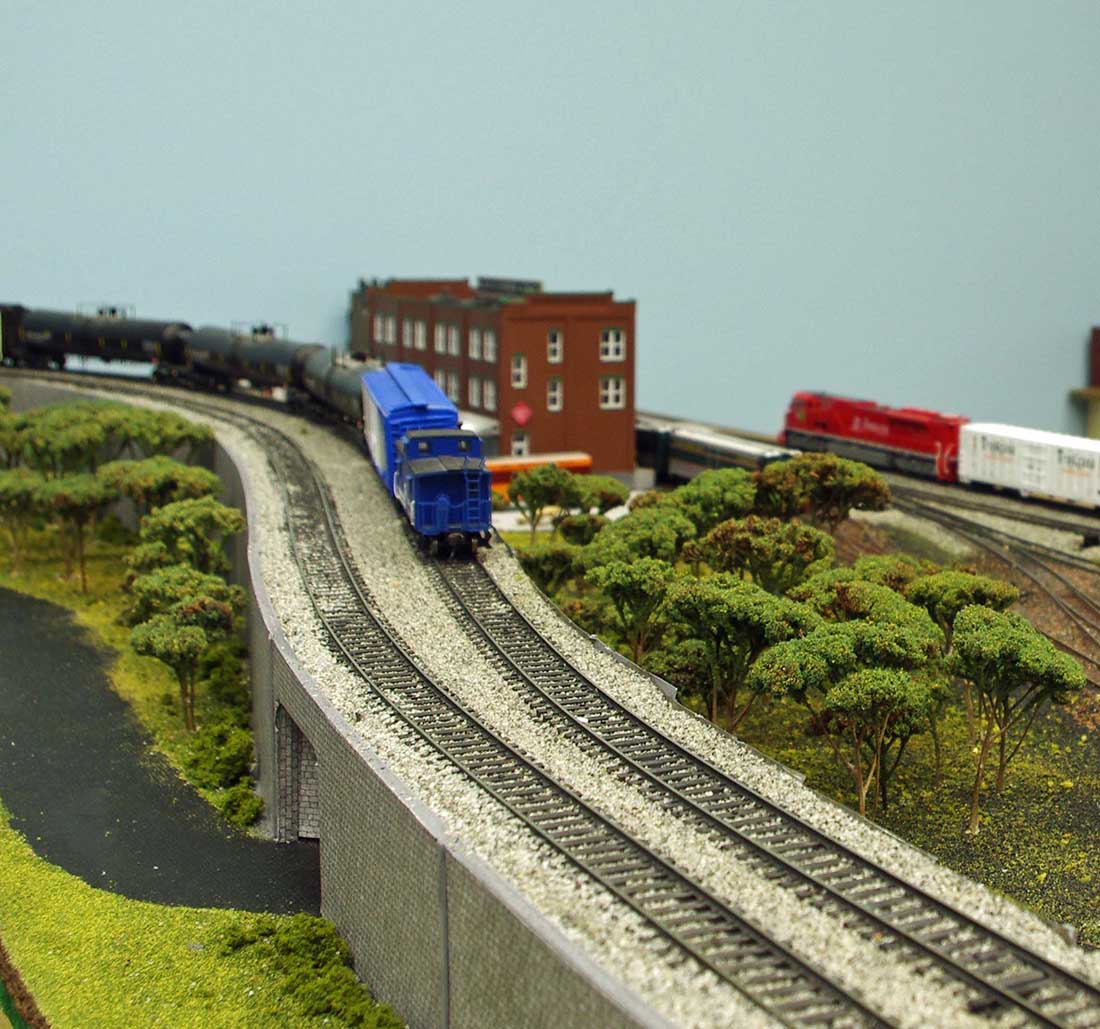
Photo 15 Just more of the project. The trees are a plant called Sedum and sometimes called everlasting. You have seen these in my other posts.
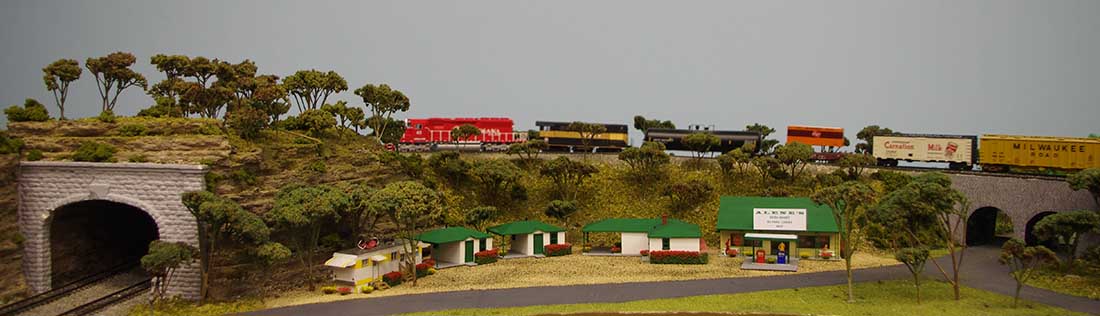
Photo 16 The finished “end” of the incline. To the right is the town and to the left is the next post to come.

Photo 17 I just found this photo and it is going to be easier to put it here. It shows the fill for the start of the incline.
Thanks Al for letting me be part of your Blog and I hope had something to contribute”
A huge big thanks to Dan for adding to the HO train scenery layouts.
(If you want to see his previous post, it’s here: HO scale background scenery.
Hope you enjoyed it as much as me.
That’s all this time folks.
Please do keep ’em coming.
And if today is the day you grab the bull by the horns, the Beginner’s Guide is here.
Best
Al
PS Latest ebay cheat sheet is here.
PPS More HO scale train layouts here if that’s your thing.

And there’s the Silly Discount bundle too.

Beauty lay out and great job. Dan
really good job. lots of good work.
Elevating some of a model railway above the rest makes for an exciting visual effect. You have done this very gracefully on your layout, Dan. I like what you are doing with structures and the landscape, too. Great work here. Rob
To glue or nail track to layout, that is the question?
David, I use cork road bed that is glued to the base. I tack the track down and the ballast does the rest.
Interesting scenery tutorial Dan. Does laying track on the foam yield quieter operation? Your scenery and trackwork looks great. I’m anxious to see your next installment.
Will, we only have the foam for that part of the layout. It is too short to notice a difference.
Our model railroad club has the second level mostly foam. We used cork road bed and then ballasted with Woodland Scenics ballast. I believe the noise is more noticeable on that section. The foam becomes a sound board because it is open under the foam.
The lower two levels are on plywood. I believe the lower levels are quieter.