Kaustav’s been in touch with his weathered train tracks:
“Hi Al,
Hope you and rest of the folks here are staying healthy and cracking on with the great opportunity to make models.
As I mentioned in my last post, I have a lot of how-to material that I want to share – some of my experimental methods worked great building the little Indian Rialways diorama and I think these techniques have merit to build larger layouts too.
This time my focus is tracks.
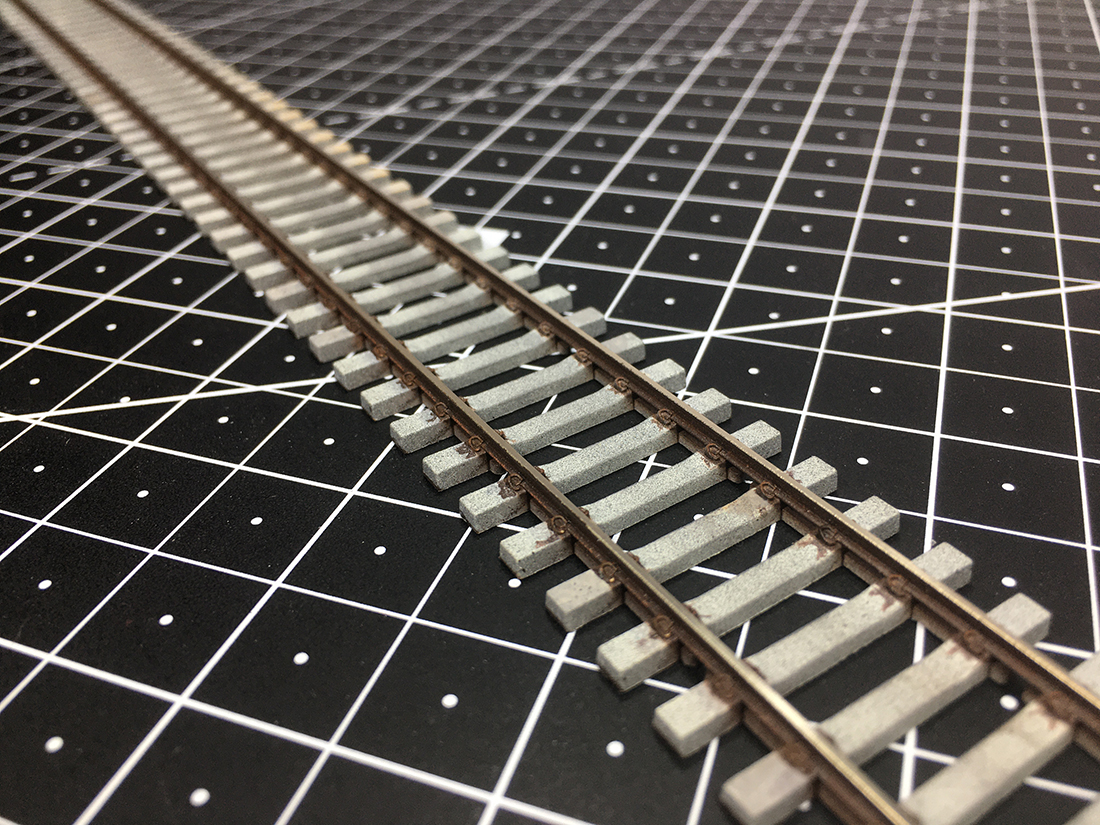
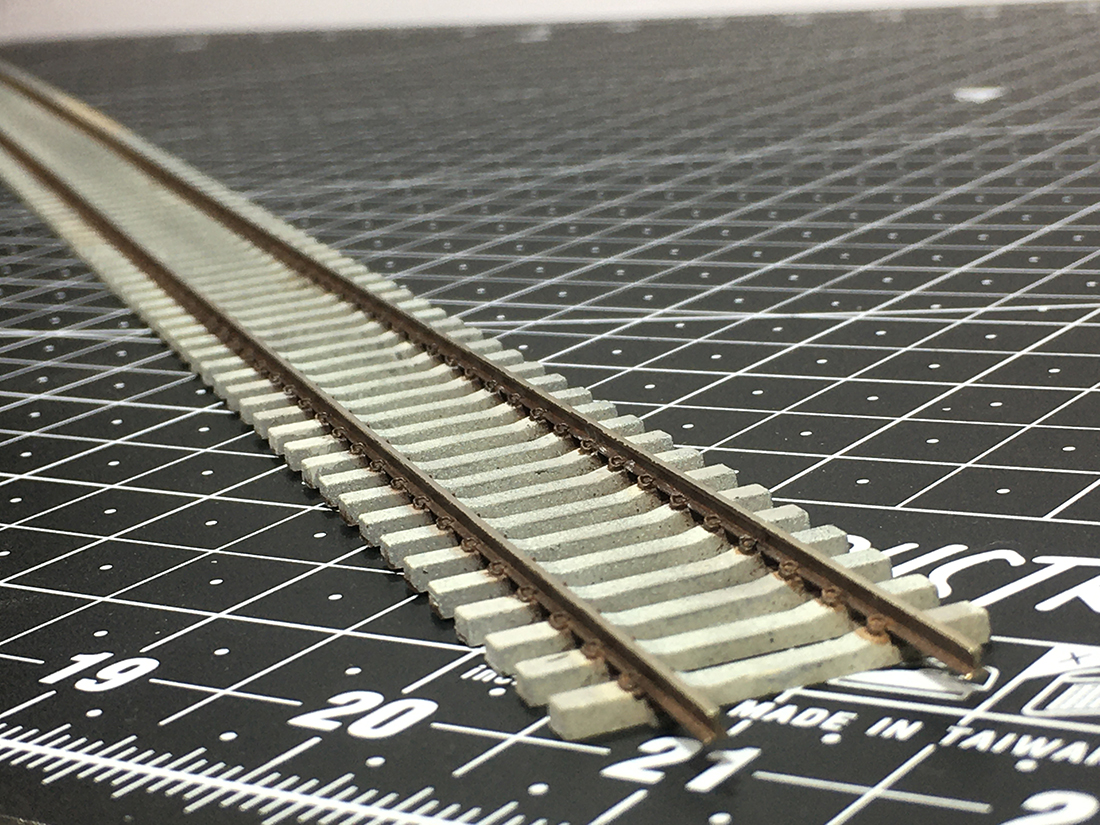
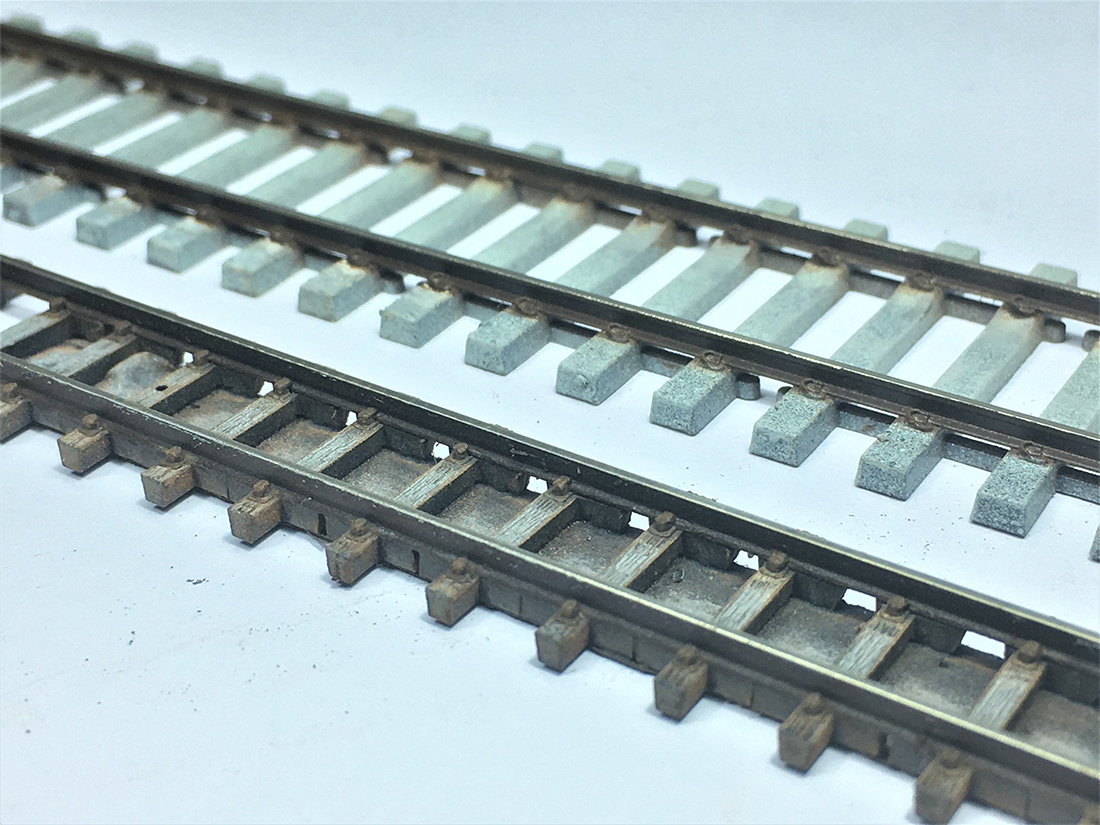
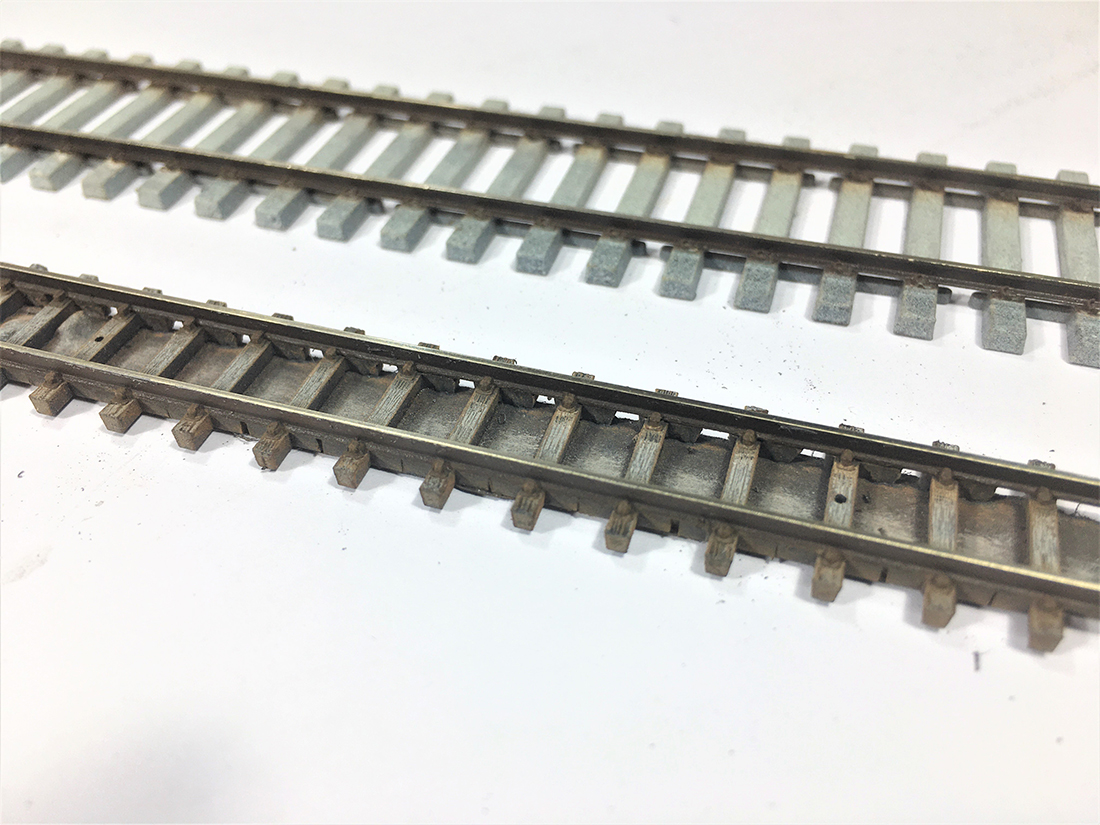
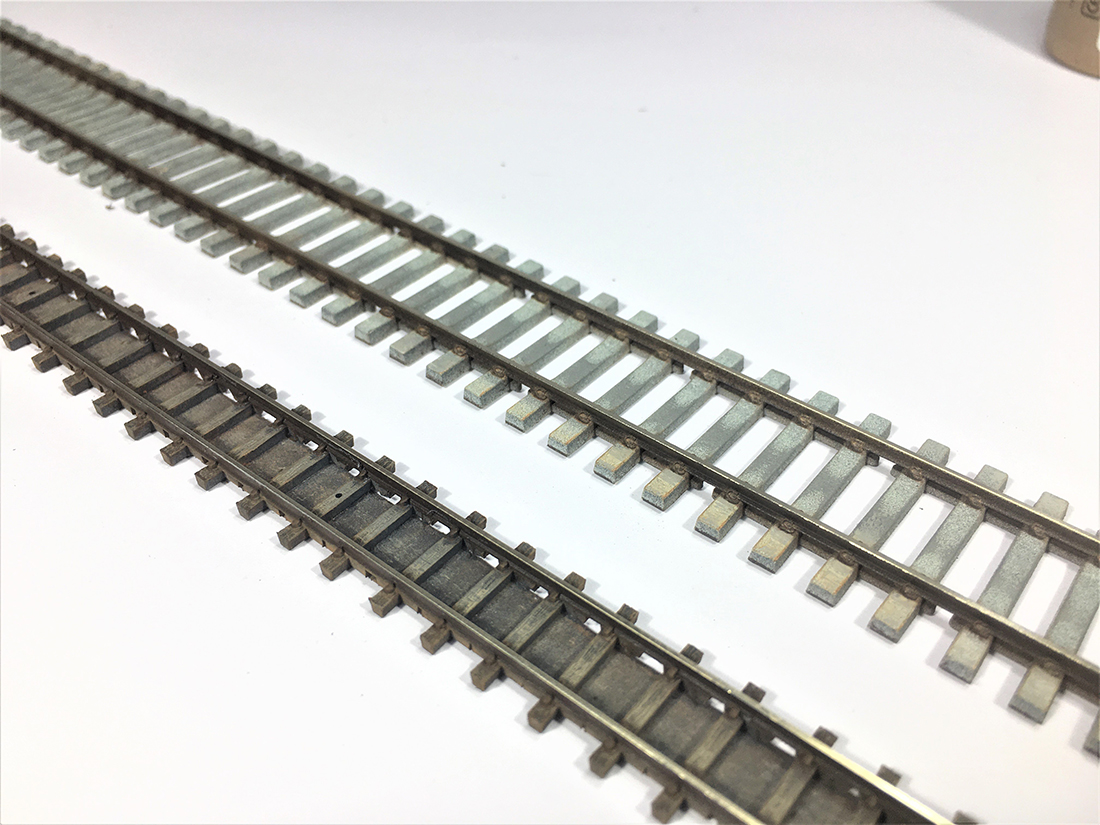
Believe it or not, I used spray paint weathered train tracks, and it worked really well. Yes, it is not practical if the track is already laid, but for those who are about to lay the track or want to start a new model railroad, I feel there is merit in completing the whole detailing of track and then lay it. It gives much better control to bring out the details.
And I also found some shortcut that works great for track laying too – two sided tape. Not sure if anyone else has tried it before, may be will figure out in the comments.
By the way, I used both concrete and wooden ties in this experiement.
Here are some photos of the painted tracks, and a video to show how I did it. I will share the video of ballasting and weathering next week.
Kaustav”
Latest ebay cheat sheet is here.
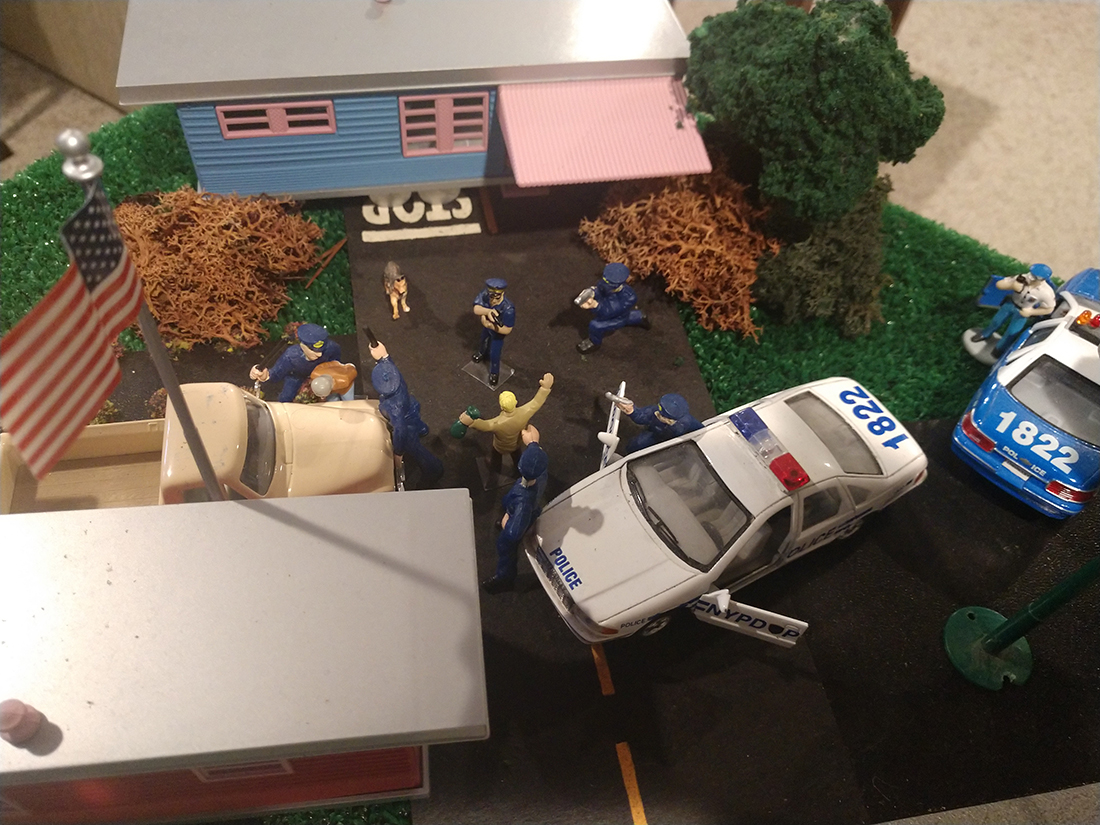
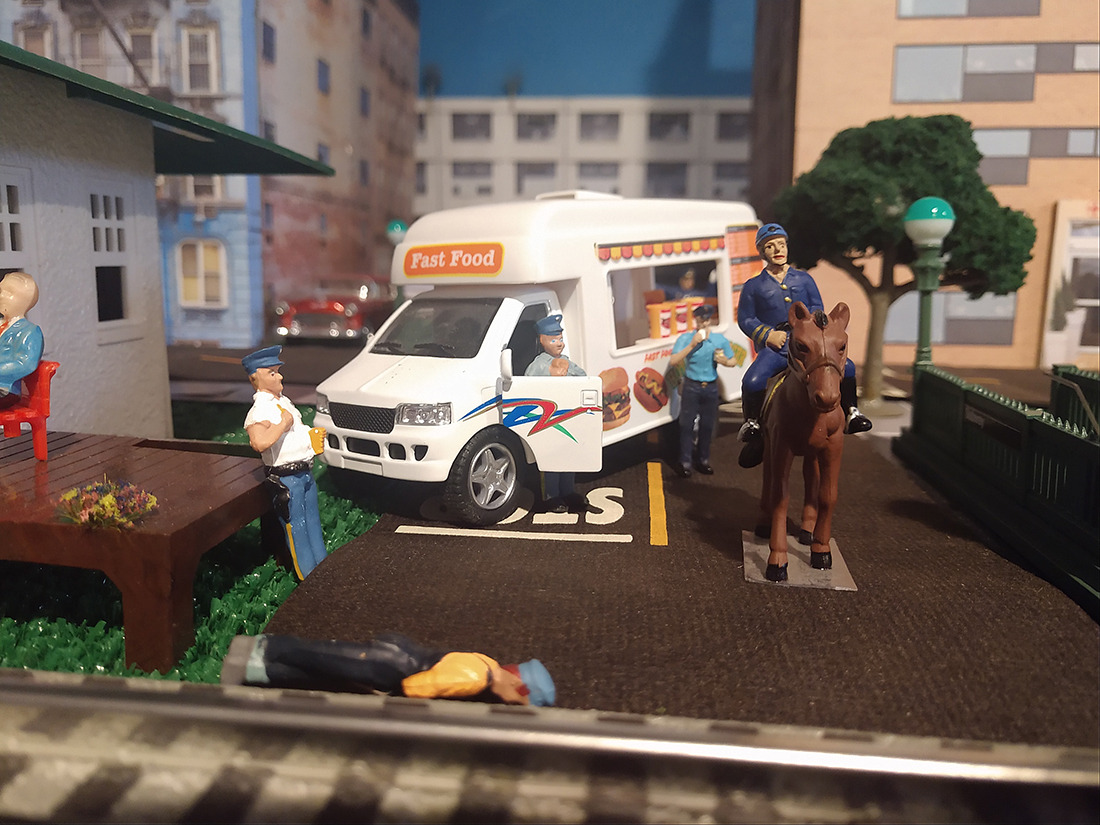
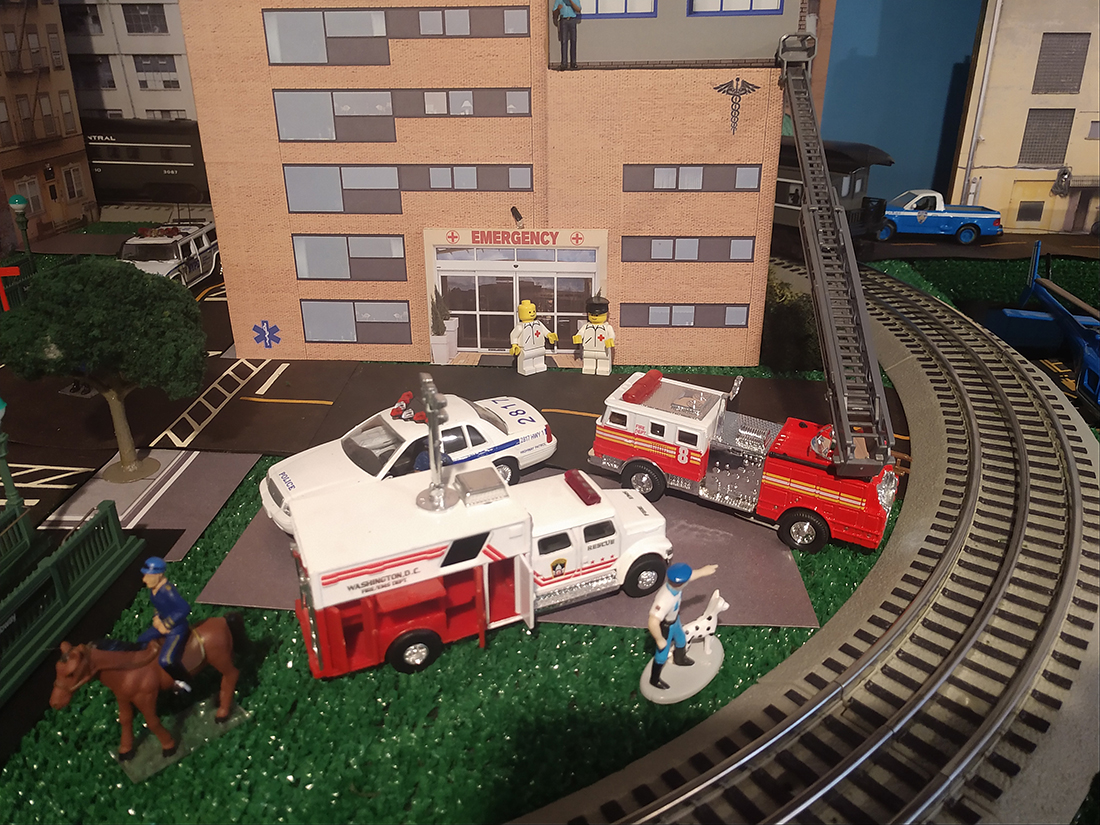
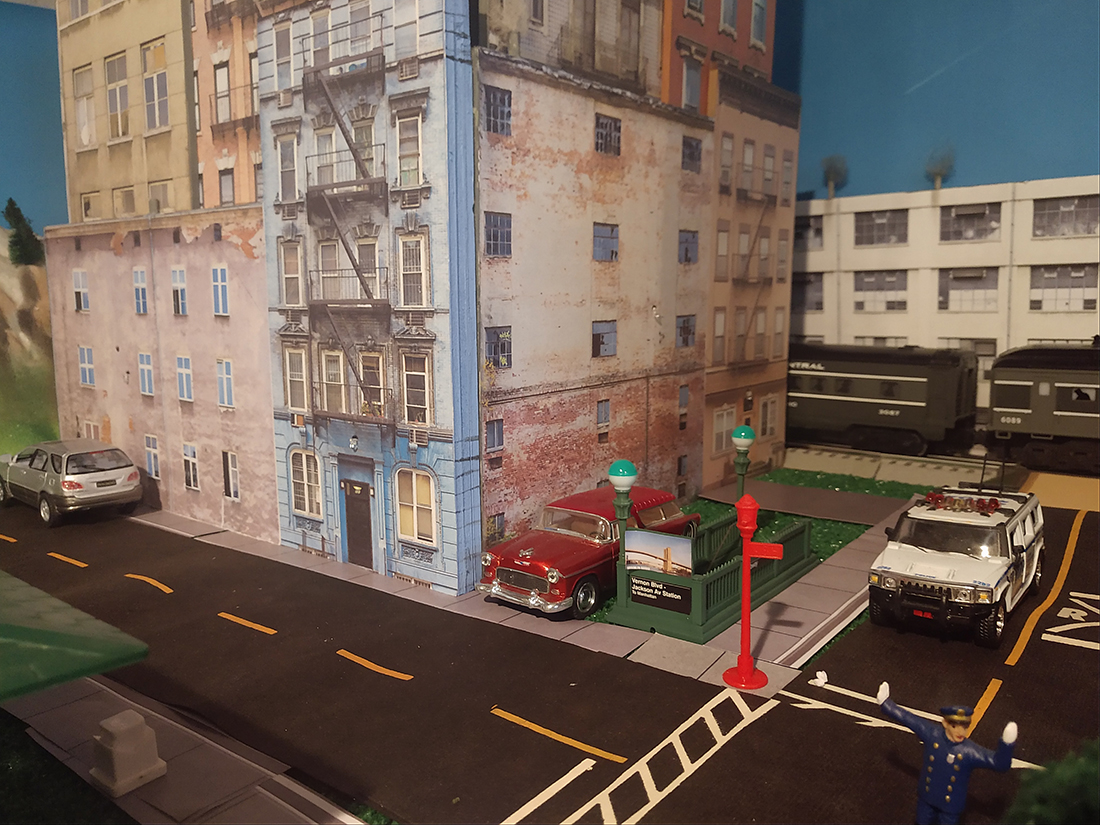
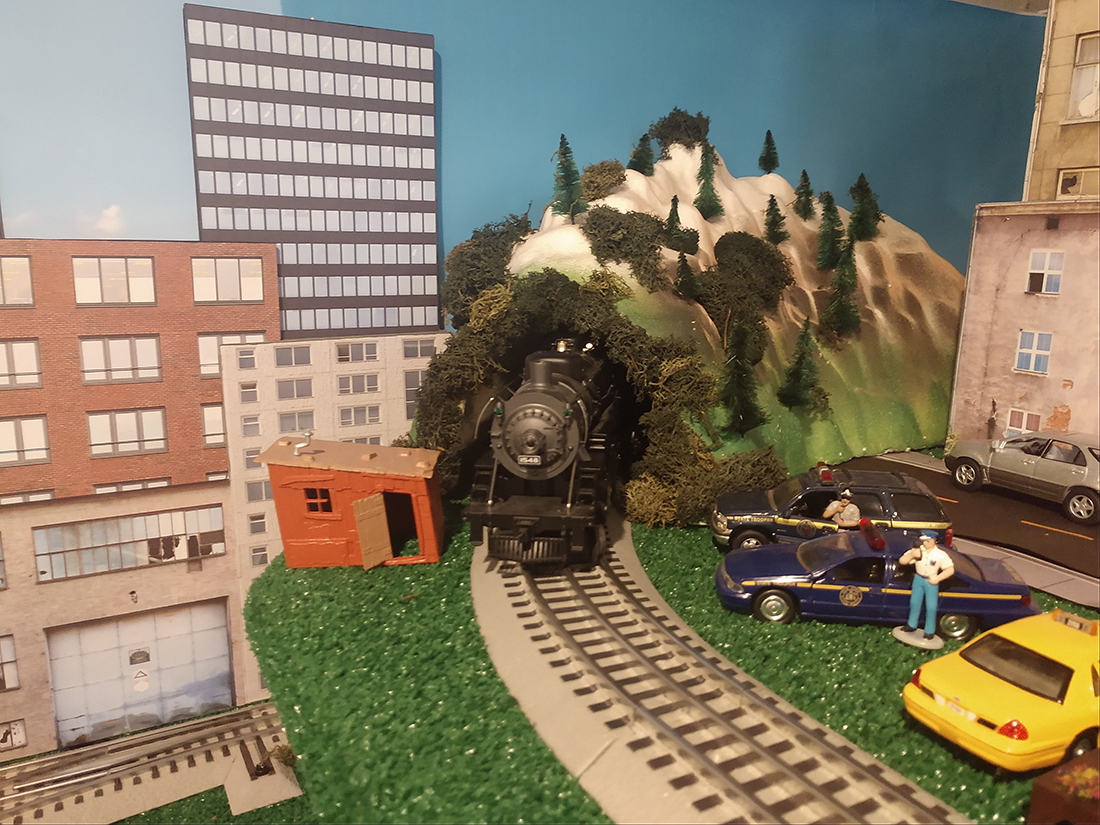
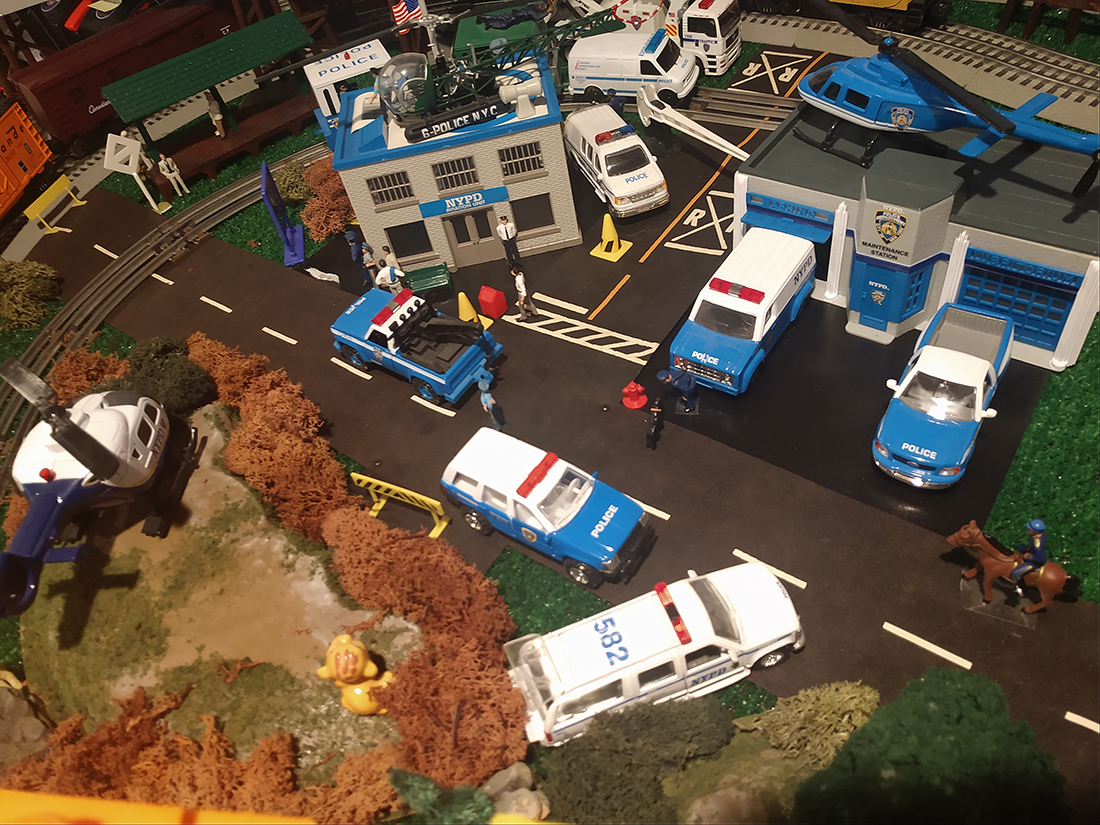
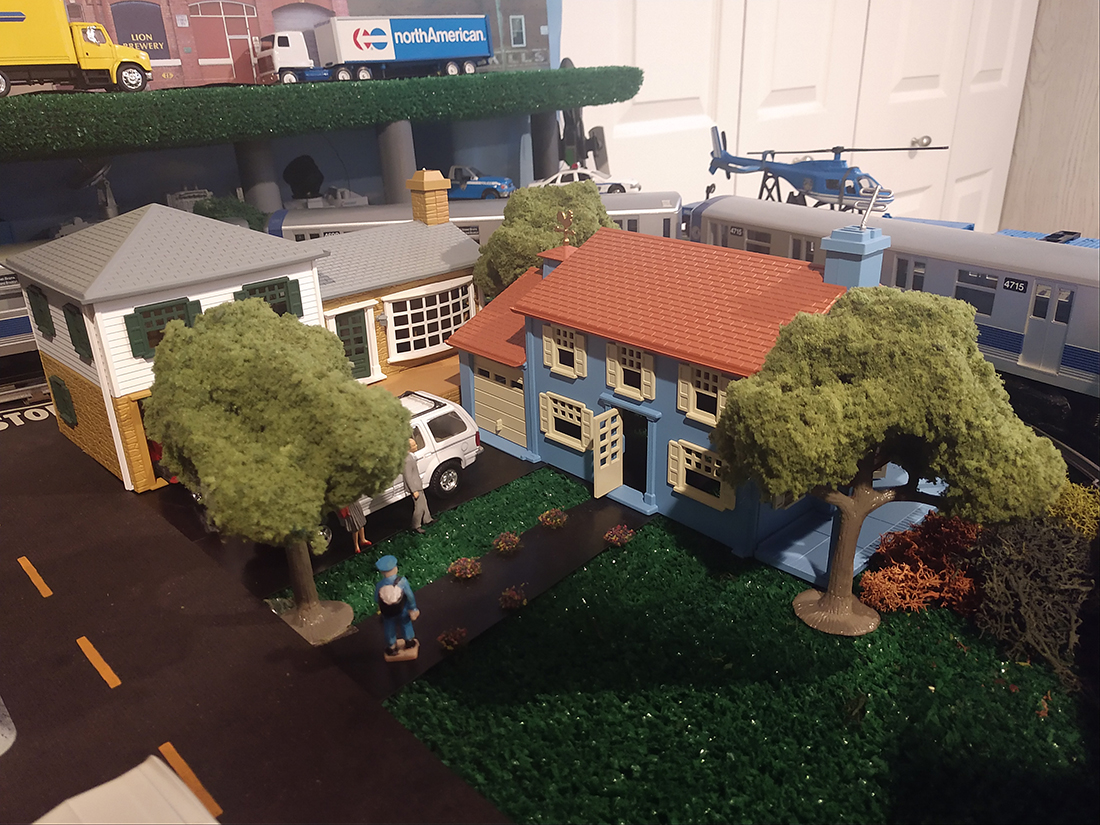
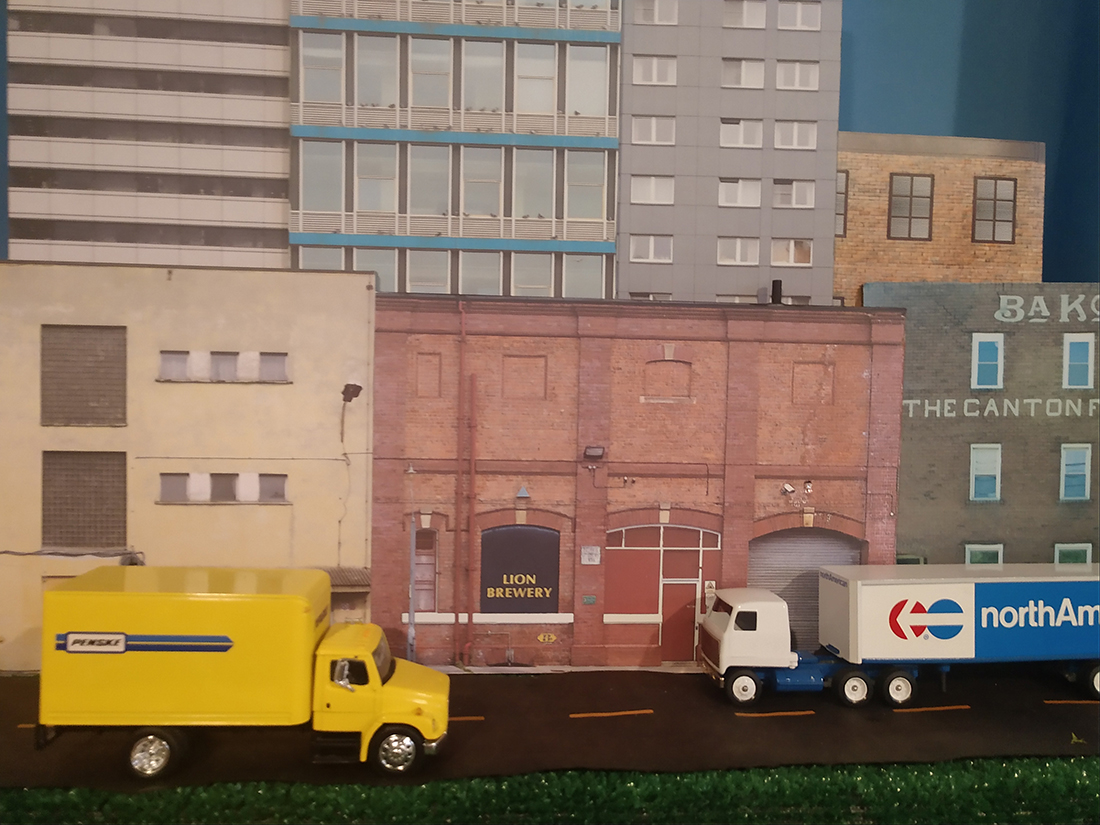
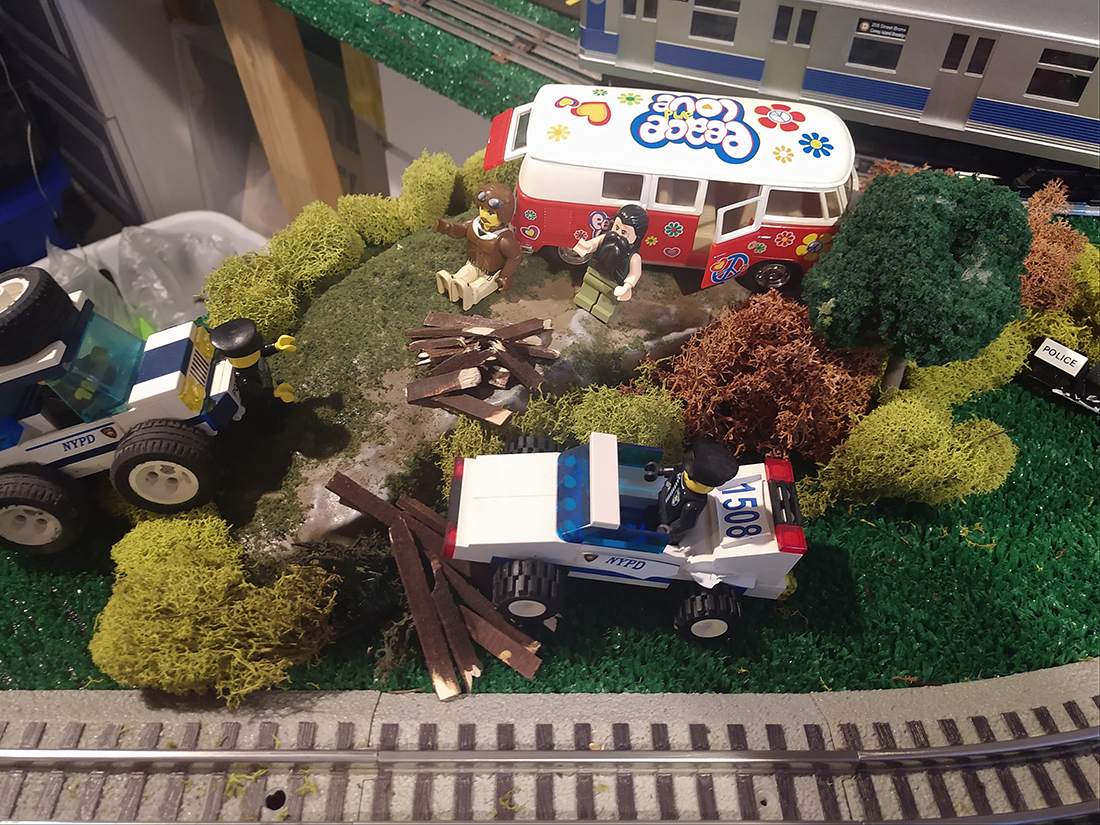
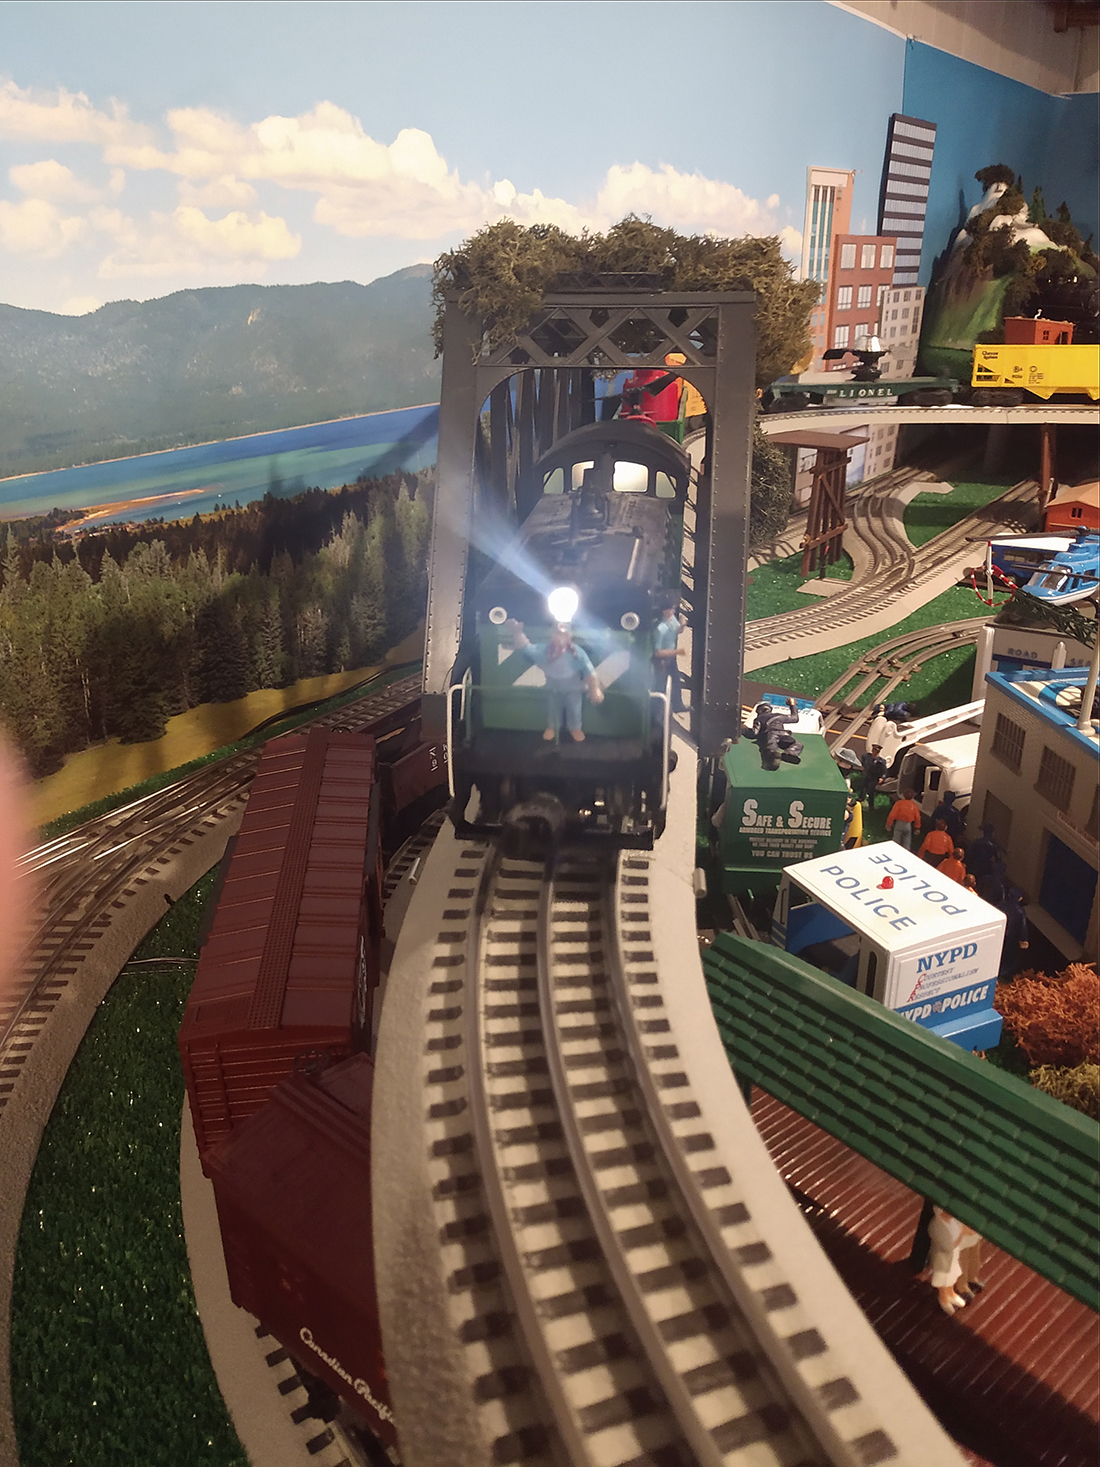
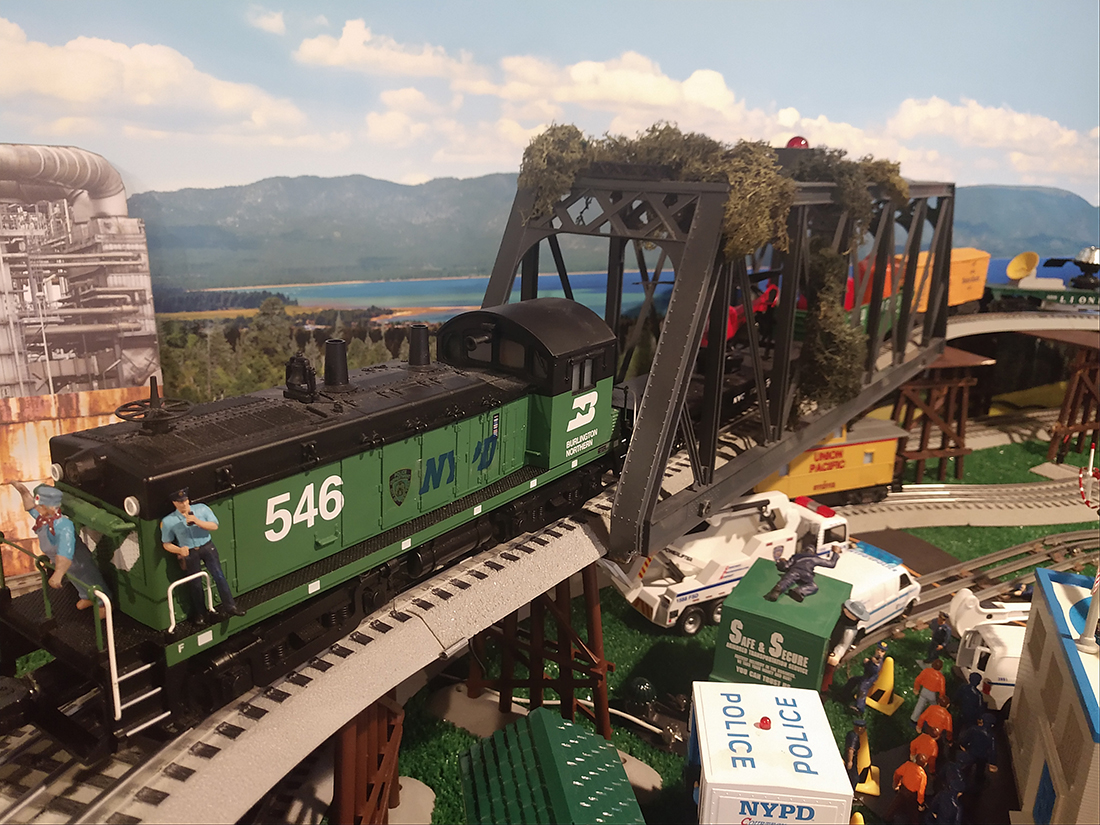
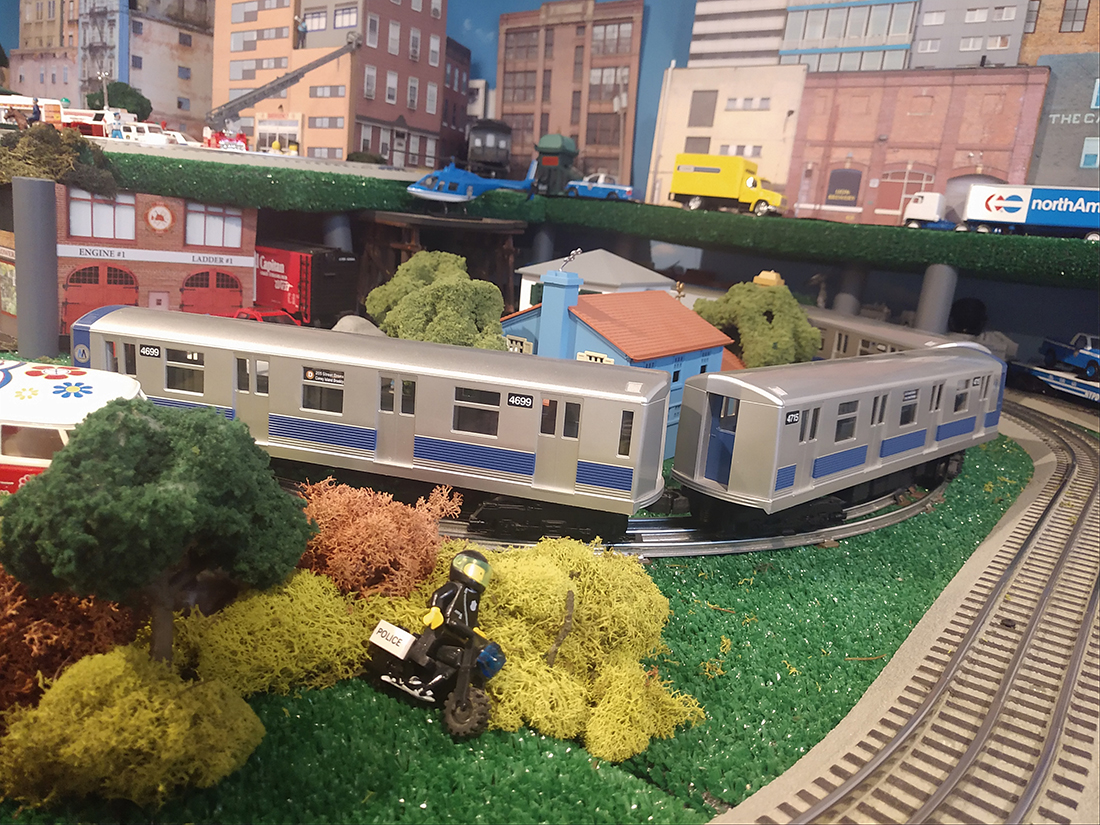
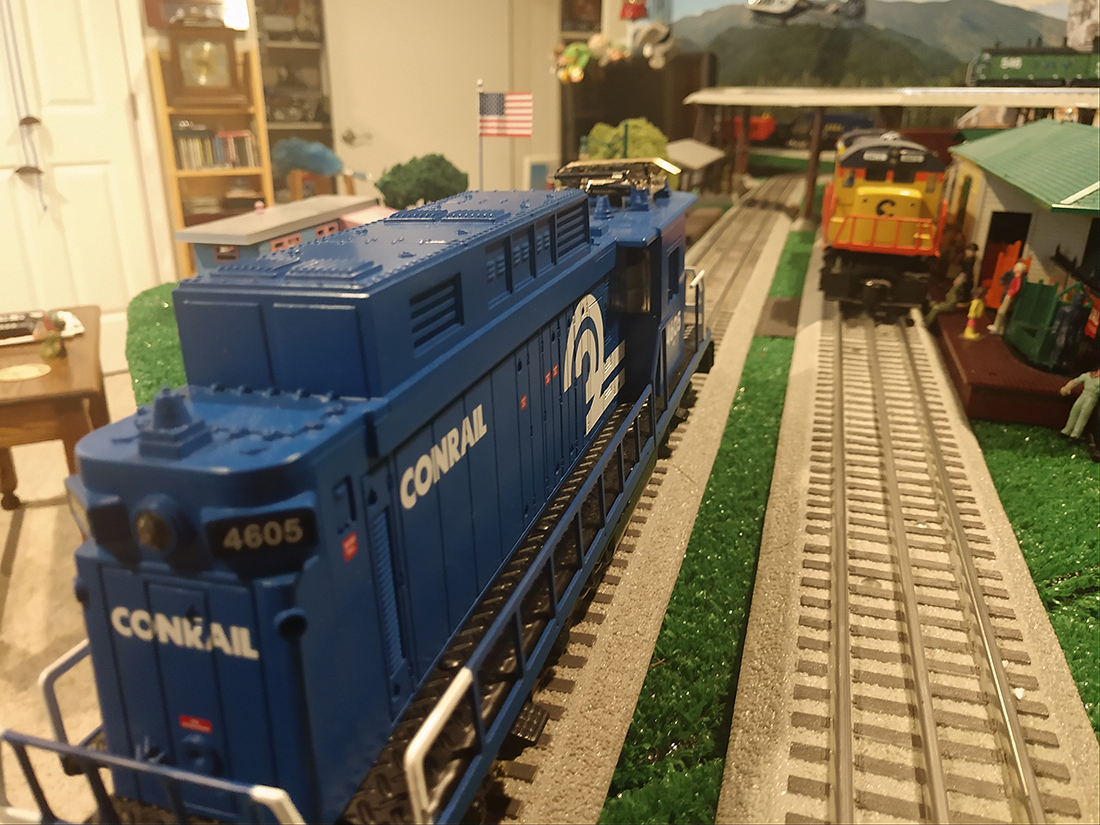
“Hi Al, the grand kids and I have finished our o scale layout.
The grand kids can’t wait to come over in person to play with the trains.
They made lots of suggestions and the layout follows no theme, or should I say the theme is to have fun.
The size is approximately 7 1/2 foot X 8 foot, with 6 running engines, on 6 tracks, with one siding.
George”
A huge thanks to Kaustav for his weathered train tracks, and to George.
Both looked like they had fun – and that’s all that counts.
That’s all for this time folks.
Please do keep ’em coming because I’m running out of stuff to post…
And if today is the day you stop dreaming and start doing, the Beginner’s Guide is here.
Best
Al
PS Latest ebay cheat sheet is here.
PPS More HO scale train layouts here if that’s your thing.


George, looks like the high law enforcement presence show calm the nerves of the citizens! Sweet job! Keep it up!!
Kaustav, thanks for a great how to, always enjoy your videos, always the video and the modelling are to a very high standard and packed full of details and tips. Many thanks again.Peter…
Hi George
It’s about time that some O scale train layouts have been shown.
I live in the UK and I model in Lionel Fast track and locos. I do not have the space that you guys have, I still have as much fun, I am rehashing my layout of just two tracks, since I bought the vision line Challenger. (072 curve).
Have a question for you where did you get your police vehicles and personal?
I have used Menard’s trucks. Which are cool.
Great Layout and thanks for sharing.
Ernie UK
Ernie, search web for o scale police cars.
Sources will include Amazon, Woodlandscenics, Hobbylinc and others.
great job
Kaustav
Your attention to detail, incredible patience, and artistry talents are so appreciated.
An elevated track was giving me fits and in desperation I made a very thin plywood base and double sided tape to secure the track. Great solution, except a glitch with a defective re-railer caused dismantling and that was traumatic but successful. I was so glad to see your post.
George
Love the layout. Hope the grandkids get to enjoy it soon.
All be well and safe
George from NY
Hi George, what a fun layout you have put together. Lots of activity and very interesting scenes. Your great eye for purchased items and creative modeling all work very well together. Great job! Cary in KY
Interesting to watch but! I’m not going to do my entire lengths of track to make them look old and used.Too much like work.
Great Job Guys, Anybody trying to research older HO Trains Check out hoseekers,com Great site to find out years, and parts.
Always great to see the work of other 3 rail “O” scalers.
Shlack
Thank you all for your kind comments.
@Peter- Pleasure is mine, and I am so glad that you enjoy these littel experiments.
@George – Thank you! Yeah good quality double sided tape is possibly a very underrated tool! It can save a lot of time and if done right, will last a lifetime. The trick is to seal it well which in this case is not a problem because the ballast will keep it pretty well covered.
Cheers!
Kaustav
It appears that this little burg is a Police State!
Great layout and close-ups!!
George Your grand kids must have a ball with so much going on. Well done
Where is the best place to get Quality double sided tape??? Ron in sunny Fla.
Kaustav, Thanks for the detailed video of your efforts to install the DCC sound decoder in the GE 45 ton switcher. After seeing the trouble you had, I think I’ll leave my DCC conversions to the experts. Your track painting video was also very informative, but I doubt many of us would spend the time to do an entire layout with that method. George Selios has a video somewhere on YouTube showing his method of weathering track which is quite a bit simpler as I recall and yields pretty amazing results.
George, Your grandkids are lucky to have such a great Grampa. You must be retired (or still active) NYPD from the number of police vehicles and figures on the layout.:-) That’s an impressive layout that your grandkids will love whenever they get to come over and play with it. Going O scale is wise — much sturdier than HO or N.
George. I enjoyed looking at you layout. I also see you have a satellite car with the original satellite. Very nice.
Thank you Will! Yes, I will get back to that GE 45 ton. I’ve done fair bit of electronics work, but sometimes, things just go wrong for no apparent reasons – I guess that was the case there. The decision to follow the manufacturer’s instruction possibly costed me the chip. Anyway, this time I am going full on modification, and I feel it will work out for better.
Coming to the track, yes, it is definitely experimental. It is pretty simple if you’re building a brand new layout and have a plan to stick to. If you have your tracks already laid, that’s a different story. Fully preparing the tracks before they are laid seemed much more easier to me than handling it after. This was experiement, but I will be doing all my future models this way because you can get to a ‘batch production’ mode. You paint all your tracks and switches in one session, solder them in another, lay track beds next and finally lay your tracks, and simply connect the wires to the bus. More to come on this when I get to my future projects.
Thanks again for all the input and taking part in all my whimsical experiements.
Cheers!
Kaustav
Very nice and thoughtful layout. Would be nice to see a track plan sketch, as well.
very nice.lots of first responders. love the bridge.good work.
It’s nice to see another “O” Scale layout. That is the scale that I am working on, more realism, and moving parts on the accessories and rolling stock. Hope to see more. All of you with smaller scales, do have fun, and enjoy what you have put hard work into.
Great video, Kaustav. I too used the spray process for my track. But I didn’t weather it. ( wish I did). Dull black spray paint and taping the top of the rails worked well for me. I also removed the ties with nail holes and replaced them with solid ties later after I laid my track. Also I needed to touch up those ties where the track curved as the rail revealed unpainted dots. I too used foam roadbed applied on foam board with foam adhesive. The track was applied with foam adhesive as well. I think this process truly helps reduce any expansion and contraction.
Again, great video and thanks for sharing.
Jim AZ
George,
You said it best! The REAL theme of any project is to HAVE FUN!!!! Whether it is a finely detailed layout or a painter board with track and imagined scenery, it MUST BE FUN and then it is the right theme.
I am sure the grand kids will be thrilled.
Frank in BC, Canada