What makes a model train landscape? Detail!
And Rob has been back in touch to show us how he’s making his layout look even more realistic.
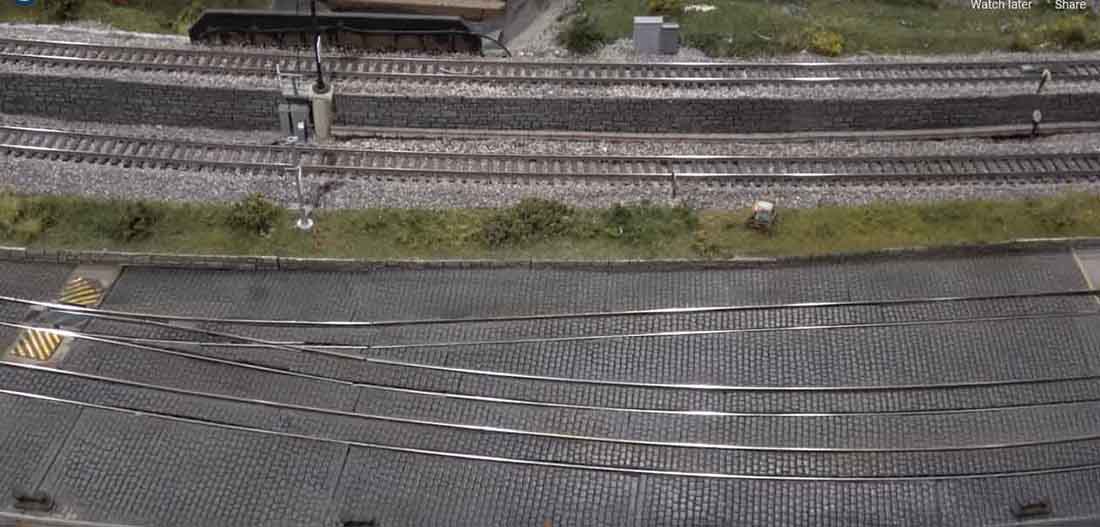
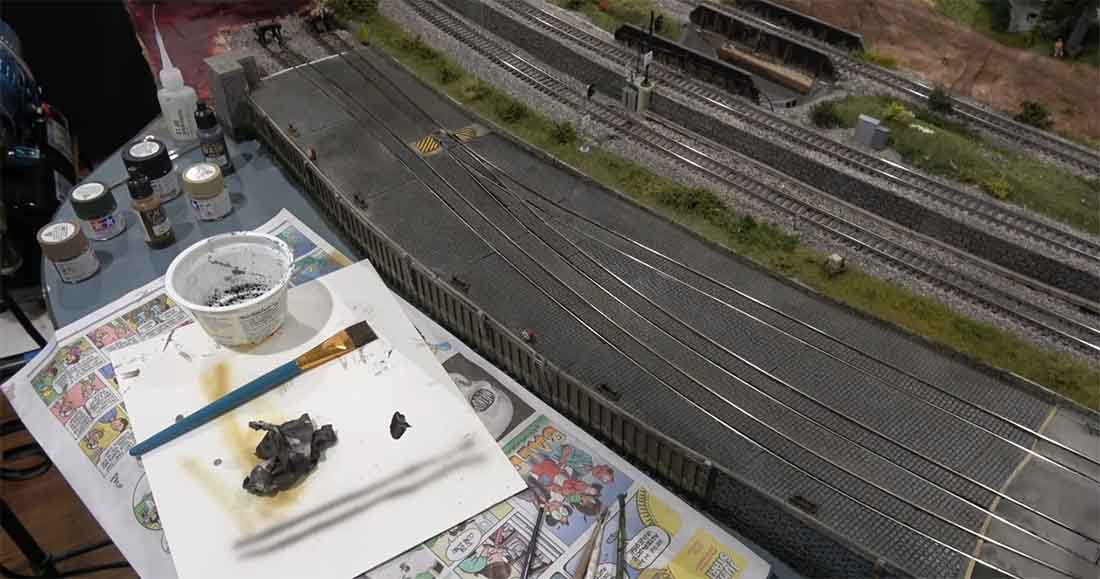
He’s really dialling in to the detail now – have a look at how he made his cobble stones.
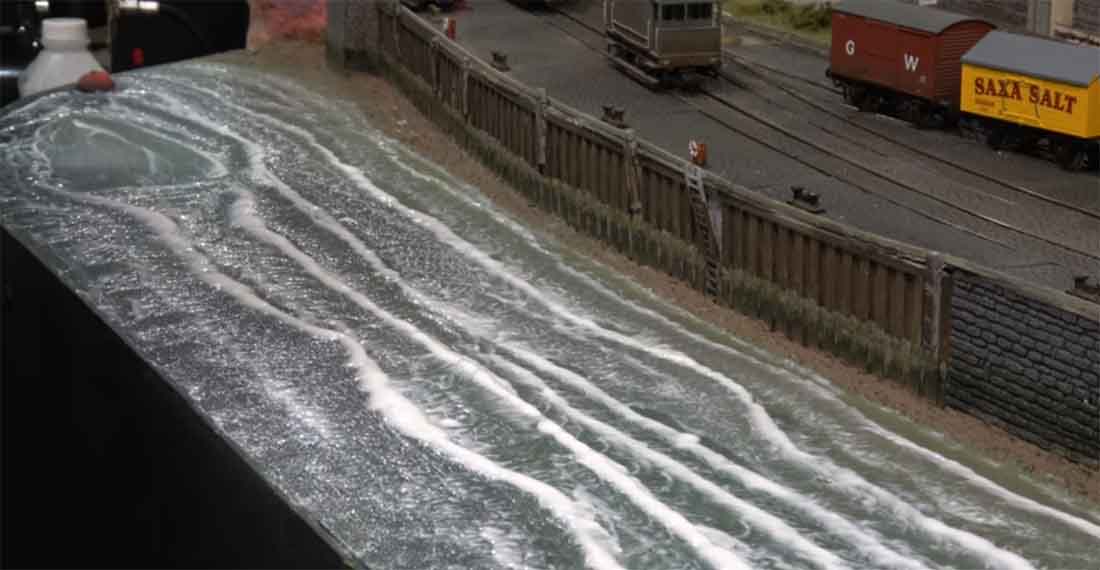
And the waves on the harbor are just as impressive:
“Hi Al,
I have been spending quite a bit of time on my harbor scene lately.
I replaced the craft foam representing concrete with Wills embossed plastic sheets representing granite paving stones or setts.
When I completed that task, I painted the plastic to look like granite paving stones. The information about how it was done is in a pair of videos. I will provide links to both at the end of this description.
When I originally started this area 3 years ago, I tried putting some of the paving stone plasticard down but found it to be very tedious and slow.
At the time I was trying to get the whole layout pretty well landscaped so wanted to move on to other areas as soon as possible.
This craft foam was okay and it served well until I felt I wanted to replace it with something more interesting.
I am now going back over the entire layout spending whatever time is needed to improve it and get it up to the best standards possible.
I find this process rewarding, very satisfying, and fun.
As you and others have said, “A layout is never done.”
When you live with a layout for a while, you start to see where it could be improved. Some folks never get around to doing the things that would improve their layouts and that is okay.
Layouts are personal things and if you are enjoying what you have as is whether it is bare plywood or highly detailed it is okay.
It is yours and you can have it any way you want. I work on my layout for entertainment. I probably have more time to do that than most since I am retired and my wife is still working. It means I have 5 days per week to spend on the layout if I choose to do so and I usually do.
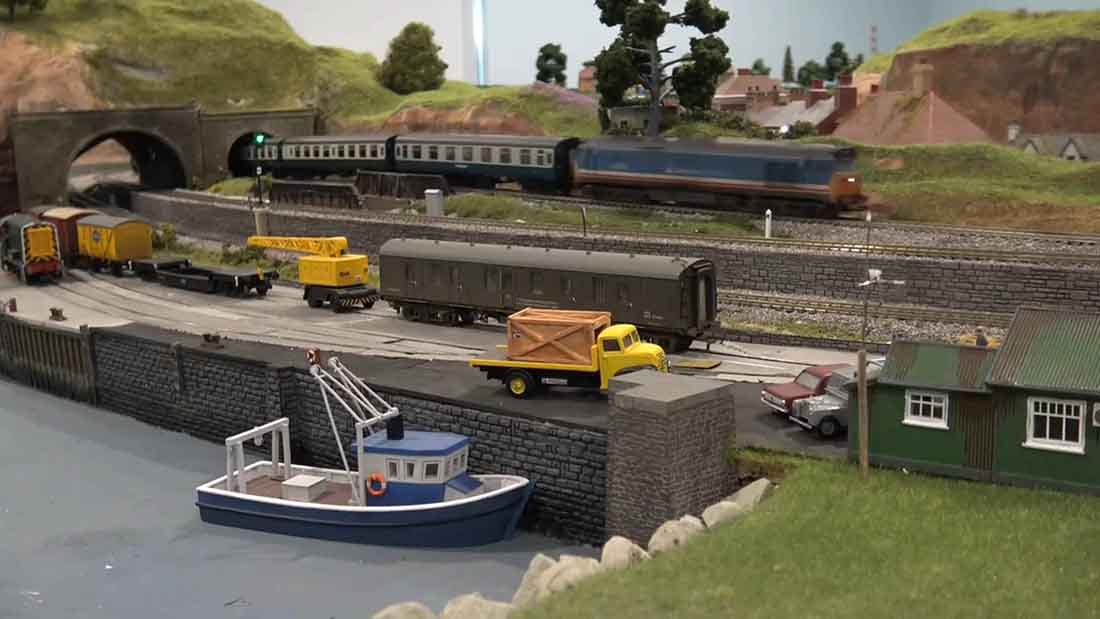
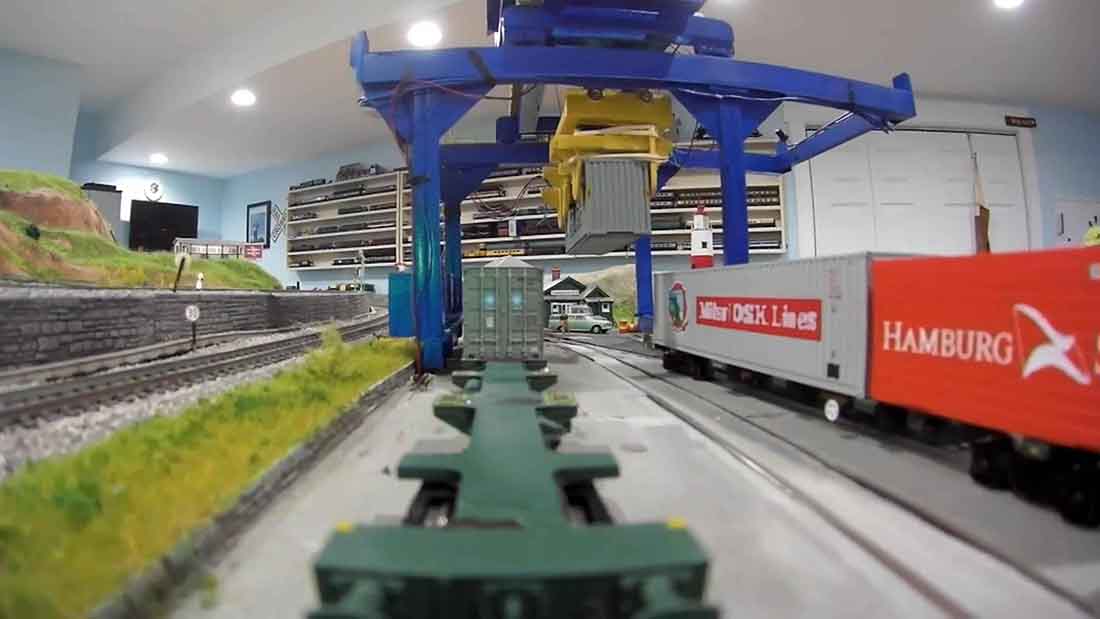
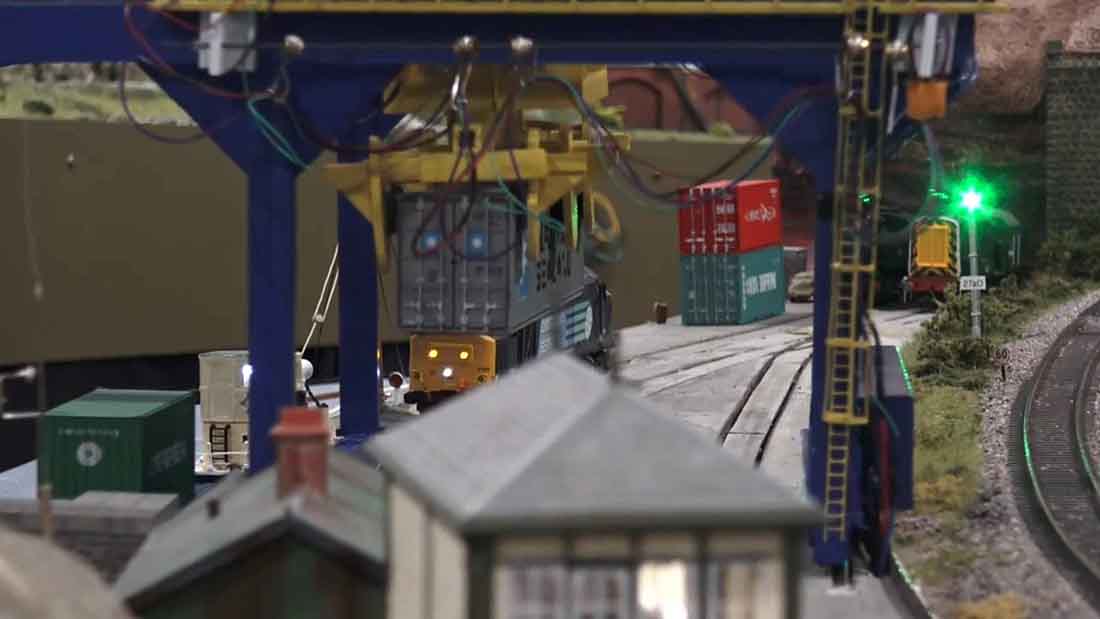
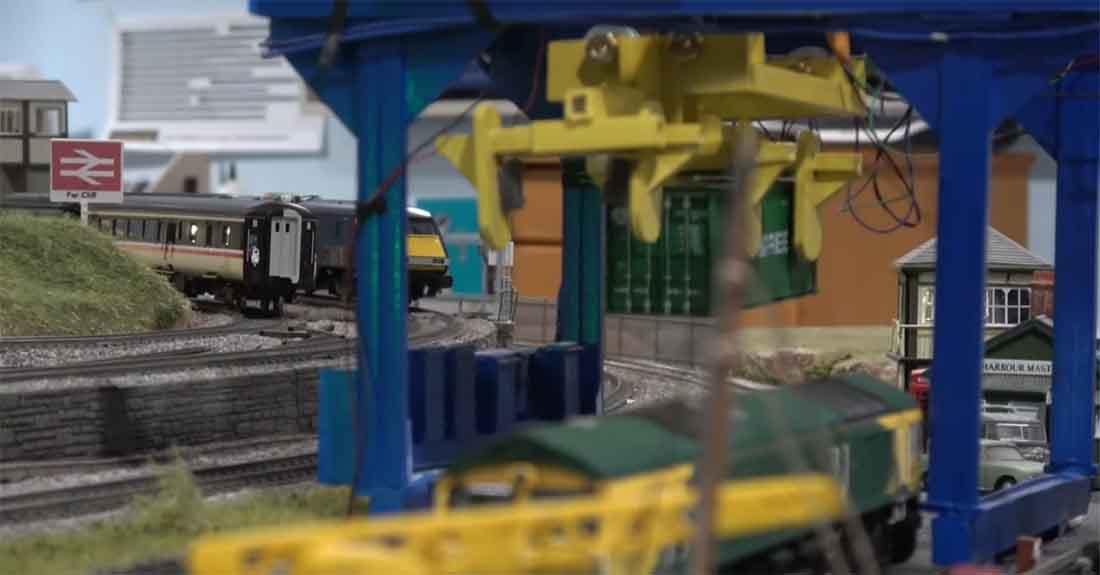
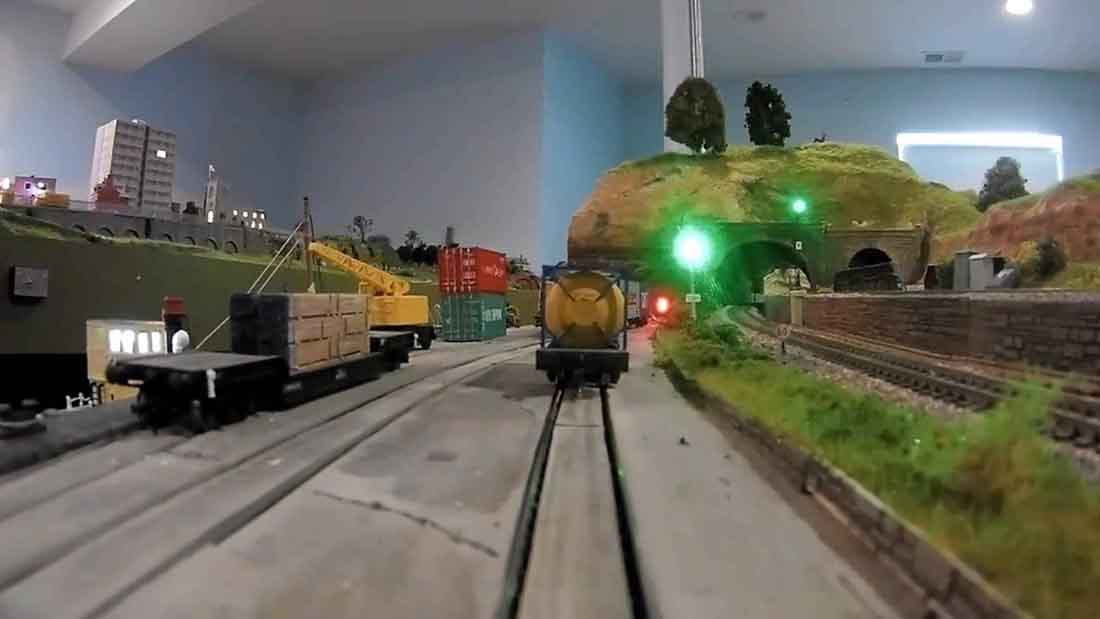
The photos are of the harbor area with craft foam being used to emulate concrete. It can be cut and painted to simulate cracks and relief joints as I tried to do in the photos.
It works quite well, but I always longed for something that would illustrate more the time period I was after on the layout. The last one I added because it is one of my favorites. It has nothing to do with concrete or granite paving stones.
Here are the two videos about installing and painting the granite setts.
Laying the embossed plastic sheets.
Painting:
I hope this material is helpful to someone who wants to do this on their layout and wondered how someone else may have done it.
Thank you Al for all you do for the modeling community worldwide. We all appreciate you and I personally look forward to your email links every morning before I read the newspaper.
Cheers,
Rob McCrain – Farland Howe”
A huge big thank you to Hall of Fame member, Rob, for sharing his model train landscape tips.
I’d love to hear what you have to say on this one – please do leave a comment below.
That’s all for today folks.
Please do keep ’em coming.
And if today is the day you get started on your layout, the Beginner’s Guide is here.
Best
Al
PS Latest ebay cheat sheet is here.
PPS More HO scale train layouts here if that’s your thing.
And there’s the Silly Discount bundle too.


EXCELLENT WORK!
The STANDARD of CRAFTSMANSHIP, we should all take the patience to achieve.
Rob, your harbour scene really looks good with the paving stone base. I liked the video on your harbour water and waves. That has inspired me to try making waves in my harbour and surrounding bay areas.
Brian – the HOn3 guy in Knysna RSA 🇿🇦
Bill’s words (above) say it best. Easy to see why Rob is a hall-of-fame member. And, his pics & videos are very well done. Congrats, Rob, for your contributions.
Rob
WOW! Words from the master. Much thanks. Your results are so astonishing because you take the time to do it right unlike many of us that need to get it done. BTW I thought your original concrete was super- I would have never taken it off.
All the best
Rob, excellent work on the paving stones. I tried to simulate an old siding on my waterfront by burying it in dirt and grime. You’ve inspired me to go back and use paving stones. Thanks for sharing.
Bob in NJ USA
Wow…..Rob…..Love that cobblestone look…….great work. That’s why a model railroad layout is never ever done……there are always things and looks to improve and changes to be made.
Fantastic work Rob. Well done!
Well done craftsman. I hope mine turns out that good.
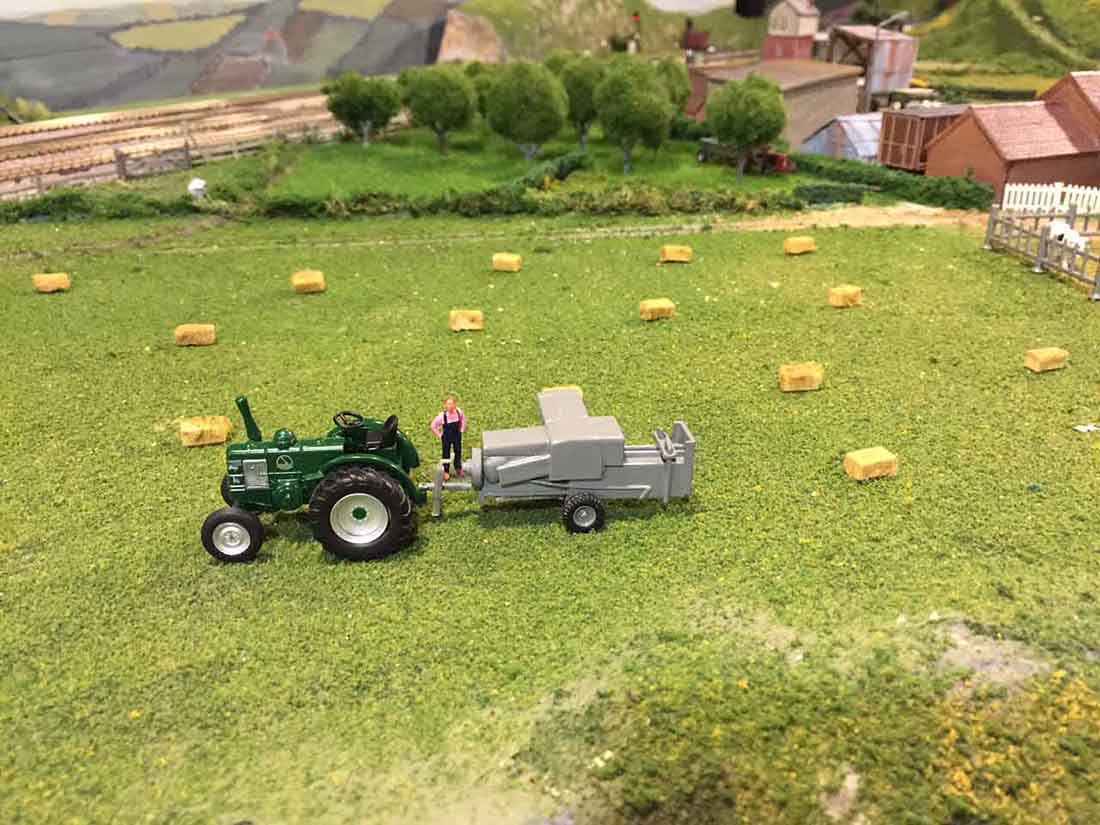
The field with hay bakes, etc is best farm field I’ve seen depicted on any layout!
Outstanding.
It Fantastic work!
Very nice , great tutorial and video , thank you for sharing your knowledge. You set a standard and goal for others and “ pave” the way to achieve the same success . That’s the mark of genius. Wound enjoy seeing your layout in the flesh , must be awesome.
Thanks Rob you always add something too my day with your great skills and wonderful layout. I do the Times puzzles then read my email from Alster, great way to start the day.
really good work. you must really want to have a great setup the amout of work shows that.
As always a very nice video and great scenic work Rob- really like that new rock work adjacent to the bridge. It’s the small details that make such an impact. Thanks again, Glyn