Kim’s been in touch with a good homemade model train track cleaner tip.
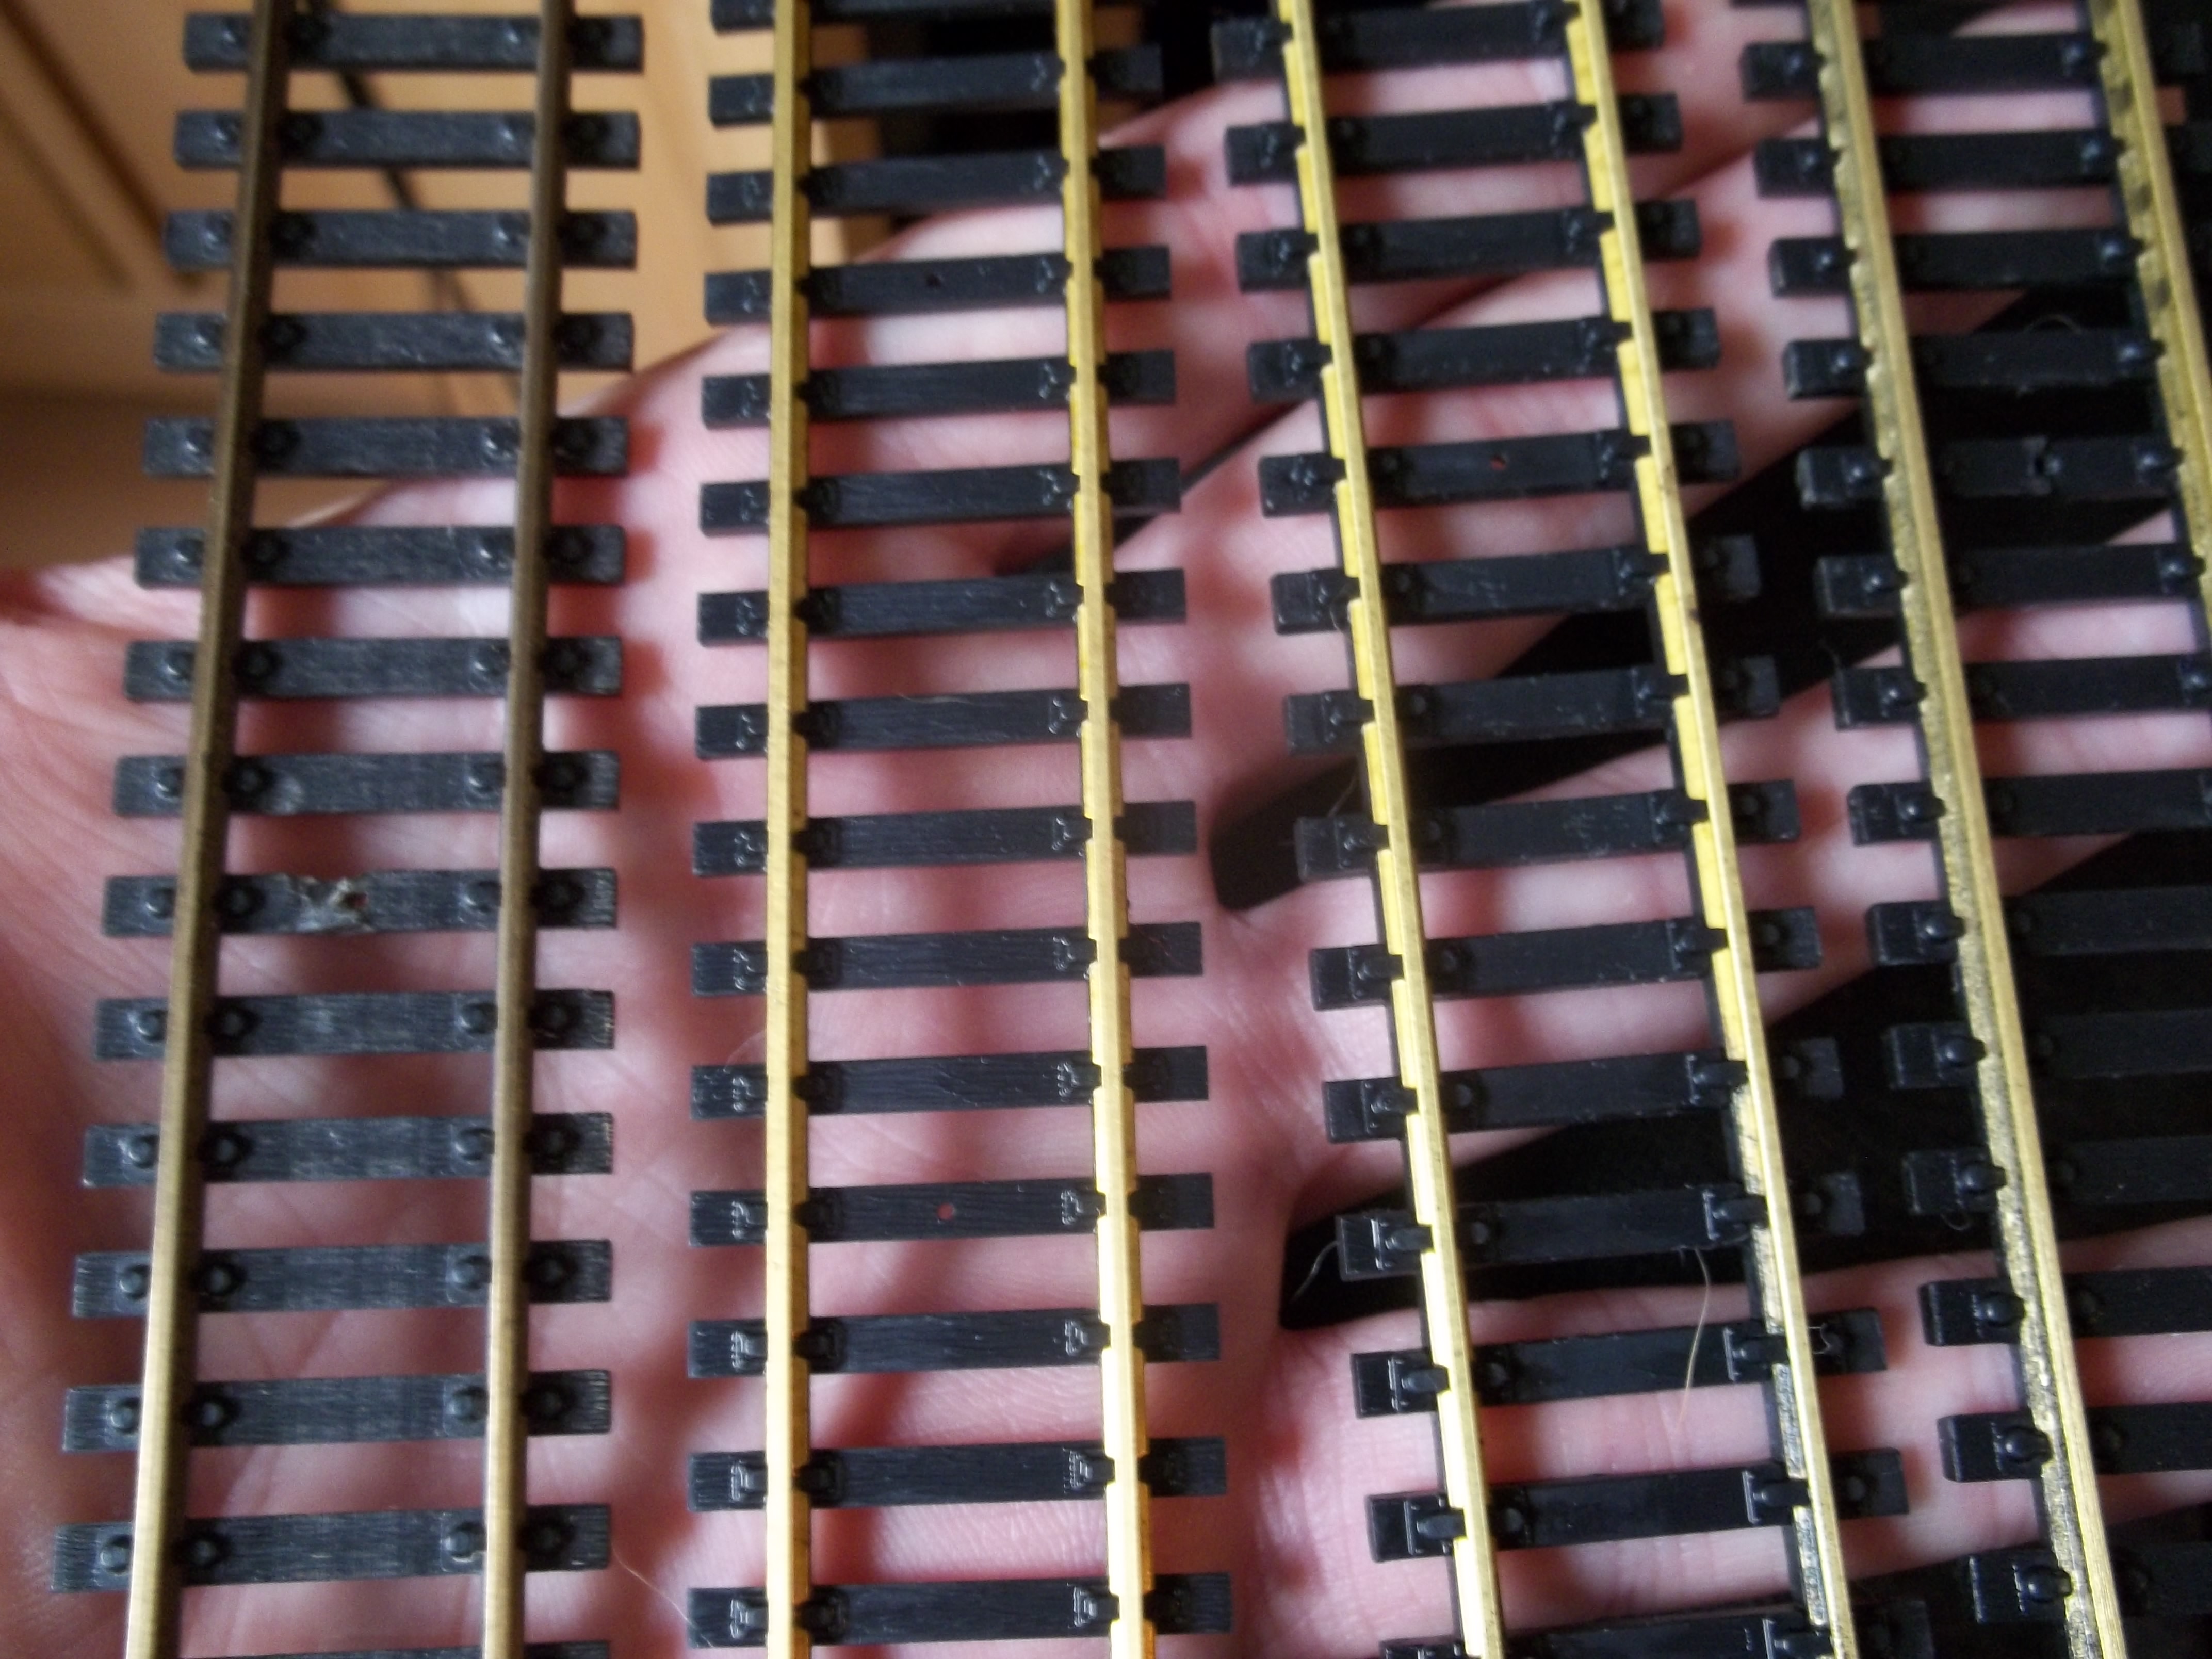
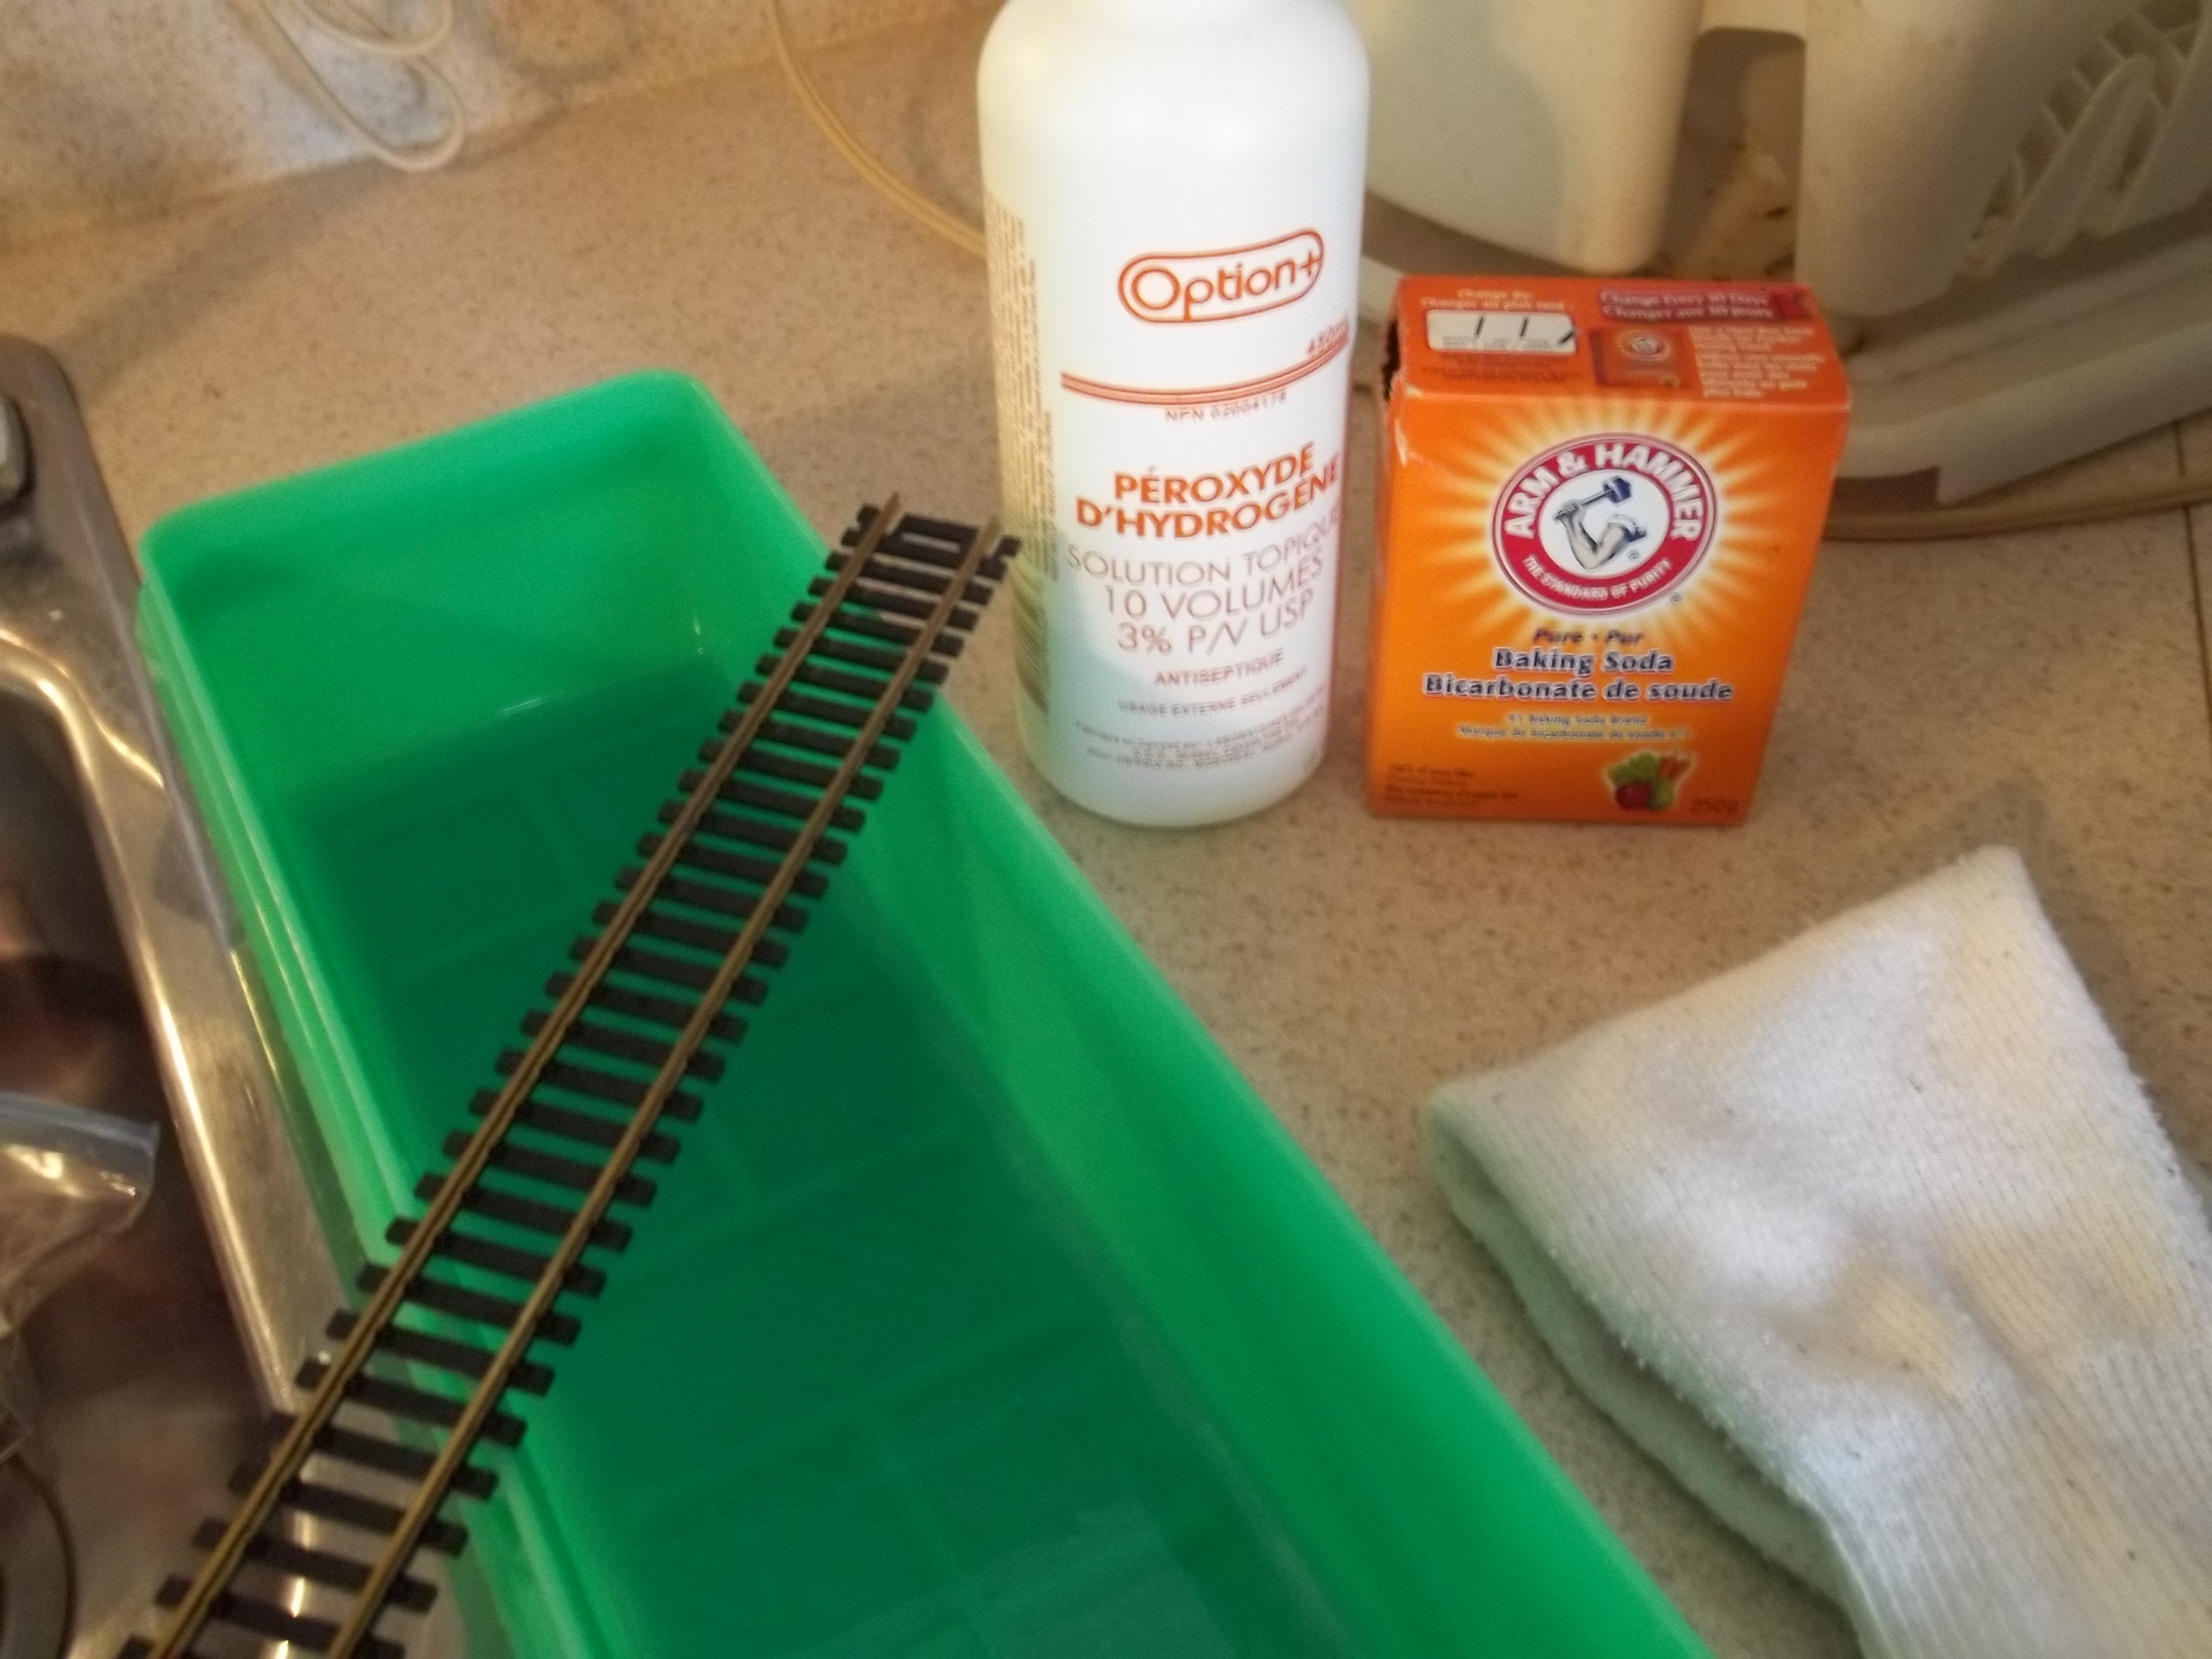
“Hi Al. Im sure you have run into this problem. Most do after a while. I made up a cleaner that takes 5 minutes to change the nasty dirty track to brand new. You will notice an unclean track to the left. When your trains start to jerk or stall or don’t seem to run right. Dirty track.
Wont hurt plastic. and if you have really dirty wheels it will work there as well.
Formula to clean your track or any metal I guess: Pour the peroxide level with the track laying face down in the plastic container.Then sprinkle the soda all over it.
Dont have to use a lot of soda sort of sprinkle it all over the liquid and track.Let sit I say 5 minutes but found it took less than a minute. When happy with the track, rinse hot water on the track to clean of the cleaner off. Dry the track and away ya go.
I guess using say a cloth with the mixture on track that is nailed down.Let it sit on the track a few minutes and then use a cloth with warm water on it to clean off the mixture. just don’t get it all over the place as it will remove paint ,gim,dirt,electrical stains,just about anything lol.And don’t touch any train with wet finger’s or your going to hate me.Remove anything on the track before hand.And get rid of the mixture after done as so no pets or kids get at it.
Kim”
A big thanks to Kim, it reminded me of his track cleaning car: How to cleam model railroad tracks.
And Steve’s too: Track cleaner.
Now on to Mike:
“Light bars for lighting cabooses or passenger cars can be made from 5mm LEDs and clear drinking straws. One LED goes in each end of the straw and wired in series. The light carrying medium is 5 minute epoxy from one of those Loctite instant mix tubes. (One minute epoxy is too fast and sets in the mixing tube.) Squirt it into the straw, cap with the LED then cap the other end with the other LED. This is all much less expensive than lighting kits. With the new Evan Designs LEDs, no decoder is needed. Any voltage source works.
Mike, Illinois”
“Thanks for all the great info you provide, I Am looking to sell my entire layout, I have provided a few pics, It is very highly detailed, with Gargraves O Scale Phantohm Rail Track and Ross Switches, It is around 90% complete, But is approx. 14′ X 10′ in 1 section, could be moved with carefull planning, It is in a temperature controlled garage, I have tons of Extras to, Let me know what you think, Or if you need more pics to see if you want to show it,
Thanks so much
Mark”


“Alaister,
My son and his wife found this in Smithville Ontario Canada recently. Not sure what to call it but jigger loo might work
Cheers
Perry”
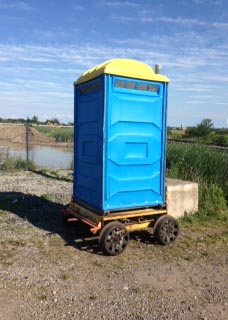
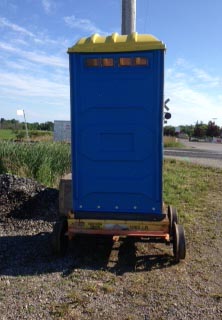
Perry’s pics made me laugh so I thought I’d share them!
“I found a new source for plaster cloth. Walmart sells a 4″x180” roll for
$6.49 It is called “Rigid Wrap Plaster Cloth” and can be found in the kids section. If your local store doesn’t stock it you can get it shipped to your local store for “free”. Scenic Express product sells for about same price but shipping and handling is $8.00.
Randy”
“The only tip i have at the moment is i have found station platforms seem to be very expensive. so what i use now a days is plasterboard. naturally depending on how big you want your station but they are easy to cut, manipulate and paint. i then use balsa wood on one edge and carve out the station side and brickwork on the outer side.
regards
david”
A big thanks to Kim for sharing his homemade model train track cleaner. And to all the others too.
That’s all for today folks – please do keep ’em coming.
And if today is the day you get started on your layout, the Beginner’s Guide is here.
Best
Al
PS Latest ebay cheat sheet is here.
PPS More HO scale train layouts here if that’s your thing.

And there’s the Silly Discount bundle too.

It would be lovely to see a track plan for this stunning layout!
You can also go to Orthotape.com They have plaster cloth 8″ x 180″ for 36.00 for 10 rolls. The stuff works better than Woodland scenics.
Thanks, Mark, for the pics. It’s great to see someone
else doing “O”. Great trestles/scenery!!
js
Love the layout! What is the asking price? And what else do you have for sale?
Mark please email me more pics of the layout for sale.
Where are you located?
Thanks Joe
thanks again AL for all that you have done it has been a great site to get into. thanks to everyone who has put in with tips and photos they where great. hope to catch you again soon. Ian from Australia.
A GROOVY LOOKING LAYOUT.
Mark contact me about selling your layout.
Thanks Joe
Thank You!
Im in o guage also please show more, im just beginning we just moved here and new layout being planed…thanks
Another fantastic layout. Great thanks Steve
I would like to be placed on the list for future postings.
Thanks much!
John
Great ideas on track cleaning … thank you as always it’s good to learn what others in the community are doing .
Very nice layout you’re selling . How will you transport it to the buyer ? Good luck , I can only assume it must be difficult decision to sell . Regardless, it’s a superb layout .
Track cleaning tip : mineral spirits and a lint free cloth , works wonders , easy to do and cheap . I’ve been cleaning track and wheels ( locos also ) with mineral spirits all along and it’s proven to be the easiest way , at least for me .
very nice info and layout.
Can you email with additional pics and an idea of what you are hoping to sell it for.
You have to watch if you get torrential down poor it’ll wash that trestle out.