I do love it when a post causes a stir. And that’s just what Bob’s did. (You can see it here.)
Now here’s his follow up.
“Hi Al,
here are a few more pictures, here is the hoist i used (david howarth wanted to know)
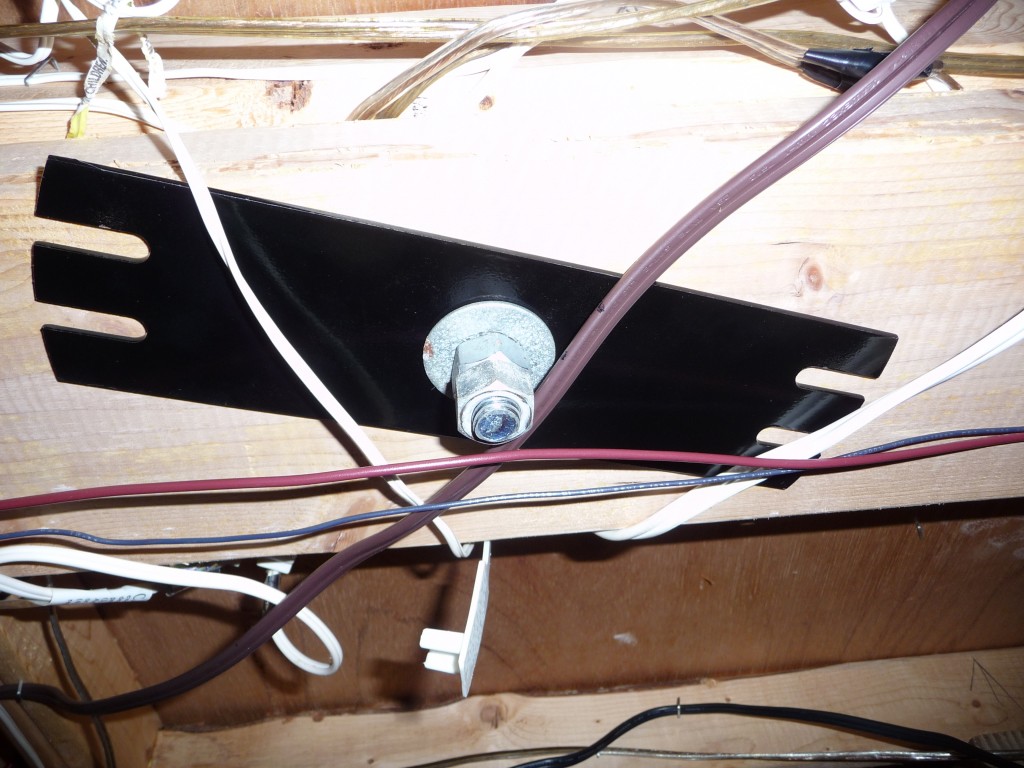
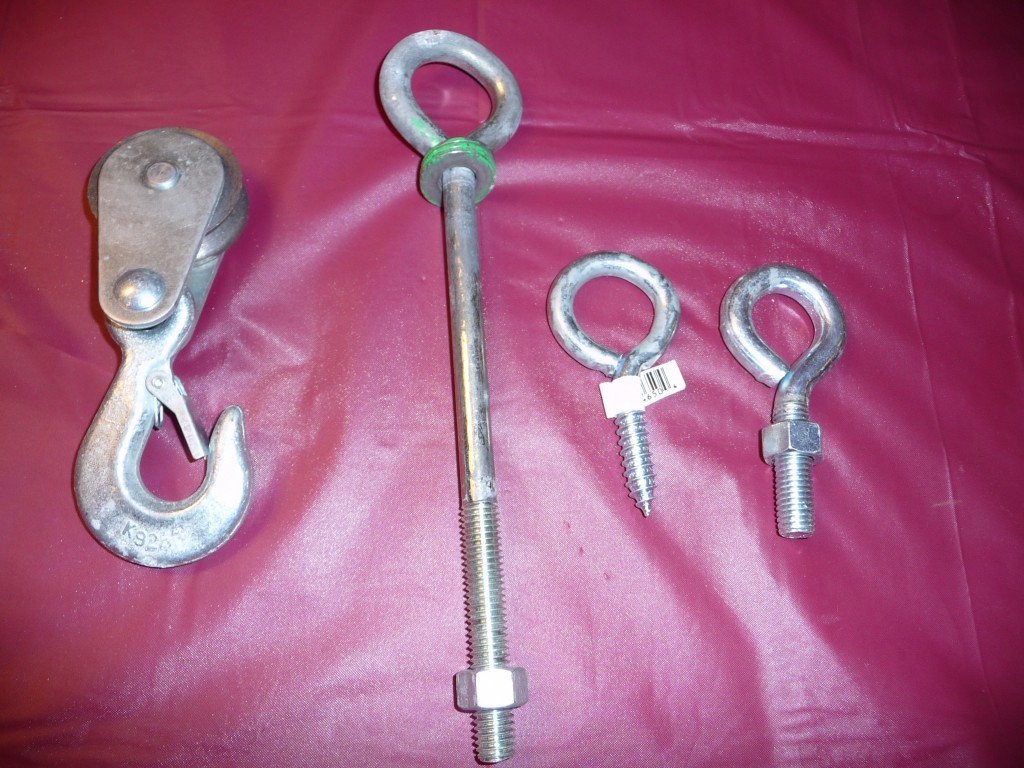
This is a piece of metal i used for support
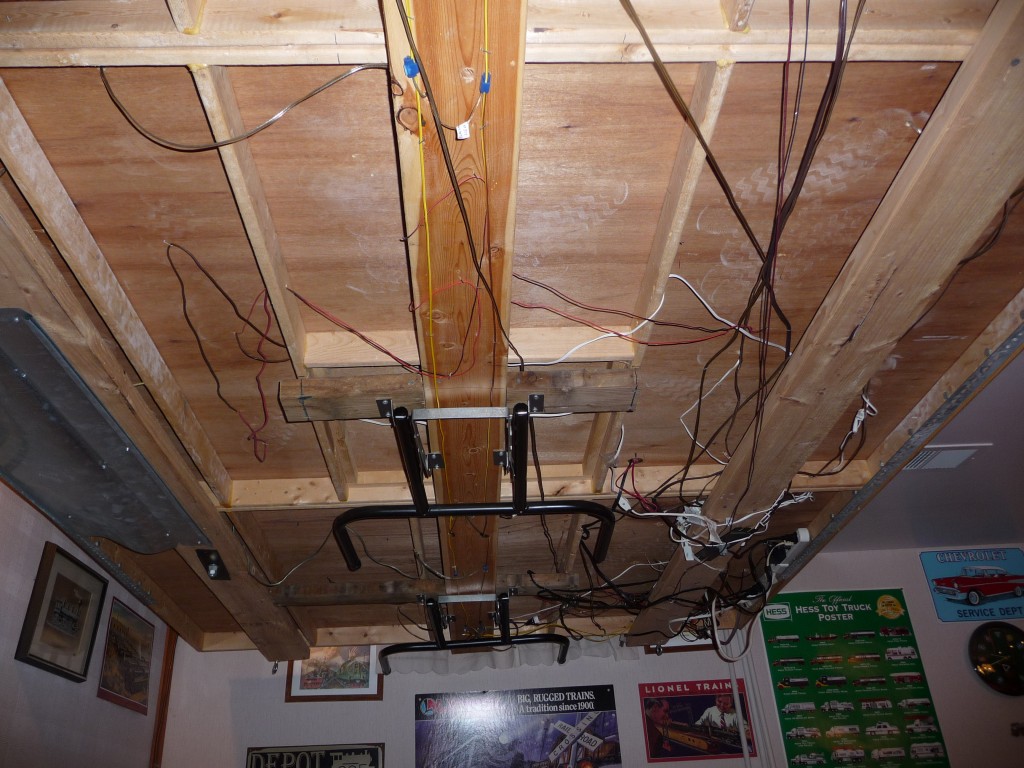
This is the underside that shows i used (3) 2×6 for support and which i used to lift it with.
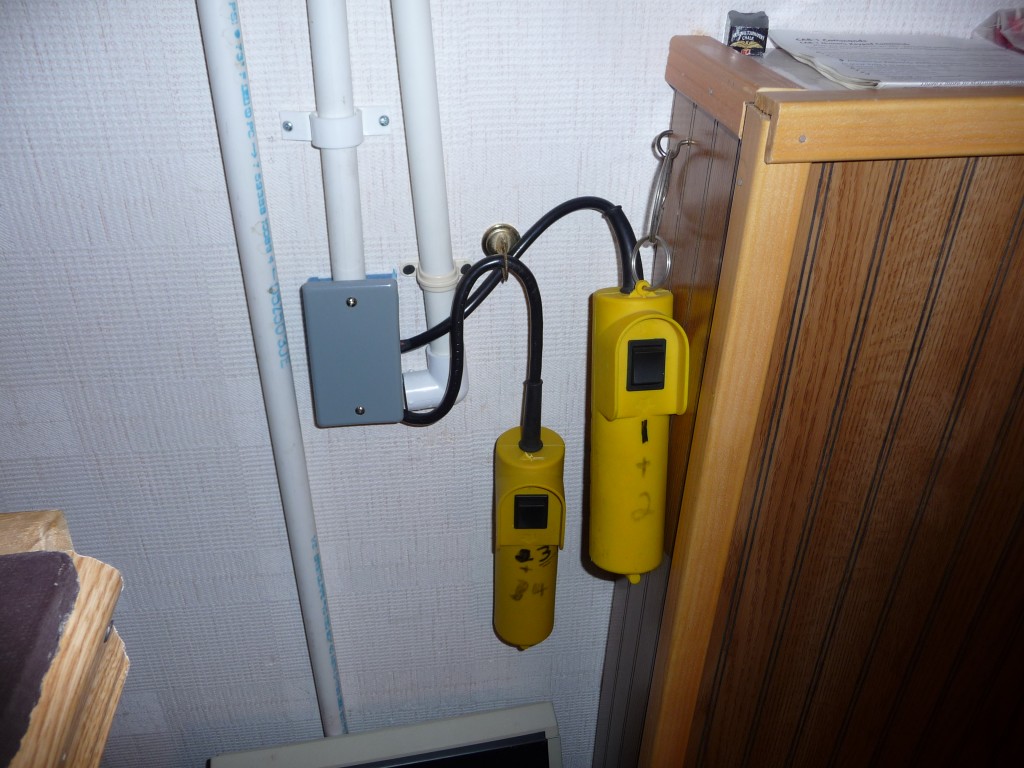
These are the two remotes that i used to control the motors one does the two front and the other does the two back motors (i could not figure out how to use one for all of them so i just push both buttons at the same time.
This shows the safety chains i use in each corner when it is in the raised position (just in case) and some of the material i used for lifting.
thanks bob.”
Big thanks to Bob for sharing!
That’s all for today folks.
Please do keep ’em coming.
And if today is the day you get going on your very own layout, the Beginner’s Guide is here.
Best
Al
PS Latest ebay cheat sheet is here.

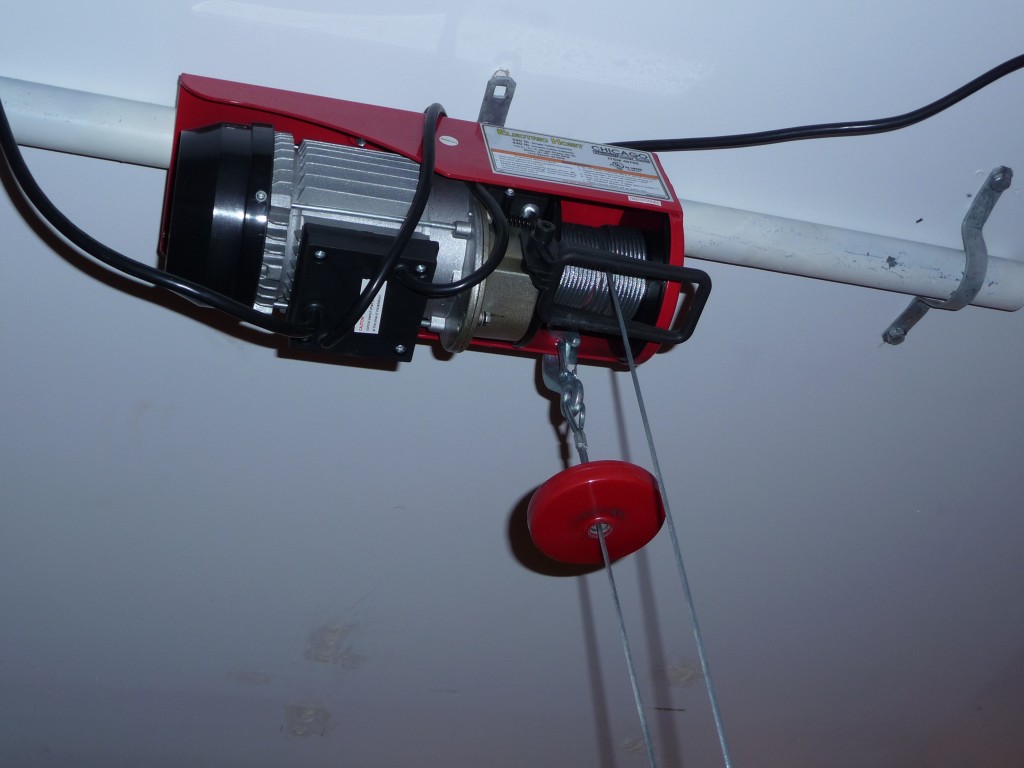

A good idea put to good use , thanks for showing Bob
I have had many good tips from your readers and I would like to give one in return.
Like many good ideas, this one came by accident. To create craggy rock surface on polystyrene, spray lightly with spray paint. It will dissolve the polystyrene in a irregular shape which creates a realistic rock surface.
Happy modelling,
David R
I had the same Ideas for that system, out in My garage;
5′ X 16′ ; or slightly smaller down in Our lower level.
What hoists did you use?
thanks
LeRoy
Thanks Bob.
The best solution for wide plans and small rooms.
They are chicago winches !! Can buy at any Harbor Freight store !! James
What a great system. Good solution and seems to work well according to the video and well thought out.
great idea passed it on to a mate.
I would love to see a video of the hoist in action!
I agree with David’s comment on painting polystyrene. This happened even when I brush painted the polystyrene with oil paint. Especially excessive thinner will create tiny holes in them
Dear Bob,
Fantastic idea for those with space constraint. I was contemplating on a pulley system (manually operated ) to save cost. But the issue was to hoist them little at a time and one side at a time.
hi sundaram, i tried to lift each end with manual block and tackle but i had to make sure that all the trains were in a special location to balance out the platform and it did not work well. so i.put a lift on each end and it works great. thanks for the comment.
Someone who is just starting might look at a garage door opener. John Armstrong designed a layout for me about 25 years ago, and we used the opener. There is a write-up of the layout by John in MODEL RR Magazine. The drawing for the lift has a slight error easily corrected by running the ceiling lift points to a common point so the table will stay level as lifted. Obviously requires only one set of controls and far less expensive than multiple motors etc
Sweet lift setup. . I had a smaller layout and used 4 pulley’s and a adjustable counter weight . Thanks to Al and everyone who’s shared.
That video of the lift in action was amazing. Surprised (and impressed) that all four motors lifted at the same rate. I had to re-run the video several times – it is so cool to watch! Thanks for the follow up photos on how you connected the lift cables to the model itself, but how on earth did those little screws in the ceiling take the weight? (Is there another fixing up there which we cannot see?)
Also, my wife wondered how you reach across such a wide model to work – is there room to get round the back? You have a brilliant method of getting underneath to do the wiring without crouching in a confined space!
(BTW, I searched for ‘Chicago electric hoist 40765’ – each one costs about a hundred dollars in the USA, and can lift 440lbs.)
Regards, Keith
I showed my wife his video,was her response was NO! You are still working on trying to get your corner of the Dining Room. This came from an article that as was written in Toy Train Collector years ago. In it the author suggested that you take over the dining room by just building in one corner at a time, then connecting the corners. Her comment was something like “IT DIDN’T WORK THEM, IT STILL WON’T”. This is all in good fun nothing nasty.
Love to see “engineering” in action. Thanks. Did wonder about ceiling recess .
Require dropped ceiling over bed (our what have you)?
RAMCRAFT
Very good! While my application may vary due to location and height of landscape on train board…..you gave me a good starting point! Thanks
Great Idea… Thought from an Engineering standpoint,, those Winches are used for towing or lifting.. You could use One Winch instead of four.. just need to use four pulley’s and cable attached to a central point, that would be attached to the winch. You wouldn’t need four winches or even two winches to control. For the Control Box wiring… match the wire colors together… double them up. Instead of using two different control boxes. Just an opinion from observing the still photos and video.
I always wanted to build a layout over a pool table. Put lights on the bottom of the layout. Raise it up to shoot pool, lower it down to run the trains.
Neat idea! I once planned to rig up a pulley system in my enclosed car hauler trailer so I could take my small model railroad layout with me and still park the car underneath it while traveling. It never happened — sold the car and trailer 3 years ago, but I might try the same idea in my garage if I ever get it cleaned out enough to hold my train layout. Thanks to Bob for sharing the details of his lift system.
This setup disabled the end stopping item – the red ‘disk’. What did you do to trigger the end stop?
Unless I’m missing something, I agree with Mike Balog. If the cables are sorted out in advance, they could all be winched by one remote winch – even though it might have to be located quite a ways apart from the layout.
Very helpful useful information. Thanks.
I like that you used a lawn after blades for part of tour supports. Lol
This spell check is killing me.
My comment is as follows:
I like how you used lawn edger blades for part of your supports.
Request for information from Hutch1 (who commented in the linked video post) …
You say you have a similar system to lift an 8×4 layout, that uses blue insulation sheet for the baseboard. As you say, this is VERY light in weight, but how is it stiffened/braced when it is lifted from 4 corners?
My own 8×4 uses 1inch Styrofoam for the baseboard, but it would collapse if it weren’t sitting on plywood hollow box frames. This aren’t stiff enough to lift from 4 corners …
Please get back to me! Roger. (from across the pond)
You could probably use ATV Winches from Harbor Freight
Note that there is a difference between a HOIST and a WINCH. They are designed and rated differently. A winch is made to pull something, usually a wheeled vehicle parallel to the ground, it is NOT designed for lifting and it’s rated capacity is not what it can lift off the ground. Also a winch does not usually have a brake on the spool when it is set to let out cable, It usually just free wheels so you can pull out the cable by hand.
A hoist is designed to lift a load off the ground and is rated by maximum load it can safely lift. A hoist is much more substantial for it’s rating and the additional mechanics makes them more expensive t6han a winch rated the same capacity. The spool on a hoist is motored in and out and has a brake on it for either direction.
Don’t make the mistake of using the two interchangeably..
Re foam panels used as a layout base.. I is easy to make this material stiff and rigid.. Think Honey Comb ..using foam compatible contact cement/construction adhesive glue door skin or 5mm underlayment plywood to both sides of the foam.. If the layout is larger than 4×8.. add strips of the ply bridging the meeting lines either recessed underneath or on top..
Also. Double the plywood up on the underside at the lift points to disperse the lifting forces..
Re foam panels used as a layout base.. I is easy to make this material stiff and rigid.. Think Honey Comusing foam compatible contact cement/construction adhesive glue door skin or 5mm underlayment plywood to both sides of the foam.. If the layout is larger than 4×8.. add strips of the ply bridging the meeting lines either recessed underneath or on top
Hi With Dangerous Dave’s interest in the hoist, and his obvious talents, I can’t wait to see how he puts a raisable platform layout in his attic.