Well you all know how important starting your train layout is, and that’s exactly what Paul’s done:
“Hi Al im kinda new to your site and a complete novice at building a model railway layout.
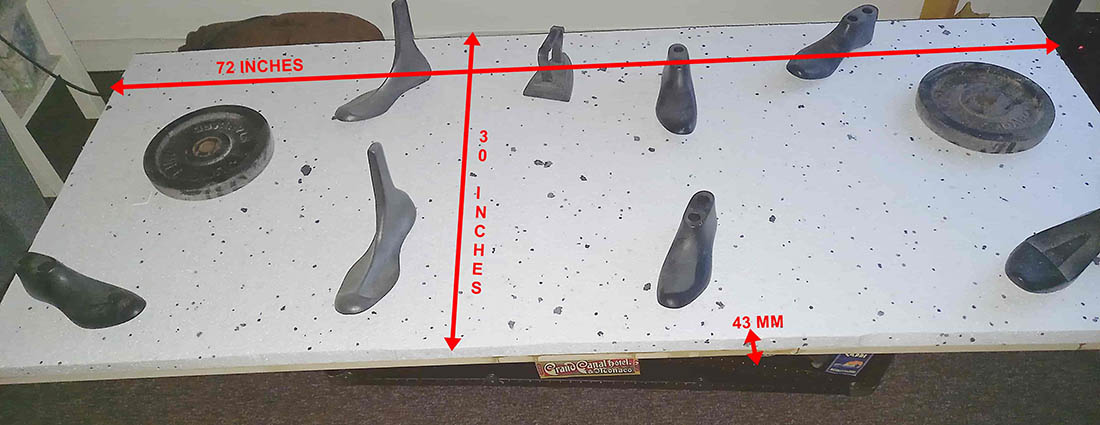
I had to go with Marklin Z gauge due to space constraints. I’m going with a 30″ x 72″ board of which there will be two so 60″ x 72″ when side by side.
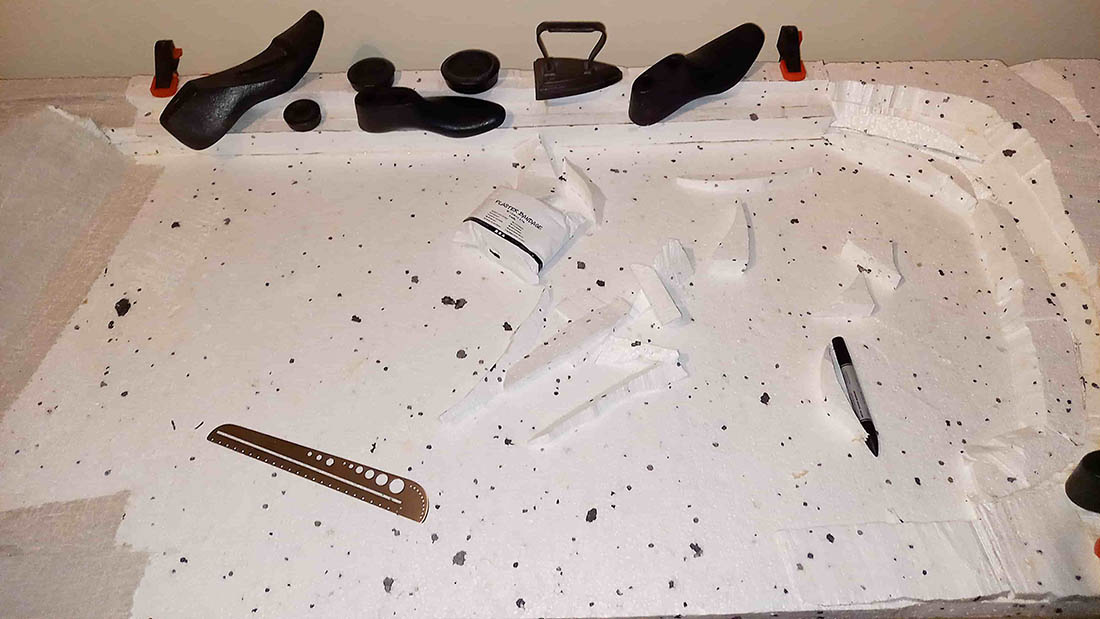
Im going to make a kind of coffee table to house them with one of the boards sliding out from under the other and raising up to join though i haven’t got that far yet.
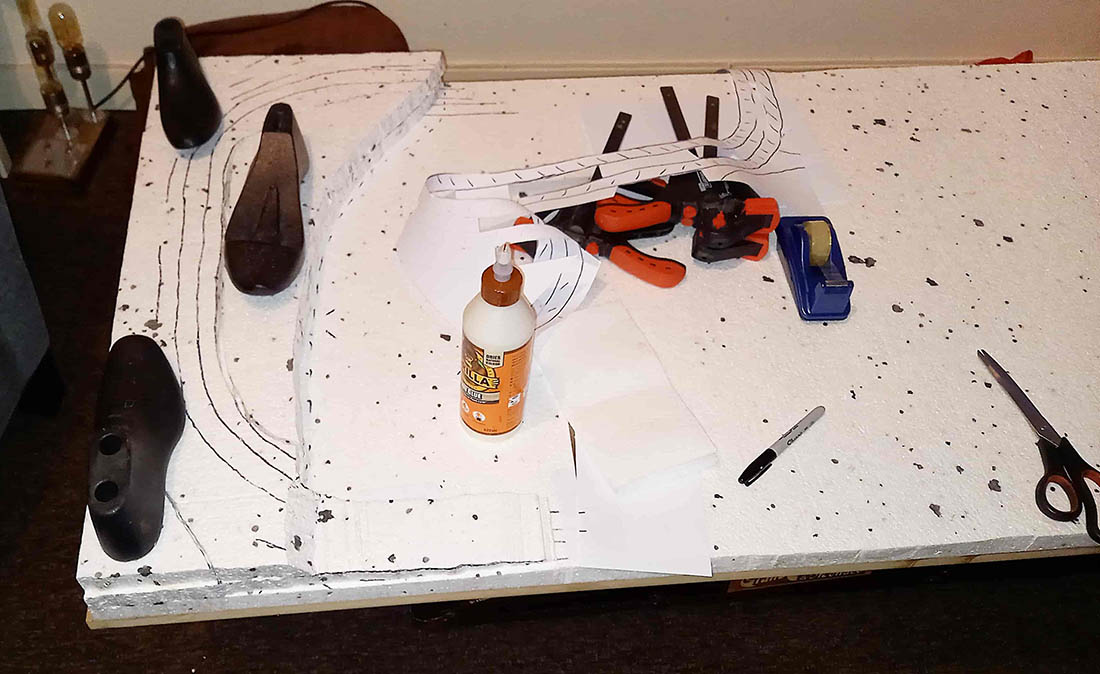
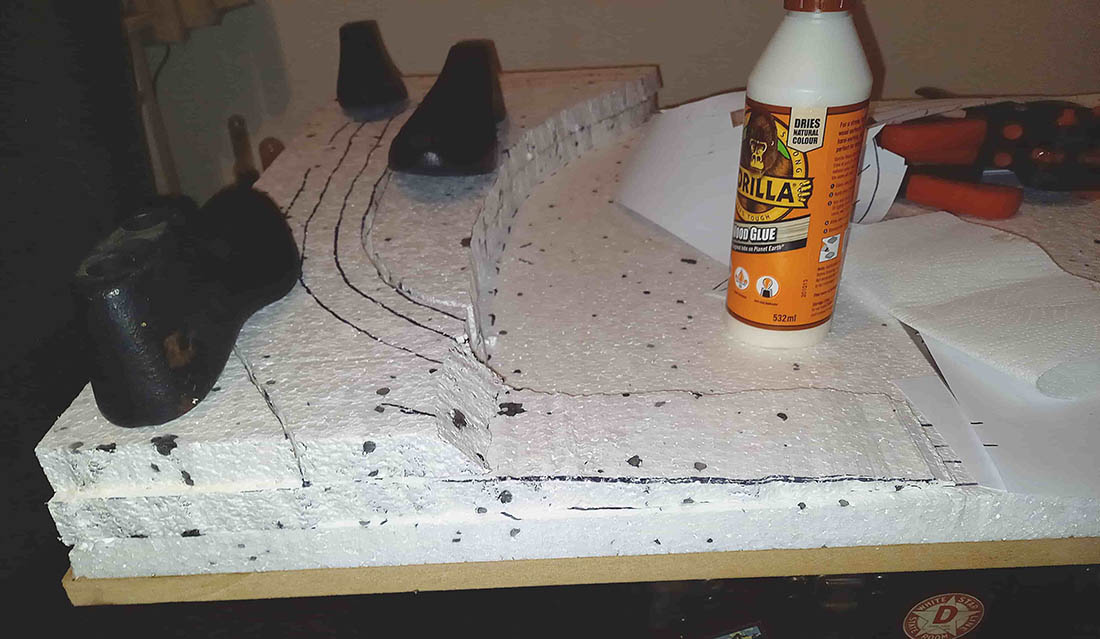
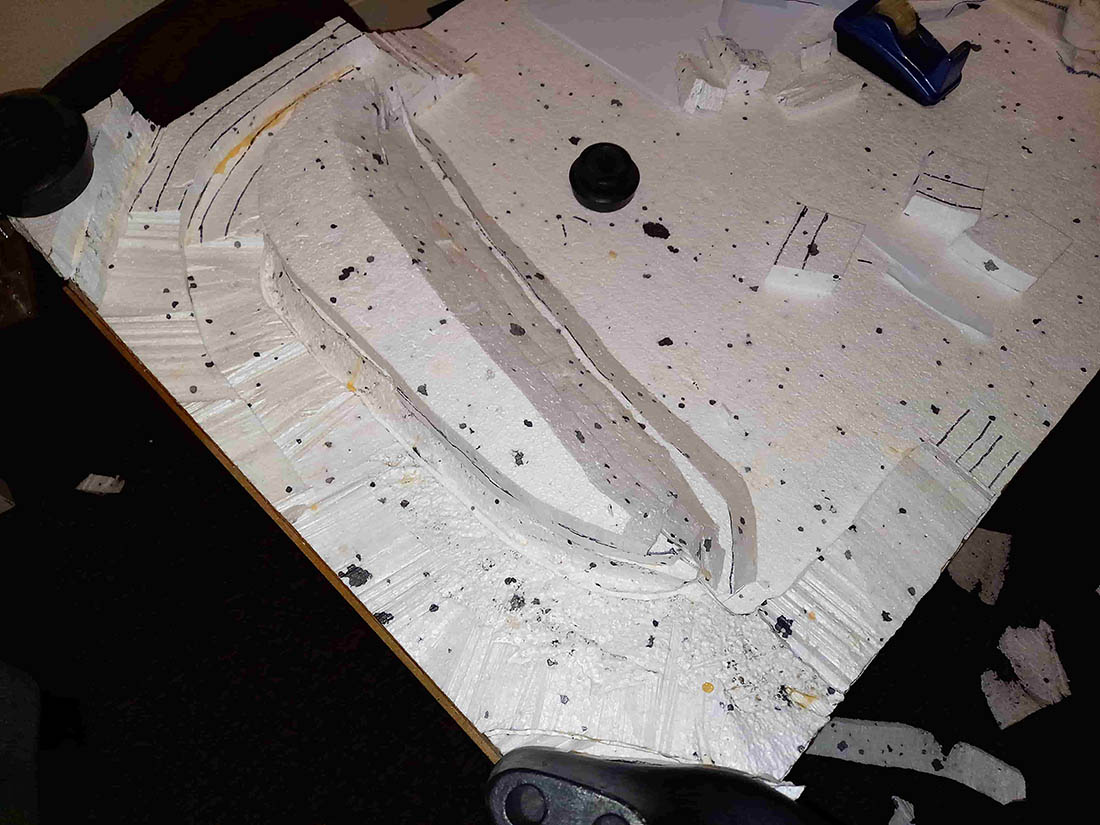
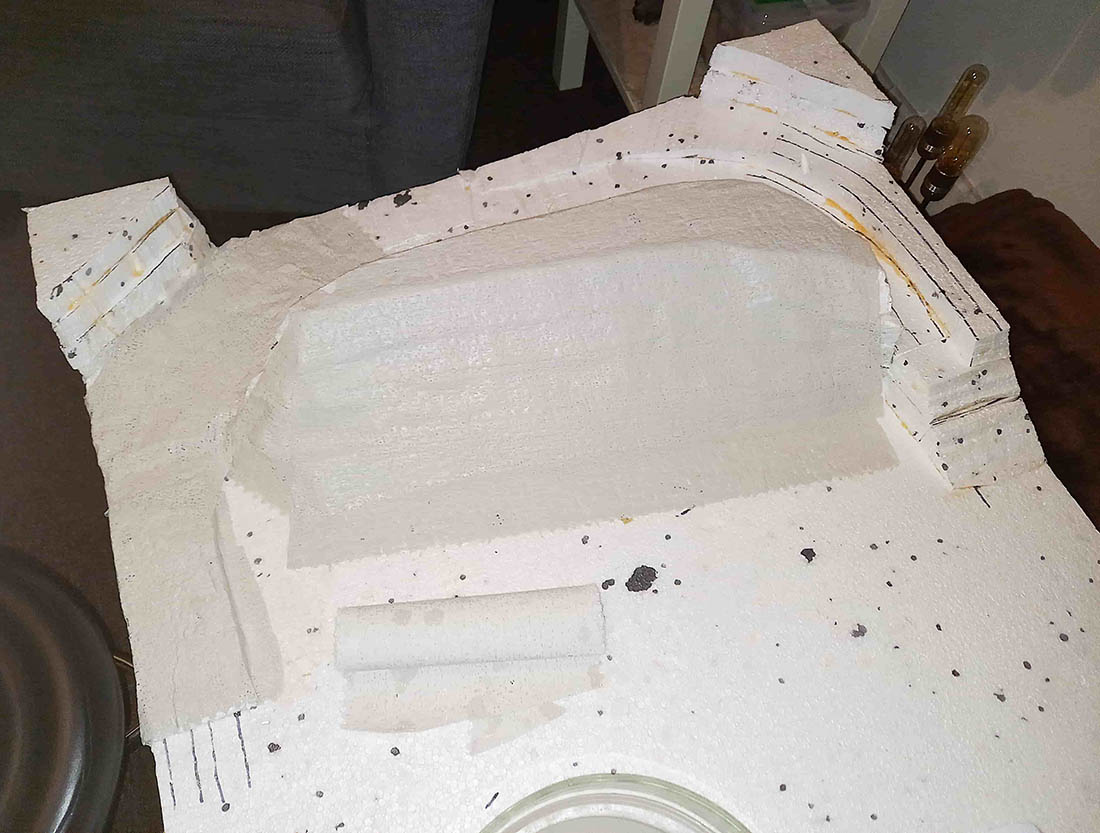
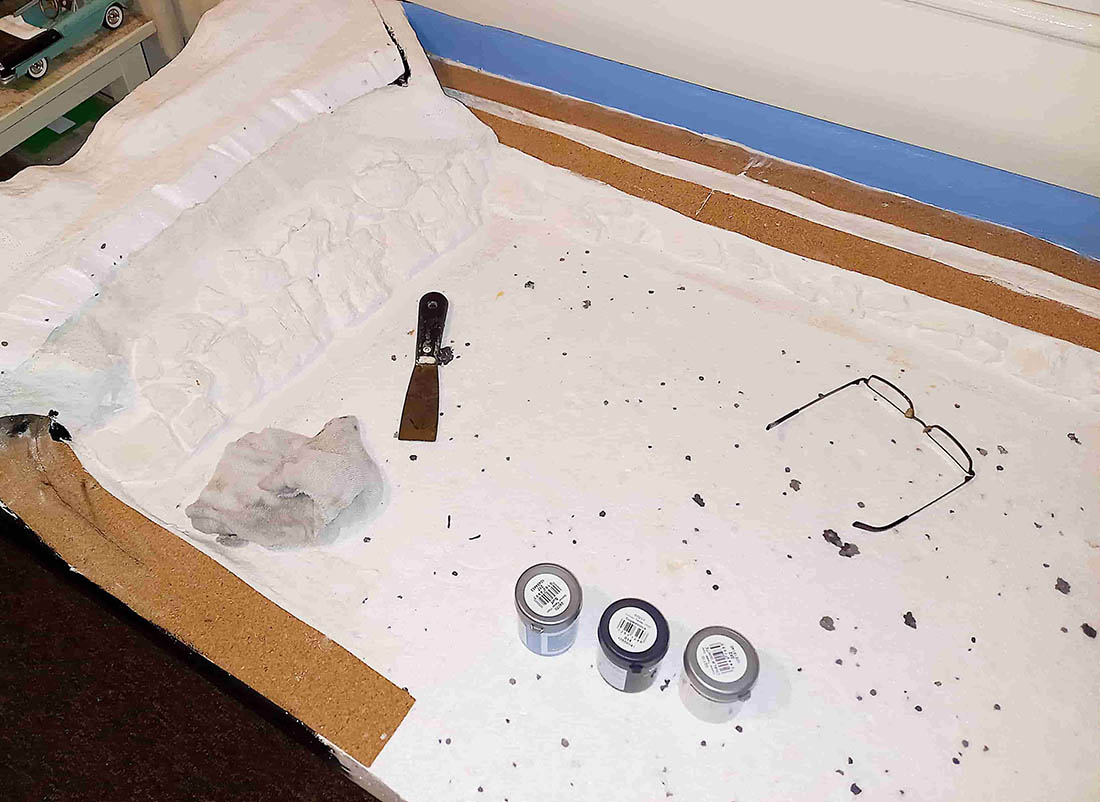
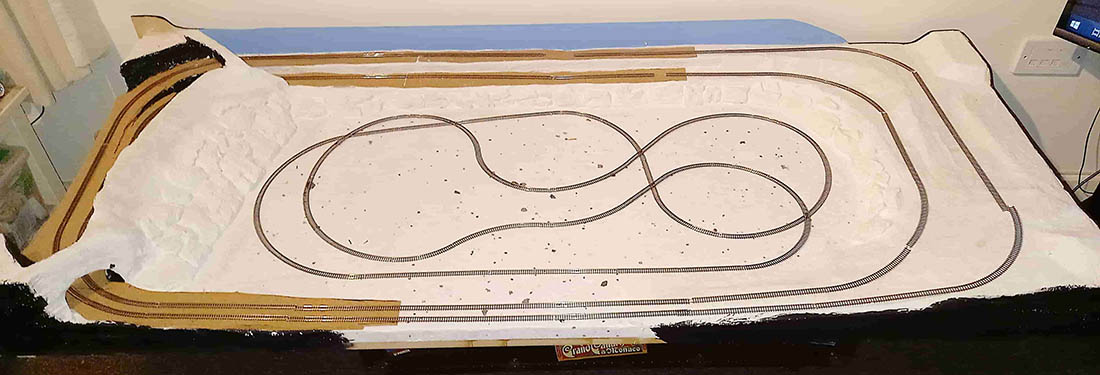
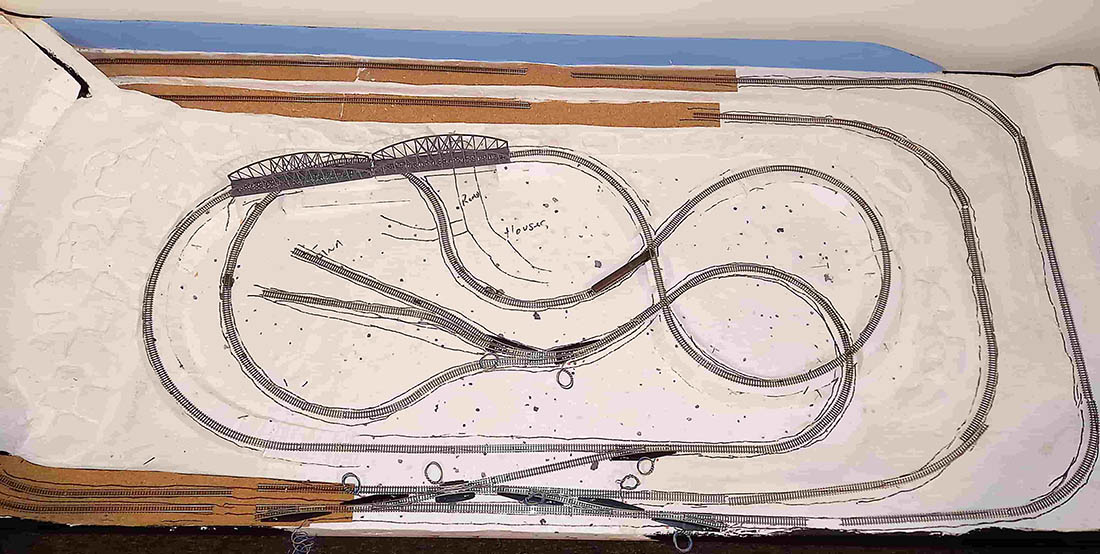
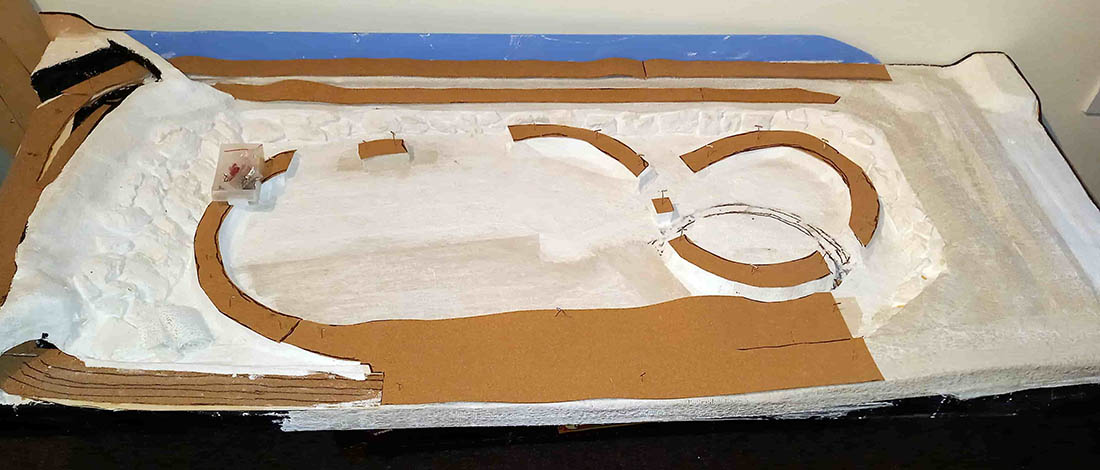
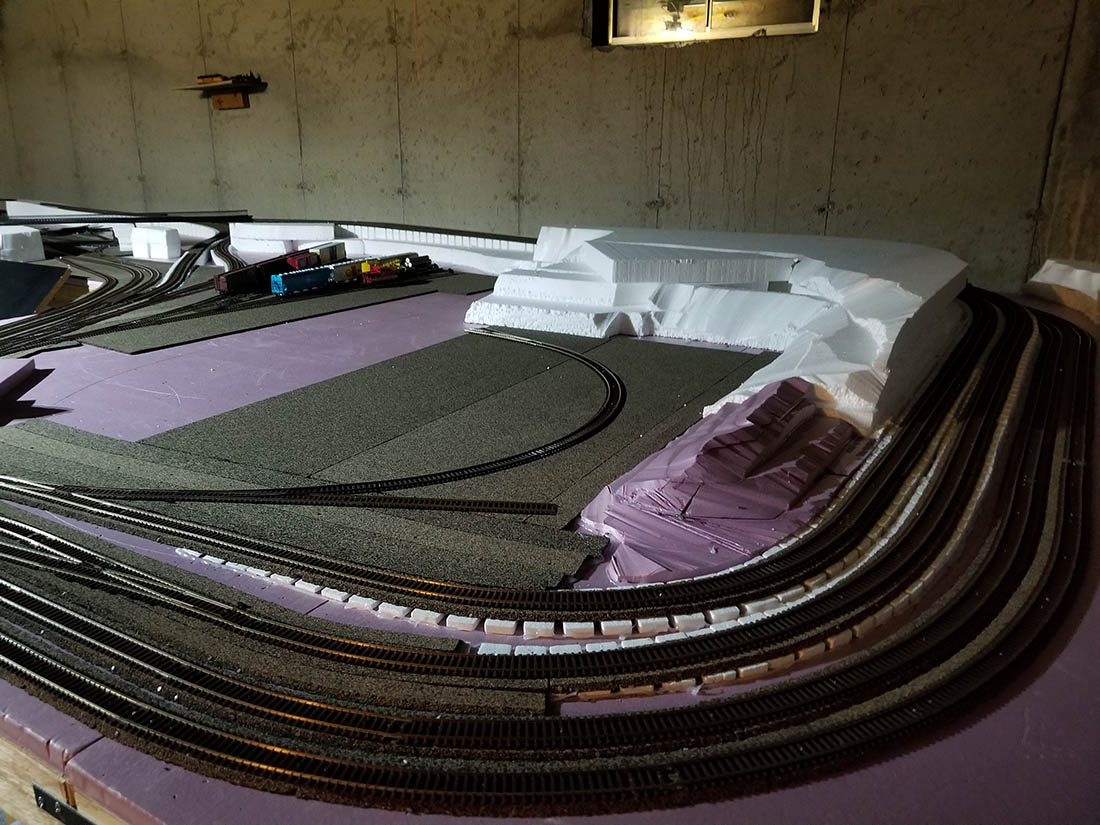
I’ve just sorted the main board and built up start of scenery with 25mm foam built tunnel and some raised track which has 2 outer loops and an inner loop all connected with points.
I ran a train round for the first time last night to make sure everything fits and it did yay lol
I’ve attached some pics hope you like my efforts
Paul”
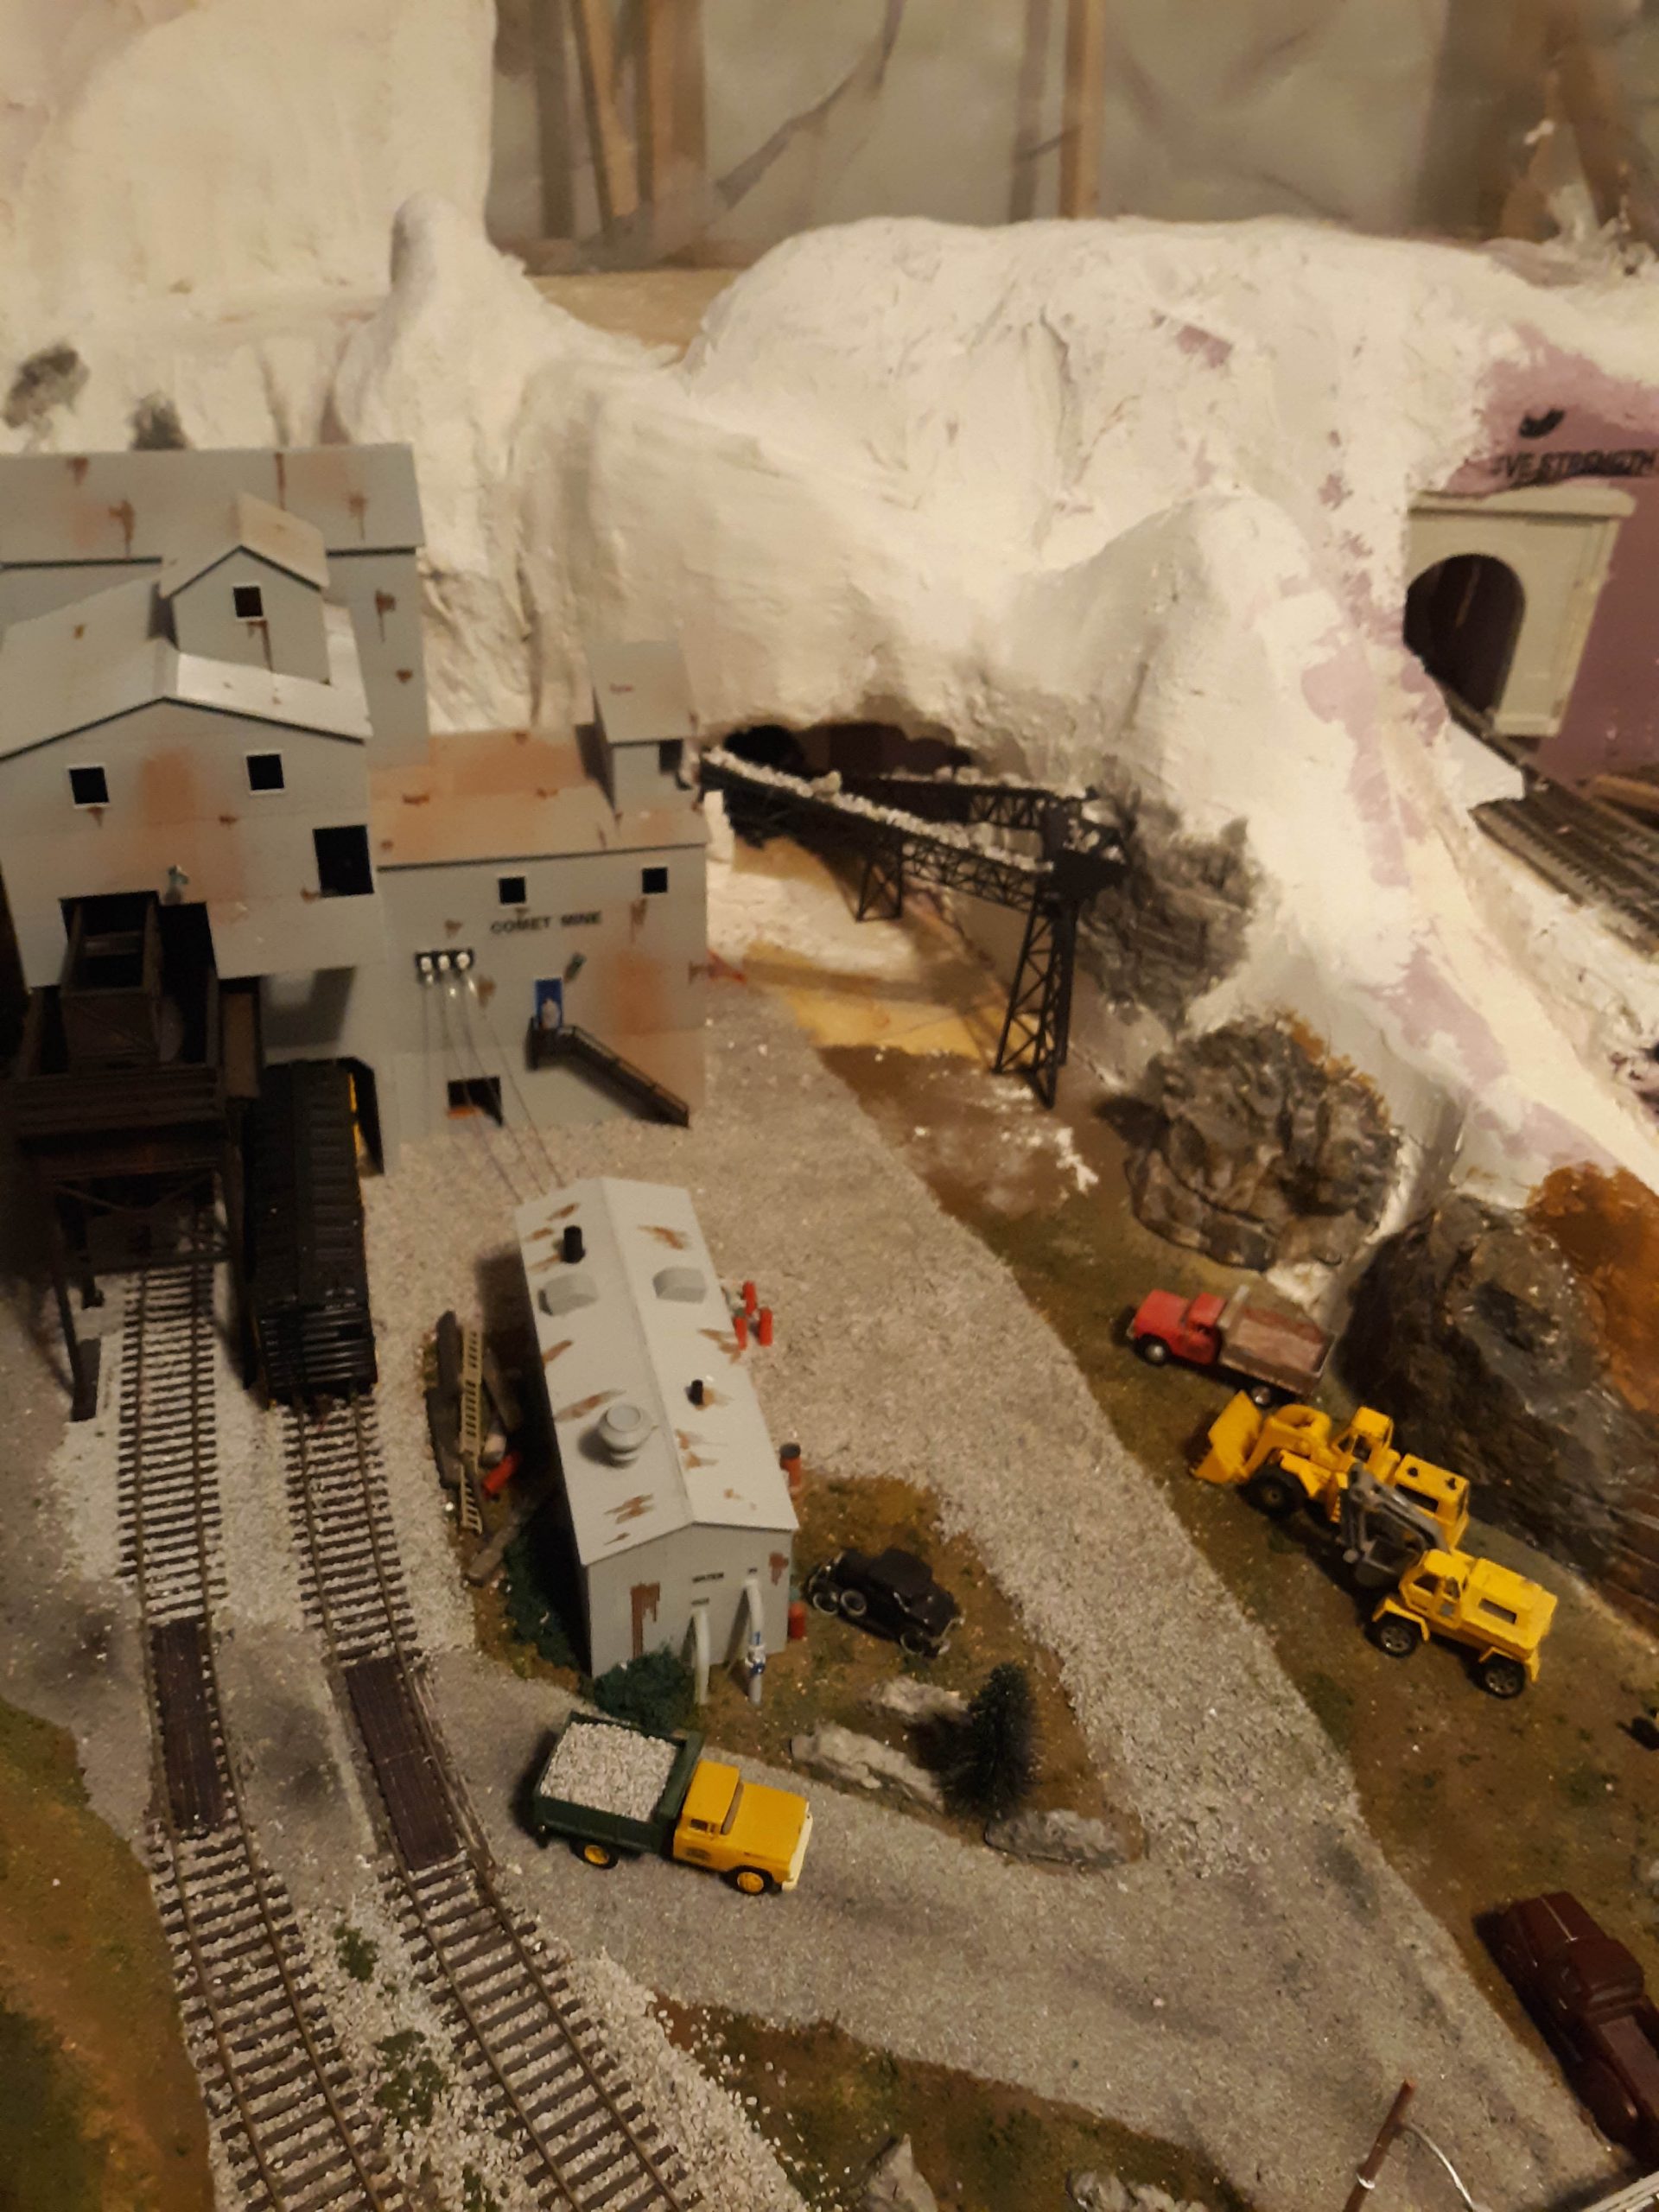
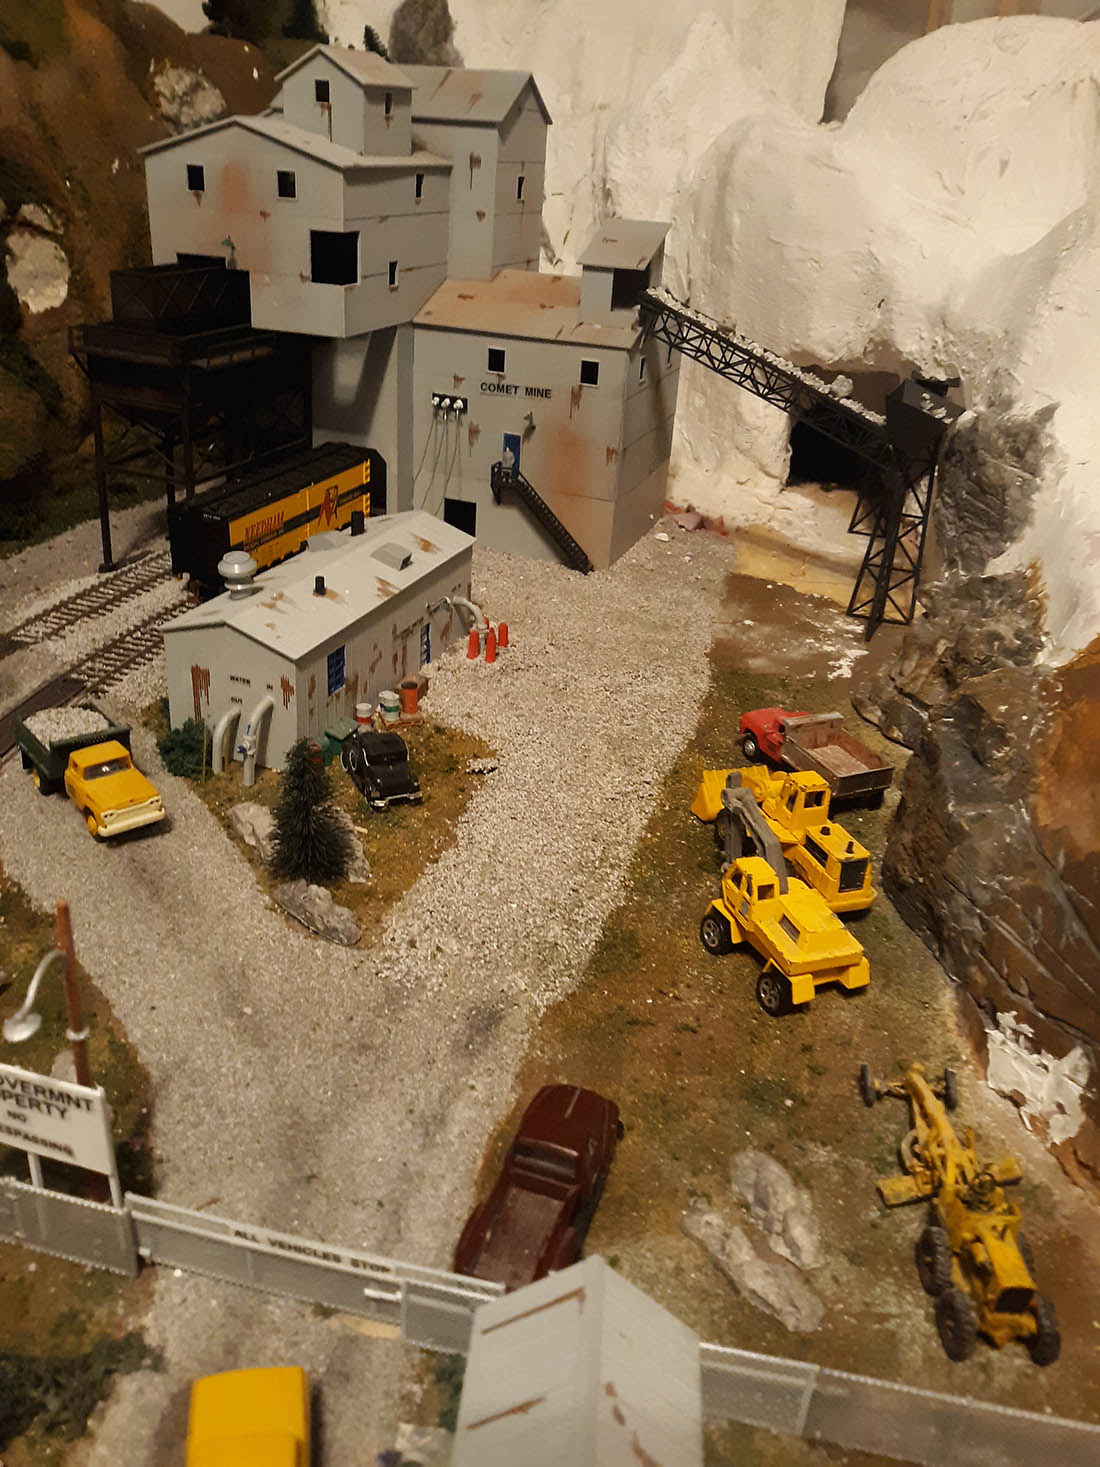
And now on to John:
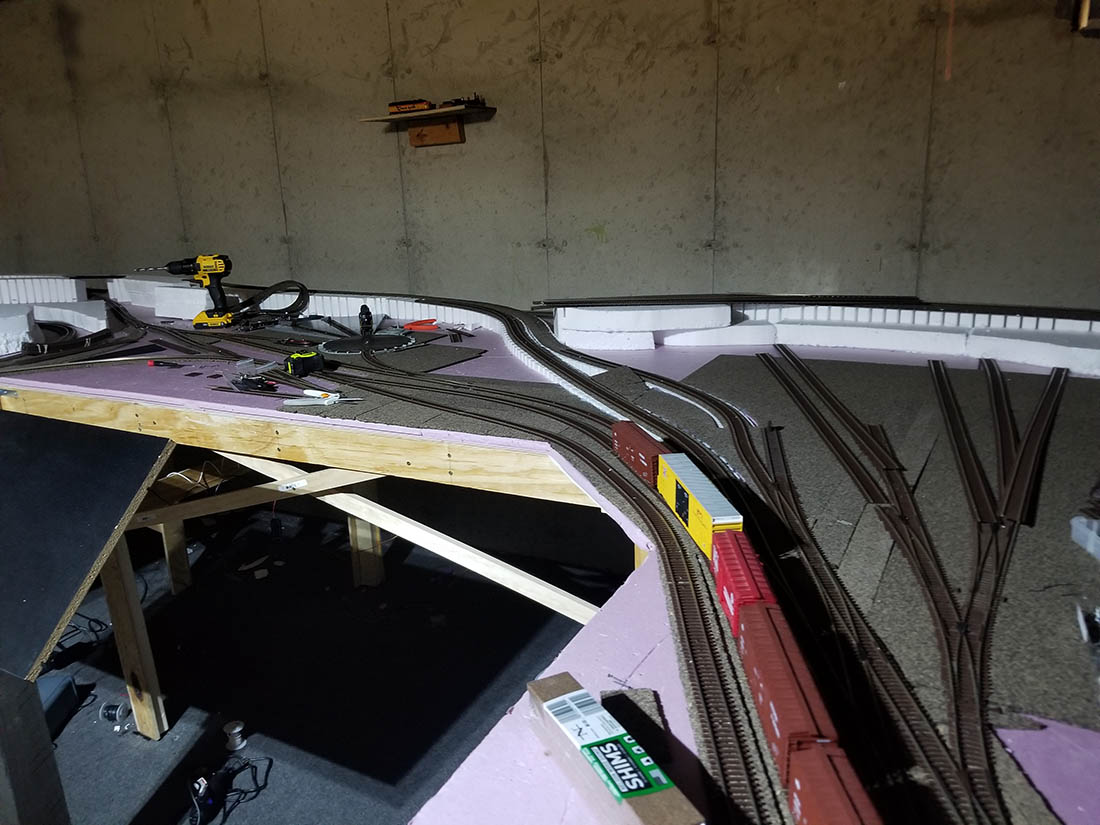
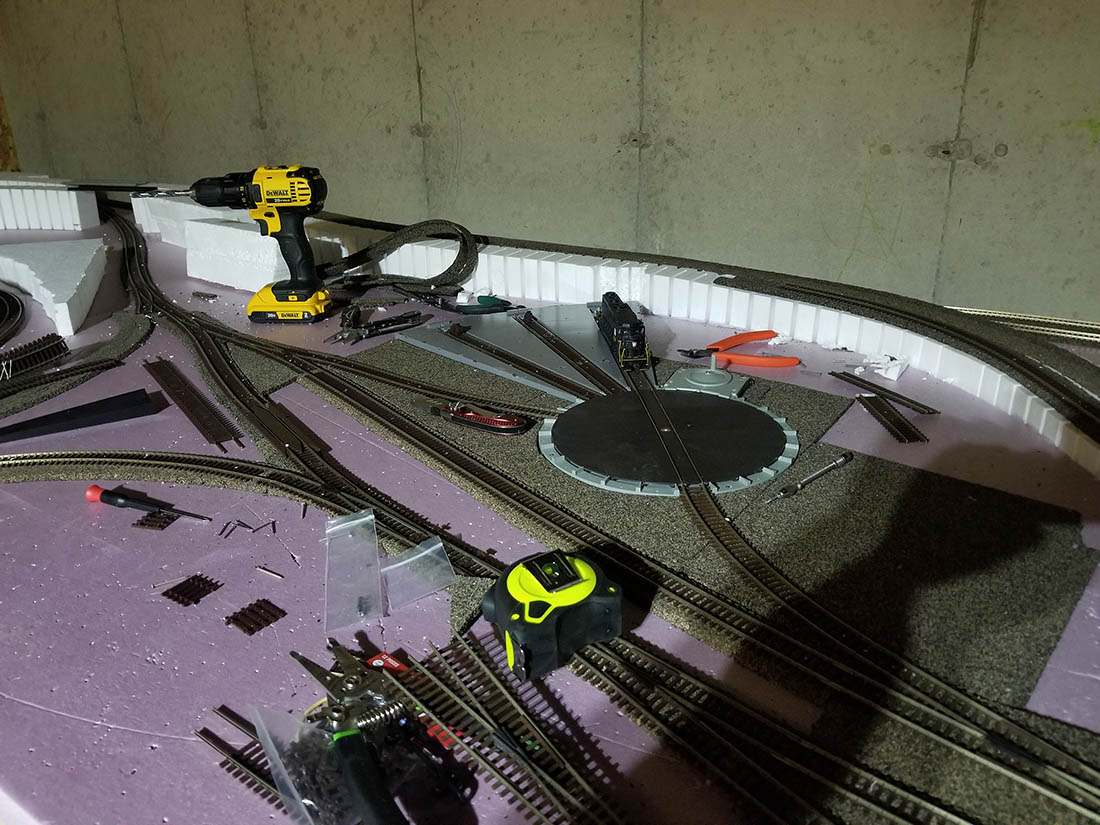
“I have been at this 20×16 layout for almost a year now and i think i finally got the first layer done.
I dont have a “plan” i just know what i want in my head.
My first layout was 4×8 and i realized that for HO this was way to small for everything i wanted and to incorporate the things my dad and i wanted to add to his layout when i was a tadpole.
2 mains lines merge to 1 in the what will be the country, a few sides and a lil train watching and switching, has a bit of everything i guess.
I am from Baraboo WI so the Barnum and bailey circus is in my veins and as a little kid, every day i seen the circus train.
One town over North Freedom has a RR museum and you can ride the old steams, in my mind how can you not love trains lol.
After double the size of my old layout this one seems small too, just never enough room for my imagination.
John”
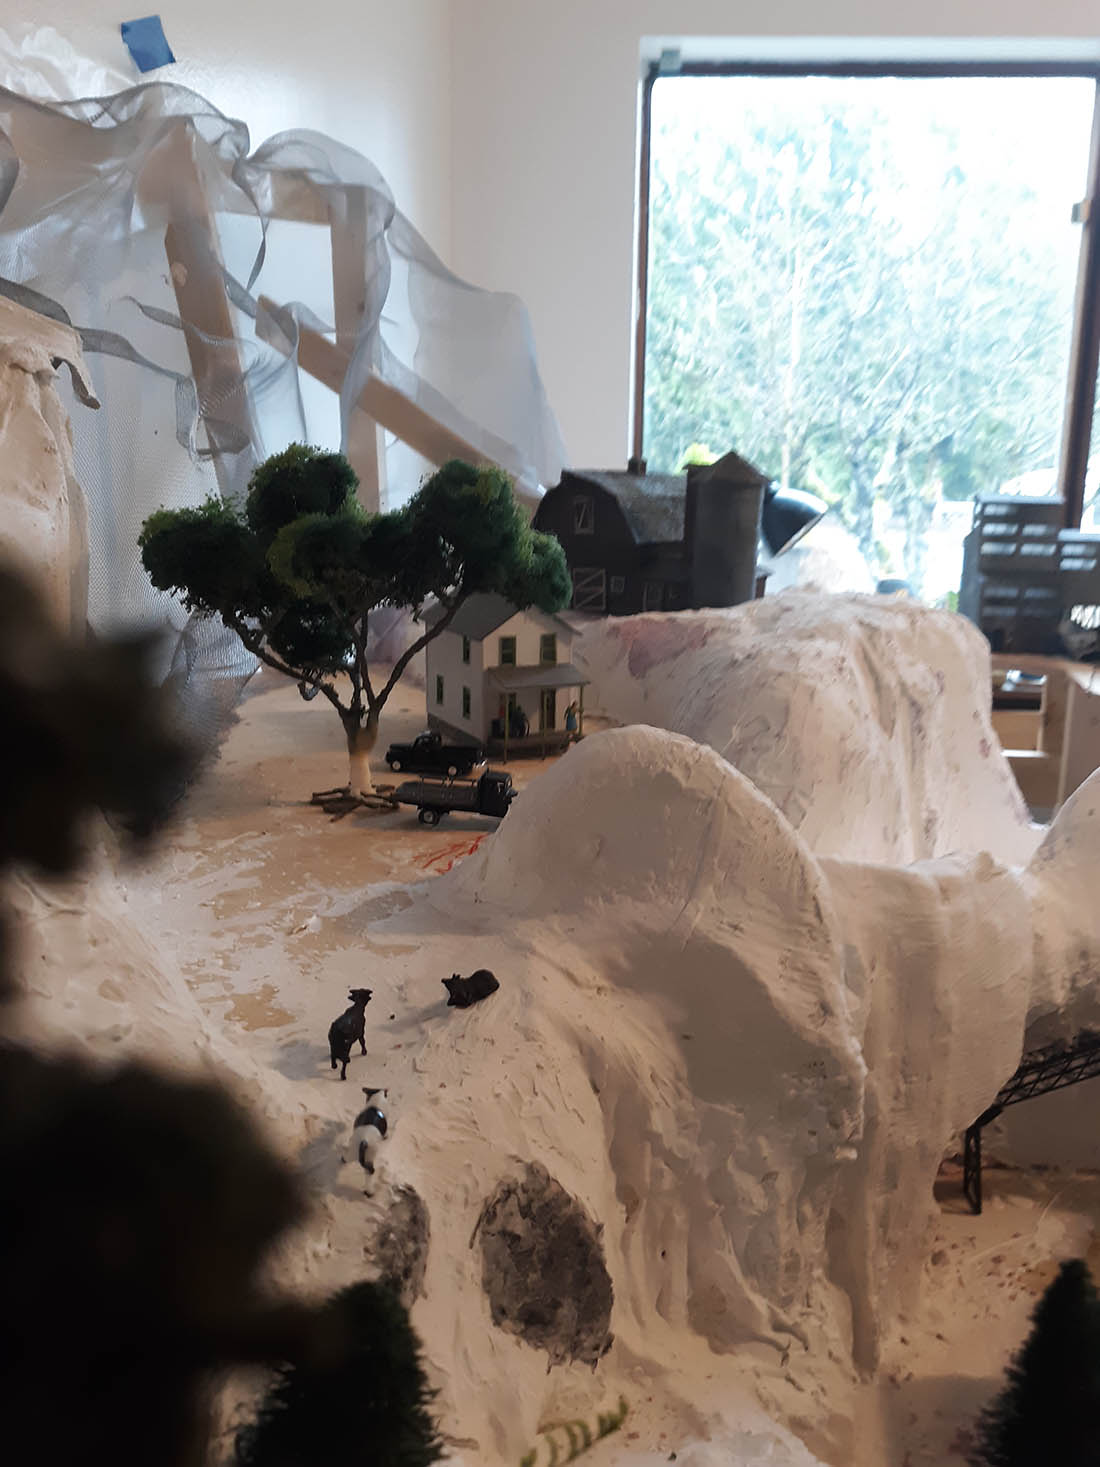
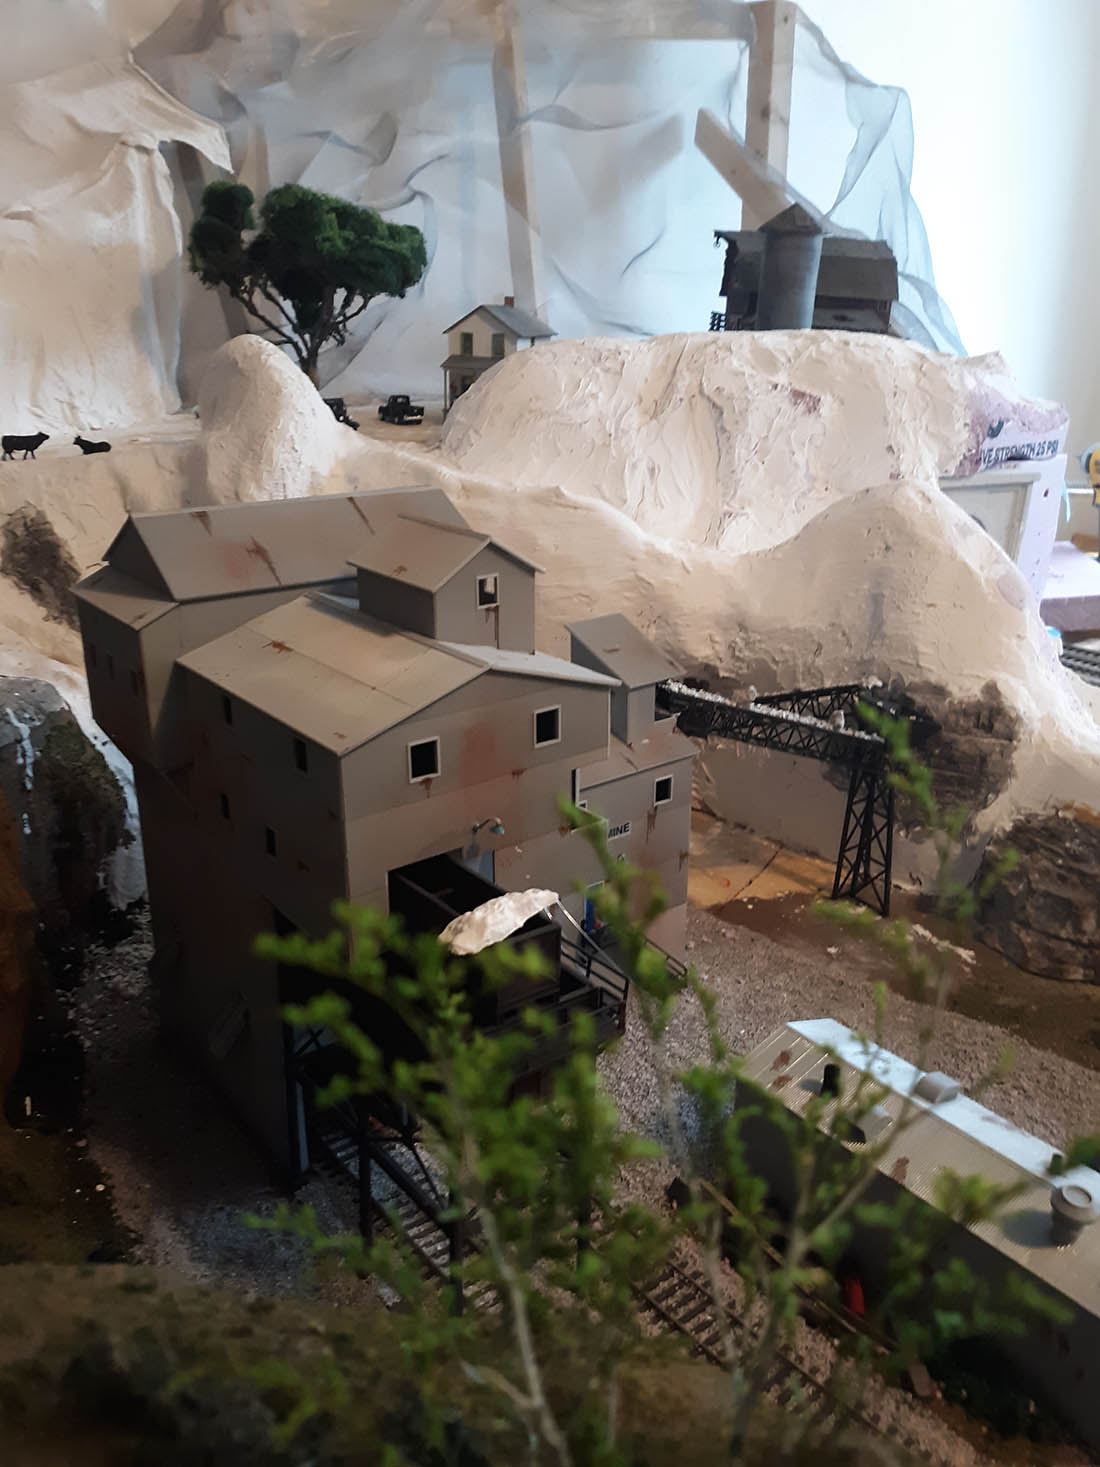
And Lastly on to Wayne, who has been doing as much as he can before he goes on his road trip:
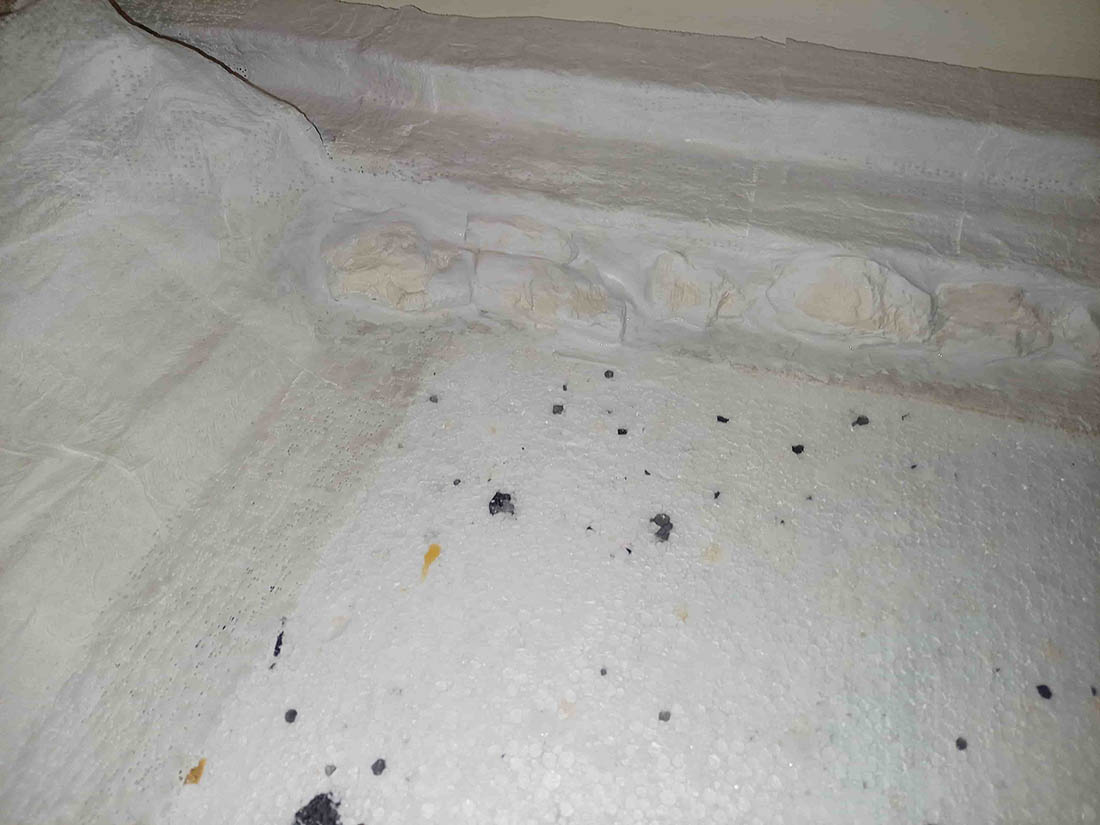
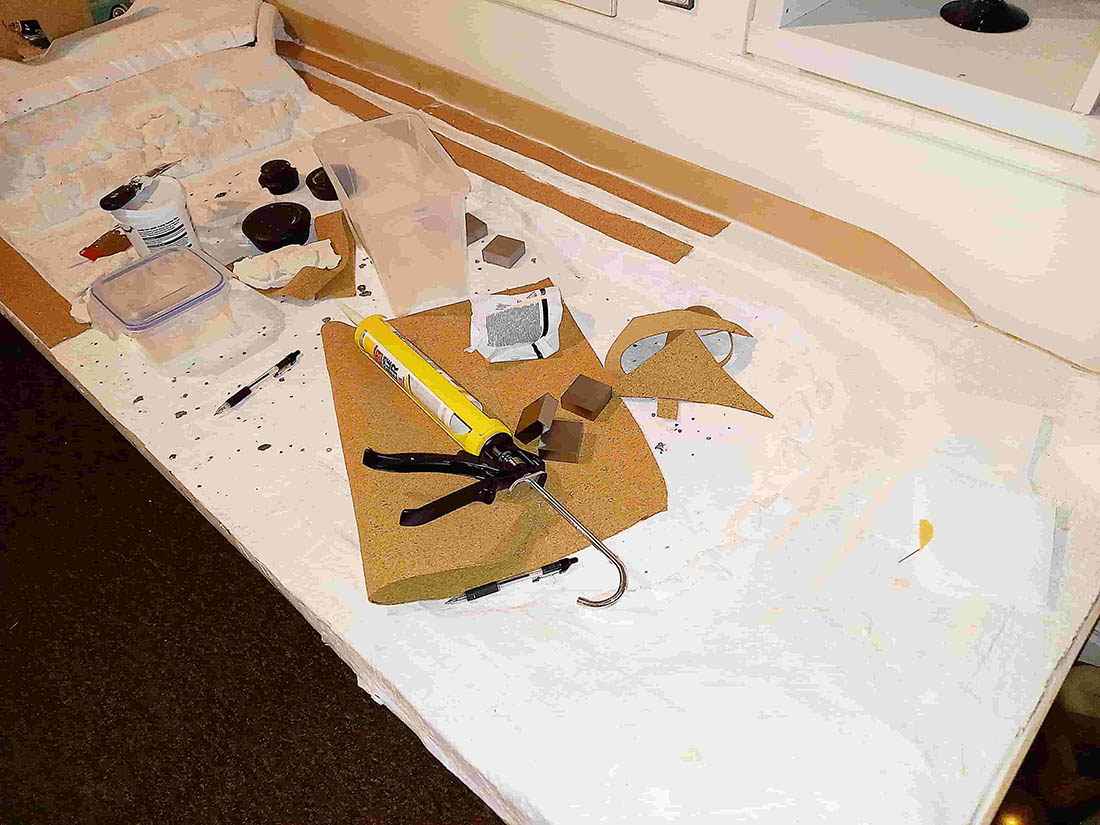
“Sorry Alastair, this is as far I got with the plaster. I just wore out doing this much. I guess the rest will have to wait until I come home in Aug.
I placed the barn, house, and my big tree so you could kind of see what it will look like later on.
Keep up the good work with the postings, I will keep following it on my trip.
The old biker Wayne.”
A big thanks to Wayne, John, and Paul.
I do enjoy seeing a layout come to life. There’s something satisfying in seeing the choas of building, and then the calm of the finished article.
(I know, they are never really ‘finished’.)
That’s all for today folks.
Please do keep ’em coming.
And if today is the day you get going on your layout and join the fun, the Beginner’s Guide is here.
Best
Al
PS Latest ebay cheat sheet is here.
PPS More HO scale train layouts here if that’s your thing.

Paul, why ru going in circles ?
John, ur showing a lot of dead ends.
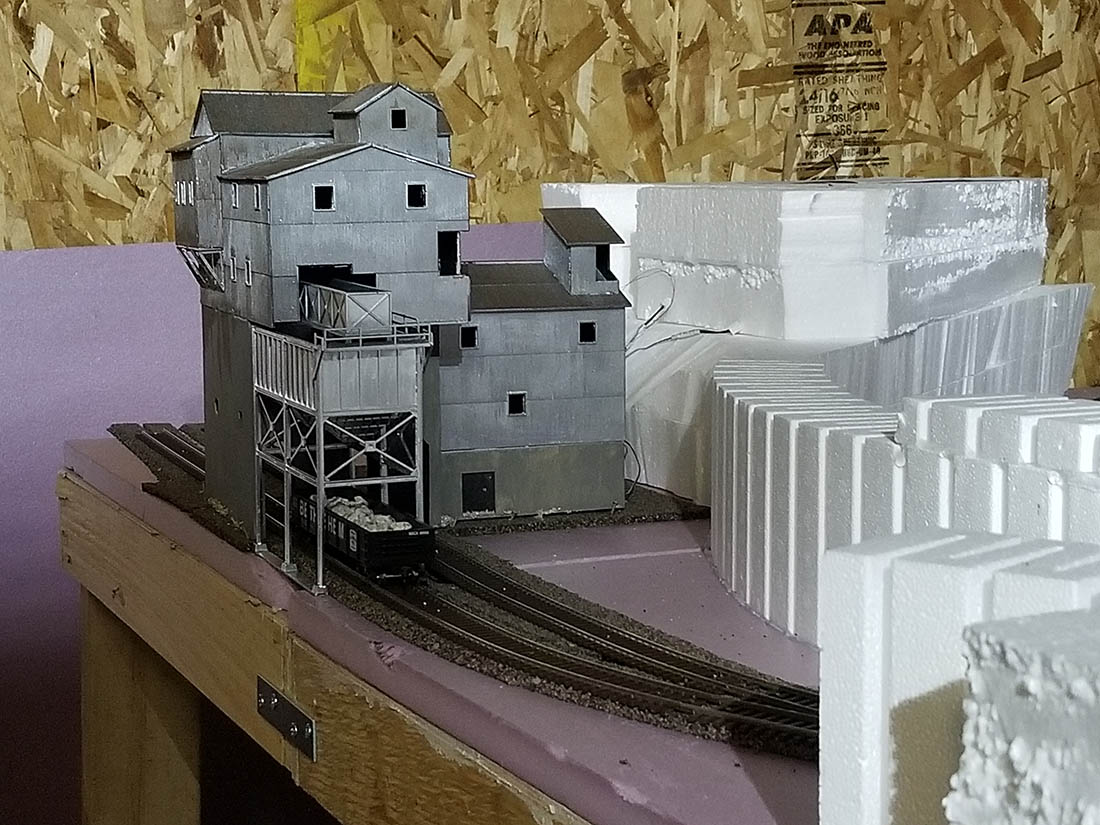
Wayne, why ru always show casing the coal plant sgain and again ?
Continue the long awaited layouts we’re getting anxious.
The Critic
Robert “the critic” its my first layout as i said so im not an expert also it’s how i pictured it in my mind and it’s only half of the actual size the 2nd piece will have a fiddle yard with more switching track so will have more going on i will send in more pictures as i progress
Lots of interesting work and planning shown with these three submissions. Love looking and reading about everything. Looking forward to updates. John
Great stuff all.
Inspiring.
Paul….what’s with all the shoes?????
John…..I don’t know what that building is with the hopper….but you did a great job.
Wayne…… when that’s finished it is going to look great.
Dear Gary M,
I agree and found it puzzling all the shoes sitting around. I figure it is for weight to hold the glue down. Possibly he has a lead foot? Basically a nice set of photos from all the entries.
I have dyslexia and usually just look at the pictures unless I see something I want an explanation for and then will read comments. When I saw all the “feet” items, I thought it was an explanation of how Paul attached human figures to the layout, a carryover from the recent discussion, but things didn’t quite make sense. So I went back and read Paul’s comments and realize these are life-sized items being used to hold down foam as it dries! Dyslexia makes things so much more interesting… 😀
Ruben you are correct i have a collection of cast iron cobblers shoe lasts and they come in very handy for weighing things in place whilst the glue sets as i glued the foam to the mdf board the shoes kept weight on till it was stuck
Paul, It appears the center portion of your layout has a one way in, and no way out??? What am I missing here??? That is never a good idea when running trains. I’m sure it’s not the other way around or the center would be a lovely still life. IMHO, your layout needs more design before building mountains and track laying to avoid having to re-do everything as you progress.
I can see that model railroading requires that you give it your heart and soul!
I’m admiring the thought, preparation and creativity that everyone has. All great stuff.
What has worked for me is not to fix everything in place until I’m sure it is what I finally want and it works or flows. I leave flexibility to reflect and change/move things. What I thought looked good on Monday , I might not like on Friday.
One learns by ones mistakes and that is one part of this great hobby. It seems that whenIi finish something there is almost a calling for the next phase.
Looks Good.!!!!
About John Hauser’s comment about flexibility, change and moving things. What looked good on Monday you might want to change on Friday. When I first stared my layout, I began with a six track passenger yard with signals and turnouts. Two years into my project I am changing the passenger yard adding magnetic uncouplers on each track and adding a block at the beginning of each track. This is so I can uncouple and engine, move it into the engine yard and pull out another engine to head that train. I am also upgrading and modifying all my low home yard signals. As modelers have said before me, your layout is never finished. There is always something to add or change or modify. This is why model railroading is a life long hobby…….there is never and end.
So glad to see someone else dubling in Z scale. No layout yet but I’m coming up with an idea and getting the rolling stock together….
A great start Paul – keep up the good work and I look forward to seeing your progress. The shoe look like a last – A last is a mechanical form shaped like a human foot used by shoemakers in the manufacture and repair of shoes. They are heavy and make good weights. Andrew in Oz
Ted martin you are correct unfortunately i only had room to run one track into the inner loop i did want to run another track out but because of different gradients i couldn’t i guess i can always back a train out lol but seeing how the inner loop is isolated and i always intended to just run a train round that separately im not to worried and Thanks Andrew in oz
Starting a first layout with “Z” scale? Now that’s a challenge.
Paul, I see you have a lot of foot traffic on your layout. It’s a bold approach, people may question it, but if that is your stance, go for it.
(By the way, I won’t complain about all the circles, but it may be a nightmare getting it to run smoothly. If you have the skills, go for it.)
Keep us posted. I want to see how this works out for you.
Hi Al,
As a beginner, I’ve been working on my first layout for nearly one year.
A few weeks ago I’ve uploaded 3 photos and got a few comments. I looked at the comments very seriously and today, I decided to start all over again.
Instead of too many curves and a few straight lines, that course my loco’s to run very slow, and not a continuous run.
I m adding 3 photo’s of the layout before I take it apart…will mail them,
awaiting your comment,
thanks very much (also for the daily mail, it is 1st class lesson for me)
well done
As long as I have read this blog (years now) “The Critic” has continued to find fault with many, many layouts.. I am calling out “The Critic”, post YOUR layout.
This is at least my 4th request……POST YOUR LAYOUT……
TJK.
Look like you got a plan there!