Steve’s added to the O guage layouts on the blog:
“Al,
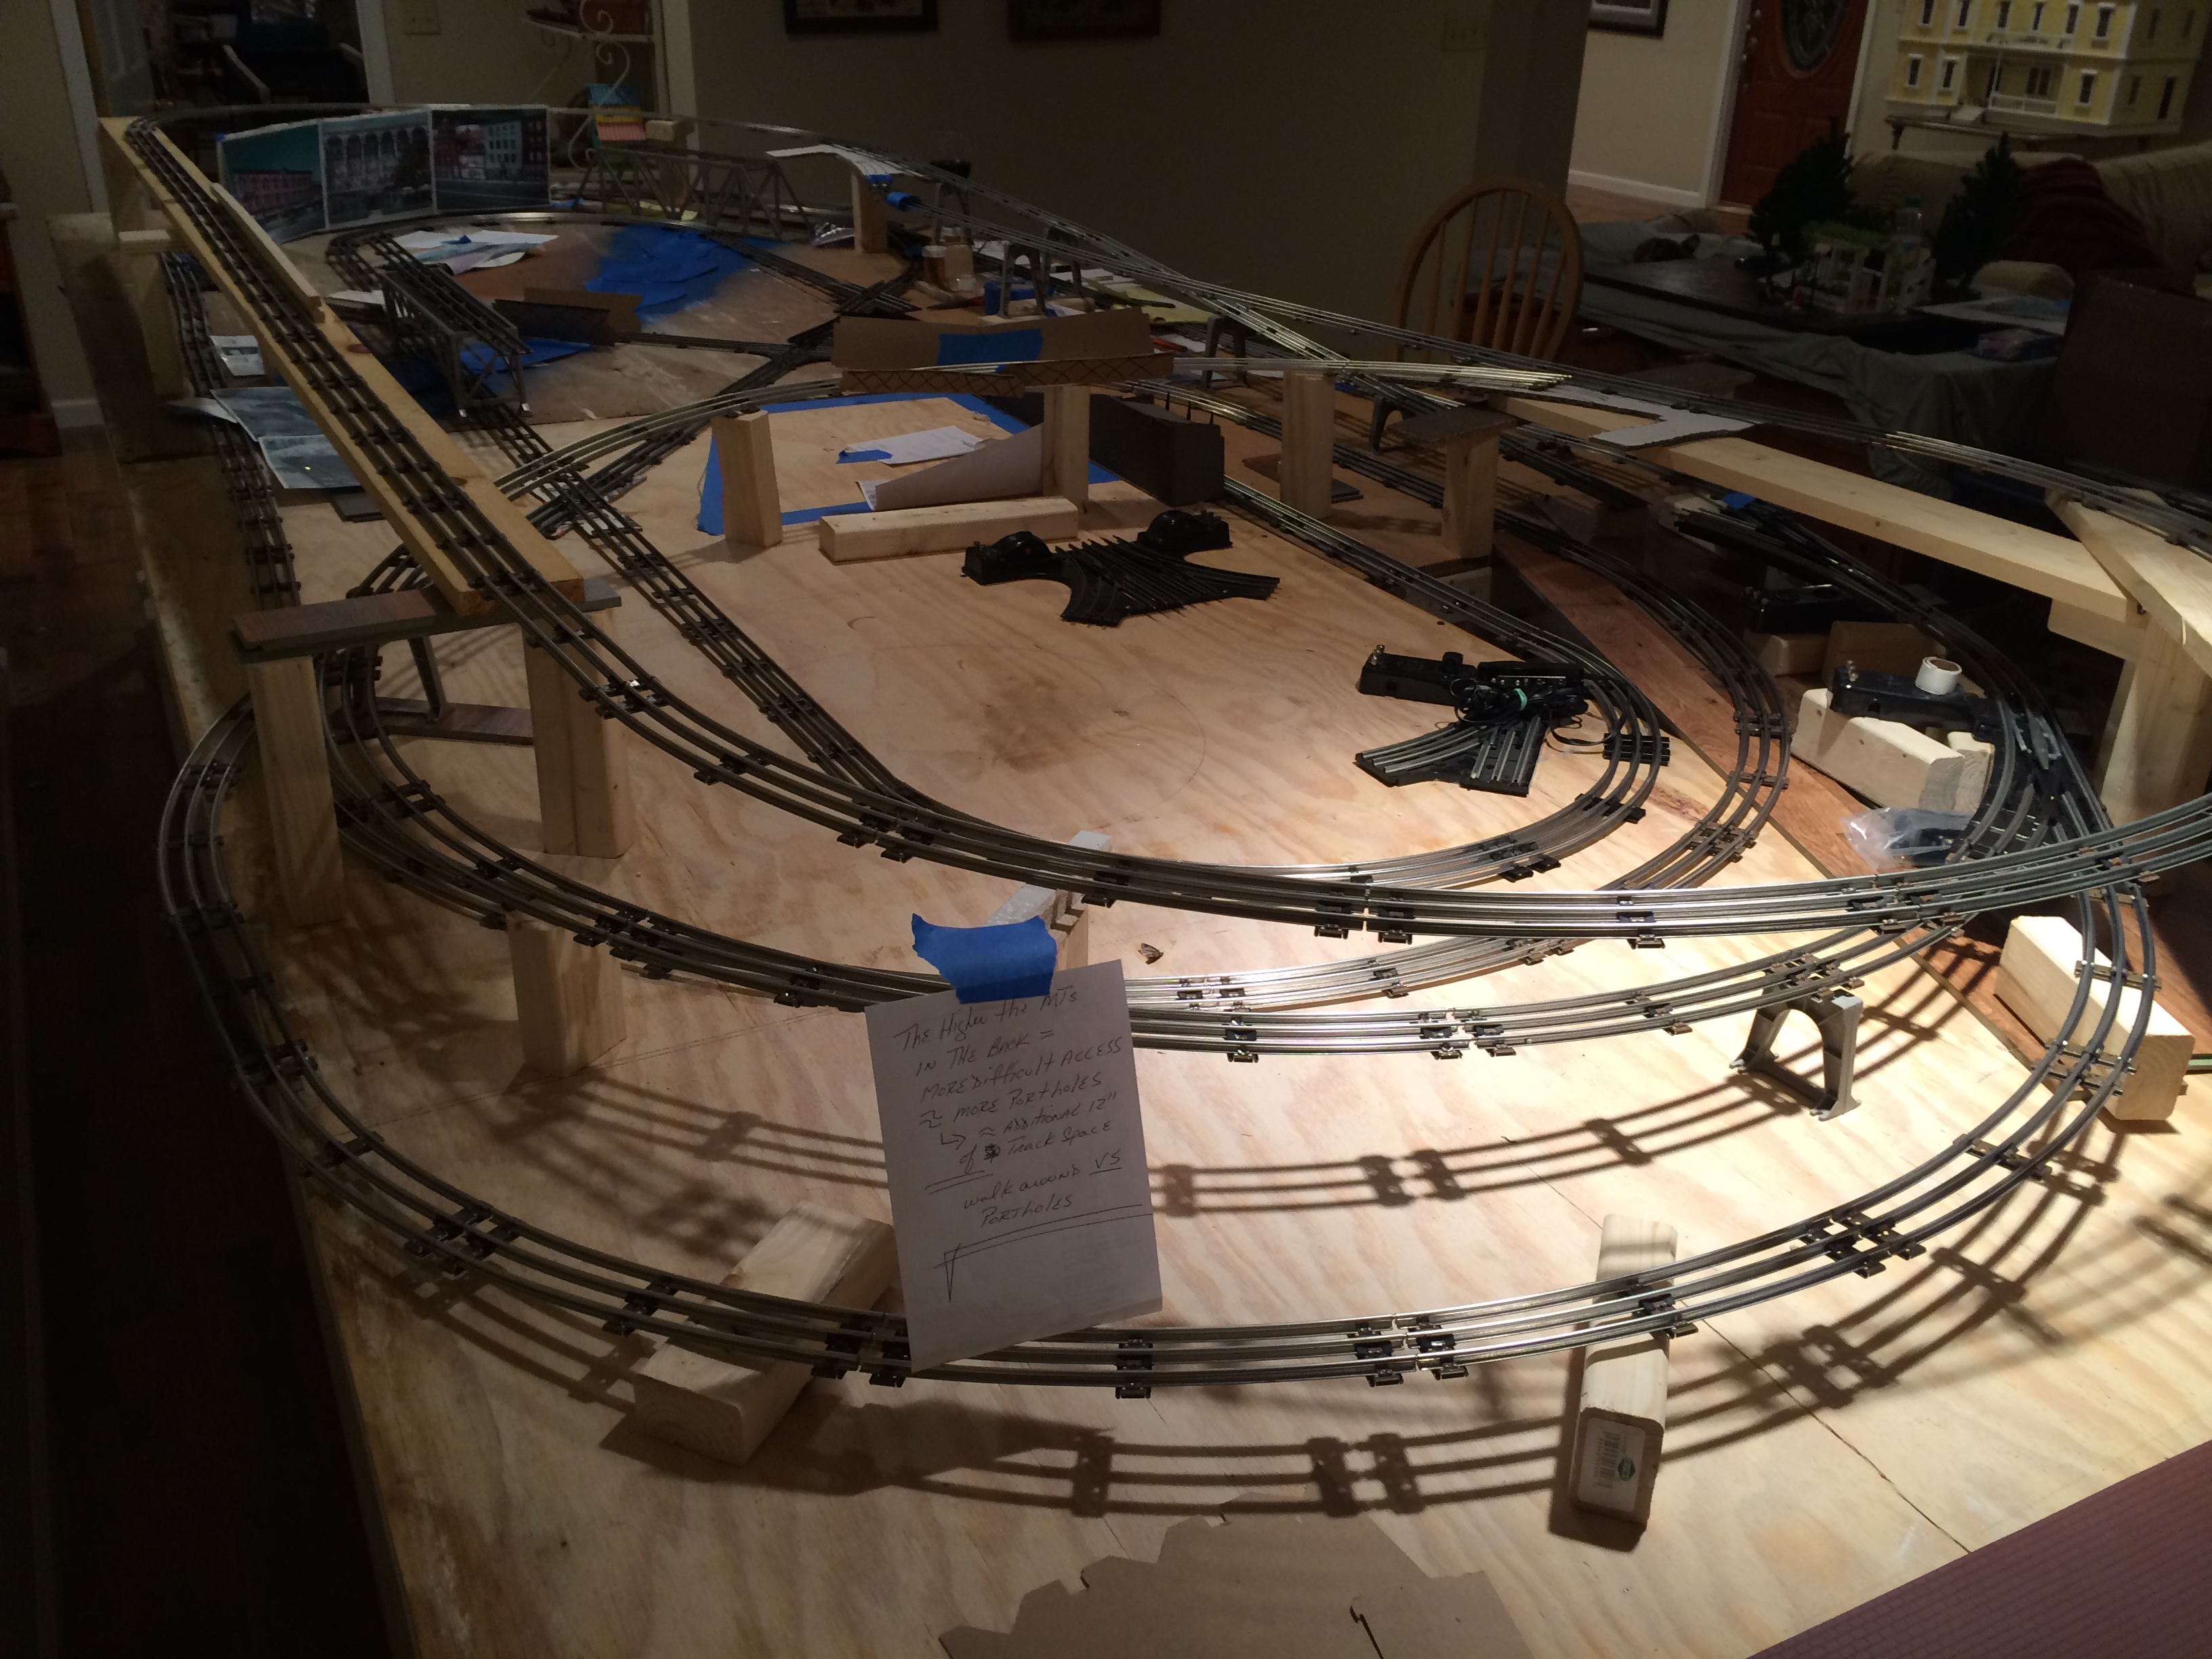
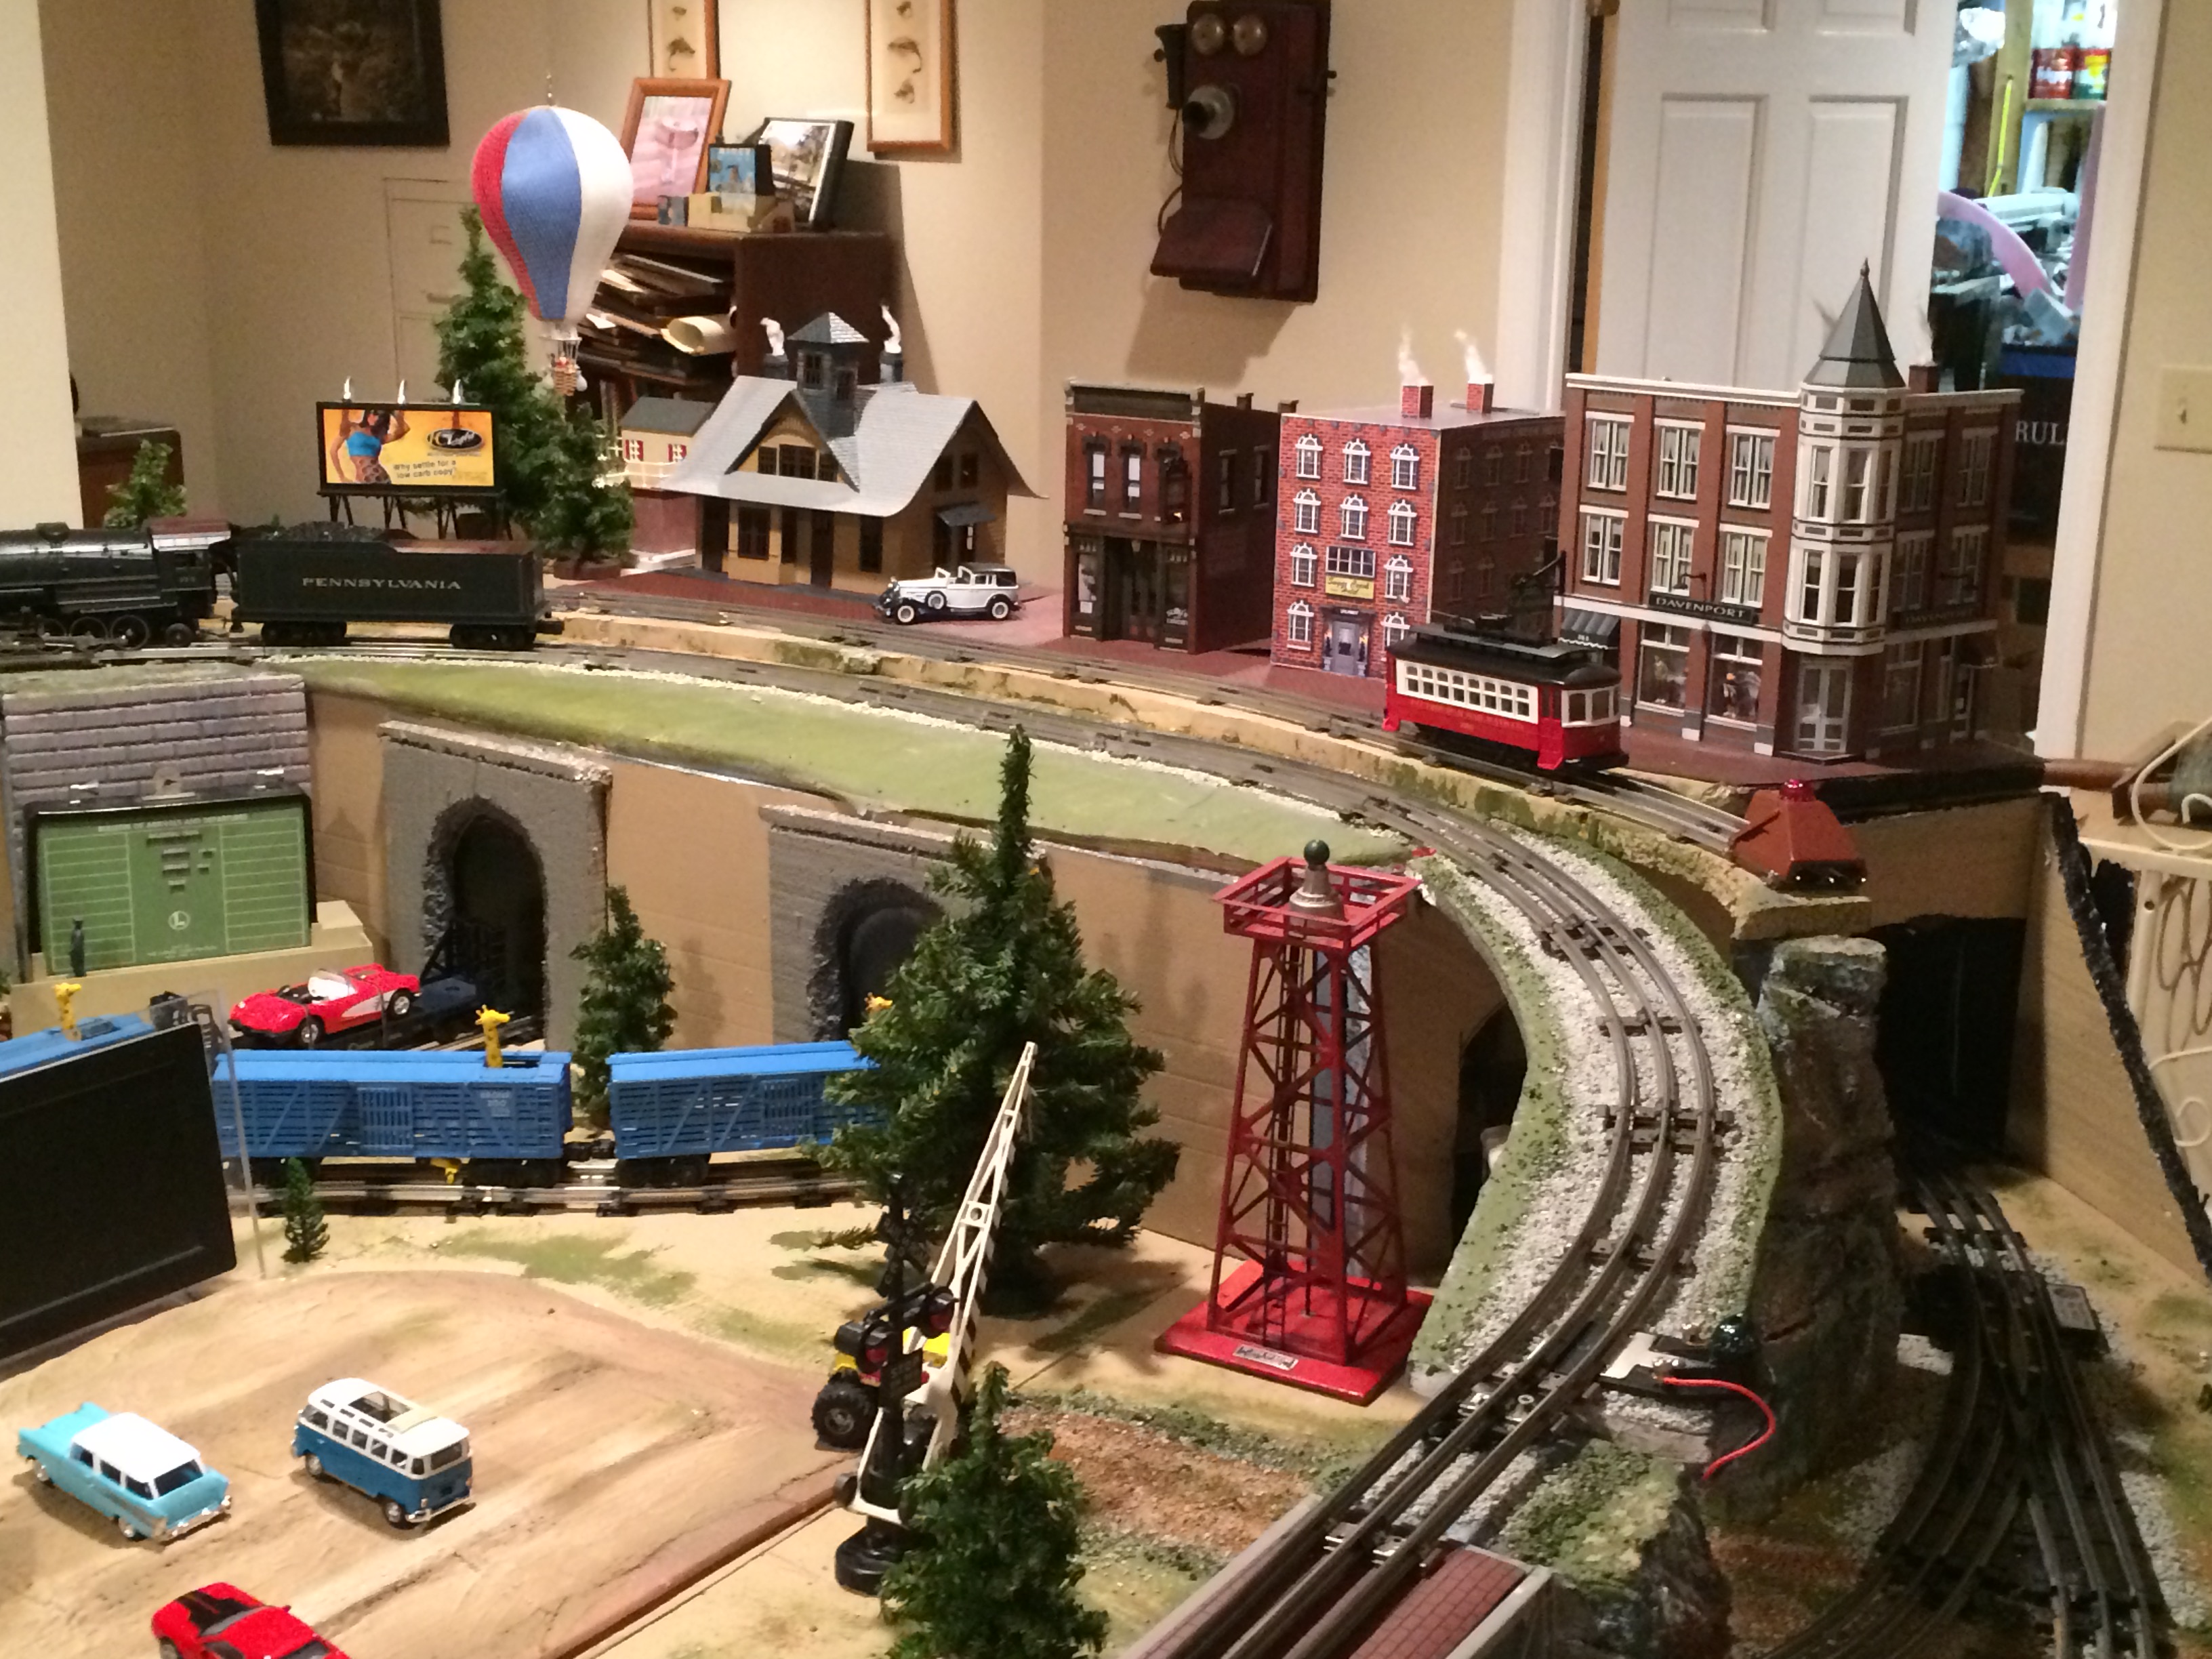
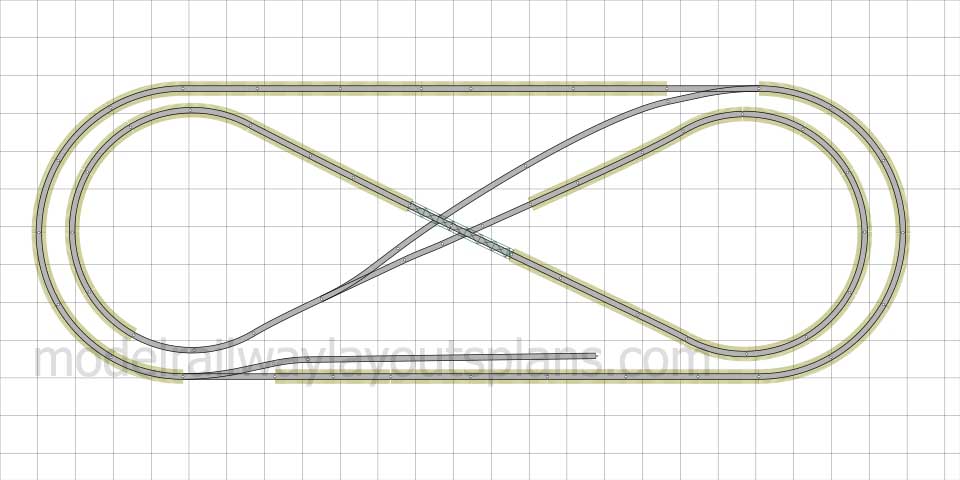
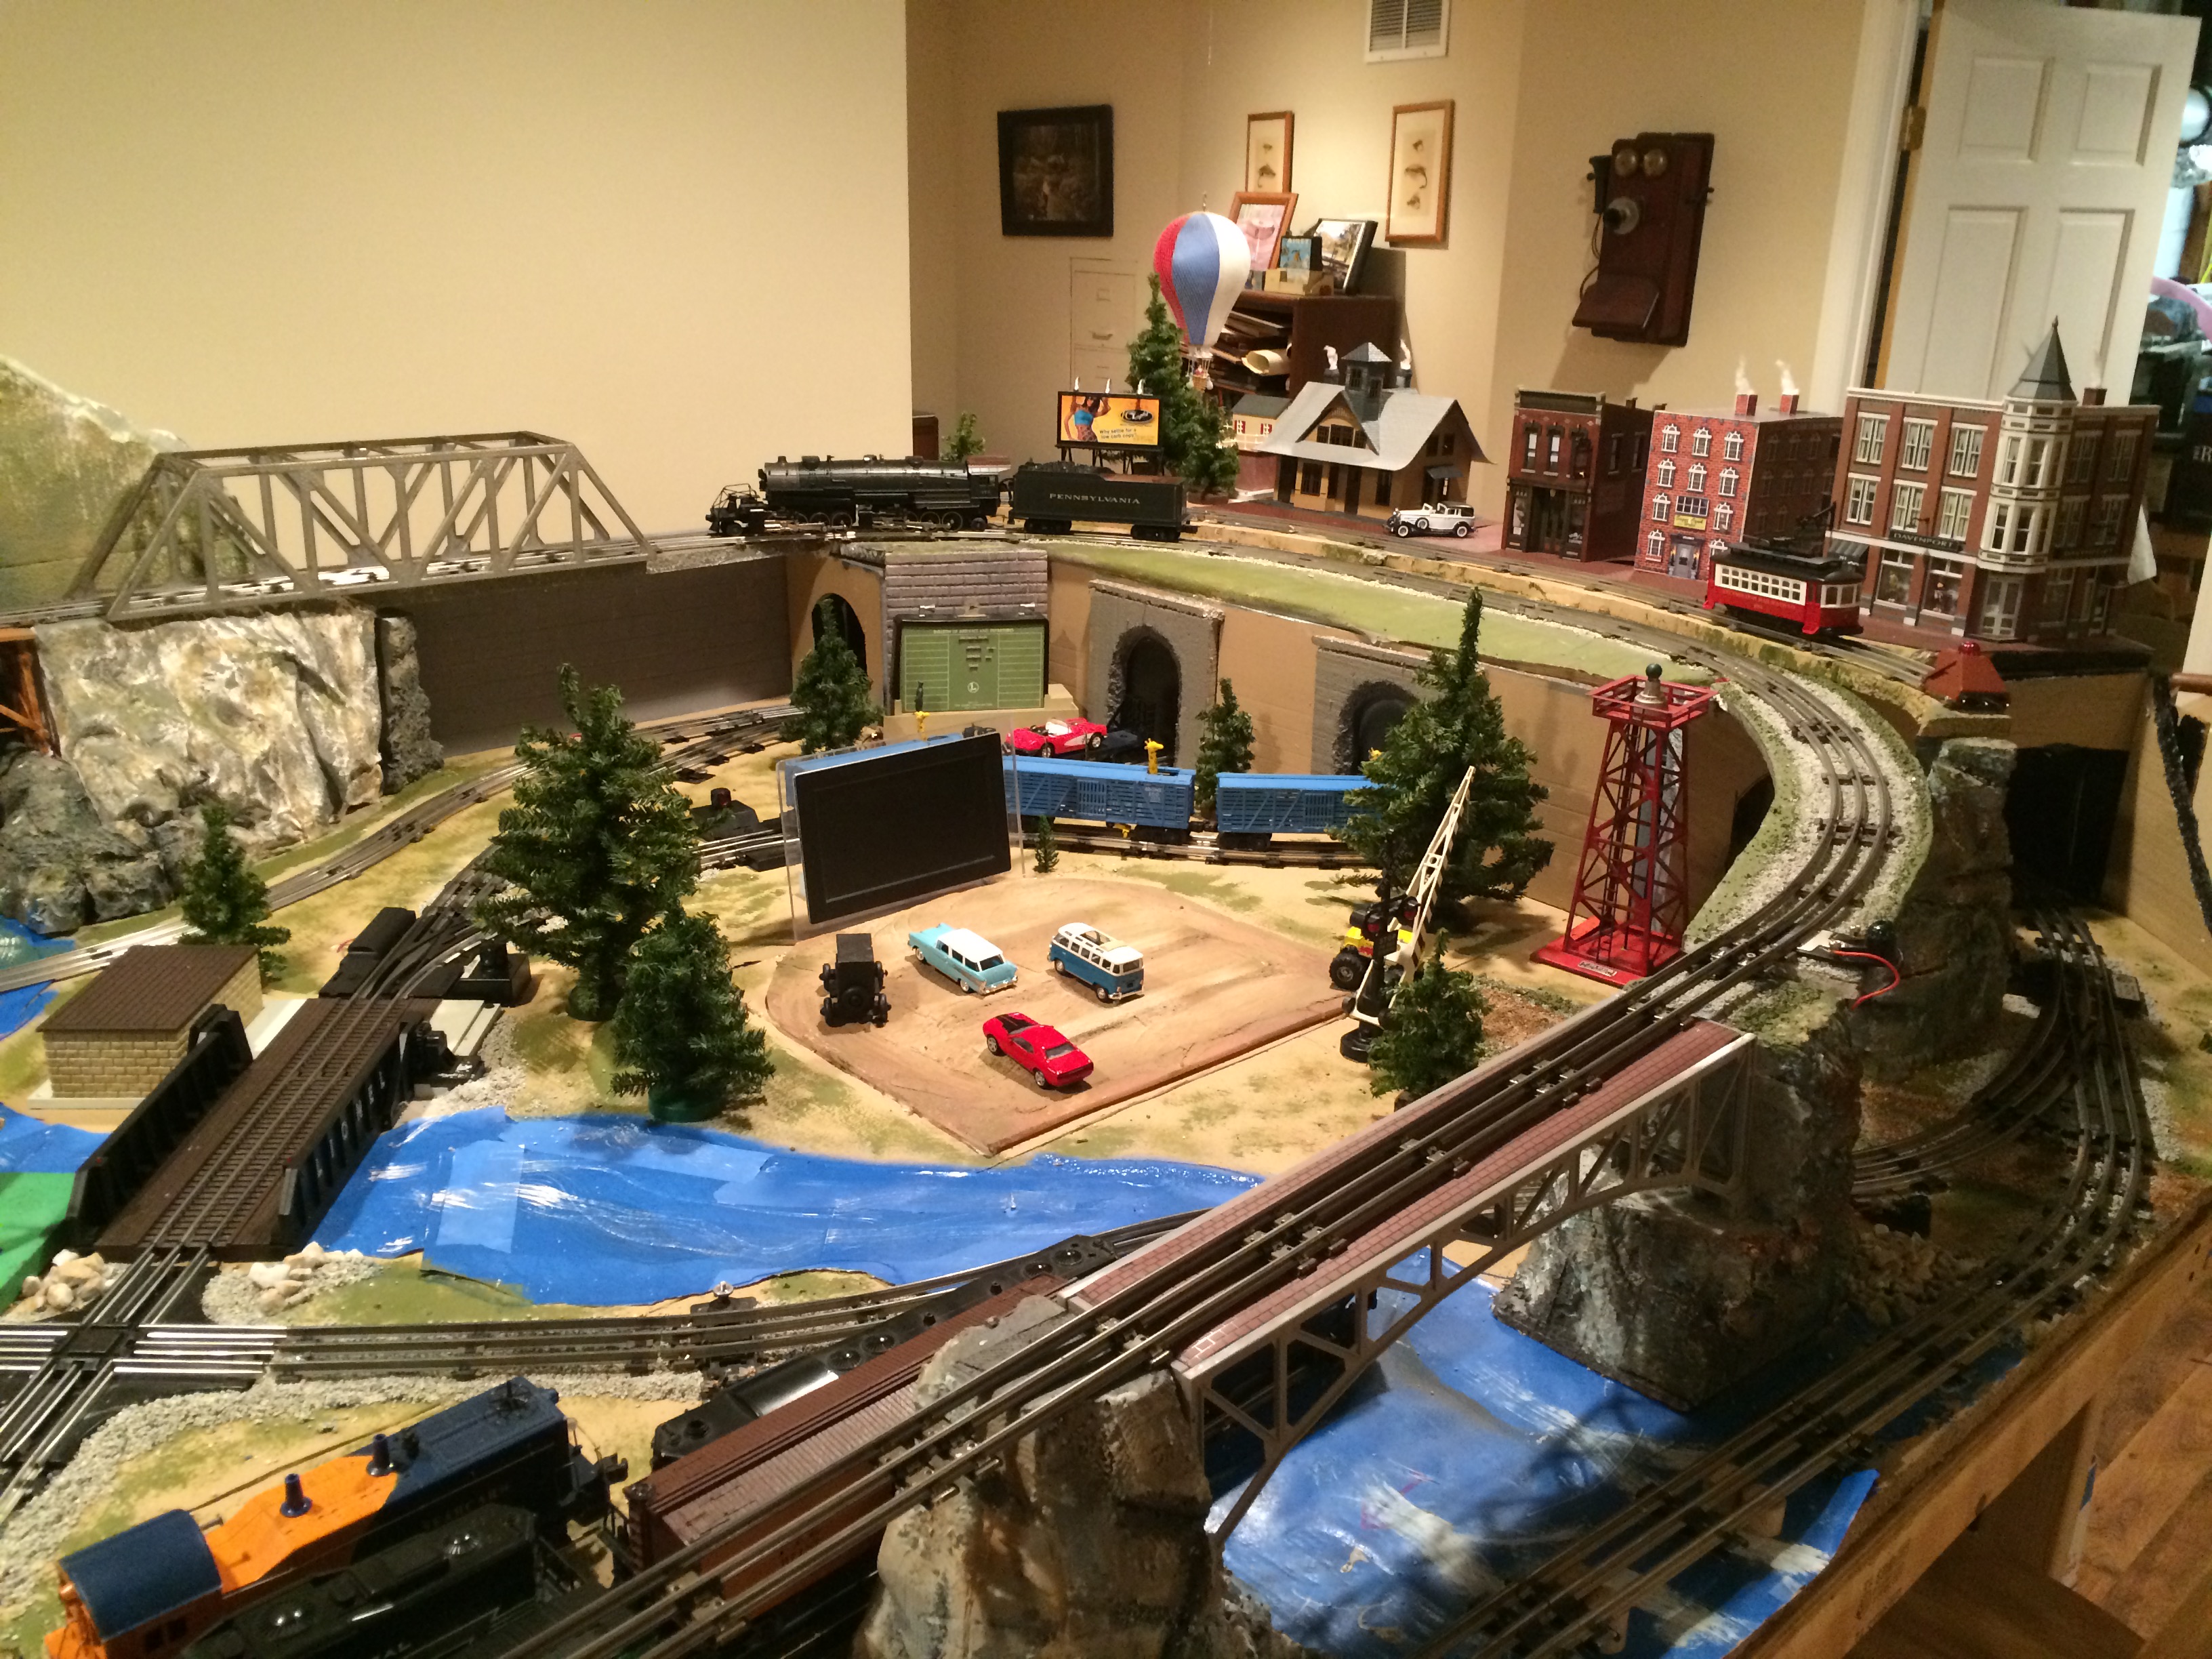
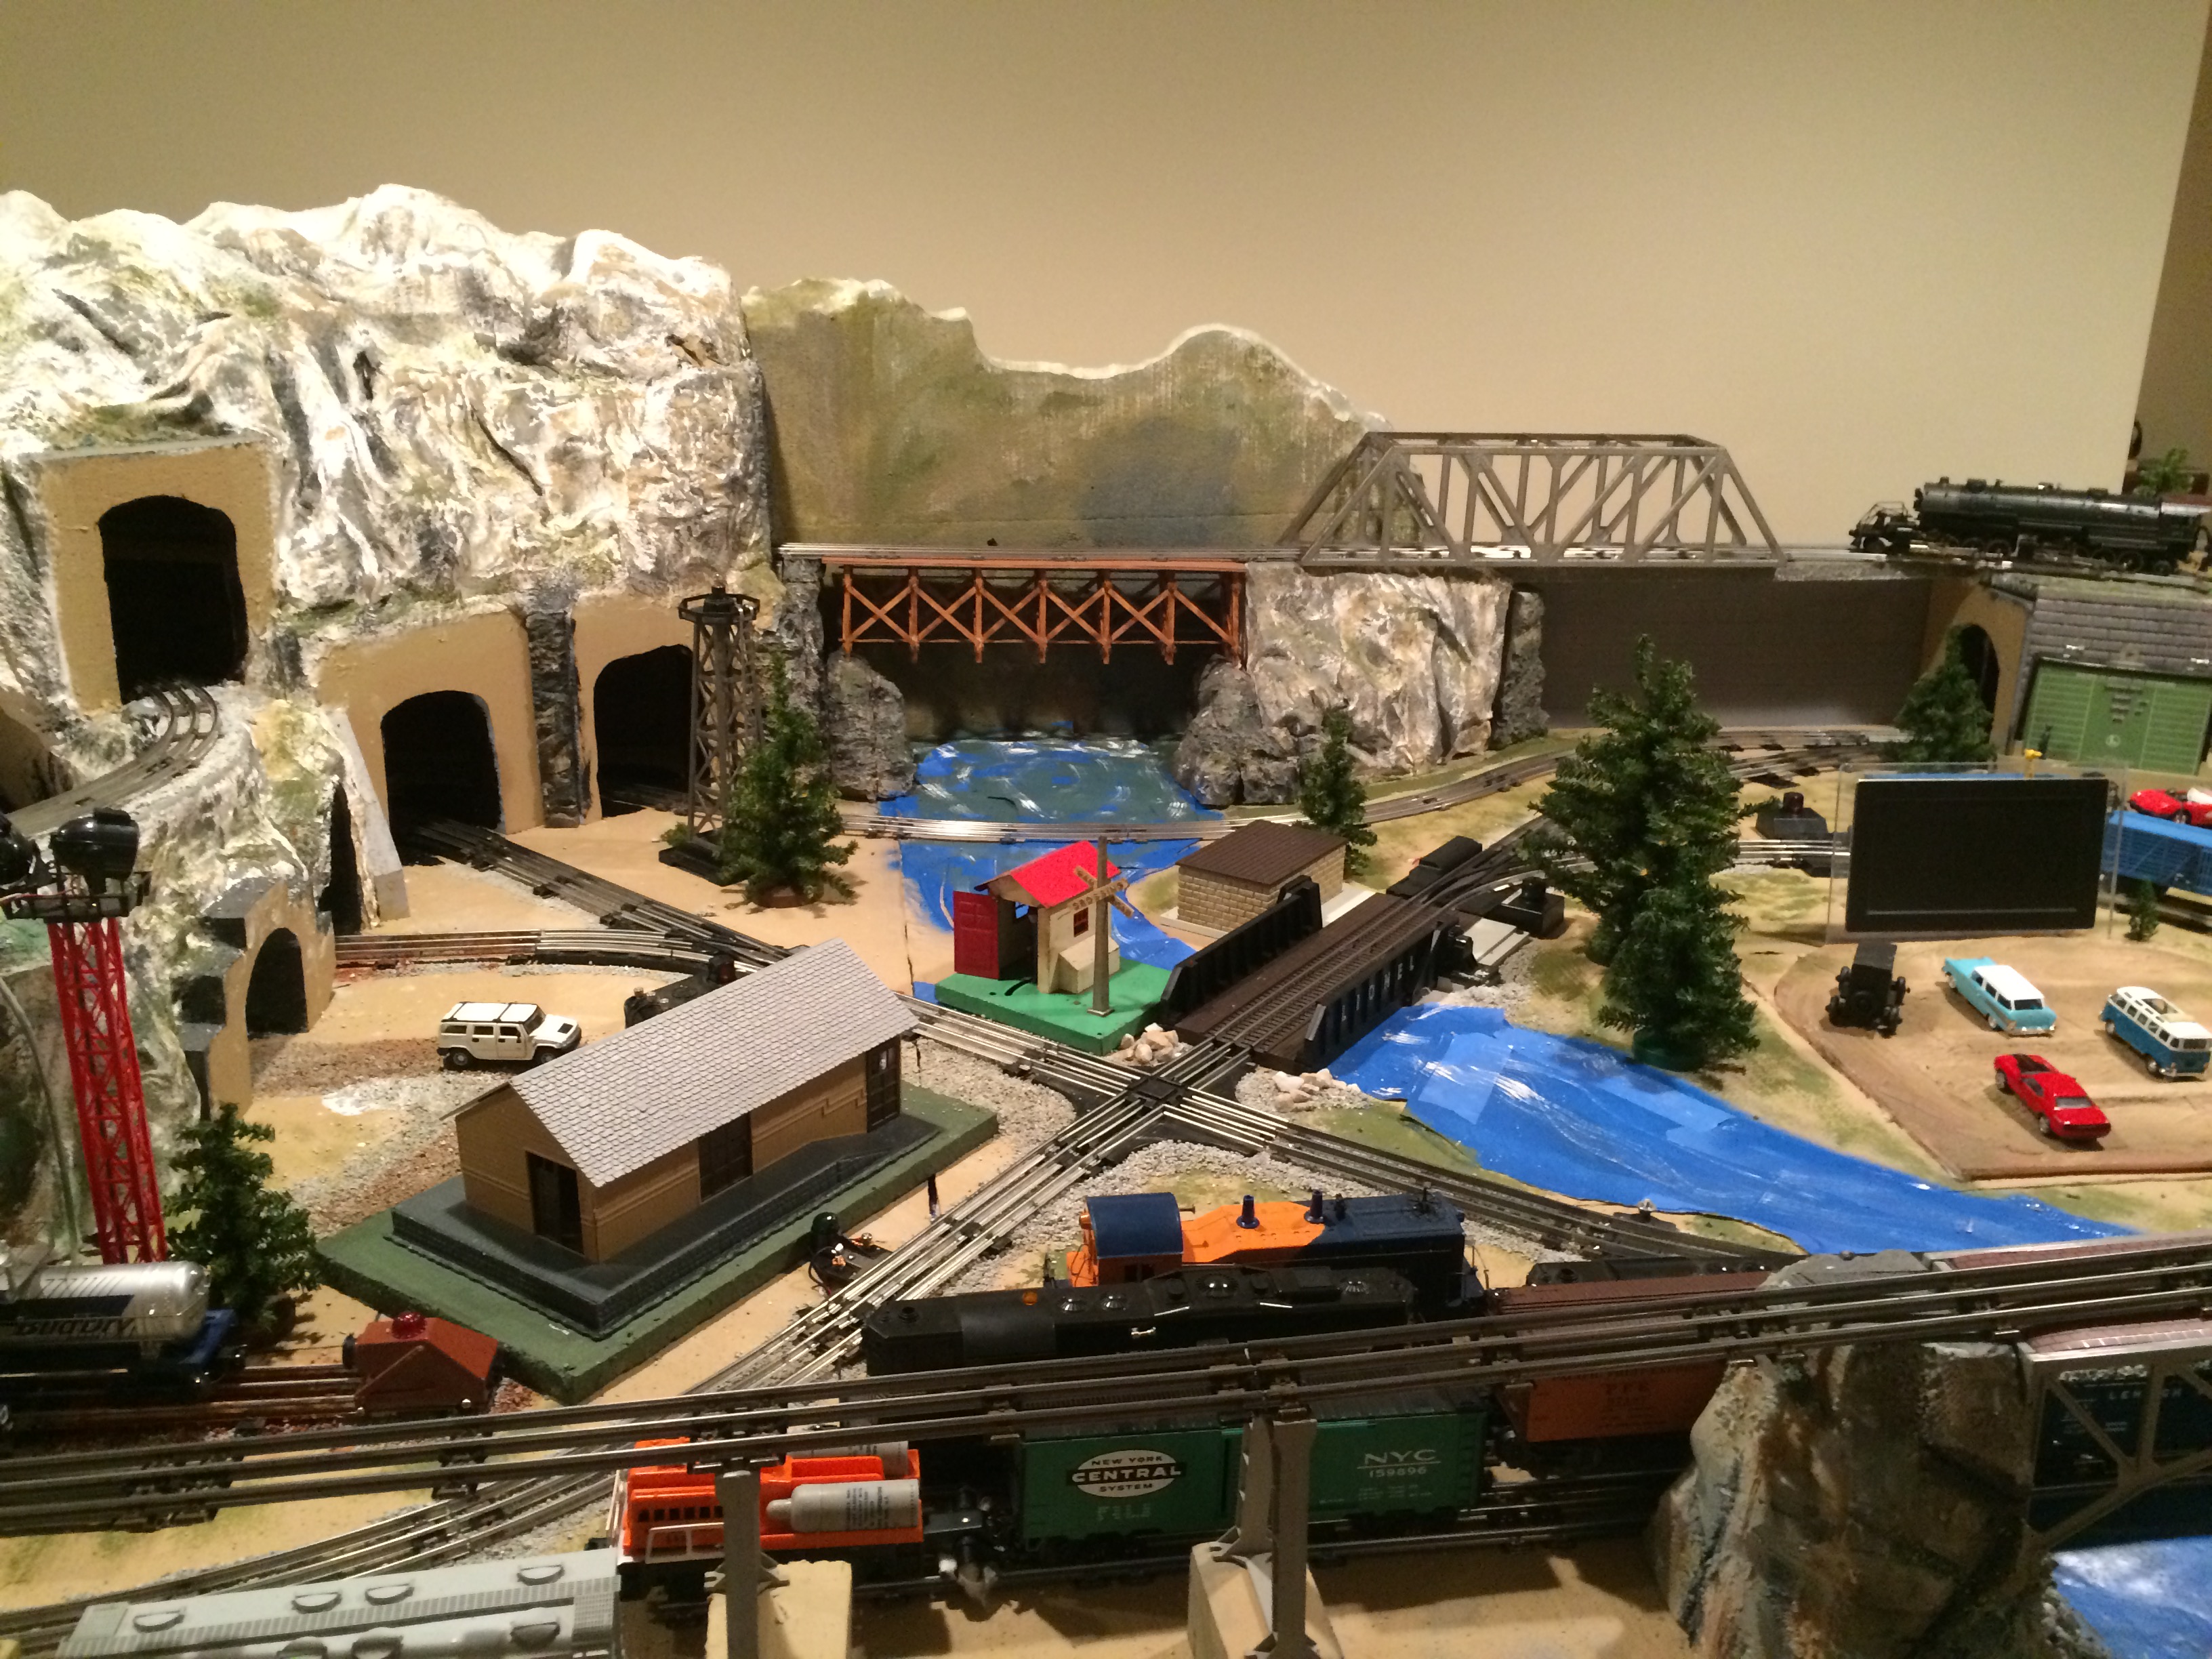
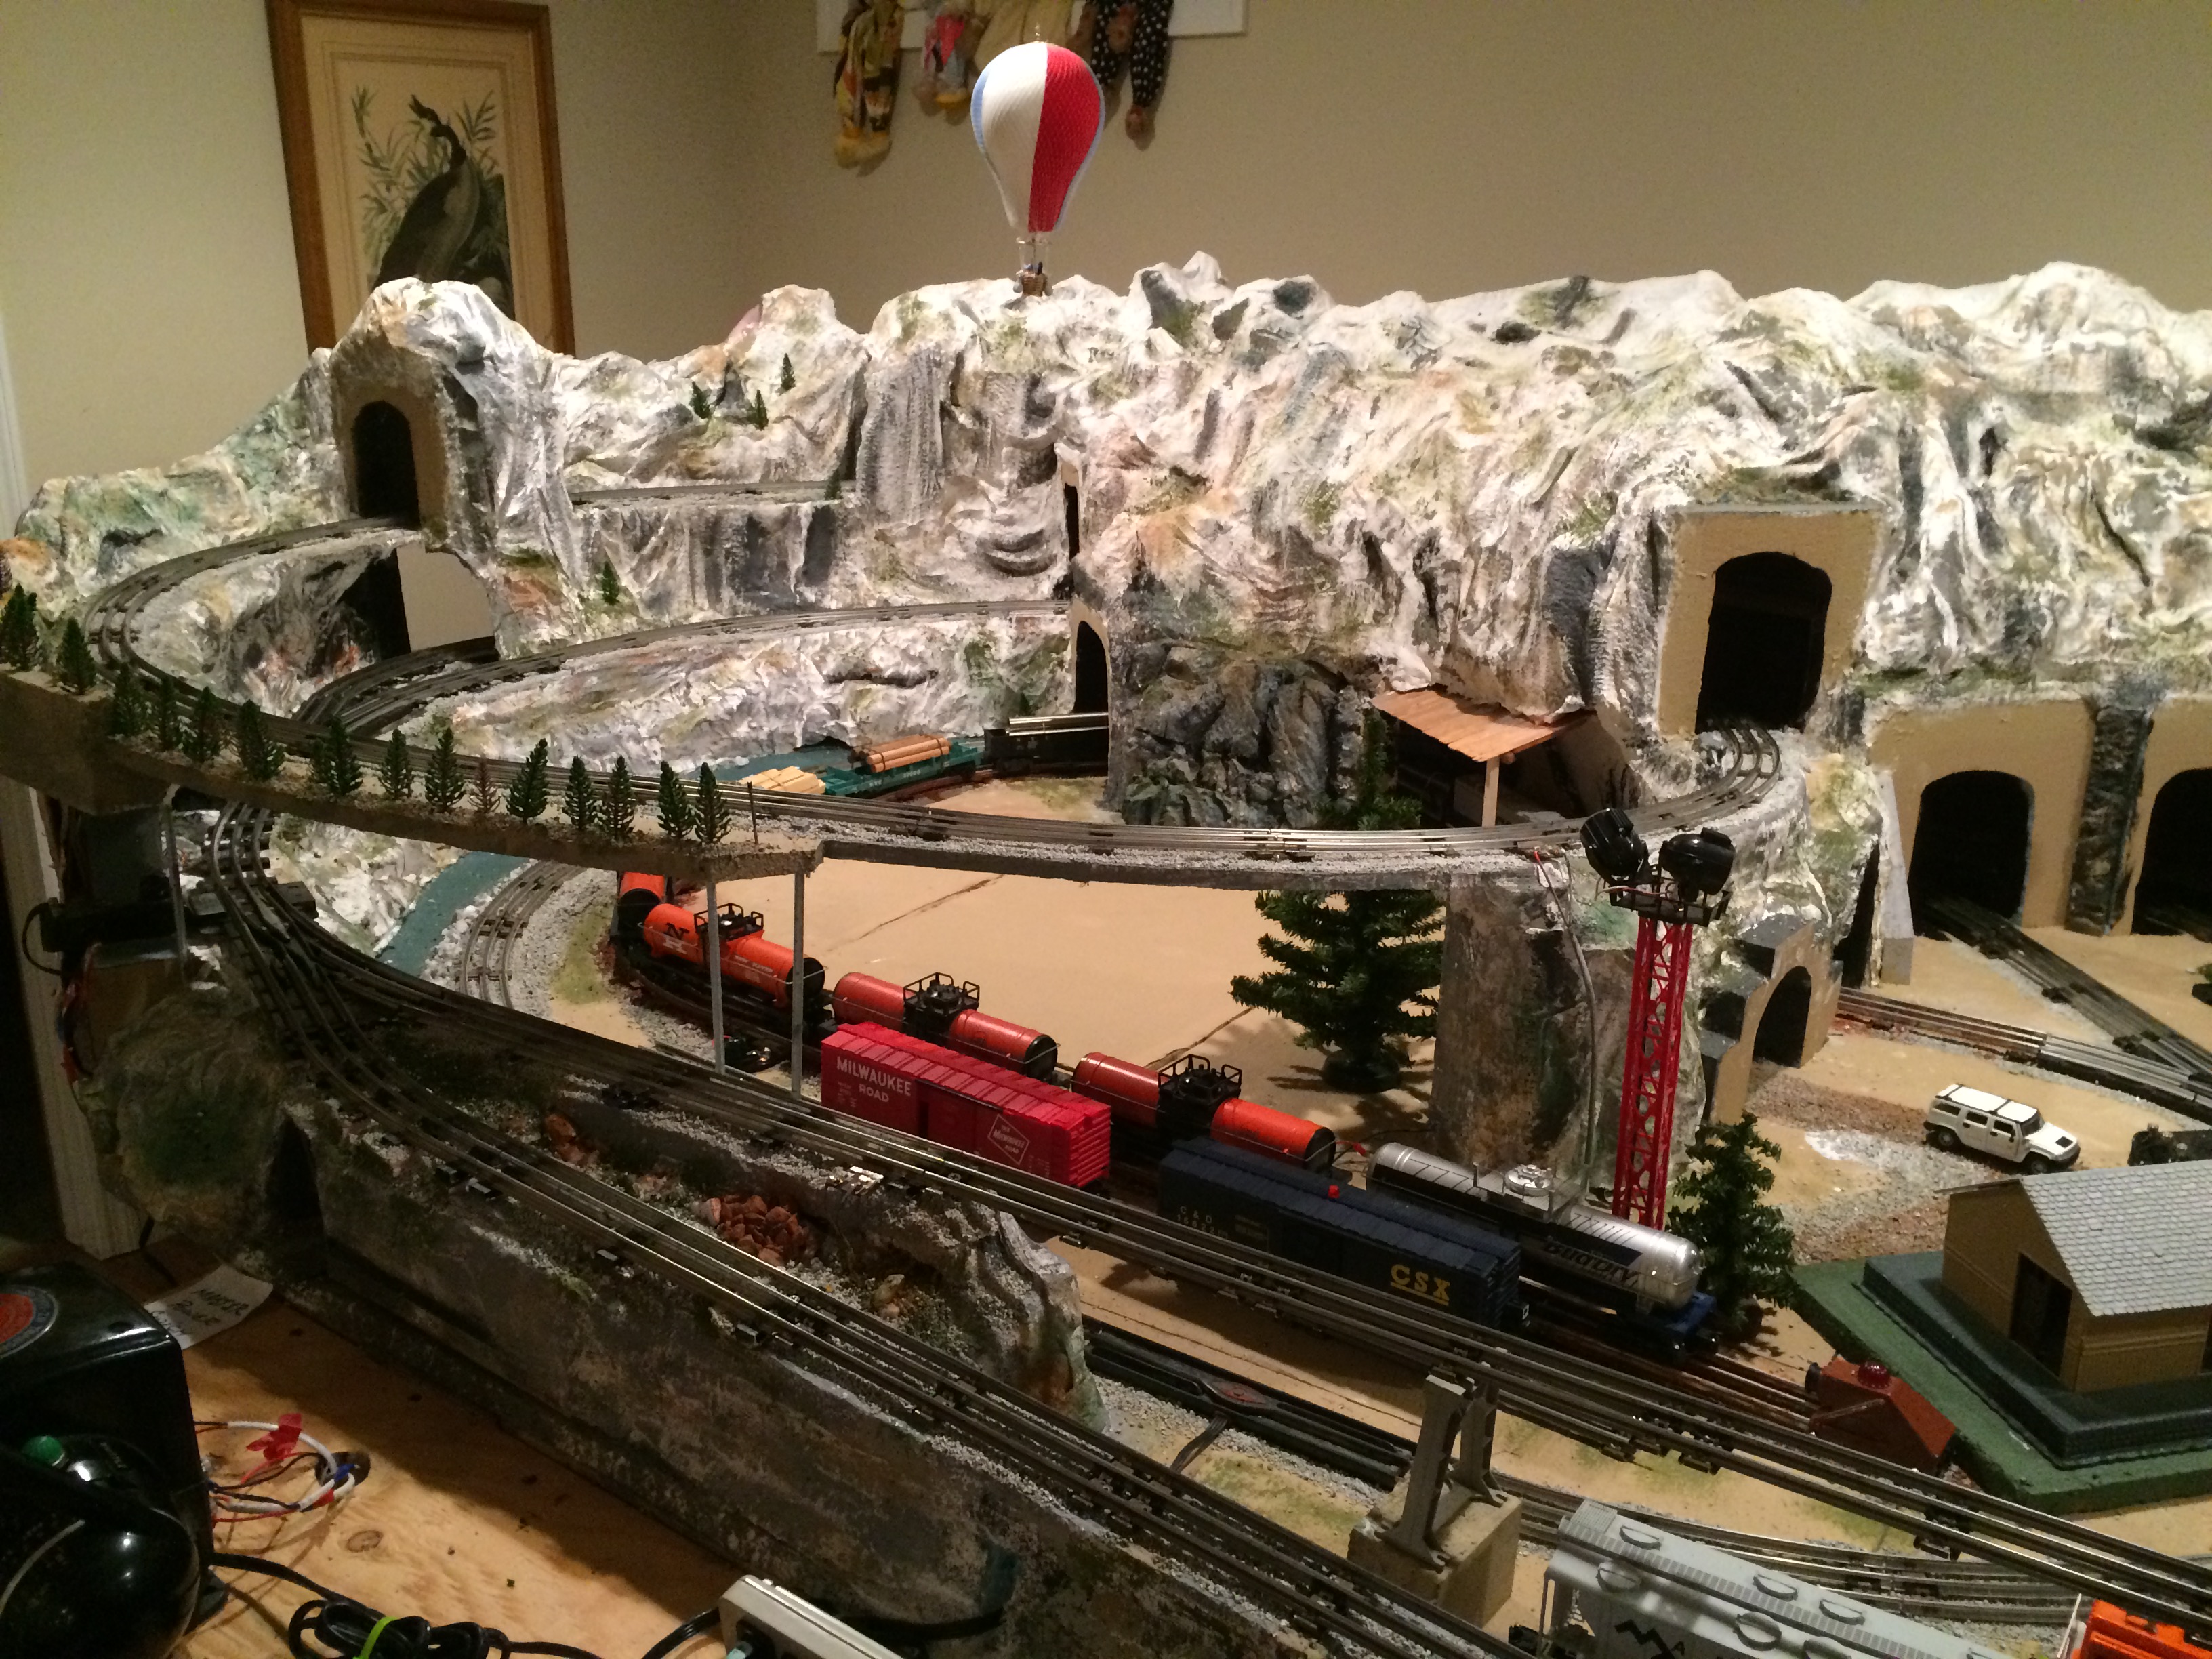
Thought people might be interested in some progress pictures of my O gauge layout.
Each “section” has some family meaning, ie. the town replicates where my kids were born, a building like my first job, our ski vacations, my son the Fireman, etc.
I tried to incorporate some cool ideas I saw on various layouts you’ve show us:
Wooden Truss Bridge, Automatic Gateman, A Drive-In Theater using a photo frame, a Smoking BBQ Joint with BBQ scented smoke, and a Trolly.
Next there will be a building on Fire using a Seuthe smoke generator and fire lighting from Evan Designs.
In hindsight, my biggest recommendations regard wiring and initial track layout.
First, since I had both O and 027 I used both – don’t – use one of the other. Makes life easier, joints tighter, and computer design more accurate.
Second, use isolated bus lines for each Isolated Track Section and the Turnout Switches (which I did), BUT also run individual bus lines for: Static lighting like in Buildings, another for Operating Accessories, another for Smoke Units, and another for future expansion options.
And Absolutely use tape to color code each bus Line and their dropdowns from the accessory, turnout, etc
Anyway. here are some progress pictures
Steve”
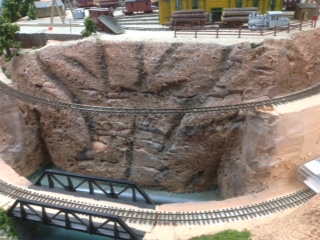
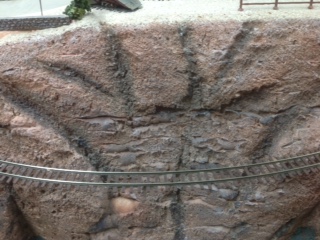
“Hi Al, this is a reply to Tom’s post on using spray foam from a can. It works extremely well and very easy to use. I also used a wire brush to rough up the surface a bit. Trestle bridge removed for photo purposes.
Cheers
Brian”
A big thanks to Steve for adding to the O guage layouts on the blog. I do love hearing your tips and seeing the progress of a layout.
Please do keep ’em coming.
And don’t forget, the Beginner’s Guide is here and ready to help you every step of the way.
Best
Al
PS More HO scale train layouts here if that’s your thing.
Need buildings for your layout? Have a look at the Silly Discount bundle.




Looking good,the track plan looks interesting.
wow nice layout…
027 and several levels….
nice beginning on the scenery and we all wanna see it when its finished
keep it runnin fellas
What a great job you did. Where did you get this talent? How can I get it?
Great Job! Love the meaning behind the structures and incorporating the family.
Awesome!
Both great layouts. I love the “helix” on Steve’s layout.
looks neat
Good to see some “O” gauge layout pix… botta figure out how to send my videos
What a wonderful layout I especially like the Hot airballoon
Steve, that is a great layout! What size is the table? Looks like a lot more than 4’x8′. 🙂
And I love that old crank telephone on the wall. My grandfather worked for the Forestry Service and had about 8 of those in his “office” at the base of the forestry tower. Mercy that was about 63-64 years ago. Good memories!
very cool looks great will enjoy the next lot of photos.
looks awesome..i should take pics ofmine..doing (redoing) my n scale layout
great !
Wow!, to pull off a large 3-rail layout like that and make it interesting is a feat in itself. Great execution! Can’t wait to see this one complete.
Great layout. Nice work !
Are these to be glued only to card stock?
I would like plans that I can make out of wood possibly
balsam or some other wood?
I don’t want to make just one, possibly 2 or 3 items.
Thanks,
John
Regards to computer design of track layouts, I use it a lot, comes in very handy with 3D reverse loops.
My main problem is that layout software have good wiring design built-in. I would be happy if I could have a layer where straight of curved lines could be simply drawn and colored
Richard
Any suggestions ?
Great job! Thanks for this update.
Any news from “Dangerous Dave” on his layout’s progress?
I like your design representing family. I too have a large O gauge layout, still in progress representing the Texas Hill Country. Maybe I could send in some progress pictures
Great to see a Lionel 0 and 027 set up. While I will probably never qualify as a “Modeler”, I do enjoy running the Lionel O gauge stuff with with I grew up. Have to think that there are really quite a lot of us “runners” using the old stuff who love to look at this great site. It starts of my morning on a good footing. Thank you.
Steve’s layout reminds me of our permanent layouts of my youth, and of the one my brother and dad put together in the folk’s retirement home. Powered by a big ZW transformer as Steve has. Very nice work, indeed.
Brians cliff looks very nice. Great Stuff and Dap make these foam products, and when Great Stuff first came out, it was really too expansive for some applications [don’t ask me how I know that] so they came out with a variety of expansion levels. Not sure what one is best for modeling, but Brian looks to have the technique down.
MN Dan
Would love to know how you are able to get the trains running on the tracks and how many trains you’ll have running at one time. Nice layout, very interested in the layout , would love a drawing if possible.
Steve u need to truss the elevated tracks. The 3 rails cheapens the look ur trying to achieve.Although your mountain tunnels are great.
The Critic
Steve,
You’ve does some excellent HI-Rail work there. HI-Rail = ToyTrains running on a scale sceniced layout. You have the same methodology as I do, creating scenes that are memories or honor friends and family. It give purpose to your creation. Having a few artists in the family, my daughter keeps telling me that what we modelers do is a form of art. I’m curios about the helix and the other incline. What grade did you use? It looks kind of steep.
Bob in Colts Neck Crossing, NJ
Always great to see the work of fellow “high railers”.
Shlack in NC
Nice layout Brain!! Always enjoy looking at 0 scale layouts!! along with all scales for great ideas!!
Look pretty neat.
Hey Steve, excellent job. I am curious what size is your layout? Keep up the good work and keep us posted. Thank, John.
Cool
Great update on what looks to be a great layout in the making!
I had a good chuckle trying to peek at your copiously written notes and photos. You definitely qualify as a visually oriented person!
I do the same thing, with post it pads everywhere! If it works to keep us on “track”, no pun intended, then do it!
Best to all !
Loved the telephone on the wall in photo no. 6
wow, well done
Steve, what an awesome layout. What size is your layout, lots of excellent ideas. I also have ordered some things from Evan Designs in the past for my railroads that I’m building or plan to build.
Brian, excellent mountain using spay foam.
Thank you for the information on using DC on DCC tracks and vice versa.
Now that is one “Fun” layout. Looks like you are having a lot of fun with it too. Thanks for posting.
very nice work
Very nice, well executed Hi rail layout. One suggestion for all who post layouts, Please state the size of the layout. With photos of portions of the layout it is always a guessing game to figure out how much space is required to have to achieve a similar result. This will be helpful to those of us planning a new layout. Thanks to all who contribute and motivate us to stay involved with this joy of our childhood, even at 80+ years old!
Always love to see the 3 rail stuff!
Looks great! I have very little creativity – how can I get some skills! Keep up the good work!
Steve, I was sketching out your actual layout with the pic you included in your email. Your actual layout is a excellent design. The pic used does not reflect the effort put into your layout. Thanks for sharing.