Rich has been back in touch with some advice on his trains layout table.
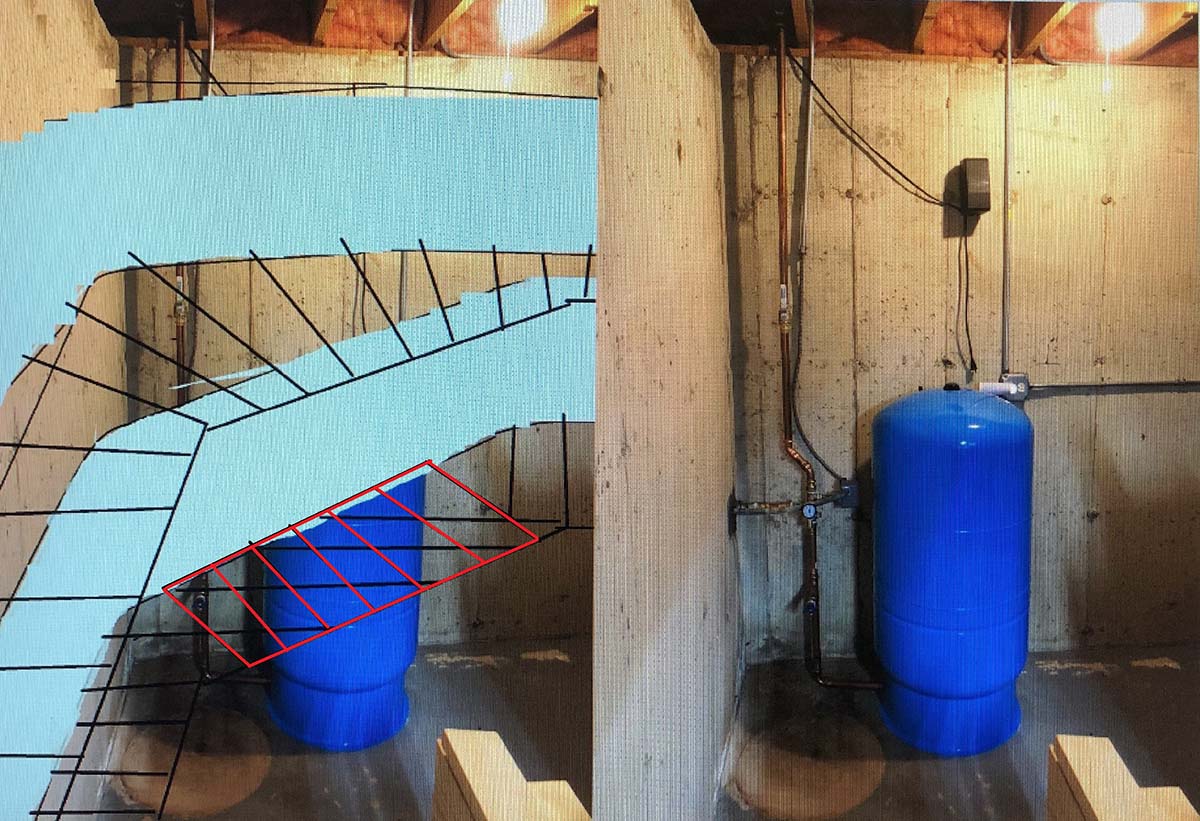
Before he got busy on the mountains and scenery, he ‘drew’ over pics of his layout so he could see where he would not access for any derailments.
If want to see his ‘finished’ pics, they are here.
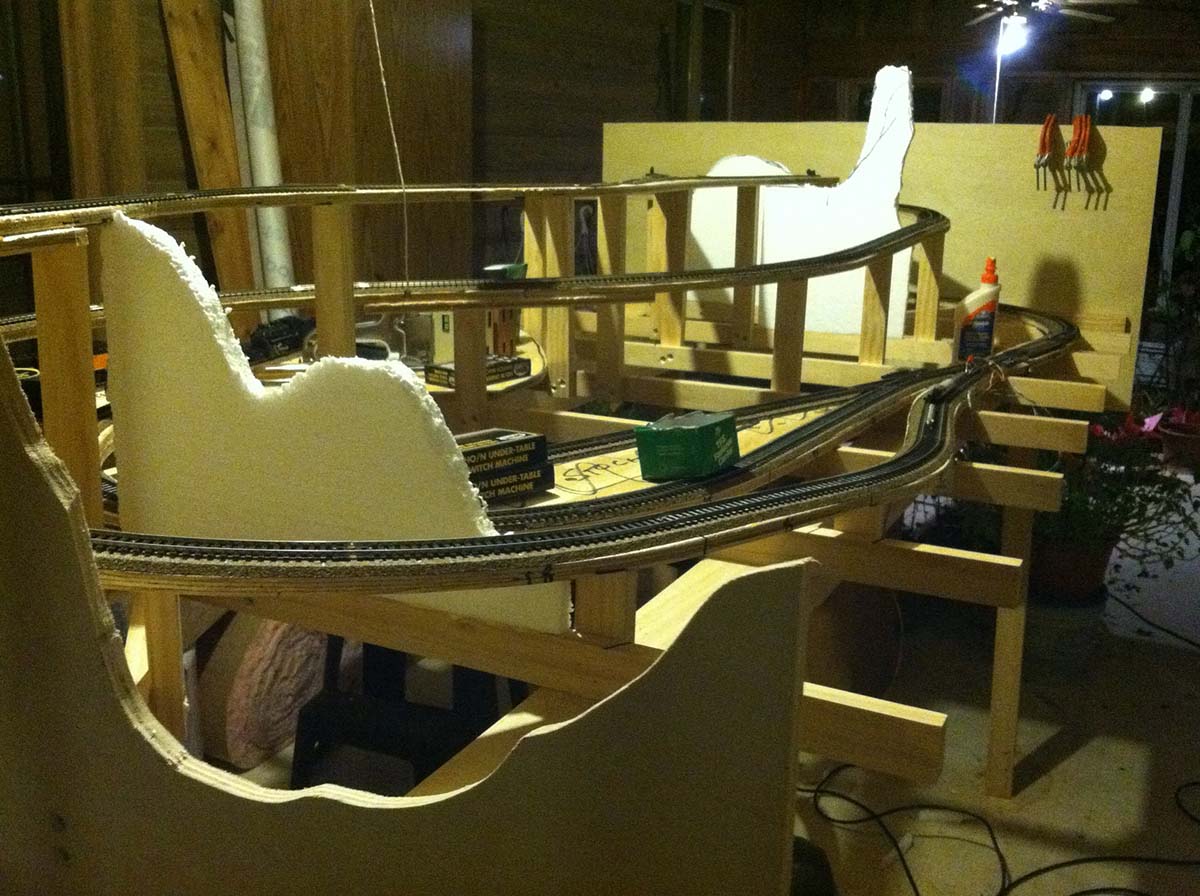
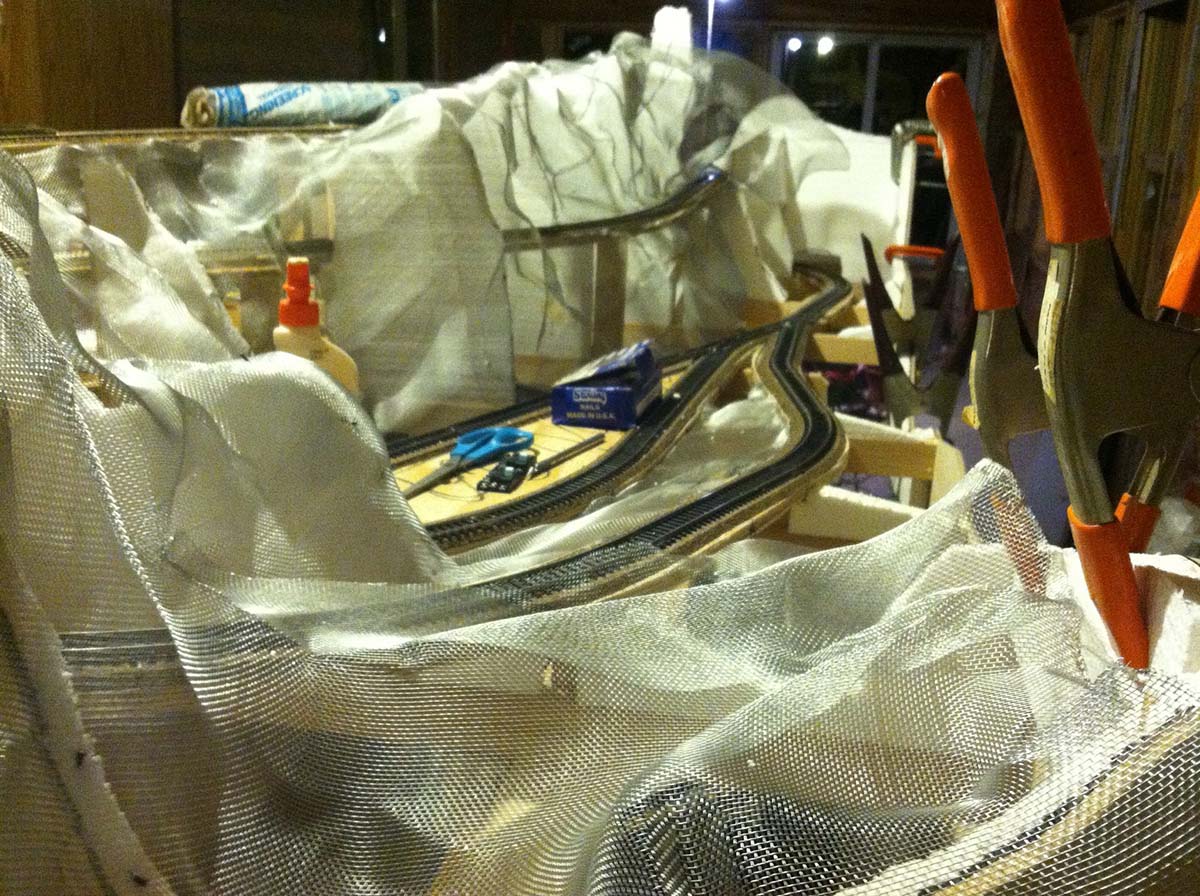
“Here is how my 4 x 8 looked while it was under construction.
Progress photos are never pretty but they give great insight in how a layout is built.
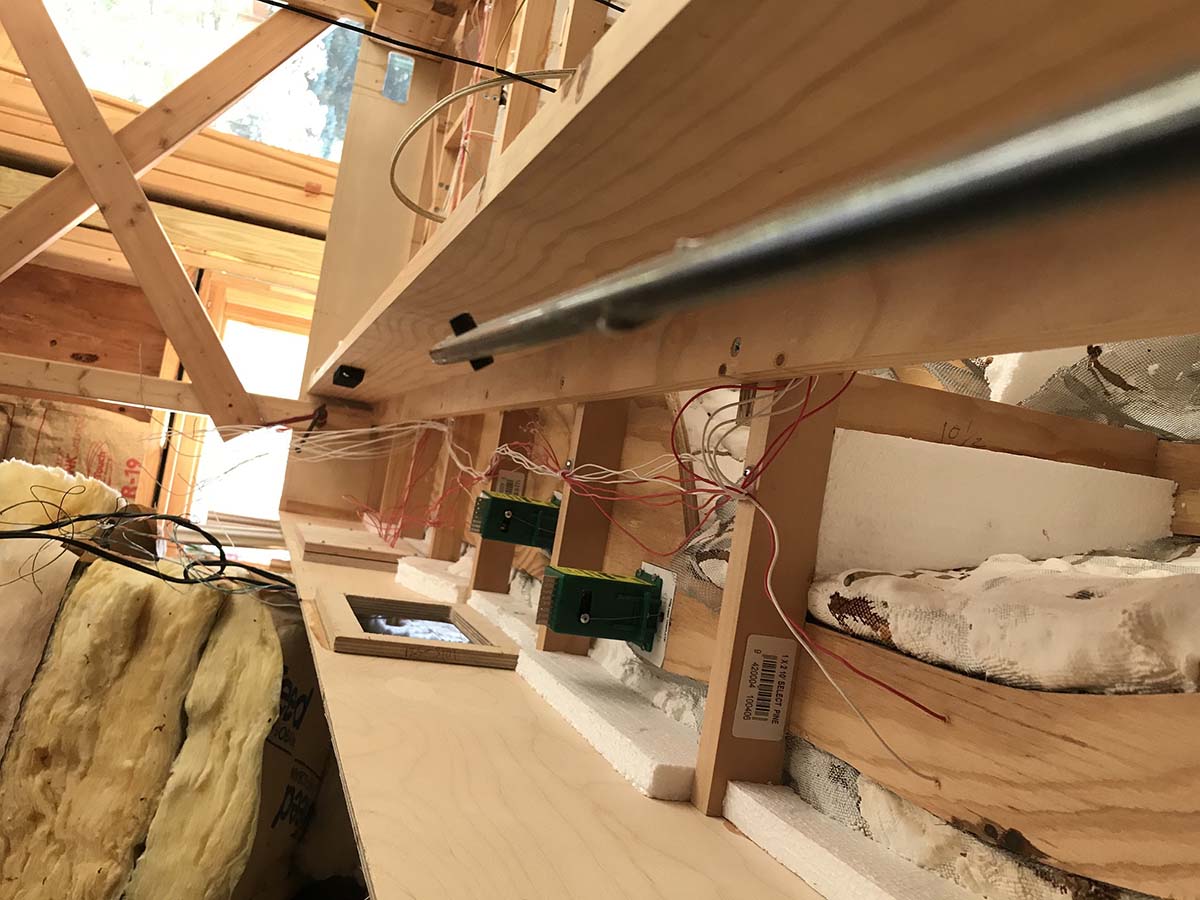
One question from the last time my 4 x 8 was featured was what happens when I have a derailment. Any type of open frame work will provide good access to the problem from below.
One technique I used was to draw over one of my photos to see what might be.
There was one spot where I was not sure on how it should look so I used the Paint program in my desktop to electronically build several versions of the same scene.
It took less time and money than actually replacing scenery I didn’t like.
The process was enjoyable and I was able to compare the different printed versions side by side.
I have used this technique several times while I designed my 3rd division railroad.
Just remember that this doesn’t have to be fine art. It is only a way to see and show others what is in your head.
The last photo shows one idea for the double deck backdrops and framing for the 3rd division.
It is to be a very large model railroad so I want to have a clear build concept in place to get it running as soon as possible.
Rich”
HOn3 Well corner idea.
“Hi Al
I am sharing some photo’s of my layout not to show that I have started my layout, or to report on its progress, but to share an experience that makes this hobby really enjoyable.
I have a 5 year old granddaugther, to whom I was explaining the layout of my model railway.
I mentioned that there will be a canal as a central feature. And I will need to create some water for it.
She decided to make some water by using blue crayon on bits of paper. She would go away and then return with more and more bits until the canal was full.
The magical bit was when I suggested that she could put one of the boats on her water, her eyes lit up.
I then mentioned that I am going to make some trees for the layout and thus I now have trees.
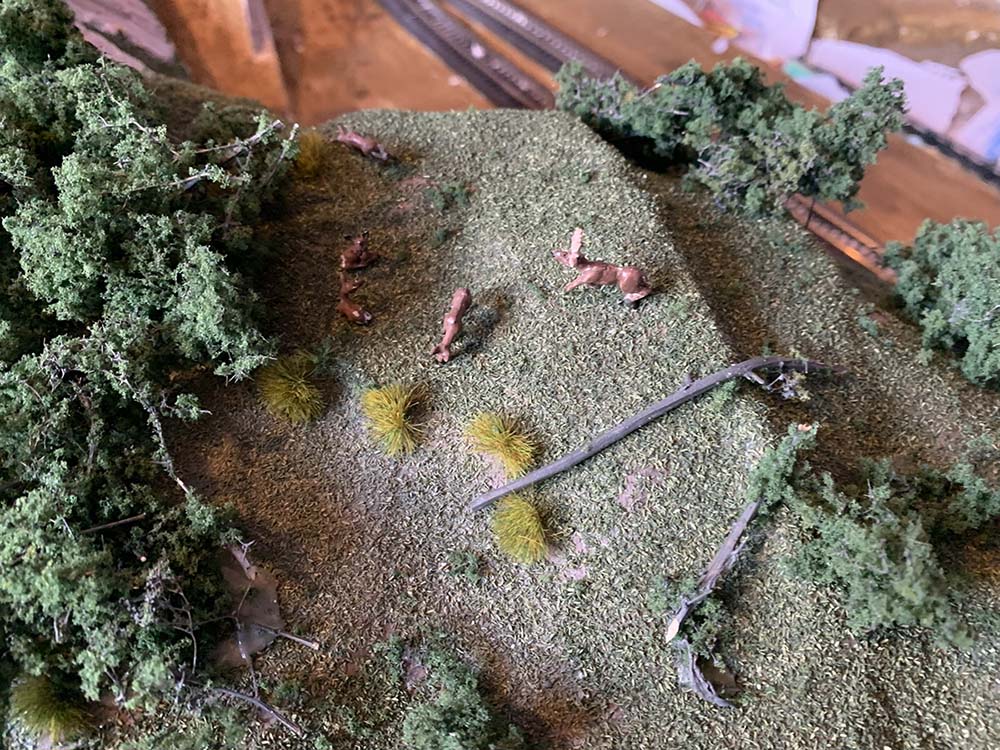
I have also been adding some Langley animals which I paint and add to the layout and without telling her.
When she does find them she comes down very excitedly and drags Grandma up to show her.
Sometimes the magic is not only the layout.
By the way I have no idea how the sheds got there.
regards
Derrick”
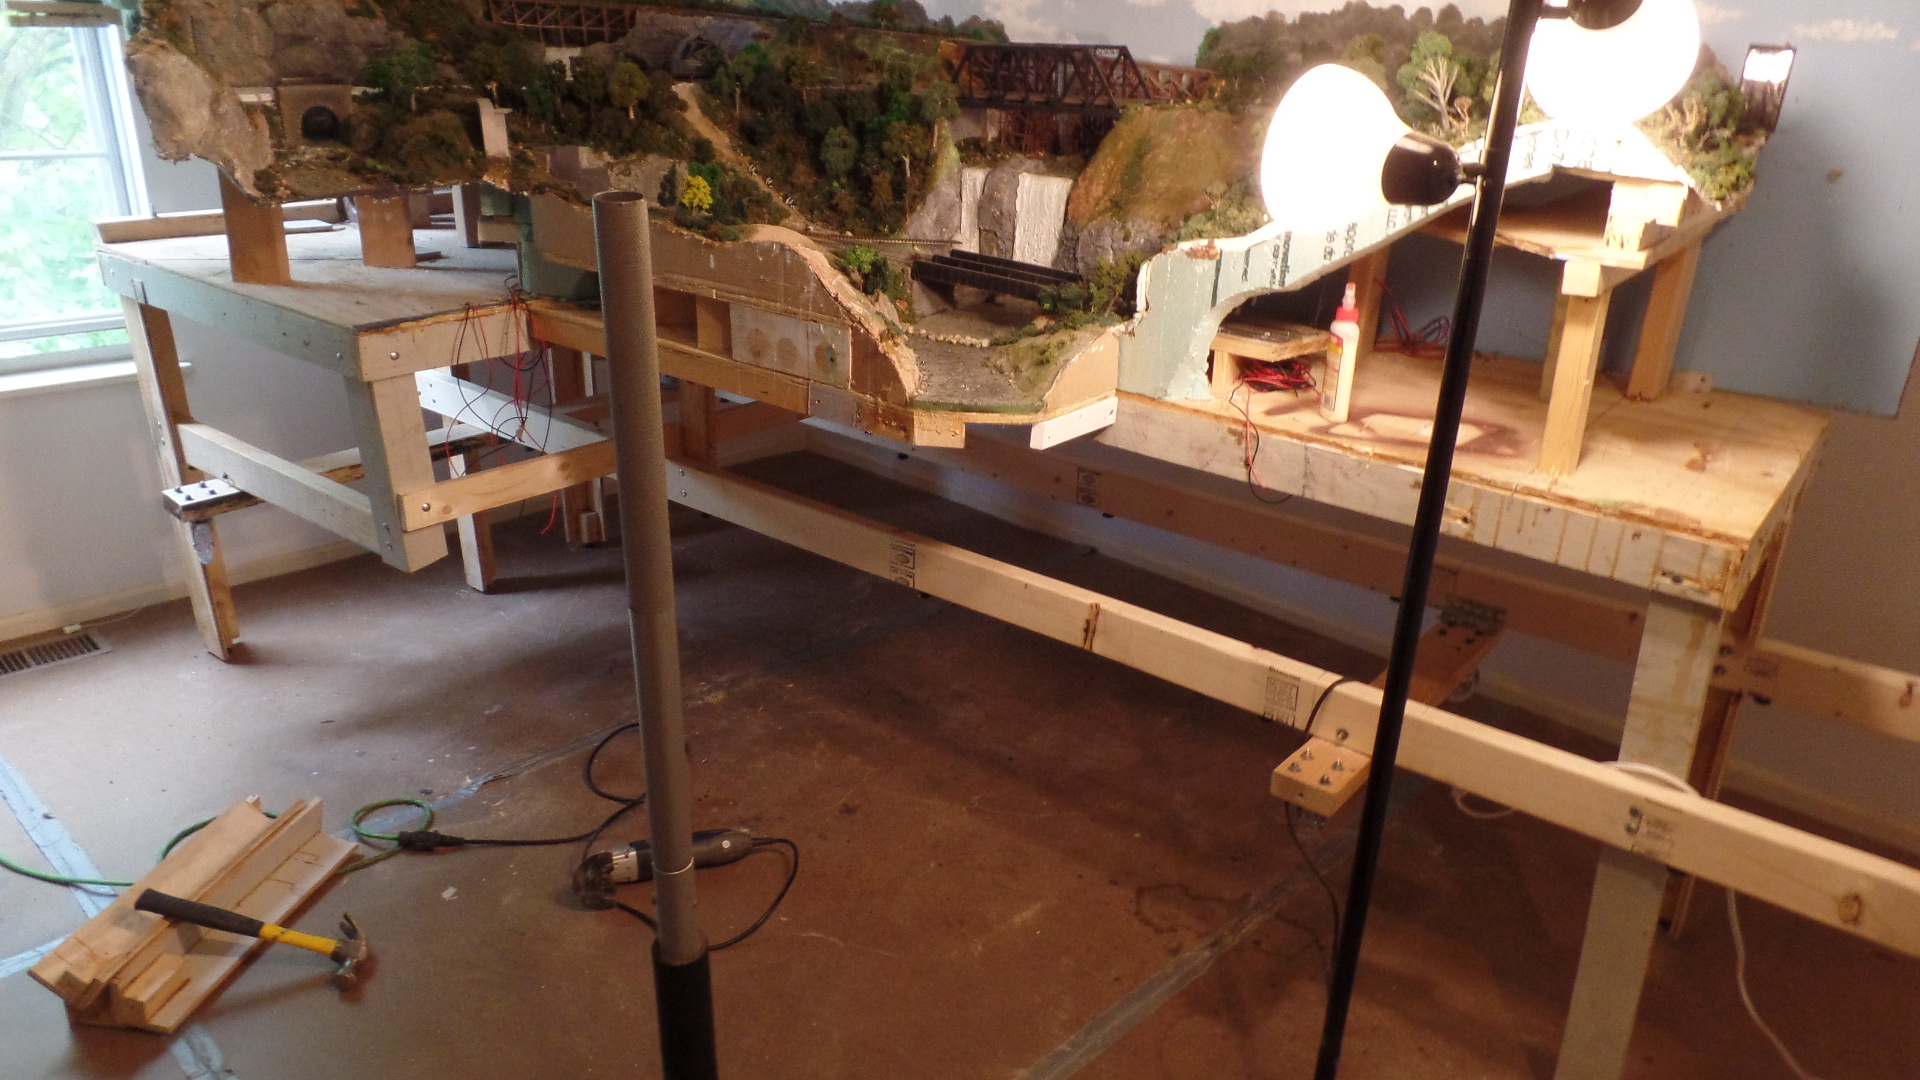
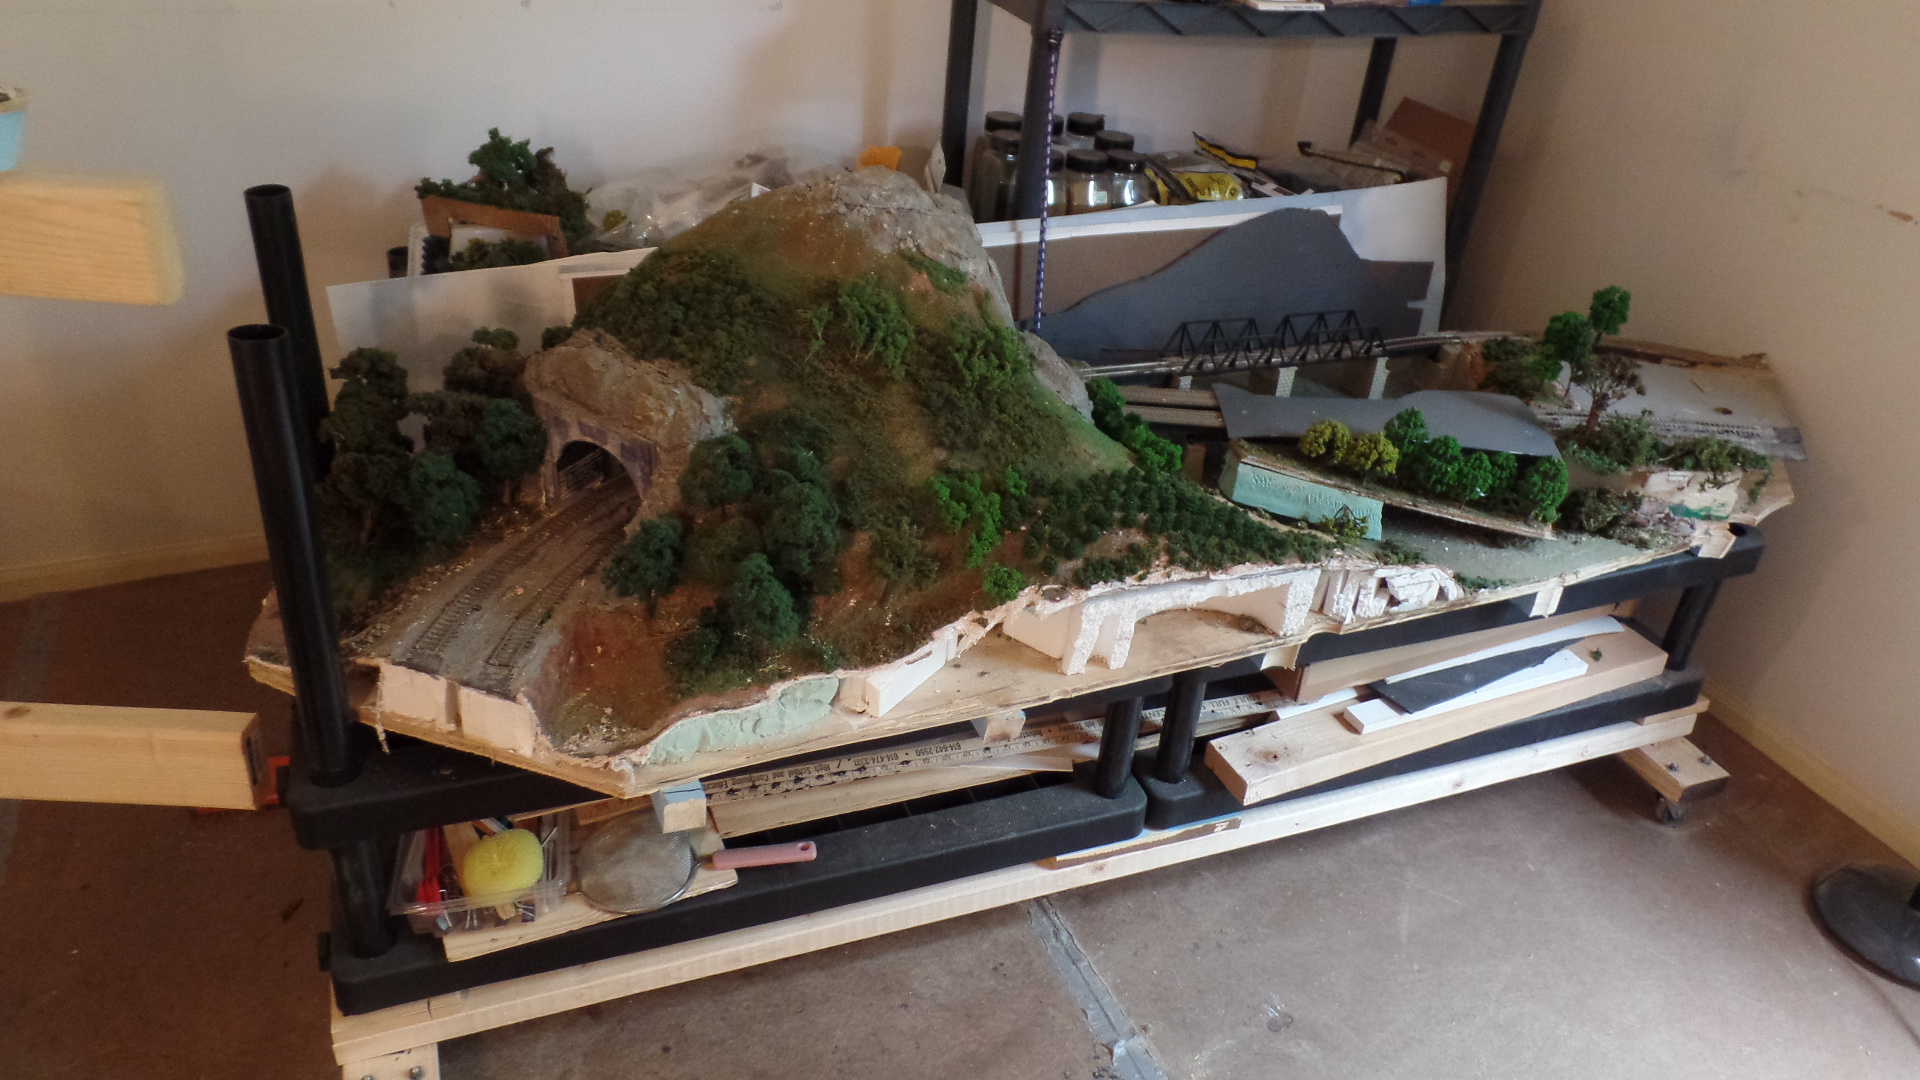
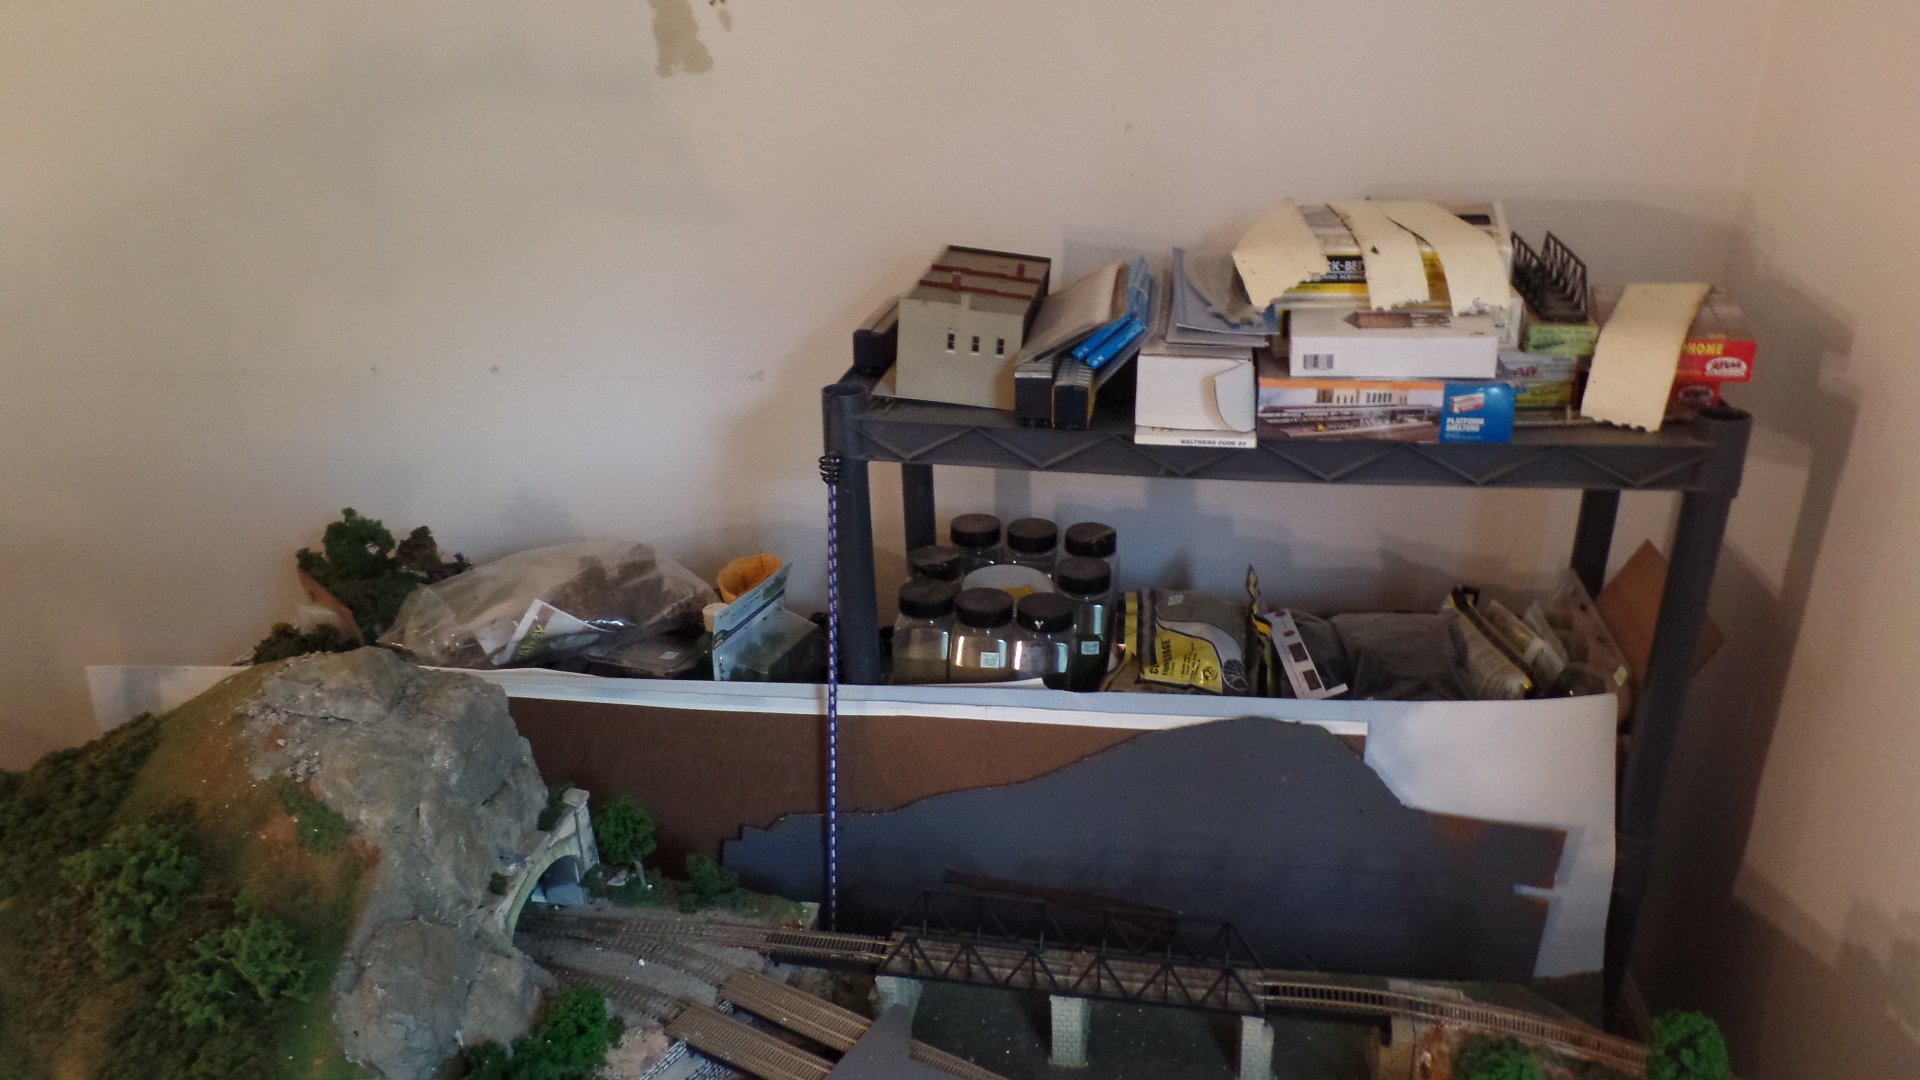
“I thought I would give you an update on the progress of dismantling my layout.
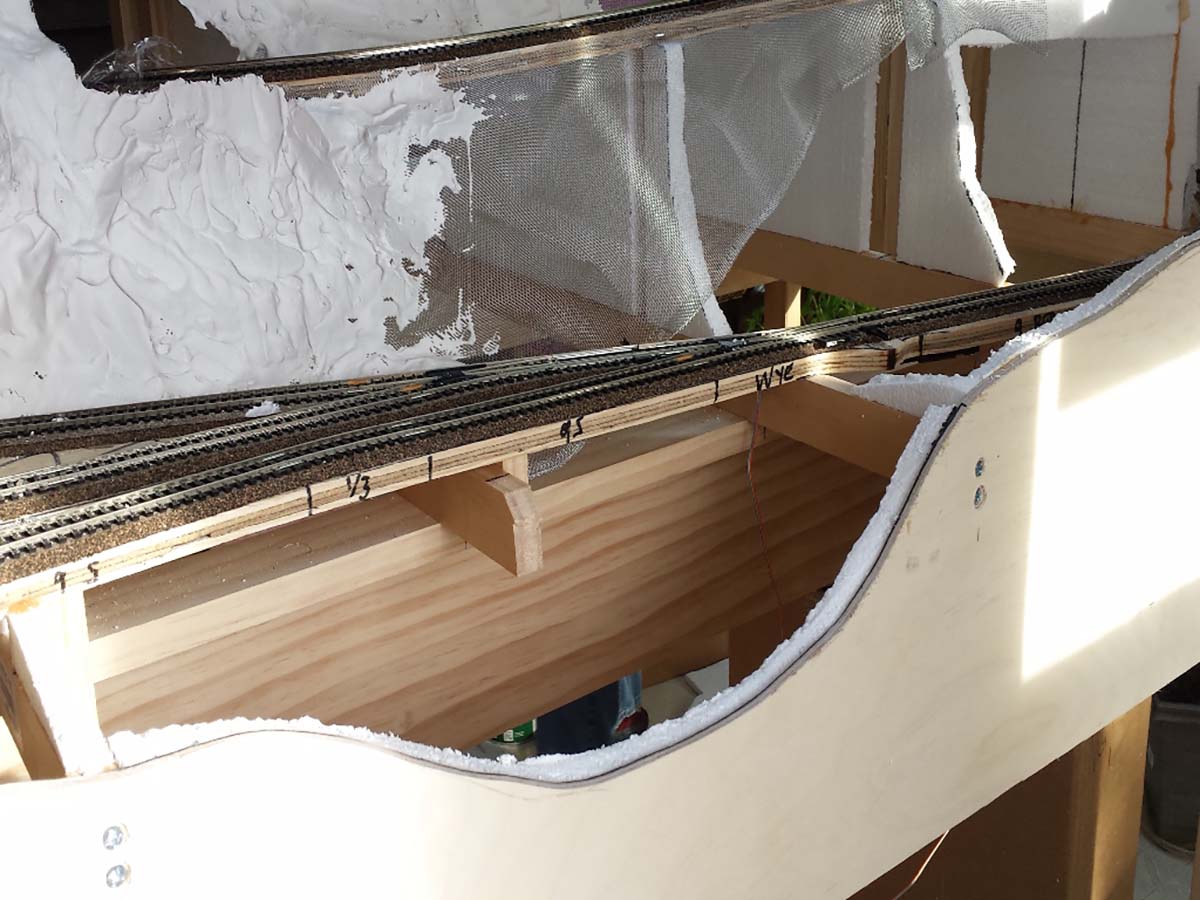
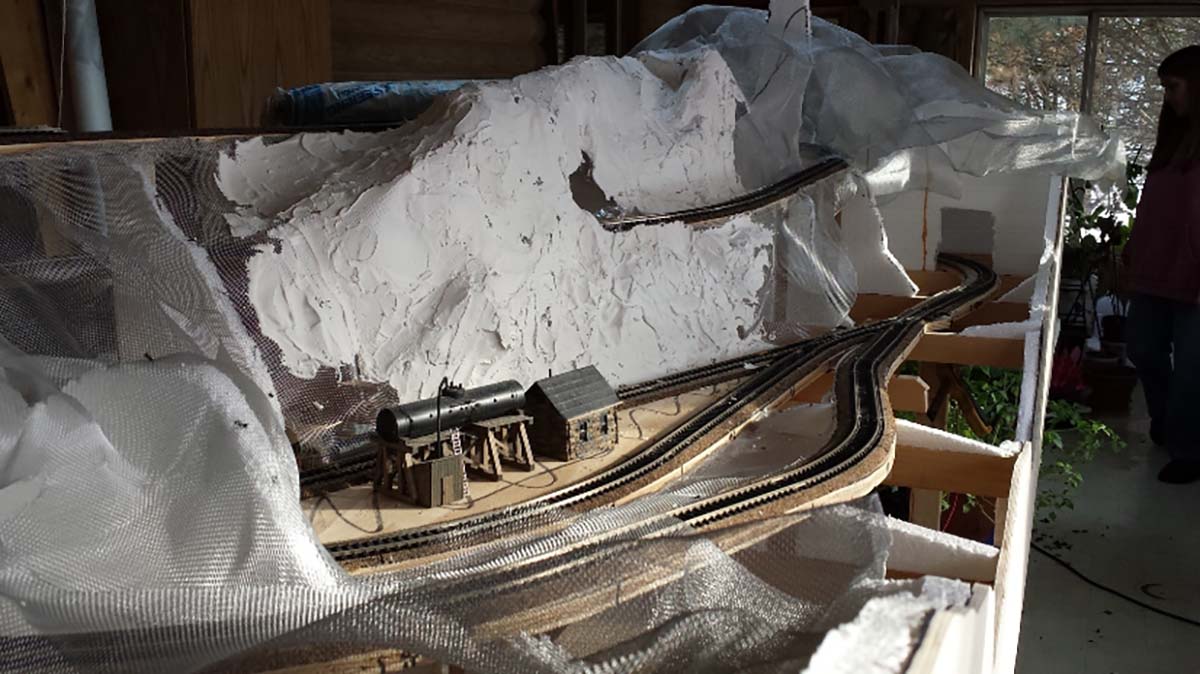
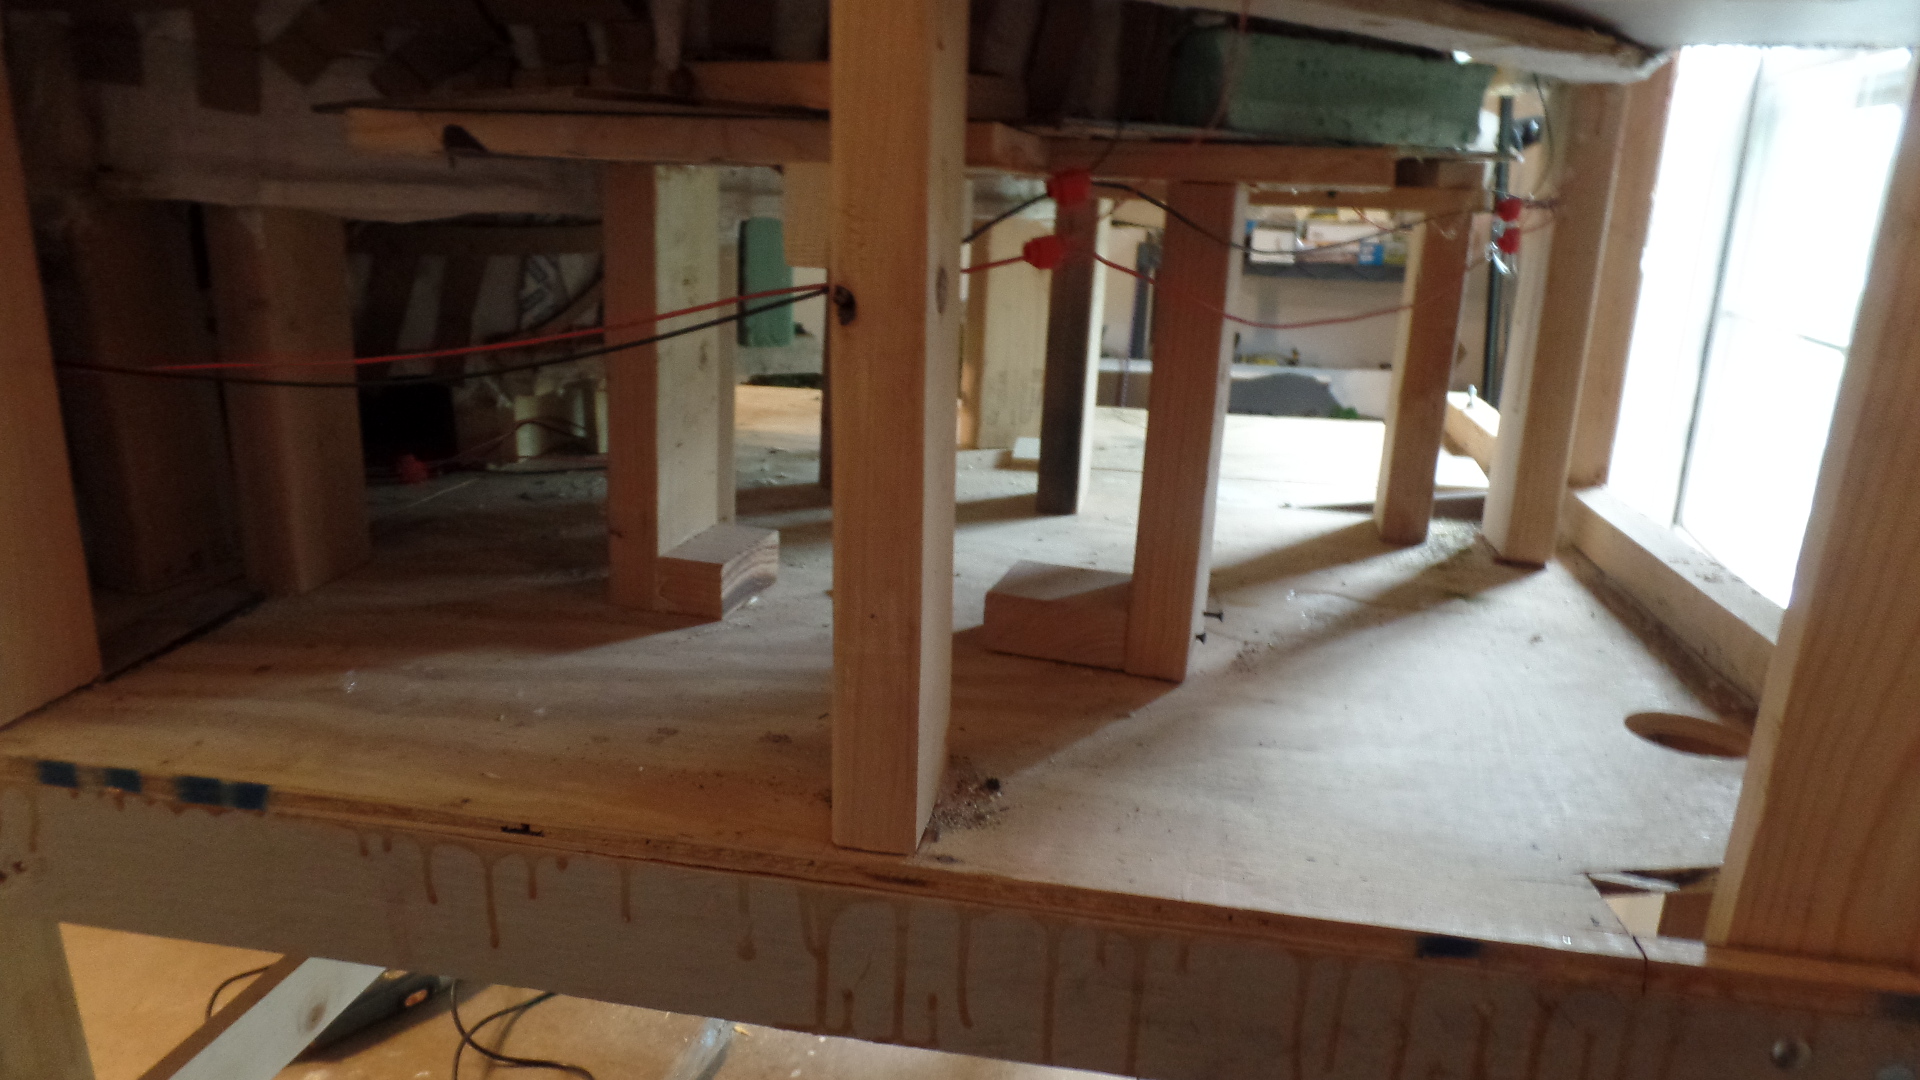
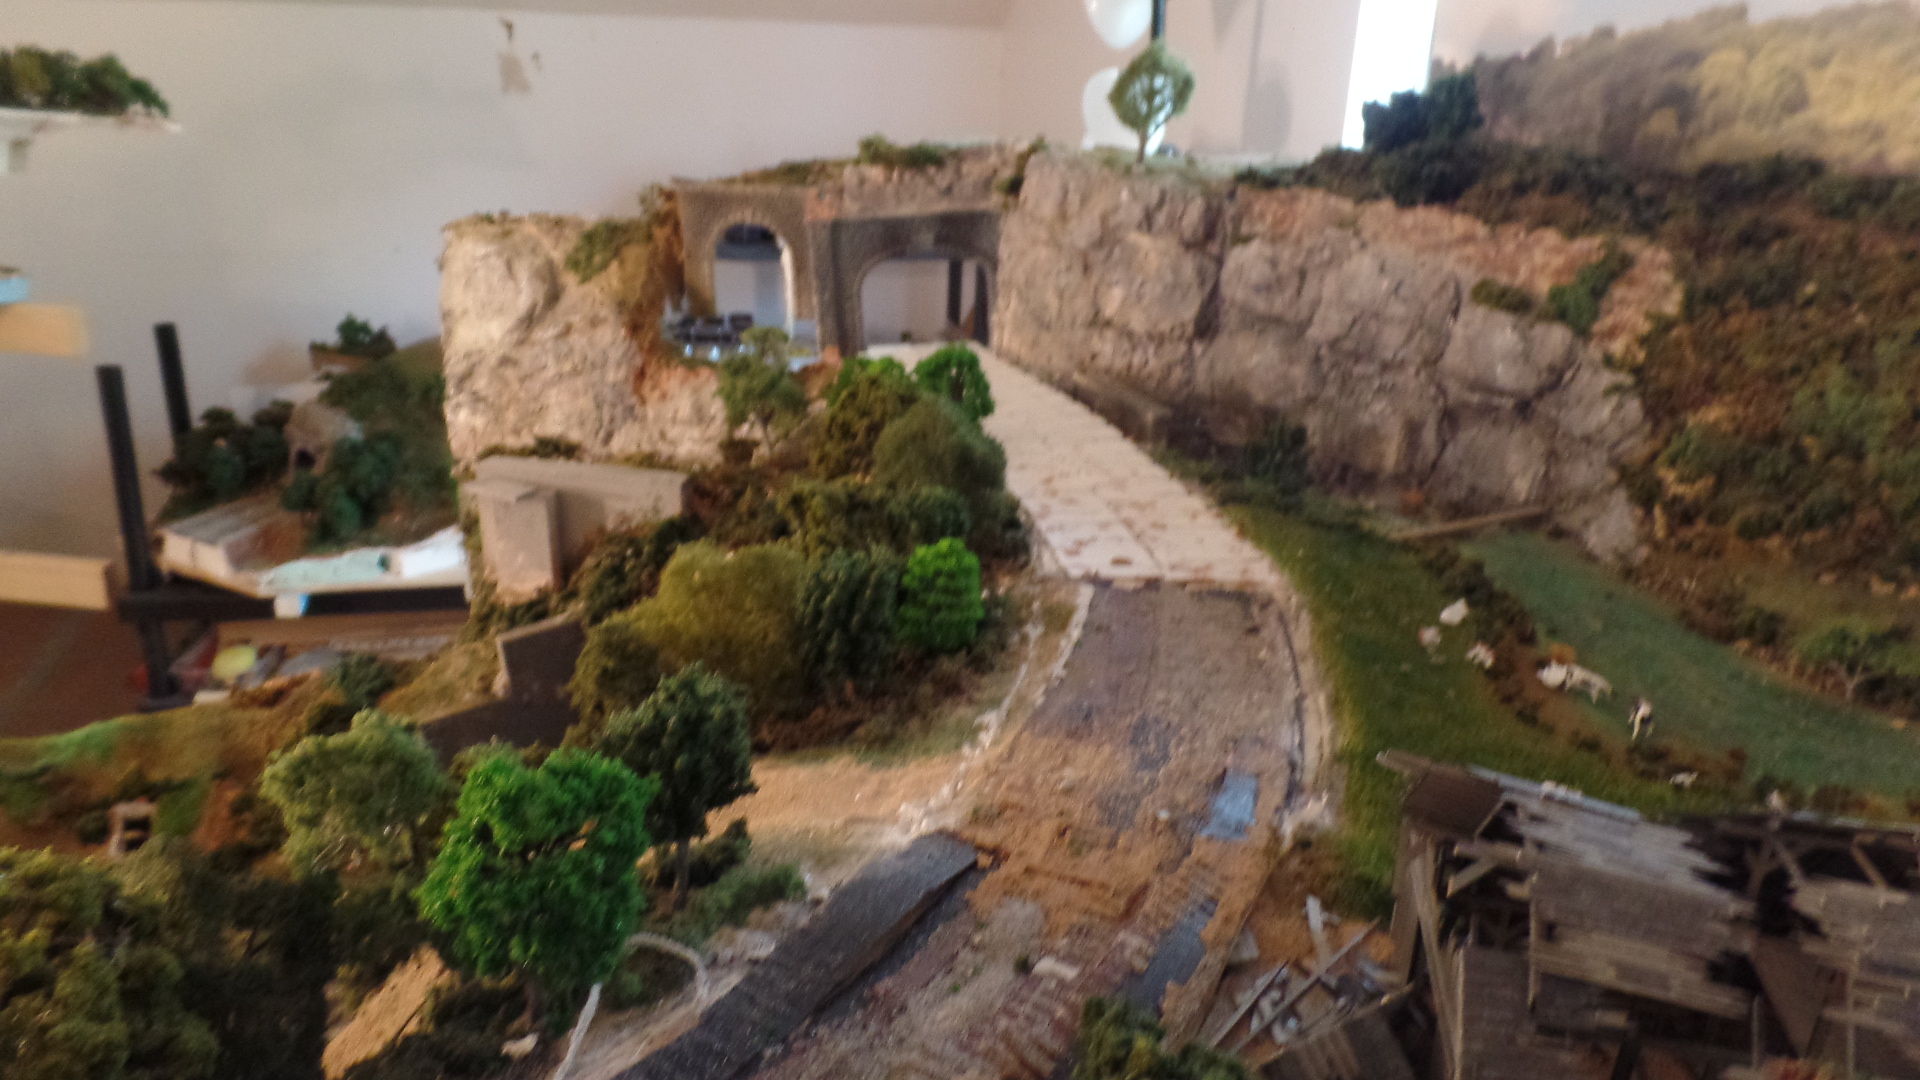
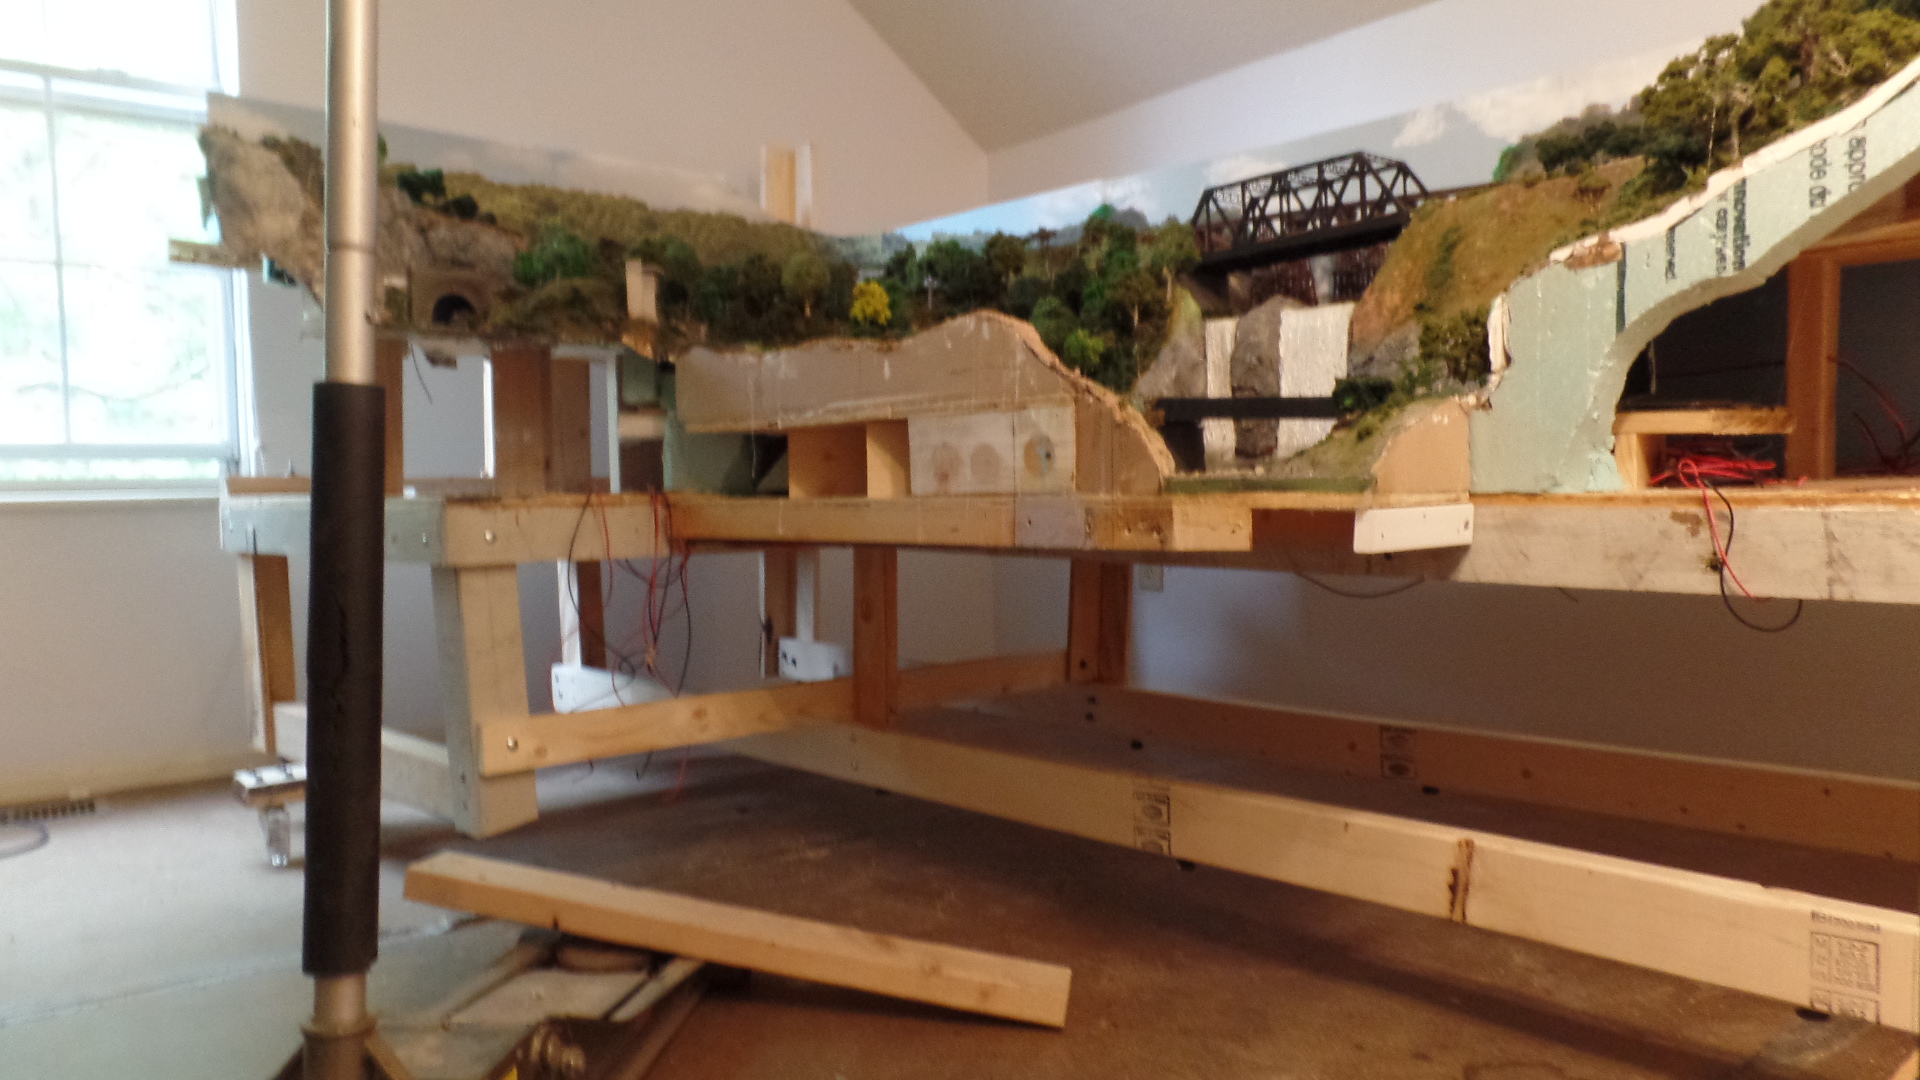
Here are two pictures showing why you should use open gridwork not tables for mountain scenes. It is not easy to work on or repair a scene after scenery is applied.
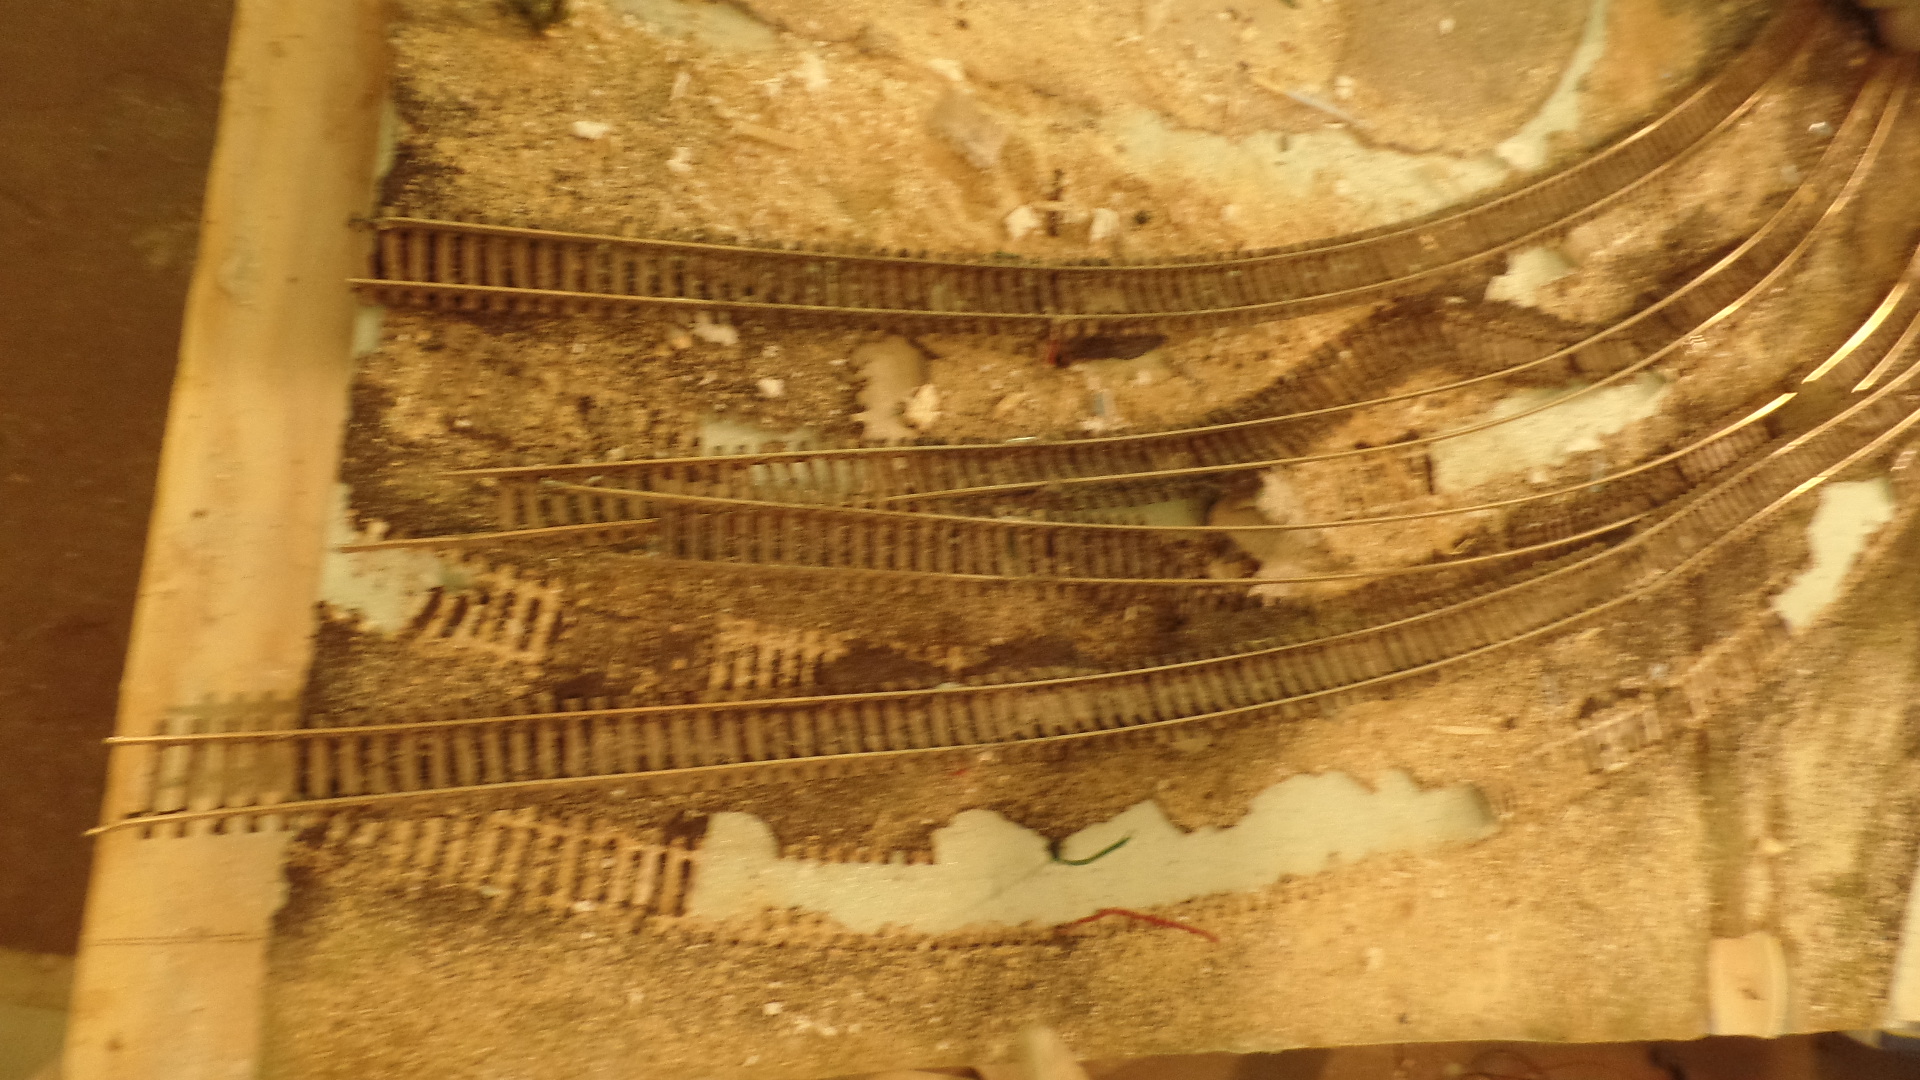
It is hopeless to save track if it has been glued down. Since plaster cloth was used over risers, I was able to pull it off. I also added a riser backwards to reduce the slope.
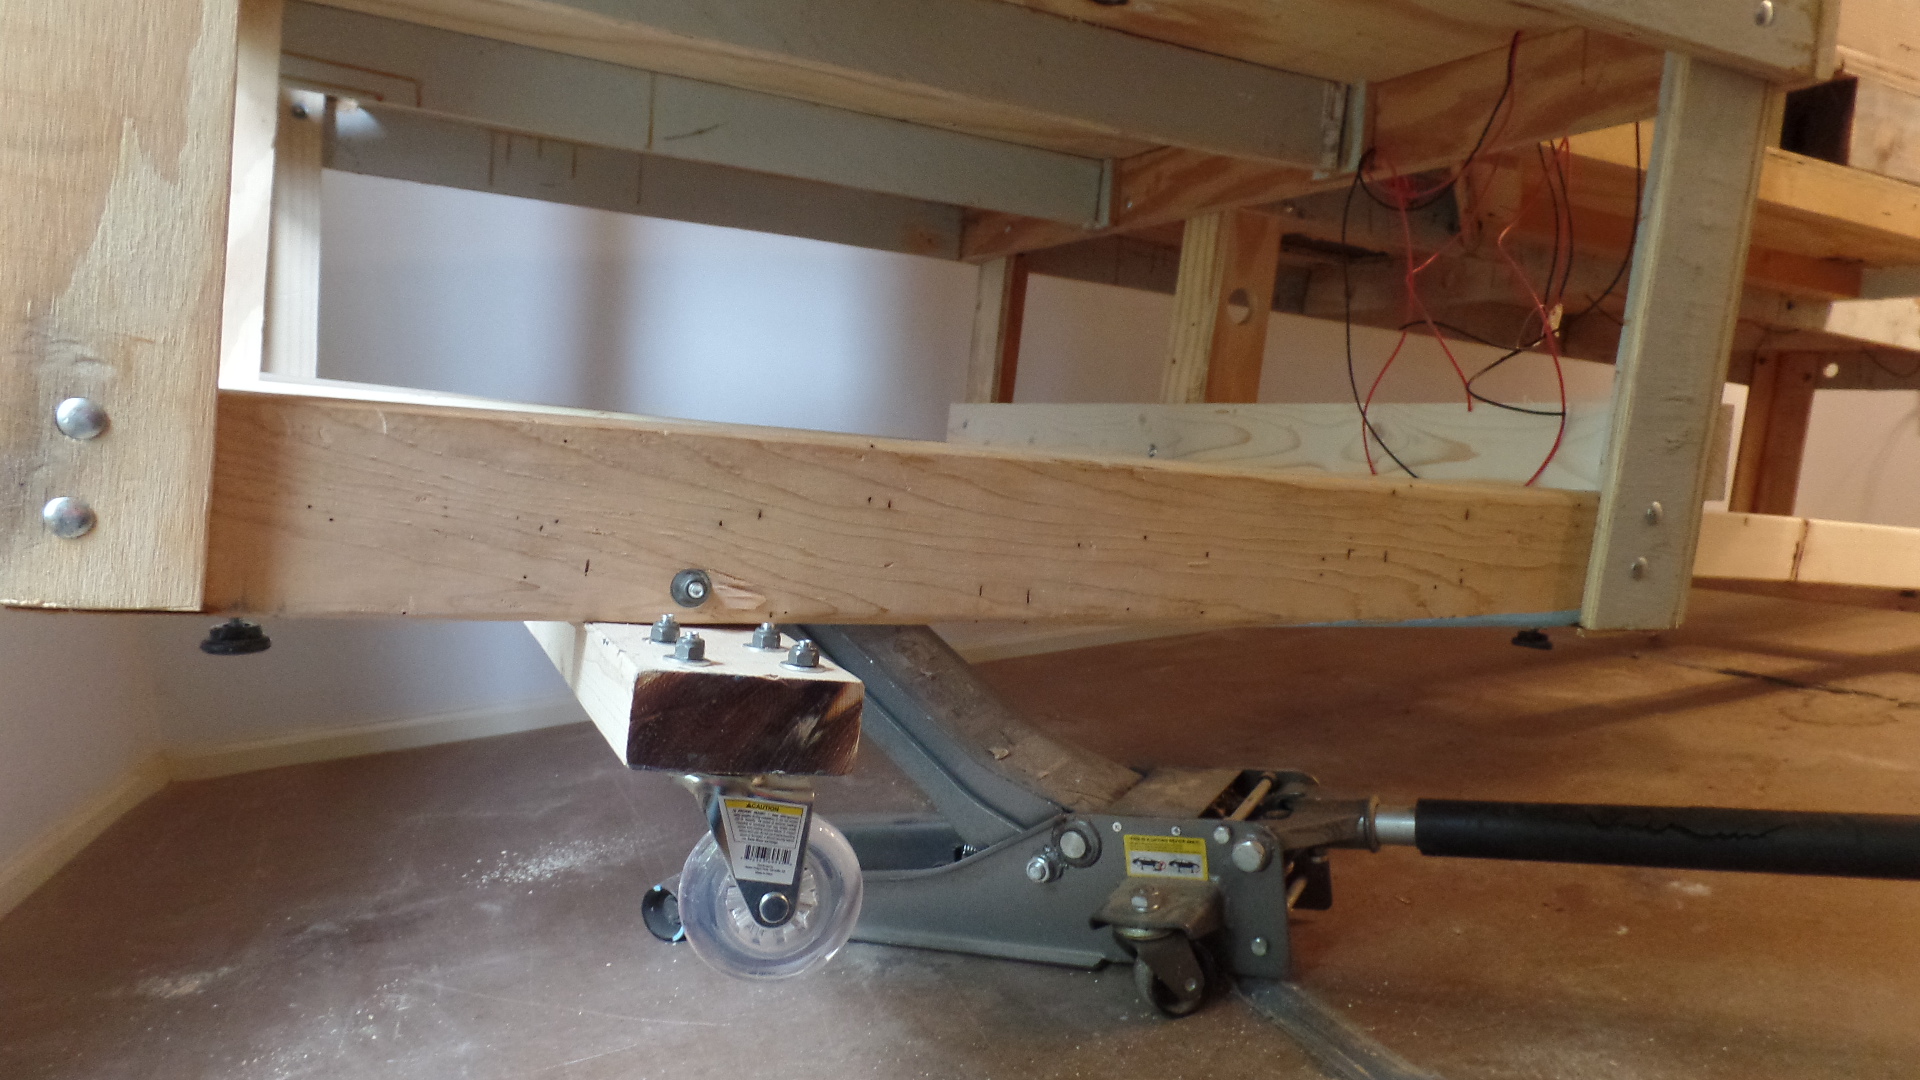
There were scenes that I could save and structures. Everything was mounted on roller tables. Three tables shown.
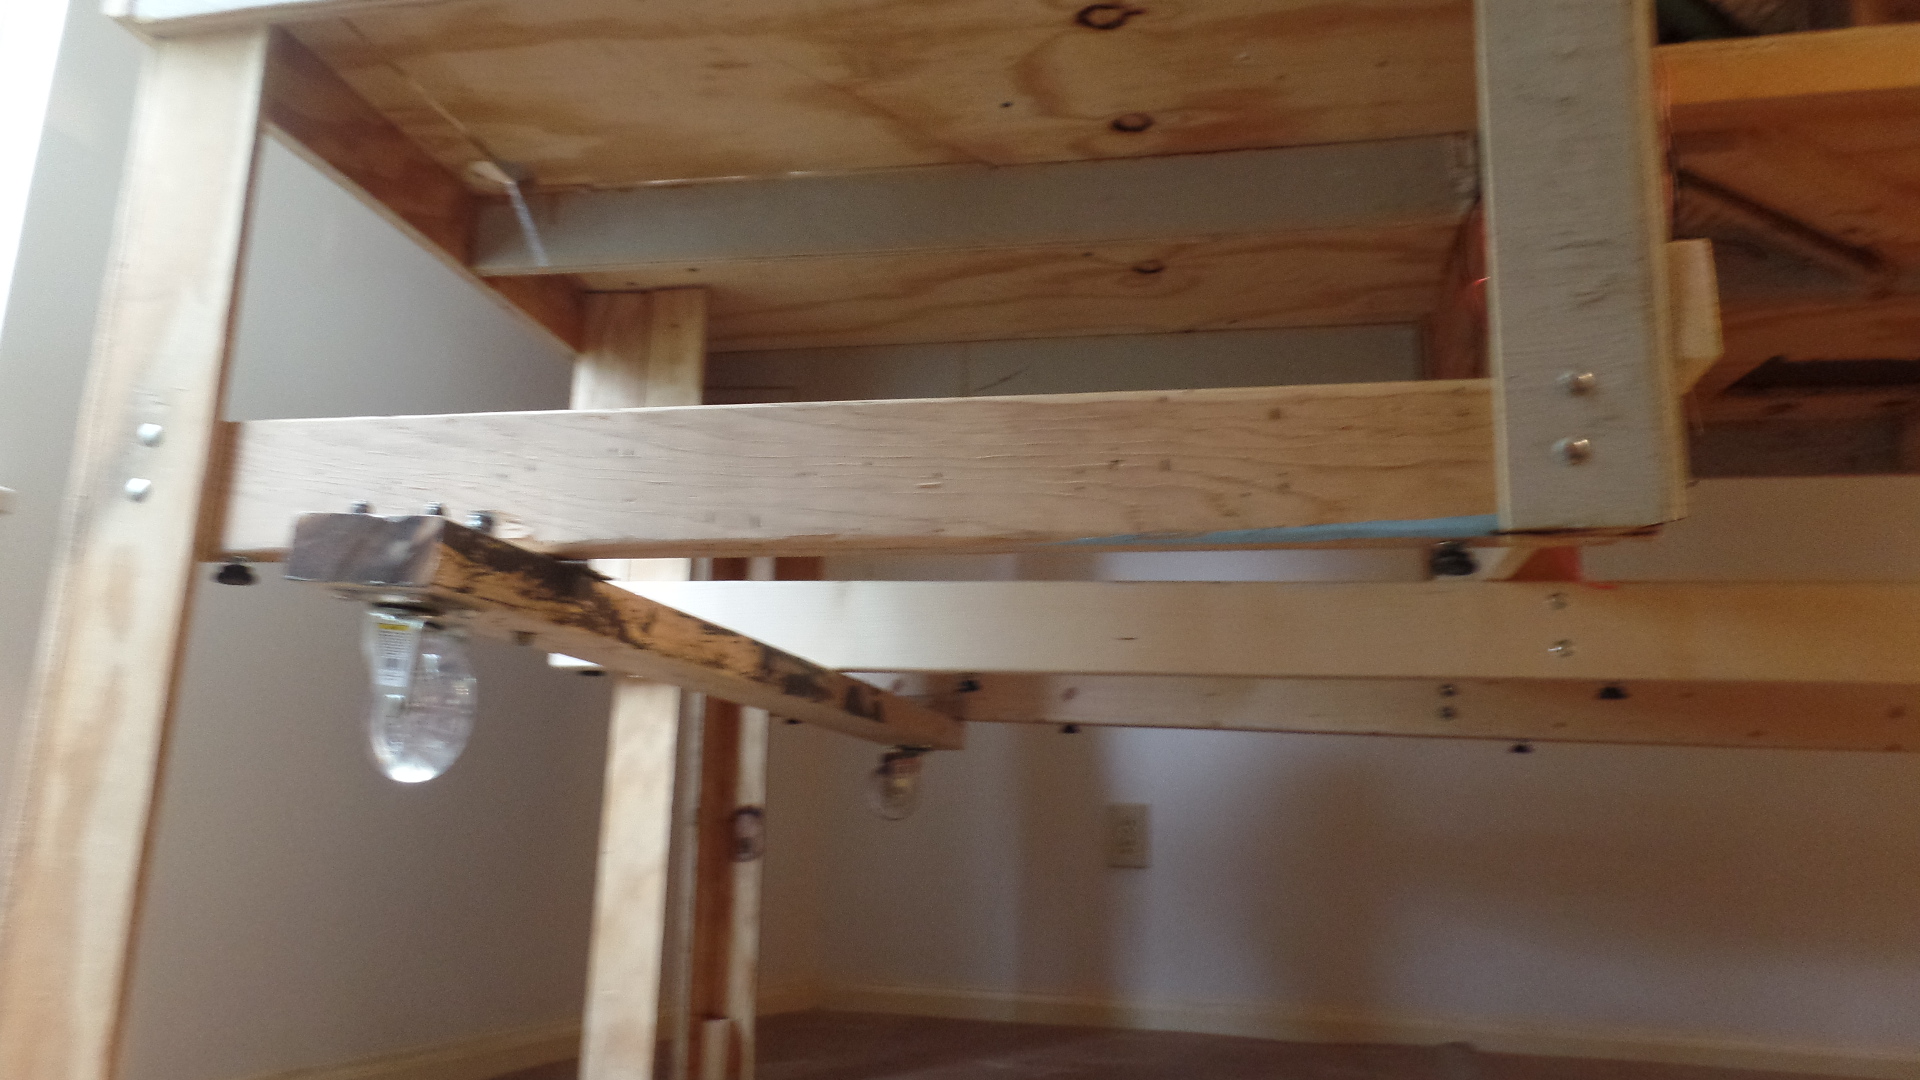
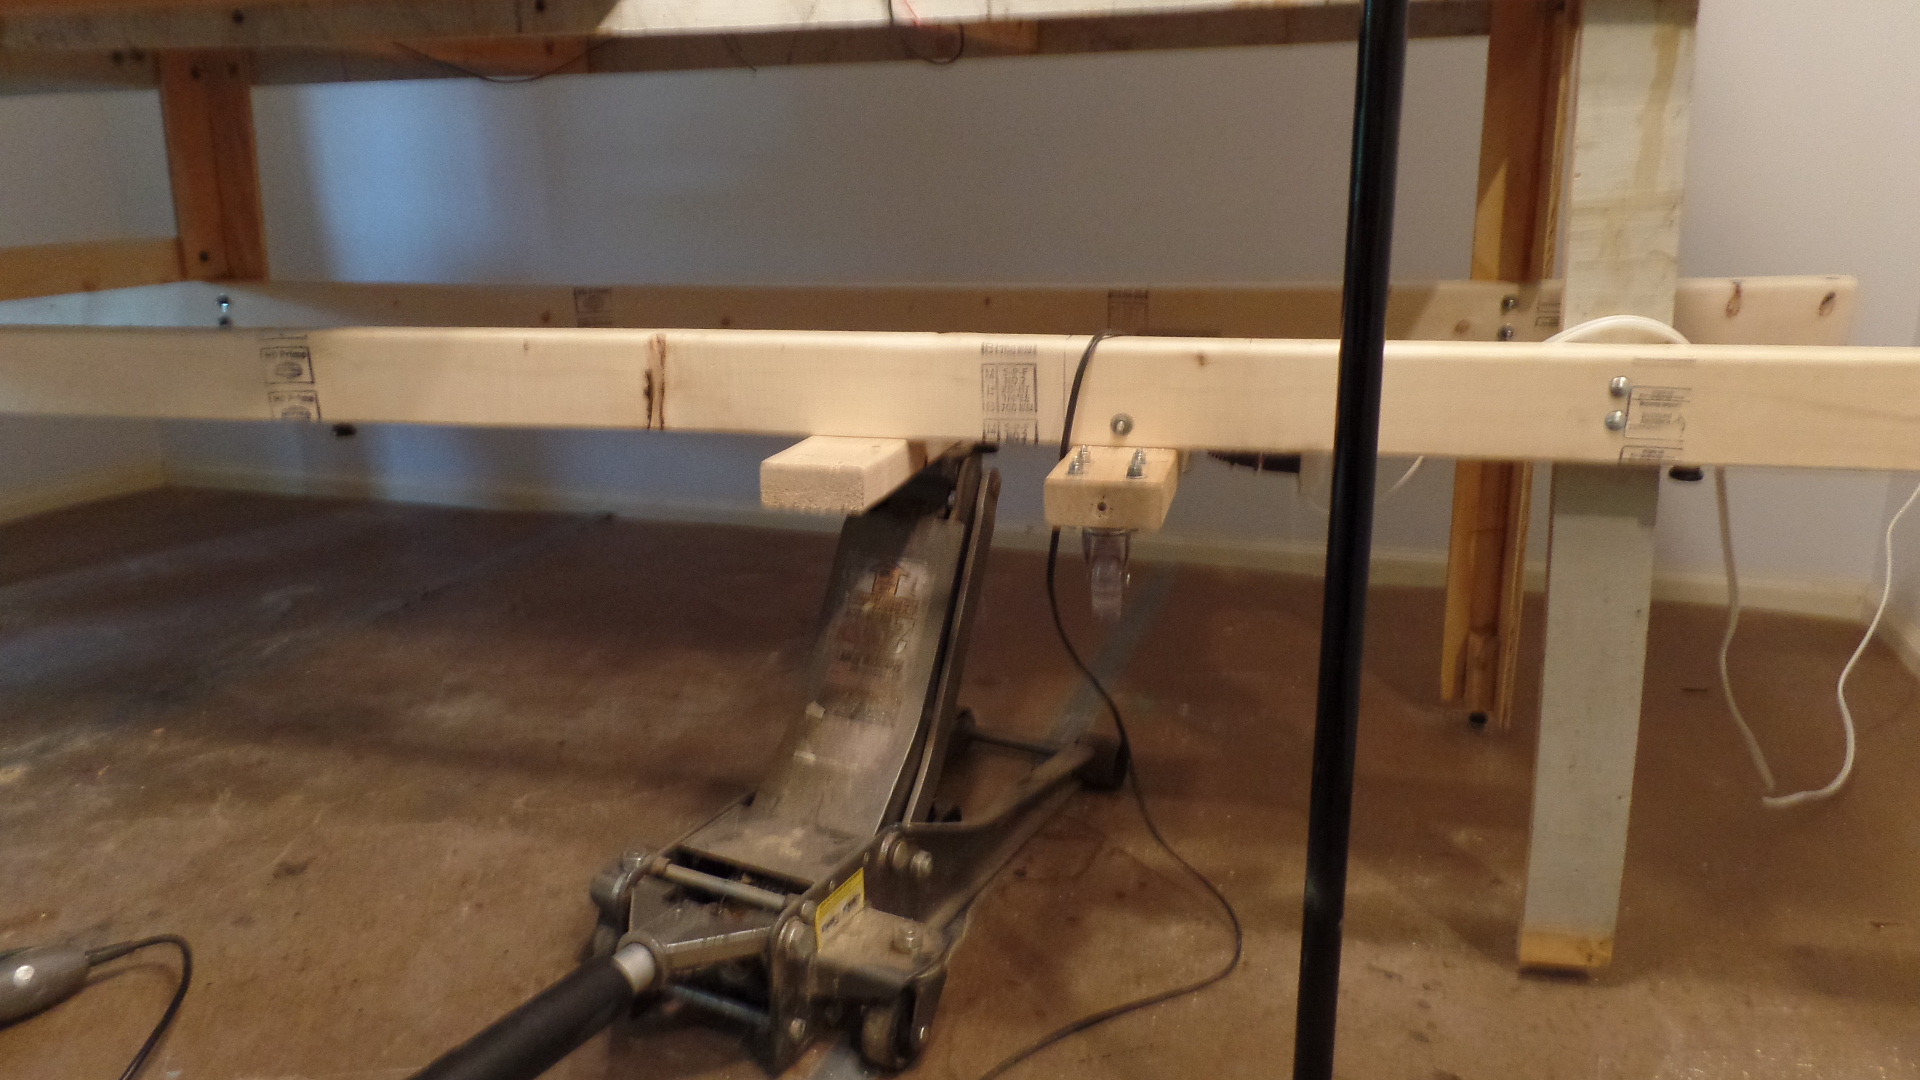
One table was saved. It needed to be lowered for the new bylevel plan. Casters were added. then the legs were shortened. A car jack was used to support and lower the table. Adjustable pads were added. The window shown was blocked before. The new plan will not block it and allow light from it.
Now that everything’s on wheels a new floor will be installed, and then I will start the new layout.
Don”
That’s all for today folks.
A big thanks to Rich for sharing his before and after pics of scenery on the trains layout – and to Don, Derrick too.
Don’t forget the Beginner’s Guide is here if you want to get going on your own layout.
Best
Al
PS Seen the latest ebay cheat sheet yet?






Derrick,
I know all too well what grandchildren can be like, what are the long term plans for the canal? Will the hand crafted current version remain? I suppose the next step will be tuition in the delicate art of pouring resin!
Thinking about it a bit more I’d do my best on the rest of the layout but proudly keep the existing canal and tell all who asked how it came to be there.
Graham
Very unique! Nice
Pretty Kool.!!!!
Great to see such detail beheath the layout – tks!@
I like seeing the substructure construction. That is an important aspect to a layout. My layout is just in the bare planning stages and I really do appreciate the time and effort that is shown on this site.
Hello. This goes out to all the model train folks and builder`s I have been seeing on here. I learn quite a bit just seeing or watching ya`lls video`s. I am building currently my FIRST H-O layout. I will be running two lines. One running in a different direction of the other. Currently, I have my track all hooked up, and I am building a LIFT bridge I am not wired up just of yet either. It started out as a 4×8 , BUUT quickly morphed into something BIGGER. My main question is this. HOW does one go about getting their layout shown to other`s on here ? I am not a computer ” nerd ” and I am pretty much old fashioned. Is their an address that I could send pictures to ? Thank you for any responses. Cordially, Robert Tanner
Rich…..I tried that with Paint……what a great idea. But you have to be careful how you change the objects in your picture and the boarders.
Derrick….great start.
Don…….welcome to the club….most of the time, we all learn the hard way.
To Robert Tanner: You have Al’s email address. Take pictures of your layout, load them onto your computer in a photo storage file where you keep your pictures. Then send them as attachments to emails to Al. Be sure not to send high resolution pictures to Al as his email won’t be able to accept them. A good photo storage/viewer on your computer should let you downsize the pictures to smaller resolution pictures to send Al. I usually send medium sized photos so as not to overload the emails to him. I can send around 4 or 5 photos per email to Al. Ask someone around you to help you through the process and then it won’t be a mystery. It really is pretty easy to do. Hope this helps, looking forward to seeing your miniature world.