Gary’s been back in touch with his Atlas HO flex track layout, which is 17×17 (well it’s not exactly square as you’ll read…)
“Hi Al
It’s been over a year since we last spoke.
Been working on it now for eight months. Finally was able to run a train around the room, last week.
Right now it’s just a Plywood Pacific. But I’d like to share with you some photos of the future CSX Monon Division Railroad.
To give you a little history of what I’m doing. This is a Prototypical freelance Railroad. Not modeled after any specific place just kind of a general area.
I am modeling modern times. The train layout sits in a 24 x 20 detached building. The actual layout is built in a trapezoidal shape. 17 1/2 feet across the bottom, 17 feet up the right side 12 feet up the left side. In 19 feet across the diagonal.
I’m using code 100 atlas flex track. Most of my switches are Peco and Shinahara. Merry With a few Atlas mixed in.
I am running Digitrax DCC system. Plan on setting up so I can have occupancy detectors in the lower staging yards. I’ve already to these tracks individually to be able to do this down the road when I’m ready.
Unfortunately with no place else to store all my trains, buildings and scenery the room is a little crowded and stays messy I apologize for the disarray. But I wanted to share a few photos with you.
I will check back in periodically and let you know how the progress is coming.
My Layout is being featured on our division eight NMRA zoom meeting next Saturday, so I’m trying to get as much done before then as possible.
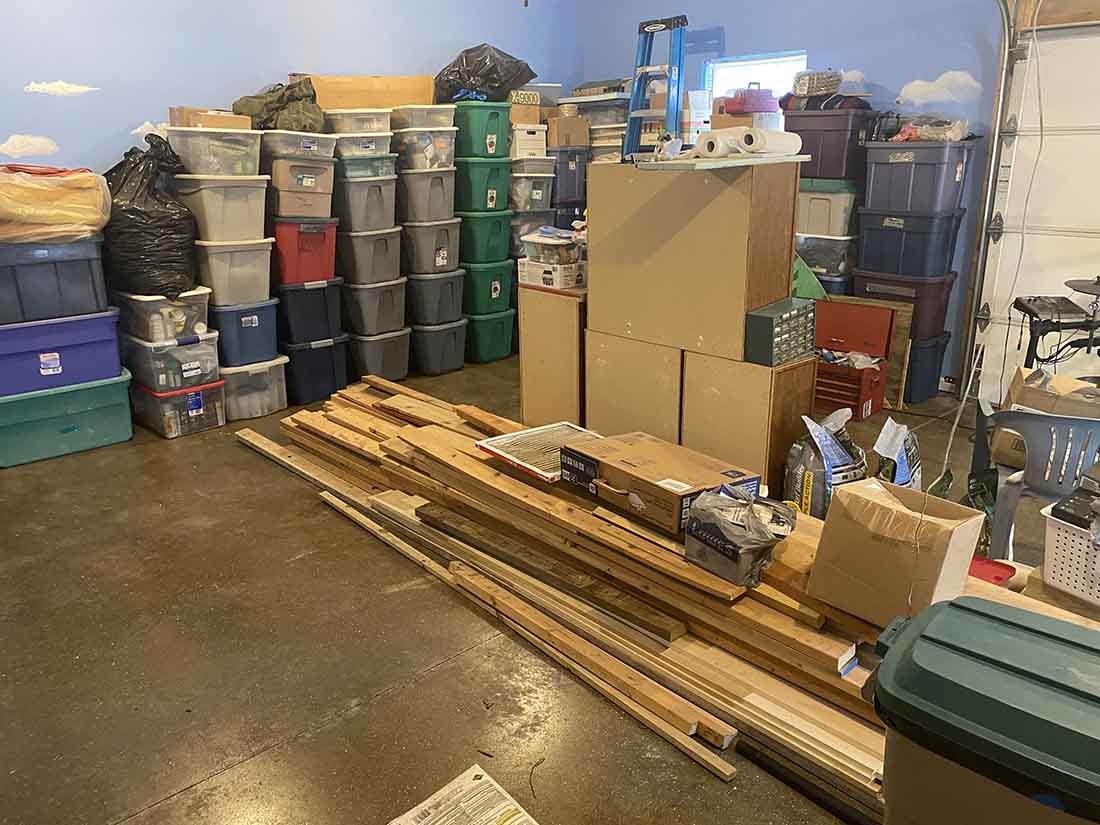
The beginning with no room to work!
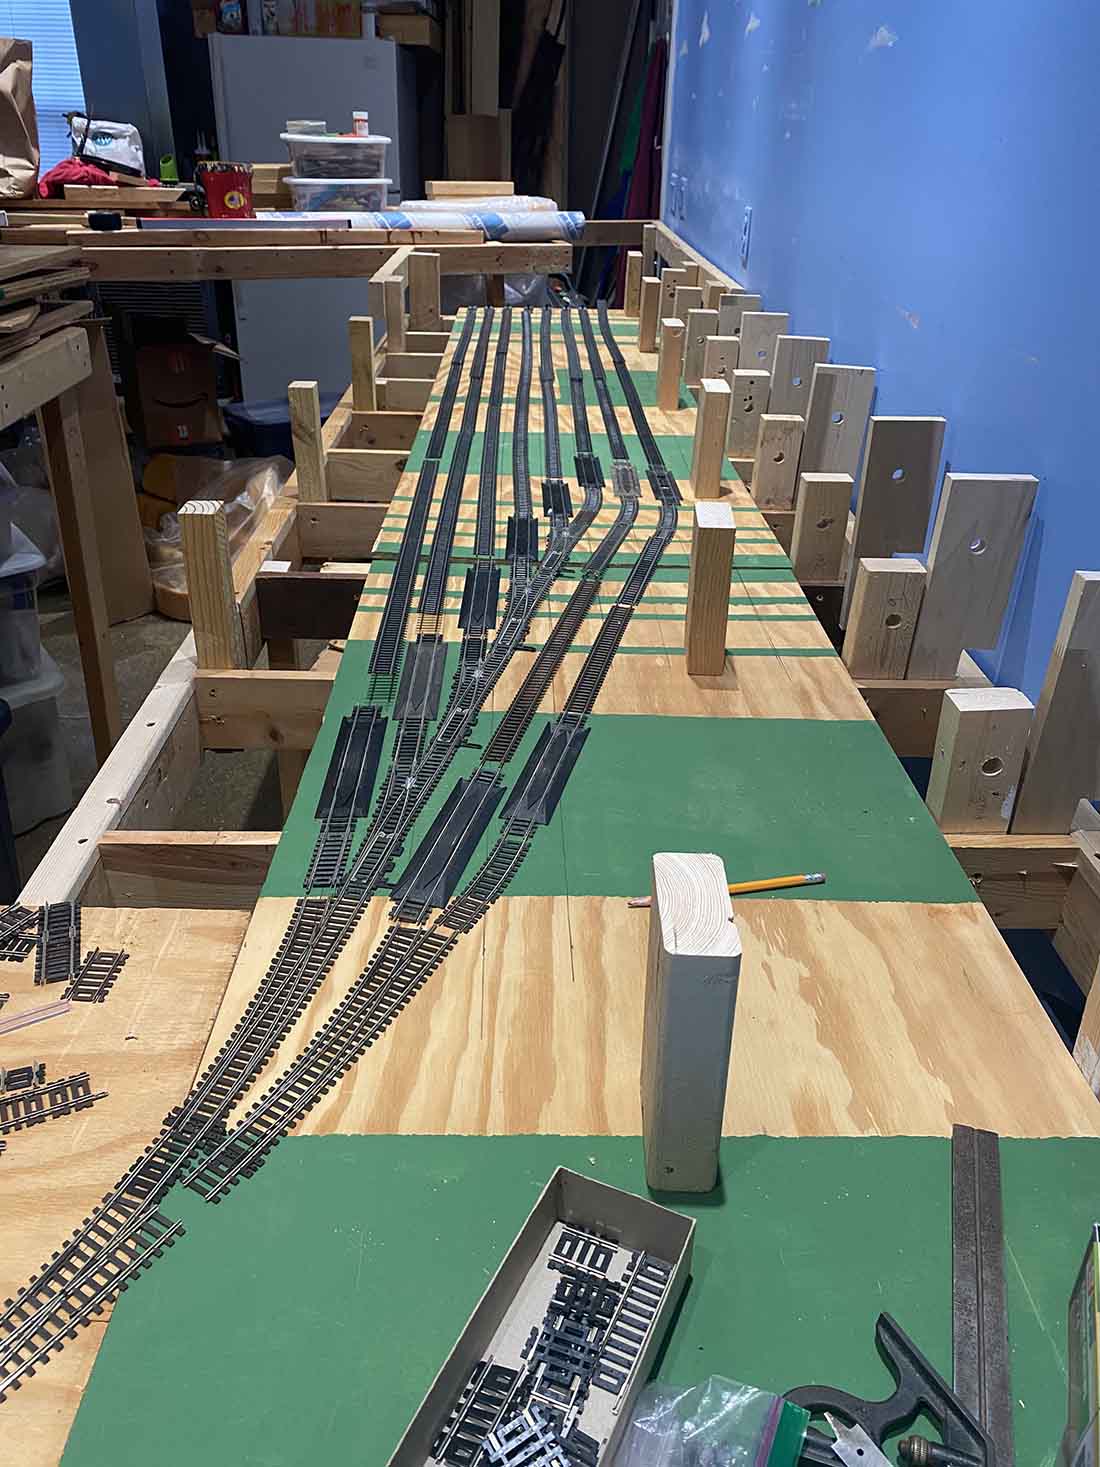
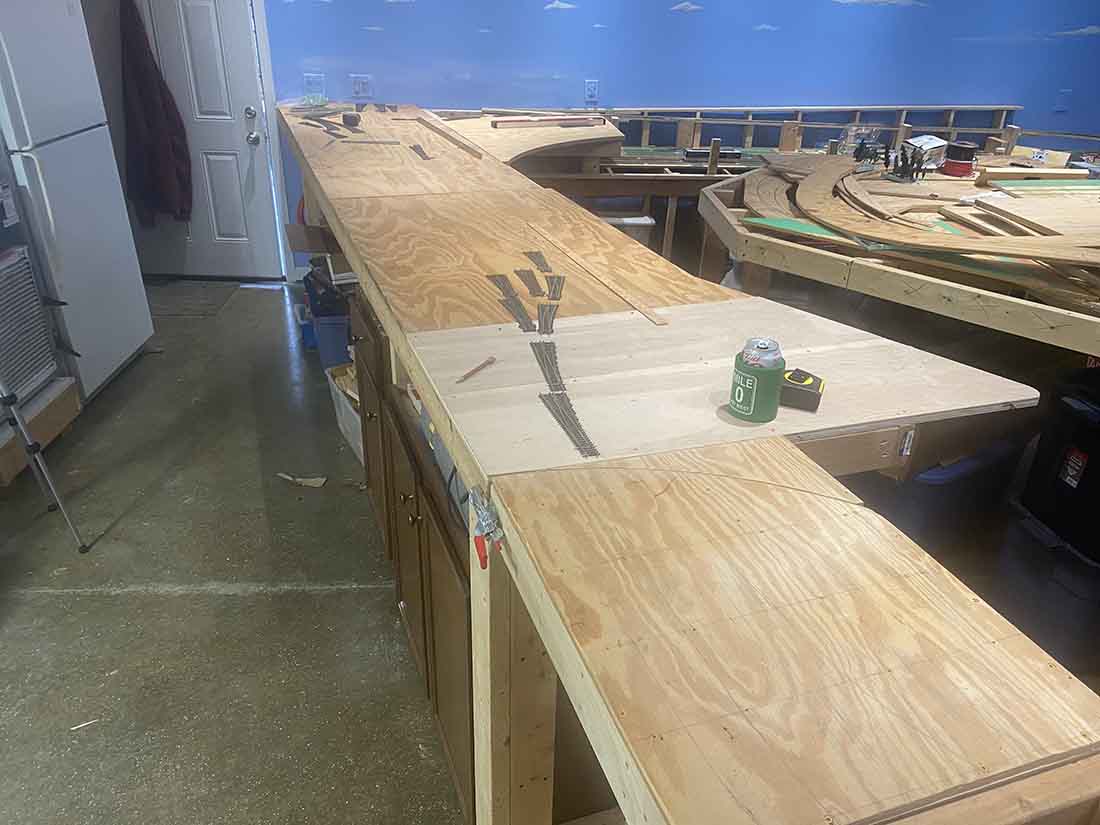
Laying out the lower staging yard.
To the left goes down to the lower staging yard.
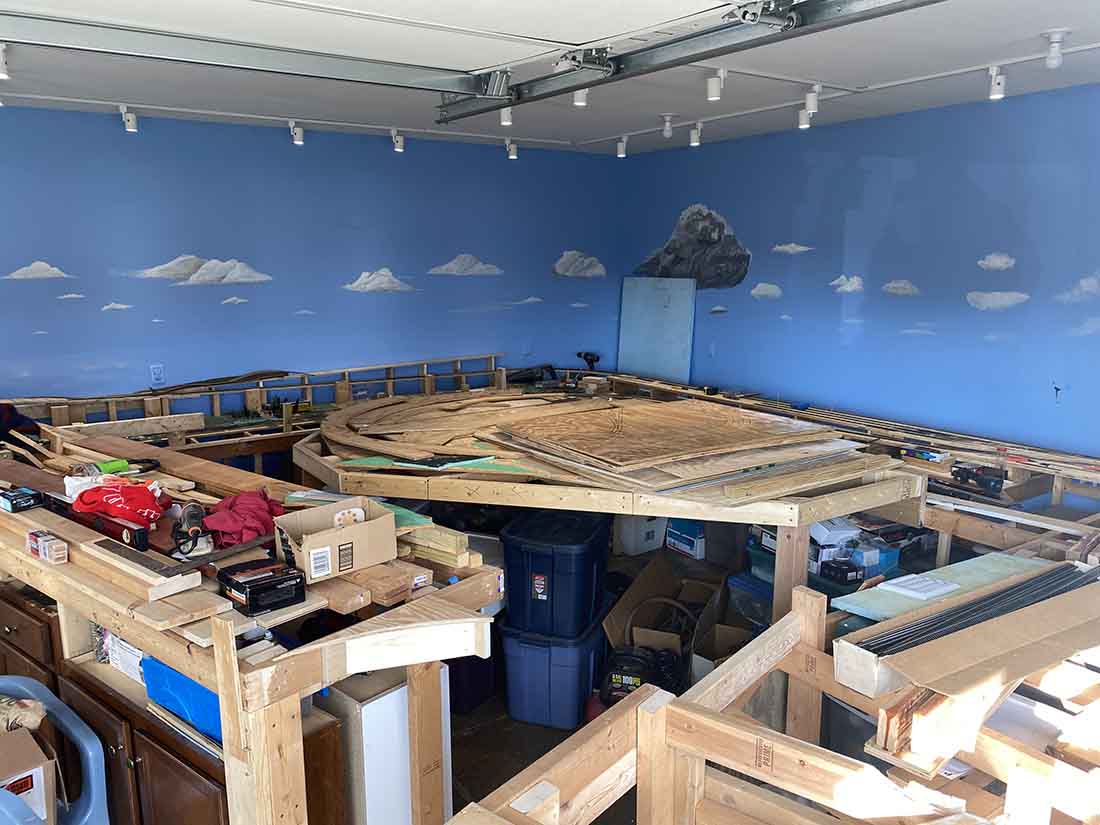
Layout starting to take shape. Working on the swing gate to get into the center peninsula.
Atlas ho flex track layout:
Was able to complete the swing gate with the help of a very good friend a retired Air Force Colonel Bruce Sanders. He has been instrumental in helping me design and create this layout.
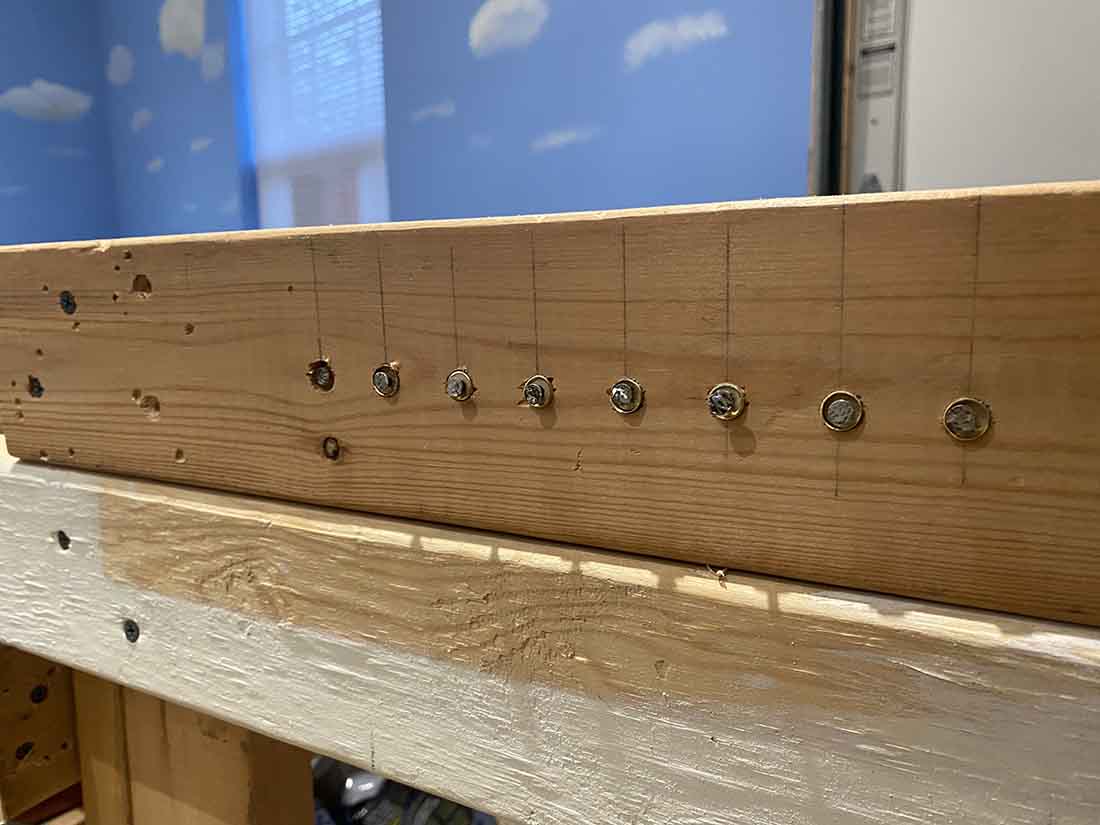
By using brass tubing and nails with a spring he was able to make connectors for me to transfer power from the main Layout over to the swing gate without any wires hanging down. I simply solder a wire on the backside of these. And then there’s another nail on the swing gate that is stationary that I solder the wire onto there.
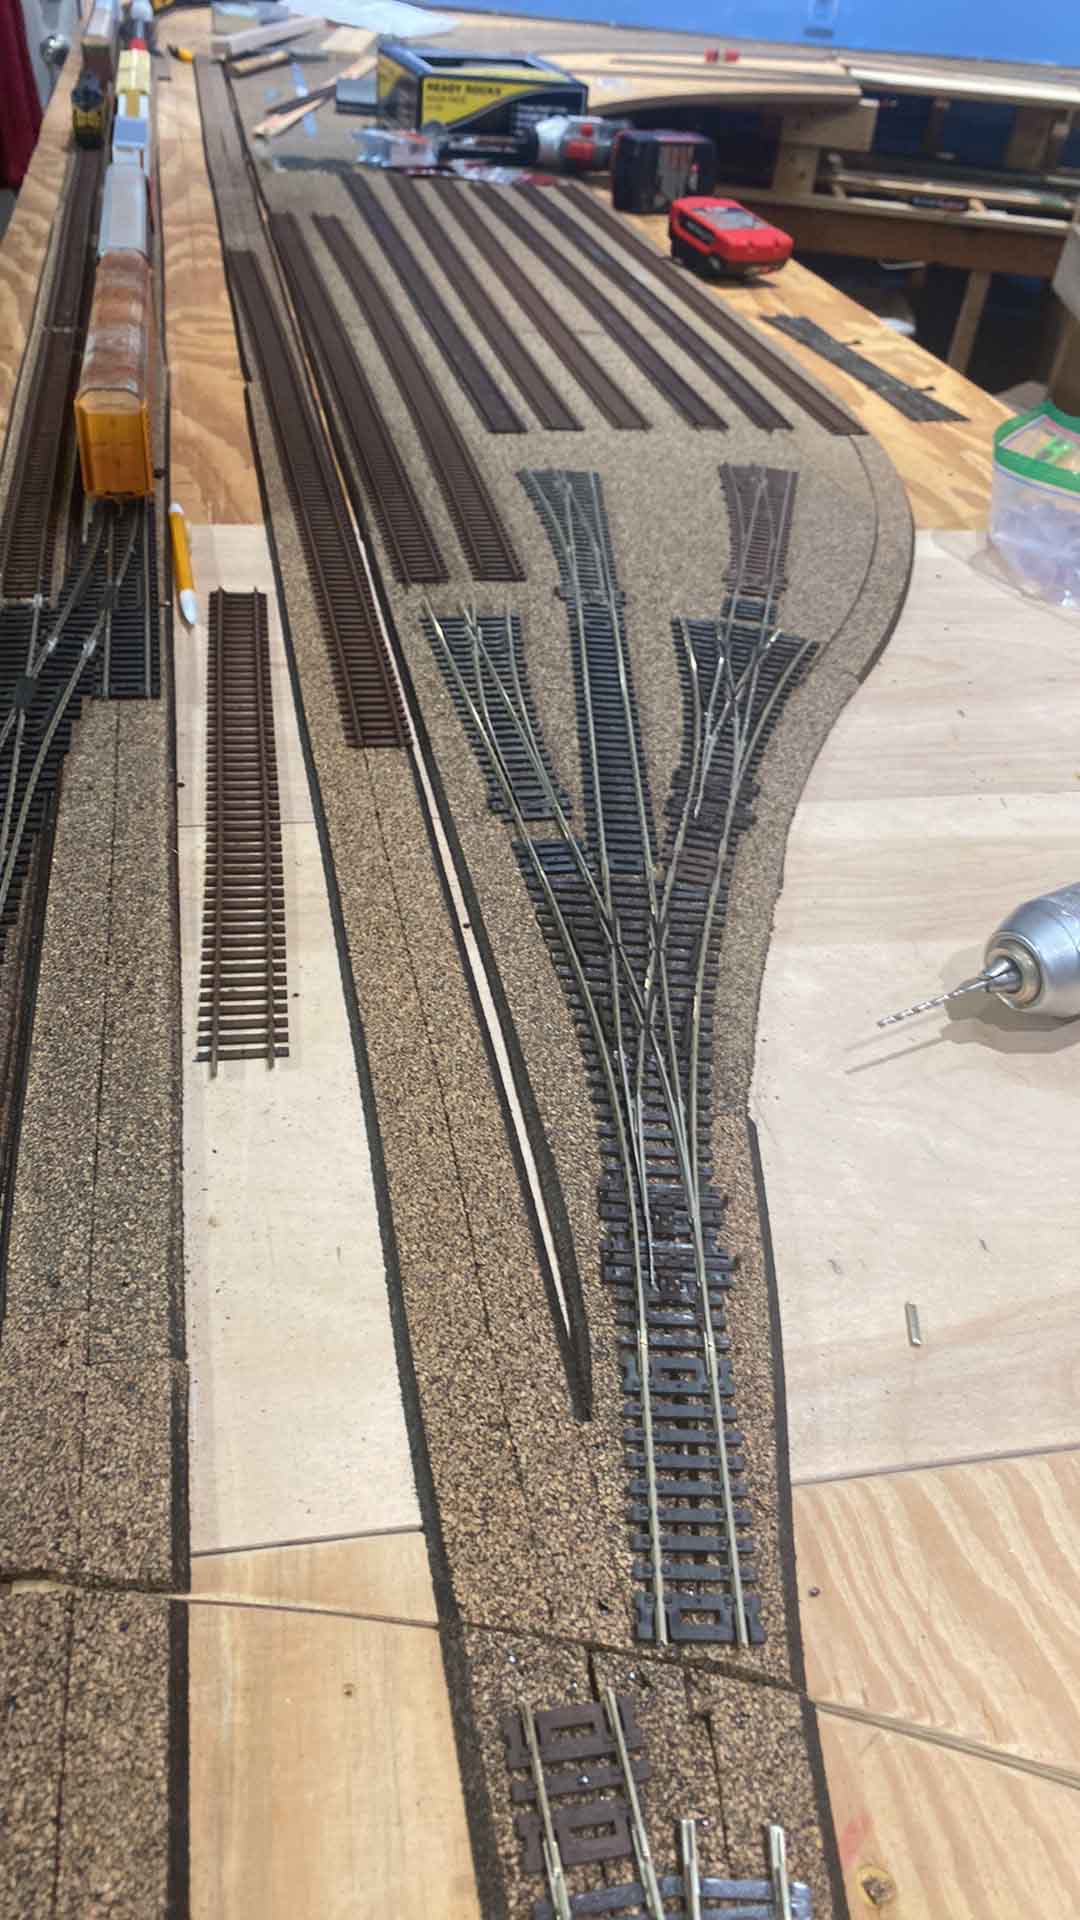
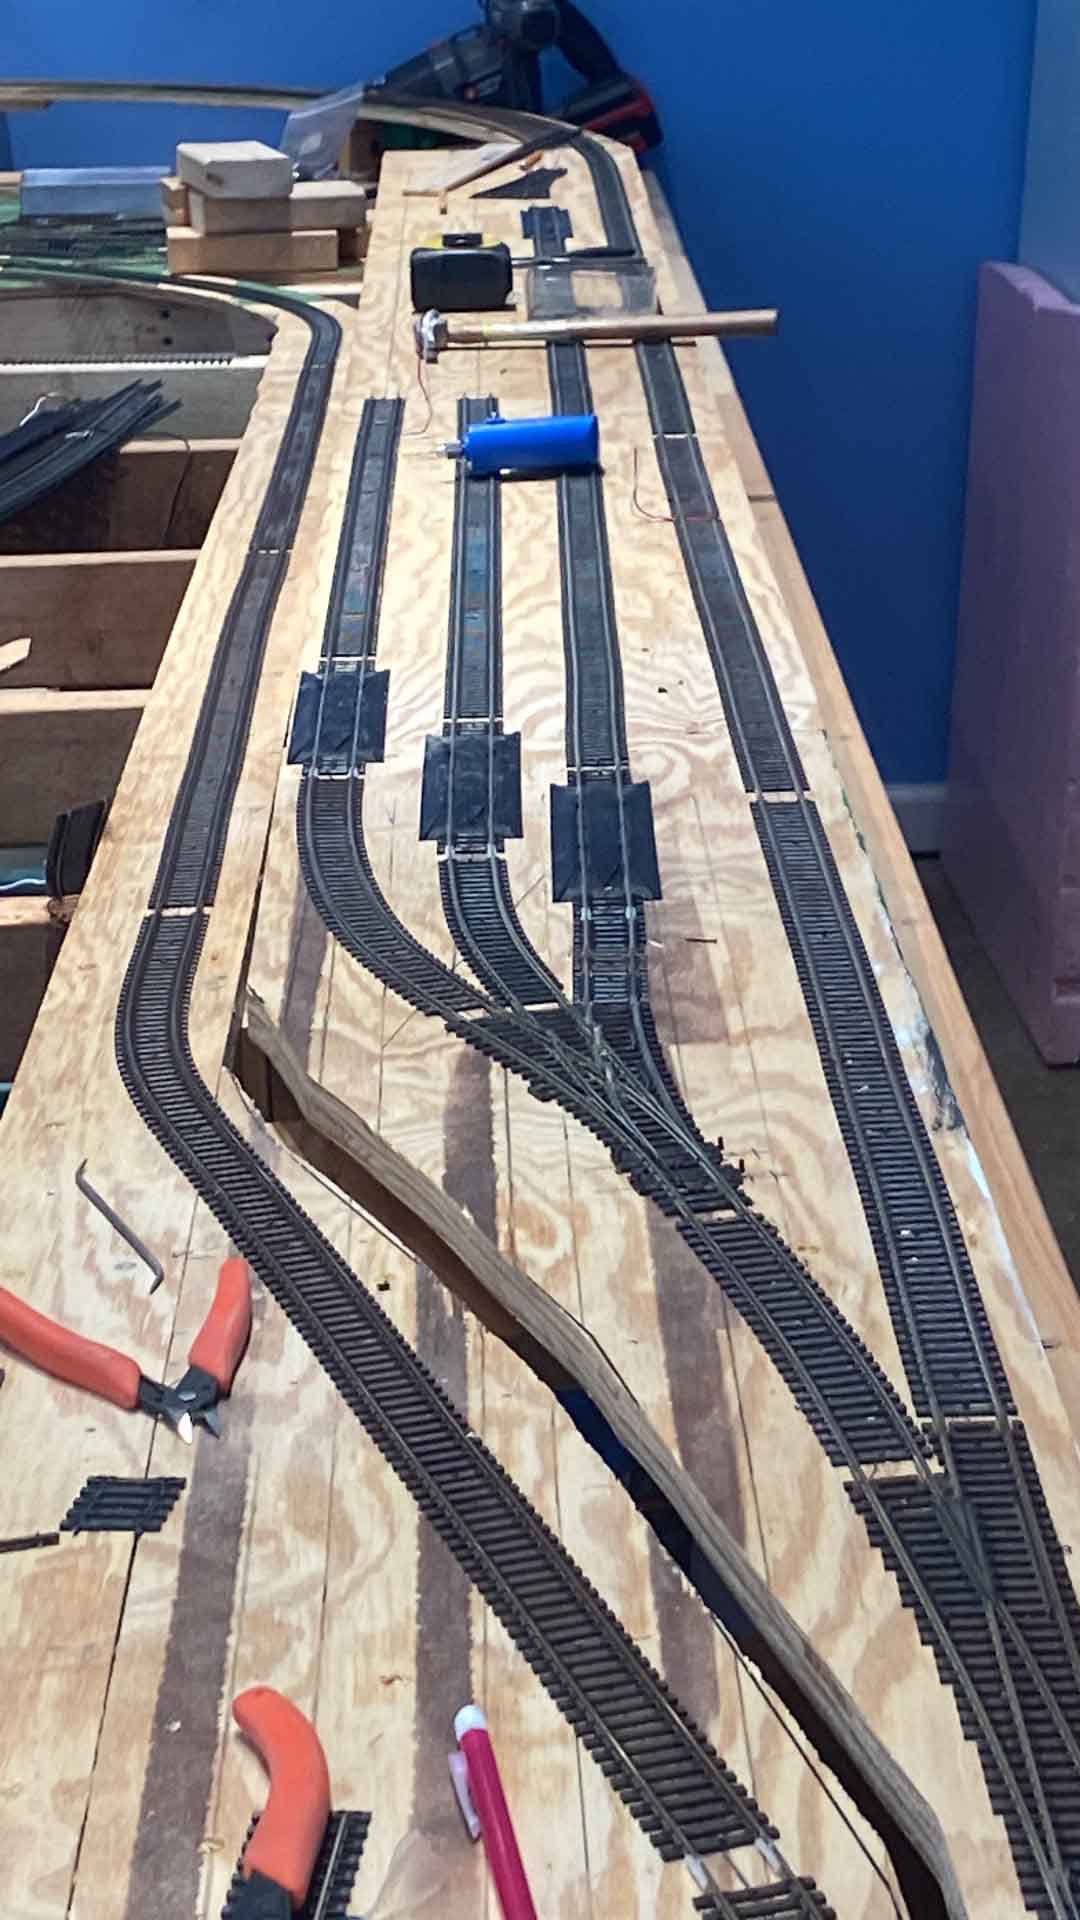
Laying out the main yard. You can see the swing gate at the bottom of the picture.
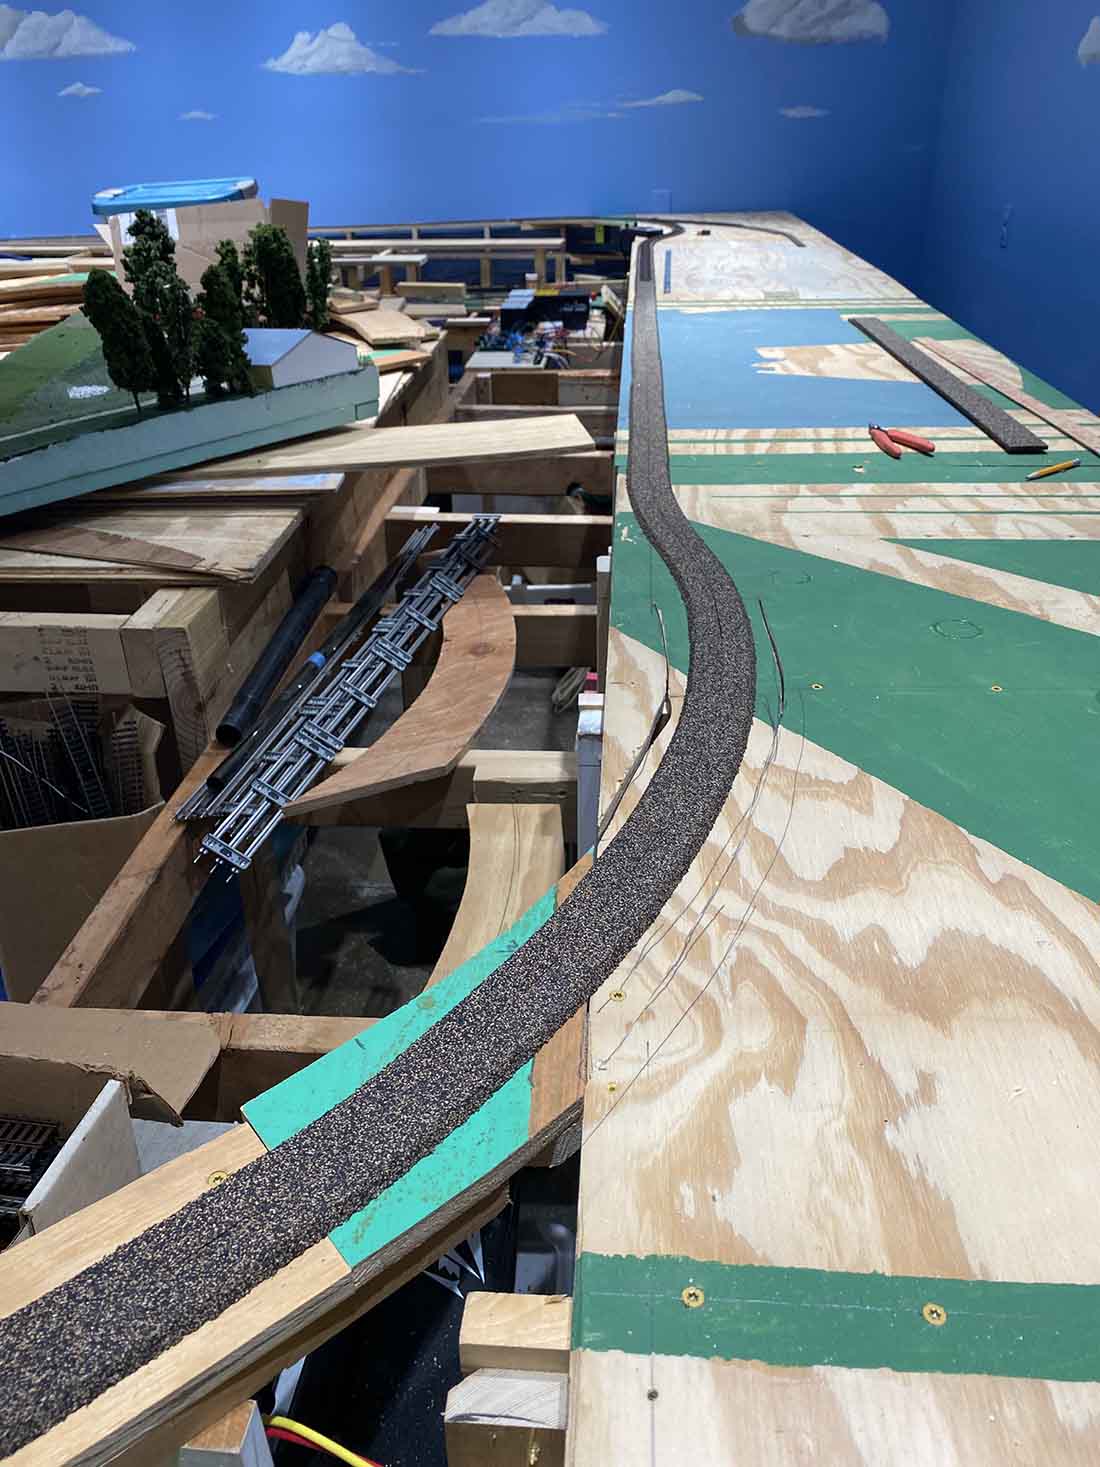
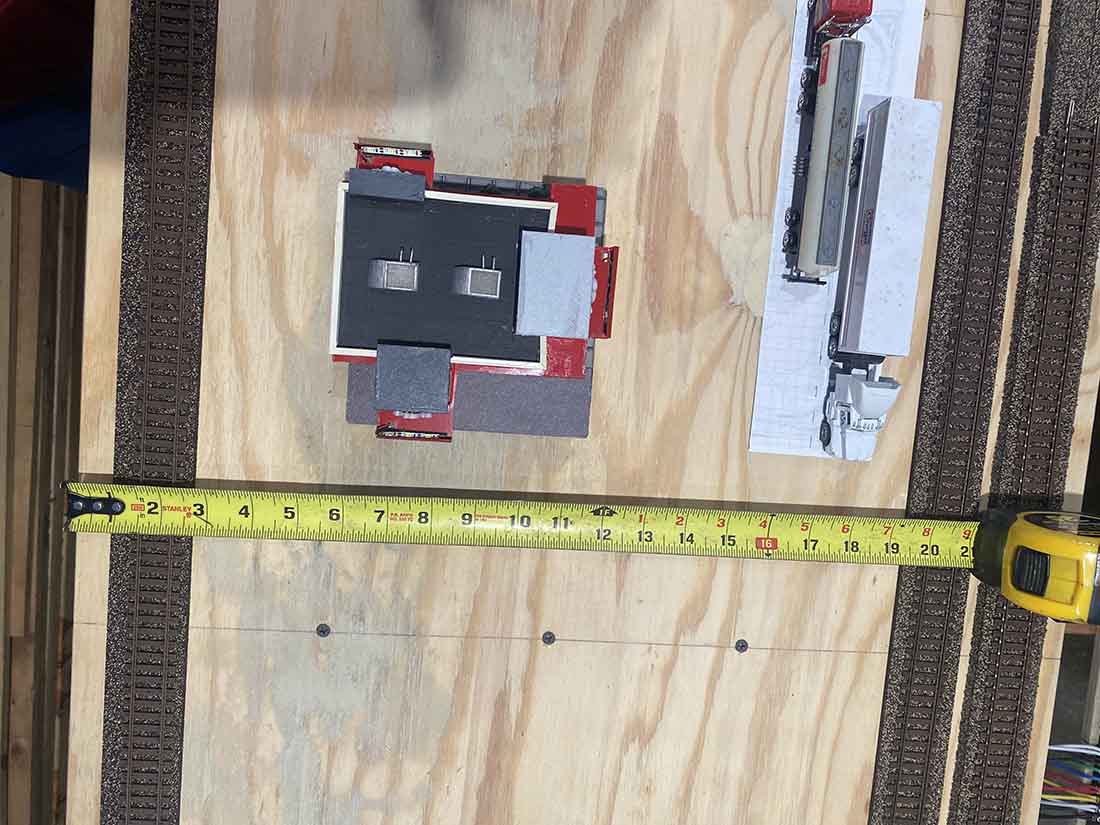
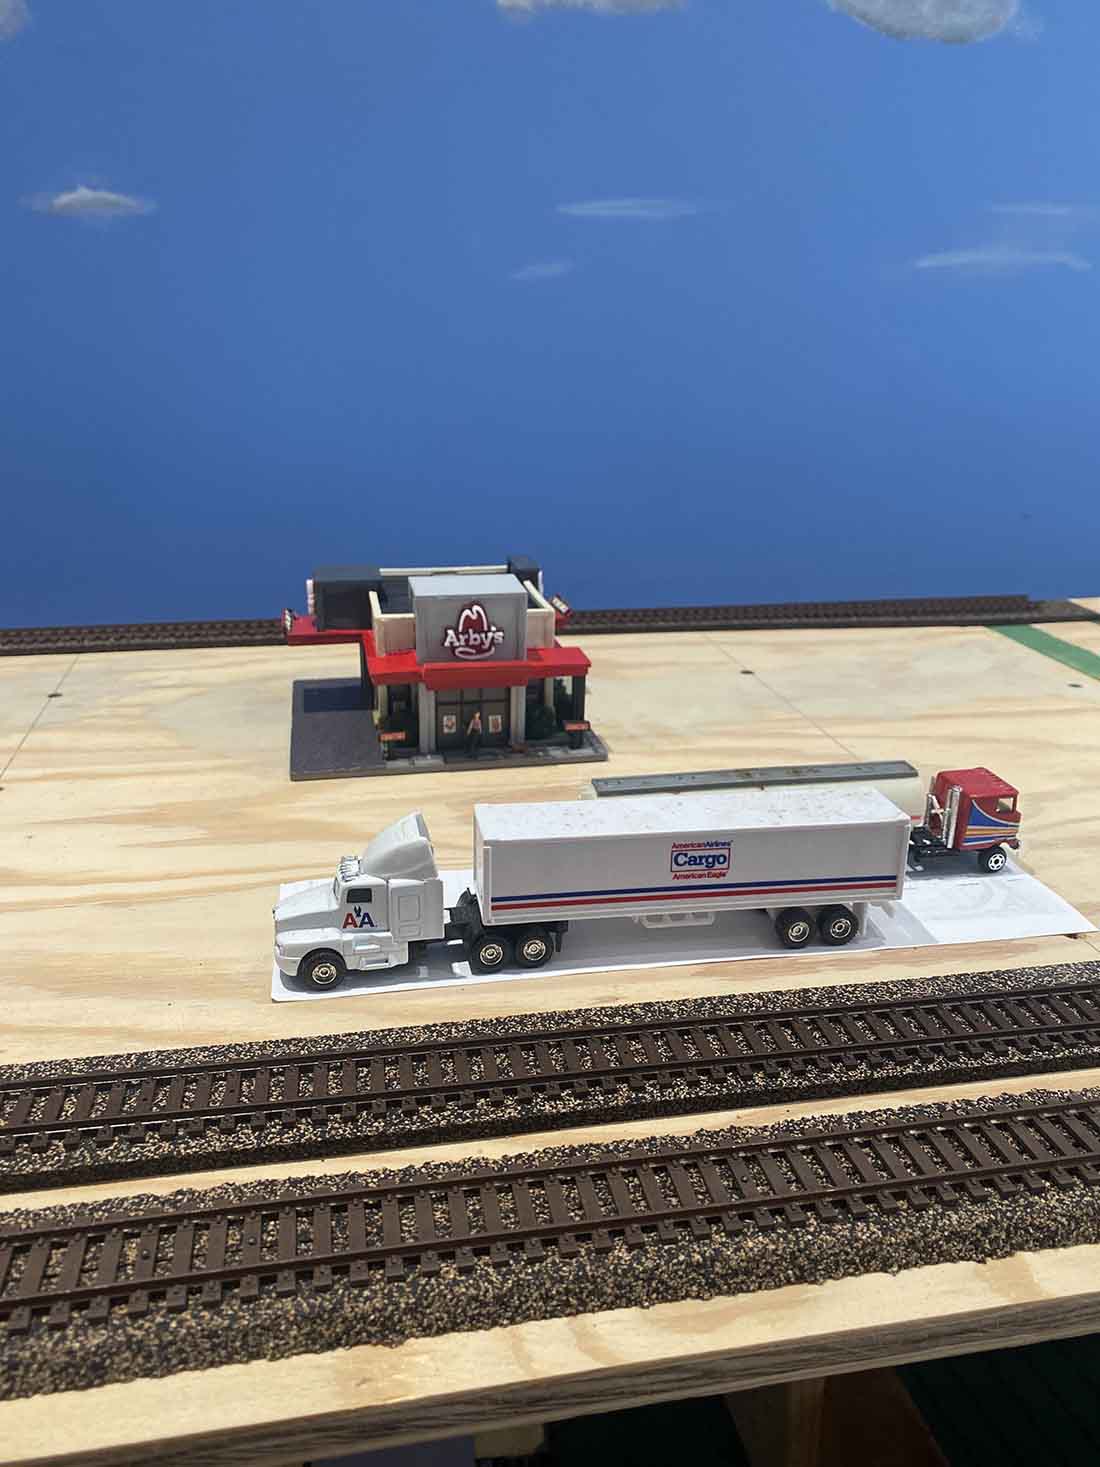
Laying out the town above the upper staging yard.
I hope to have more updates for you soon.
Thanks again for all you do for the hobby I always enjoy looking at your post. And Marvel at the workmanship of all the Modelers that you share.
Gary
Sellersburg Indiana.”
Now on to Wayne.
He’s living proof that where there is a will, there’s a way:
“I came up with a very tight hole that I needed to work from.
Due to my Parkinson I don’t have the strength to lift myself up in that small hole. My work back there came to a holt.
About the same time I broke my elbow. This put me in the hospital for a week.
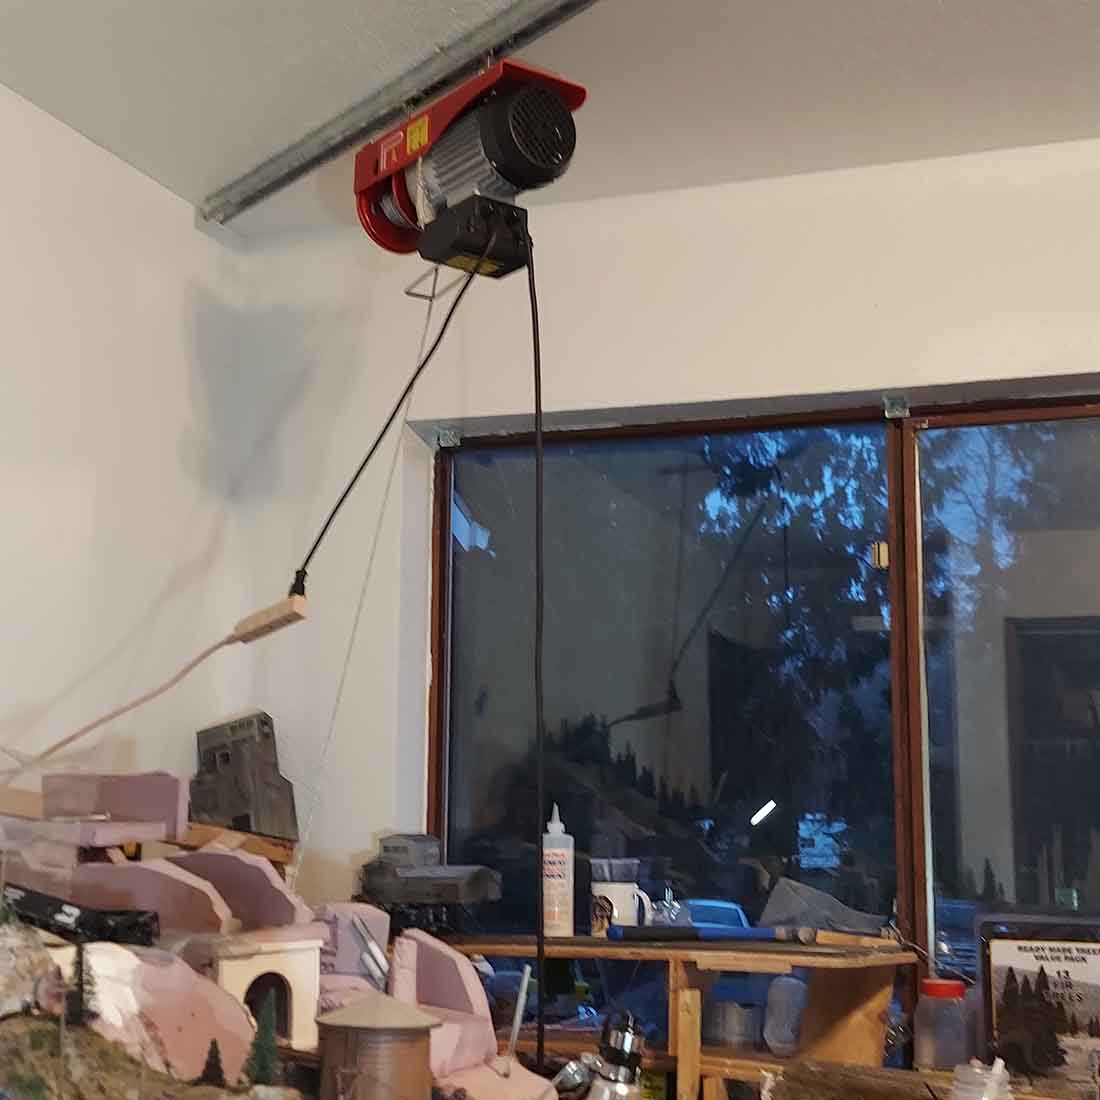
This gave me time to think of a way to get up in that small hole.
I bought a 1/4 ton elect. cable hoist. I got it mounted it to the ceiling on rollers with unstrut channel.
All I need to do is push a button and up I go far enough to stand. Now I can get back to work.
Something to think about for us old guys and the cost was less than $200.
Thanks Al”
(You can see Wayne’s last post here.)
That’s all for today folks. Let us know your thoughts below.
A big thanks to Wayne and to Gary for sharing his Atlas HO flex track layout.
Please do keep ’em coming.
And if today is the day you poke boredom in the eye, the Beginner’s Guide is here.
Best
Al
PS More HO scale train layouts here if that’s your thing.
Need buildings for your layout? Have a look at the store.
They are great fun to make and great value too.

Nice one gary
Hi Gary,
Interested in seeing the detail on how you built the electrical connection for your swing gate with brass tubing, nails, and springs to avoid dangling wires beneath the gate. Any pictures? I would like to install this on my layout as well.
Thanks,
Mike in Voluntown, CT. USA
thank you for some good ideas i run 5 sets of o trains every christmas in my gorage every year i start in mid oct as it takes a long time as it takes all the room up it is a two car gorage it is a site to see i will post all pictures from this christmas as my wife complains she has no room to do wash i use a pole to move things around i was going to cut a hole in the middle but i am to old to craw under and it would not look good
Nice layout!
Hi Gary, your layout looks good so far. You have done alot in a short time. I’ll bet seeing your train is so gratifying. It’s your reward for all the hard work you put in to get to that point. Looking forward to seeing more in the future. Have fun. It’s such a great hobby. I’m working on my layout in my garage too.
Chuck
Looks pretty kool.!!!!! Keep up the good work. I hope mine turns out good.
I always get Great ideas from all the great minds on this site. I’d like to get back in the hobby again. I sold all my “O” gauge equipment after I retired and moved to a townhouse. Now I’m thinking HO or N for the limited space I have. Can anyone help guide me to Hobby stores by me, and train shows near me? I only know of the DuPage train show once a month. I live in Naperville IL. Any help would be greatly appreciated. Thanks to all.
Al..I was rereading some of the older posts….One thing that stood out to me was
some guy that called himself The Critic. Please allow me to expand on that thought…… You have noticed how one person can end a good club meeting.
It brings to my mind what my Mom said, ” If you can’t say anything nice, keep
your mouth shut” ….My Dad added to that when he told me (at age 15) he didn’t
care what I did as long as I was a good one. My point is that you can contribute
or you can ruin. There is no grey. ..I may be considered uppity by some…Thank
you Al for setting the standards for trains….period……RJ
Nice Clouds.
Shlack in NC
First, Wayne kudos for the positive attitude that drives you! You are to be commended for your efforts.
Second, Gary, saw that little graffiti plug go by with your name on it 🥴 I love the below platform storage yard. Never really see anyone doing this? I am in the never ending planning stage and want to do just this for about ten complete trains. The difference is that I want to be able to “bring up” a train without reversing it out. I will be working on a 13’ by 9’ layout (with a small cutout corner of 2’ by 1’ roughly). I want a very minimal grade, and so will be using some of it on a curve. Again, just at the paper and pencil planning stage.
Are you planning on using any sort of camera to see what’s happening down there? I’m going to show my age and will be using DC wiring like in the dark ages!
I very much look forward to seeing more updates about this aspect of your layout.
Thanks always to Al for bringing us all together in this forum.
Lastly, about the perceived negativity of some posts. The world is made up of a lot of uniquely different persons. When you encounter one that you don’t agree with or that rubs you in the wrong manner, just let it ounce off and not evoke a reaction from you.
Trust me when I say that there are far more important things in life than reacting to what should be meaningless things that are beyond our control and concern.
Nice start on your layout. I would like to see the swing gate in action. I am designing my layout and could possibly use the swing gate concept. Thank you for sharing. Al – your site is a pleasure to behold.
Hi Gary,
Great use of space and I commend you for tackling this size project in a such a short time frame.
I would love to see your track plan as I have a similar sized room which is a blank canvas.
Regards
Doug
Very interesting….so far so good
The layout is coming along great! My only concern is with the swinging gate, actually the electrical connections for the swing gate. It’s a good solution except for the materials used. Steel (nails) are not a very good conductor of electricity, and oxidize easier than even our track, so I thing they are going to be an issue, especially if you are planning to use DCC control. DCC is very sensitive to weak and intermittent connections since the current is always flowing and there is digitally encoded command being sent over the track. Just a slightly dirty track or pickup wheels can play heck, I believe those connectors are going to be the cause of much grief . Making the connectors with copper nails would have helped, but in the end I think you will end up using a more electrically positive
(pun unintended) connection, First thing I thought of was a gang of modified knife switches split and the blades mounted on the moving side and the receiving portion mounted on the fixed side of the gate, so the blades engaged the receiver when the gate is closed. If this doesn’t make sense message me and I’ll do a sketch of what I mean. Knife switches are used since a long time ago because they are positive and self cleaning. I’ve tried similar commercially available bullet and plate connectors in the door jam of hot rods to eliminate the unsightly wire bundle dangling in the door frame providing power to power windows locks and latches as well as speaker in the door, but they too caused electrical problems within a short order.
Looking good
big train show collinsville il every thankgiving weekend
To Allen Jelineck. Lombard Hobby in Lombard is a great HO and N scale store with prices that match or better what is found online.
Gary: I am in awe of your plan. It looks great.
Wayne: That is a fantastic solution to your problem. Best wishes on your efforts.
RJ: I agree with your thoughts, but sometimes there is a gem or two in those missives.
AL: Keep up the great blog. I greatly enjoy reading it every day.
RH
Gary,
Your beginning almost where I am on my layout, ALL in totes. Haven’t quite got the location for the layout yet. Been collecting for 20+ years and at sometime I got to get in gear before I retire. My son calls me a hoarder, I call myself a collector. A fine line between the 2. Enjoyed you sharing and have fun.
huge amount of work. great job. i wish i had this much room.
Gary, (or Al)
Like so many other comments, I’d LOVE to see more details/info on the swing gate! You can’t just tease us and then leave us hanging and not explain it or show it in action or anything! C’mon man! I’m dying to know more!
Can you PLEASE provide more details!!
Al,
Can YOU get more details on the swing gate from Gary and share them with us?
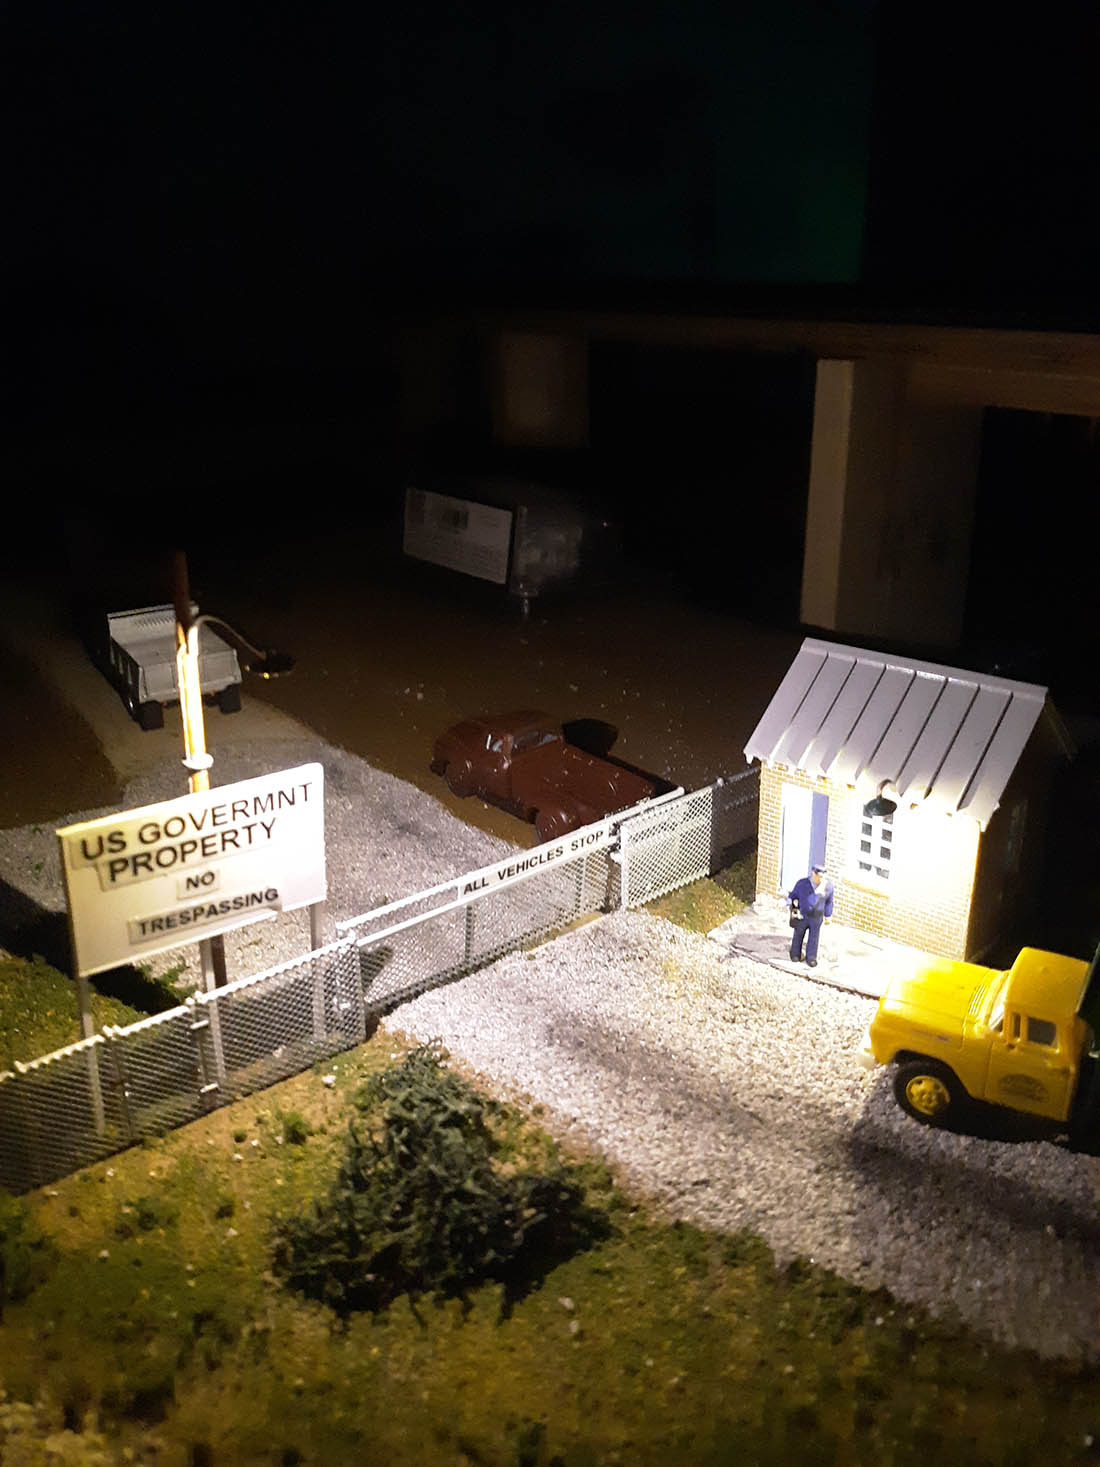
Thank you Wayne for posting your excellent ‘night scene’ pic and your solution to the lift section of your layout. Have been struggling with the way to gain access to a hatch on my layout. Currently, it hinges down to gain access to the surrounding areas of the layout. Tired of falling parts being unglued by bumping into it at times, I have often thought about the best way to remedy the situation. Raising the hatch straight up seemed like the best option and considered your option. By hiding the hoist in the drop ceiling, I can have a latch/hook hanging through the ceiling tile. A large screw eye can be placed in the center of the hatch and hid beneath a building or house. Lowering/raising the hook would be no problem. Attaching the hook to the screw eye would be assisted by one of the those ladders that lean over the layout to extent ones reach without actually climbing onto the layout. Commercial ones are available, but I’m inclined to make one of the homemade cheaper versions. Thanks again for posting! Merry Christmas & Healing Prayers Abound! Wes
Gary,
I enjoyed you pictures and explanation. The layout look really good so far, By the way did my old tired eyes detect some Lionel 3 rail track in one of your pictures?
I am in the beginning stages of building an 8′ x 24′ layout in our garage. I have to use ‘O’ gage since my old fat fingers don’t work well with small objects. I think anything smaller than HO is just too tiny for me. I still have my original Lionel trains from the 1950’s, so that is my starter system.
Wayne, Nice solution to your problem! So, if I understood your post correctly, the hoist lifts you up into the 2 x 1 foot hole so you can access the layout. It doesn’t lift anything on the layout, right?
Gary, that looks like a great start on what will be a fabulous layout. I also noticed the pieces of old O27 3-rail Lionel track near your upper town area. Tsk, tsk! 🙂 One thing I think I saw is that it appears you have a grade starting from the left side of the swing gate. If so, that could be a source of derailments in the future. I really enjoyed your short video. I’d love to see your track plan when you get a free moment in your busy construction schedule.
Most impressive , serious determination for sure . I’m always at awe when I see the talents on display let alone the trains . When I revisited this fine hobby I thought it was just about a platform , a few trains and some buildings , perhaps a tree or two and some people mulling about . Boy was I wrong , y’all are some serious folks laying out some serious displays , and cash as well as we all know this isn’t a cheap hobby . Never ceases to amaze me what comes across this page . What I think I admire the most is the support of this community. Yes we do have to endure the critics at times , funny how they never reveal their layouts . Great folks doing great things … thank you , it’s more than just a train going round .
again very nice layout. good idea for assistance with getting up. sorry to hear of the parkinsons.
I live in Tecumseh Michigan. Nice work Gary, I use Atlas code-100-flex as well, luv it and all Atlas turnouts. Getting ready to start a new layout in basement of new house 2,300sq/ft. Anyway,nice layout you’re doing and you have made great progress in eight months, good job. Wayne, you’re awesome and inspiring, hope your arm is feeling better. The fact that you found a way to do what you luv with your condition is wow. Wishing you well and thanks for sharing.
Needed the schematic design! A trapazoid is basically a triangle your dimensions do not give me a trapazoid?
Love me some Arby’s!