Paul’s added to the 7×10 HO scale layouts on the blog:
“Hi Alastair,
Normally, I’m a man of few words, but I have enjoyed reading the tips and viewing the photos and movies of the model railway buffs.
So I thought I’d send a few photo’s of my HO Layout of which I started with a – 8’ x 4’ ( 240cm x 120cm ) table, which has now grown to the extent that I can’t reach the centre of the table due to, in total, 5 extensions with a size now measuring – 10’ 4” x 7’ 4”, ( 315cm x 223.5cm ) and hoping nothing goes too wrong? The extensions are detachable. I have done since these photos.
Kindest regards.
Paul ( Australia )”
A big thanks to Paul for sharing adding to the 7×10 ho scale layouts.
And just for fun – seeing as I get the odd mail on it – here’s a whole town that you can make with one download…
Next, some more of your tips:
LED signal system for your model railroad
This one foxed me a bit.
It was sent in by Bernard.
Who told me it was drawn by Mark.
He then signed his name Ben.
But anyhow, I thought both of them useful – one more than the other.
Best
Al
And if you think that is clever, you really should bite the bullet and have a good look through my favourite resource.
And some more tips that have come through the ether too:
“Bark from trees such as oak or ash will make good rock faces.”
Stewart”
“I use real tree branches to make trees for my o scale layout. Bunch them like a real tree, and wire them together. Put some crayola air-dry clay on it for the trunk. Paint it brown. Trim any wire that is exposed-try to put it where it will not show. Then use a glue gun/glue to apply elk fern on the branches to make it look like a real tree. These can be made any size, or any way you like them to be. You should make a base as well, or use some other way to keep them upright. I always get a lot of compliments on them! Trim the branches to lengh with a pruner or wire cutter.”
Cudds”
“If anybody has a bush outside your house that has red berries on it. These makes great trees for ho scale railroading. The way to make a tree out of the red berries twig is to take off all of the berries roll the twig in elmer glue and then in that stuff that is like green sawdust used for grass and you can have a instant tree leave the berries on the twig and you will have a apple tree
David”
That’s all for today peeps.
Please do keep ’em coming.
And if today is the day you do the unthinkable and make that all important start, the Beginner’s Guide is here.
Best
Al
PS More HO scale train layouts here if that’s your thing.
Need buildings for your layout? Have a look at the Silly Discount bundle.
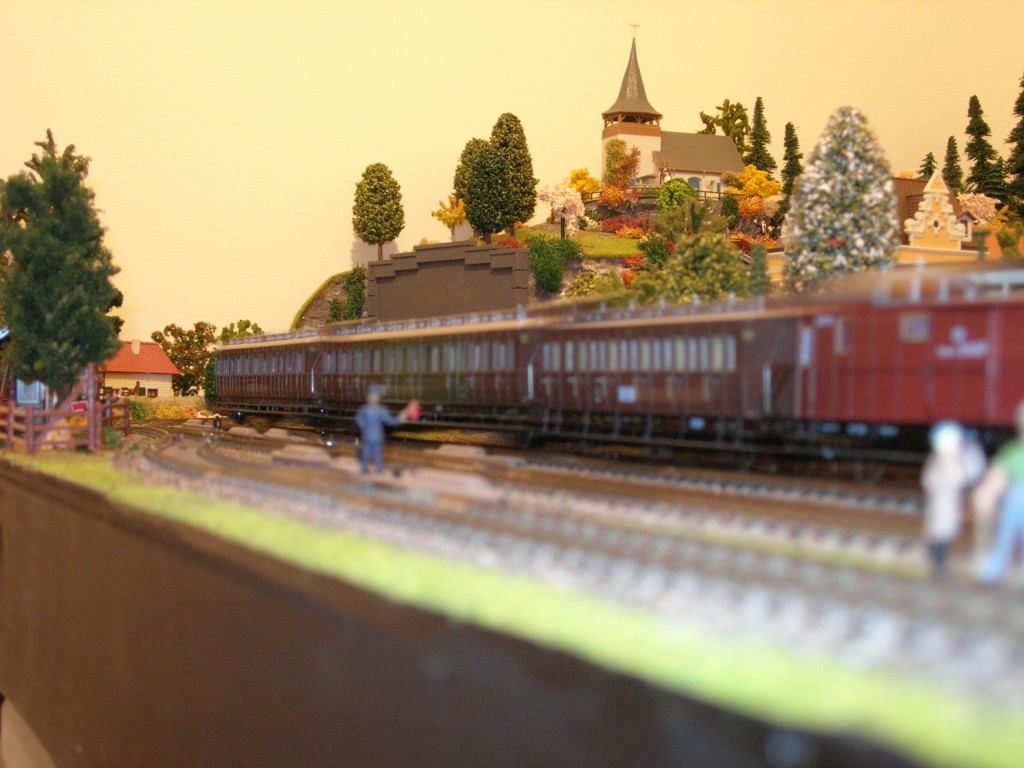
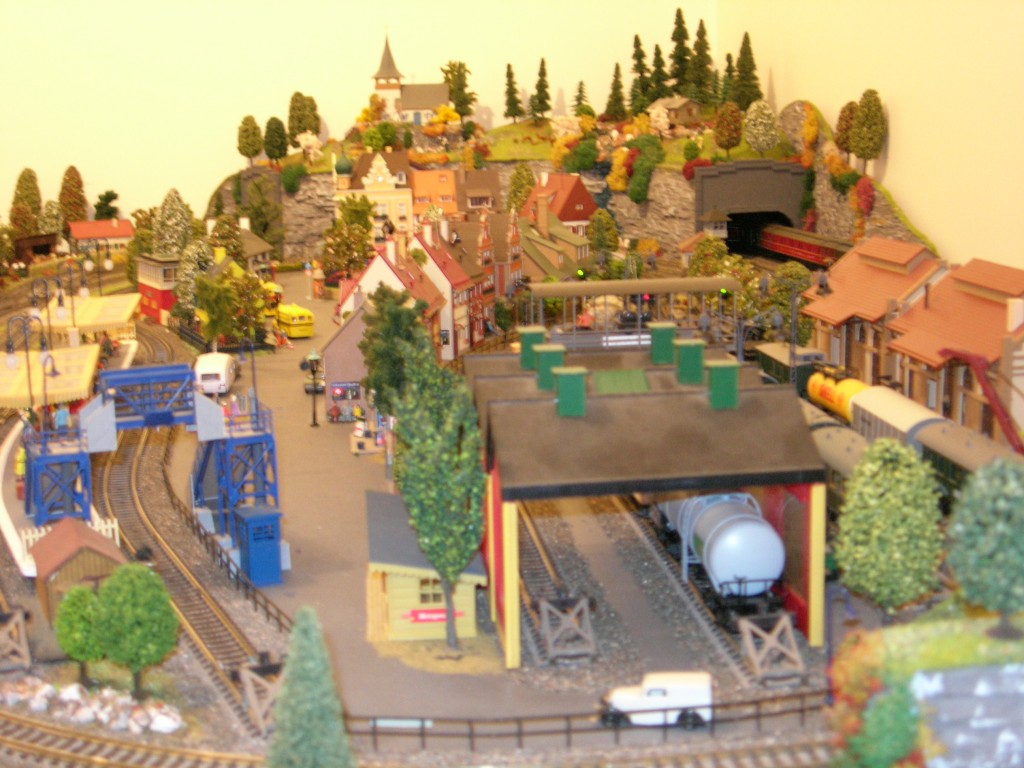
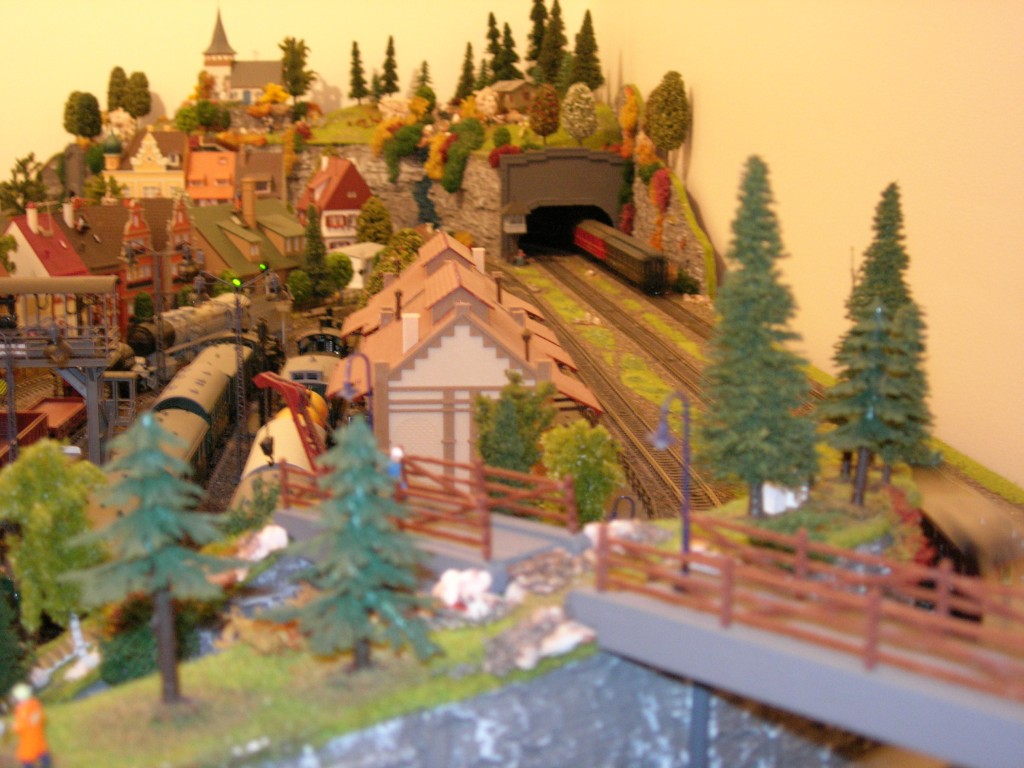
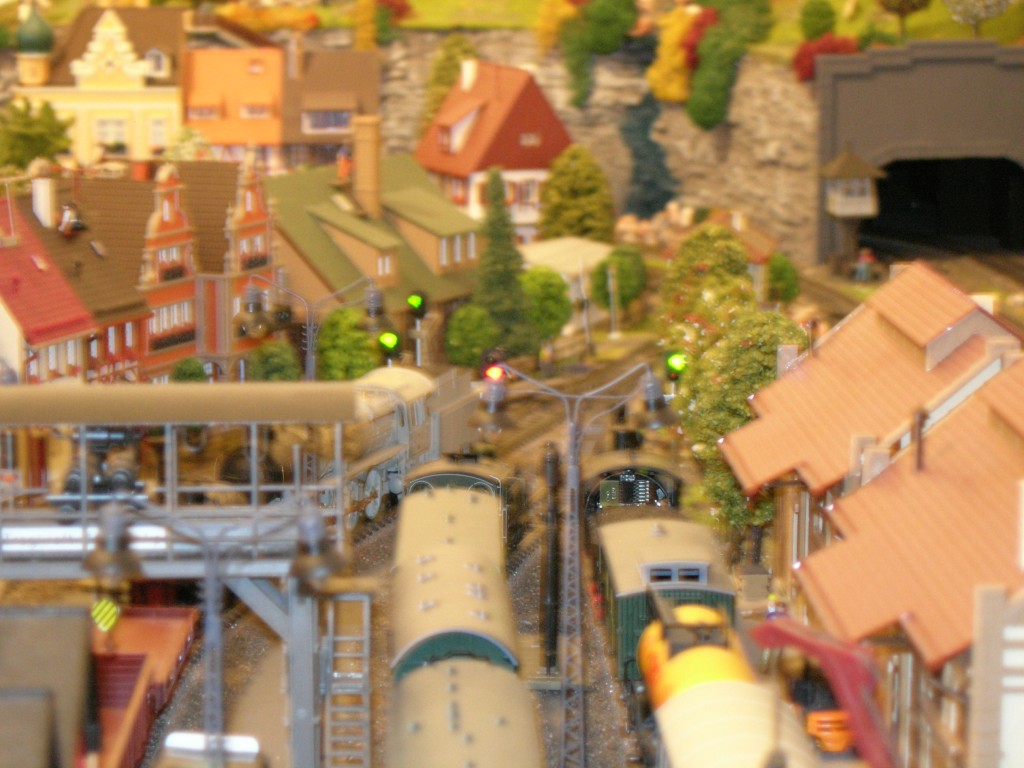
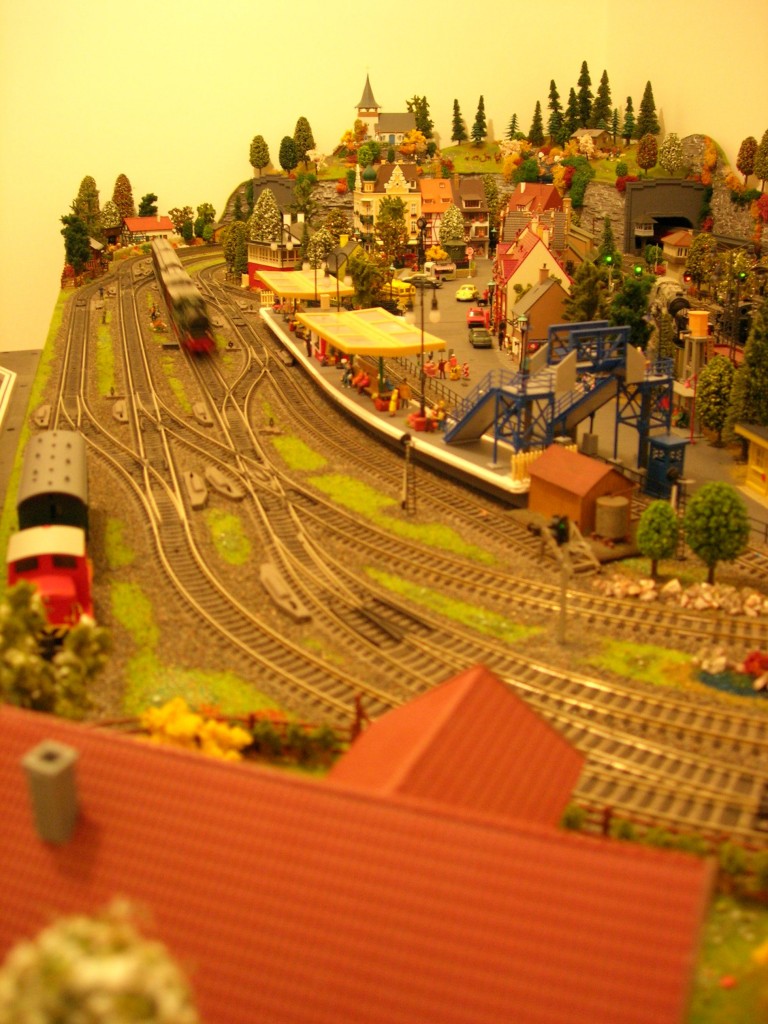

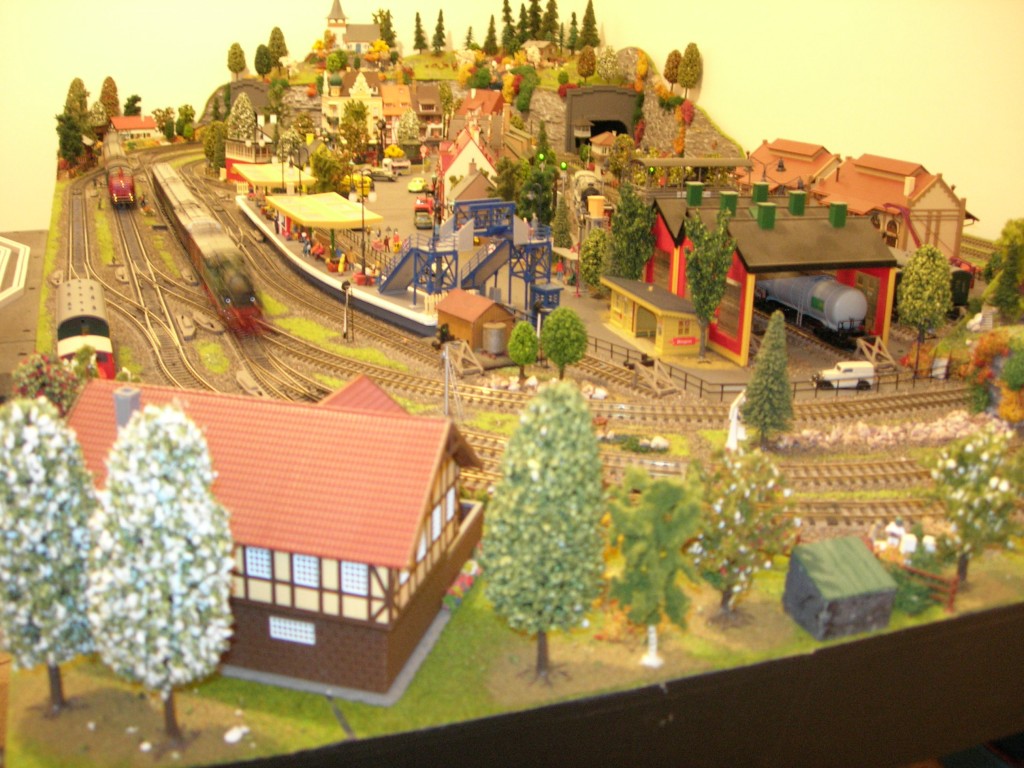
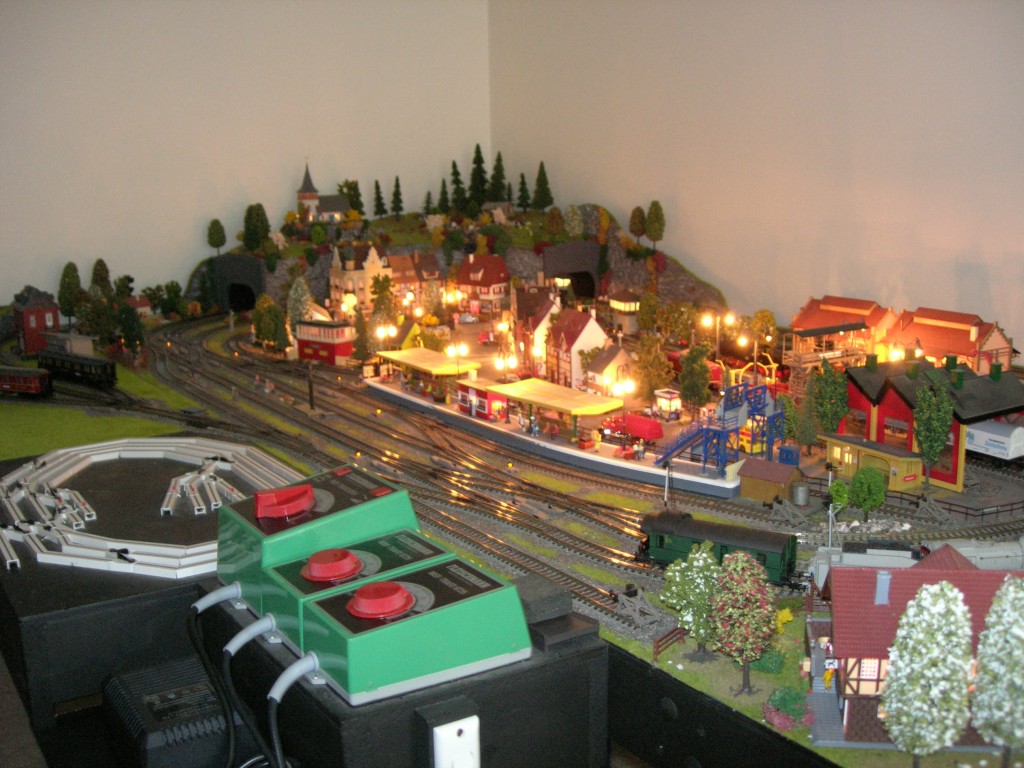
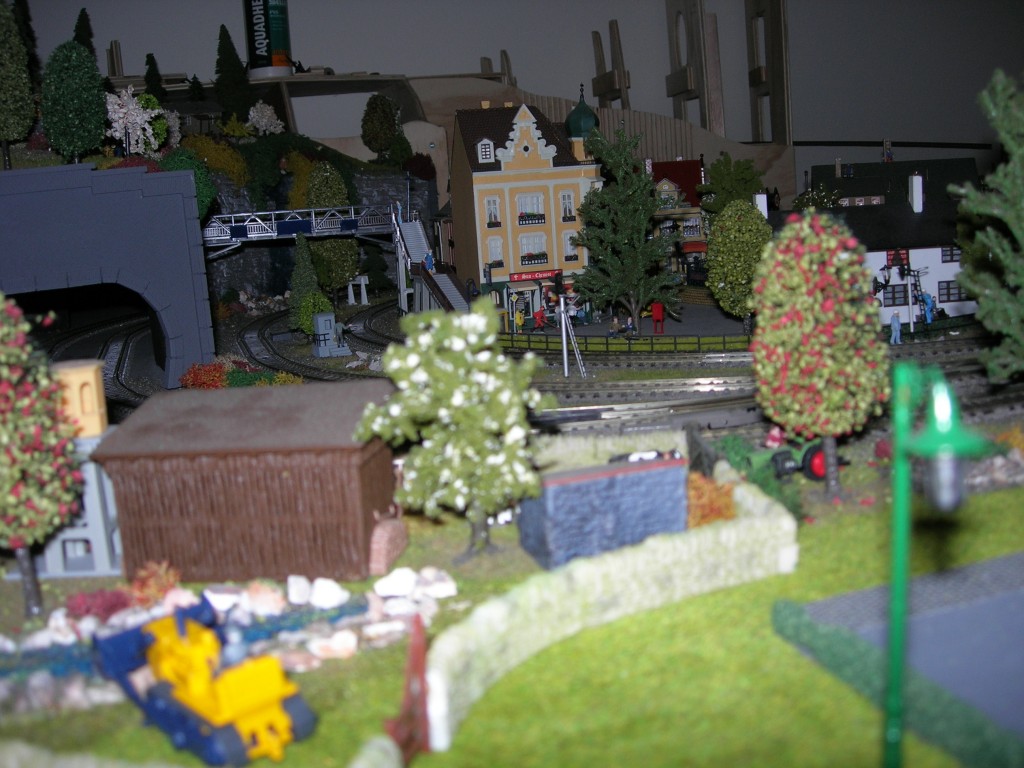
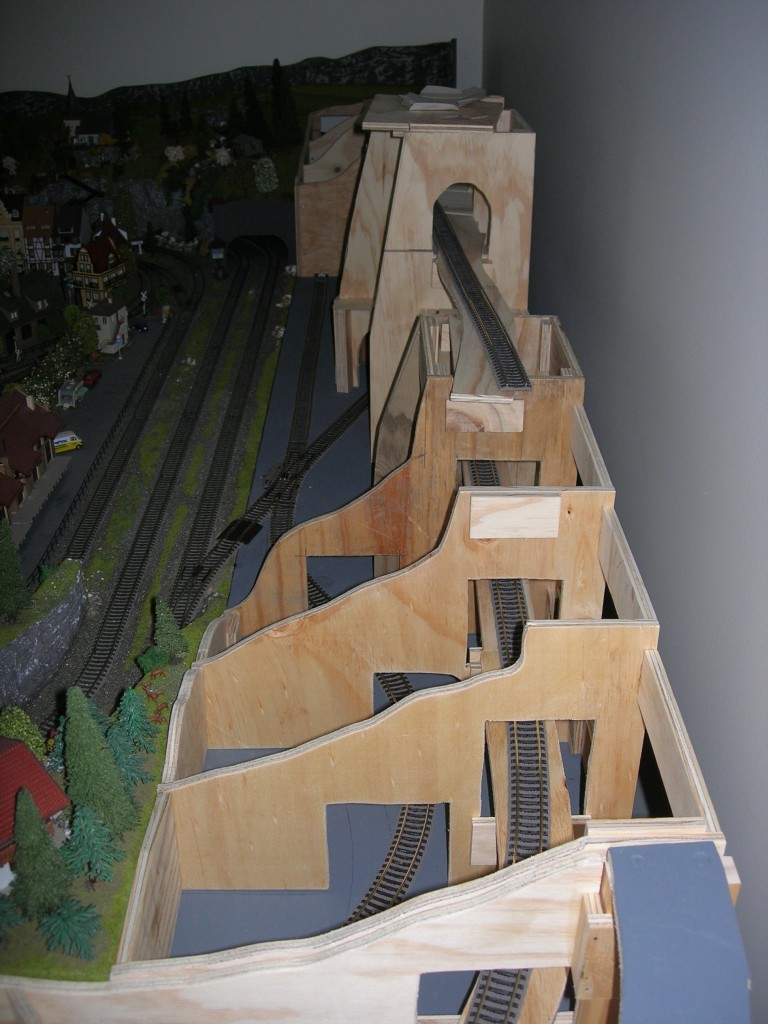
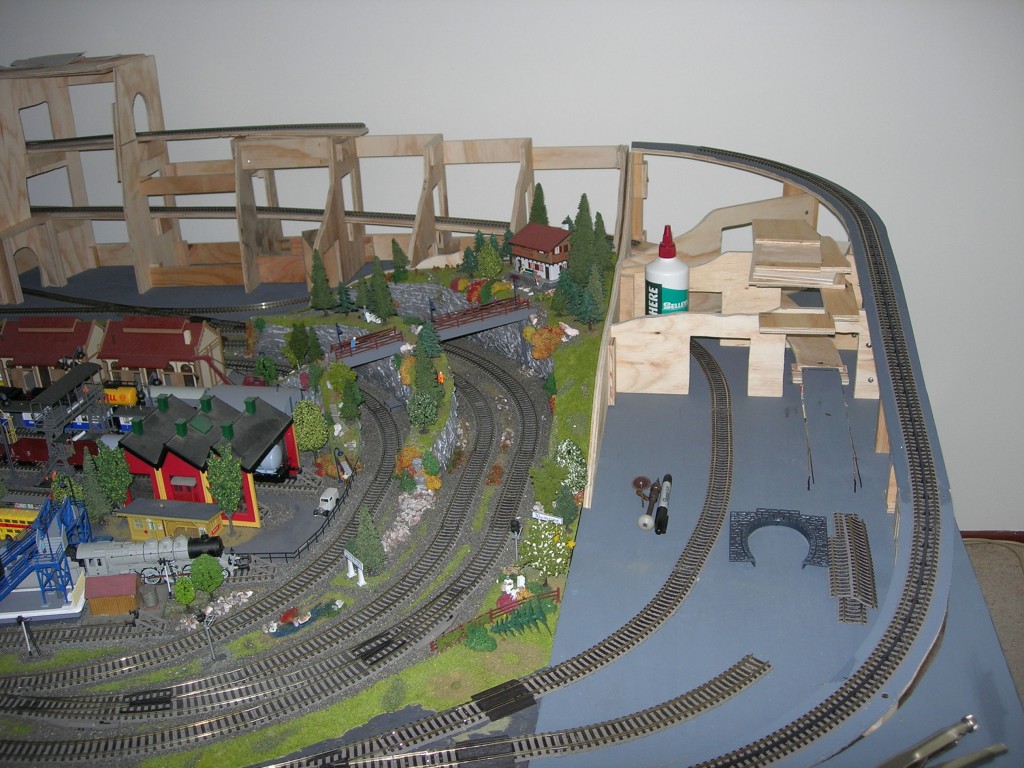
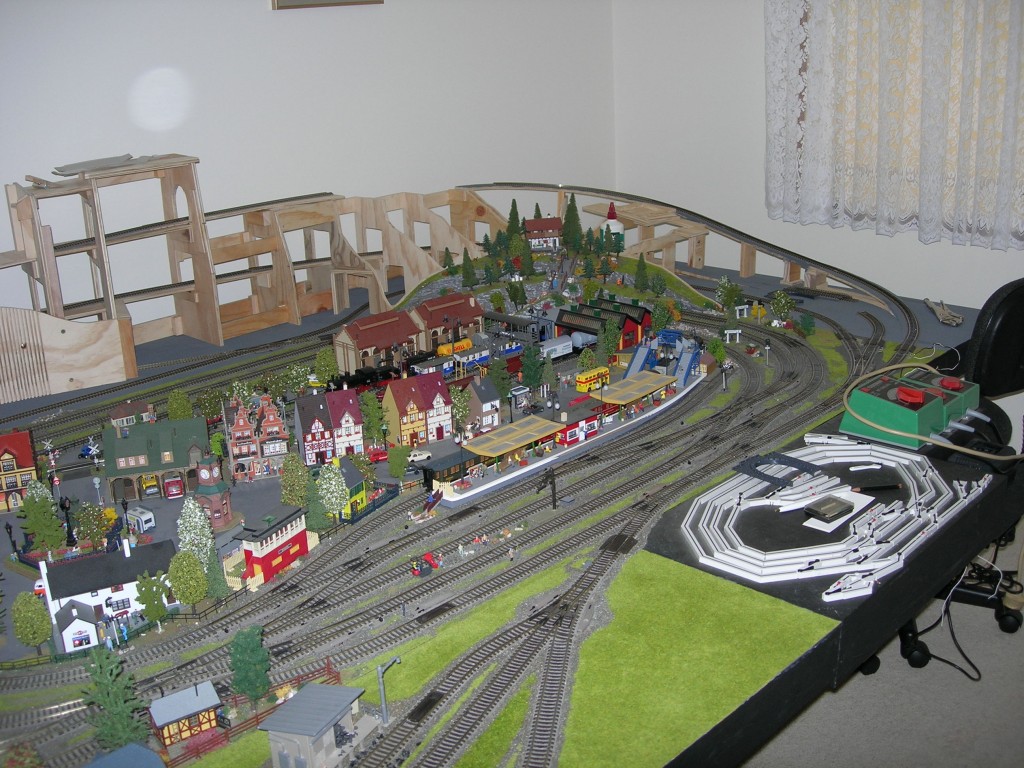
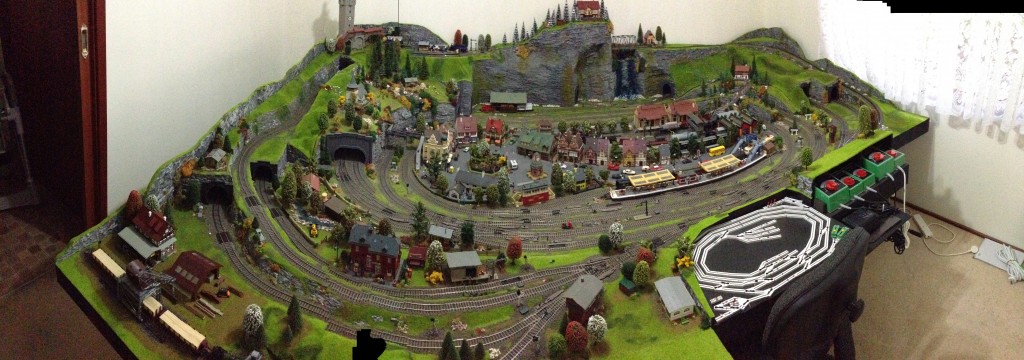
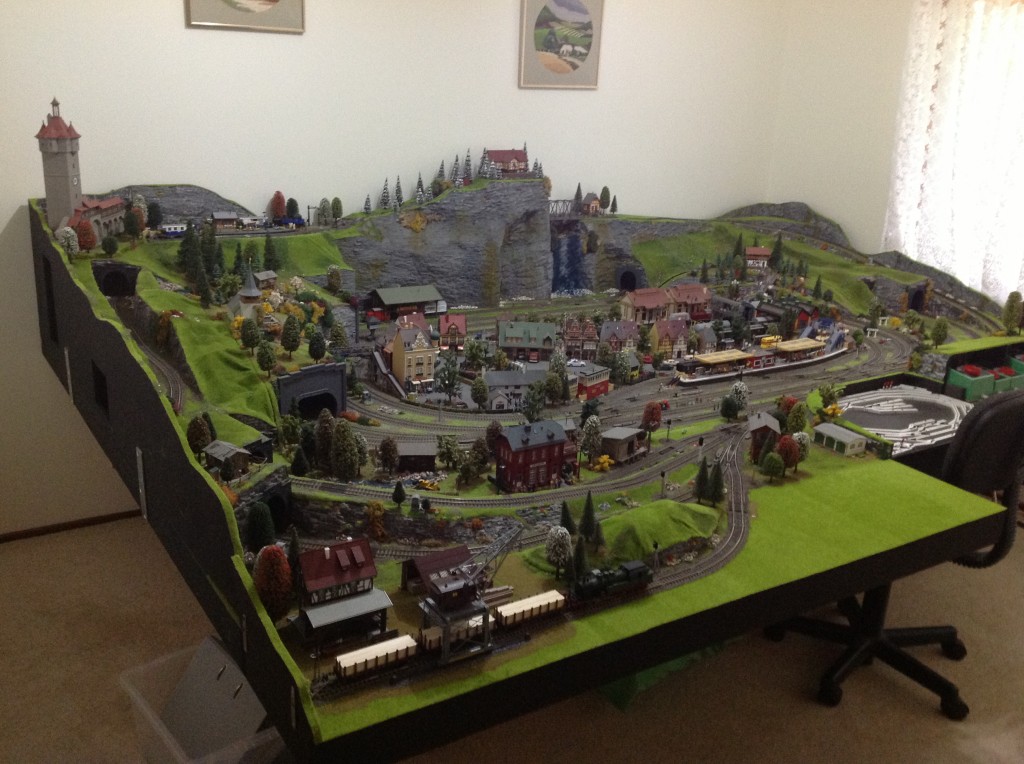

Ripper layout Paul. Well done.
Quite a busy layout Paul, I think I have a church similar to that on my layout. Great to see the “bones” of the layout as you have developed it, it certainly gives me some ideas.
Paul ( Australia ),
You have a very attractive setup.
I have a question though. If you should have a derailment inside one of the tunnels in picture #DSCN1453 have you made a way to get to it to fix it?
That’s all.
Thank You to all of the people sending in pictures.
Don
pauls lay is great love the realistic look of the town I don’t think it could have been done any better
Very nice layout. There was a mention of detachable extensions. How are the extensions connected to the main layout both physically and electrically? I’m in the engineering phase of what will be a modular layout in the dining room. All the trains have to be removed for the occasional dinner party (I think they’d be a conversation starter if they stayed put). How to get the modules to connect with minimal adjustments for track alignment is my quandry. Getting this to work will solve the whole benchwork phase.
incredable layout very nice
Paul, you have a great layout. Be careful not to box yourself in a corner with each addition.
Very nice Paul. I understand your problem first hand. I started out with a 4’x8′ in a spare bedroom and kept expanding little by little until I had to move the layout into my storage shed. Long story short …. I have kept expanding until I now have a 12’x 24′ room and I am out of room again. I think it’s some sort of a brain malfunction.
Keep at it Paul, you do very nice work and the layout shows it.
p.s. – I still have a problem understanding how your layouts are always right side up when you are upside down.
It is a great layout. It is very well planned.
Very well done! Model Railroaders Rock!!
Unless your a rocket scientist with an I.Q. of 300 you have inspired the hell out of me that I can do this quality of a layout. Mine so far is looking very similar. A FRIGGIN SWEET normal size layout. Thanks for the photos.
Nice setup. Maybe it’s the angle of the photograph but that incline on the right looks a little steep to me going up the right side to the unfinished mountain. Especially if pulling a long line of cars. Hope you did a long test before filling in the scenery. Otherwise it’s looking great.
Kenny.
looks like someone has a nice layout
A VERY SPIFFY LOOKING LAYOUT.
great layout plenty of track extensions,this what makes this hobby.how far can you push that corner. I started with a table top now its the whole corner of the garage next down the side keep going paul. getting plenty of ideas from this.
Very very impressive layout, absolutely fantastic with great attention to detail. You are a star!!
Paul your layout is fantastic enjoy your layout just have fun!
Thanks for sharing!
Paul:
Perfect and well done. Congratulations.
Kenny A., look closely mate, the line climbing up the outside of the extension has a rack-rail up the centre, not unusual in Europe but I can only think of a couple Stateside, Mount Washington and is it Pike’s Peak? Some of the European routes have quite regular-type trains over them, eg the Glacier Express route is part-rack fitted.
Rod
I really like your layout, it is about trains. I liked your plywood boxed structures for mountains and hidden track.
Kenny A. – You are right about Pikes Peak and Mt. Washington; both have the “rack track” up the middle. Over here in the colonies I have heard both referred to as a “cog railroad”.
Been to both – great sights to see.
Barry
great camera work and paning.
Great layout that you built, where did you get the switch 3D layout or did you create it?
Great Job!
what is the steepest a train will climb I keep hearing 4% as steepest but on a 4×8 table this is too slow I need to climb 100mm in 1meter or 10% can it be done
allan
Hi Paul, very neat layout. I am modeling Queensland Rail around the 1950’s and am wondering what the passenger carriages are in DSCN0799 as I am having trouble locating suitable carriages and those look pretty close to the mark. Ray.
Allan, I think 10% is way too optimistic. Usually one engine can climb up to 2.5%, and to make a 4% grade probably would involve a double-header. For 10% you might get away with four or five engines, but then you’d have terrible slippage on the rails. If you could put rubber tires on the drivers, that might work. But anything over 2% is usually pushing it with one engine.
Great layout Paul; I like your utilization of the space that you have. There are many pictures to be taken and each square foot has a self explained story [diorama] by what you have shown. Keep up the good work and sharing with us seeking other ideas for our trusted railroad works.
Harold Jr. Grand Prairie Tx
While 2% incline is often considered the maximum, it is easy to double that. I did it by having one track go up 2% while the other one drops 2%, thus there is a difference of 4% between the two.
Keep on training those hills,
Carl in Kansas
Well Paul I love your work and love your country. Im in Arizona and so funny I too started with 4 X 8 and added sections. It just sounded so much like what I did. Can`t reach the middle. Any way we have fun on ladders. Have fun and I guess you say gd day mate. Tom Payson Az.
As much as I would like a large room size layout, a smaller (5×9) is fine for me. I can pay attention to detail, and get a lot done in a small amount of time which is good as I’m 69 and the actuarial tables are working against me. It’s all about enjoyment and running trains. Great layout, and neat enough to please? A woman.
great job, a good busy scene. happy looking town.
Great to see some Australian layouts popping up. I am restricted to 4 x 8 due to space restraints and it is taking me a long time but I am slowly getting there, will have to send in some photo’s of my progress so far.
Ray Qld.Au……….
My plan for space is is to make a layered layout in a U shape.The first level would be knee high,put posts is,add another layer at waist high,and yet a 3rd at should high.Each will have a semi circle cut out so I can get the the back of each section should it be required.Finally, I will make a shelf that conforms to the rest and I will have a loco running around just below the ceiling.It’s a tall order(yes I get the pun),but having at least 50 locos,I’d love to run them all when I want to.Each of the tiered sections will be divided in 1/2 by a clear partition,which allows me to model 6 different “eras” or scenes.The one that runs around the ceiling will probably be my monorail.I am 62 and have planned this in my head.Getting it to function is another thing entirely,but I plan on starting once I have relocated in 4-6 months.So in essence,I will have 7 small layouts tied into one huge one.I hope this works!!! HAHA Happy Modeling
Thanks for sharing, It’s 7am here, and looking at your pic’s brought a well needed smile to me, thanks it’s beautiful………….yours red
The print out buildings are so cool. Very realistic, plus I love all the power poles and lines. The whole layout reminds me of a old mining town or farming town. Very rustic!! Farmer AL
Well done Paul, looks nice keep up the great work.
An excellent layout with beautiful scenery and love the village! Very well done!
Very beautiful layout and good pictures, go on like this and lets us all enjoy this layout.
Best Regards,
Herman C. HC Treintje Belgium
Thanks Al (moderator).
HC Treintje Belgium
Very nice, Paul. I gasped when I saw the first photo of your upper-level grade under construction. But you put my mind to rest when the very next photo confirmed you were only attempting it utilizing Fleischmann’s Rack-and-Pinion track. That’s the only way this would be possible. I recently completed design work for a 5-level (no helix) 1 x 2 meter (3’3″ x 6’6″) layout, which was only possible due to the standard-gauge Fleishmann system in N-Gauge. Unfortunately, it’s not something US prototype modelers can contemplate. I’m an American, but my decision to model DB (German Federal Railways) was based solely on the existence of a cog system, which gave me two more levels, due to its ability to easily climb 8 to 10% grades (23% is the max) and minimum radius curves. This plus the 1950s differential in size between German and US equipment (about minus-35% on average) greatly increased the operational capacity of my design.
your buildings are grate, but would it be so hard to make correct ridges for them ?
Brilliant Paul, I’m always amazed how much can be put into such a confined space. I’m trying to get away from a flat layout and looking at the levels/layers in this layout are ticking a lot of boxes 🙂
Incidentally, I use Scarm to get to the right layout, based on 00 and 009 scale, which are the models and track I already have. So, seeing layouts like this does give me some inspiration, because I’m an old surveyor and guess I’m looking at things too realistically 😀
Does matchbox cars scale to a HO train set? If not where did you find you automobiles?
Paul,
What a stunning layout. I particularly like the passenger platform and stairs. I have to build something like it for my layout and you give me a ton of ideas. Great work!
Bill
Love it! And I like that you shared some photos of the whole layout. Most contributors to these conversations have great closeups; but your long shots make the closeups more meaningful.
a lot of good hard work. and it shows.
Nice layout. The 2 storey bridge is very unusual on a layout.
Well done. Keep us posted. Perhaps a photo of your control area it looks interesting
Really nice! I just wonder how a locomotive is going to get up that grade. I’m assuming that you just running downhill. It just looks so unnatural. Other than that really nice and I love the way you work The tunnels and mountains and stuff. Really nice! Thanks for the pictures. Jeff
very nice layout. good lighting.
Looks great !!!
Hi nice layout. Looking at the current extension under construction, the slope of the riser I looks very steep and I wonder if you have tested a loco with some trucks or carriages up it. Also test down the slope with a load to ensure the whole train does not overpower the loco and it go into free fall.
Great job Paul. So realistic looking that I had to watch the video several times.
Great looking layout Paul!
Paul , that is an awesome layout . Not overcrowded , just looks relaxing . Great job ,thank you for posting .
Hi Paul.
Beautiful layout like to see more details on your incline is that a 3% or more did you start the incline first or after your layout. I have roughly a Texted room quite not sure I’m going to do stuff been a long time waiting and the boxes have been in the attic for a long time. Maybe some other areas or people that have eight by eight or 7×10 layouts would be great if I could find them..
Thanks again Michael.
Nicely done. The newly added sections blend in quite well with the original layout. It looks like a small community nestled in a valley. I hope you provided some access in those mountains and rolling hills to clean track and clear derailments. Just say’n. Great job. Thanks for sharing.
Jim AZ
Paul what make of trains are you using, are they European make.
Paul what make of trains are you using, are they European make. Great layout