Cameron’s been in touch with the start of his Inglenook shunting puzzle:
“Dear Al,
It’s been a while since I’ve been in touch but fear not it has not all been idle time.
During the last 12 months I have been working on a small shunting layout called “Lanarth”. Over the next couple of weeks I will email through the commentary and progress photos I took along the way.
The story starts at a model railway show I attended last year. One of the gentlemen at the show had a small shunting layout based on an Inglenook Shunting Puzzle. If any of you get the chance to try out an Inglenook shunting layout I would highly recommend it.
They are a lot of fun to operate and have the benefit of being quite compact. Google “Inglenook” and you can get all the details and track plans. Needless to say I was hooked and had to have one of my own.
I had already started to have thoughts of doing a larger layout set in North Cornwall at some point. I had also collected some LSWR rolling stock and a Beattie Well Tank locomotive that suit that region.
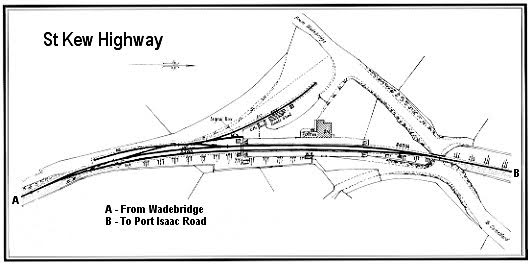
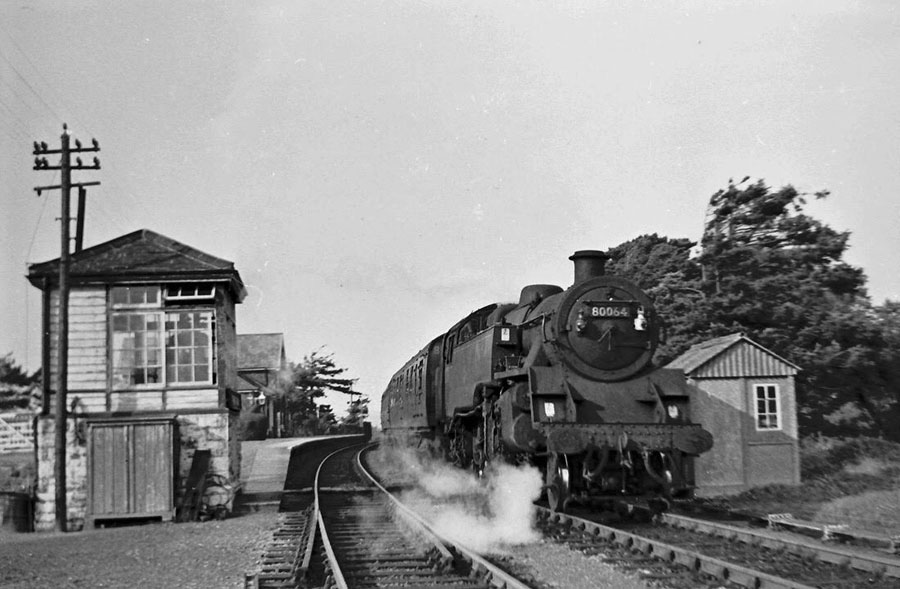
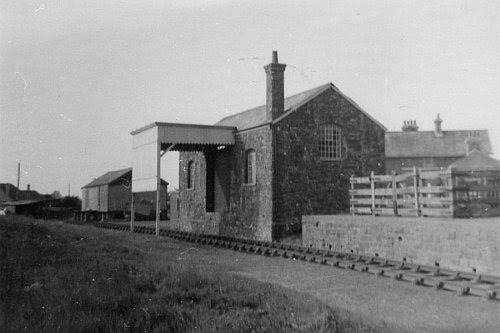
After a bit of research I discovered an older station called St. Kew Highway that had a nice compact goods yard that I thought would lend itself to the shunting layout.
Using the inter-web I found old photos and plans of the station and started to amass the research material I needed to complete the layout. Since I was not slavishly duplicating the station I have called my layout “Lanarth”, named after an old farm next to the original station.
The final layout is 1′ x 4′ which is great because I can fit it on top of the side board in our dining room.
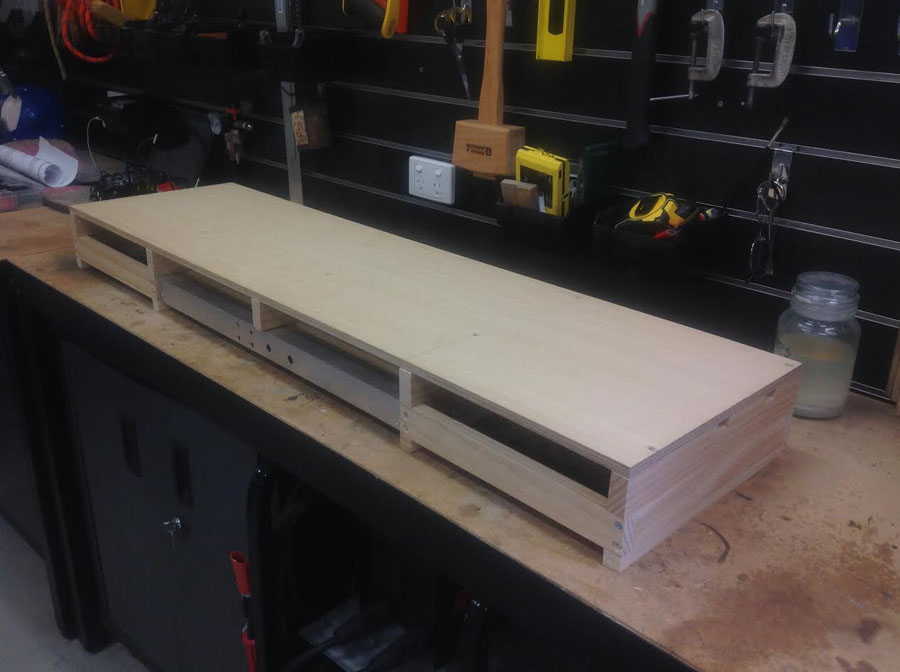
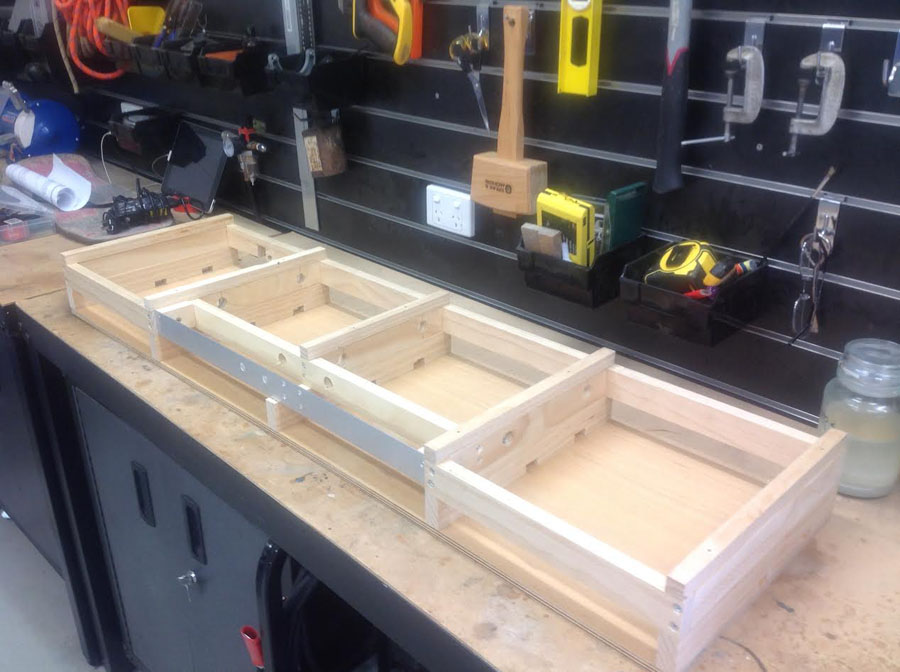
With a track plan sorted and some research sitting behind me I got on with the base board. This is always a great starting point with any layout as you seem to get a lot done in a small amount of time. The base board is 1200x300mm.
For its construction used 9mm marine ply top with a 42x19mm pine support frame under. My last layout was built on with an MDF top and
35x70mm pine frame.
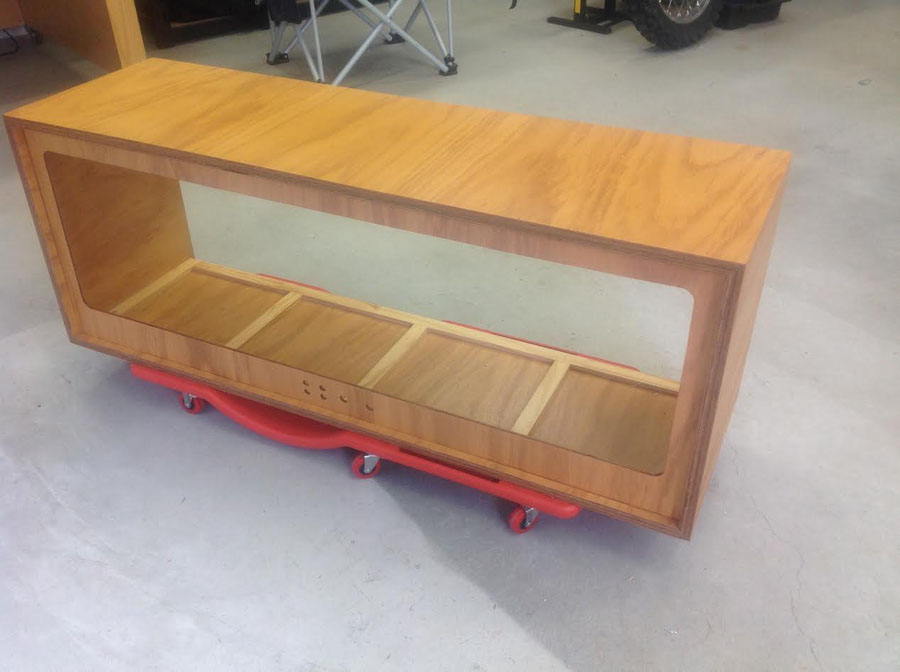
This ended up at 200kg and proved to be very difficult to move. The marine ply has proven to be very stable and quite light. I also wanted this layout to be contained within a large box. The idea here is to protect the layout during transport and keep the dust if it.
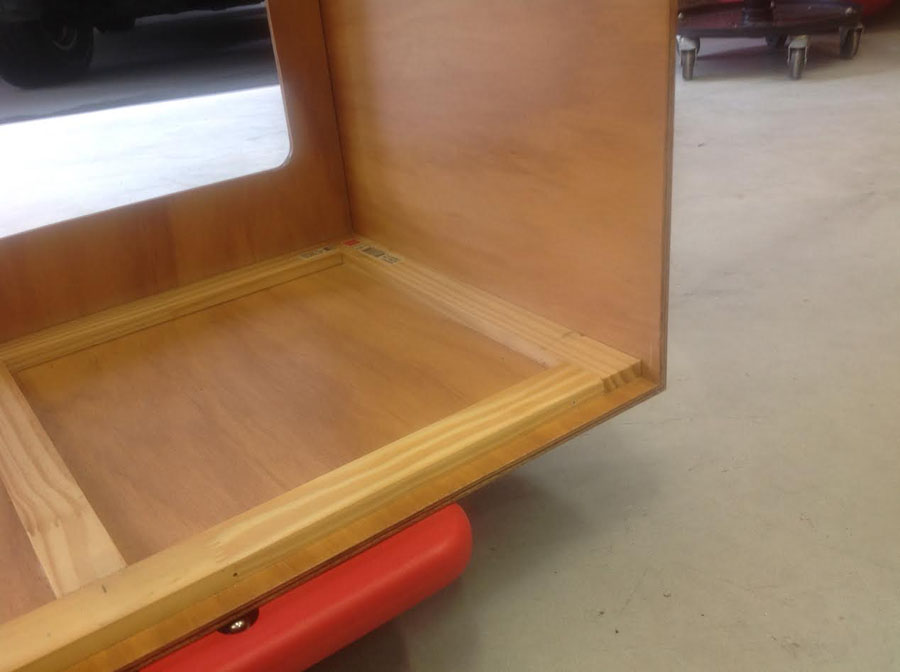
Rather than doing this after I had completed the layout I made the box first. This way I was able to bit fit the base board and box together without worrying about damaging any scenery.
The box is made with 6mm ply and 42x12mm framing. The front edge of the box has the ply built up to look like it is much thicker than it actually is.
Cheers
Cameron”
A huge thanks to Dave and to Cameron for sharing his inglenook shunting puzzle. Can’t wait to see his updates.
That’s all for today folks.
Please do keep ’em coming.
And if you’re still sitting on the fence about whether to start, the Beginner’s Guide is here.
Best
Al
PS Latest ebay cheat sheet is here.
PPS More HO scale train layouts here if that’s your thing.


Dave’s railroad are always fun to watch because not many of us have the unlimited resources that Dave has.
Dave.
Just love your layout, great job.
I would also like to make a British layout some time.
Regards
Jan
Great Stuff Cameron
I grew up in Polzeath and if I missed the bus to Bodmin Grammar School, I had to catch the bus and then the train from Wadebridge to Bodmin..either North or General.
I remember the lines very well.
As always Dave, a great job. A happy and healthy New Year to you and yours. And to you Al
Best Regards, Robert from Brooklyn NYC, USA
Daves layout is so nice i love the clips he does
Keep up the Great work
all the best anthoney
Question from USA about flashing lights in Dave’s UK model layouts. They appear to look almost the same as his street lamp posts. However the street lamp posts have white globes and glow steady white. These are amber globes and flash. What do they represent? I’m guessing something related to warning about railroad operation.
A flashing yellow globe on a black and white post is known as a Belisha Beacon (after the transport minister of the day) and warns drivers there’s a Zebra Crossing, ie a walkway across the road painted in black and white stripes on which pedestrians have right of way over road traffic at any time. On the decline nowadays as more and more pedestrian crossings have traffic lights and pedestrian call-buttons to stop the traffic.
Rod
Always wonderful to see Dave’s operation. I wish my shop was as neat and organized as Cameron’s.
Cheers! NJ Mark
I’am just starting and I have heard of a buss wire. What is it for and how many wires and what gauge?
A reply would be very helpful.
Thanks
Joe from Las Cruces, NM, U.S.A.
Joe, Here’s a good explanation of a Bus Wire. A buss wire is one main wire that runs around the layout (usually under the tabletop) and has connection points for other wires to hook up to it. As in: i have one 12 volt wire hooked up and all of my 12 volt accessories wires can hook up to it at the point where it meets them under the table top and it can save you tons of money on extra wire not needed as copper and copper wire is very expensive now. The only thing to watch out for is that the accessories will all be running on the same voltage. As long as that voltage is correct for all of them, you are okay. If you have items that run on a different voltage, then you have to run a different “bus” wire for those items but most train accessories run on the same voltage but not all. I use taps or “scotch-locks” that you can find in auto supply stores. These just clip over your accessory wire and your main wire. That way you don’t have to cut into the main bus-wire. They come in different wire sizes to match the bus-wire size. And FYI, The spelling is actually “bus”. It is the same word as the vehicle that you ride in and is short for “omnibus”, which means in Latin “for all”. There is a company named “Bussmann”, which makes fuses, which is probably where the extra “s” comes from. Here’s a list of wire sizes and amperages for a bus-wire.
Here are approximate amperages for various wire sizes: Add up all the amps per accessory and you’ll know what size or gauge wire to run as your bus-wire.
10 AWG 30 amperes
12 AWG 20 amperes
14 AWG 15 amperes
16 AWG 10 amperes
18 AWG 7 amperes
20 AWG 5 amperes
22 AWG 3.5 amperes
24 AWG 2.5 amperes
Hi Joe
A buss wire is a main power feed that covers an entire layout to reliably feed electrical power to all sections of track. Other bus wires may feed lighting and signalling functions.
It is normally two cables, the heavier gauge that is used is used generally the better to avoid excessive voltage drop at the extreme ends of the layout.
Note: Gauge increases as its nominated cable size decreases. eg 16 gauge is thicker than 22 gauge.
16 gauge seems to be a good rule of thumb.
Tom
Joe, the buss wires are for track power distribution around the layout. They are under the board and wires from the track drop down to pick up power from them. Rob
A buss is the main power lines, that all other lines branch from. In DCC circuits it is generally 12 or 14 gauge wire and runs around the entire layout.
From New Orleans USA..
First things first…
Cameron… Excellent wood work!!! I wish my work was as tidy…
I too am a fan of micro, mini, little, and small layouts. My earlier efforts were all based on the infamous “Timesaver” plan by John Allen… And they were a lot of fun. The late Carl Arndt introduced me to the wonders of the “Inglenook” (via his website) .. I was quickly hooked and have since built several.
For those unfamiliar with the Inglenook design it is well worthy of consideration by anybody who has never built a layout or is just looking for something small and simple that can provide hours of fun. An Inglenook only requires two sets of points (switches or turnouts on the American side of the pond) It has three spurs on one side of the headshunt (switching lead) and there is a set pattern. Because of the length of American equipment I tend to use the 2/2/3 pattern. Most of my layouts are roughly four feet long although I sometimes use an extended “fiddle track” so I can operate with longer equipment.
Second.. For Joe From Los Cruces, NM.
Welcome!
A buss wire is usually a large wire that has multiple feed wires off of it. You need one “buss” for each rail (one for positive, one for negative. The feed wires go from the buss to the track. This helps keep the current “stable” to the track and reduces “voltage drop” in areas distant from the power supply.
Hope this helps… There should be help in Al’s “Beginner’s Guide” (Highly Recommended) but “How to wire your Model Railroad” from Kalmbach (Model Railroader) is a good investment also…
A great way to start as far as I’m concerned. To see a wonderfull setup someone has created gives one hope to be able to creat my own in the future. Kudos to Joe and the others who make my day. Aloha kanes. Mele Kalikimaka.
Richard
Nice little layout I am looking for a layout to build in my smallll apartment and
I think you have given an idea THANK YOU!!!.
Domie Ellsworth Maine
i
As usual, this is another excellent post. Thank you, Cameron for introducing a nifty construction of the Inglenook. And thank you Dave for another of your videos.
If one is considering the use of an inglenook shunt, one might also consider the John Allen Timesaver. If there is enough shelf length, consider using both “puzzles”.
Thanks again to all for the tips, pics and thoughts.
Bruce in South Carolina USA
To who ever wrote the post about what a point is thanks, I understand better now. Tom in AZ
Always a pleasure to watch your emails.
I’m intrigued. While you are clearly from the States, how come the U.K. Address?
I would like to add, the year I might get to actually DO something of my own as opposed to just gazing wantonly at every body else’s creations. I owe this in no small part your new, “Hall of Famer” Cameron’s interesting post re. the “Inglenook” design, granted I don’t actually have an inglenook, but I do have something similar (smaller) but then, is there any written law or rule that says trains HAVE to be running??, it is after all a model train and my aircraft and tanks font move😊. Thank you all so very much for you pots and comments and lets see what i can do, hell if its good enough I may even send it in.
Excellent video and operating session as always, with great camera work! Beautiful layout!
ChooChoo Charlie
(really rings the bell)
There are several references to a video from Dave today, but there is no sign of one in today’s post for me 🙁 The same thing has happened a few times before. Odd!
Nice work Cameron!
Ditto to Steve’s comment.
Nice cabinetwork, Cameron. Look forward to seeing the rest. I notice the Port Issac road. Now there would be an interesting water feature to model, especially if one could replicate the tidal flow.
MN Dan
Well, I absolutely loved Cameron’s 8 x 4 and the Buster videos so I’m looking forward to this!