Bill’s been in touch again – this time with his N scale rock cliff.
(his last post is here is you want to follow the thread.)
“Hi all. This is some updated pics from my n gauge layout.Gerskiville.
Been a couple mnths since I sent in some updated pics.
I’ll put in one old puck and a bunch of new ones.
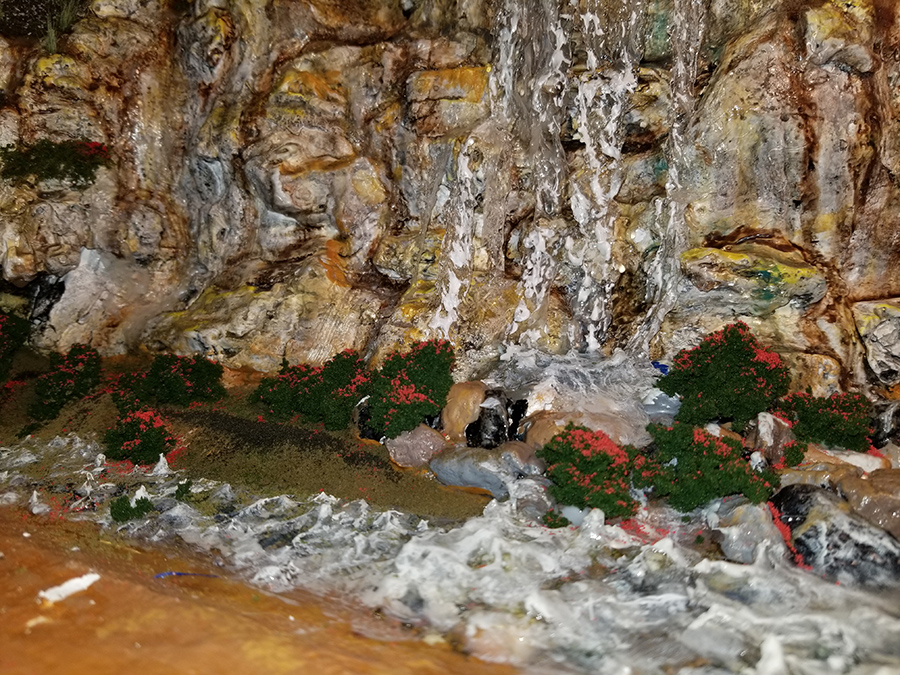
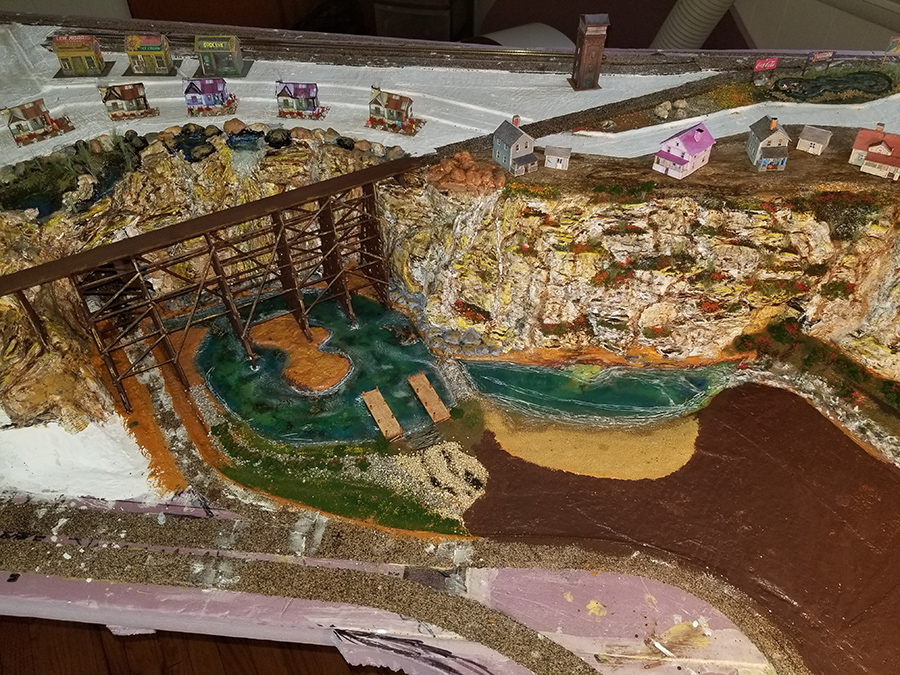
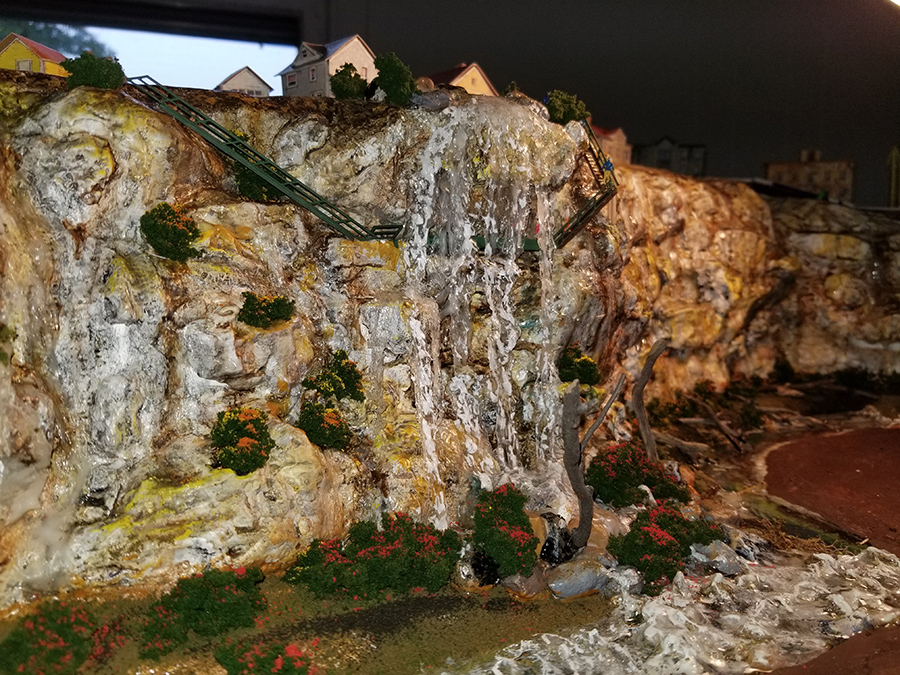
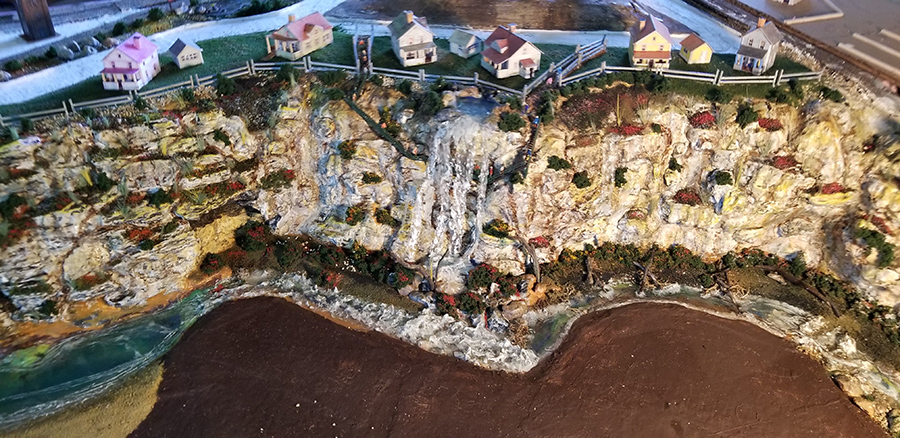
The cliffs of gerskiville are up and almost finished.need some trees yet.
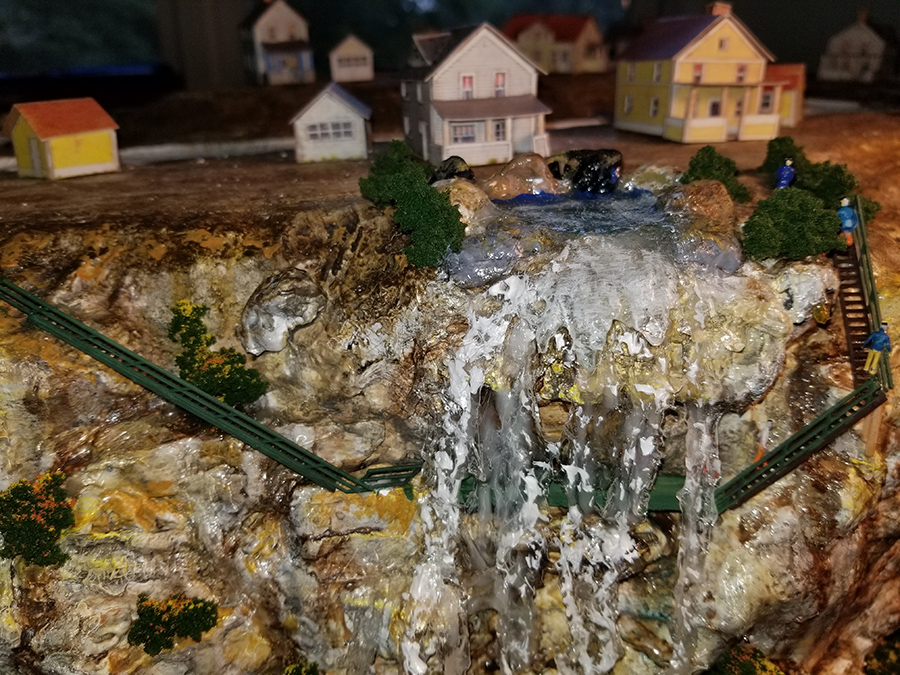
If installed a stairway and walk path that go behind the falls.
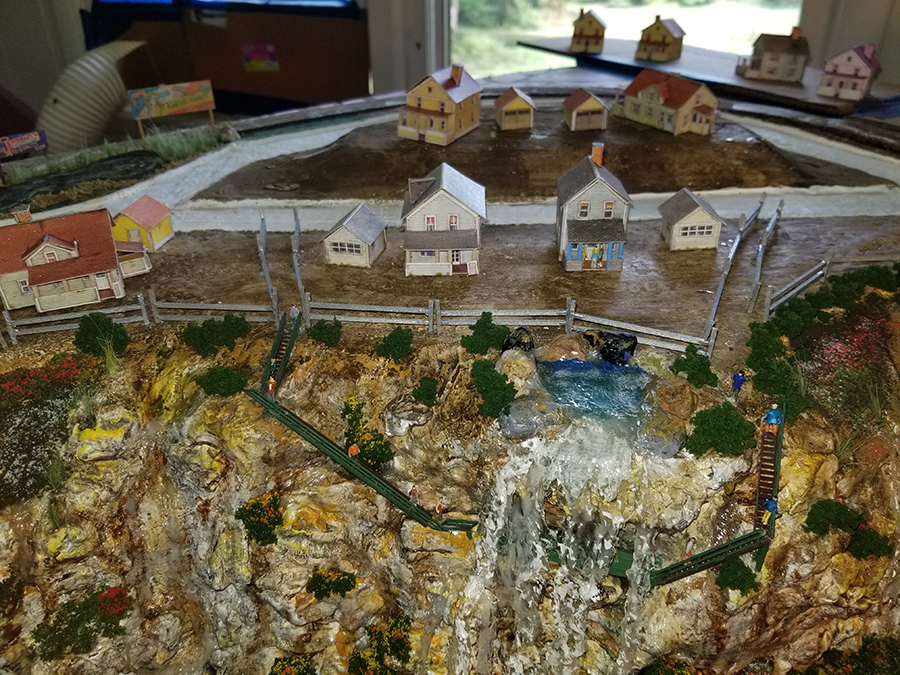
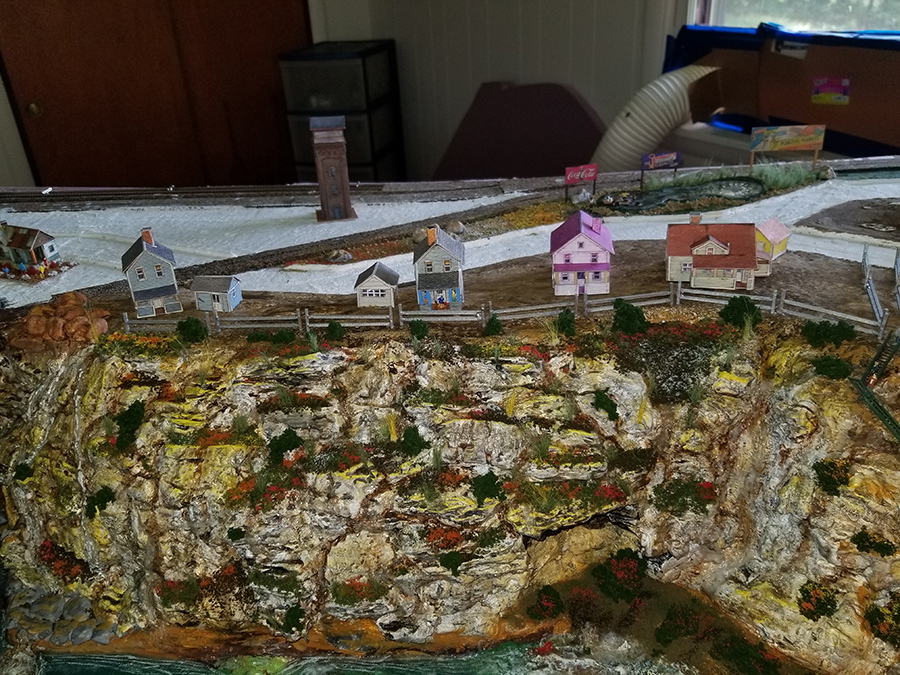
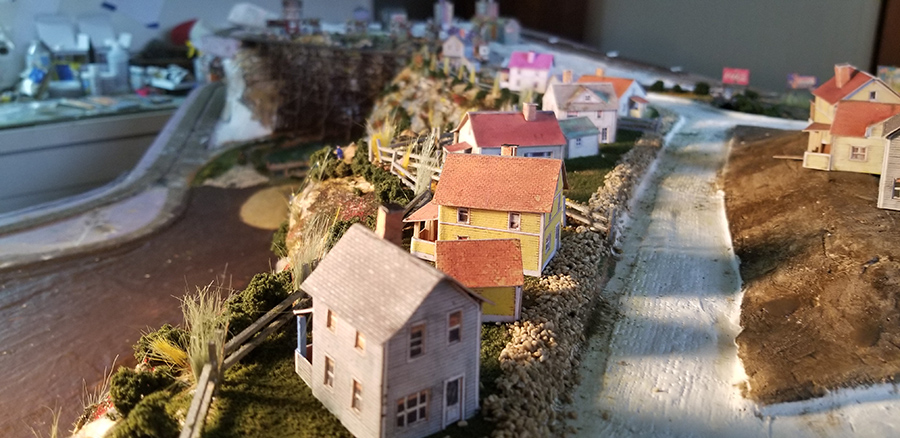
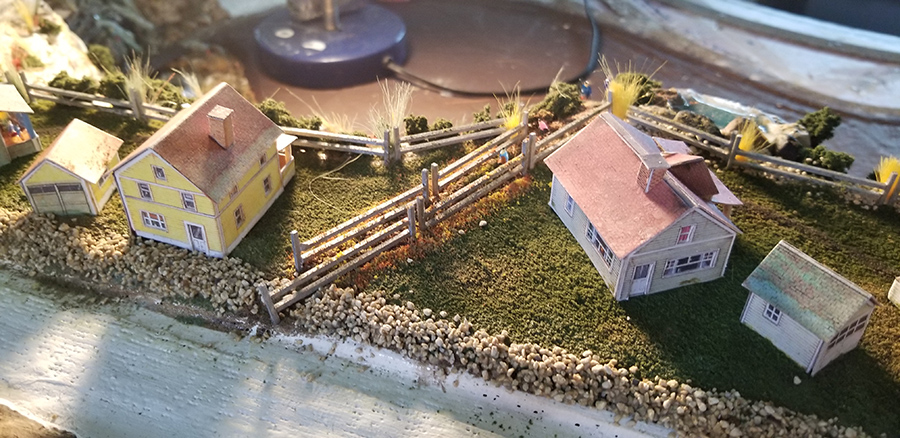
You’ll notice alot of the houses I bought from you.
And I’m in the process of building a high banked dirt racetrack facility.on the outskirts of gerskiville.
Beginning soon to install the track I’m still gathering all the materials to do so.darn turnouts are exspensive.
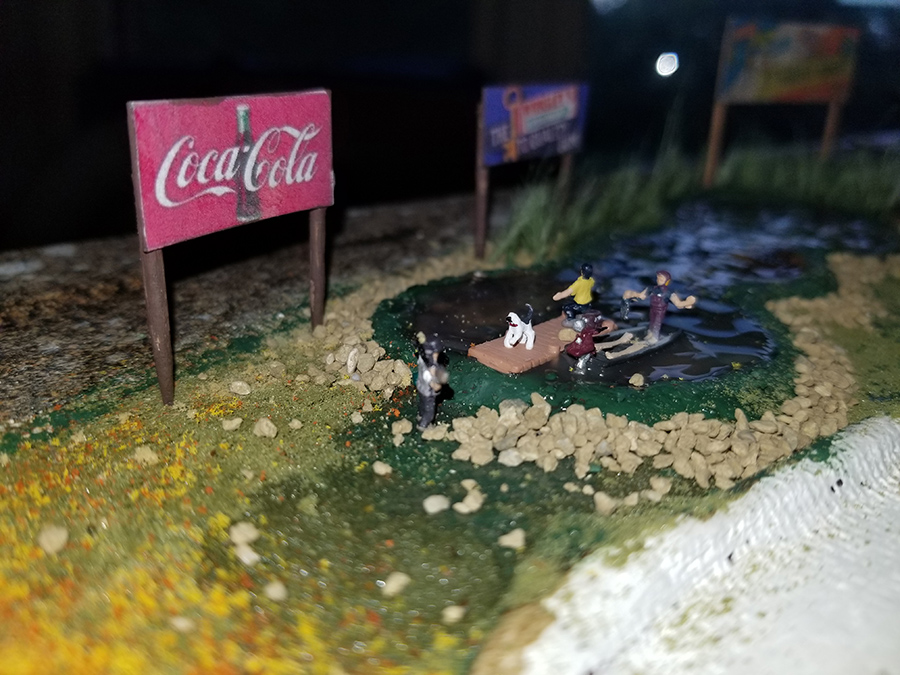
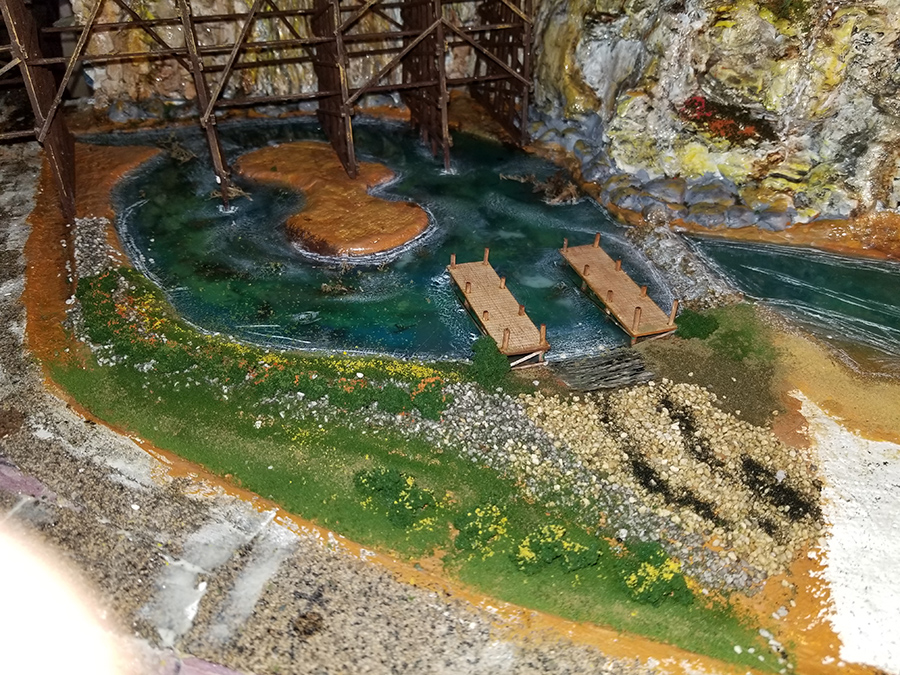
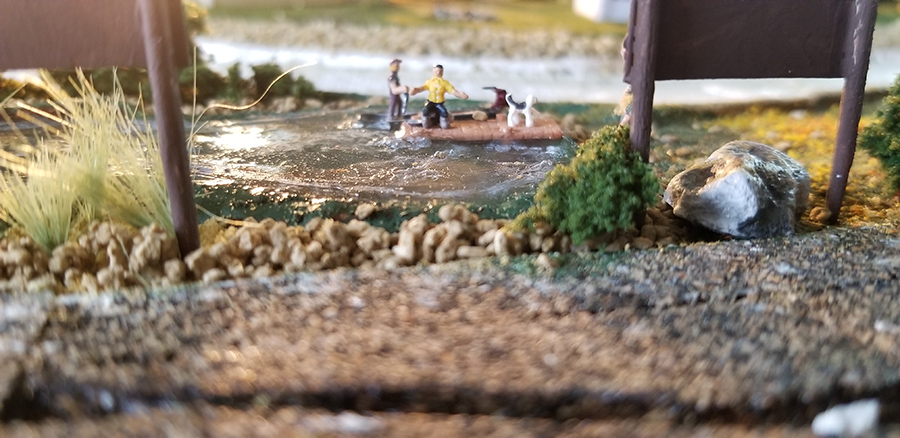
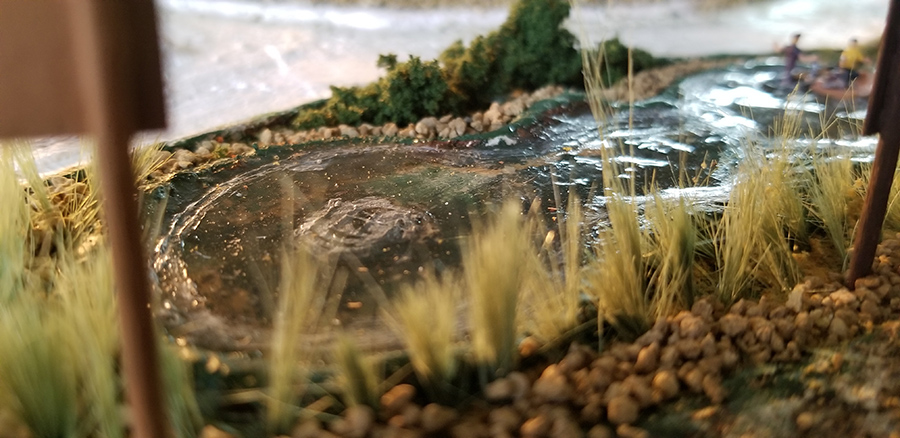
The cliffs are really shaping up,alot of familiar houses .added a little man made fishing pound.a couple of piers in the lake.
There’s alot goin on here and I hope you all enjoy the pics.
Bill”
(All images are clickable)
A huge thanks to Bill.
I think he’s done a fantastic job on his cliff face. The same goes for the houses he’s made from the print-out-scenery range.
The printable houses are here too.
As you all know, I love seeing a layout emerge from the choas of a table and some track. Well done, Bill, looking forward to the next update!
And if you want to get your hands dirty like Bill, the Beginner’s Guide is here.
Lastly, seeing as quite a few of you mailed me on Dave’s post yesterday, here’s another from Dangerous Dave and the archives:
“Hi Alastair, Well I got there, just completed and uploaded the video showing the completion of the layout.
After doing various alterations to my layout I can now say it has been completed, I have included a few tips again, and tried over this series to show more or less how to build a layout, with a good many tips to make it easie, along with saving money… and yes Tonys is open again, got a special licence, the Judge was a member of the club.
Dave”
Latest ebay cheat sheet is here.
Thanks to Bill for sharing his N scale rock cliff update and to Dave too.
That’s all for today folks.
Please do keep ’em coming.
And if today is the day you get started on your layout, the Beginner’s Guide is here.
Best
Al
PS Latest ebay cheat sheet is here.
PPS More HO scale train layouts here if that’s your thing.


Two points about underlay and static grass.I you go to your local builders merchant you can by a pack of cork floor tiles very cheaply and each tile will give you about 6 lengths of 00 size pieces to lay under your track. With static grass , You can buy a little electric fly swatter from your local pound shop, and replace the swatter with a large metal strainer and use this to spread your static grass
Bill, your rock face and waterfalls are beautiful. Please send more pics as you progress. Thanks for posting!
Warren, AL, USA
Pretty neat that some like i am doing.
Where are the trains?
Really enjoy the detail you have put into your scenery. Very nice blend of colors and plants. Gives a good dose of realism! Looking forward to future pictures as you get your track in place and have the trains rolling.
Thx
Bill from Virginia USA
To soon to say that, it’s like saying where’s the beef lol to funny. And the layout is looking good. Like to see the whole layout once you get everything on the table. Are you done with all the water and waterfalls? Looking good man, looking good. Keep up the good work.
SDG St.Petersburg Florida USA
Looking good Bill! I agree, turnouts are expensive! Why is that?
Scenery reminds me of Nova Scotia….
Skip
Hi Dave well I couldn’t tell the difference on the grass applicators the only difference is the money left in your pocket lol
So the 15-pound one works for me oh love the back scenes mate they look really good
thanks for sharing
Anthoney
Great water
Nice work, Bill. Congrats on the humanizing action you have incorporated into your layout. The trail under the waterfall is very well done, and adds a ton of interest to an already impressive layout.
Looking forward to your next update!
Dave
Long short views of your layout show just how good it is. The changes you’ve made over the last few months introducing the long sweeping curves have transformed your layout and taken it to a new level. Not that it wasn’t very good before. As I said in my last post thanks for including us all in your rebuild and I for one am sure it wont be long till you think of more changes to even further improve your layout. I think that is going to be a difficult task you will set yourself.
I would have loved to see a lay out photo of the whole thing. I am getting ready to embark on a layout and I am getting ideas of what I want it to look like track wise. Other then that Fantastic lay out.
Very Artistic….Almost Like A Painting !!!
Dave, The trees have made such a difference. They bring the whole layout to LIFE..I love the different colors of foliage. I don’t think you can ever have to many trees. The new lighting is fantastic.. Overall this is your best work ever.. Thanks for all the videos and tips.
Dave:
I have been following your videos for some time, through your builds and rebuilds and I am sure you have answered this question before,but how wide is your bench work from the aisle to the wall, on the average ?
Gene
Bill, the houses and the mountains/rock formations are excellent! Be sure to post an update when you get your trains running, I’m sure everyone would love to see them.
Dave, just when I think your layout can’t look any better, it looks better! I really like the backdrop art and the lighting you did. They both add so much to the layout. Thanks for posting, I always learn something new from your videos!
To answer Gene ..the distance from isle to wall is 2ft. 6″…Dave
Finished! Congratulations!
Hi All, What Dave was saying about switches is that he needs SPDT (Single Pole Double Throw). that is, a single feed (single pole) that can go one of two ways (double throw). You also need locking, NOT momentary (non locking). Also, his switch was a centre off. You can get switches that are simply ON or OFF, no centre position.
Regards
Steve (Sydney)
Bill……great water scenes…. Wonderful mix of colors.
Dave…..I have been watching your videos and tips and modeling techniques for a while….fantastic work.
I have to hand it to you…that is the most impressive layout I have ever seen.!! I can’t imagine how many hours of work went into that. Wonderful job! You are to be commended!!
I have one question….what do you do if a train derails when it is in one of the tunnels?
Again….fabulous!!!
The only problem with “finishing” a layout, particularly with the smaller ones (Not Dave’s), is that things get old fast. I have a pinball machine that fits that same type of category. I’ve played it so many times that it is no longer a challenge for me to constantly win free games and get high scores. I may dust it off once or twice per year now…
If you keep your train layout fresh with new things, then it hopefully will hold your interest for years to come, with new challenges on the horizon.
Ingenious !! Reminds me of a Van Gogh painting in part…..Great Stuff!!!
Way to go Dave … you actually run your trains !
I pity those that won’t or can’t !
Hi Dave.
Great video as always.
Just a thought though. Where can I find a night club that’s open during the day and doesn’t have blacked out windows?
All the best, Luen.
looks good nice work