“Dear Al,
Here are some pictures to illustrate the work I’m doing here in Belgium. Actually I’m planning a small portable layout based on the GWR in early 1944 (with US & British troops waiting for D-Day).
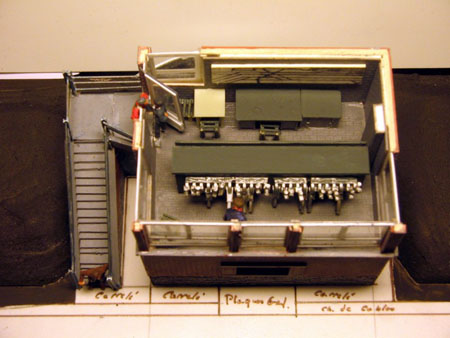
But I already have done several dioramas based on the Belgian Railways prototype. Photographs shows a diorama of a Belgian Railways goods shed (with interior details)
Also, you’ll find pictures of a scratchbuilt Belgian Railways signal box (who could be found in Liège) with the interior fully detailed (model now displayed on my club layout)
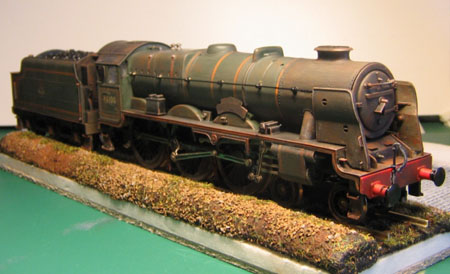
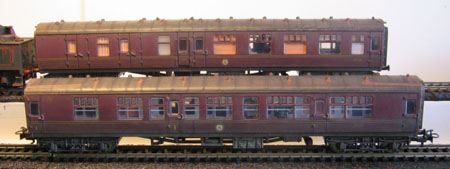
The last pictures shows the weathering I’ve done to my Airfix BR “Royal Scot” steamer and two “Hogwarts Express” based LMS coaches from Märklin.
You can publish them on your website, just indicate that the models were made by Eric Sainte, from the Liege’s Train Fan Association (ALAF Asbl) in Belgium.
Best regards,
Eric.
P.S. : If you’d like, I can send you an article about how I weathered the Marklin LMS coaches and my Airfix steam locomotive in PDF format (I’d just have to translate it in English)”
Amazing pics, Eric, I’d love to see your weathering guide!
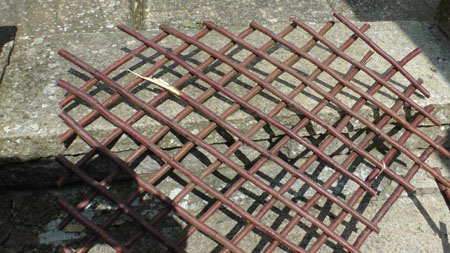
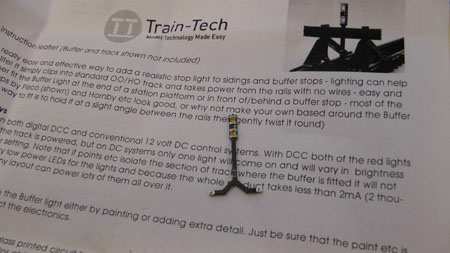
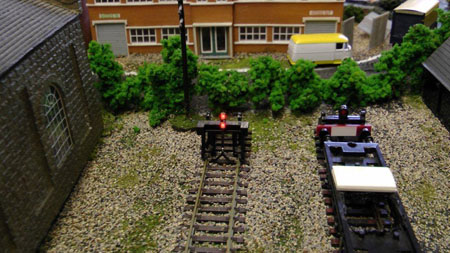
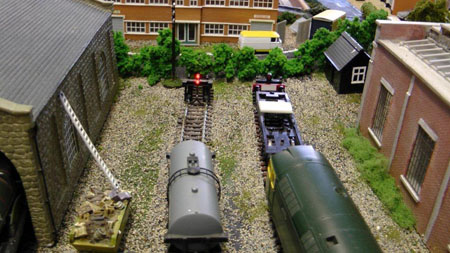
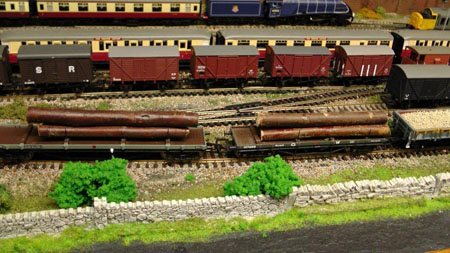
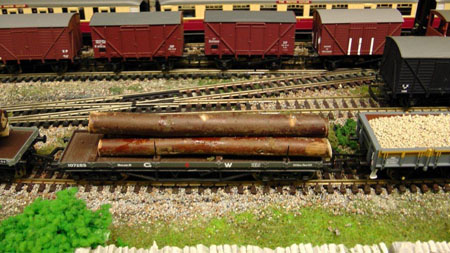
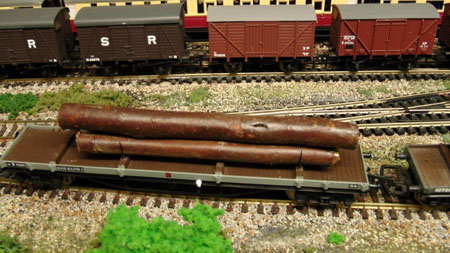
“Hi Al, few picture for you , just a couple of handy tips , a piece of garden trellising from the big D.I.Y. Store , cut a few cuts off, and ready made Logs , for the log carriers , then a new light for the buffers , it just clips on to the rail DCC or DC and it light up and at only £4 , If any use to you pick out which could be useful, will post a video within the next week or two featuring these two new additions
Regards
Dave”
Course, I’m biased, but I think the video would go down well, Dave.
Have you seen the latest ‘ebay cheat sheet’?
Best
Al


Eric, yes please, instructions on how you did it
Dave, yes please the video
Anyone else, yes please the instructions, video, where you bought it, how long it took, additional photos, and any other information you might think relevant!!!
Just making a few changes again , but some new rolling stock coming next week so will hopefully have all done by then and make a video
some great ideas,keep them coming.
I was excited looking at the weathering on the train, especially the cars. I am very interested in learning how this is done. Please share instructions.
Thank you, Eric, for sharing your wonderful hints & ideas.
The weathering looks really good, the instructions how to do it would be great.
Dave,
Looking forward to instructions on the red lights. I have layout nearing completion and am looking for ideas on putting lights on it for friends of mine. It’ll have 2 open end spurs; the little lights would make a nice addition so the young grandkids know when to slow the loco.
–Ben
Great pictures, lovely weathering
Very realistic weathering, mind you I have locos looking a lot dirtier than that both steam and diesel in New Zealand. The railway in New Zealand was a bit run down when I used to live there.
NEET LOOKING LOCOS
the detail in the weatherization of the engine and rolling stock is superb.
I have weathered a towns buildings. They have turned out just the way I planned. Used floquill paint the grimy black works great.
My next step for weathering will be my engines and rolling stock. I hope they turn out as well as yours did.
thanx for sharing
Love all the updates, keep them coming. Love the rolling stock, will have to do some of that. My layout is getting bigger and bigger, now 4 feet wide and 28 feet long. Lots of building and track layed, love railroading. Love my rail yard, most work of all with lots of trees.
BRILLIANT
Yes Please
excellent weathering all round,would love to read how you done it.
What an awesome job on the Locomotive!!!! The at really looks authentic!!!! Great job!!!
Loco looks great, please send instructions pdf.
It is great to see weathered locomotives and rolling stock. I use the Citadel range of washes for all my modeling as it is an acrylic paint and can be used on anything. They are available from any Games Workshop Warhammer shop. I use mostly the washes – Badab black for grime, Ogryn flesh for a rust wash, Devlan mud for all dirty areas and Skull white for dry brushing highlights. Keep the tips comming – great stuff. – Brian
EXCELLENT JOB+++++++
I can tll you my experience during WW11 (March 1945) when my troop train was on a siding between Liege and Achen. I slid open the door of the 40 and 8 boxcar and saw lumber besides our train and the tracks next to us. I wondered how I could make kindling of the lumber. . There was an engine idling on the track next us. I jumped out my boxcar and walked to the engine. The Driver was a Belgian. I could speak French and understand a reply. I asked the Ddriver to drive over the lumber as I laid the pieces across the tracks. He did so and I had kindling to warm by comrades in the boxcar.
Very nice work… Keep the inspirations coming…
And a tip…
While shooting some photos of my current layout, I noticed a couple of issues that did not look so bad… That is until they were in pictures! Yikes! I definitely have some touch up work to do! The camera is far less forgiving than I was.
John Reynolds
After being away from model railways fro 0ver 40 years I am finding you tips usfull
Chris
Al l follow all emails with videos and pictures and they are all good I am trying to decide if I could start building a layout in my outside garage but am concerned if it will work or go rusty in the winter, have you any advice you could give me
YES PLEASE to the weathering video from Belgium!!!
Not a comment but a question. In looking at pictures of brit locos, it looks as though the pilot wheels are rigid to the frame and don’t steer as do their American counterparts, same with some of the trailing wheels, am I right. in this loco the wheels appear to be between the cylinders that would restrict their steering ability in any case. If this is true the loco would have a long rigid frame like that of our x-8-x and x-10-x locos, this would certainly affect the ability of the loco to make smaller radius turns especially on yard tracks. are the center drivers blind, i.e. no flanges?
Beautiful job