John has been in touch with a wonderful ‘how to’ on HO scale bushes:
“Hi Al,
I’ve been working on scenery on my HO Scale layout lately and experimenting with some homemade mats for a woodsline. I like the way they turned out and thought I would share with you.
I’ve been creating a wooded hill to use as a scenic divider as well as to hide the entrance to staging on my layout. Between the open areas on either side of the trees on the hilltop, I wanted to create a brambled, overgrown area on the hillside. I used a Coconut Coir basket liner and part of an old air filter to create the effect.
First, I separated a section of the basket liner into two halves. I did the same with the air filter material. The side that was on the outside of either material is pressed flat with some sort of adhesive. But working with the inside, one can tease the material up and create vertical depth.
Next, simply paint the materials thoroughly with some flat brown and darker green tones. Once dry, I applied spray adhesive and several varieties of leaf and flock material, followed by hairspray. An optional mist of some florist green tone spray paint was perfect for some highlights.
I ended up using some thinner pieces along a nearby embankment, and combined with some Super Trees, the larger chunks made for what I think is a convincing woodsedge,
I documented the process in the video above, and ran some trains through the completed scene at the end.
John”
A huge thanks to John – what a ‘how-to’ on HO scale bushes.
Now on to John#2.
He’s back and he’s as bonkers as ever.
What’s more, he’s very kindly put together a video of the latest printable buildings.
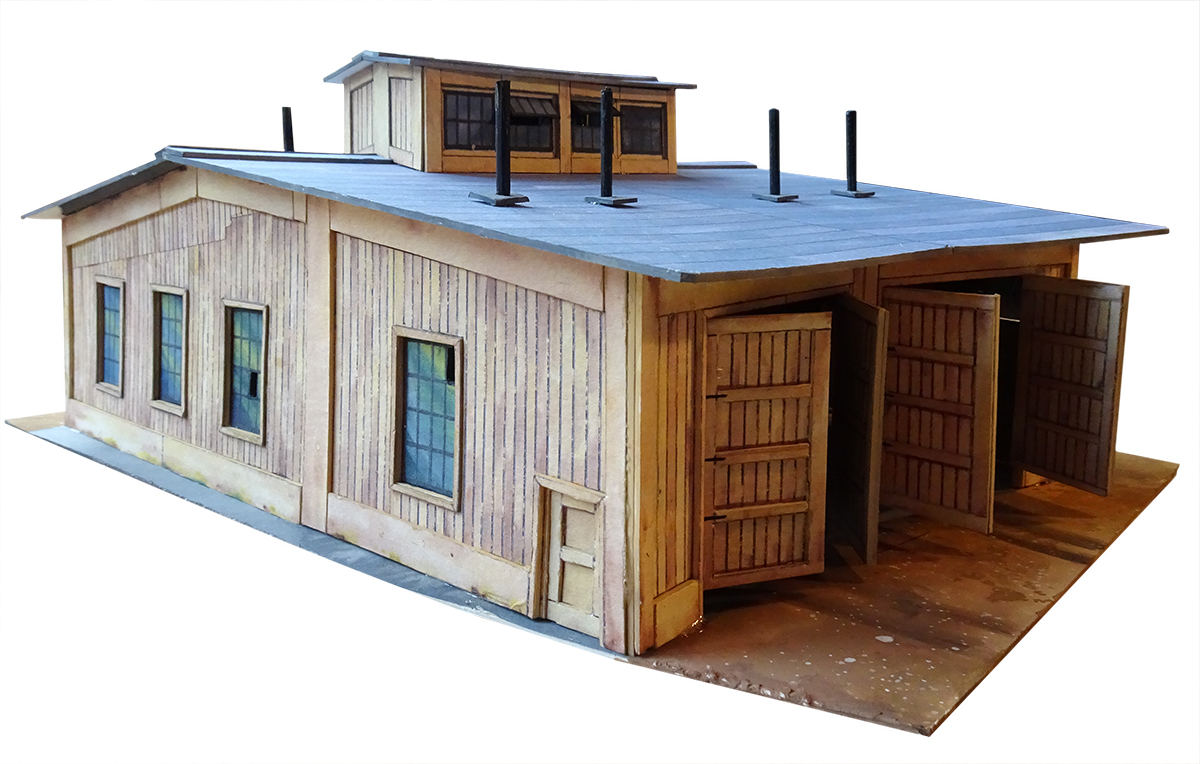
There’s always been one particular building that people have requested when it comes to the print out buildings: a roundhouse.
So it’s fitting to have a very silly sale that includes the new roundhouse at a give-away price.
First, let’s have a look at it. Here it is:
It’s up to you how many stalls your roundhouse has, 2, 4, 6, 8… just print out what you need. Below are two stuck together.
And here’s the infamous John showing us how it’s done:
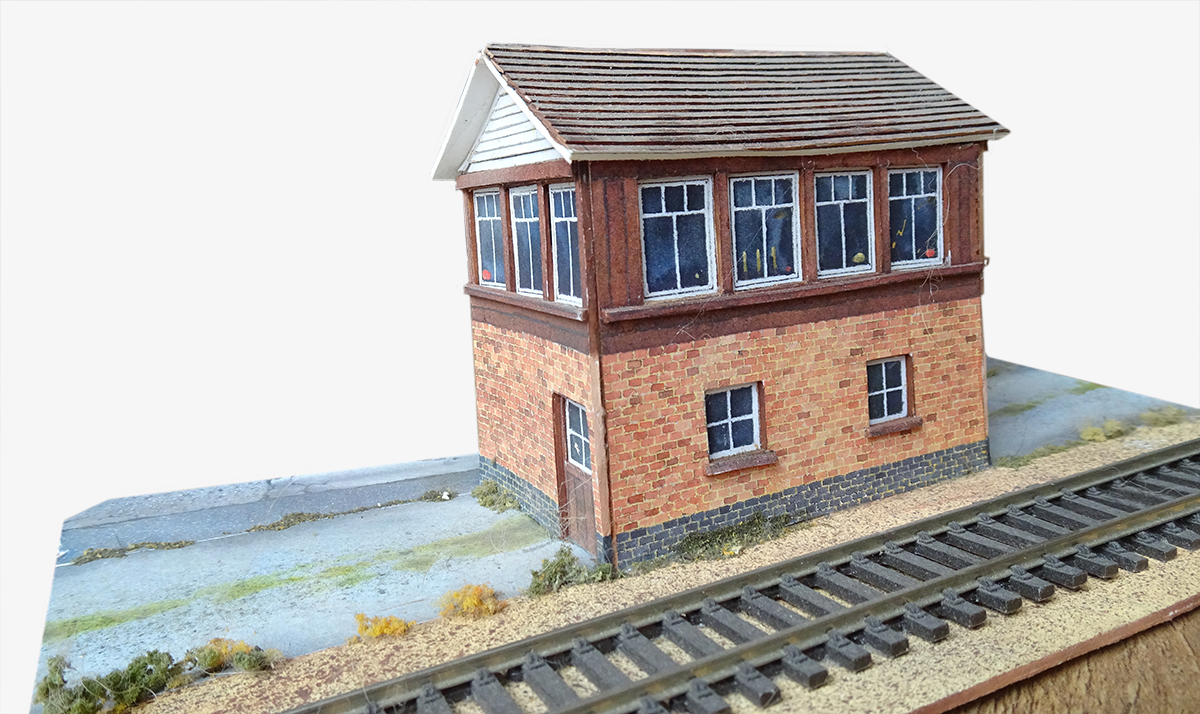
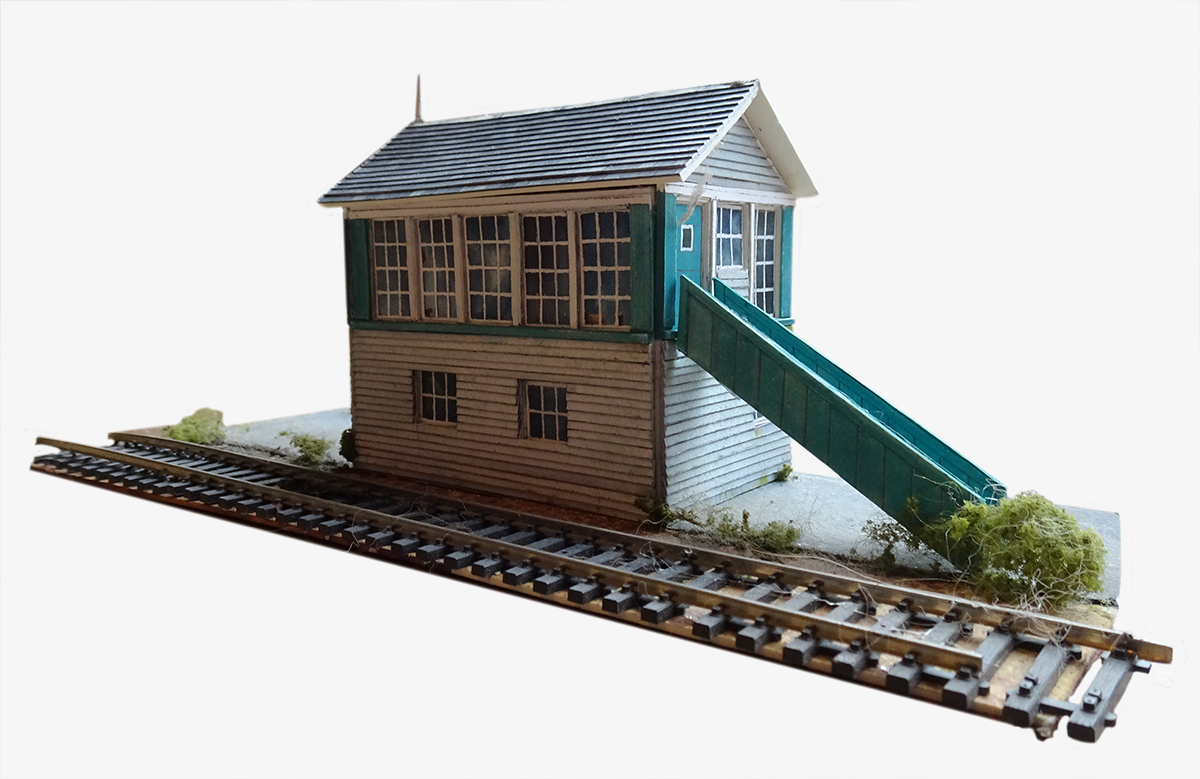
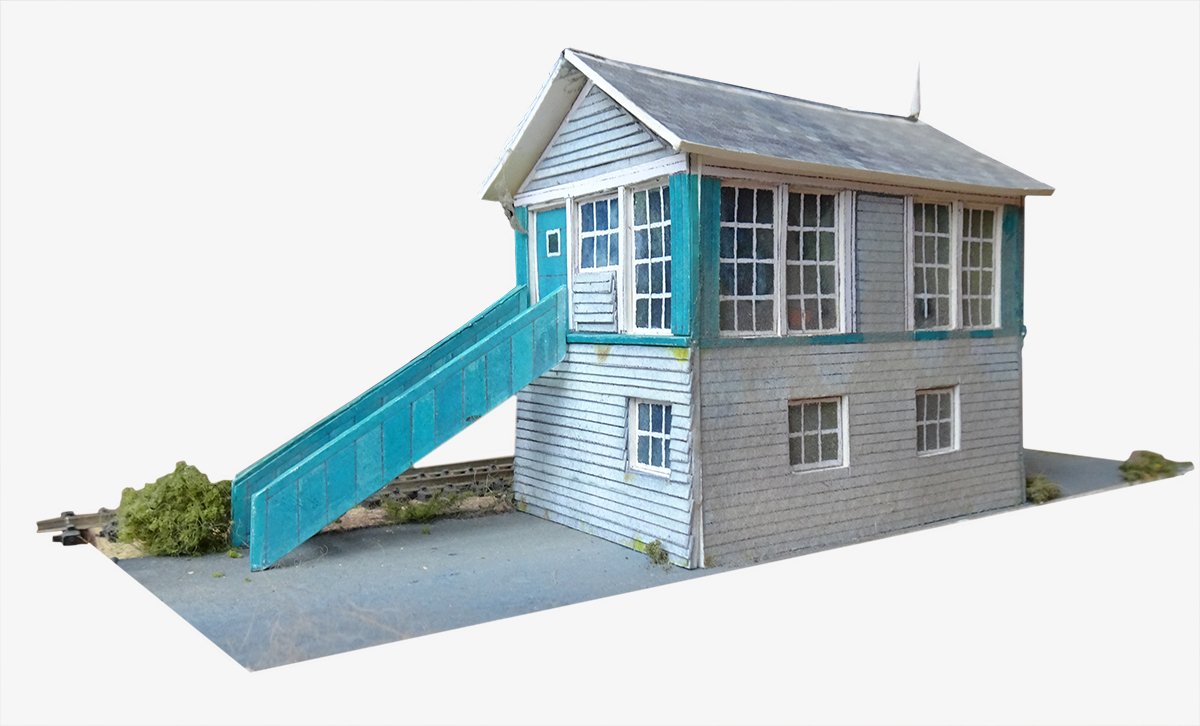
I’ve bundled the roundhouse with the Beginner’s Guide, the signal boxes and 4 other buildings, for just $19. A crazy price.
Have a look and see what else you get.
It’s a cracking deal – a big thank you, from me: a $74 saving with all the print out scenery.
I really do think the roundhouse looks good – I can’t wait to see it on a layout.
I know many of you already have the Beginner’s Guide and will grab this just for the Roundhouse – and that’s absolutley fine. Do a quick google and you’ll see just how expensive some of the roundhouse kits are.
And of course, every sale helps support the site and keep this show on the road.
As with all the print out scenery, it’s HO scale. If you want N scale, just reduce the print size by 54%.
I hope you’ve enjoyed the posts over the last year. I don’t think I’ll ever be able to express my appreciation enough.
Hope you find the roundhouse a fitting ‘thank you’, and if you do, please do grab it now as this sale won’t last for long.
That’s all for today folks. As always, please do keep ’em coming.
Best
Al
PS And don’t forget it still comes with my no quibble, 60 day money back guarantee. If you’re not chuffed to bits with the roundhouse, the other prints, and the Beginner’s Guide, just let me know.
PPS Please don’t hang about to grab this deal. It’ll be business as normal shortly.
PPPS I’m also throwing in these two signal boxes:


What a great idea using the coconut basket liners for the woods line scenery! It certainly looks great at an inexpensive feature. The layout has depth using your brambles and grasses.
What a great idea using the coconut basket liners for the woods line scenery! It certainly looks great as an inexpensive feature. The layout has depth using your brambles and grasses.
Is the roundhouse available in O scale?
Both projects look really great. Good job guys. I have a little idea for scenery. I save all of the clothes drier lint for bushes. After collecting a bunch of it, i spray paint it to any color you like but, don’t soak it. Comes out pretty good.
Hi John,
Your vegetation is absolutely superb in my opinion. Getting any plant growth to look realistic is a great challenge to any modeller and can enhance a layout no end.
Thanks for the great “how to” on techniques and materials.
David De
Charlie, if you enlarge the printout by 100% you’ll get close enough for O Scale. Actually you’re going to have 43.5:1 when you really need 48:1, but “close enough!”
Fantastic ideas! Can’t wait to execute on my layout, and very good tutorials!
Thank you, John, Philadelphia PA
John 1 – fantastic scenery. Very realistic. John 2 – it’s nice to see they let you out of the home long enough to make another video. Enjoyable and informative as usual. Thanks.
Do you have the round house in S scale ??
Fantastic job.
To old John and new John, well done! Alistair I think this is one of your better posts of late. It’s great to have old John back with his brilliance, on a cold rainy Friday to make us all smile. And new John has made that bramble stuff perfectly. Living here on a Pennsylvania farm it looks exactly like the bramble I have been brush hogging this week. Here, it is a mixture of wild rose, poison ivy and tiny little juniper trees, etc and new John is running his train at just the perfect speed. It really looks awesome, so realistic!! Definition: “Bramble is also used to describe other prickly shrubs such as roses (Rosa species).”
Cracking video by John.
I wish I could do as well. — His enthusiasm and humor is better than coffee.
I could spend all lockdown watching his videos and never have a moment’s depression!
This video is the second best thing that has happened to me this year…
Apologies on that but the greatest thing for me in 2020 is the purchase of my new home — And now I have a yard big enough for a proper miniature railway to help me maintain it.
Wow John, that is amazing. What a great idea. Who would have thought you could make such realistic looking ground cover with such common materials. It just shows what you can accomplish with your imagination. Thanks for sharing!
Great work by both…… John #1….. I am definitely going to copy what you did……that scenery is the most realistic I have ever seen.
When making windows I find it easier to make two print outs. Mount them and cut the windows out of one and mount the other behind. All windows will line up. Also, there is a flat back. This could provide a base for interior details. I have not taken this further, but for wall that are symmetrical you could mount as follows. Cut out panel with backing then a non cut panel without backing. Do the same with the reverse and then mount them back to back. this will give a double thick wall. Some printer programs may be able to print reverse images for non symmetrical walls such as the sides of the roundhouse. John, I see a new tutorial. Pour a glass of wine.
As always I am ameiced at the thing you can do with just things laying around the house and just how John and others make it look so real, it makes you take a good look at just what you may have in your own home, thank you very, very much it’s always inspiring to see what people do, keep up the good and beautiful work.
John’s bramble article reminded me of a how-to-do-it from Model Railroader Magazine decades ago. The project was designed to install a thick forest without having to buy individual trees. As I remember, you glued standing wooden posts to the layout then covered them with window screening. You then sprayed the whole thing with glue and dropped foliage on top. From a distance it looked like a thick forest. Never tried it and don’t know why it stuck in my mind but it is an idea.
Hi, I have the beginners guides already but I sure would like those printouts. Would that be possible? We have to keep this site up and running it’s so informative and a little nuts at times.
how do you print N scale?