Don’s been in touch with his 4×10 HO scale:
“Hi Al,
When we got hit with Covid, and I was sitting around the house so bored, someone said to me that I need a hobby.
Well, I thought about my interest in trains, and helping my stepfather build his layouts when I was very young.
Most of my family were railroad people working for the B&O railroad at the time, and I was living in Baltimore where all of the facilities were.
The museum is still there, but I haven’t been back in many years.
I started reading Model Railroader, and began getting your tips with your readers sending in their layout photos. As you say, it’s all about getting started, so I did.
My layout is HO scale on 4×10 base.
I was a sales representative in my prior life, and know nothing about carpentry, electricity, tools, etc, so I had to read a lot about everything, and was amazed how model railroading has changed since my early years.
Most everything was Varney and Athearn kits in our basement. I had to learn about building the benchwork, wiring, DCC, and constructing mountains and tunnels. Well, I found out real fast, that I
could forget about the latter for now.
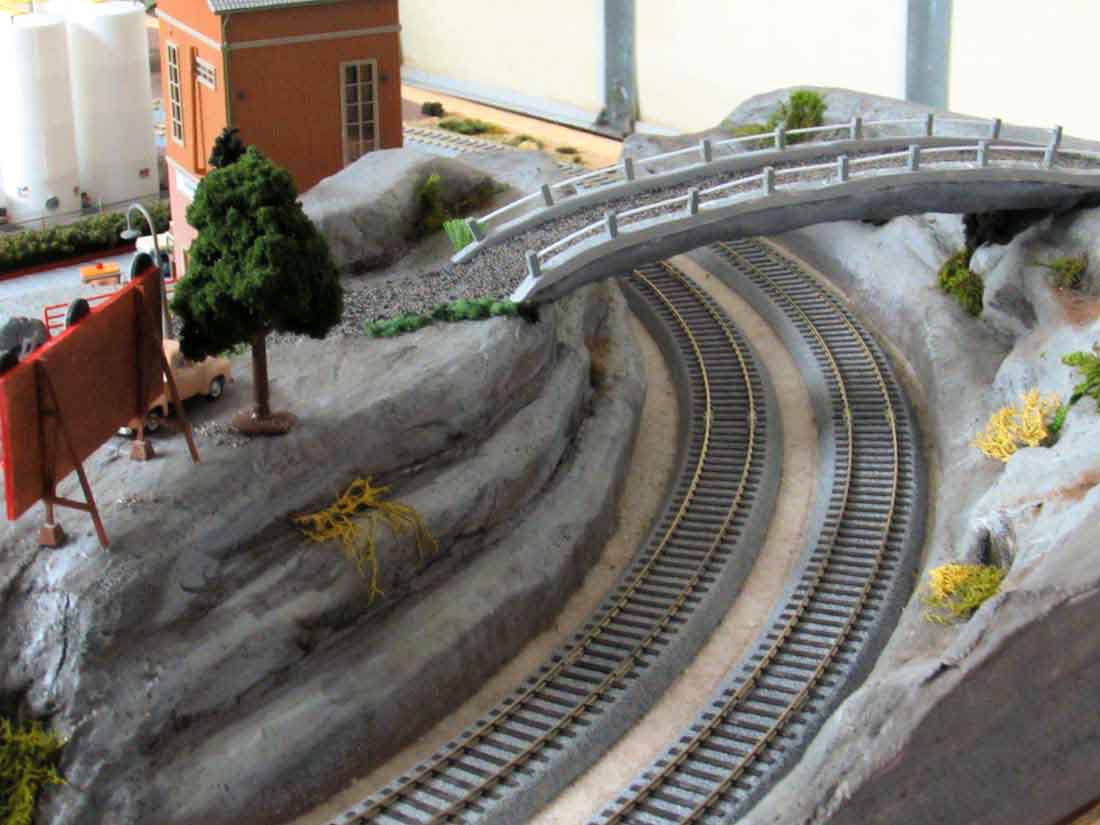
After three attempts, my mountains looked like multicolored lumps of foam and plaster. I am not very “artsy”, so, I just was content to build this first layout with just a rocky pass at one end. I am no longer in the days of brown mountain paper you could just wrinkle up, and there it was. That was then, now at 83 years old, the world is a little different.
I tried to use everything available in these modern times, so I could judge the pro and con of it all. That way on my next layout, I might know what I wanted to use, and what I did not want to use.
There was quite a learning curve for everything, and things got re-done many times. Most of my buildings are card stock, and you might recognize a few. I also used Model Builder software on my computer, trying to copy the looks of structures around my neighborhood.
I used Kato track because it was so easy with sure connections, but I later realized that it was sort of “limiting”, so I will use different track and roadbed next time. I will also make my layout larger so I can do more with it, as I learn to make those mountains and tunnels.
I went DCC using the starter control from Digitrax. I have that coupled with a row of Kato individual controls for my turnouts. Some might call this a “jury” rig, but it works for now until I learn more.
Living in Florida with constant high humidity, and having my layout in my garage (no A/C), I found things like the asphalt-like roadways shrunk over several days, so I had to revise how to install them. I just put patches in some of the seams to look like “roadwork repairs”.
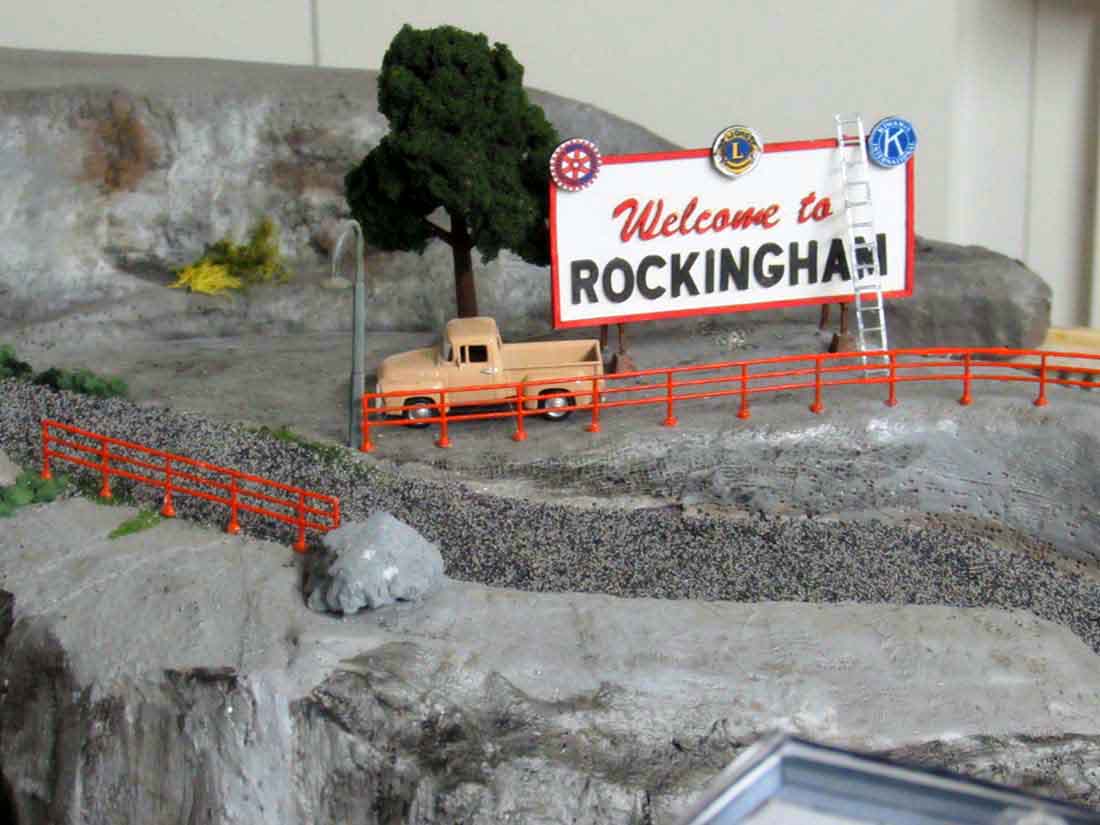
Long story short, I am having a great time doing my first layout, and looking forward to a second one with improved methods, and material. It doesn’t represent any real life scene, but it is my little village of Rockingham named after the street on which I live.
It’s the first thing of this kind in the neighborhood, and everyone stops by to see how things are progressing.
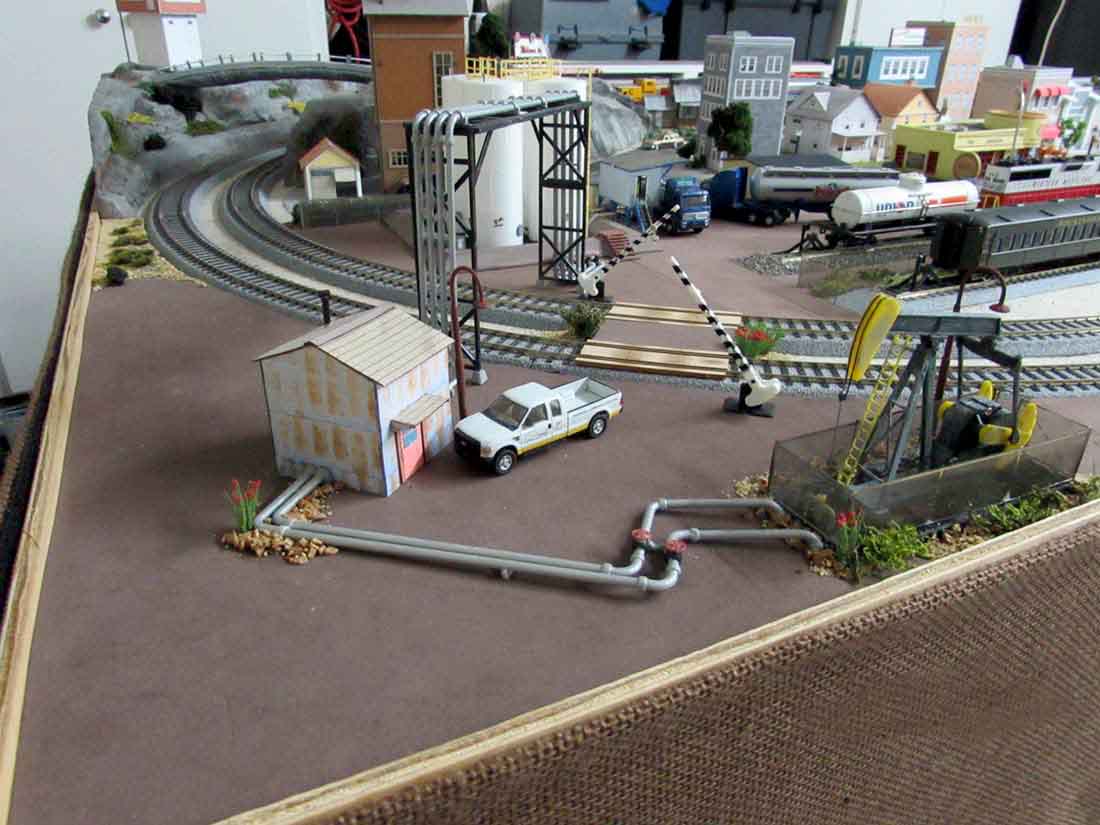
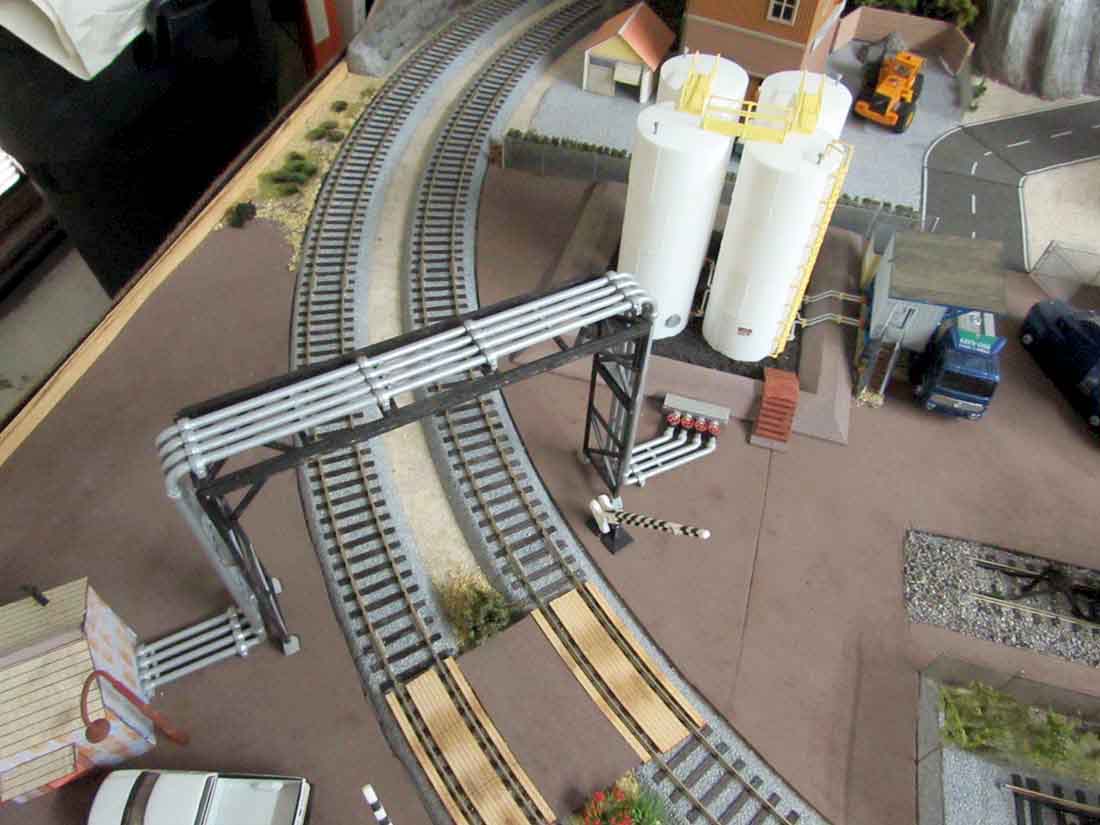
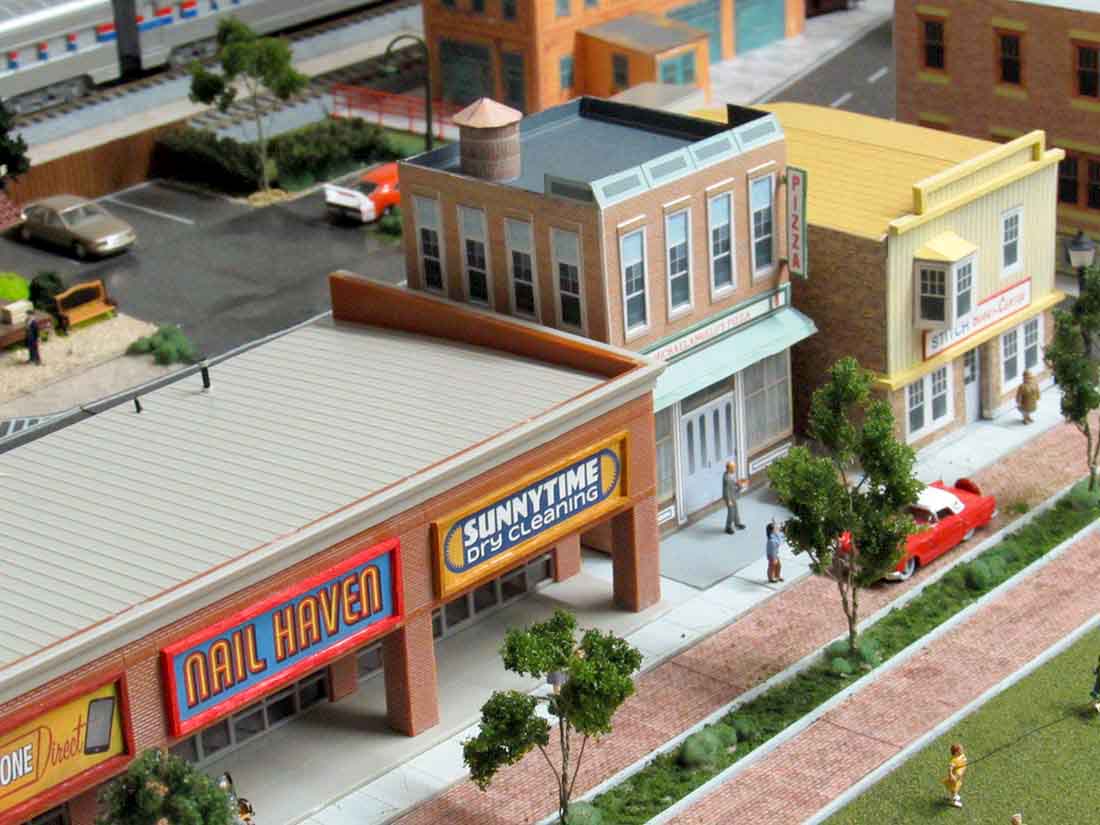
These are a few scenes of my first attempt. Keep up your good work, and keep those tips coming. They give novices like me great ideas and advice.
Don R.
Port St. Lucie, Florida, USA”
A huge thanks to Don for sharing his 4×10 HO scale.
Of course, I’m biased, but I think those buildings look great – he’s done a really good job on them. Especially the houses from the printable buildings..
That’s all for today folks.
Please do keep ’em coming. I know I’ve said it lots recently, but it’s really thin on the ground this end, so if you have something to share, now’s the time to do.
And don’t forget the Beginner’s Guide is here if you want to make that start, just like Don did!
Best
Al

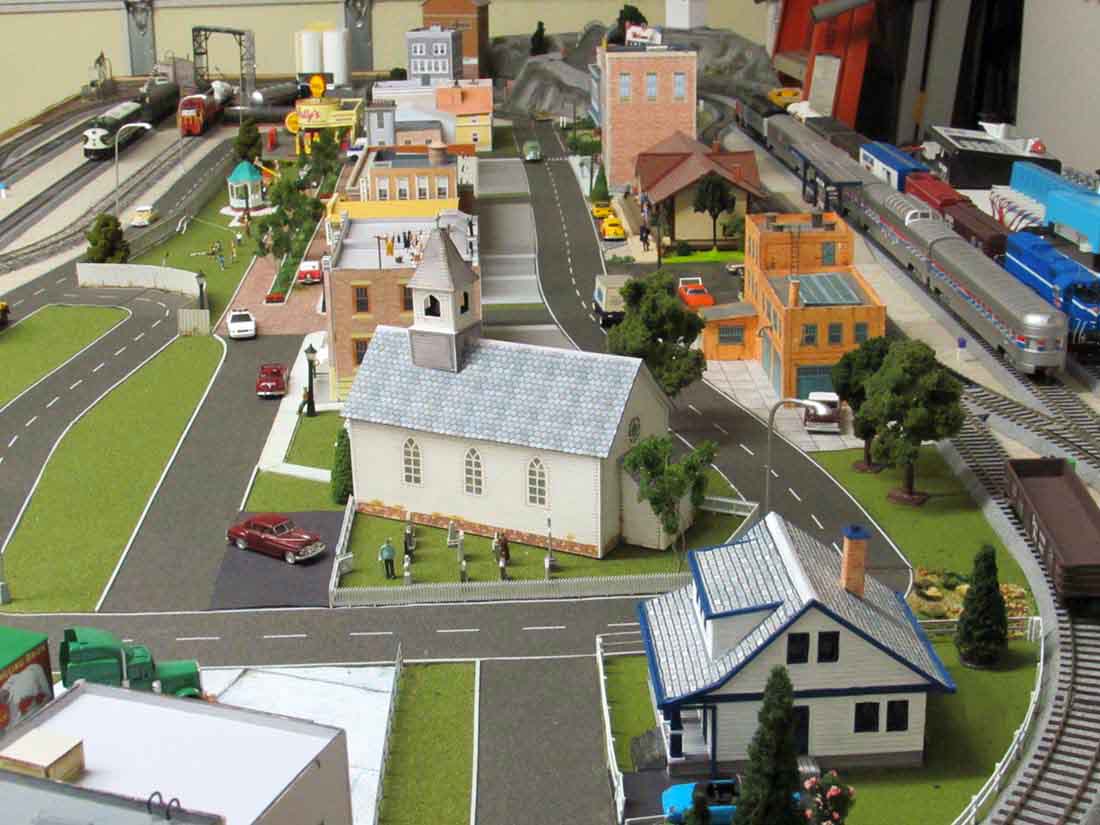
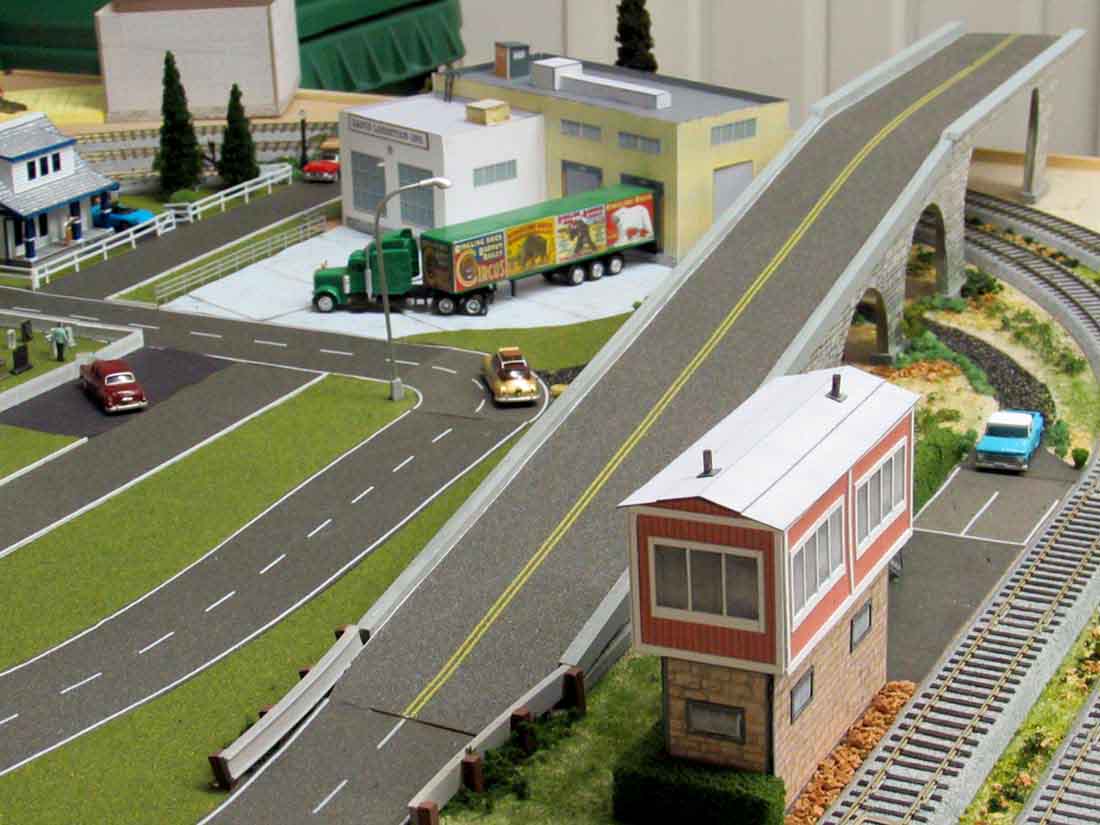
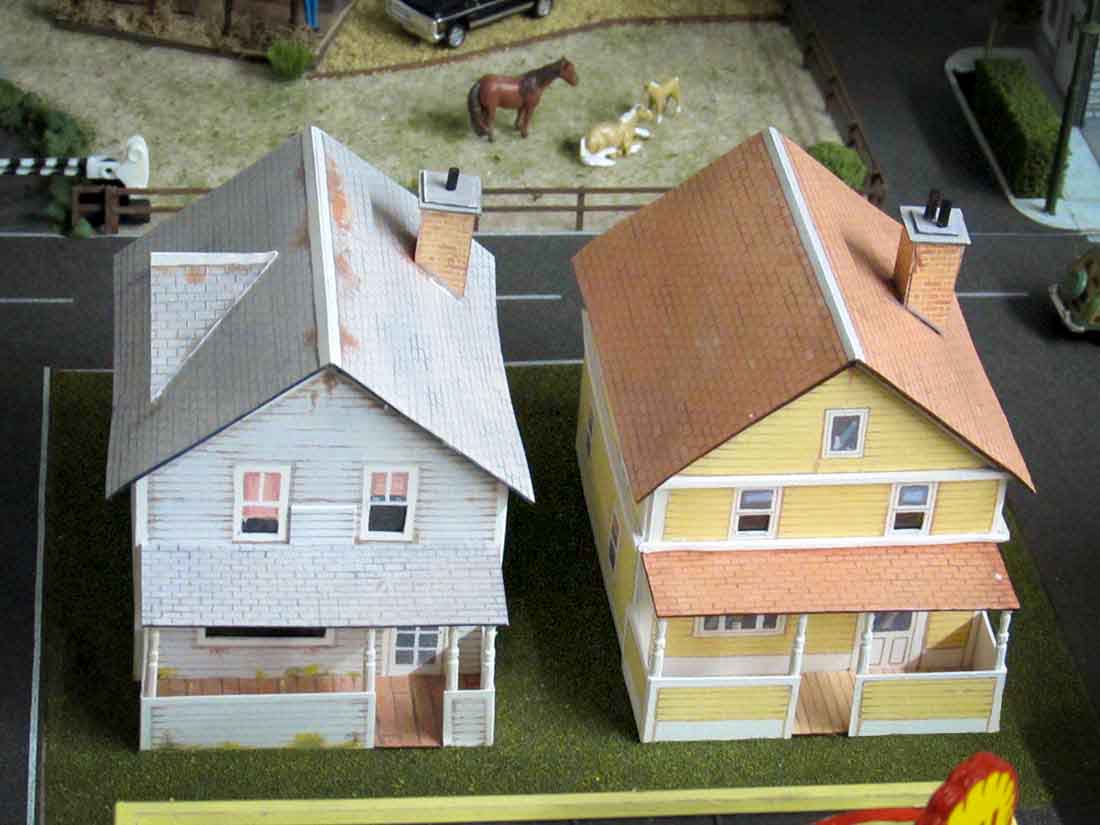
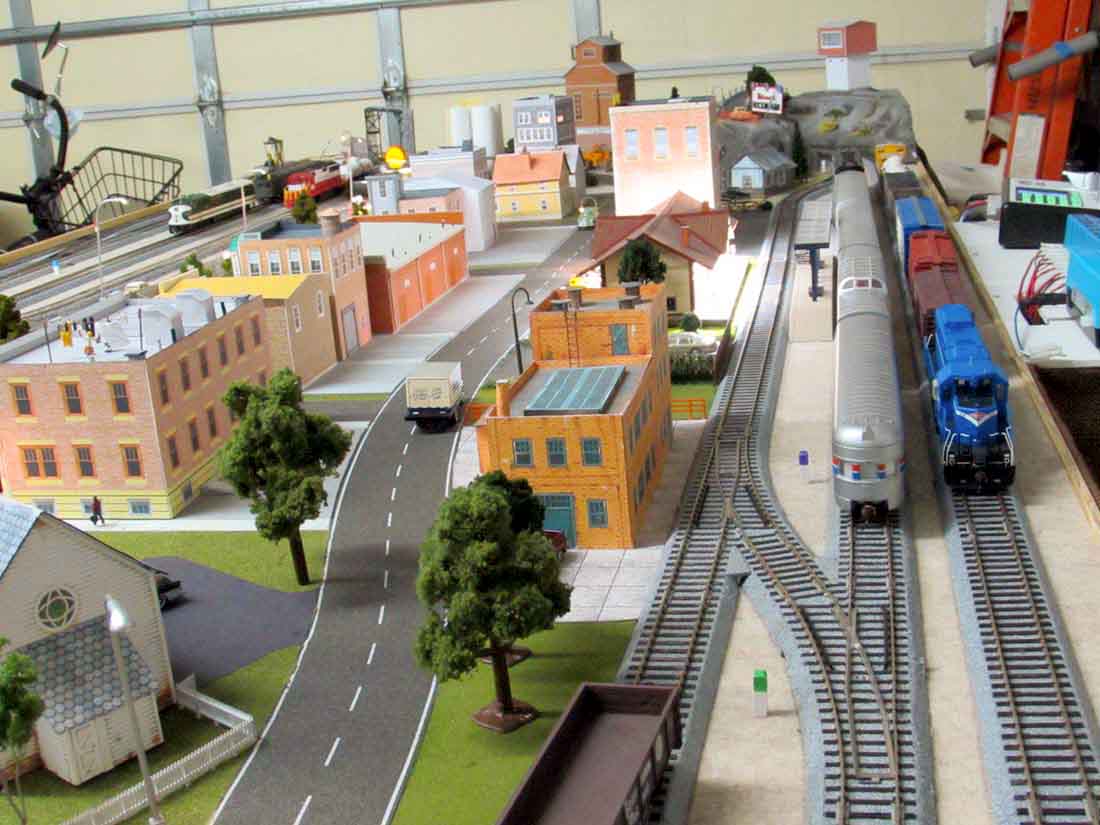
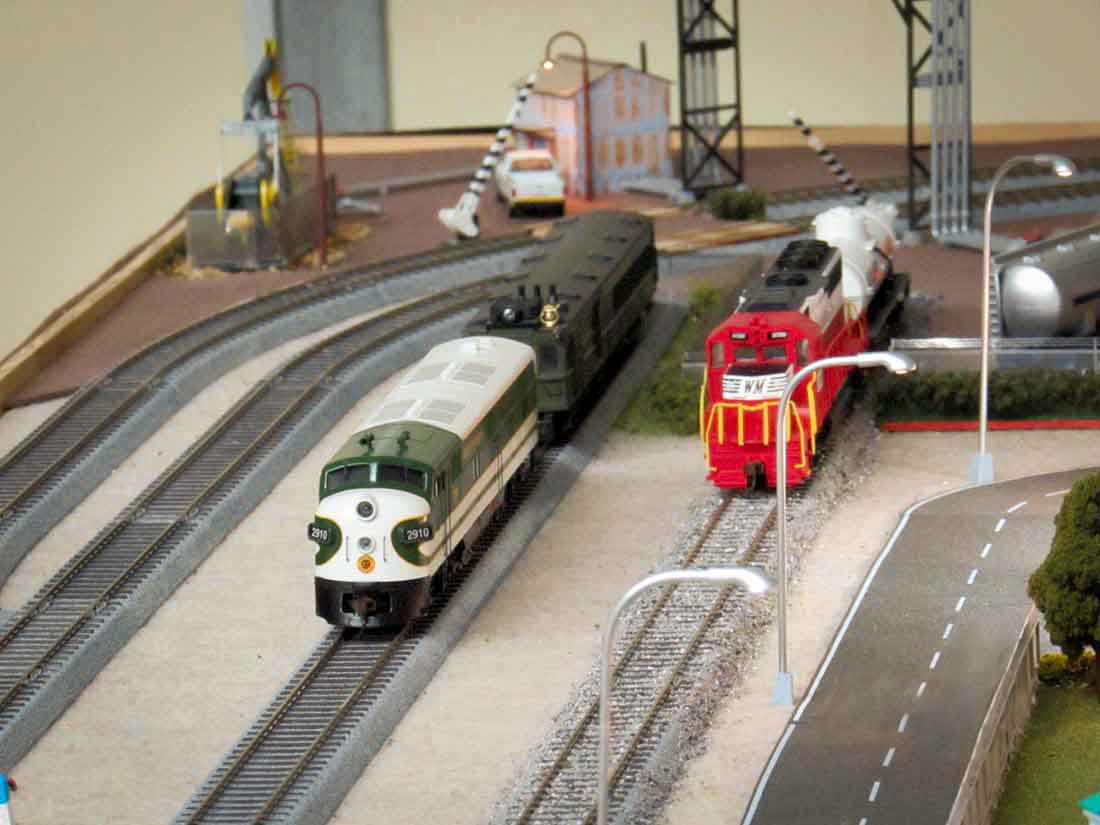
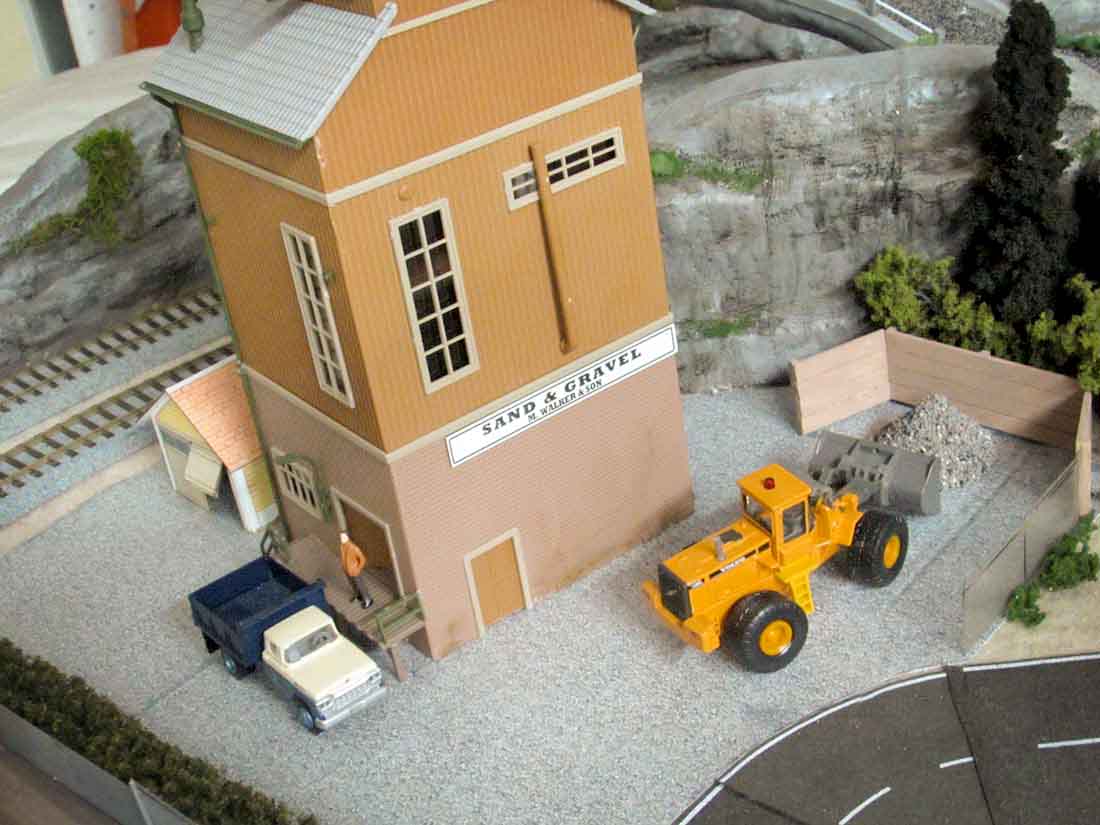

You did a lot with a little. Great work!
Hello Don We’re home boyz, I’m in South Florida also. we have the same tastes I see , Diesels, several of the Same buildings. I really like the way u laid out your retail shops along the street and separated commercial areas, a mixed bag of passenger and freight trains. Very nice !
The Critic
What a great layout, really like how you don’t see stones, gravel all over the place also. More than detailed enough but not looking over-busy at all. Have fun- but Florida? I’ll stay in Maine, more than hot enough here…
Regards, Rich
Great work here! Good to see a nod to Lions Club, Rotary and especially KIWANIS!
Don
Great job for the first time and especially in a hot garage in Fla. Who says you’re not artsy!! Your layout is wonderful and artfully planned. You just didnt build a mountain the way you like and that will come.
Be well & safe
George from LI, NY
Don R;
Live in Ft. Pierce and also 83 whatever. Hope to meet you. Your RR empire is a dream of mine but as the old saying goes you must make a start. I have accumulated a DCC starter set and some locos and rolling stock and varius items over a few years but never made thew start, I think your layout and your age are the inspiration that I needed to make that start. Can not believe this is your first project and can only hope mine future attempt will something at least I will be proud of. Your Rockingham is 100% GREAT in my eyes.
Bob aka Coots
Look pretty Kool!!! Keep up the good work.
Awesome job Don, the layout looks incredible. I got a story about a layout I did in the mid 80’s and ballasting scenery was never done. Got back to model railroading about 5 years ago and Kato Unitrack was my choice and I’m quite pleased with results.
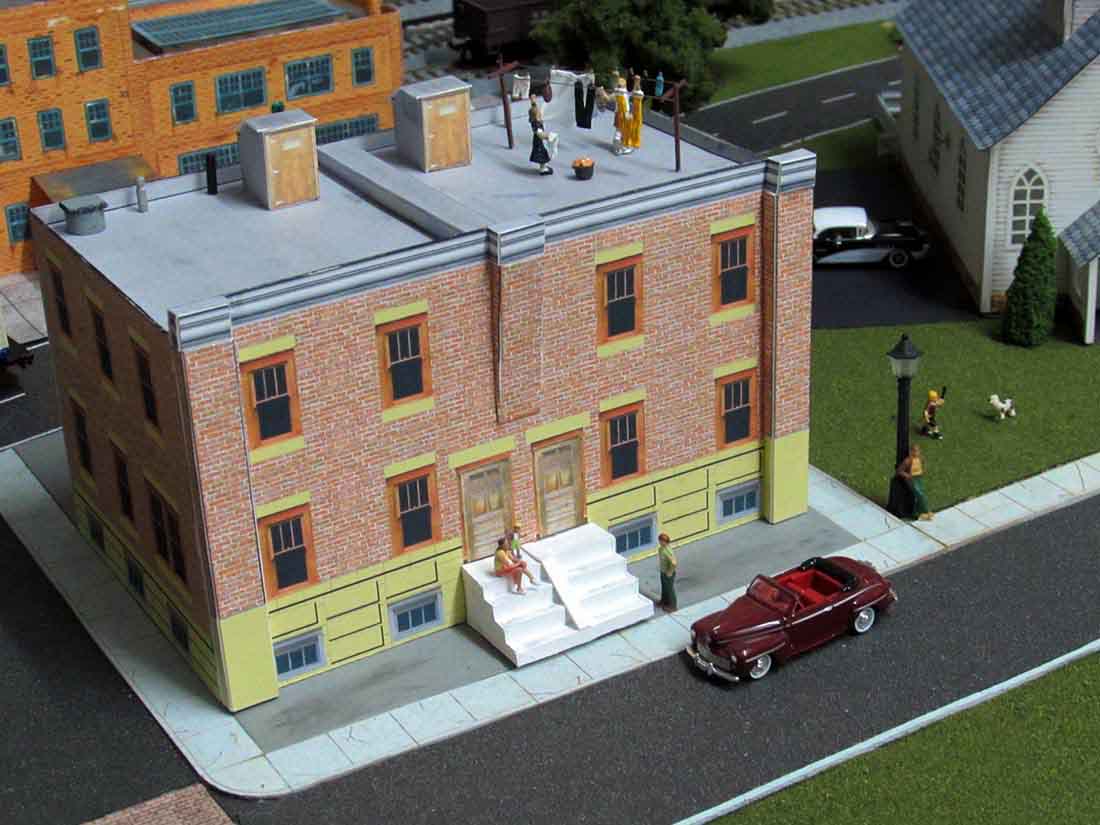
I really liked the apartment building on your layout with the laundry being hung to dry. Oh the memories of a backyard cloths line.
Thanks for sharing and model on 👍👍👍
Great start Don. Love your buildings, they look much better then mine, but I am learning. OJT is often the best route and you have done it well. Keep up the good work.
Well, Well, Well Don, I’m a guy from your old area (Baltimore) and have to say you’ve got the hang of it buddy!!! I’m actually in Towson now. All the reading you did has paid off big time for you. Great imagination too!!
Don ~ Nice looking layout. As a current Floridian who grew up in Baltimore, I especially like the row houses with the marble steps. Brought back a ton of memories. Thank you, and happy modeling.
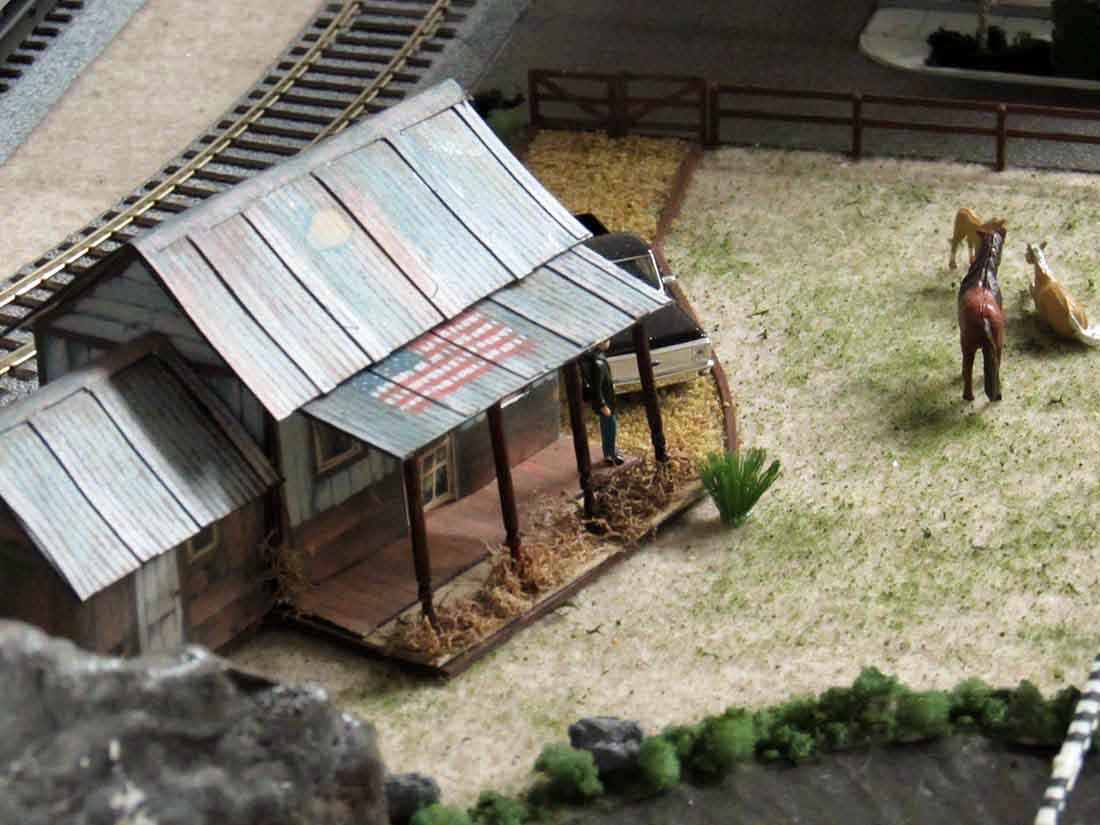
Your clean streets are probably easier to blow or vacuum clean when they get dusty. I think your buildings look great particularly the one with the flag painted on the roof section.
And despite your claim of not being “artsy” I am partial to the track running between the two rocky ridges with the bridge over them. That makes for a nice scene and feature.
I’m in East Orlando myself, so I understand how humidity can cause issues almost without warning…. things just happen.
Frank in Orlando
Great job for a first. I’m intrigued by the refinery. Your buildings look great. Would not have known they are card stock. Don’t build another layout, just expand this one.
Darn nice work there, Don!!! I wish Quail Valley Railroad looked as nice!!!
Don R………… nice layout……. where did you get the figures……love the building with the clothes line.
Nice work, some creative ideas.
Thanks for everyone’s encouragement. I still have a lot to do on the layout, but it looks like the Covid situation will give me plenty of time.
I plan on having a “skyride” running from the top of the cliff, on the one end of town, to a structure and park on the opposite end of the layout. I am trying to design it to run over the buildings looking down on the streets. I plan on using a Bachmann Cable car for that.
Once you get enough motivation to start, believe me, it easy to get hooked on model railroading. I am constantly thinking of more fun ideas.
To Gary M, I found the clothes line set of figures made by Woodland Scenics. They are easy to find on-line.
Nice layout. I also live in Florida and understand how bad the humidity can be. Also, Rockingham is the name of a town in North Carolina. Instead of starting a new layout, maybe consider making improvements where you feel it should be made. After all is a layout really ever finished? Have fun.
I think you did a fine job. The buildings and infrastructure are very clean and neat. I particularly enjoyed the oil well, process building, and pipes to the tanks. Very complete. I hope as I start my layout, that it can look as nice as yours. Cheers.
very nice for a first layout . I think the expense of a window AC unit would give you more than your moneys worth in being able to enjoy running the rail road and working on it. Here in Ohio I have a kerosene heater for my garage for use in the “cool” winter days . I consider the fuel to operate it worth it for the enjoyment i get to be able to work in the garage shop.
Great layout. Congratulations! Enjoy it as I enjoy my simple layout. It gives me lots of relaxation .
Frank near Mickey Mouse, Orlando
Your first attempt is purely a fabulous one!
Question, slightly off topic. I too, was from Baltimore and had grand parents that worked for the B&O during the 1926-27 Centennial Celebration.
I recall, as a kid in the late fifties to sixties, that every fire house in the County and the City would put up a large 75’x20’ enormous O gauge layout at Christmastime. We would try to visit as many as we could in the two to three weeks that they were open to the public.
I did this with my four children twenty years ago coining down from NJ.
Is this only unique to the Baltimore area, or did other cities do this? Every house had a “train garden” under their Christmas tree. Curious to hear your observations.
To Charles Eyster: I don’t know if this was done in other cities, but I do remember how big it was in Baltimore. HO gauge was just coming into popularity, and most of the “Christmas gardens” were either Lionel or American Flyer. My wife and other Baltimore expats, here in Florida, still call my layout a “garden”.
It would go up in early November, and be completely dismantled and packed away after New Years.
I still go to my local model railroading club, just to watch it all. It’s close to my house, and they have their own complete building. I’m sure there must be one somewhere near you wherever you are.
I like it,simple,functioning railroading fun!!
Great looking layout well done.
Regards Gary
Hello Don, That’s an awesome well done layout you have. I saw a set of typical Baltimore row houses with the signature stone entrance steps that I learned to love back in my younger days
Thanks for sharing
Cary B from New Market Maryland
Great job on your layout. I’ve been reading a lot of comments on the virtues of KATO track here. You might want to re-think changing it… I don’t have any first hand experience but KATO seems to have a lot of fans for fool proof operation. Just Sayin’
Neat, Clean and Well lit.
You did an awesome job.
Congrats on a beautiful layout.
Hi Don:
Great job for a first railroad. We are the same age. I’ve been doing this now for about 20 years. I got the same advice that I needed a hobby. All I know is that things are often harder to do when you get long in the tooth as they say. Keep it up and well done.
Thanks again to all the nice comments.
As Rob indicated, I have decided to stay with Kato Uni-Track when revising my layout. At first, I thought it too limited for an interesting track plan. I have learned a lot since I began, and using SCARM software, I altered a few interesting Atlas track plans using Kato, and found that I can do just as much with it and be assured of good DCC connections.
Although my new layout will depict a totally different scene, I have been practicing how to modify Al’s cardstock structures, and will use more of them. With a little imagination, they look as good as any plastic structure, and less expensive. In viewing my layout, people don’t believe they are just printed and glued together. Thanks again Al and John!
Don, that is a great first RR! Lots going on, a quite a bit of good detail too! There is lots to a model train, and it looks like you’ve learned a lot!
Bob from MI
Although I’ve completed two sizeable N scale layouts over the last 20 years here in Arizona and still model consistently on them, I have to admit I am truly inspired by the green belt approach to his sidewalks in front of his city structures. So much so, I am going to incorporate that idea into my most current layout which is right at the point of placing my city buildings and walkways, ironically. I had been noodling numerous ideas of how I wanted the sidewalks to look but wasn’t really happy with them until I saw these amazing photos. Truly, your city flow, light, and general feel of a living city that “feels” like the real world is so nicely done here. Thank you for your inspiration and workmanship.
Very nice layout. I especially like the way you laid out the town. I am 77 and working on my second HO layout which has a logging theme and is set in the late 1930’s. What type of material did you use for the asphalt roads?
It’s a very nice setup.
What did you use for the different paved surfaces? I’m having trouble making realistic roads, sidewalks and lots.
To Al Allison: Most of my roads were done with the Busch roadways, but it took me awhile to learn the method. You cannot stretch them in any way while peeling off the backing to stick them down. It looks great at first, but after a day or so, they begin to shrink up to the original shape leaving large separations between the sections. It looks good, but could be a little costly.
Most of my larger dark parking areas are just simple “school type” black construction paper. It has no gloss to it, and is cheap. I will figure out a way to use that on some future roadways.
Don: really good first effort! As for mountains etc your rocky cut looks like a good start, just needs more paint work and scenery (weeds, bushes, scraggly tree or two fighting for a foothold. Use You tube videos for techniques and google maps to look at real areas of similar scenery for references, even professional artists use models and references to get it right (I know, I are one LOL). One problem I see a lot is a layout with a mountain just popping up from flat ground like a big pimple on the earth’s a**. You need more build up for it to look right: rolling hills between the flat “plain” and the mountains remember real railroads used the most direct, but also cheapest to build routes. They would not bore a tunnel unless couldn’t go around and long cuts and fills or low bridges crossing ravines would lead in before any tunnel. Also consider water, where does the rain on the hills and/or mountains go? Gravity and impermeable rock says it has to go somewhere. There are also other ways to hide trains beside the usual mountain tunnel.
Don, I can only echo the praise of the many folks who commented on your VERY “artsy” work!! Your photos show more of a real community than just a simple train layout. My 5×9 HO project is in a hot South Georgia garage, but I installed a window AC and it made ALL the difference! What a fast learner you are and I’d unashamedly want to dwell in your neighborhood and exchange ideas (and moral support). We 80’year olds must stick together and demonstrate we got what it takes!! Thank you for sharing your dream and for giving all of us inspiration!
looks great can i get an overhead pic to see the entire layou please?
What are printable buildings,Russel
To Russel:
Printable buildings are patterns of structures that you can put on a computer, and with an inexpensive ink jet printer, you can print them either on paper or heavier card stock. You then cut them out, and fold and glue them into structures. Using paper, you have to glue it to a heavier material to hold shape. I use 160lb. card stock which is heavy enough to forget about the extra gluing step. If you already have a computer and printer, it’s a lot less expensive than buying all the plastic kits. Plus, you can print out as many as you like, and modify them so no two look the same.
Al offers many good printable structures right here on his blog. See his “Big Kahuna Deal” above all these comments.
Love your attention to detail on your scenes!
Can’t wait to see more!