Brian’s been in touch with how he puts his backdrops together:
“Hi Al
Here is how a do my 3D backdrop.
I use 3mm (1/8”) Masonite (hardboard), makes no difference which side I use for my backdrop.
I cut it to the shape of the mountains that I want as well as the length.
Start with a coat of earth colour latex (PVA) paint over the whole area.
Mark out with a pencil where you want the closer hills and the hills further away.
Paint on white glue in a thick consistency starting at the bottom.
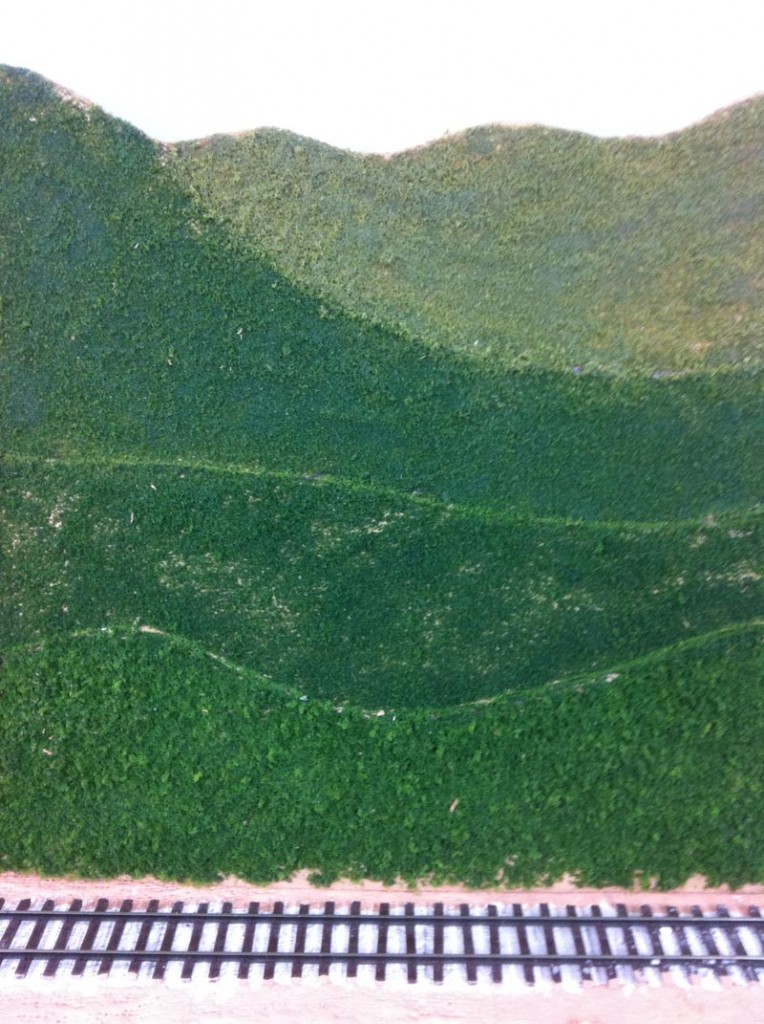
I use 4 colours of the ground foam from darkest to lightest.
Start at the bottom (closest) with the darkest green and work your way up using a lighter colour as you go.
Remember that the closest mountains are always darker that the furthest ones.
When all is dry, I mark out the different hills just to enhance the look of distance between the hills.
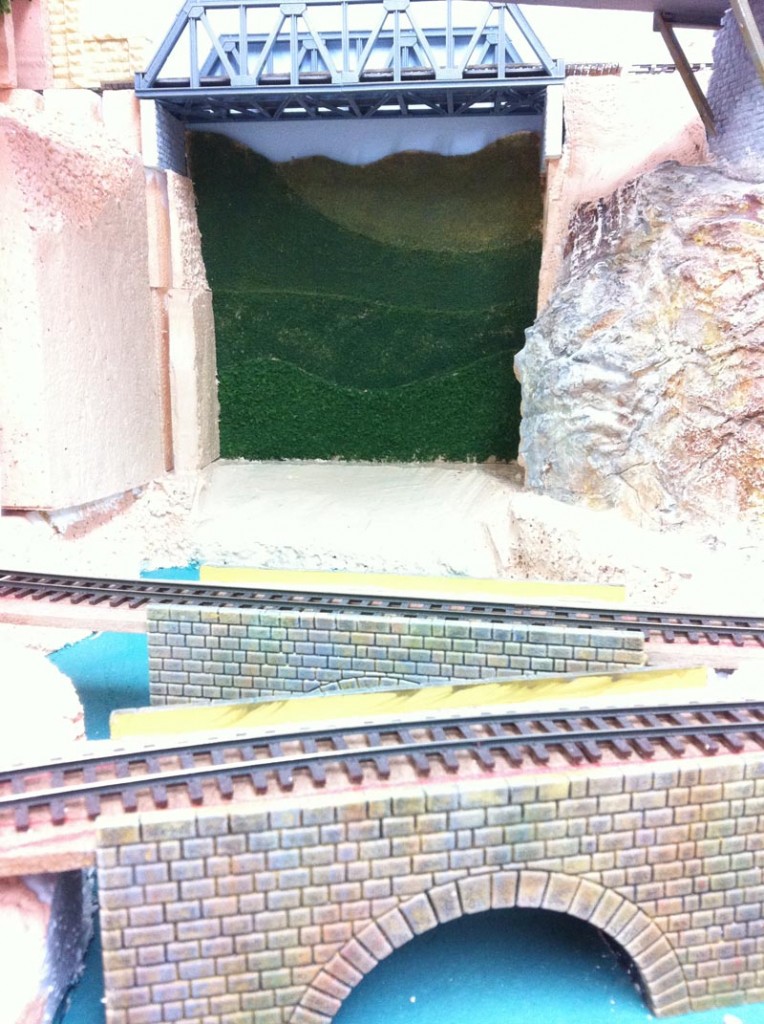
The photos show how it was done on 3mm thick Masonite for a section of my backdrop behind and under a bridge section.
Brian”
A big thanks to Brian! (His original post is here).
That’s all for today folks.
Please do keep ’em coming.
And if today is the day you spring into action, the Beginner’s Guide is here.
Best
Al
PS Latest ebay cheat sheet is here.


Very clever. I will use this next time. Thanks. D/
Brian, makes me want to emigrate to see all your wonderful layouits , however in the meantime I,ll stick to ghis country ., and continue to make use of you ideas.
All the very best Bernard
Nice job Brian
Hi Bernard what country you in may I ask.Those hill’s look super nice.great job that
Excellent idea.
Very simple and effective idea, thanks Brian!
Thanks for the Tip on making a 3D Backdrop, as it stands out so much better than a Blowen Up Photo, also it looks better. So once again thank you!!!
L LIKE YOUR BACK DROPS. VERY NICE LOOKING.
excellant will use this on my layout
A beautiful job and one that I do not think many modelers think about. Way to Go!!!
A Great Time Saving Idea. I Will Use this Suggestion.
very nice backdrop, am doing that in the morning i now just have a blue wall, this is a great ides! now please elaborate on making the viaduct bridge as i need to make a couple or maybe long one thanks again for the post
Dan from California
Great idea on 3D backdrop. One suggestion I might make. Rather than marking out each mountain, cut out each layer separately. Add foam to each layer (be sure to add foam to the top edge). Glue each layer to the one behind it. Now you will have some actual depth. If you have enough room, adding shallow blocks of wood between each layer, you will further enhance the 3D effect.
Carl in Kansas
Very creative Brian- love the 3D effect. I’m working on an outdoor layout so at first glance this did not seem applicable for me, but it has me thinking about flat 3D facades I might use on the edges of my layout. Thanks for the inspiration!
Cary in Kentucky
Nicely done! You don’t have to be an artist or a painter to put up a very effective
and convincing backdrop to your railroad and scenery!!
I’ve been thinking of how to do a backdrop for my layout, and your idea seems to be a great option. To take it a bit further, perhaps I’ll cut out the shape of the nearer hills and glue them on front to give the illusion of more depth. Great idea, Brian.
Jack in PA
Yep great idea for a back drop ,something I’ve been putting off for ages..
Thanks for sharing…
Fred’s Wilbury Line
Very nice and helpful simple but imaginative.
I have been doing my hills sort of the same way. I have a woodworking shop so I have been using sawdust and various shades of green paint for cover. A little practice and you soon learn to stipple the paint. Mine are layered as one suggestion was made. Pretty effective. Trying to replicate the hills of Pennsylvania where I grew up.
very nice indeed ! thank you !
great backdrop just want for my walls thank you peter
I’ve used saw dust now and again but never to such success.
Very clever idea and looks realistic.
Larry
I like the way you separate the foreground and the background, just like there is a haze hanging over the mountains.
Brian, What a very clever technique for creating depth in your backdrops. I’ll have to try it when I get ready to create my backdrops. Is that 2-6-6-2 logging engine the PFM Sierra RR brass model or the later Mantua diecast version? It looks very nice pulling your log buggies. (I’m a big fan of all things associated with logging railroads ever since I saw my first geared Climax locomotive in Scotia California when I was 12 years old.) Thanks for sharing your photos and backdrop ideas.
Very simple, not too expensive and it works.
Frank in Orlando
the farther away a mountain is the less detail there is as far as texture is concerned. The color of a distant mountain is a blueish gray color. The medium distant mountain has some green & brownish color darker than mountain behind it but lighter than the foreground mountain in front of it. The foreground or closest mountain has stronger colors and appropriate detail. Find some pictures of scenery
for guidance.
The tip on using darker colors at the front is one I will remember for a long time. I like the simplicity of your concept.
awesome i will use this one