Jim’s been back in touch with his Santa Fe model train build:
“The bi-line for today is Wiring & Structures.
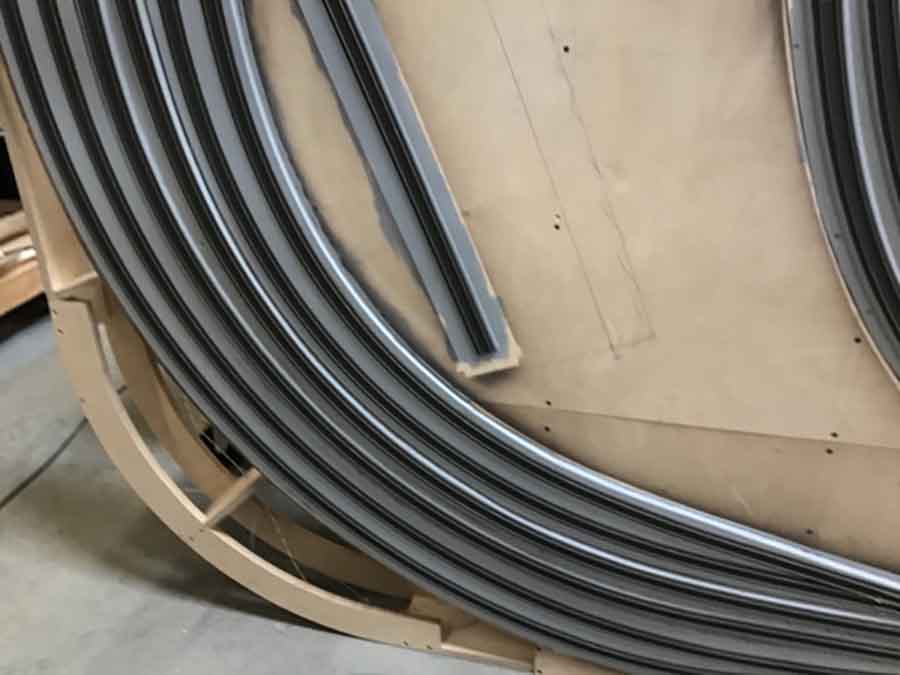
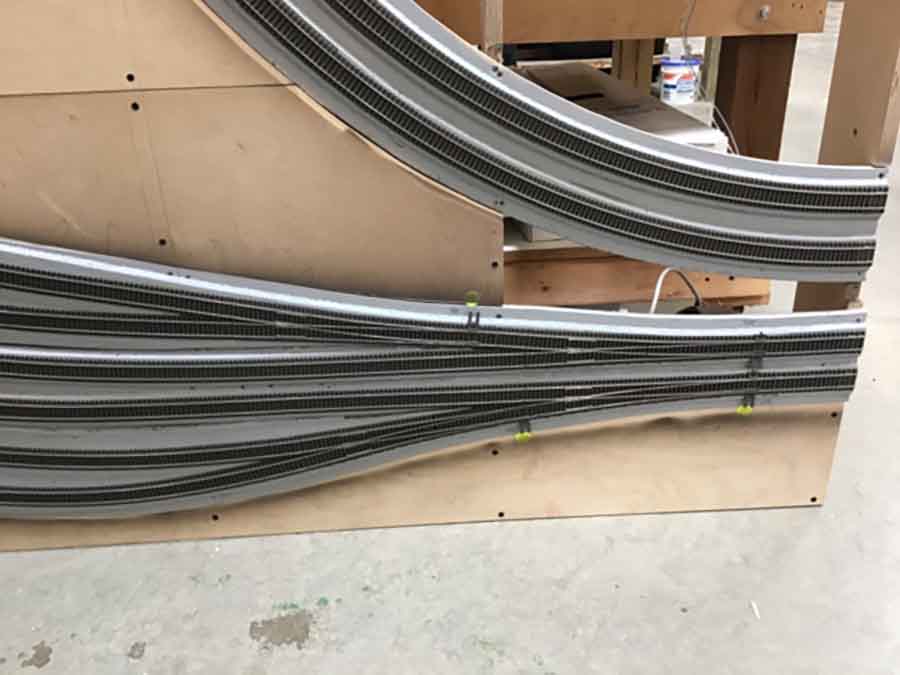
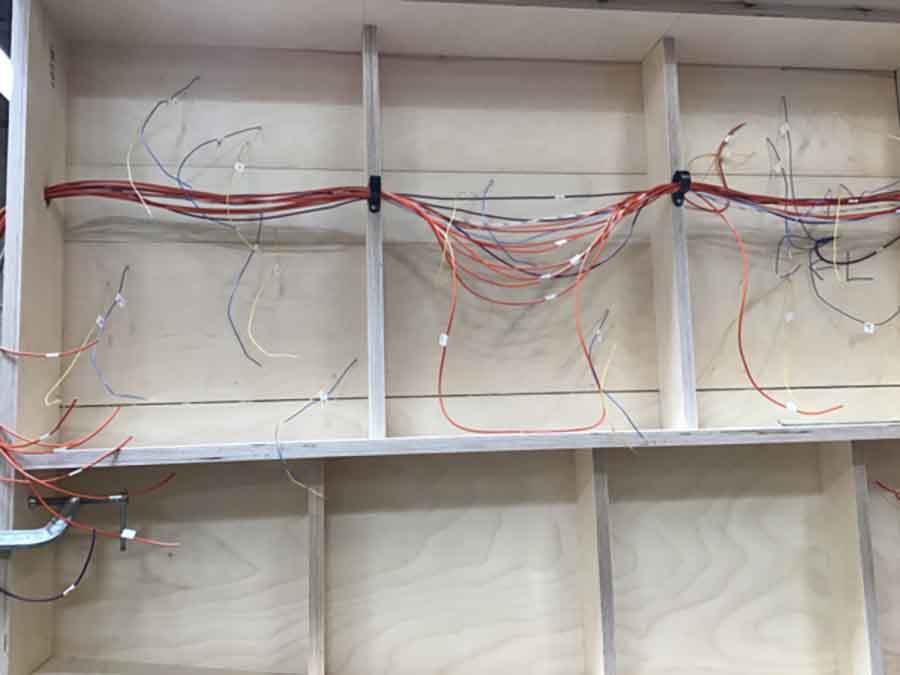
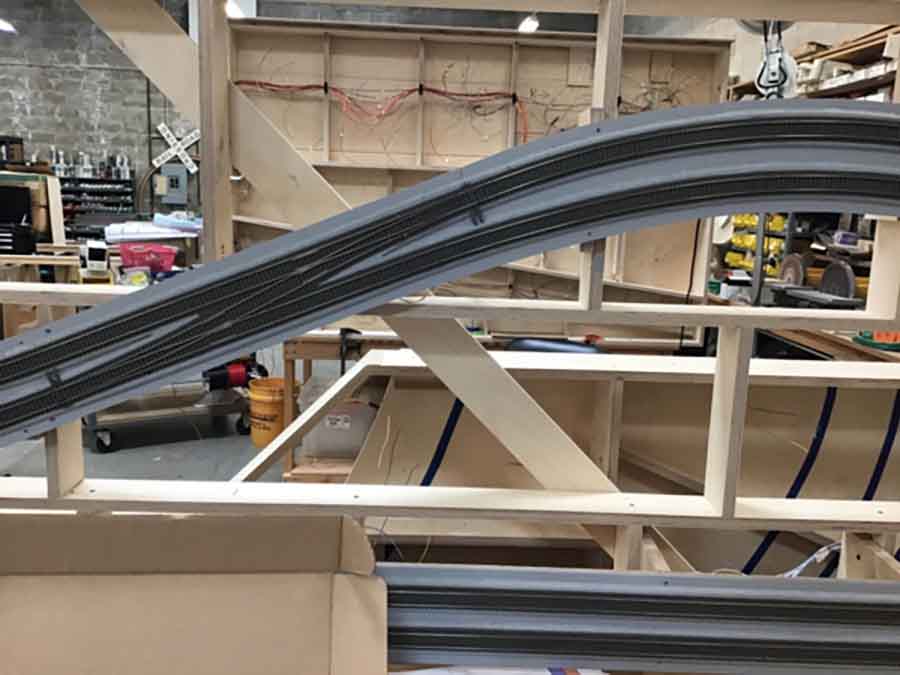
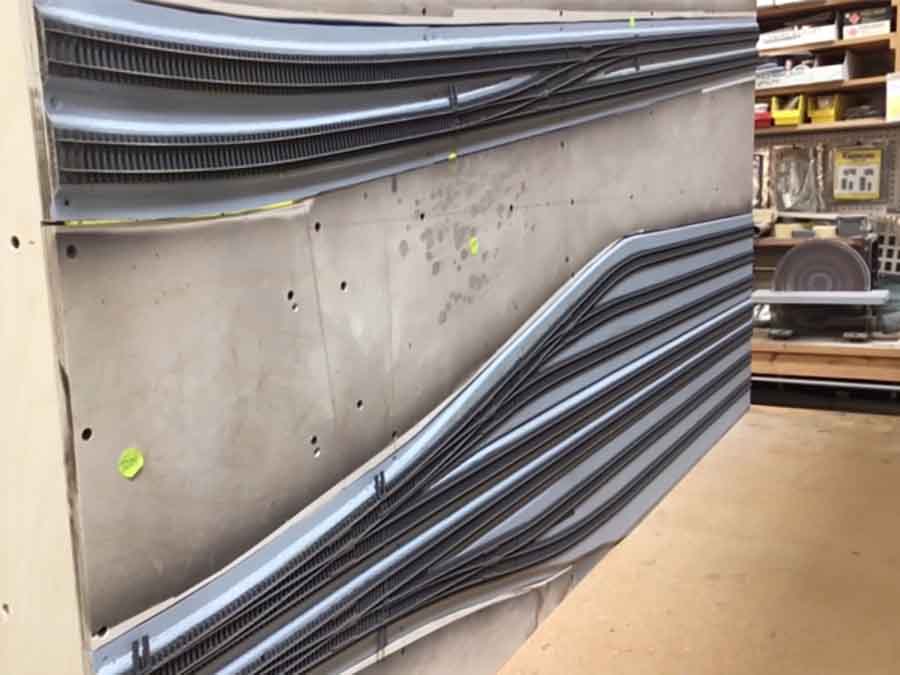
After all the track is laid, the rails are cut at each section boundary and the entire layout is taken apart.
Each section flipped 90 degrees and clamped securely to allow easy access for the wiring process.
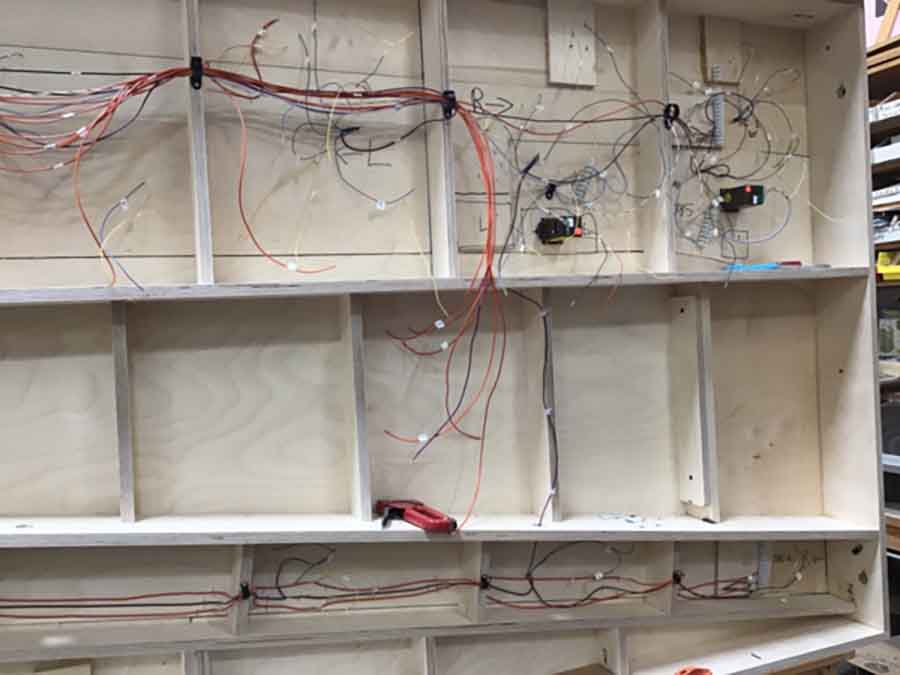
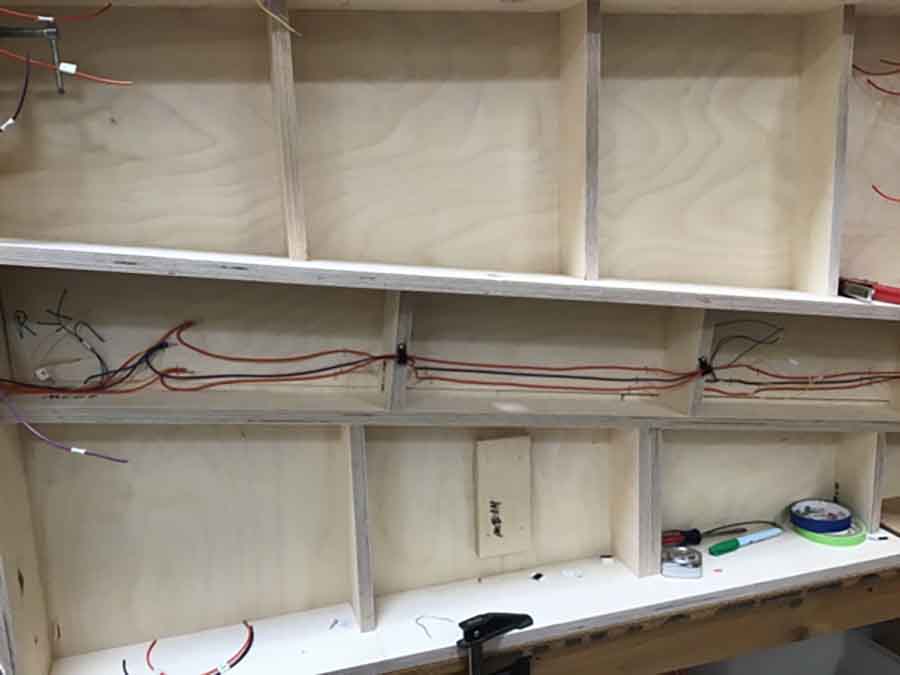
Every wire is color-coded and labeled. This will help to resolve any wiring problems.
These pictures show some of the sections that are being wired. Being at the 90-degree angle speeds up the wiring process as it allows the installer to sit or stand during this stage of the build.
A LOT easier and faster than scooting along and banging your noggin under the layout,
Each section, in my case there are 9, is wired separately. When the wiring is finished the sections are re-assembled and tested.
As I mentioned in an earlier post, the bridge, over a bridge which is over water will be one of three primary focal points on my layout.

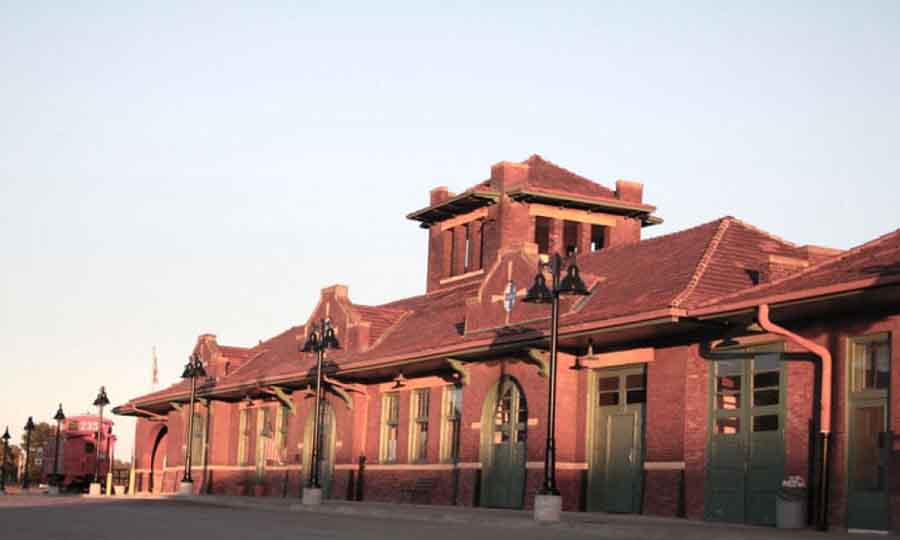
The second will be the passenger station with the two sprawling platforms. The station is a Walther’s kit shown below.
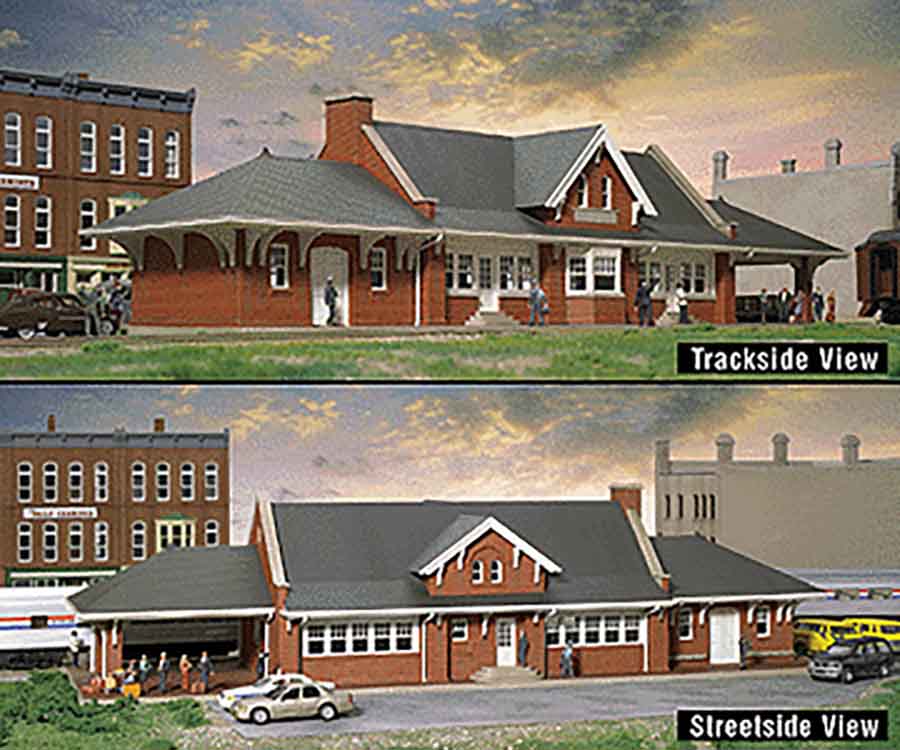
The Walthers kit has some resemblance to the old Santa Fe station in Fort Madison, Iowa. That is the look I wanted to capture. Back in the day, many passengers passed thru this station.
Here it is pre-weathered and about 90% assembled.
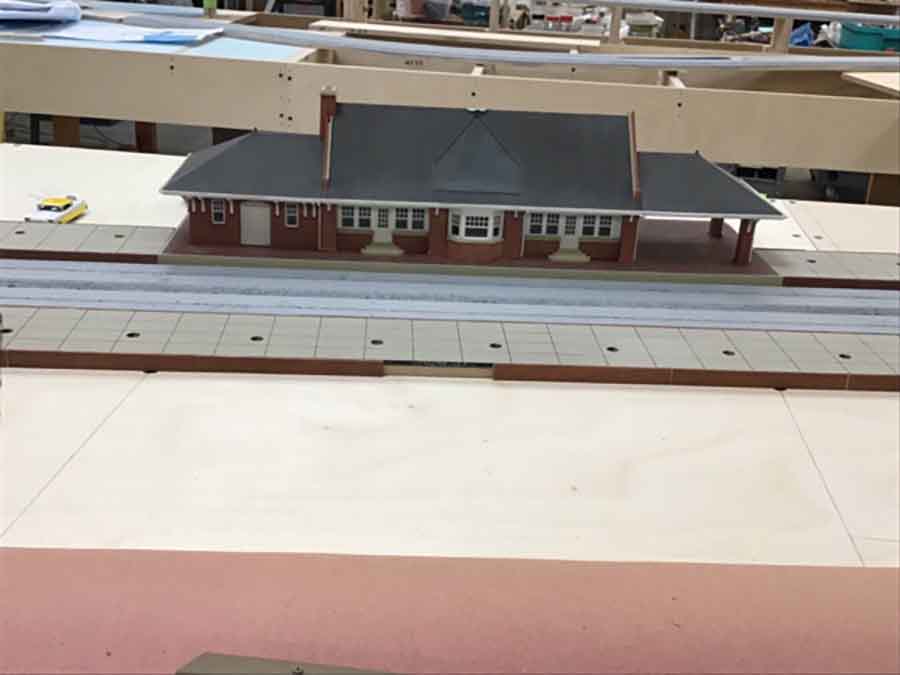
The twin platform will each be about 40″ long with butterfly shelters fully lighted, benches, luggage carts, phone booths and many passengers.
The station will be named Fort Madison and Santa Fe Logo’s on all four sides.
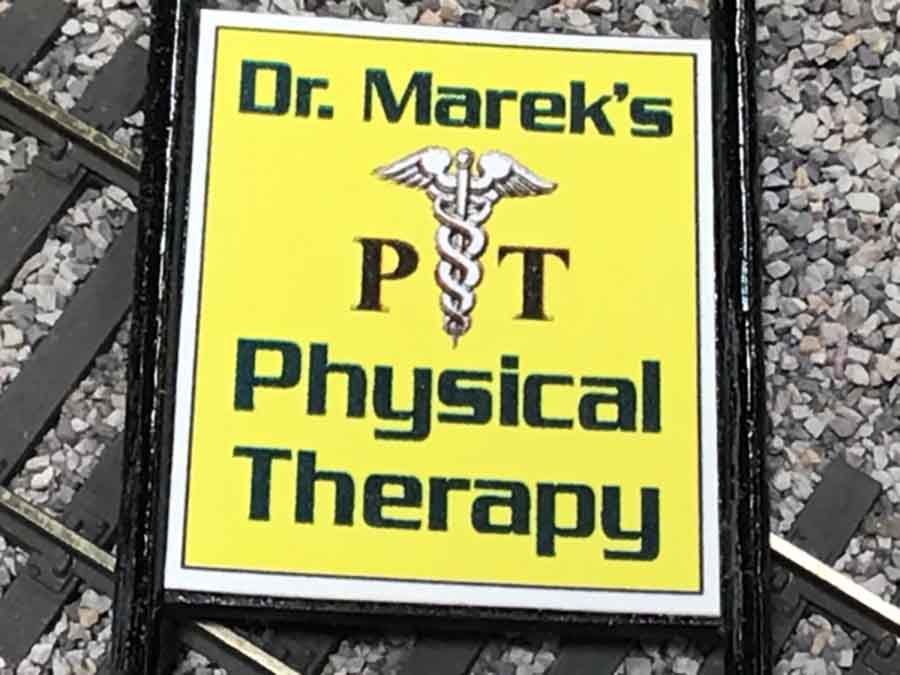
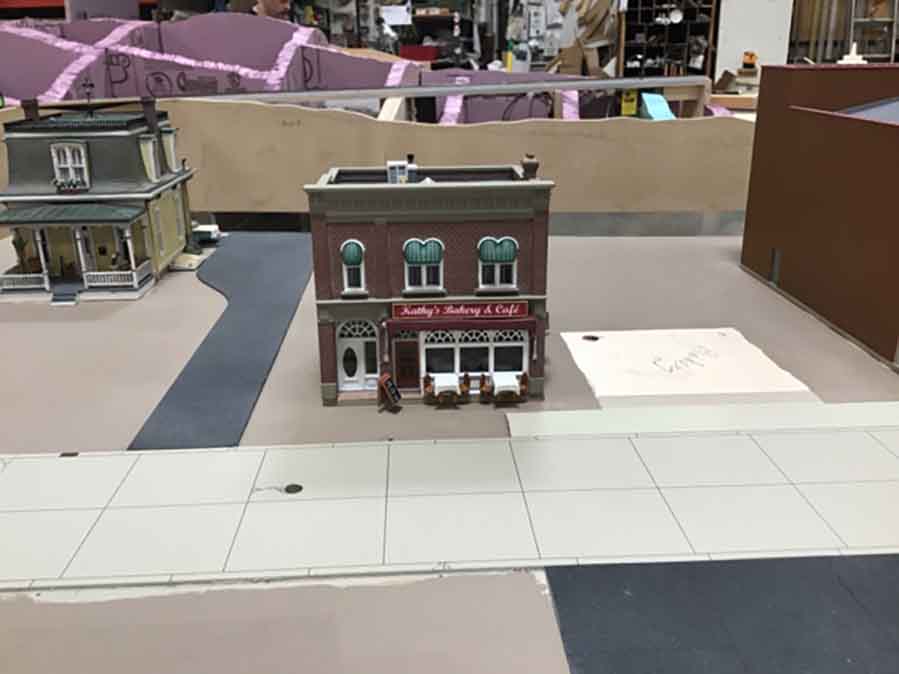
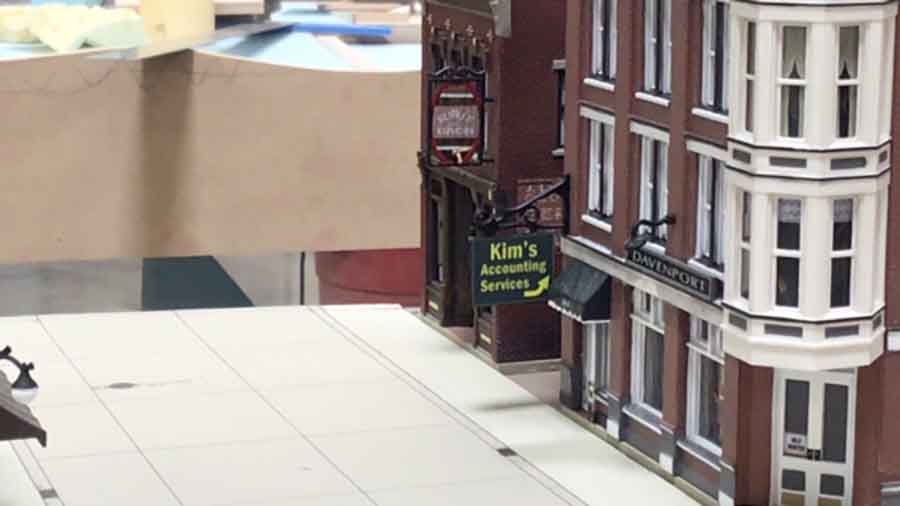
In an earlier post, I mentioned that several of the business would be named after family members. The following pictures will show it.
An old house converted to a doctor’s office for my daughter-in-law. This sign will appear in front of the house which appears on the left side of the next picture.
My wife, who has a passion for baking will have her shop here. You may have to expand the pictures to read the text.
My daughter works for a large international legal firm in the budgeting and finance area.
She is represented by this modest office on the 2nd floor.
As mentioned earlier my son Jeff works for a lumber and building supply company.
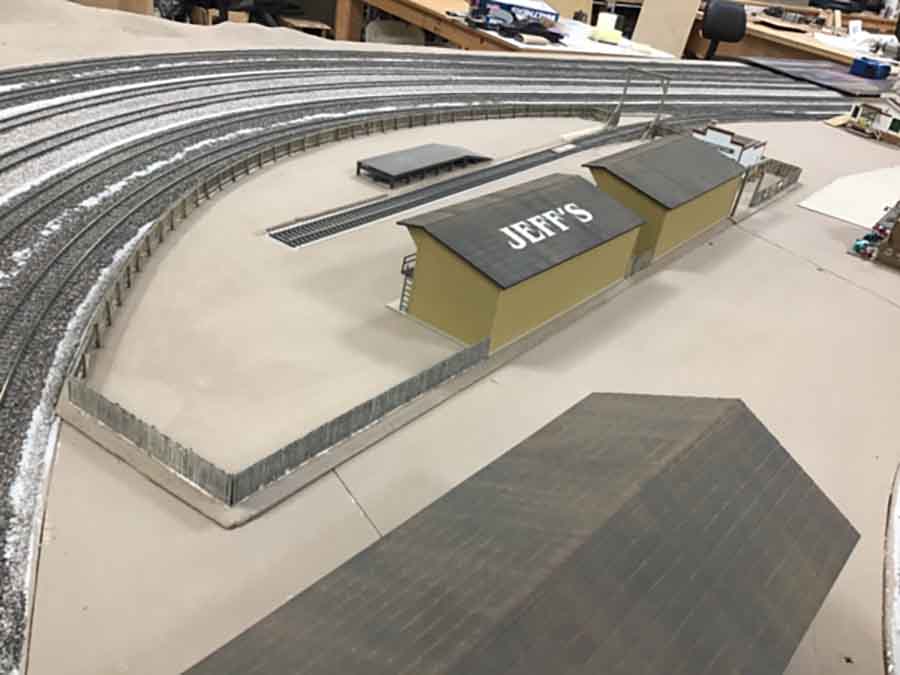
Even my son’s dog will be getting in the act. This structure will be re-named Westley’s Doggie Treats.
Joe an artist, electrician, and all-around great guy, performed a “track test” to expose any problems or flaws.
His crew spent several hours running trains forward and backward going thru every turnout to assure everything is “in gauge” and functioning properly. The owner of PMD, Steve, is the guy that invented the Tortise switch motors.
Here is a sneak preview of the finished product. My Santa Fe model train passing thru the grade crossing on Marley.
That’s all for now, check back later.
SantaFeJim”
A big thanks to Jim for sharing his Santa Fe model train build – his posts really do get across just how time and effort goes into a layout.
I do love the way he’s added the personal touches to include the family.
You can see the finished Santa Fe layout here.
That’s all for today folks – please do keep ’em coming.
And if today is the day you join in on the fun, the Beginner’s Guide is here.
Best
Al
PS Latest ebay cheat sheet is here.


Nice one there Jim , love to see those container trains with double stack which of course we could never do here in UK
Well Done !!!
Looks good, And i like the workmanship you put in into it.
Excellent Jim!. Really enjoyed the video, it is so believable and realistic. So well done. Thank you for sharing.
Looks great! Thanks for posting.
John
Nice job. Love the photos
Beautiful work, wish I could do as well.
I have one nit-picky thing about your double stacks. The shorter containers should be under the longer ones. I was told that this was because the corners of the shorter ones are stronger than the middle of the longer ones and they would not support the short containers on top.
If anyone knows different, please let the group know.